
We noticed you are blocking ads. DO THE TON only works with community supporters. Most are active members of the site with small businesses. Please consider disabling your ad blocking tool and checking out the businesses that help keep our site up and free.
You are using an out of date browser. It may not display this or other websites correctly.
You should upgrade or use an alternative browser.
You should upgrade or use an alternative browser.
BMW r90s bitsa bomber
- Thread starter Kanticoy
- Start date

Hoosier Daddy
Earache my eye...
I've been watching but never subcribed to be notified of posts.
That is now changed.
")
That is now changed.

Mike...loafers are classy.
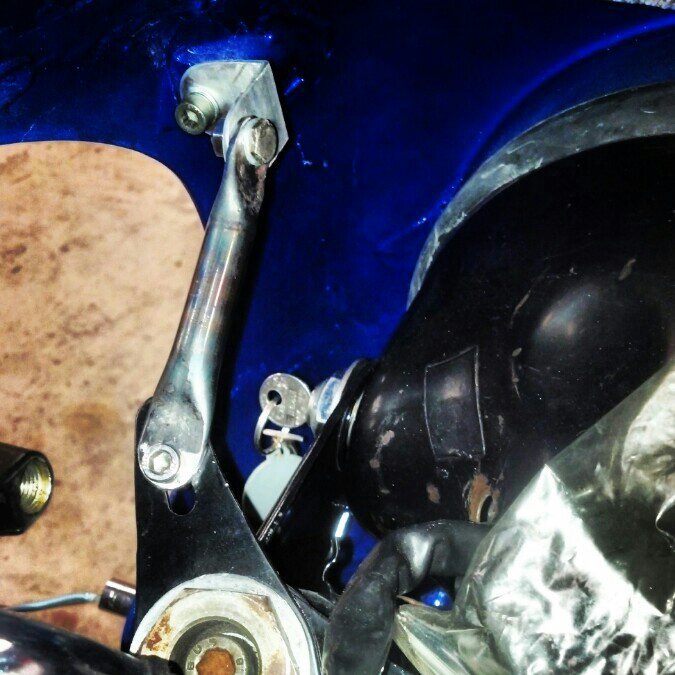
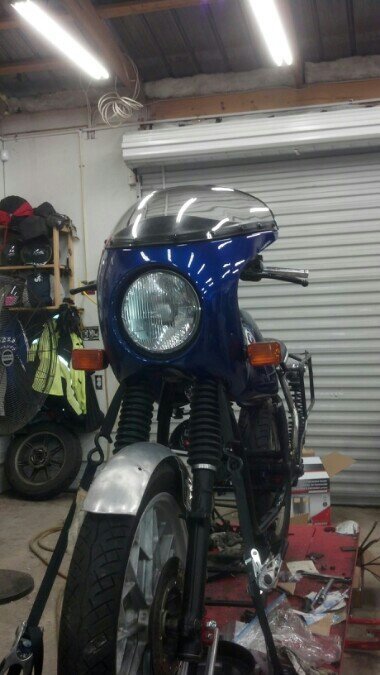
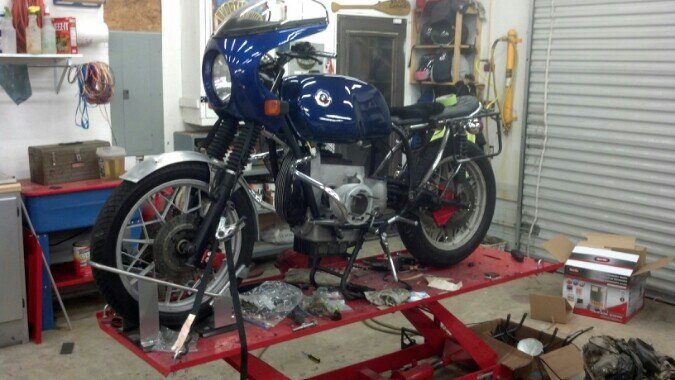
Well, after being bored in the shop and tired of waiting for my fairing mounting parts to come in, I said screw it and built my own out of stainless. Necessity is the mother of invention.
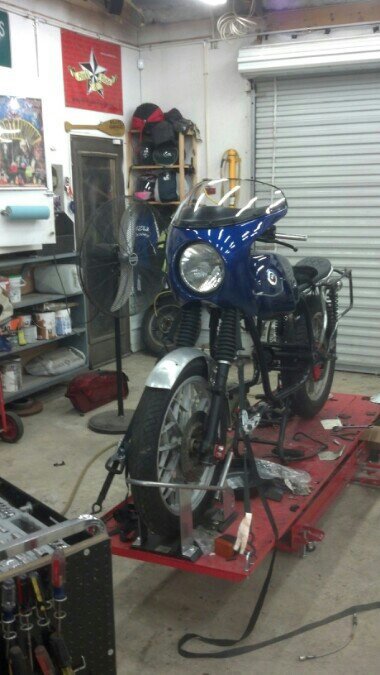
so that means that the fairing is on...and by good if it doesn't fit!!!

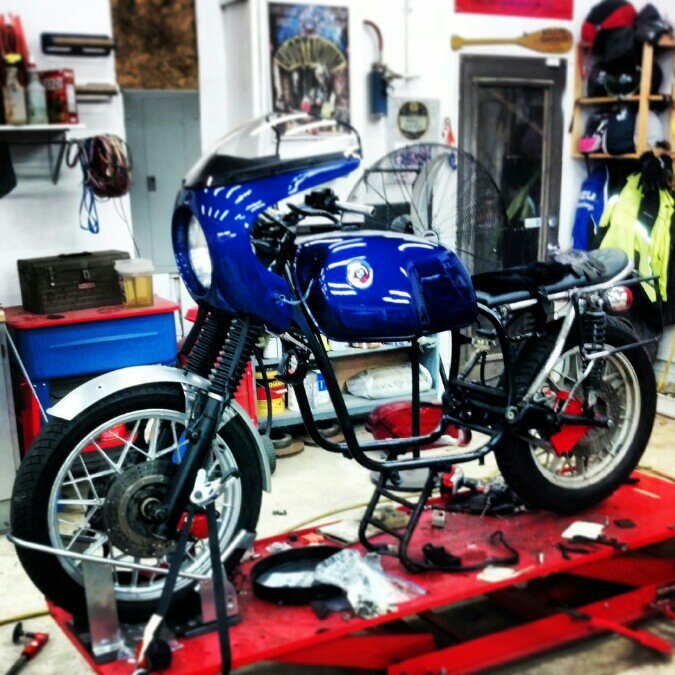
Well, after being bored in the shop and tired of waiting for my fairing mounting parts to come in, I said screw it and built my own out of stainless. Necessity is the mother of invention.
so that means that the fairing is on...and by good if it doesn't fit!!!
Thanks Mike and Manx!
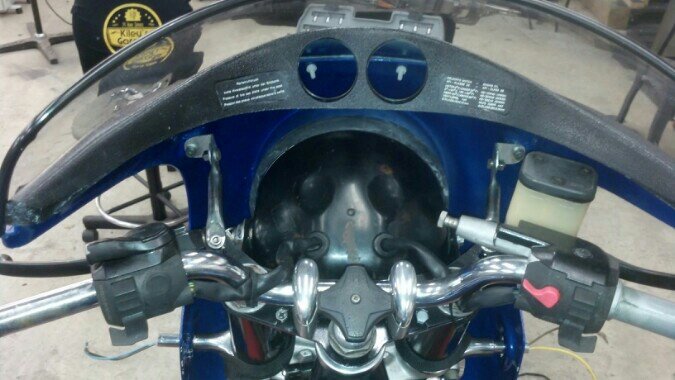
Got some more done today...waiting on parts still...it's annoying. Splurged and ordered a Motogadget M-unit and M-button to rewire the entire bike from scratch.
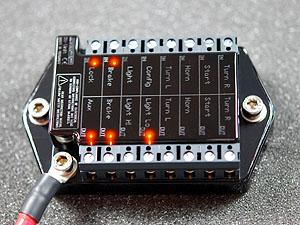

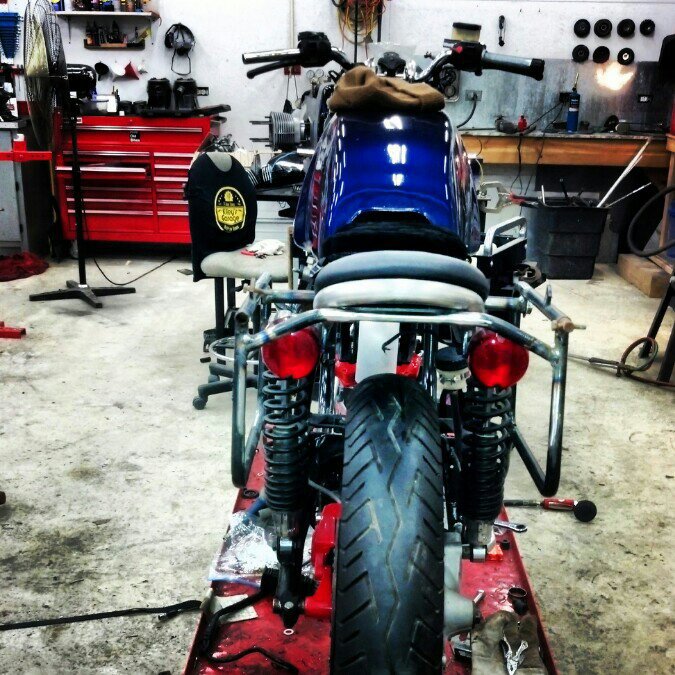
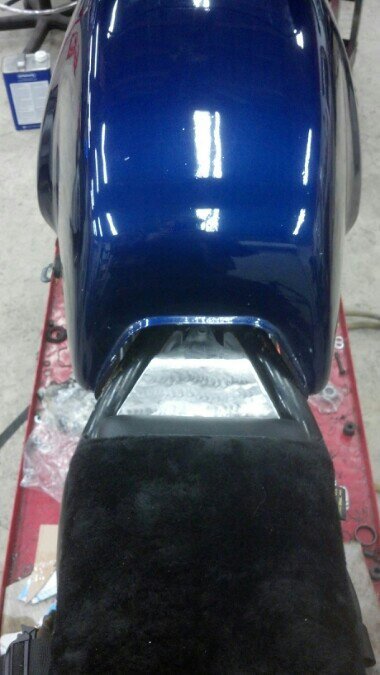
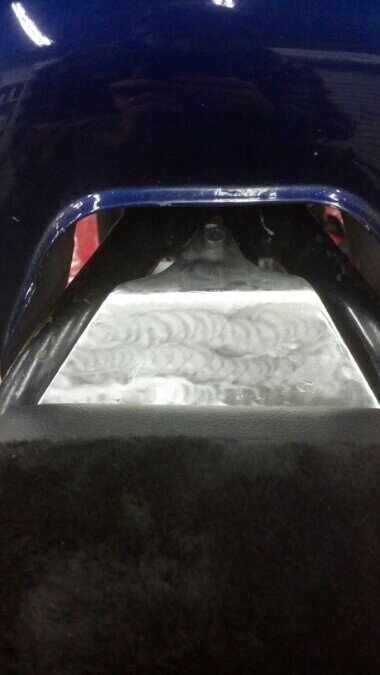
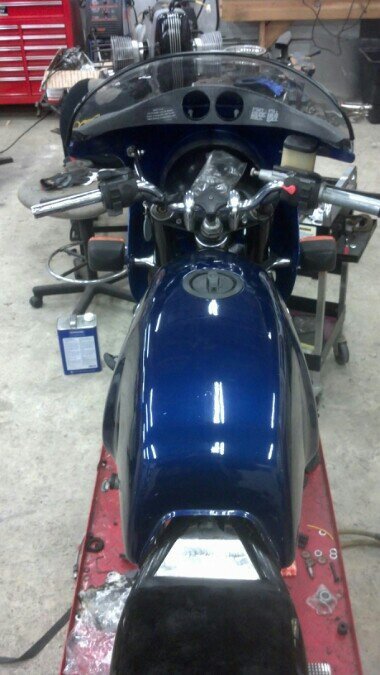
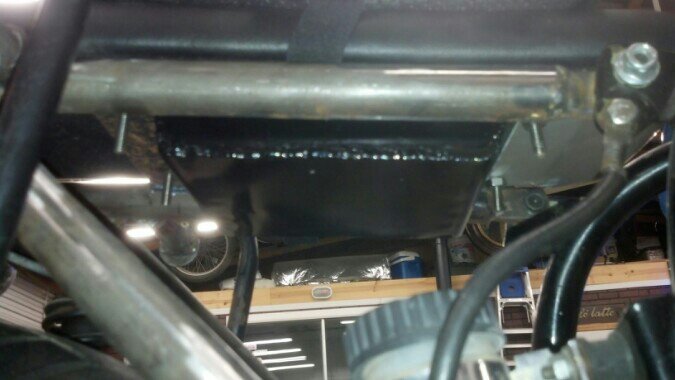
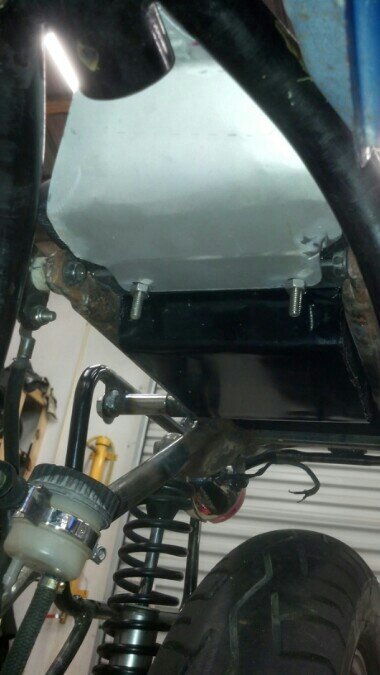
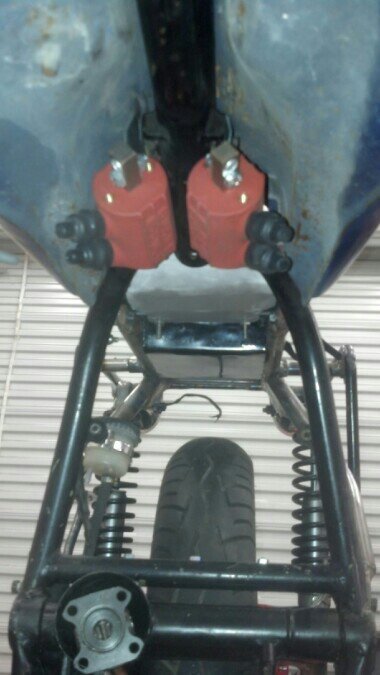
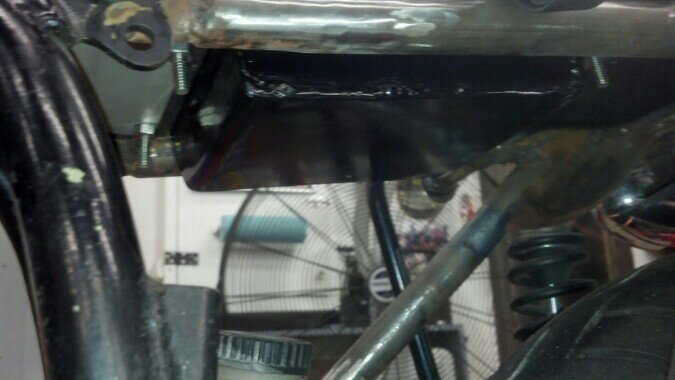
Should eliminate the birds nest headlight wiring and overall simplify things. I'm excited about that. So today i fabbed up a 16g steel box to hide the unit and the wiring cluster to go under the seat. Should be super clean. Also made an alloy filler panel to go between the seat and tank. This closes the transition and will house a 12v outlet for charging, the control panel for the heated grips, and a waterproof switch for the auxiliary LED driving lights. It's nice and hidden and keeps all of that crap off of the bars. Then I went up front and cleaned up and attached the front turn signals since the rubbers finally got here from the UK. All in all a productive day.
Filler panel, 1/16" alloy plate:
Electronics box under the seat 16g steel:
Turn signals mounted up:
Sent from my DROID RAZR using Tapatalk
Got some more done today...waiting on parts still...it's annoying. Splurged and ordered a Motogadget M-unit and M-button to rewire the entire bike from scratch.
Should eliminate the birds nest headlight wiring and overall simplify things. I'm excited about that. So today i fabbed up a 16g steel box to hide the unit and the wiring cluster to go under the seat. Should be super clean. Also made an alloy filler panel to go between the seat and tank. This closes the transition and will house a 12v outlet for charging, the control panel for the heated grips, and a waterproof switch for the auxiliary LED driving lights. It's nice and hidden and keeps all of that crap off of the bars. Then I went up front and cleaned up and attached the front turn signals since the rubbers finally got here from the UK. All in all a productive day.
Filler panel, 1/16" alloy plate:
Electronics box under the seat 16g steel:
Turn signals mounted up:
Sent from my DROID RAZR using Tapatalk
Finnigan said:Jealous of the motogadget purchase! I thought the v2 m-unit had everything that the m-button had...? For instance: from my understanding the m-button is to replace flashers and relays and fuses, but the m-unit has that built in and more. Let us know how you like them
The Unit does have those features Finnigan. The purpose of the M-button is to allow you to wire all of your controls into the Button, and then a single digital wire carries all of that information to the unit itself so you don't have 15 wires running down the spine of your bike. Makes things super clean. I'll definitely post up reviews. I'm stoked about it. No more fuses or relays.
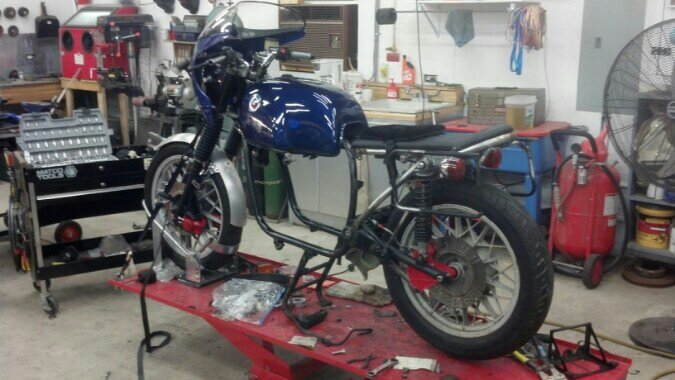
Do more work son. Motor in.
New boot
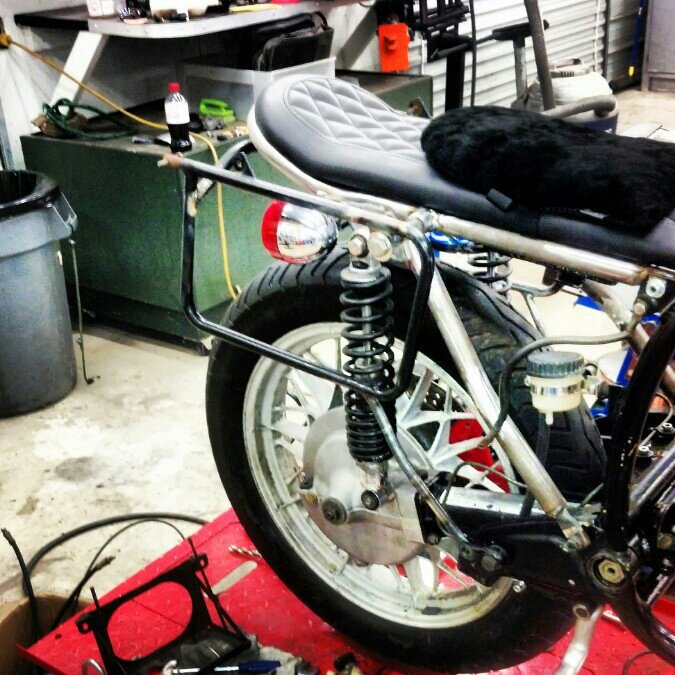
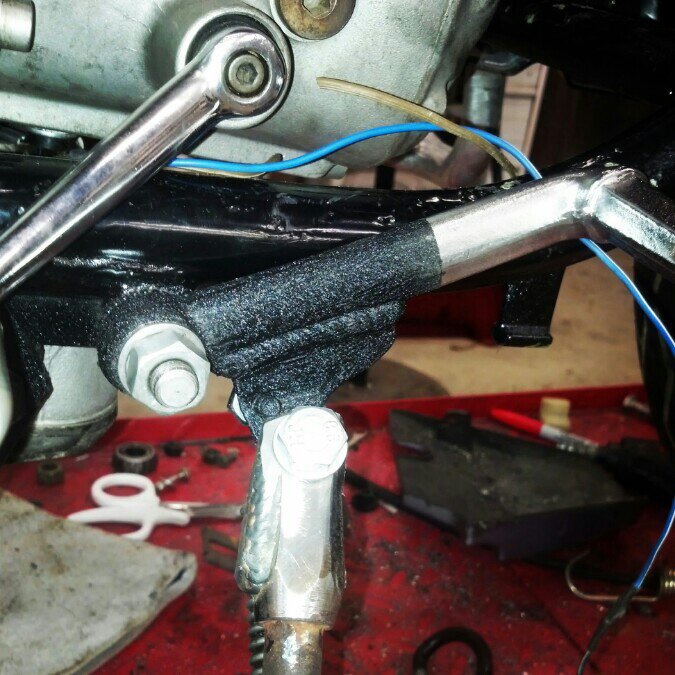
I hate the stock auto retract kickstands on airheads, so I made this. Stock spare right foot peg (allows pseudo rear sets since its longer), fabbed andwelded a bracket with spring pin, and modified a cb750 kick stand. Add a little wrinkle paint. Much better.
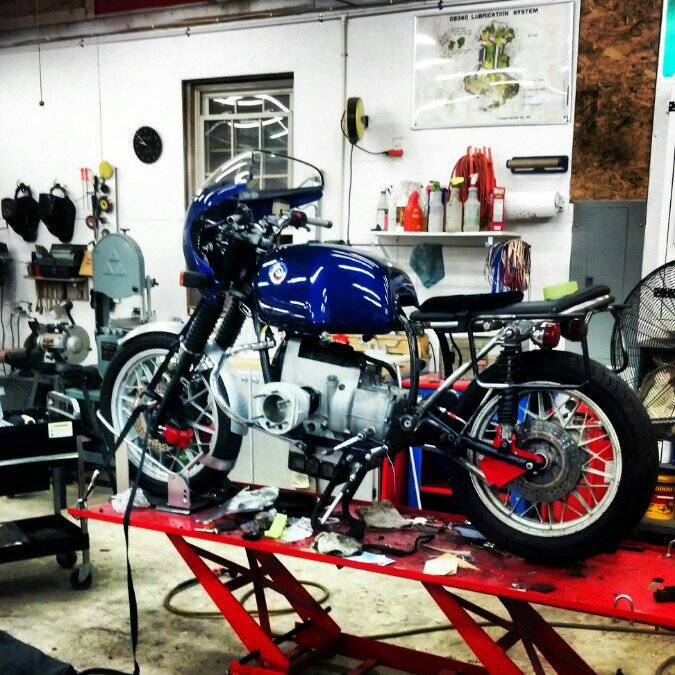
How she sleeps:
New boot
I hate the stock auto retract kickstands on airheads, so I made this. Stock spare right foot peg (allows pseudo rear sets since its longer), fabbed andwelded a bracket with spring pin, and modified a cb750 kick stand. Add a little wrinkle paint. Much better.
How she sleeps:
Cuba Libre
Been Around the Block
Kanticoy said:The Unit does have those features Finnigan. The purpose of the M-button is to allow you to wire all of your controls into the Button, and then a single digital wire carries all of that information to the unit itself so you don't have 15 wires running down the spine of your bike. Makes things super clean. I'll definitely post up reviews. I'm stoked about it. No more fuses or relays.
Yes, please write up a review when you get a chance. If possible give a description of the work needed to make it run too. I've been intrigued about this but am a complete ignoramus when it comes to wiring.
Thanks
M.
Cuba Libre
Been Around the Block
Kanticoy said:Yep.
Review coming shortly. In short....amazing kit.
http://www.youtube.com/watch?v=w-JFIijLXbM
???Nice...!
So still chugging along.
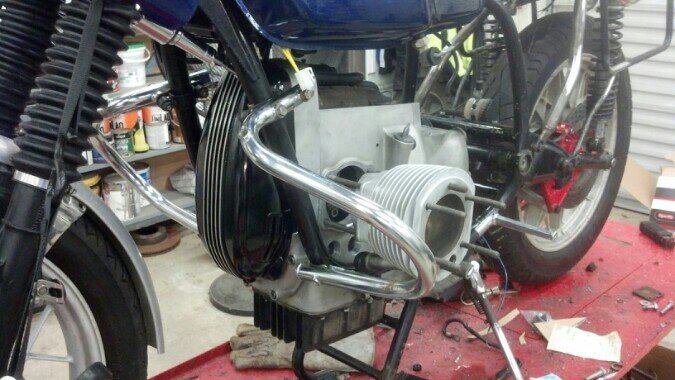
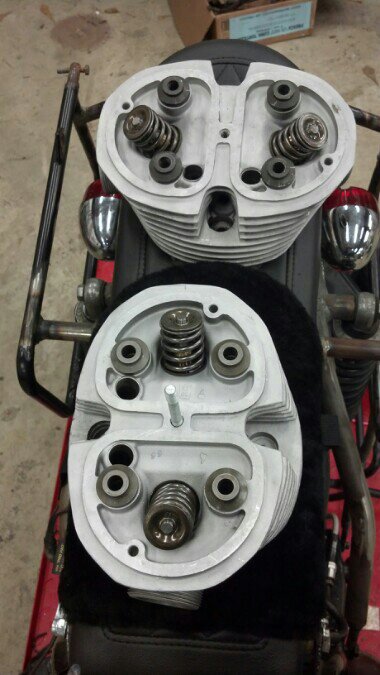
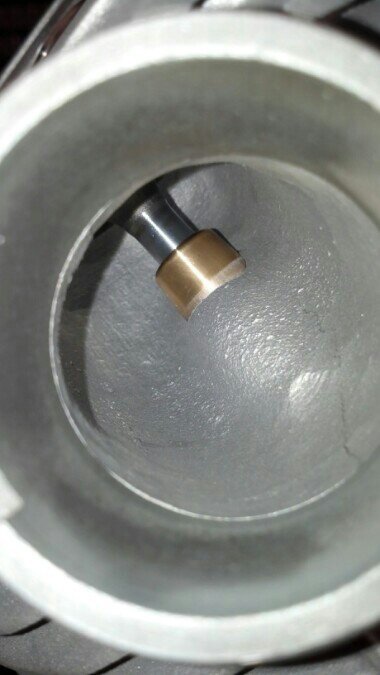
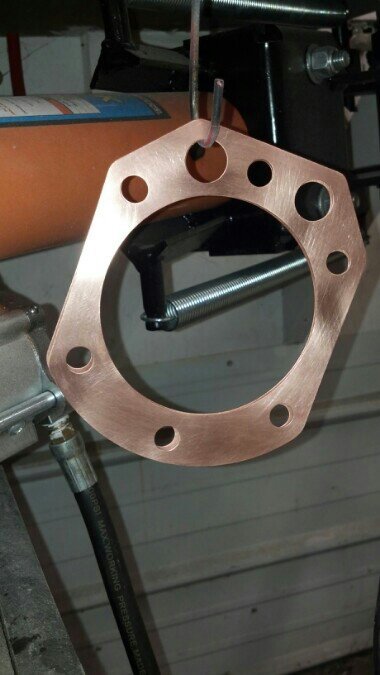
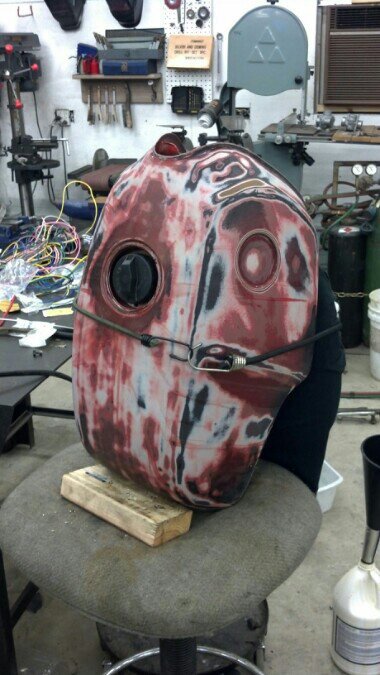
After spending $1100 and a two month wait, I've got my heads back from the machine shop. They got new valves, valve guides, unleaded valve seats, high performance valve springs, a mild port and polish, new center studs, a Serdi 5 angle valve and seat cut, and a bench flow. The guys at Bombar's Beemers in Raleigh did a fantastic job..got them installed today, valves set, and torqued using custom cut copper head gaskets. Very happy. All that's left is exhaust and intake boots and we will have a runner! Also have been fighting removal of a failed Kreem liner in my tank to get the new Caswell Kit put in. It is a nightmare. NEVER USE KREEM!


http://www.youtube.com/watch?v=1Y8RHm7TyG4
After spending $1100 and a two month wait, I've got my heads back from the machine shop. They got new valves, valve guides, unleaded valve seats, high performance valve springs, a mild port and polish, new center studs, a Serdi 5 angle valve and seat cut, and a bench flow. The guys at Bombar's Beemers in Raleigh did a fantastic job..got them installed today, valves set, and torqued using custom cut copper head gaskets. Very happy. All that's left is exhaust and intake boots and we will have a runner! Also have been fighting removal of a failed Kreem liner in my tank to get the new Caswell Kit put in. It is a nightmare. NEVER USE KREEM!
http://www.youtube.com/watch?v=1Y8RHm7TyG4


