
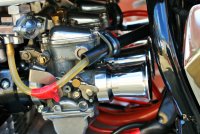
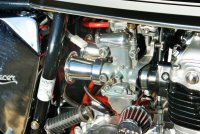
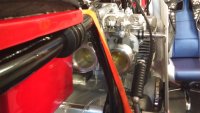
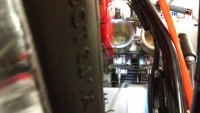
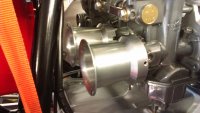
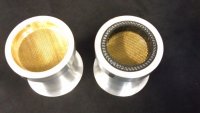
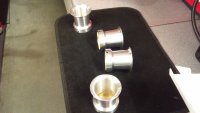
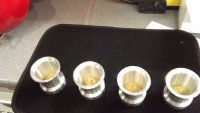
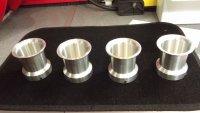
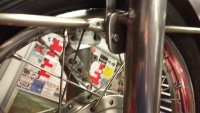
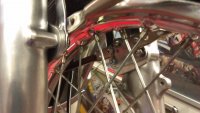
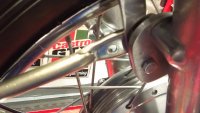
Ive actually sleeved all the cables so they aren't as exposed like in the pics will get a pic of the finished wiring guess it aint as bad as the first pics ha heres a couple of pics of the stacks ive fitted to my 350f same are going on this project not polished tho
We noticed you are blocking ads. DO THE TON only works with community supporters. Most are active members of the site with small businesses. Please consider disabling your ad blocking tool and checking out the businesses that help keep our site up and free.
You are using an out of date browser. It may not display this or other websites correctly.
You should upgrade or use an alternative browser.
You should upgrade or use an alternative browser.
Hailwood Honda race rep agh!
- Thread starter yorkie350
- Start date
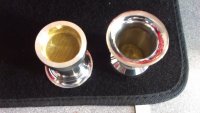
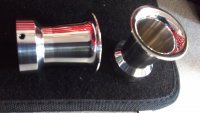

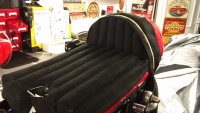
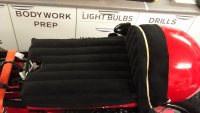
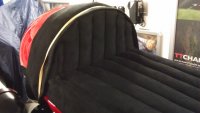
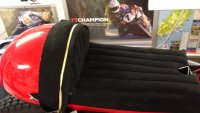
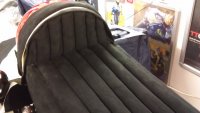
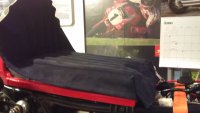
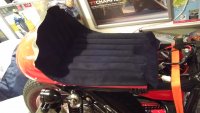
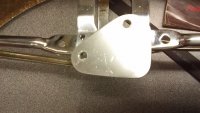
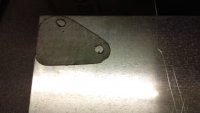
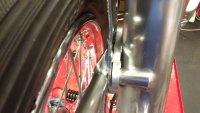
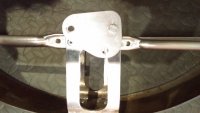
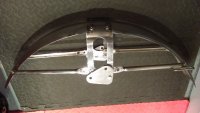
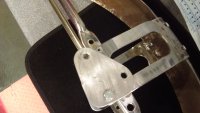
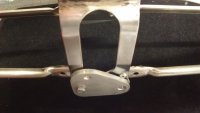
Hi peeps well a little bit more ticked off the list my velocity stacks came in from speedmoto cool items had to put inserts in so they would snug fit to carbs before tightening ??? started the seat cover still a bit to go but you get the picture :") and finally made the front fork bracket/ spacers and re- riveted the front fender braces on the inside of the fork brace ready for sanding and painting
and finally made the front fork bracket/ spacers and re- riveted the front fender braces on the inside of the fork brace ready for sanding and painting
and finally made the front fork bracket/ spacers and re- riveted the front fender braces on the inside of the fork brace ready for sanding and painting Attachments
Pics of the seat cover on its way yeah :
Attachments
And some pics of the front fender set up and spacer /brackets , will post some pics when its all back together on the front end look forward to painting it so I can tick it of the list that seems to have started getting longer :-[
Attachments


hooligan998
Been Around the Block
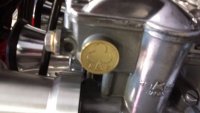
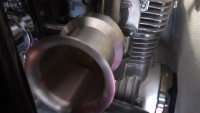
Will those spacers you used in the stacks mess with the airflow to the point of being detrimental to the bike's performance?
Shouldn't do mate : they fit inside level with the shoulder inside the stack and just fit over outside of the carb intake, in effect they now same internal size as the correct ones for these carbs, the choke n butterfly plates work ok ,for some reason I got sent the wrong size but saves messing about with international post etc to sort it guess ile find out for sure once I start to dial em in :-\
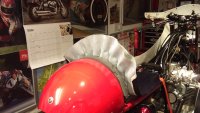
they fit inside level with the shoulder inside the stack and just fit over outside of the carb intake, in effect they now same internal size as the correct ones for these carbs, the choke n butterfly plates work ok ,for some reason I got sent the wrong size but saves messing about with international post etc to sort it guess ile find out for sure once I start to dial em in :-\Hi all not much done to warrant an update but every little helps : haha front fender now complete ready for a quick blast then get some paint on it now fits great real sturdy and looks a little more like the racer style got a bit more of the seat stitched soon as that's complete ile throw up some pics heres some of the fender before paint might not get chance this week as ime crossing the pond for a break in the "BIG APPLE" yup New York here I come over there for a week staying mid town Manhatten anyone abouts there beers on me 8) cheers
haha front fender now complete ready for a quick blast then get some paint on it now fits great real sturdy and looks a little more like the racer style got a bit more of the seat stitched soon as that's complete ile throw up some pics heres some of the fender before paint might not get chance this week as ime crossing the pond for a break in the "BIG APPLE" yup New York here I come over there for a week staying mid town Manhatten anyone abouts there beers on me 8) cheersAttachments
-
 IMAG0391.jpg1.2 MB · Views: 204
 -
 IMAG0389.jpg1.2 MB · Views: 216
 -
 IMAG0390.jpg1.3 MB · Views: 205
 -
 IMAG0392.jpg1.1 MB · Views: 210
 -
 IMAG0399.jpg1.1 MB · Views: 214
 -
 IMAG0398.jpg1 MB · Views: 199
 -
 IMAG0395_1.jpg490.2 KB · Views: 209
 -
 IMAG0394.jpg1.1 MB · Views: 210
 -
 IMAG0400.jpg962.3 KB · Views: 199
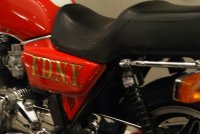
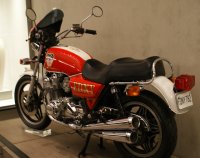
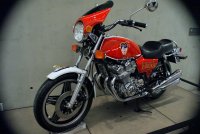
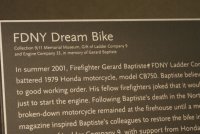
Sure wish I was kinda stalled a bit just back from a trip to the states so now its time to get her finished no more excuses :-[ got a little seat work to do then fairing paint n fitting along with front fender just gotta check my wiring aint getting spark at the plugs sure its something I got wrong not a component problem no real update pics of the bike only pics I got are from 9/11 museum guys did a great job on this beauty shame I didn't with the camera
kinda stalled a bit just back from a trip to the states so now its time to get her finished no more excuses :-[ got a little seat work to do then fairing paint n fitting along with front fender just gotta check my wiring aint getting spark at the plugs sure its something I got wrong not a component problem no real update pics of the bike only pics I got are from 9/11 museum guys did a great job on this beauty shame I didn't with the cameraAttachments

Well a new year and a fresh start to this stale project . Got totally bogged down trying to sort electrical gremlins couldn't get to the bottom of it so dug out the original coils swapped out the condensors re-ran some wires and at last today after charging up the battery I got spark to the plugs without popping any fuses. So I reckon tomorrow I can try fire up this thing fingers crossed ,smiling for the first time in a long time with this project. I still want to finish the paintwork on the fairing and front fender myself but may farm it out just gotta get it done now its TT or bust this year
Cheers yozz will sure use him for my next frame etc, yours looks fantastic! the wiring gremlins really got to me for some reason cud have binned the whole thing one bit, :-[ still don't know how i got it to work , so glad the old stuff wasn't goosed. Went into the garage today set up the gaps and stuff for the contact breakers ,went thru all the condensors & coils battery on charge so give a lttle squirt of carb cleaner down the carbs and she's starting up ;D ;D gotta get me some fuel and she gonna be running tomorrow YEAHHA! serious mate didn't think it would happen haha : : even tho it only run for a few seconds I know this is gonna sound crazy cant wait to post a vid on here
Went into the garage today set up the gaps and stuff for the contact breakers ,went thru all the condensors & coils battery on charge so give a lttle squirt of carb cleaner down the carbs and she's starting up ;D ;D gotta get me some fuel and she gonna be running tomorrow YEAHHA! serious mate didn't think it would happen haha : : even tho it only run for a few seconds I know this is gonna sound crazy cant wait to post a vid on here 

