Follow along with the video below to see how to install our site as a web app on your home screen.
Note: This feature currently requires accessing the site using the built-in Safari browser.
We noticed you are blocking ads. DO THE TON only works with community supporters. Most are active members of the site with small businesses. Please consider disabling your ad blocking tool and checking out the businesses that help keep our site up and free.
Yup, the rear shock is off a GSXR.
But these shocks were never meant to go through a direct application but instead a linkage, could be why its so soft
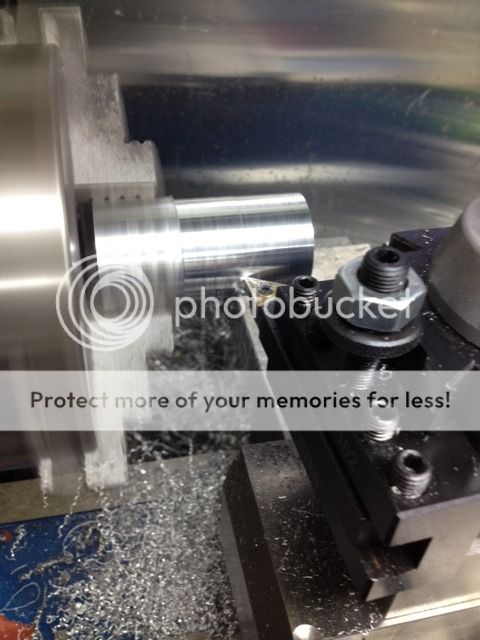
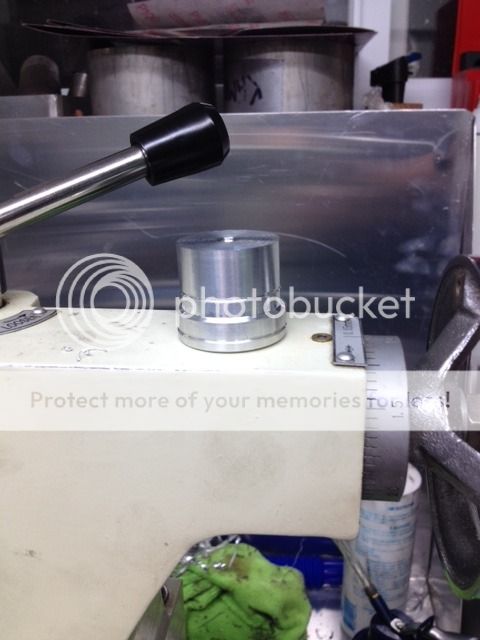
So I managed make a few spacers for centring the wheel.......had a vibration in the lathe to clear up cause it was causing a chatter in the cut and wasn't cutting smooth. The left side spacer still needs to be bored out for the axle but the right one is done.
Chucked up some 6061 for the spacers
I need a set that on the one side will press fit to a R6 axle all the way through the pinch to the bearing and a tight tolerance slip fit at the other end through the pinch to the bearing
So all the way through left to right The axle will go through it all, converting the GSXR to R6 S axle
I would, but the axle diameter for the R6S is smaller than both pinch points so one side has to be removable. I could just resize the right side pinch with a bushing I guess.
I would, but the axle diameter for the R6S is smaller than both pinch points so one side has to be removable. I could just resize the right side pinch with a bushing I guess.
the bushing is neither, its 4041 like the axle (and then will get CAD plated like the axle). Once its all pinched, its not going anywhere
will show pics when the machining is all done
So I finally got back to work on the little basterd and first thing was replacing the stator with a new one. My plan was to run this with the original ignition system which means I still have the ability to bump start the bike.
My apologies for the lack of good pics, Im bad at remembering to shoot a long the way. So here is a random rear of engine pic
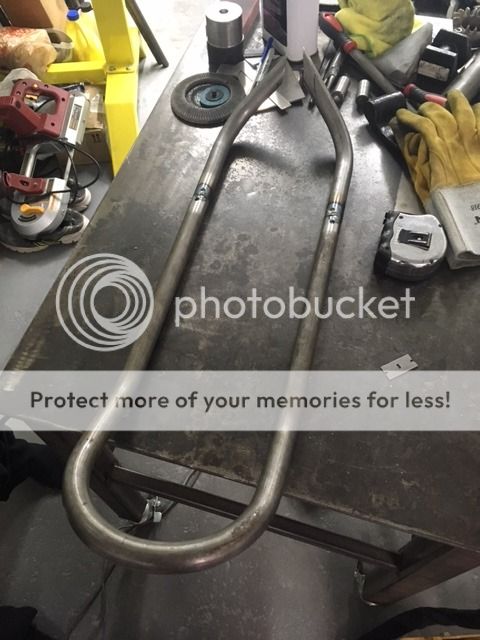
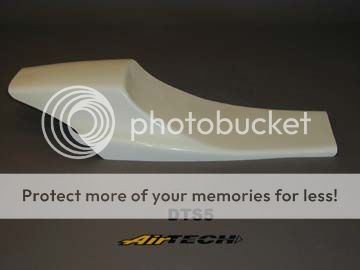
And then to get this rolling I needed to get the rear subframe and seat area started, so I started with some 1" DOM tubing that I had already bent up when I first got the JD2 bender.
And the front sections that will be welded to the spine of the bike are plugged with solid bar that I turned on the lathe to the ID of the Tubing and then welded to the seat hoop
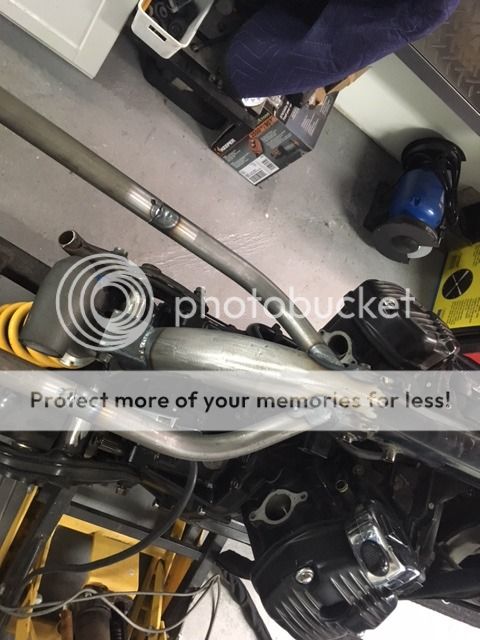
Now to that mounted to the bike, and this isn't fully welded yet until I get the lower braces put in and tacked down, then I will run full beads around all the joints
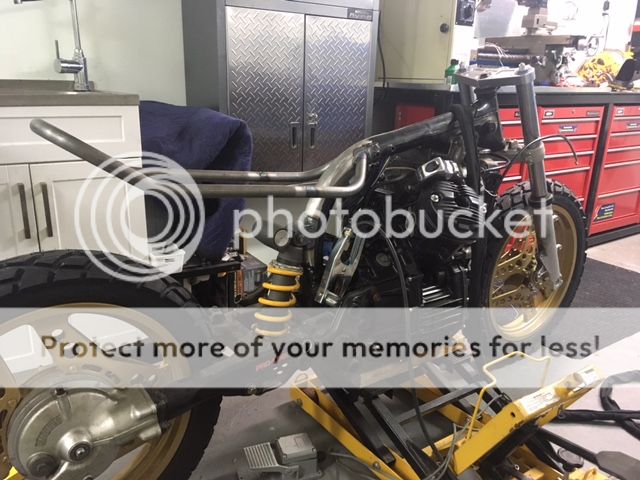
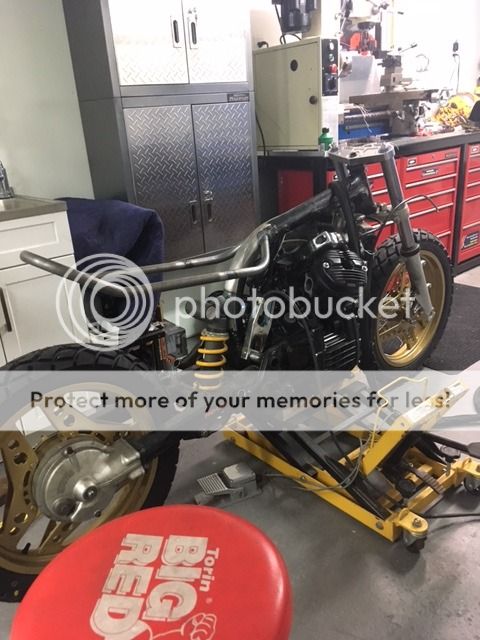
And what it looks like from a somewhat side profile.......what do you think?
I wanted to get more done but came down with a shitty chest cold with lots of boogers and green phlegm and I was feeling like shit, so hopefully will get something done over the next few nights
This site uses cookies to help personalise content, tailor your experience and to keep you logged in if you register.
By continuing to use this site, you are consenting to our use of cookies.


")