Yet another SR250 Tracker UK Build

Great this project is on again!

The small bolt is your oil check bolt - that's why it's got the copper sealing washer. It goes in the head on the spark plug side.

The larger bolt is the oil filter cover drain bolt - the lower of the three bolts that hold that cover in place.
 
Cheers Jadus :)


I think I have already installed the oil check bolt, is it the one that sits right next to a cylinder head bolt? its an M5 where as the small one in the photo looks like M4

It serves me right for not doing the bolt plating in bits. I dropped them all off with the platers and they all got mixed up.

Is the threaded hole in the head in the photo for some bikes that have a tacho fitted do you know? and as such nothing goes in there for my bike?


Hopefully engine will be fully built in a couple of weeks. Might try and source a new carb mounting rubber as the old one looks a bit rough.

Then its battery tray and seat next.
 
Correct with the oil check bolt in the head. The only remaining one with a copper washer like that is the one on top of the oil filter cover - used to drain the oil from that cavity when changing oil filter. This would make sense becuase your other mystery bolt was from the same part/location.

Yes, some of the later model SR's (even most from the Spanish factory) had a tacho drive off the cam shaft - meaning a hole in the head for that. But it is not threaded, it just had a pressed in bearing then the cable has an oring on a plug with the wire running through it.

Yeah, double check the carb boot rubber - sucks to get an air leak there that only shows itself when the engine is warm - messing up all you carb setting work.
 
Cheers, after much Googling last night (and before you replied) I noticed the bolt in the oil filter cover :)

So that's that mystery sorted, thanks for the help.

The hole in my head is threaded, its the one in the picture, just above the centreline of the cam. It is behind the top cam pulley, it looks like about an M5 thread.


My casting has the tacho take-off blanked off, ie not machined.

cheers

Dave
 
Great thread to read, any update?

I've just signed up looking for advice and inspiration on an SR tracker I'm just planning. Do you have a list of part suppliers you've used so far? Quite hard to come by in the UK.

Currently toying with longer rear shocks and whether the mikuno vm32 carb is worth the swap!
 
Right gents I need some help please??

Head is now assembled and finished

Untitled by eastham_david, on Flickr

Untitled by eastham_david, on Flickr

Untitled by eastham_david, on Flickr

Untitled by eastham_david, on Flickr

but embarrassingly I'm having trouble sorting the gasket/seal/spacer set-up for the head to cylinder and cylinder to crankcase.

I seem to have a plastic spacer too many in the gasket kit I bought (it's a full engine kit)

Does this cylinder to head seal/plastic spacer/metal spacer look right?

Untitled by eastham_david, on Flickr


and is the lower face of the cylinder to crankcase set-up right in this picture?

Untitled by eastham_david, on Flickr


and too finish, I'm still unaware of anything that fits into this threaded M5 or M6 hole in the head, is it surplus and only used for tacho off-take on some models?


Picture1 by eastham_david, on Flickr


Thanks in advance
 
You are correct on the tapped hole in the head. It is only used on the models with a tach drive there.

I am 90% sure you have the orings/gaskets/dowels wrong on the head and the barrel. I couldn't find my reference photos right this minute but check these exploded diagrams to be sure: https://www.cmsnl.com/yamaha-sr250t-1981-exciter1-usa_model8812/partslist/A-06.html#results
 
Cheers,

I'm sure the red O ring and thin metal sleeve sits in the oil way on the crankcase

i.e. the top right position here

Untitled by eastham_david, on Flickr

This coincides with the same position on the lower cylinder in this picture

Untitled by eastham_david, on Flickr

The other plastic sleeve and metal sleeves in the upper face of the cylinder/lower face of the head look like this with he gasket in place

Untitled by eastham_david, on Flickr

The rebate/counter bore in the right hand upper corner of the above picture is quite deep and I'm sure that's where the plastic spacer sits. The picture below shows how deep that counter bore is, this is also the oil way so that's why I thought these had spate seal to the other 3 x head/cylinder bolt holes.

Untitled by eastham_david, on Flickr


cheers for the advice and help, heaven knows I need it. :(

(two strokes are so much easier)

I have had a look at the cylinder diagram (thanks for the link that helps a lot) and the equivalent head diagram and the seals/gaskets appear right, but I could be wrong.

Dave
 
Just about to pop new rings in and checked the sizes of the old rings, they are mainly gapped at 0.65mm ish. Took the new rings out of the packet and placed them in the bore only to find they overlap 5mm, is this correct. In my old karting/2 stroke days they rings only needed a small fettle if anything, these appear massive.

I have checked the part number and the bore size (73.5mm) and they match. Surely you shouldn't have to try and trim 5mm off them ???

if that is the case, how the hell do I do the oil control ring. I'm hoping they are just the wrong rings.

any help would be much appreciated

Ta
Dave

Untitled by eastham_david, on Flickr
 
Did you figure the ring issue out? Could it be that you have received a ring set for the US version SR250? That was a true 249cc engine - with a 75mm bore rather than the 73.5mm bore that gives 239cc.
 
That could be the case, I was going to rebuild it with the old rings, but the top ring has lost its marking so I don’t know which way round it goes.

Having had a close look at it it seems to have the same tiny chamfer on the lower and upper surfaces.

Do you think it will go in either way?

The other option is to just buy a new set and fit them, and this time hope they are the right ones. .

I may be in touch for a header and front mudguard soon. Just one question, can you have the headers made to a different pattern ie for a high mounted exhaust or do you only do them as pictured on your site?

Cheers

Dave
 
Hi Dave,

with regards to the ring: Yes one can regap them to size, but only if it's out by let's say 0.25mm or so and even that's a I am in the middle of the Sahara and need to get home to work on Monday sort of fix/bodge. The reason for that is, otherwise they will only touch the cylinder wall in two or three points and not seal properly as they are no longer round. (For those in the know: Yes, this is an oversimplification, but it helps understanding - strictly speaking neither the piston nor the rings are round, only the bore is...) So unfortunately you'll have to get the right rings for your cylinder-diameter.

The second thing: Please grease (any old grease will do, I use normal bearing grease as I have that standing around in big 1kg-jugs) up your cylinder base gasket (and all other paper gaskets on sidecovers etc., but not the headgasket), as that will make removal a lot easier and in terms of the sidecover gaskets, i.e. gaskets that won't get as hot, you stand a very nice chance of the covers being removable without destroying the gasket in the process AND sealing nicely.

Oh and aside from my other comments: Nice build, I am more and more inclined to really build a SR250 myself sooner or later. Lots of tuning potential in that engine.

Cheers,
Greg
 
I think it's easier to order some new rings so that's what I'll do, at least when I button it all up it should be sorted.

The good news is I got the top yolk assembly back from aqua blasting, all bolts , nuts etc re-plated. Graham is just going to do the controls as I am having them raw alloy as well, I'll post some piccies up when I get them back.


Untitled by eastham_david, on Flickr
 
Damn, that looks great man. Nice to go all in with replating the fastenings as well.

I agree with Greg, if you trim and force those rings, they will essentially be out of round. Best try with a new set.
 
New Yamaha piston rings on their way from Bulgaria ::)

Not a great deal done this weekend, the loom has been cleaned with IPA and a lot of elbow grease (plus the aid of a toothbrush).

Change of heart on the build this morning though, I'm removing the side panels and going for an open triangle with a 4 cell anti gravity battery under the seat.

I am looking to remove around 10kg from the bike. I spent 1/2 hour weighing stuff from the original build and it's amazing the weight that can be lost. A 4 cell Li-on battery, plus aluminium fenders and other stuff removed or replaced, i.e. indicators, headlamp and centre stand, I will easily remove 10kg and that's before considering aluminium rims for the wheels. So target is around 110kg and 24BHP. All that should make it quite sprightly I think. :)

Here is how the loom looked before

P1050479 by eastham_david, on Flickr

P1050485 by eastham_david, on Flickr

but it now looks like this


Untitled by eastham_david, on Flickr

by eastham_david, on Flickr

by eastham_david, on Flickr
 
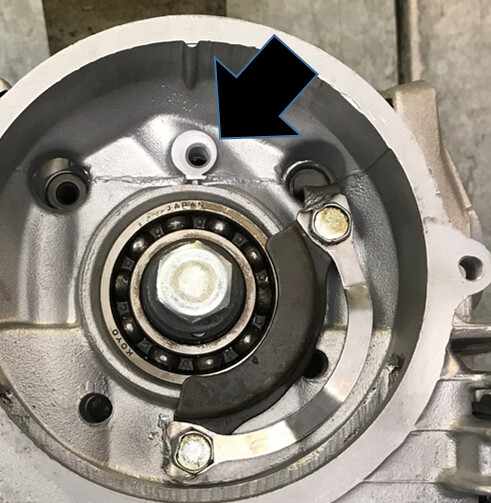
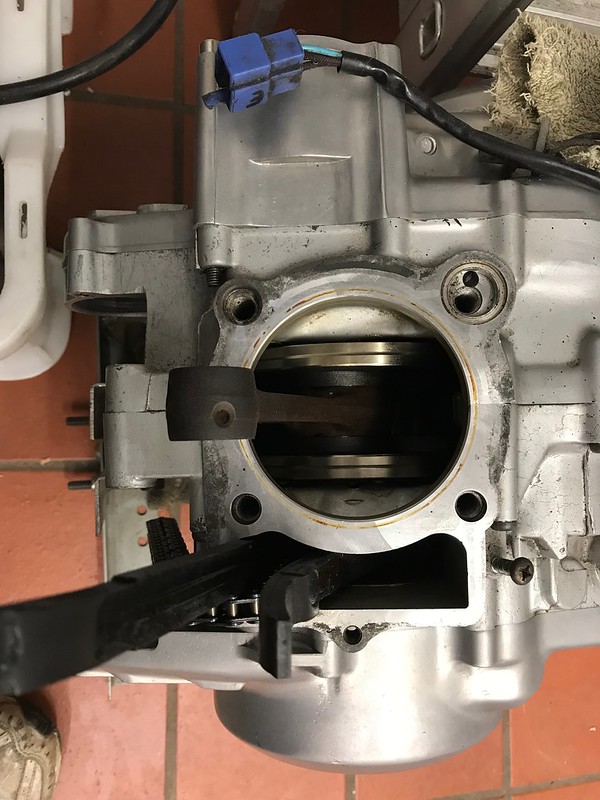
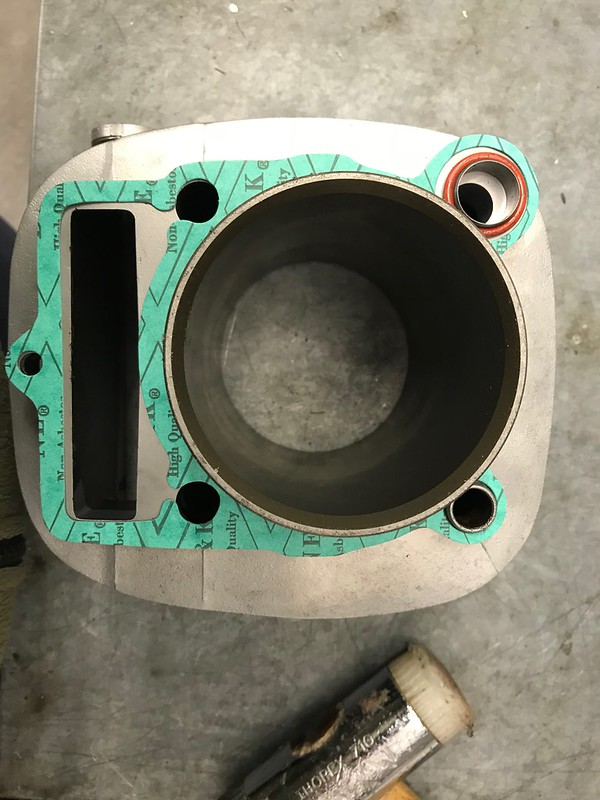
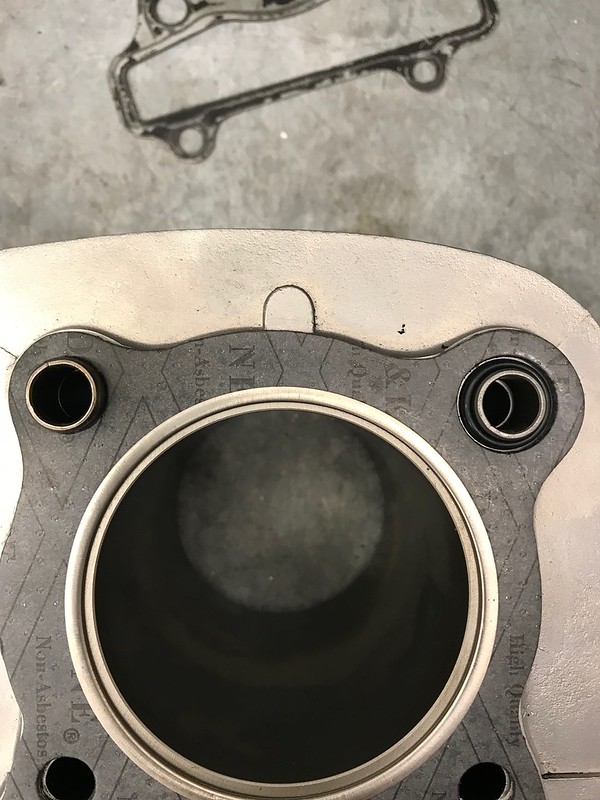
Not as much done as I thought I would get done with a few days off work, mainly due the Mrs Having decorating plans for me ::)

However I managed to source some hand rolled mudguards made to my dimensions for a bargain of £50 plus postage for both front and rear !!!!

Also sourced some tabs from eBay for attaching the battery tray and mudguard, they are the ones used to fasten Kart floor trays to the chassis rails, all for the princely sum of £5

New Hagons shock at +20mm e2e length also arrived, and a 4 cell Anti-gravity battery.


So it was fitting the rear of these and working out how to fit the 4 cell anti gravity battery to keep a clean open frame triangle.


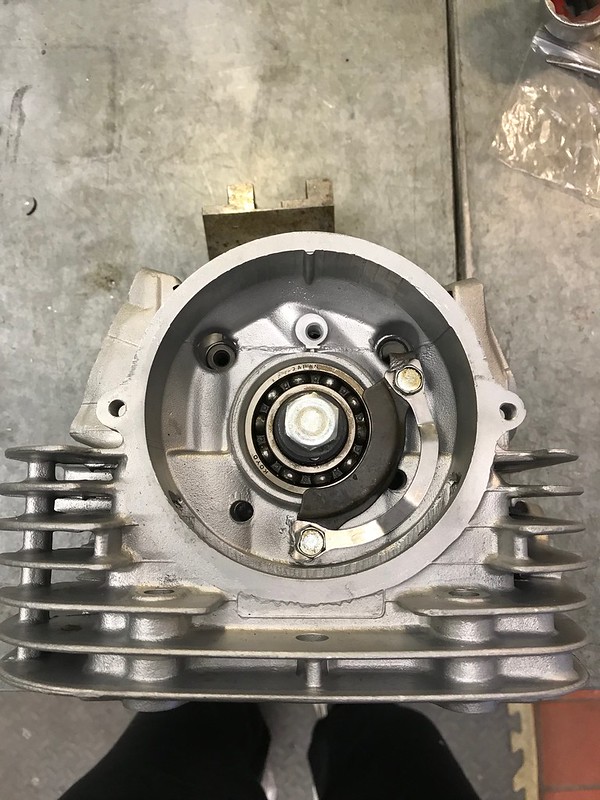
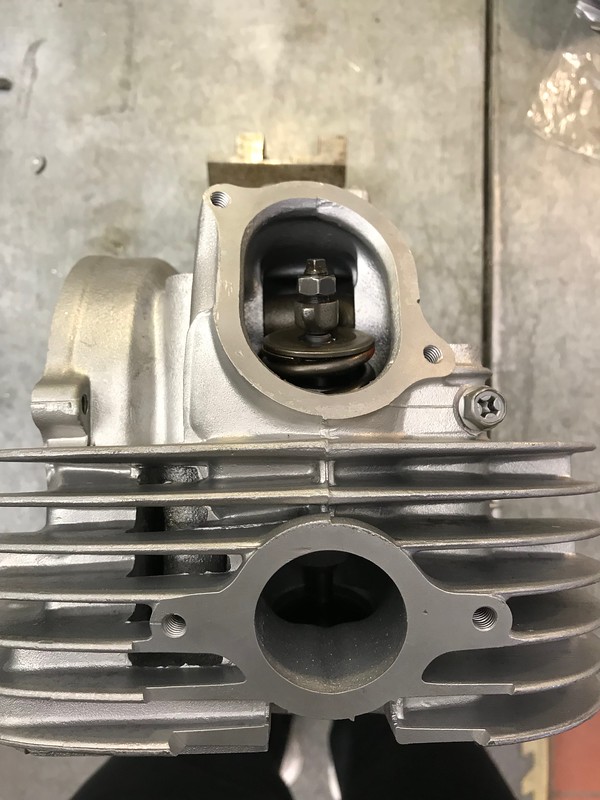
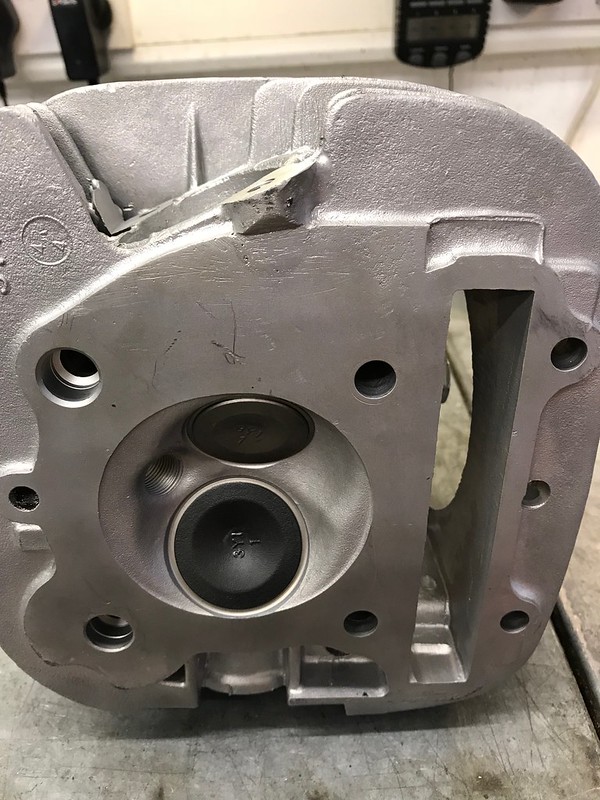
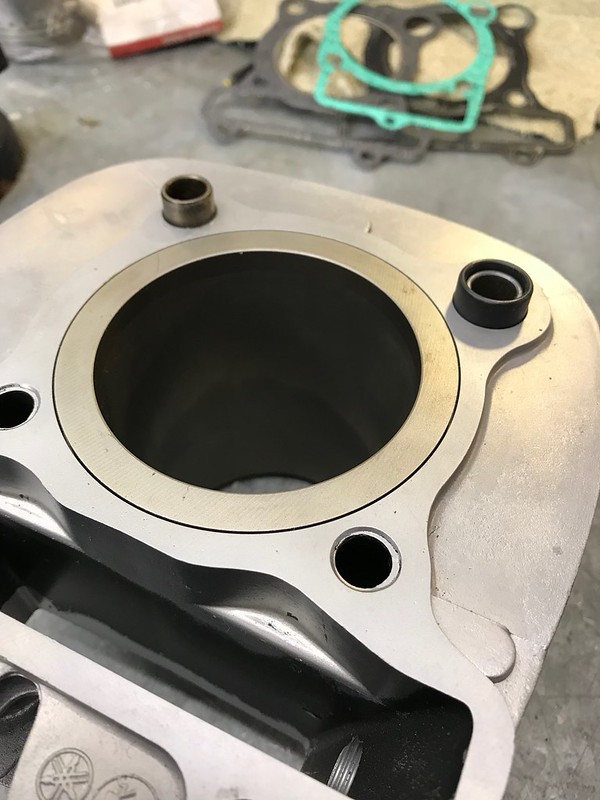
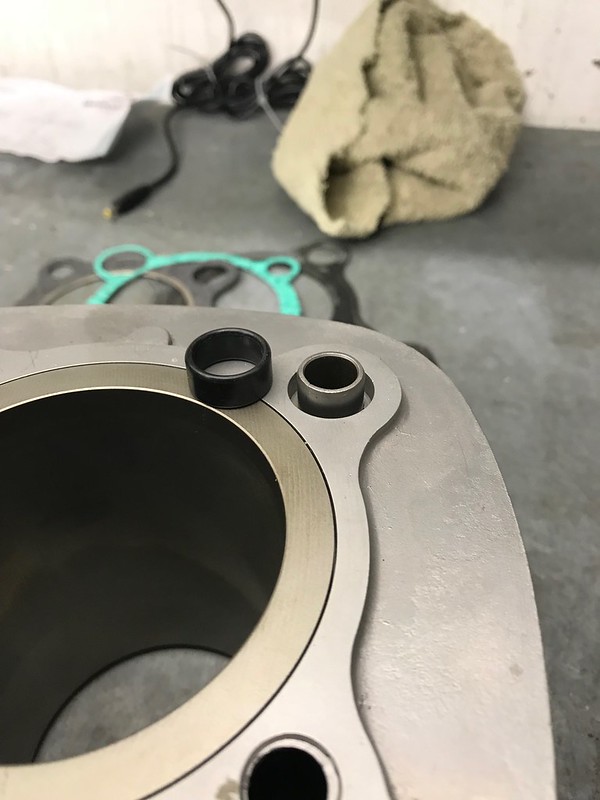
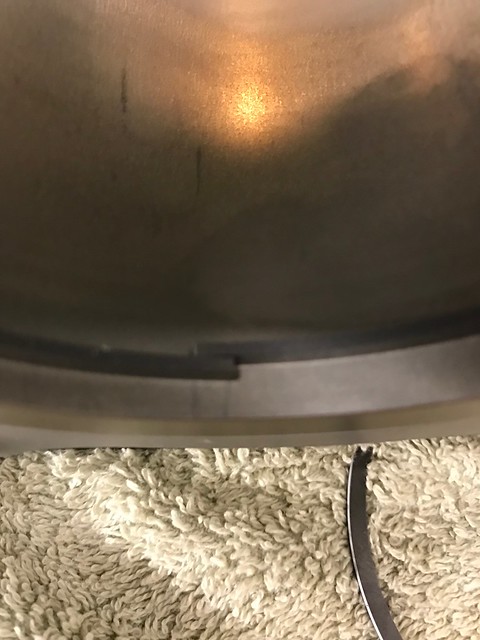
so here are some photos

Don't take notice of the black and bare guards, I am still debating about having them black or leaving them a polished alloy.

Untitled by eastham_david, on Flickr

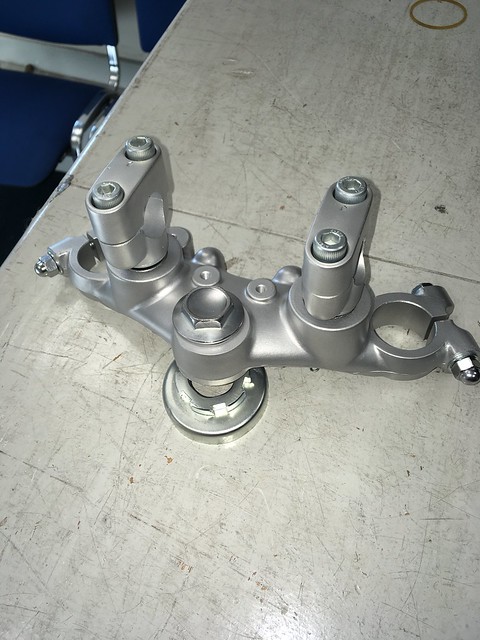
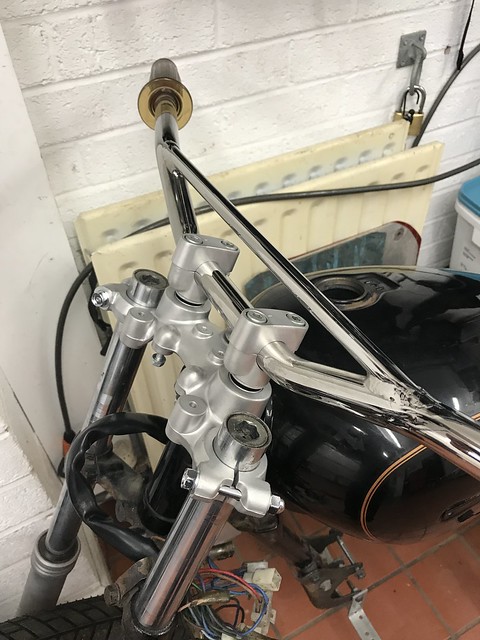
Aqua blasted top yolk and the bars fitted.

Untitled by eastham_david, on Flickr

Untitled by eastham_david, on Flickr

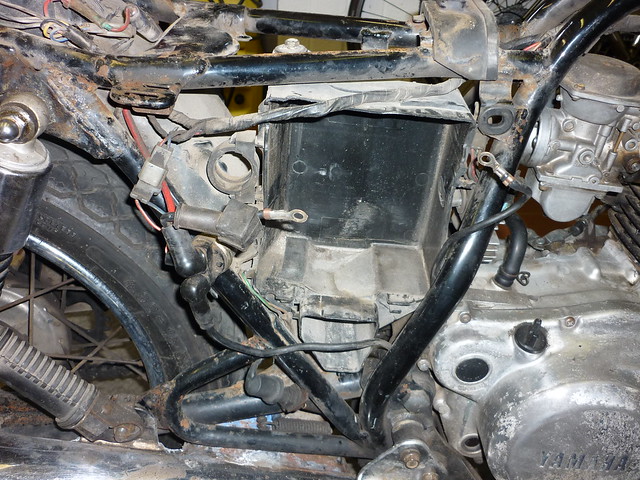
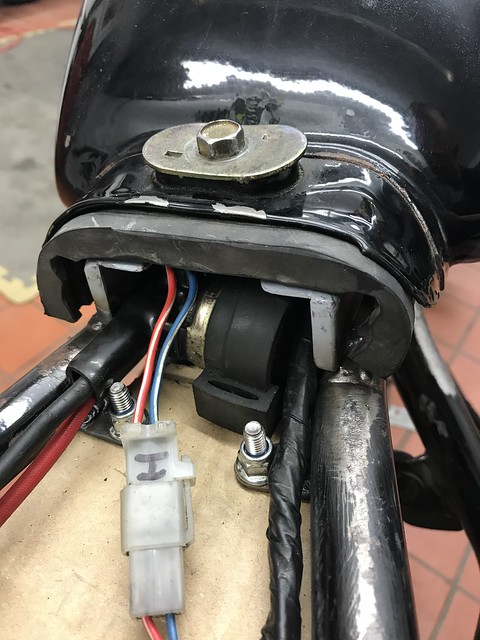
The good thing about lifting the rear of the tank by adding extenders to the standard tank mount was that it now leaves room for the Starter solenoid, which was deeper than the battery!!! :)


Untitled by eastham_david, on Flickr

Untitled by eastham_david, on Flickr

The battery is tiny !!!!!

Next job is the get the battery tray cut out of alluminium and some tags welded on the locate the battery and sit the starter solenoid holder onto.

Oh and when the voltage regulater is back from the aqua blasters, I need to fit that, I think thats going to have to go under the battery tray, which is shame as it will be seen through the open triangle, but it needs to be in the airflow.


Untitled by eastham_david, on Flickr

Untitled by eastham_david, on Flickr
 
Nice solution for the tank!

I notice you have some different fork caps in? Did you have them made or did you source them from another bike?
 
vortexracing said:
They are what came with the bike, how are they different to yours?
The ones in the USA came with press-in, held by a circlip units. Not screw-in types.
 
Back
Top Bottom