
DesmoDog
Been Around the Block
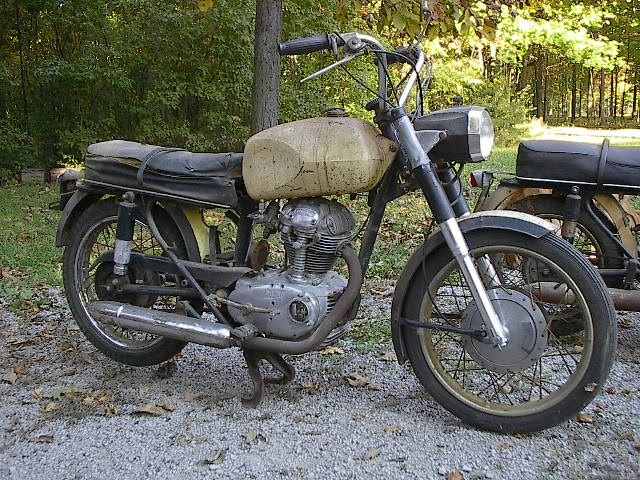
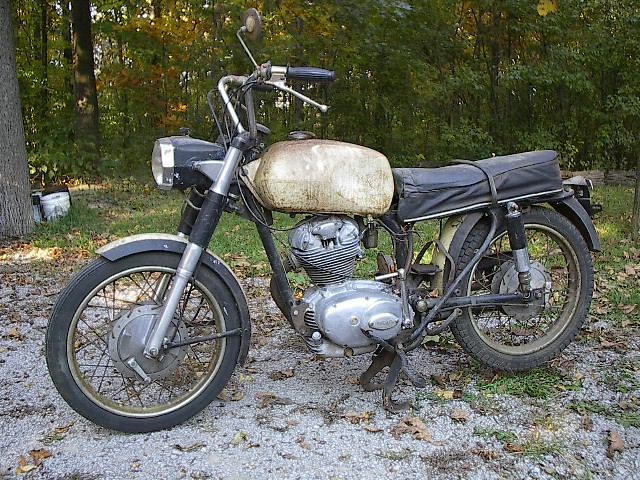
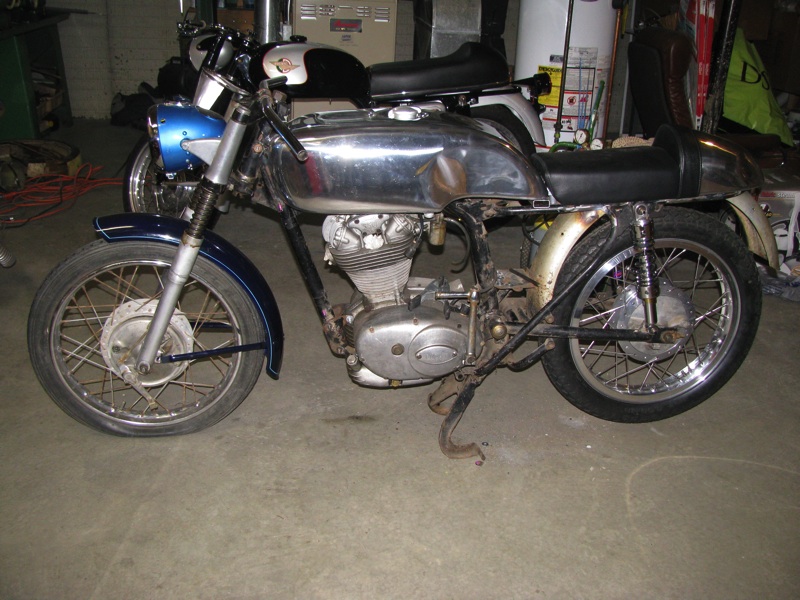
Here's my 1966 Ducati 250 Monza, the other part of a package deal with the '66 160 Monza Jr I posted a thread about already. http://www.dotheton.com/forum/index.php?topic=33195.0
This one isn't done yet so it won't be the posting blitz from start to finish like the 160 thread. Judging by past experience I'm afraid this thread could go on for years.
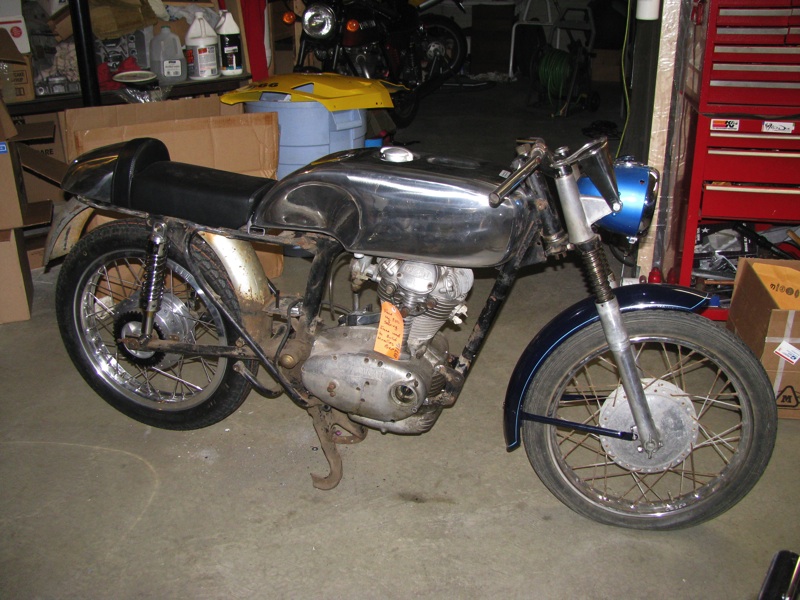
Here's how it looked in the ad;
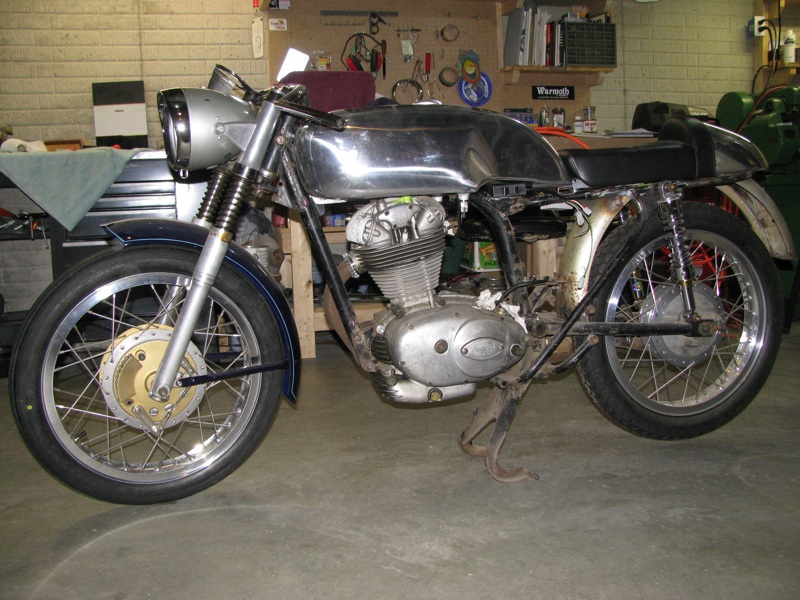
This is the bike I envisioned building out of it;

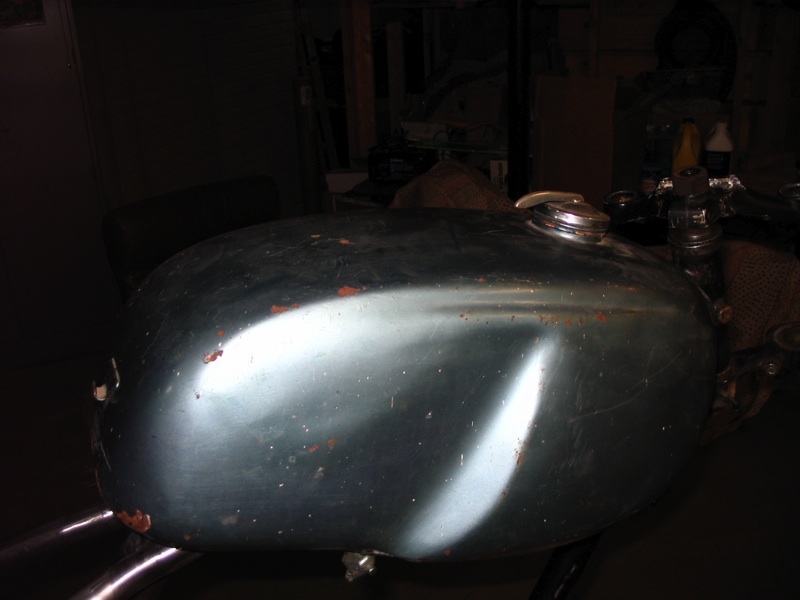
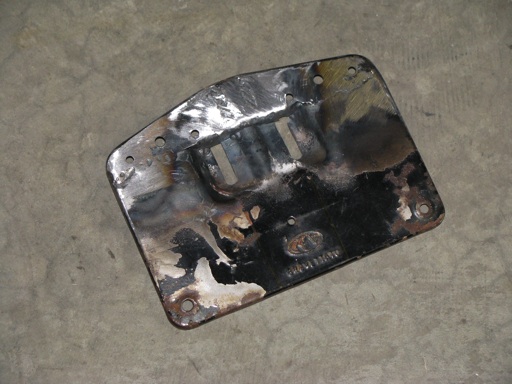
I got the tank, fenders, and toolboxes while I was building my 160. But then the plan changed for my 160 and I decided to build something more along the lines of a Mach 1 out of the 250. I had traded away my first Mach 1 gas tank so I bought another one off of eBay. The first tank was in fantastic shape. The second one, not so much. Aside from the cut off flanges up front, it looks ok, right?
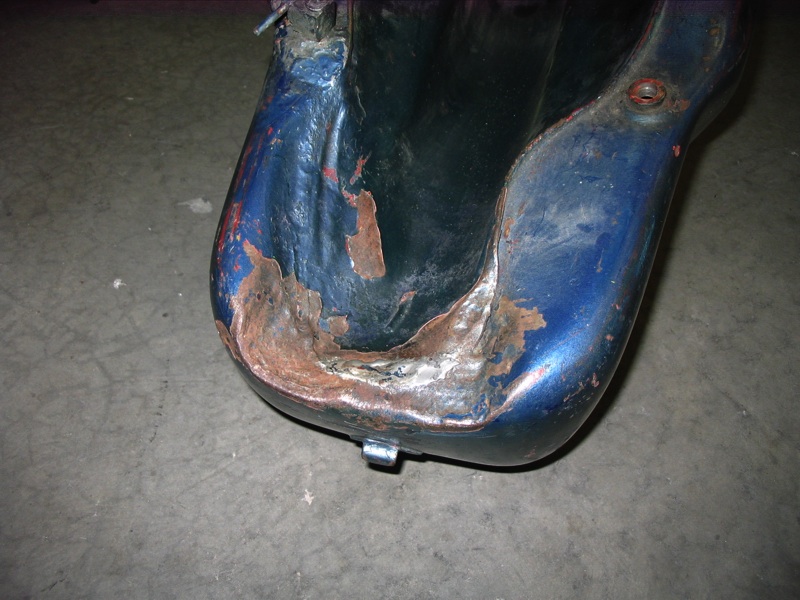
Until you flip it over anyway. Someone obviously tried fitting it to a non-Ducati frame with the aid of a hammer. Ouch.
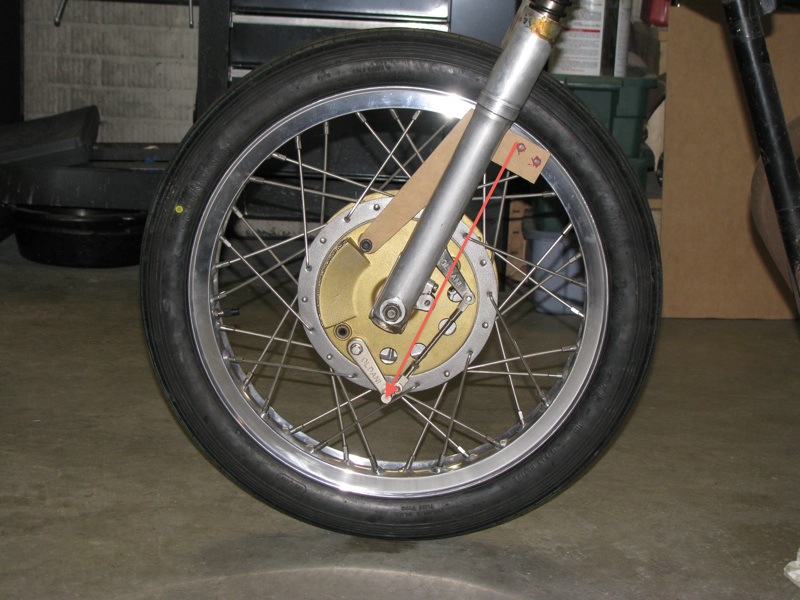
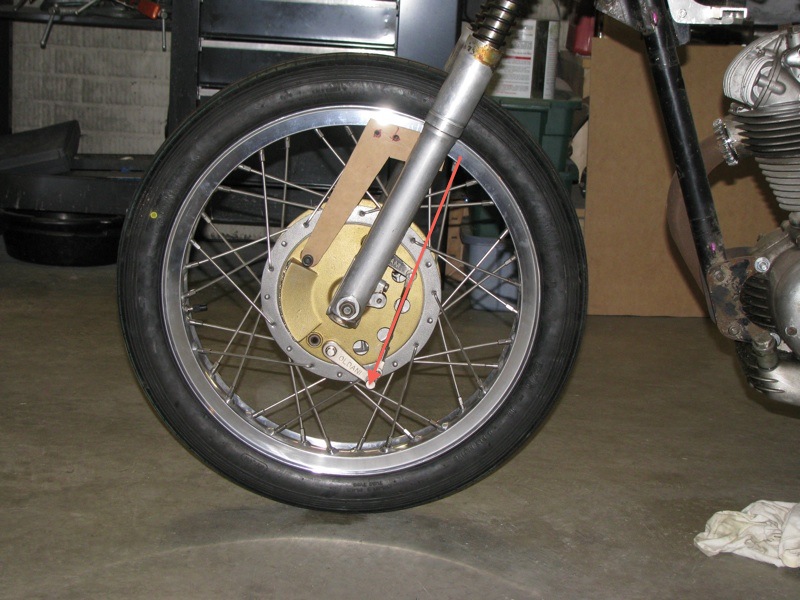
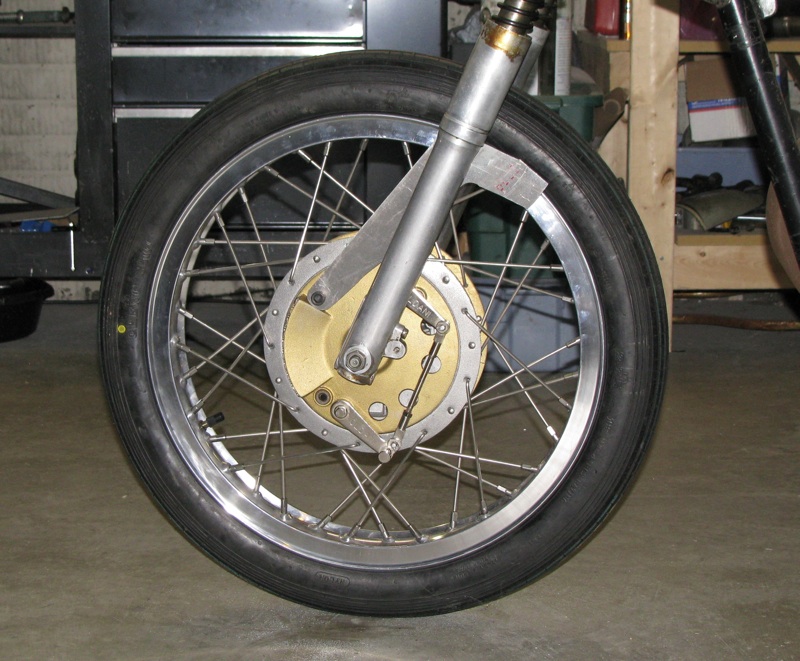
I put it away and tried to gather courage while I distracted myself collecting other parts. At some point I decided I wanted to upgrade the bike. Bigger engine, better forks, better front brake... while searching for a good deal on a Grimeca I ran across a deal on something a little tastier. I had picked up some flanged alloy wheels from a guy I met at Mid-Ohio, and ordered some stainless spokes from Buchanan's to build this;
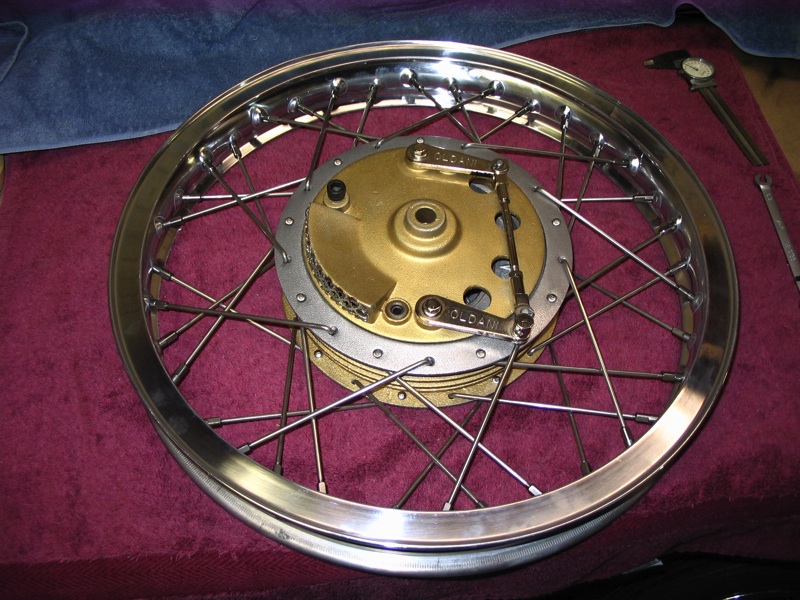
I would have gone with Excel rims but these were a good deal and I was assured they'd fit a stock Ducati hub. And maybe they do. But they don't fit an Oldani replica brake which looks (as in I get the same dimensions when I measure them) to me to be the same size as the stock Ducati part! Grrr... so much for saving money. The spoke holes are just a tad too far off to "tweak" to make work, I'll be buying Excels for it after all.
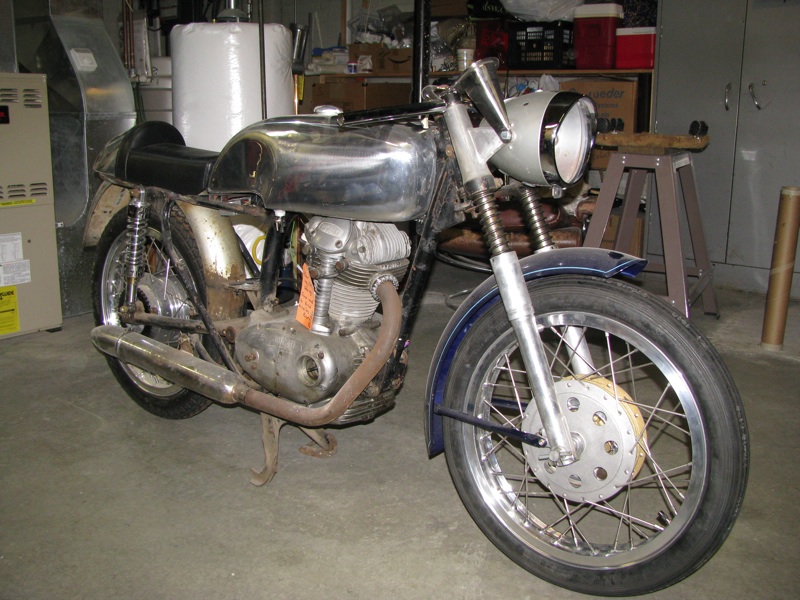
Over the years I had been stealing parts off the 250 to use on other projects I have. Eventually this became a true basket case. Seeing it all torn apart made me more serious about finalizing plans for it. I sourced an engine out of a 350 Sebring, along with some 35mm Pantah forks (that I've since decided not to use). With the forks, brake, and engine worked out it was time to start mocking it up.
I looked at the tank again. After my failed attempt at saving a tank for my 160, I had to admit to myself I didn't have it in me to save this one either. What to do, what to do... Then I saw this, a 250 that fellow Bevelhead Ken Reece put together. By coincidence it even used the same front hub that I have.
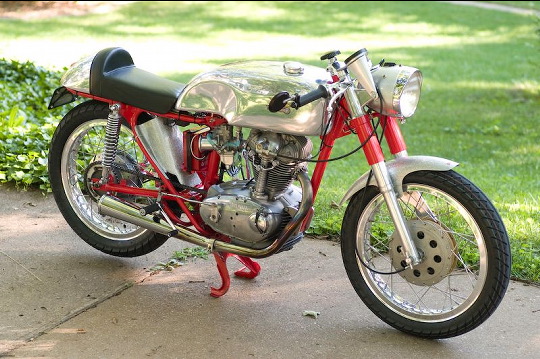
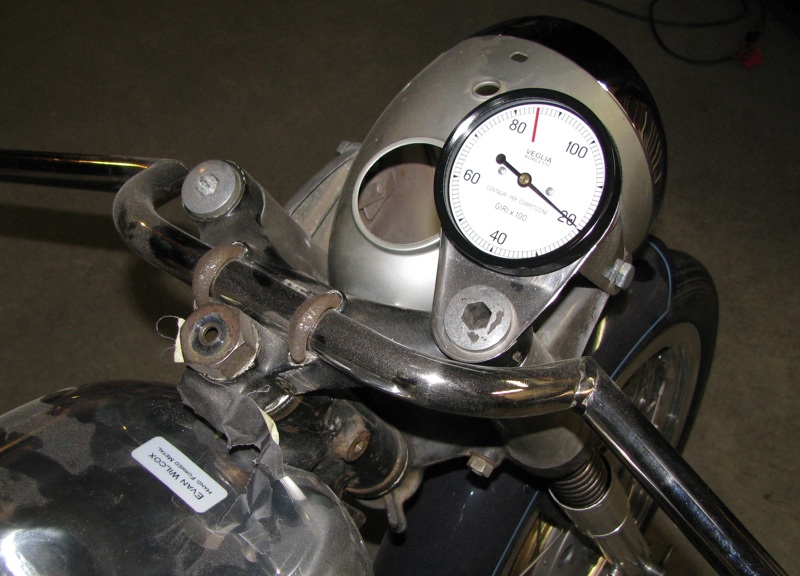
I loved it. I got in touch with Ken and he confirmed it was sporting bodywork by Evan Wilcox.
A little background - quite a few years ago I spent some time at Evan's shop and liked his work so much I seriously considered buying another bike just so I could buy some of his bodywork. It became one of those "someday I'm going to..." things. When I saw Ken's bike I decided this was going to be the day. I sent a deposit to Evan, and the plan was in motion.
I work in the auto industry. This was all happening right before the big crash. The day after sending the deposit check out, I was told there were layoffs coming. My income was taking a hit. The toy fund I used for my bike purchases wasn't going to be looking good at all. Was this a smart thing to do?
Screw it, I had put this off for too many years and if not now, when?. Damn the torpedoes, full speed ahead! The bashed tank (along with a lot of other stuff) got sold in an effort to get the money together before Evan got to my order and required payment. I sort of made it. The cash was there when I needed it, but my charge card had a balance on it now too. It seems a few other, non-related items got charged instead of paid for along the way. Funny how we rationalize things...
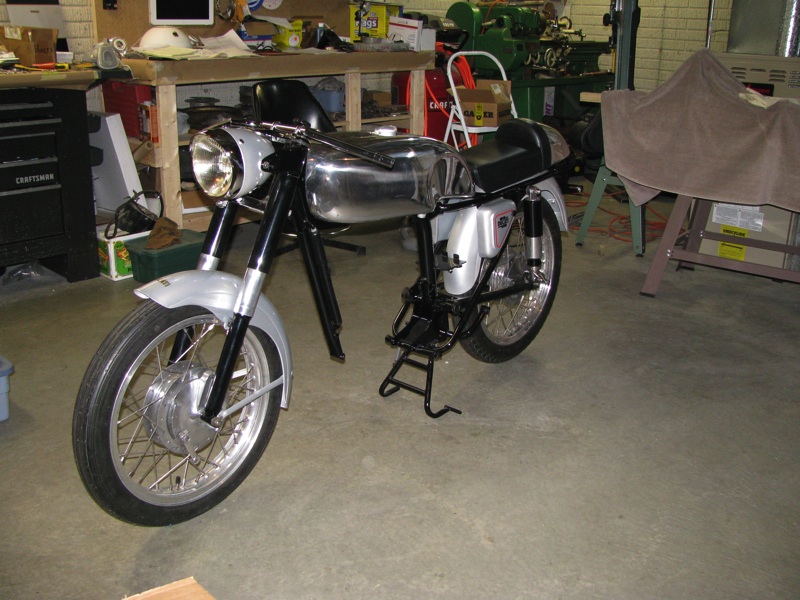
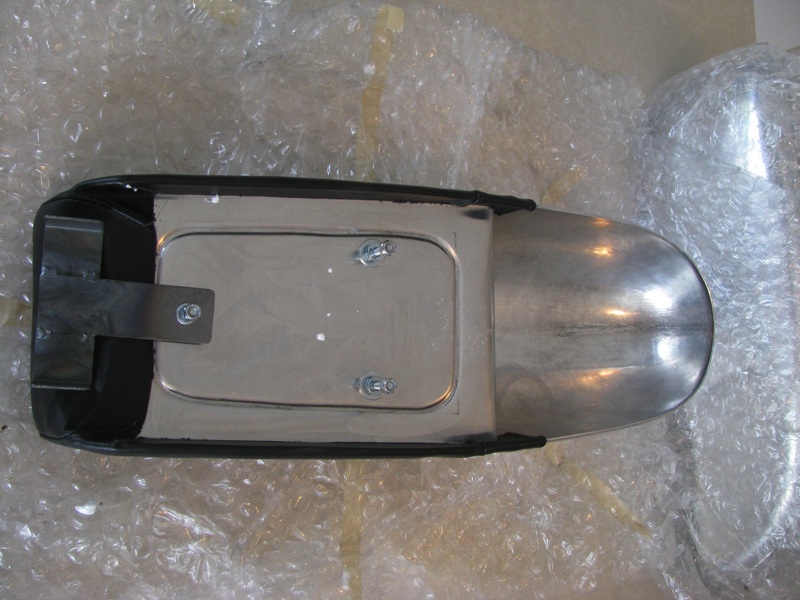
But I was lucky, I kept my job, things worked out. A couple months later I came home to find this in a box on my doorstep;
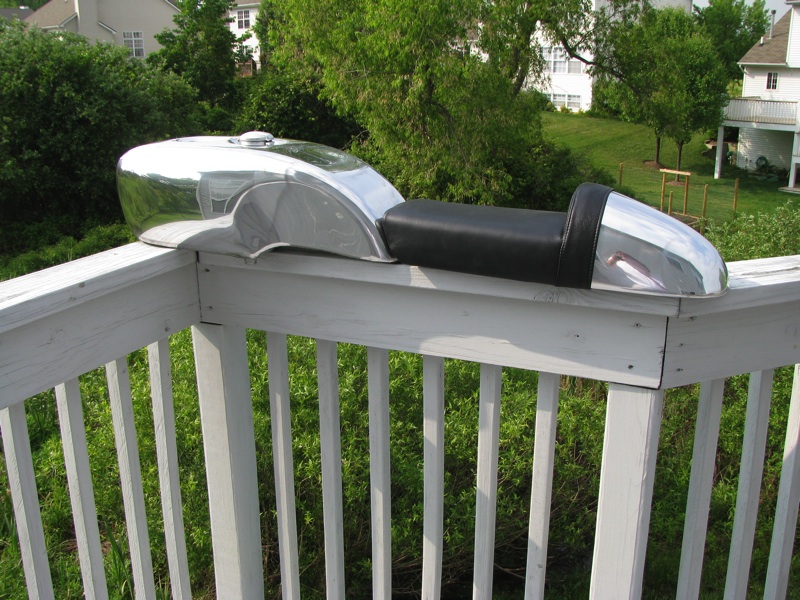
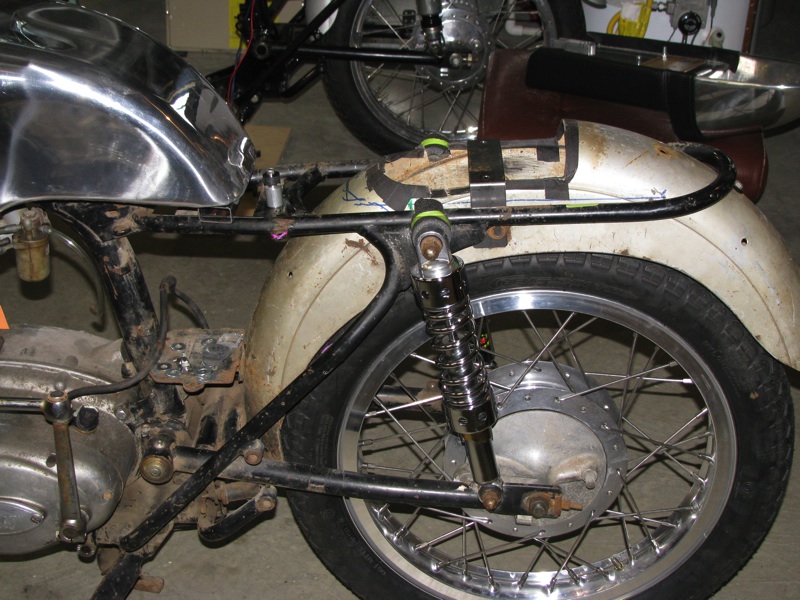
Here's how it looked perched on the bike. Don't mind the fenders and shocks and wheels and bars and things. Basically everything other then the tank and tail will be changed before it's done.
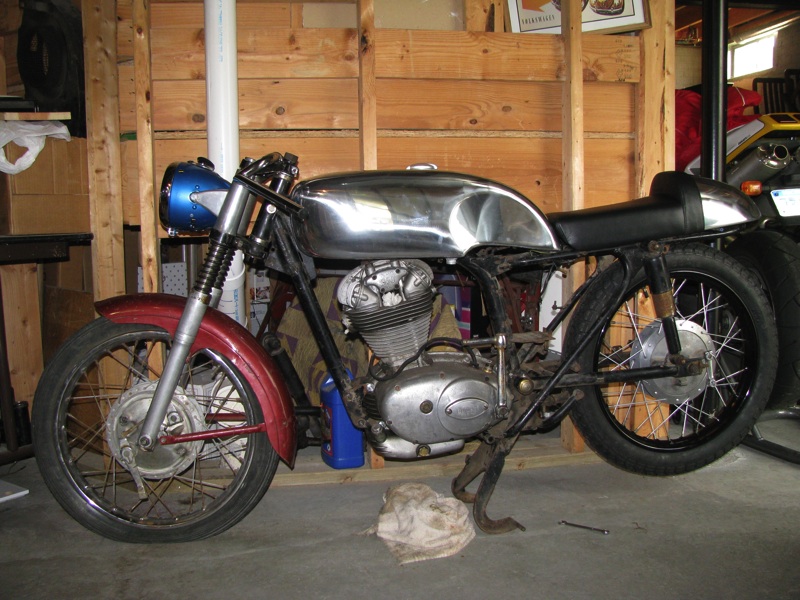
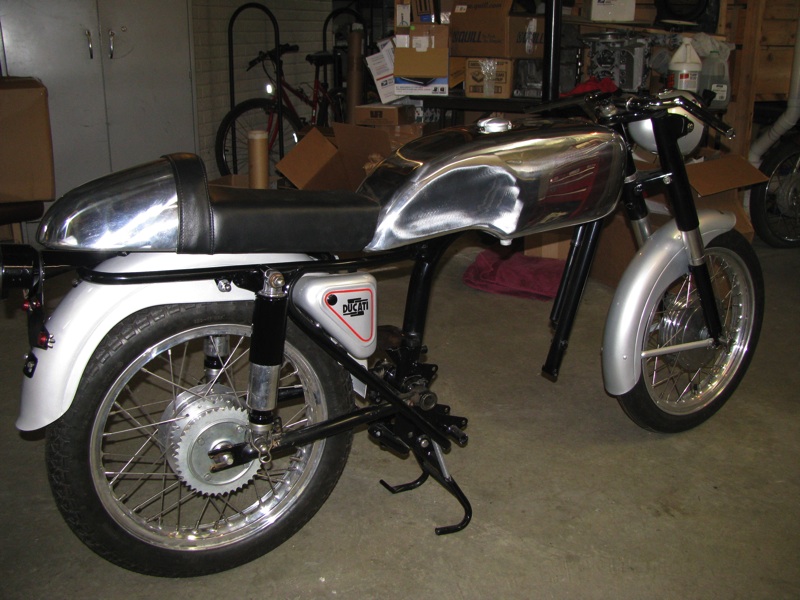
I also tossed it on my 160 project just to see how it looked on a black frame with silver fenders.
Looks like I won't be using a stock fender with the new tail! I'm not a big fan of the black and silver either. I've got a couple ideas on color schemes but since I change my mind so often I won't post up any ideas quite yet.
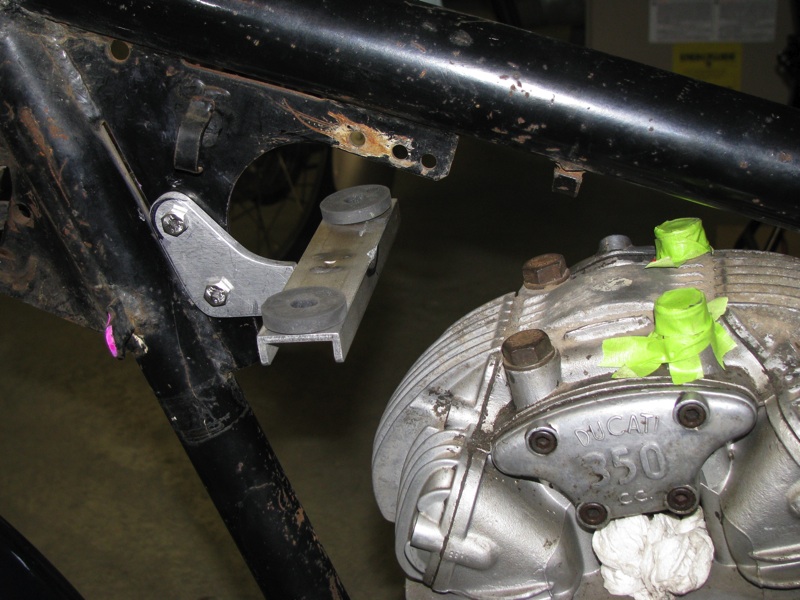
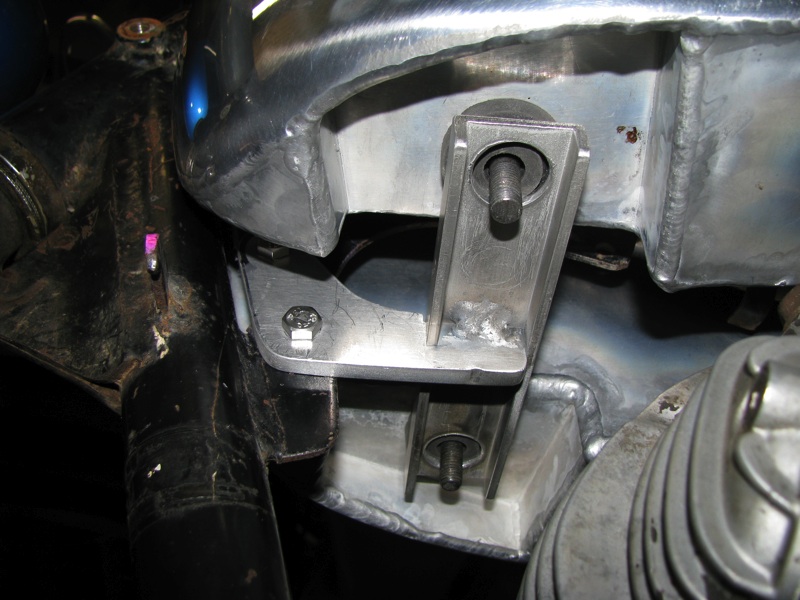
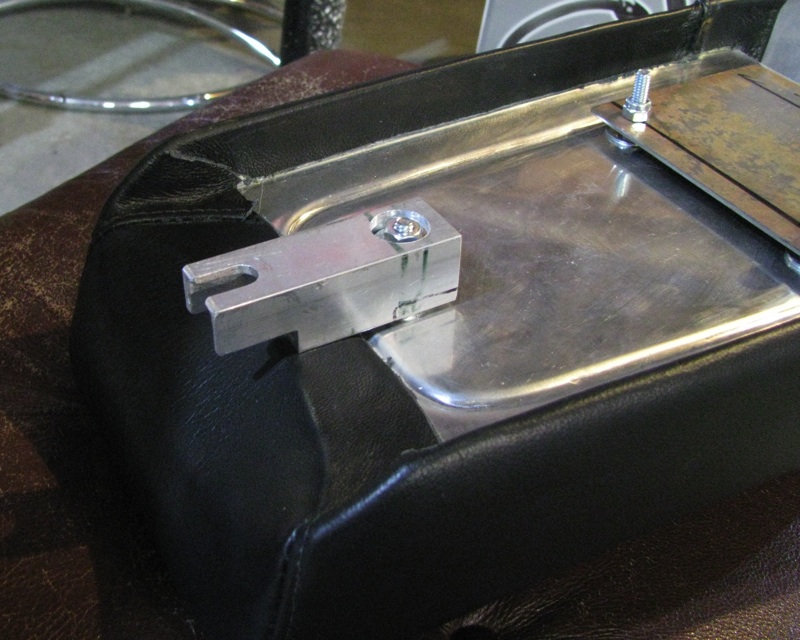
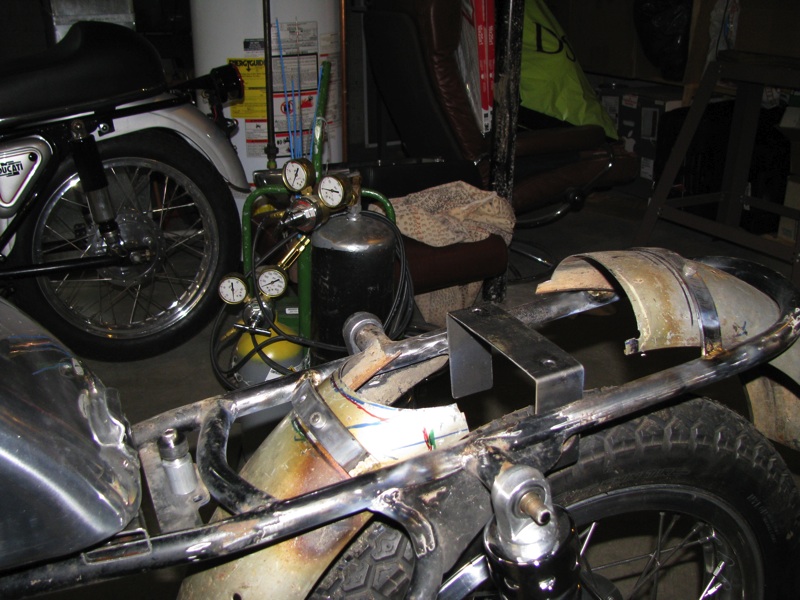
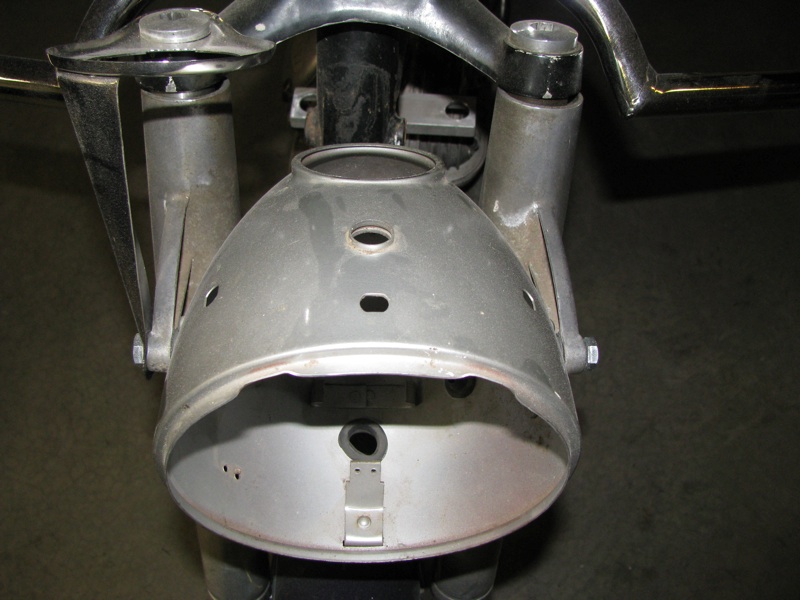
Next step was to mount this stuff.
This one isn't done yet so it won't be the posting blitz from start to finish like the 160 thread. Judging by past experience I'm afraid this thread could go on for years.
Here's how it looked in the ad;
This is the bike I envisioned building out of it;
I got the tank, fenders, and toolboxes while I was building my 160. But then the plan changed for my 160 and I decided to build something more along the lines of a Mach 1 out of the 250. I had traded away my first Mach 1 gas tank so I bought another one off of eBay. The first tank was in fantastic shape. The second one, not so much. Aside from the cut off flanges up front, it looks ok, right?
Until you flip it over anyway. Someone obviously tried fitting it to a non-Ducati frame with the aid of a hammer. Ouch.
I put it away and tried to gather courage while I distracted myself collecting other parts. At some point I decided I wanted to upgrade the bike. Bigger engine, better forks, better front brake... while searching for a good deal on a Grimeca I ran across a deal on something a little tastier. I had picked up some flanged alloy wheels from a guy I met at Mid-Ohio, and ordered some stainless spokes from Buchanan's to build this;
I would have gone with Excel rims but these were a good deal and I was assured they'd fit a stock Ducati hub. And maybe they do. But they don't fit an Oldani replica brake which looks (as in I get the same dimensions when I measure them) to me to be the same size as the stock Ducati part! Grrr... so much for saving money. The spoke holes are just a tad too far off to "tweak" to make work, I'll be buying Excels for it after all.
Over the years I had been stealing parts off the 250 to use on other projects I have. Eventually this became a true basket case. Seeing it all torn apart made me more serious about finalizing plans for it. I sourced an engine out of a 350 Sebring, along with some 35mm Pantah forks (that I've since decided not to use). With the forks, brake, and engine worked out it was time to start mocking it up.
I looked at the tank again. After my failed attempt at saving a tank for my 160, I had to admit to myself I didn't have it in me to save this one either. What to do, what to do... Then I saw this, a 250 that fellow Bevelhead Ken Reece put together. By coincidence it even used the same front hub that I have.
I loved it. I got in touch with Ken and he confirmed it was sporting bodywork by Evan Wilcox.
A little background - quite a few years ago I spent some time at Evan's shop and liked his work so much I seriously considered buying another bike just so I could buy some of his bodywork. It became one of those "someday I'm going to..." things. When I saw Ken's bike I decided this was going to be the day. I sent a deposit to Evan, and the plan was in motion.
I work in the auto industry. This was all happening right before the big crash. The day after sending the deposit check out, I was told there were layoffs coming. My income was taking a hit. The toy fund I used for my bike purchases wasn't going to be looking good at all. Was this a smart thing to do?
Screw it, I had put this off for too many years and if not now, when?. Damn the torpedoes, full speed ahead! The bashed tank (along with a lot of other stuff) got sold in an effort to get the money together before Evan got to my order and required payment. I sort of made it. The cash was there when I needed it, but my charge card had a balance on it now too. It seems a few other, non-related items got charged instead of paid for along the way. Funny how we rationalize things...
But I was lucky, I kept my job, things worked out. A couple months later I came home to find this in a box on my doorstep;
Here's how it looked perched on the bike. Don't mind the fenders and shocks and wheels and bars and things. Basically everything other then the tank and tail will be changed before it's done.
I also tossed it on my 160 project just to see how it looked on a black frame with silver fenders.
Looks like I won't be using a stock fender with the new tail! I'm not a big fan of the black and silver either. I've got a couple ideas on color schemes but since I change my mind so often I won't post up any ideas quite yet.
Next step was to mount this stuff.


")


