Karlloss
Been Around the Block
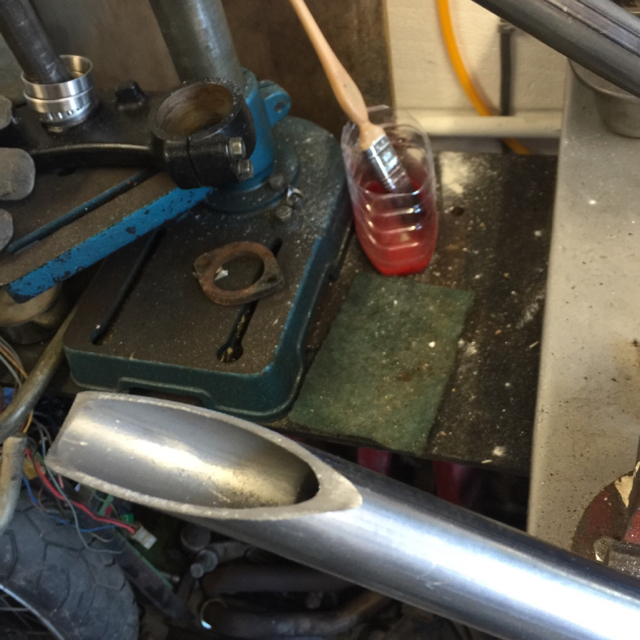
Never heard of the nitric acid trick. I've drilled out the stud, even using cobalt drill bits it took ages and the inevitable happened, the drilling was perfectly centred, then went off a bit, so have a tiny amount of the threads left on one side, pain in the butt to get out.
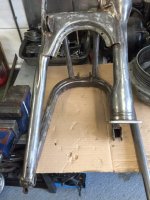
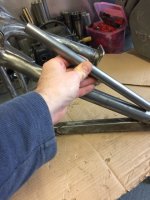
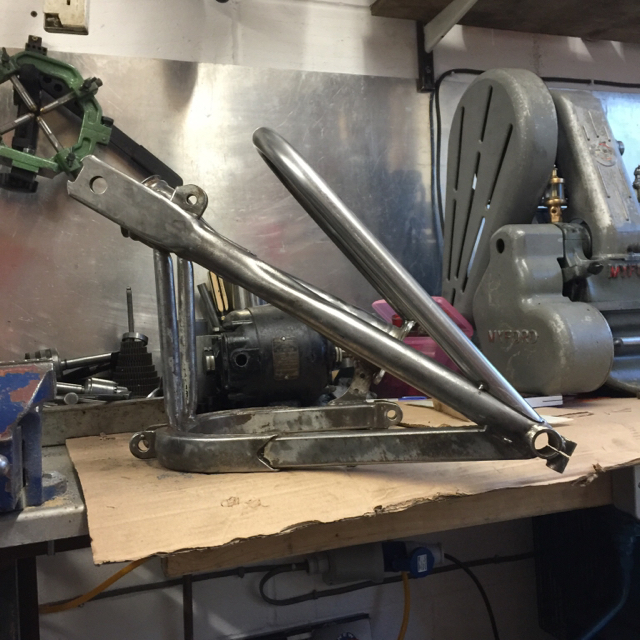
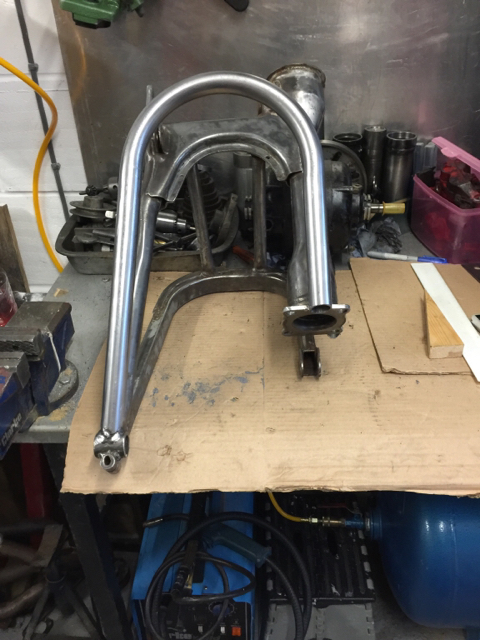
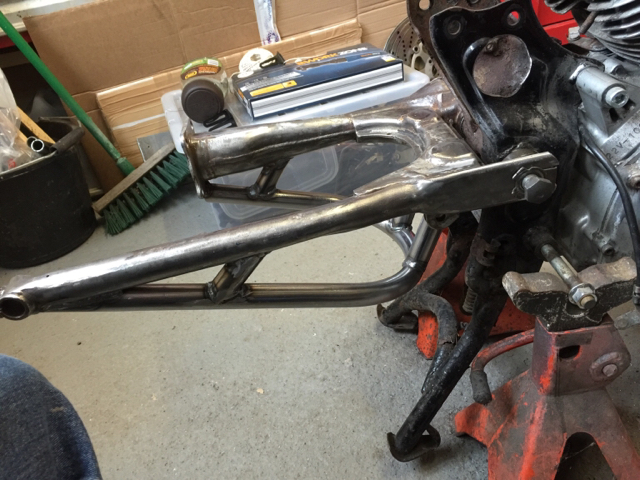
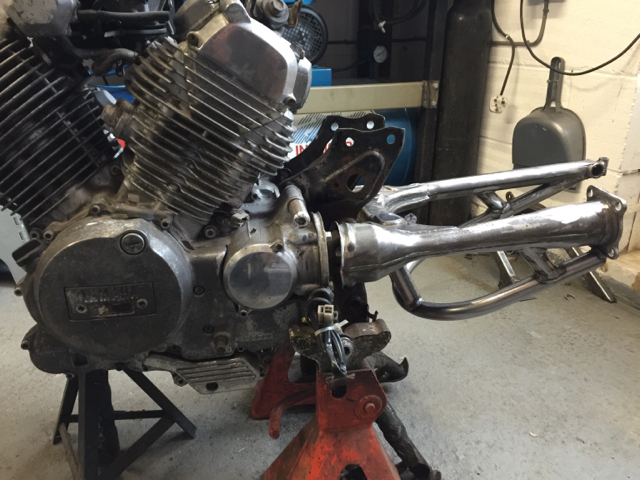
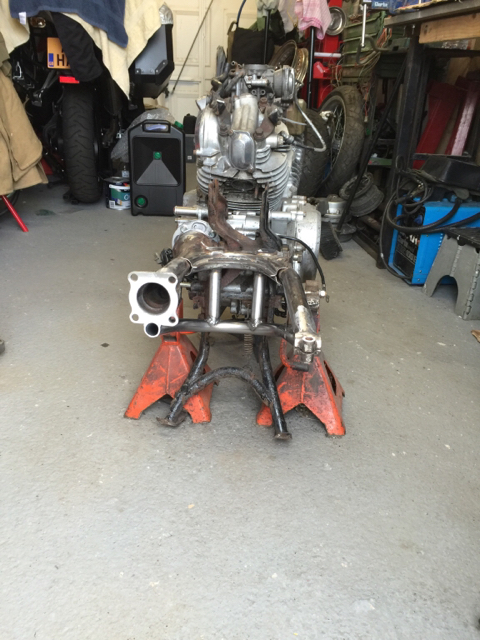
As for the frame alignment, I went old school, no jig, but plenty of measuring!
As for the frame alignment, I went old school, no jig, but plenty of measuring!

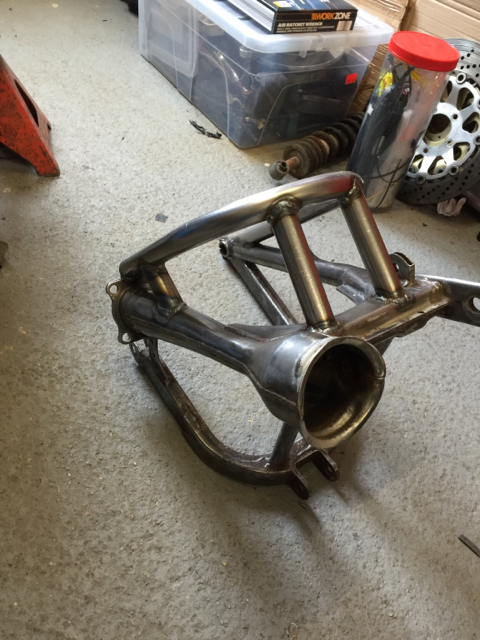
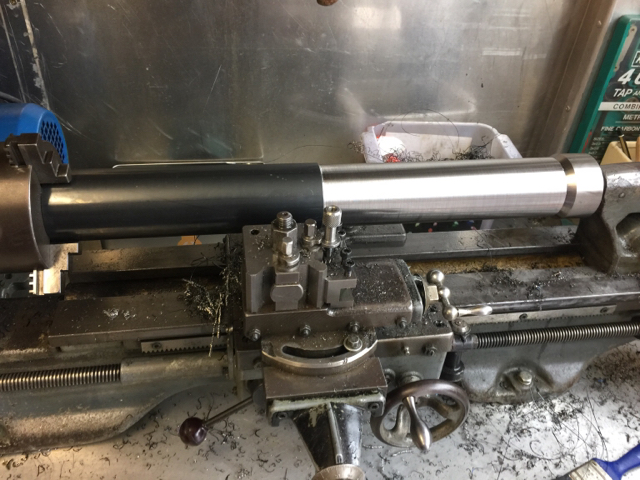
![IMG_0524[1].JPG](/data/attachments/78/78742-8a0f361ee74c808004c67cbac9f6e2e4.jpg)
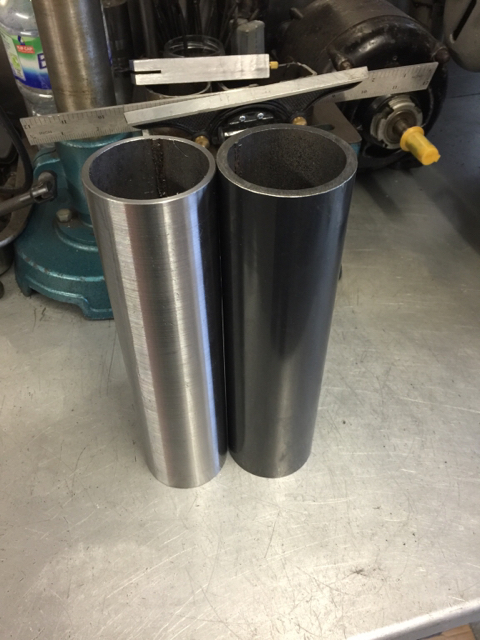
![IMG_0526[1].JPG](/data/attachments/78/78743-dee5e8ee64dfacad62d0cb76eb452da2.jpg)
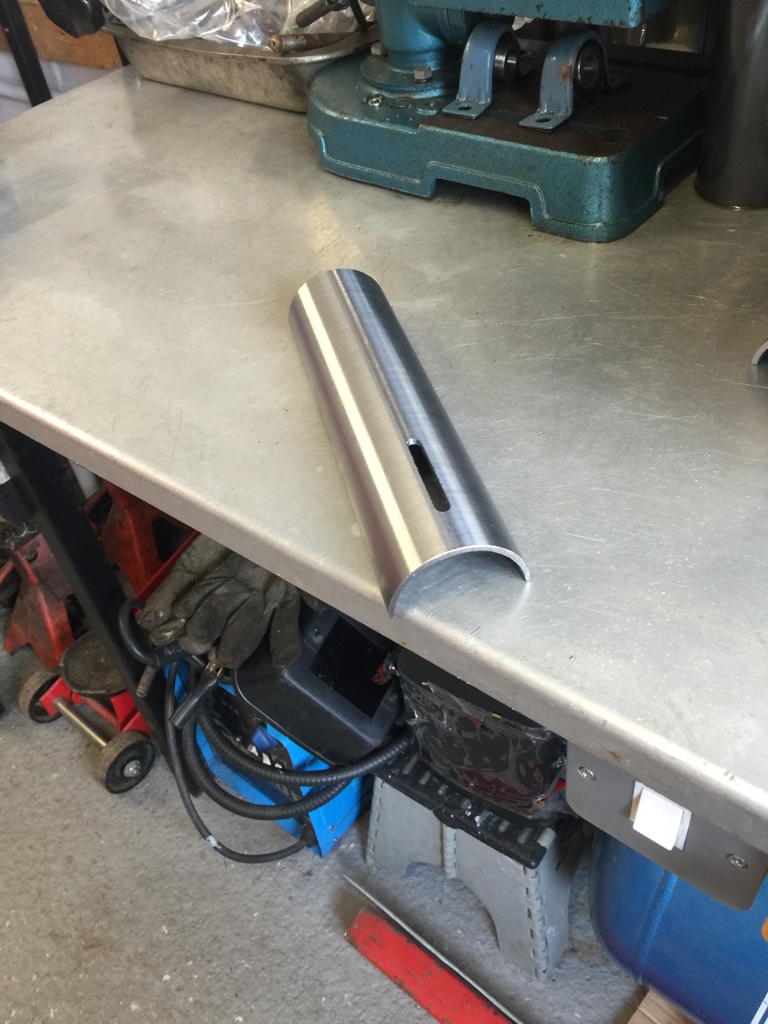
![IMG_0523[1].JPG](/data/attachments/78/78744-8be30684092709c3b00aed8f23079f85.jpg)
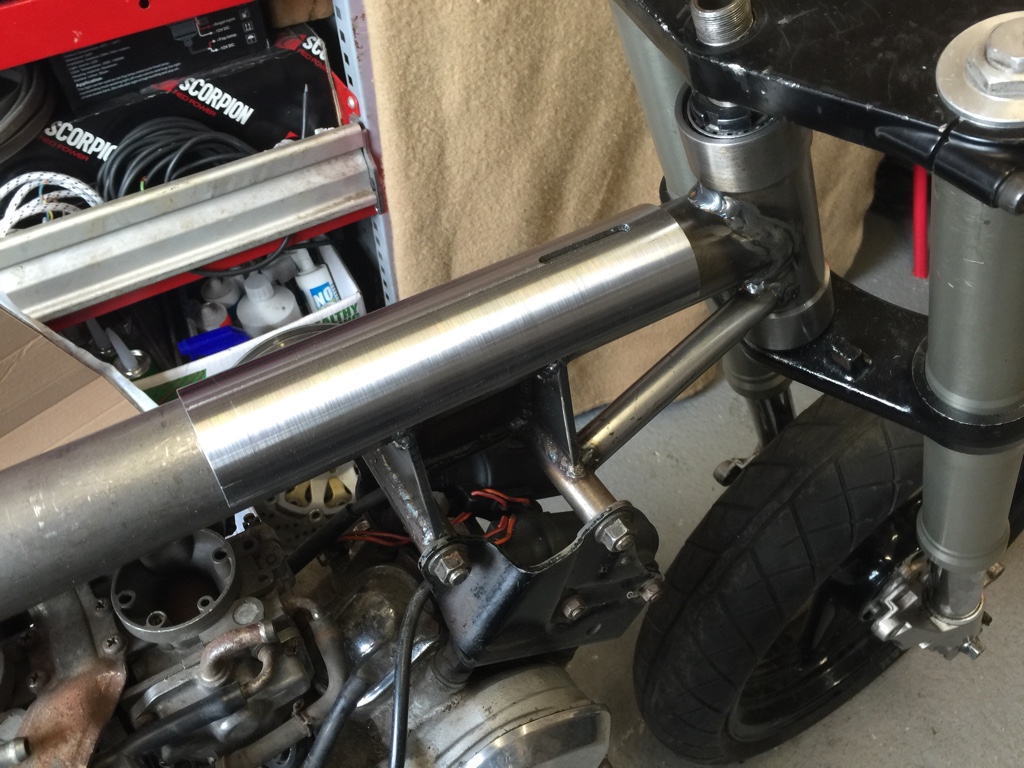
![IMG_0525[1].JPG](/data/attachments/78/78745-8a828a797878124c2c57b121f4b0fac5.jpg)