inmotionphotog
Ignore Swivel, he licks windows for a living.
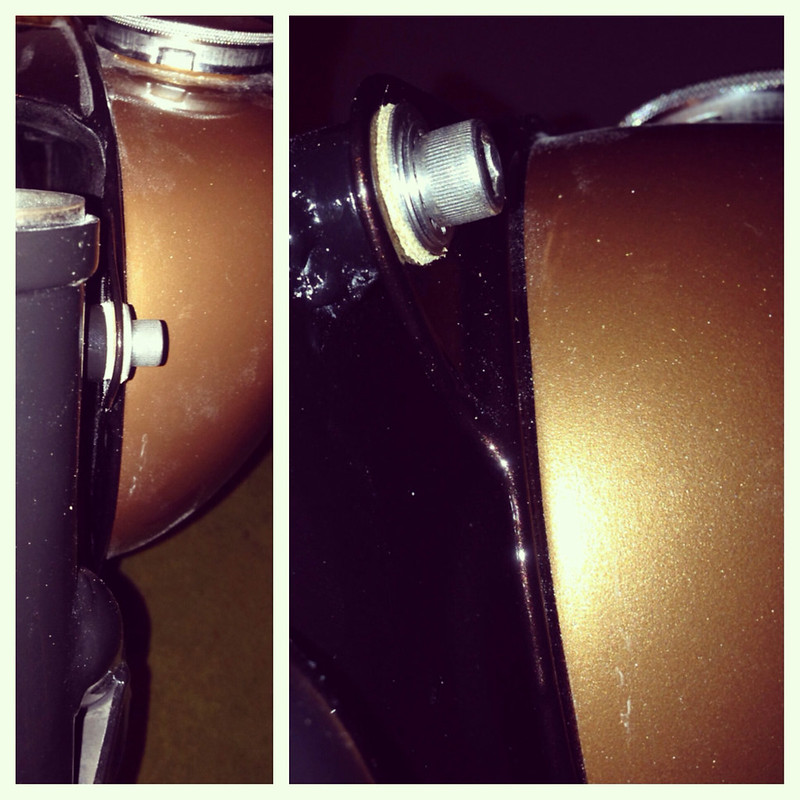
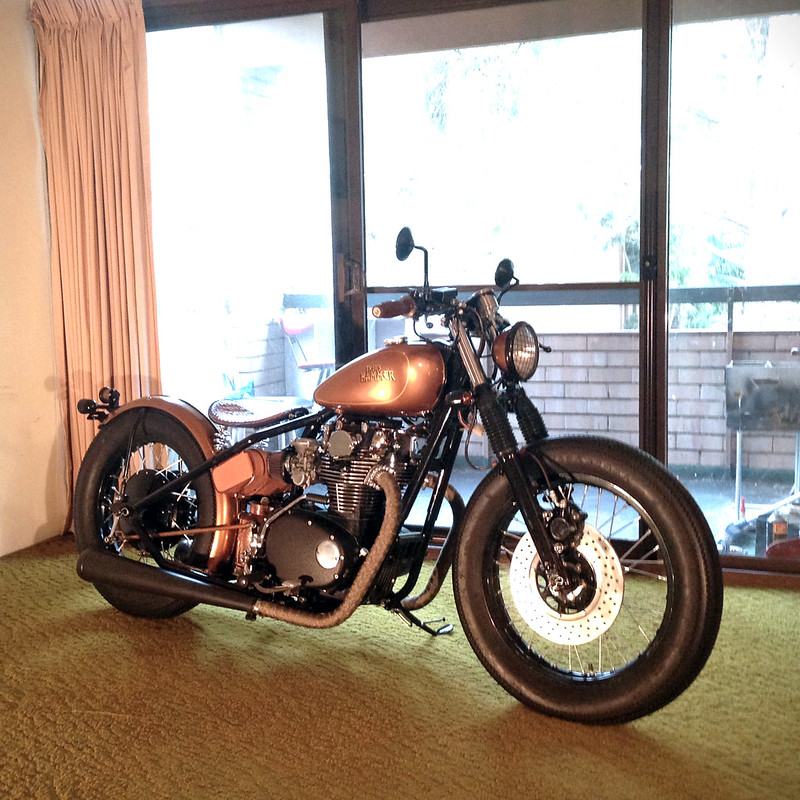
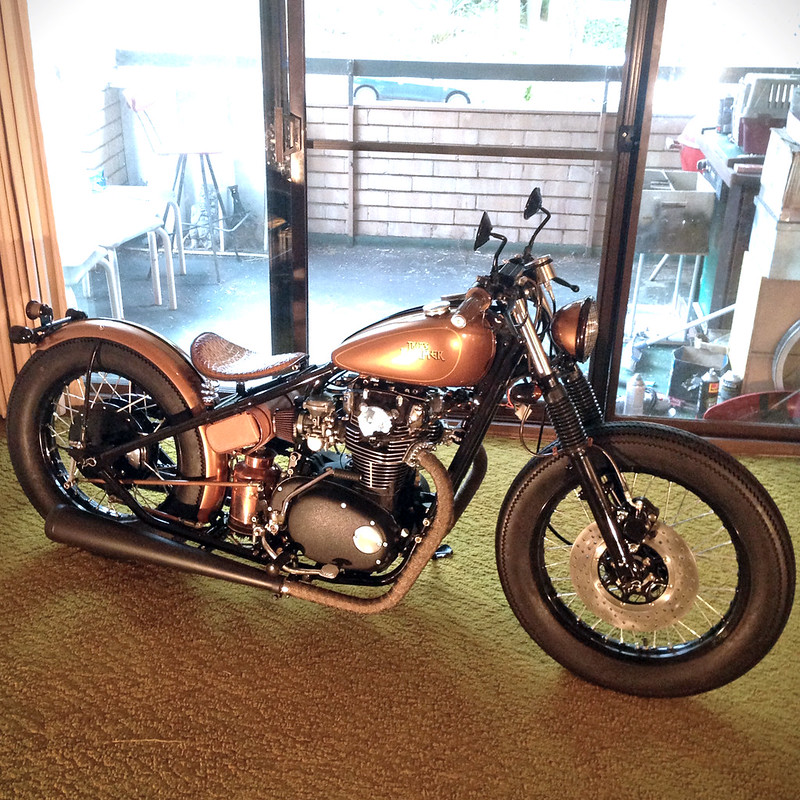
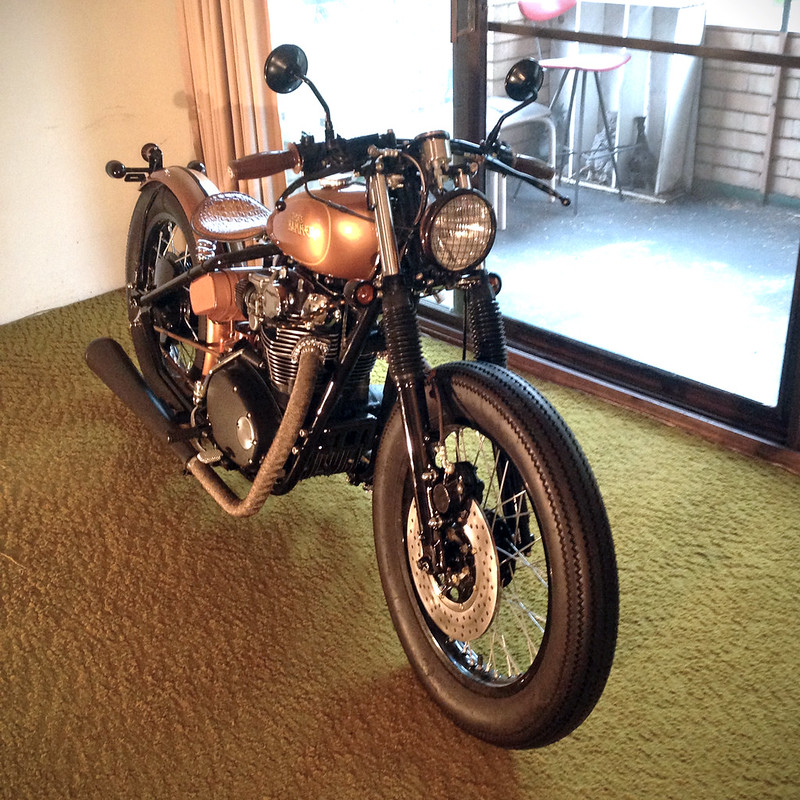
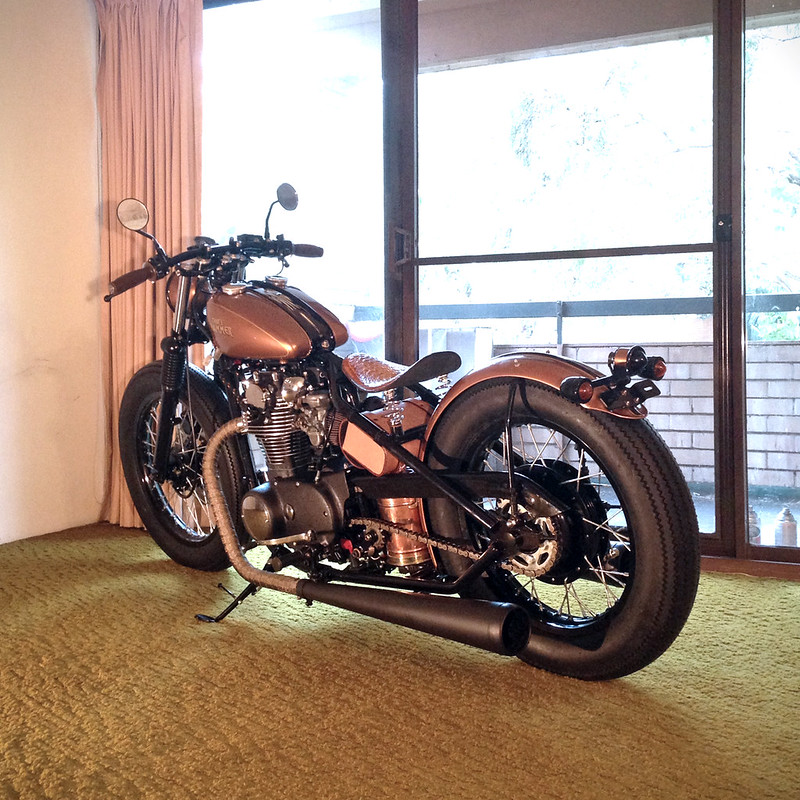
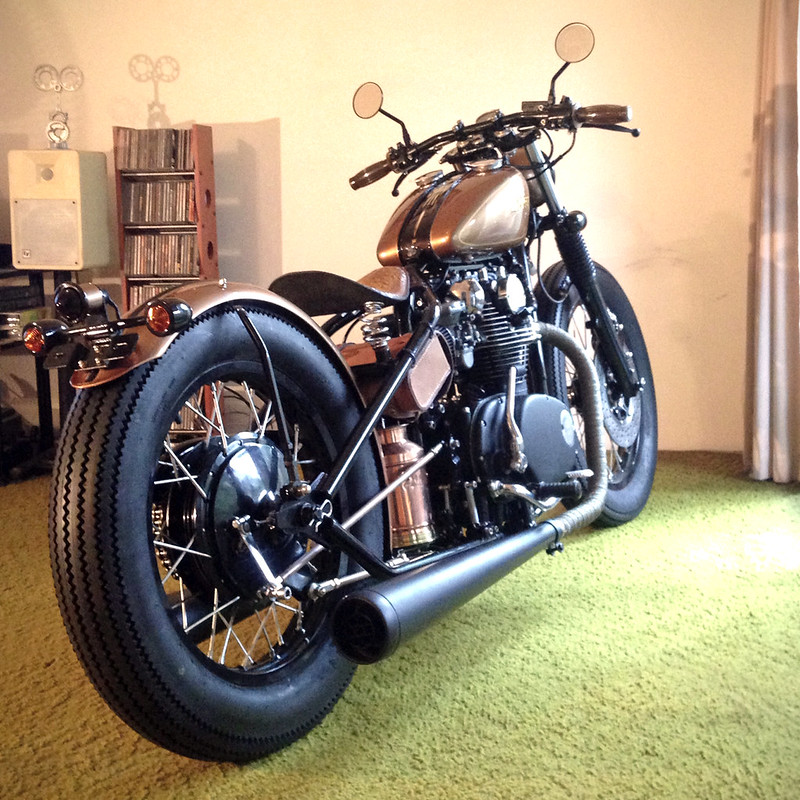
Matching headlight and taillight assemblies
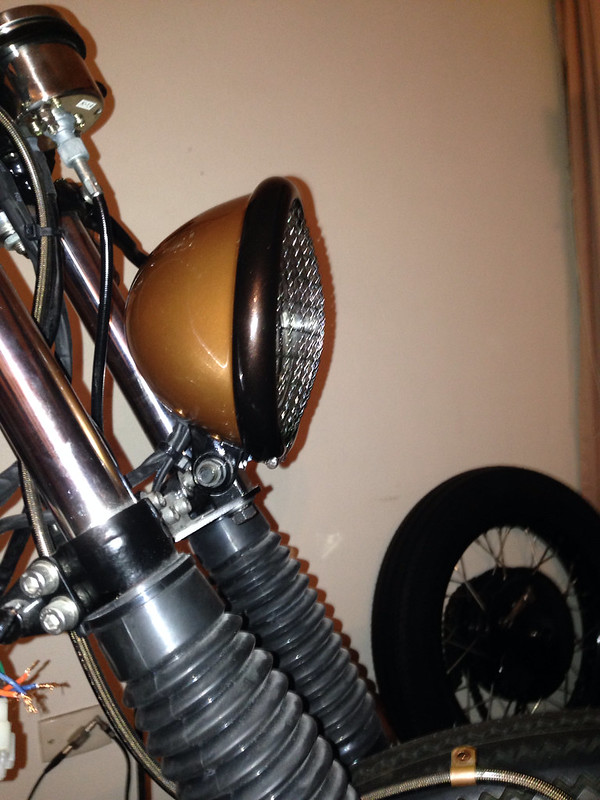
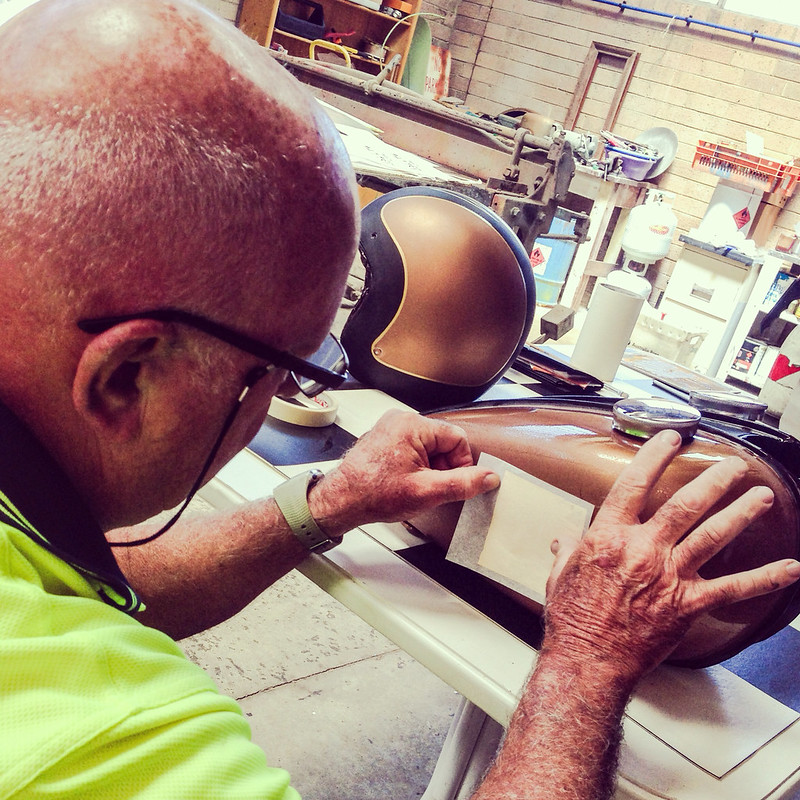
image by inmotionphotography, on Flickr
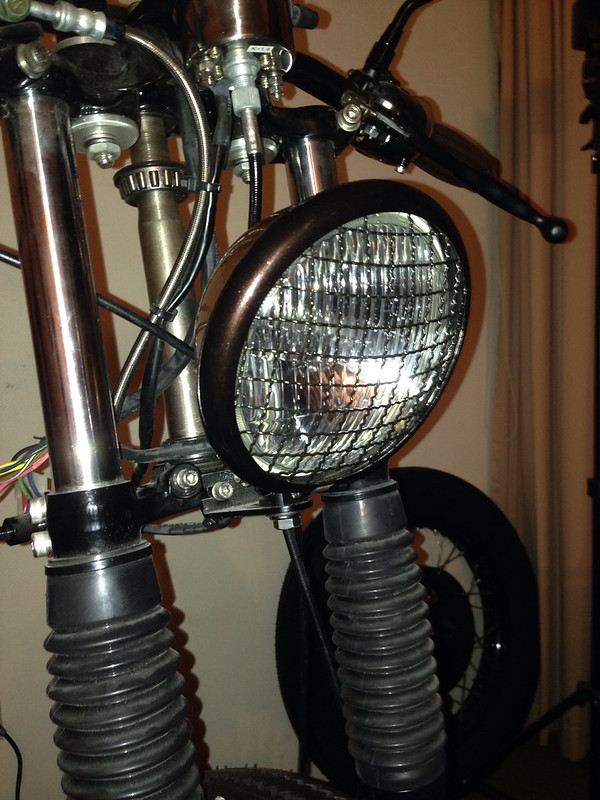
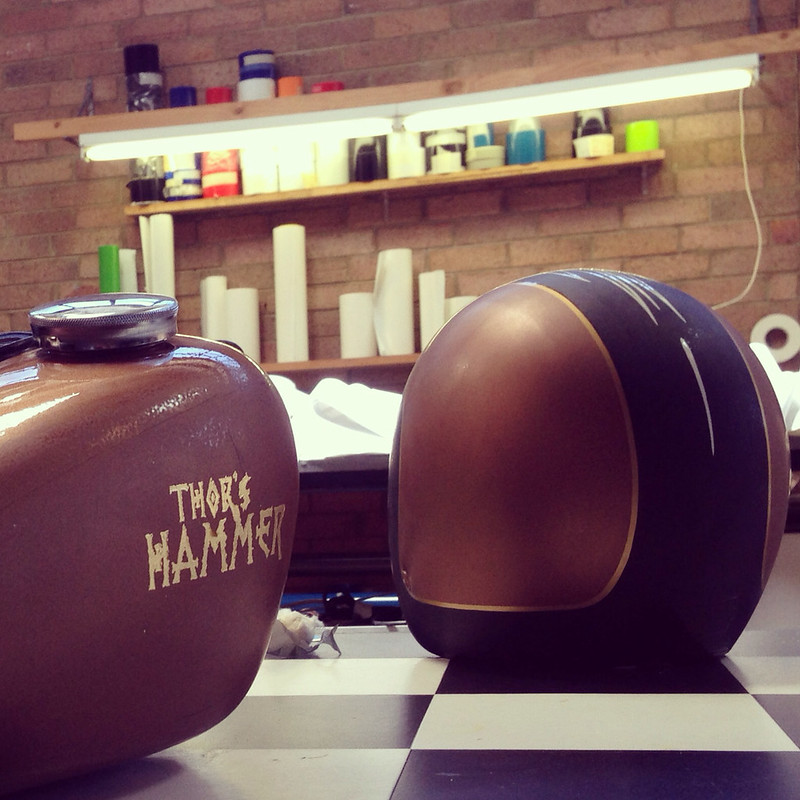
image by inmotionphotography, on Flickr
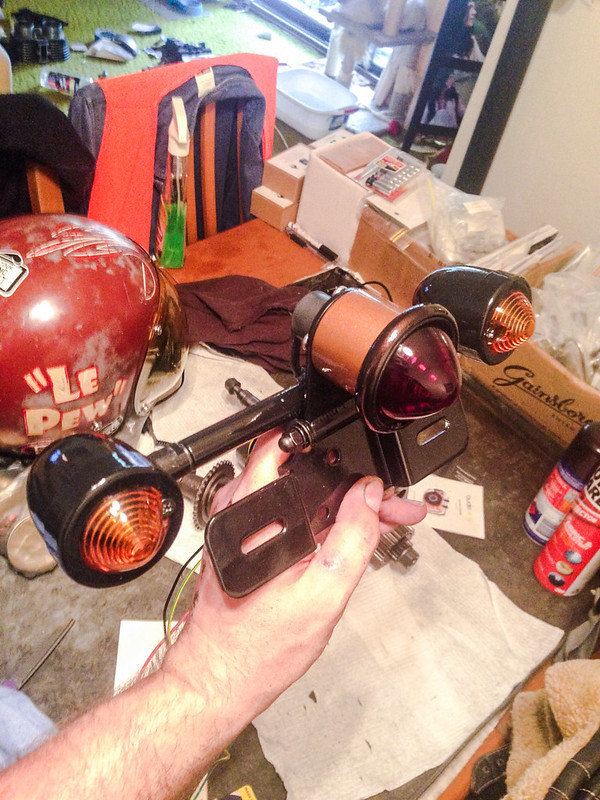
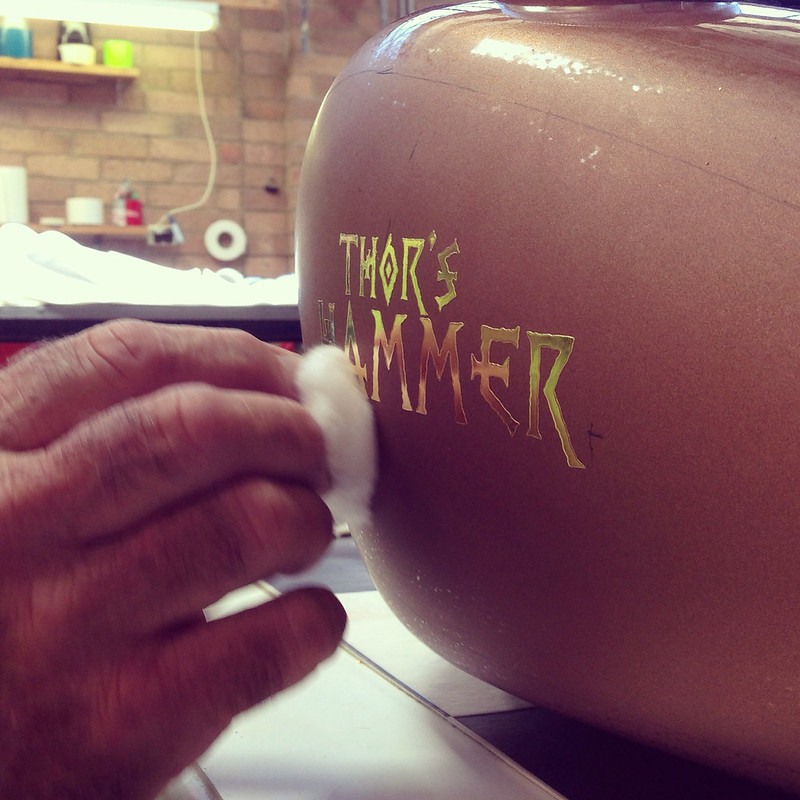
image by inmotionphotography, on Flickr
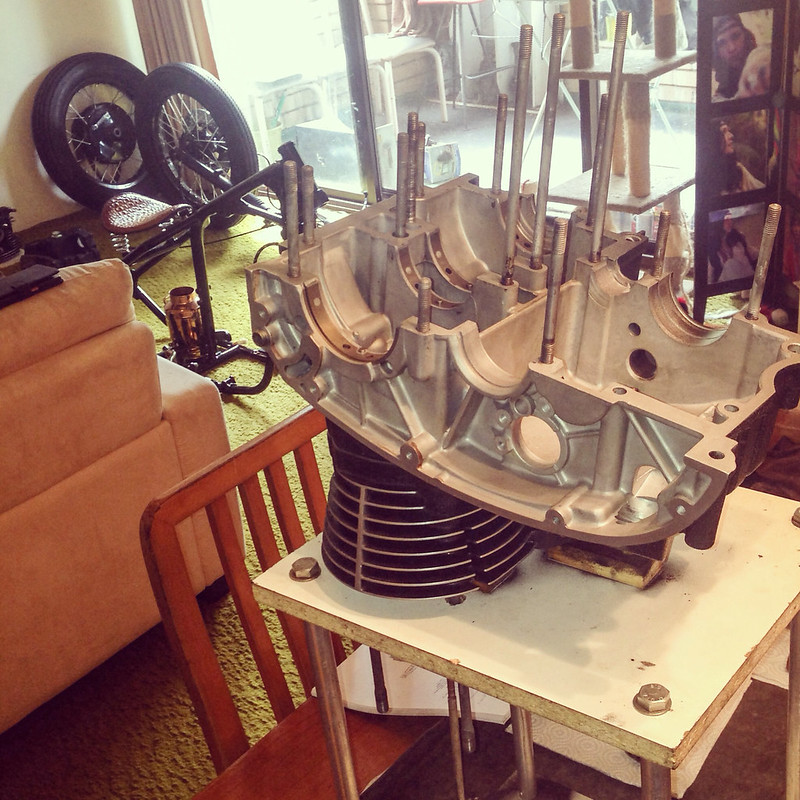
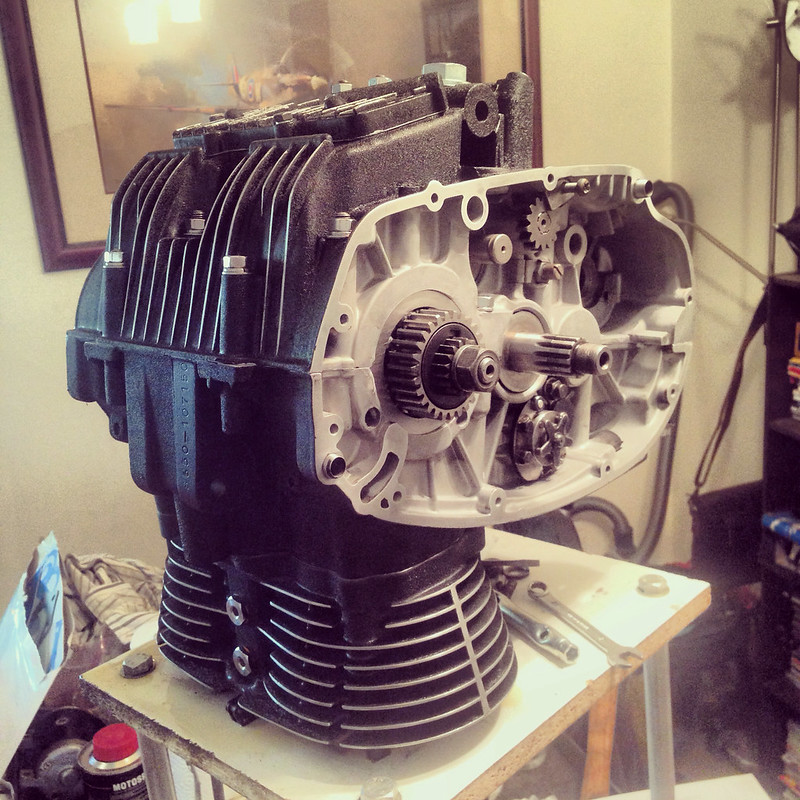
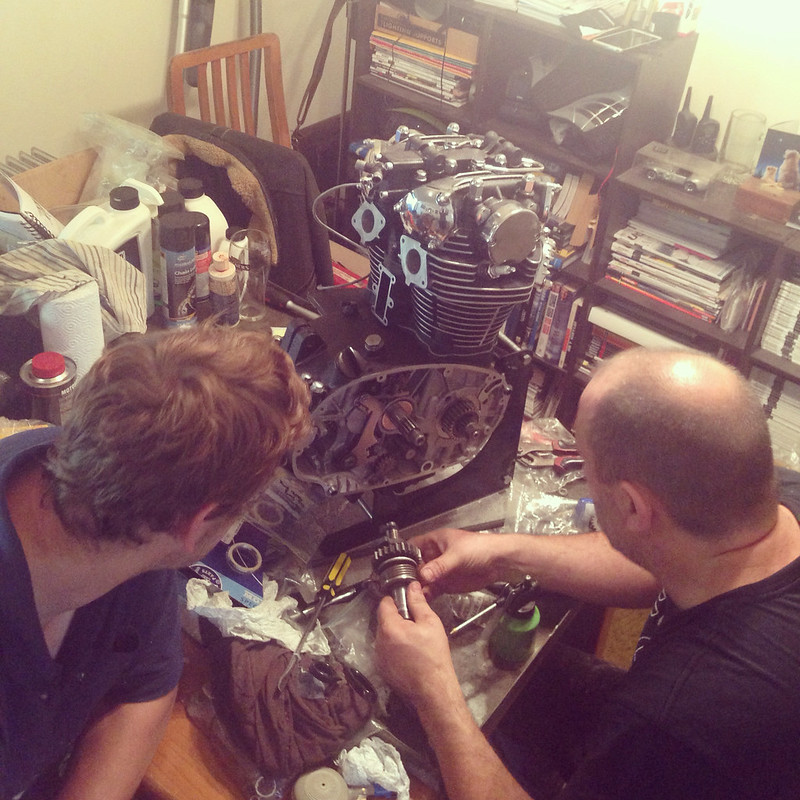
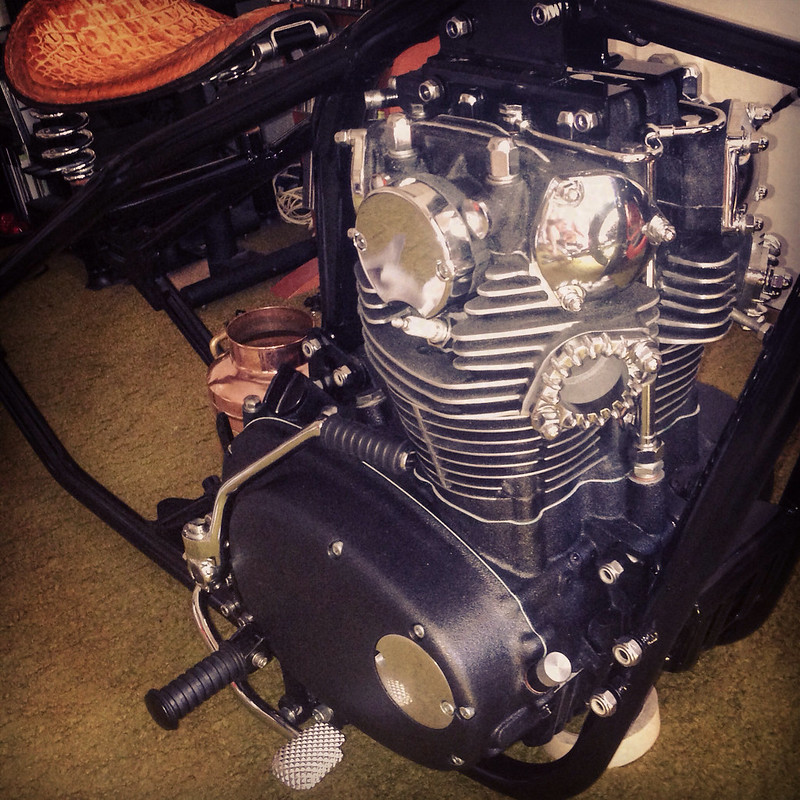
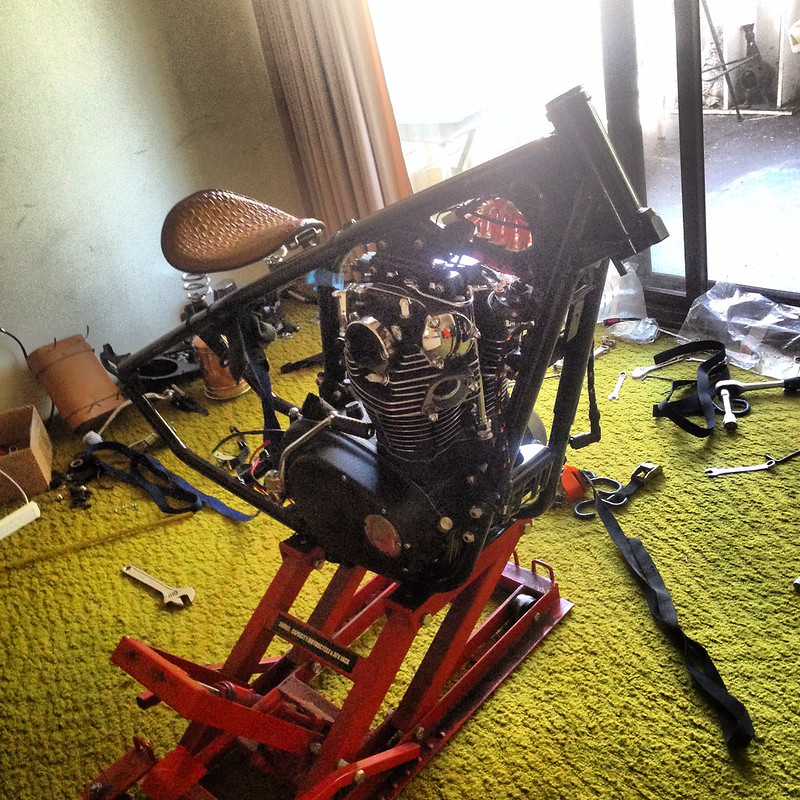
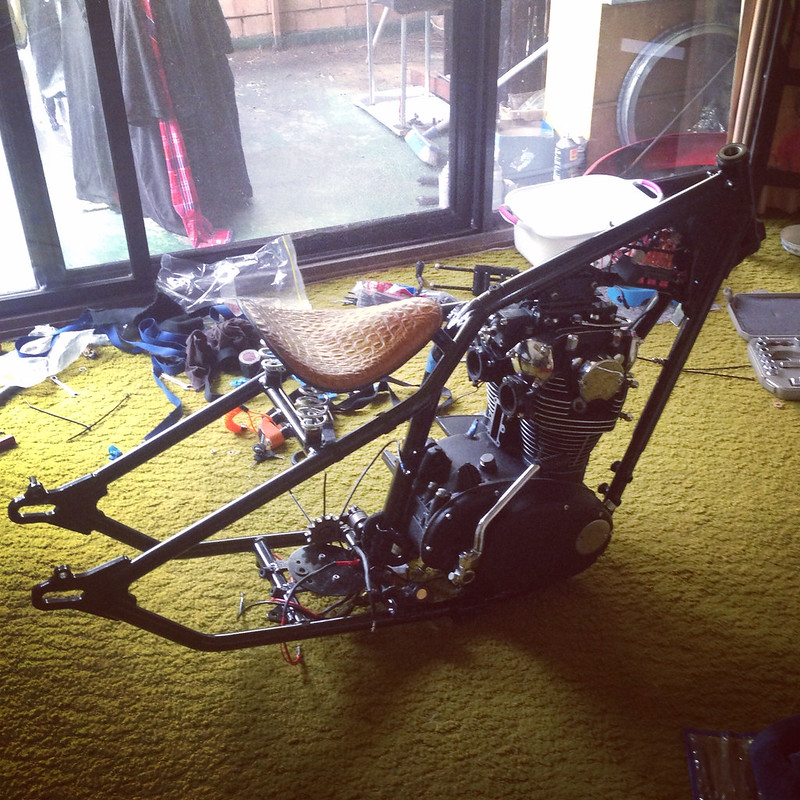
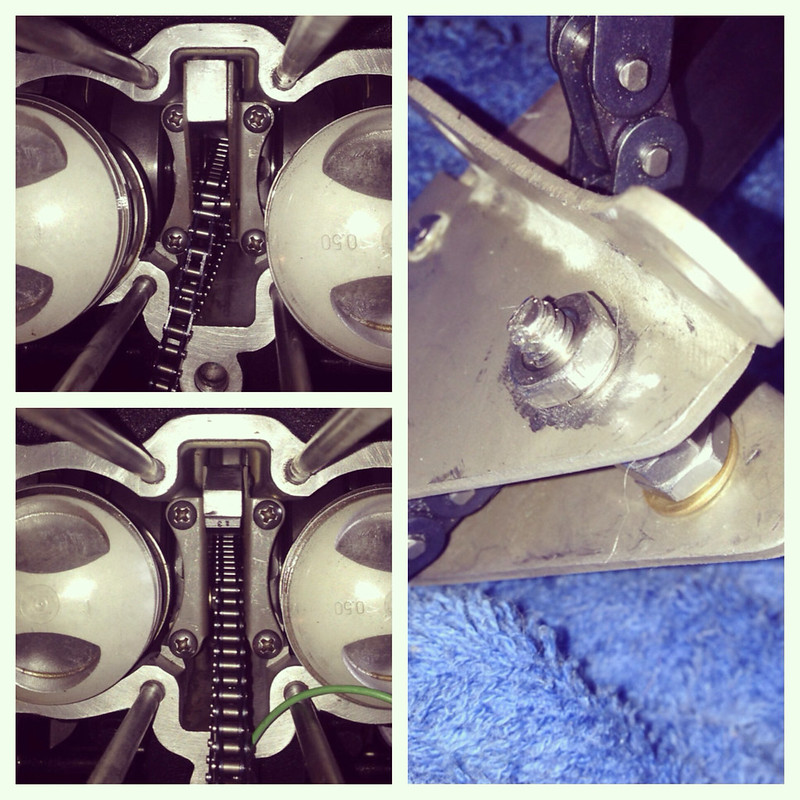
Rough mock up of the motor. Still needs a bit more tidying of the fins, a polish of the oil filter cover and cleaning of the mating surfaces before final assembly.

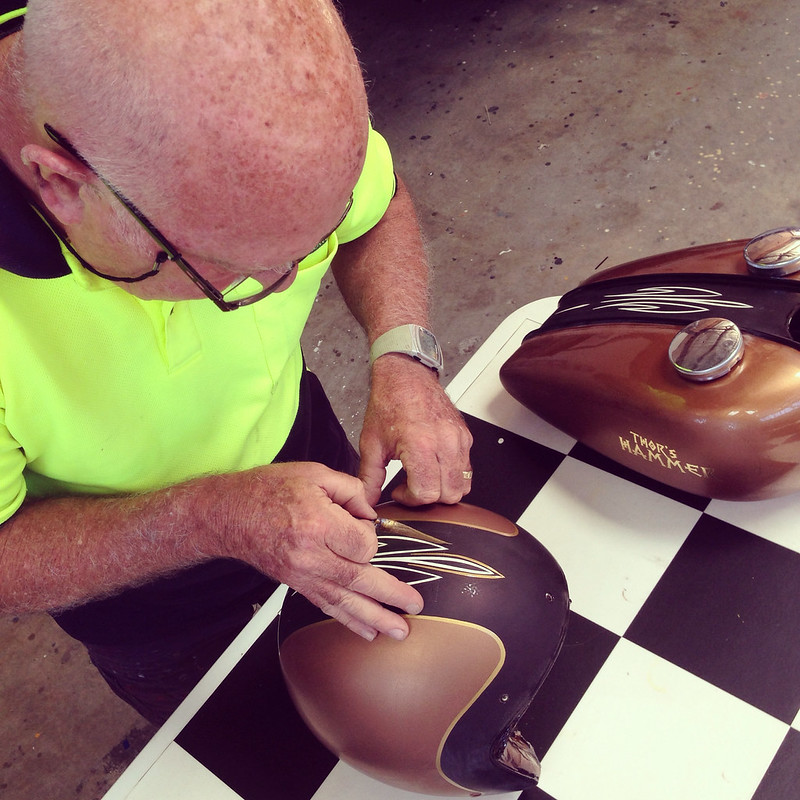
image by inmotionphotography, on Flickr
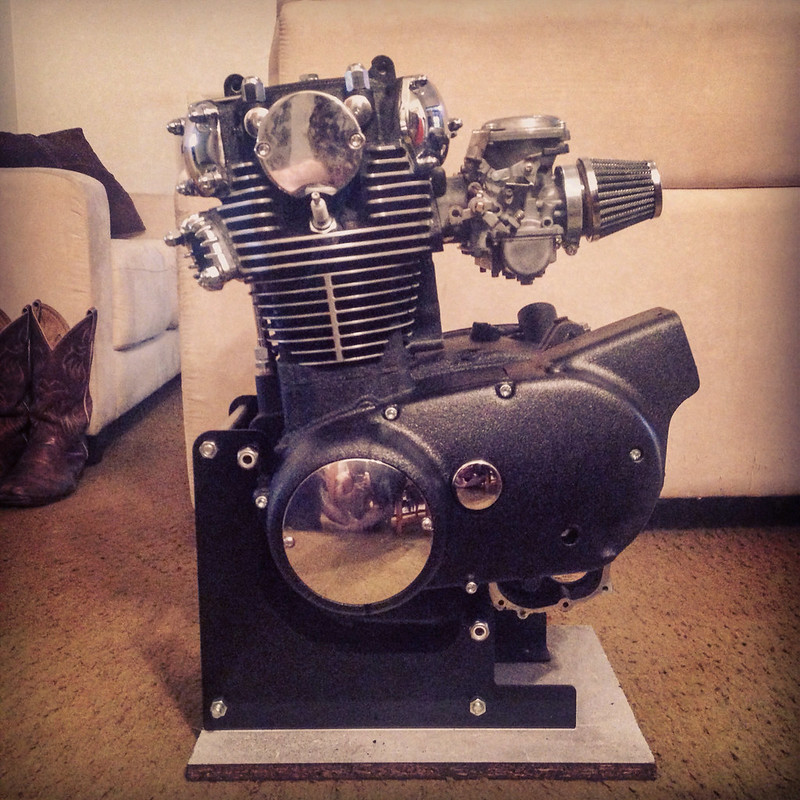
image by inmotionphotography, on Flickr
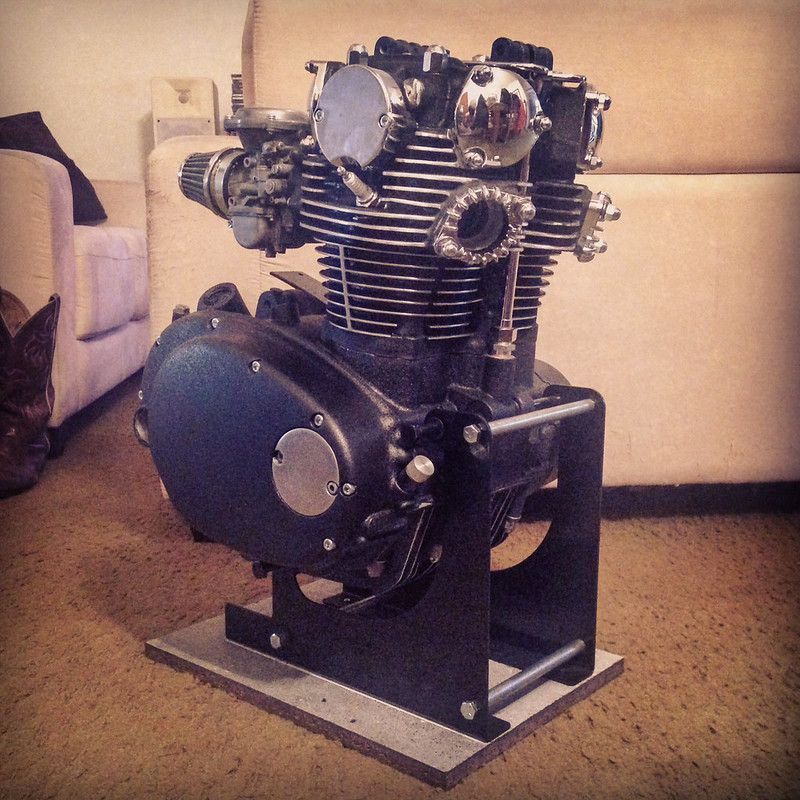
image by inmotionphotography, on Flickr
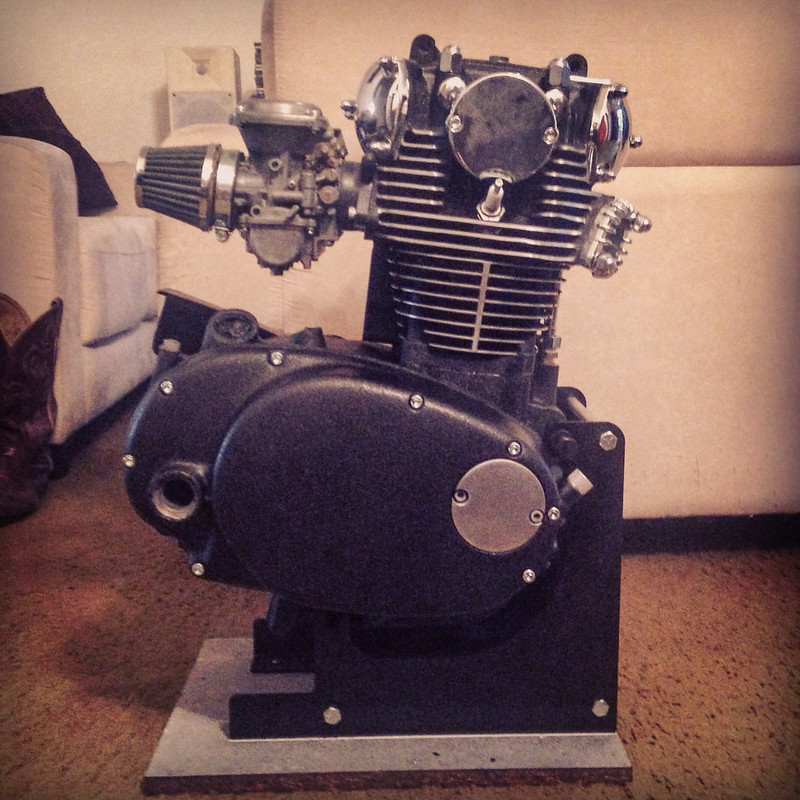
image by inmotionphotography, on Flickr
Cheers
Steve
http://inmotionphotogxs650.blogspot.com.au/
image by inmotionphotography, on Flickr
image by inmotionphotography, on Flickr
image by inmotionphotography, on Flickr
Rough mock up of the motor. Still needs a bit more tidying of the fins, a polish of the oil filter cover and cleaning of the mating surfaces before final assembly.
image by inmotionphotography, on Flickr
image by inmotionphotography, on Flickr
image by inmotionphotography, on Flickr
image by inmotionphotography, on Flickr
Cheers
Steve
http://inmotionphotogxs650.blogspot.com.au/
")