I made an introduction a while back but I never got to making a build thread. My build is making slow progress and that is one reason I have not made a thread. However, I think I've got to a point where I have enough done and some pictures to show some progress so I figured I would make a thread.
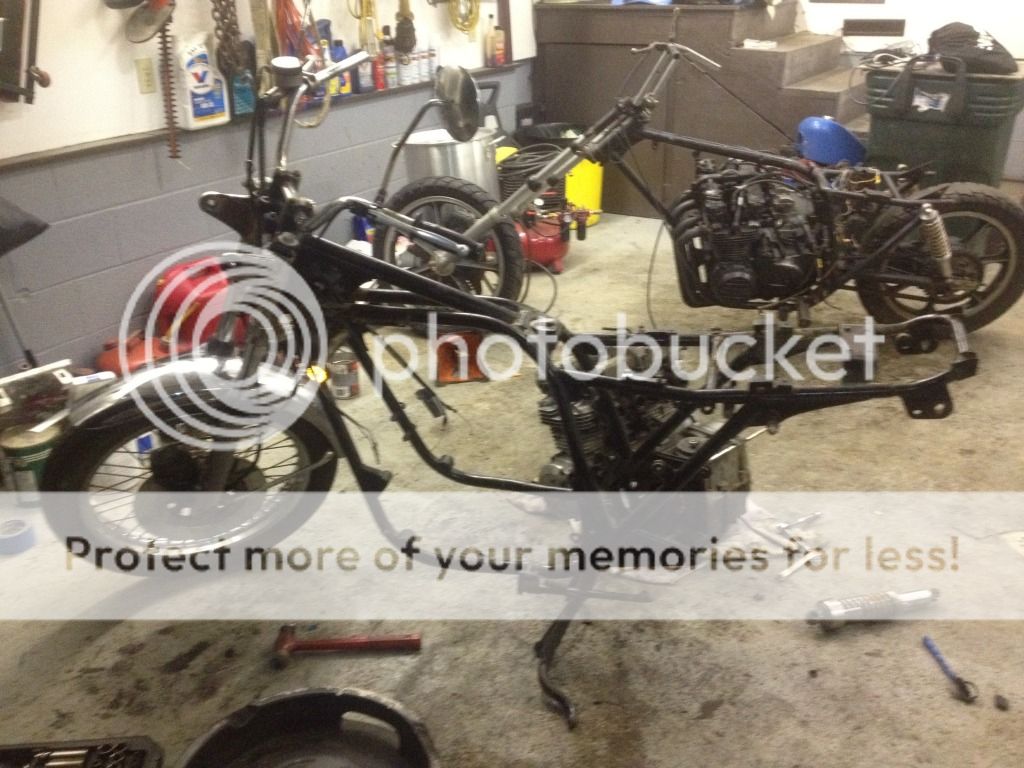
A little about myself. I'm from Rayland, OH it is a small town just outside of Wheeling, Wv and not too far from Pittsburgh. To make a long story short I got a free chopped up 1980 KZ650F1 with title.
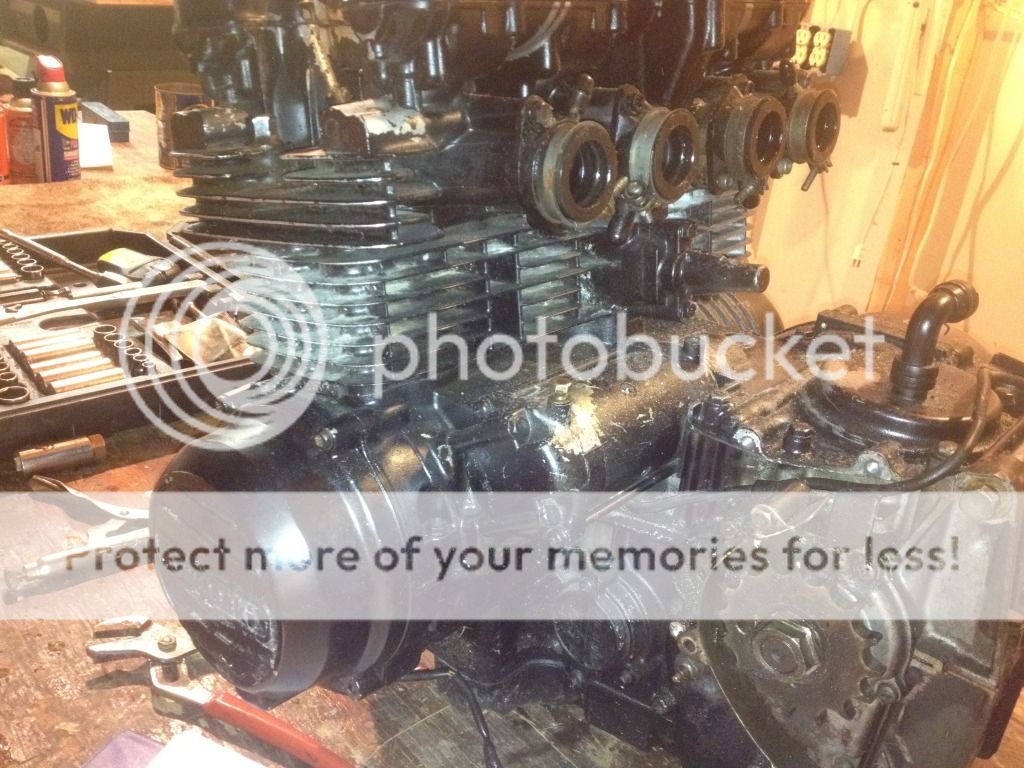
I wrenched on the motor for a couple days and got it running. That is when I decided to purchase a parts bike because I was only planning on using this engine for the build. So I purchased a complete 1977 KZ650 B1 for $400 with clear title.
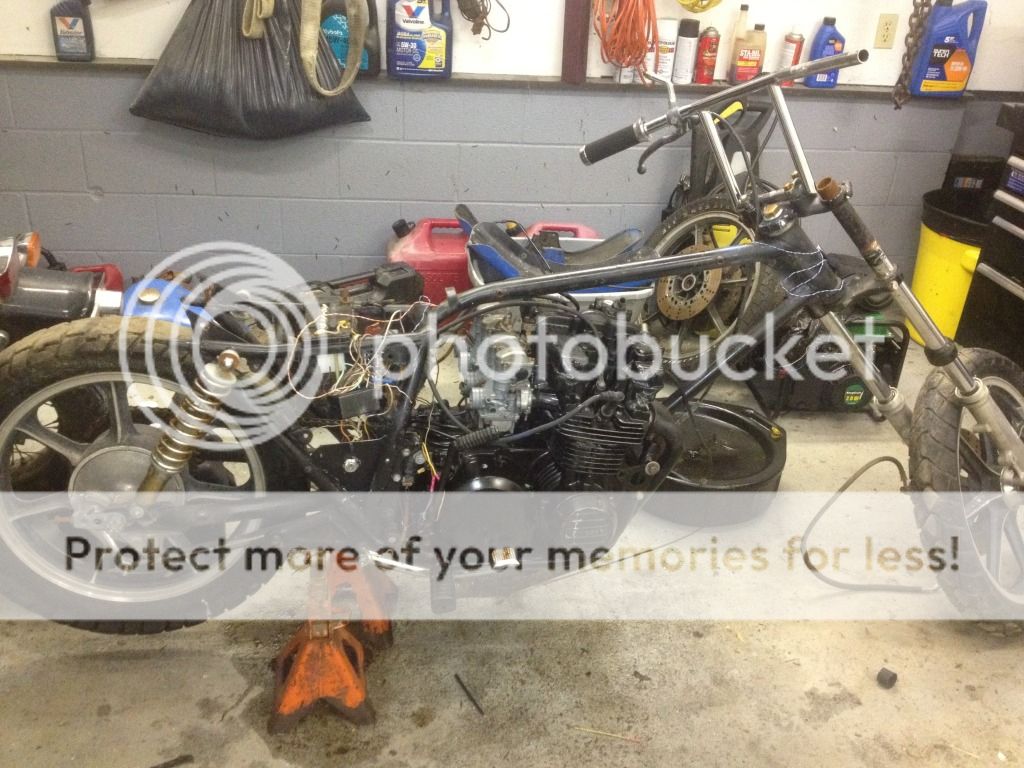
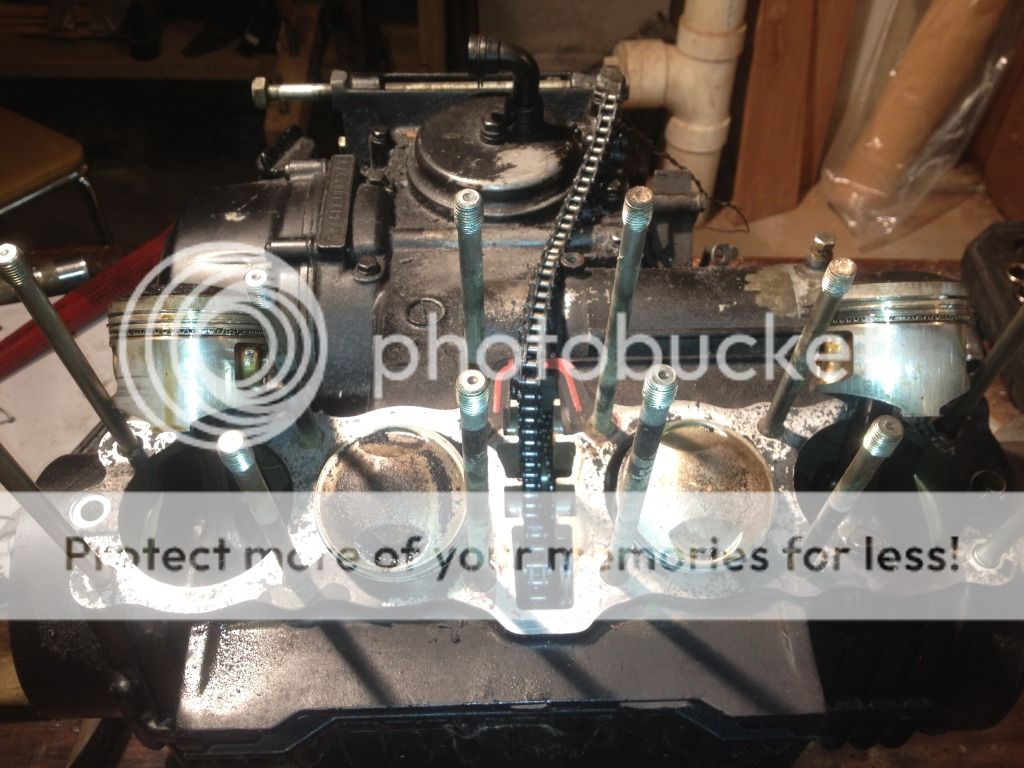
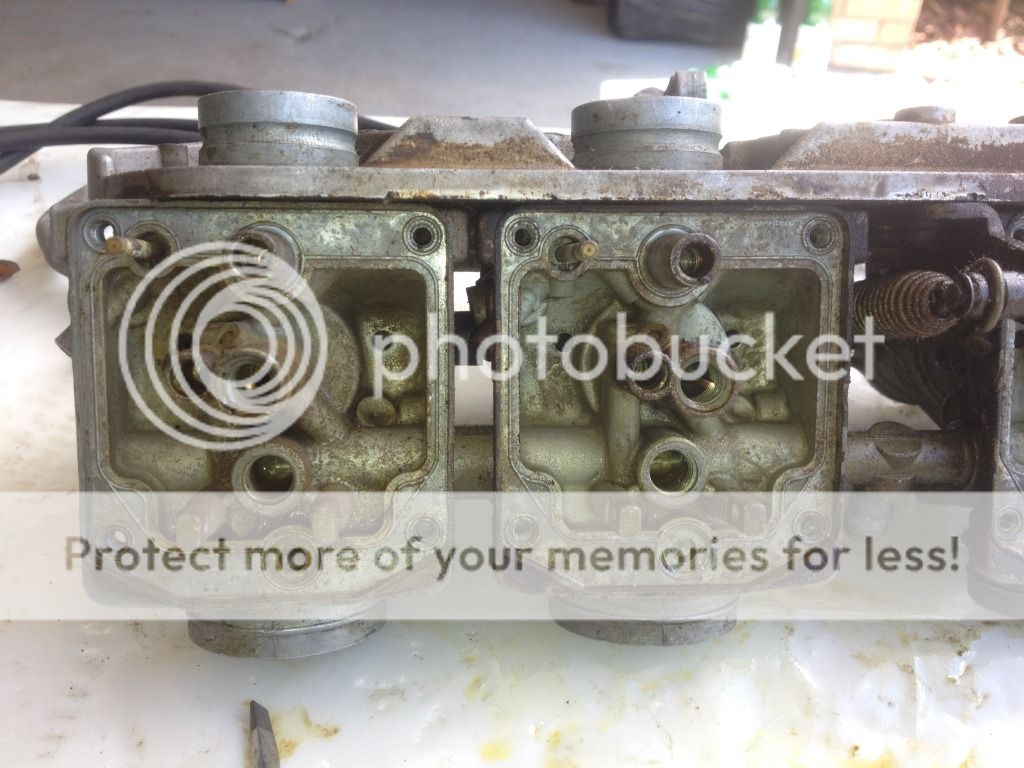
After a few days of wrenching on the parts bike I managed to get it running, but the carbs were all gummed up and needless to say it needed some work as well. So I took both engines out of the bike and began a top end rebuild on both of them. Heres a picture of the tear down on the 77.
After looking at the internals and knowing my budget was tight I decided to go with the F1 engine because it needed much less work and the cylinders were in better shape. Just a little honing and they were ready to go.
After reassembling the engine I decided to tackle the carbs. I'm not a professional by any means so I had my hands full. Luckily I had two sets of carbs one with an accelerator pump and one without. I was hoping to use the carb with pump but when I was tearing it down a piltot jet stripped out. Good thing for part bikes.
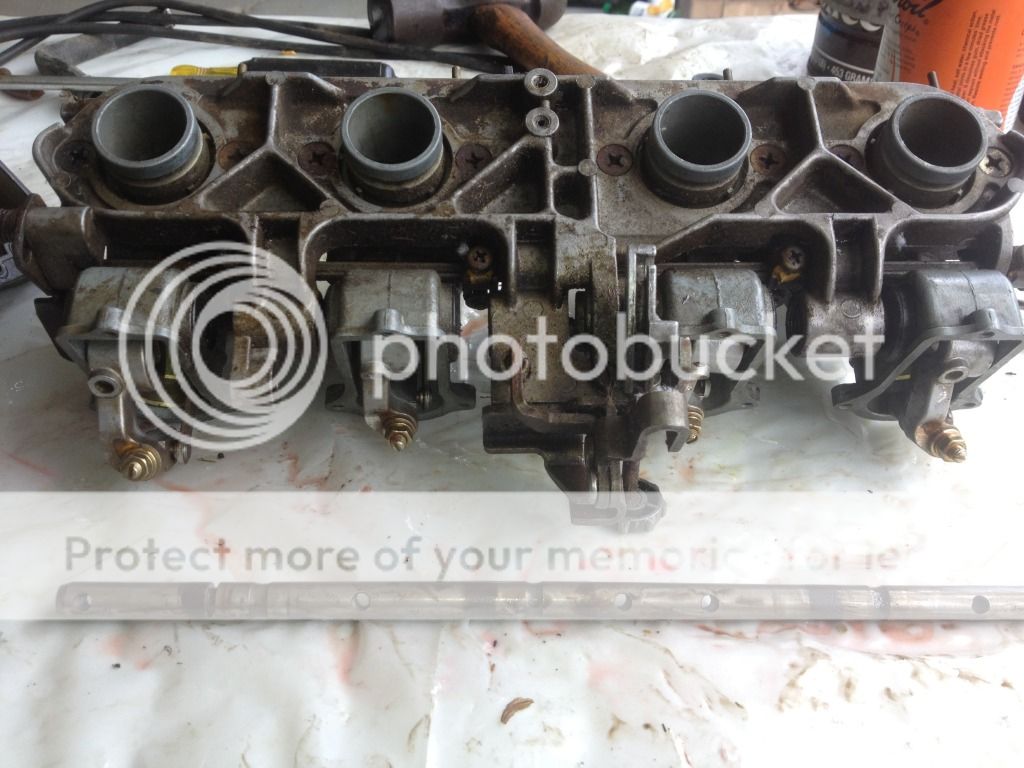
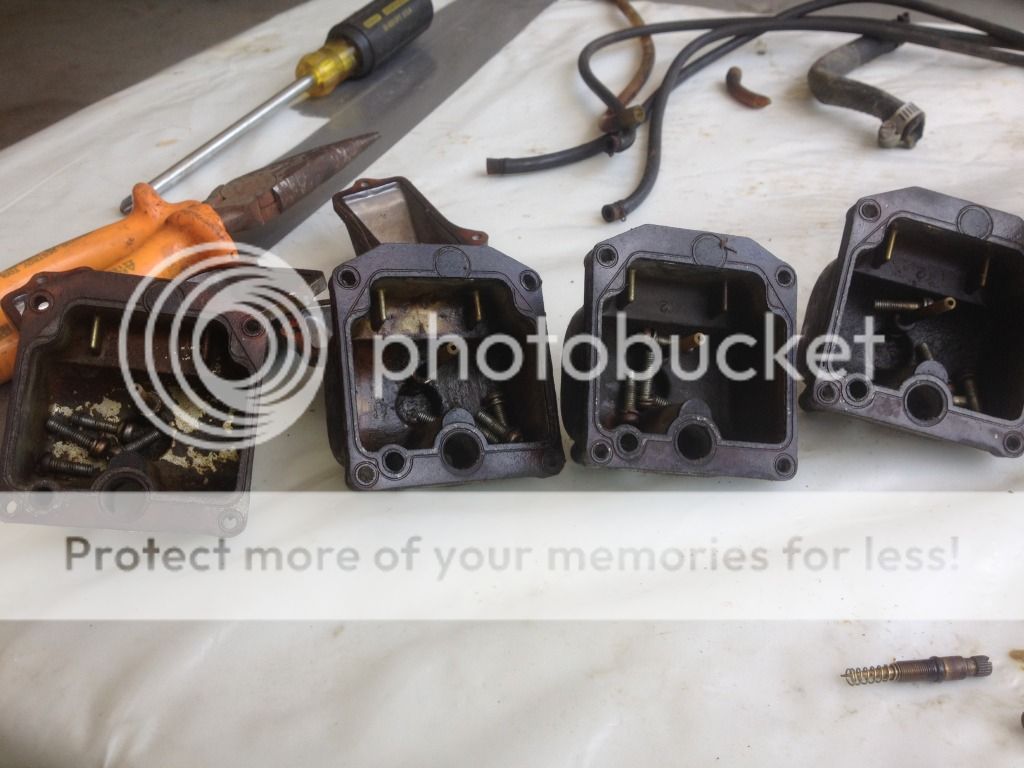
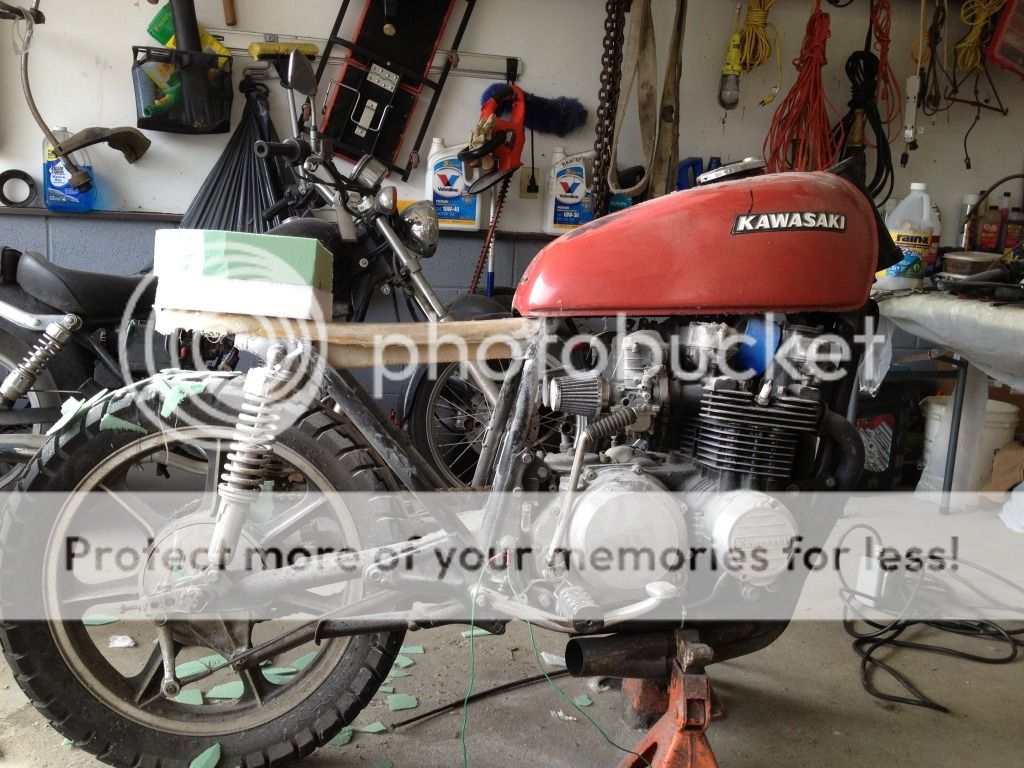
I cleaned the working carbs up and replaced the insides, reassembled and attached them to the newly assembled engine. My plans were to reassemble the motorcycle with engine and bare essentials to make a test run and ride the bike around the yard to make sure everything was in good order before continuing. Everything worked well and it also gave me a chance to simplify my harness and make a blueprint for part of the final wiring set up. My next step was to see how some of the engines cases would clean up to see if I wanted to paint over them or strip polish and clear.
This points cover had been laid down but it was the only before picture I remembered to take. I plan on replacing this cover though.
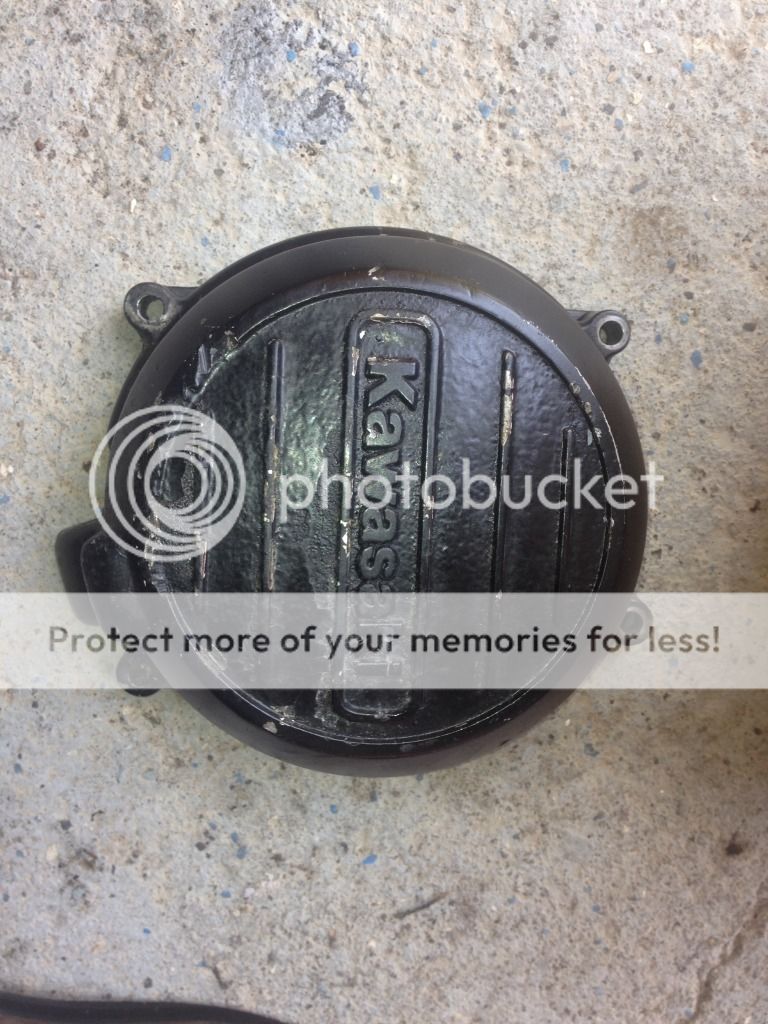
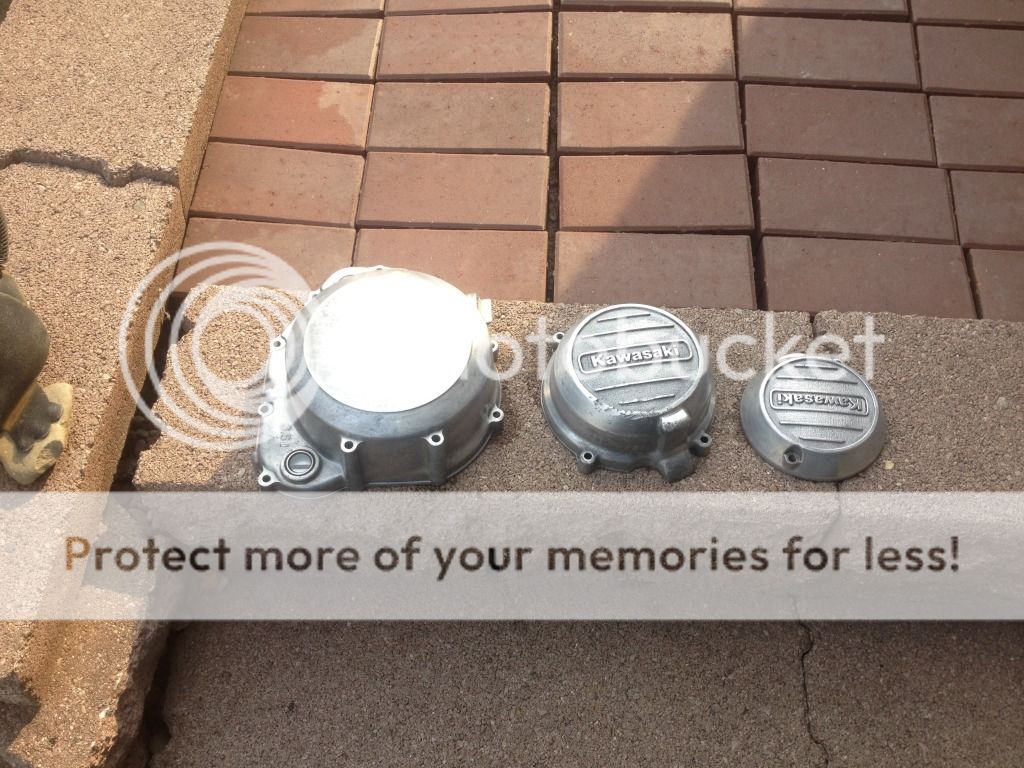
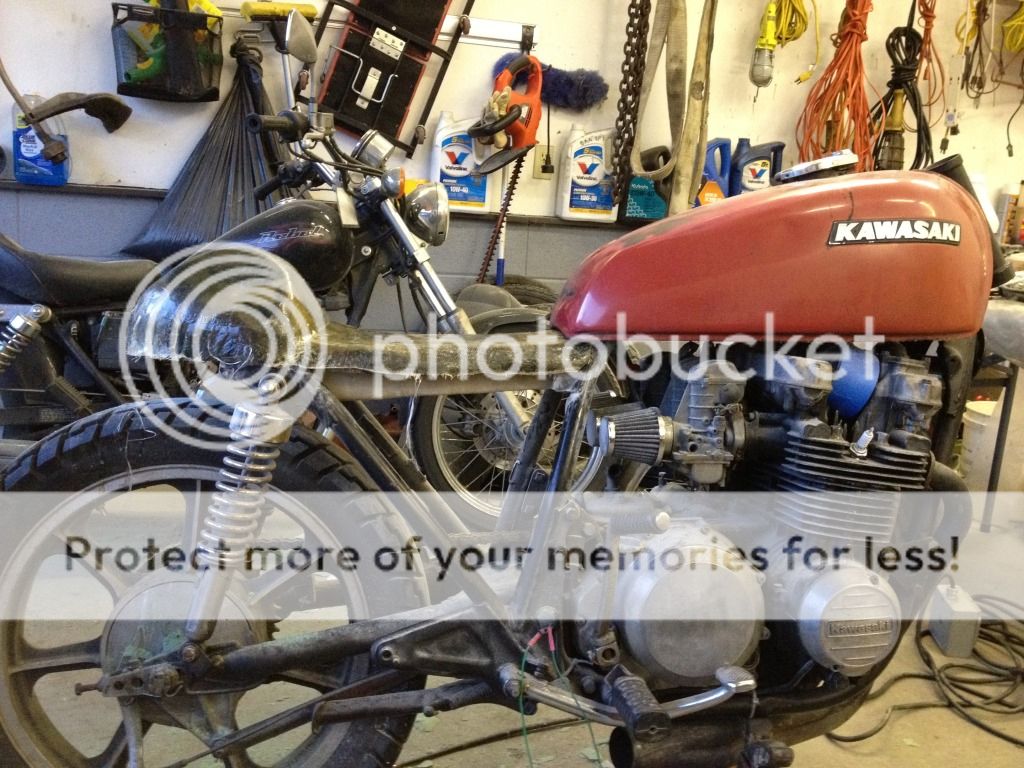
The cases cleaned up fairly well with minimal time. But it is by no means a finished product. I think I'm going to explore other routes to clean the engine up. I'm still thinking on that.
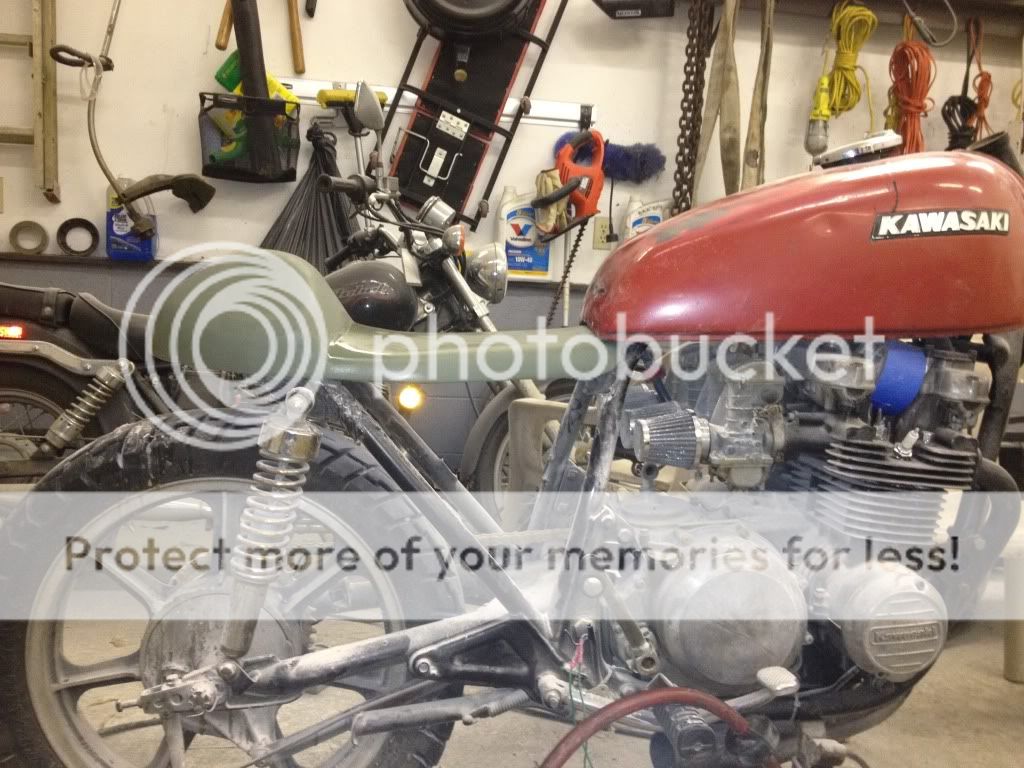
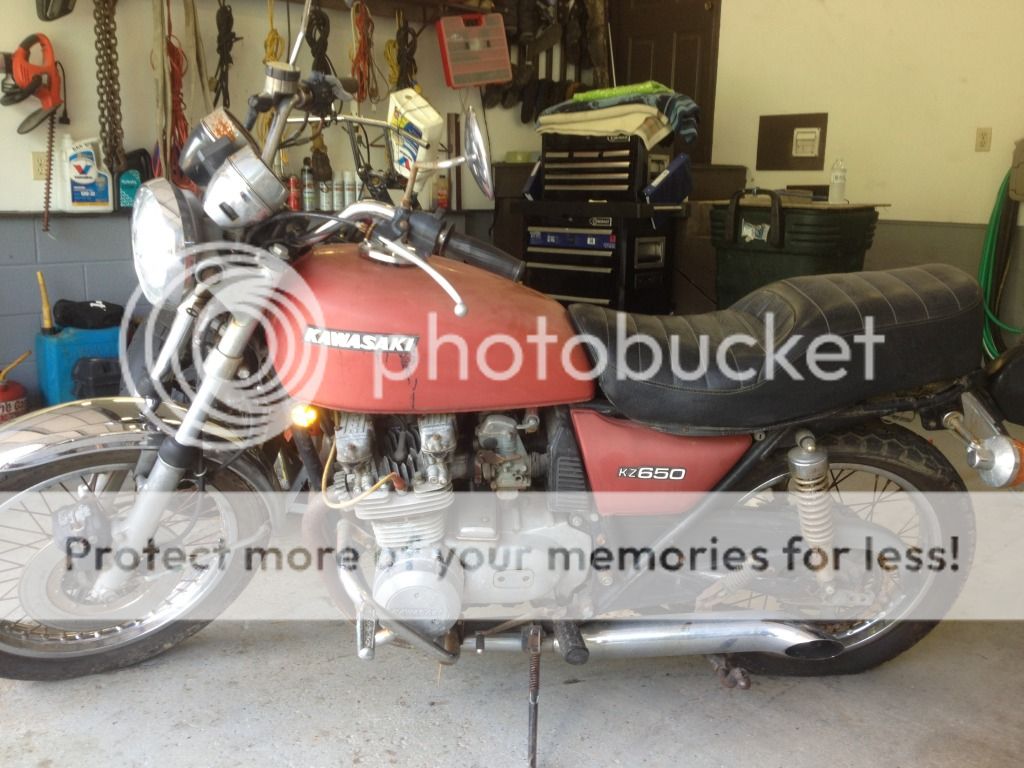
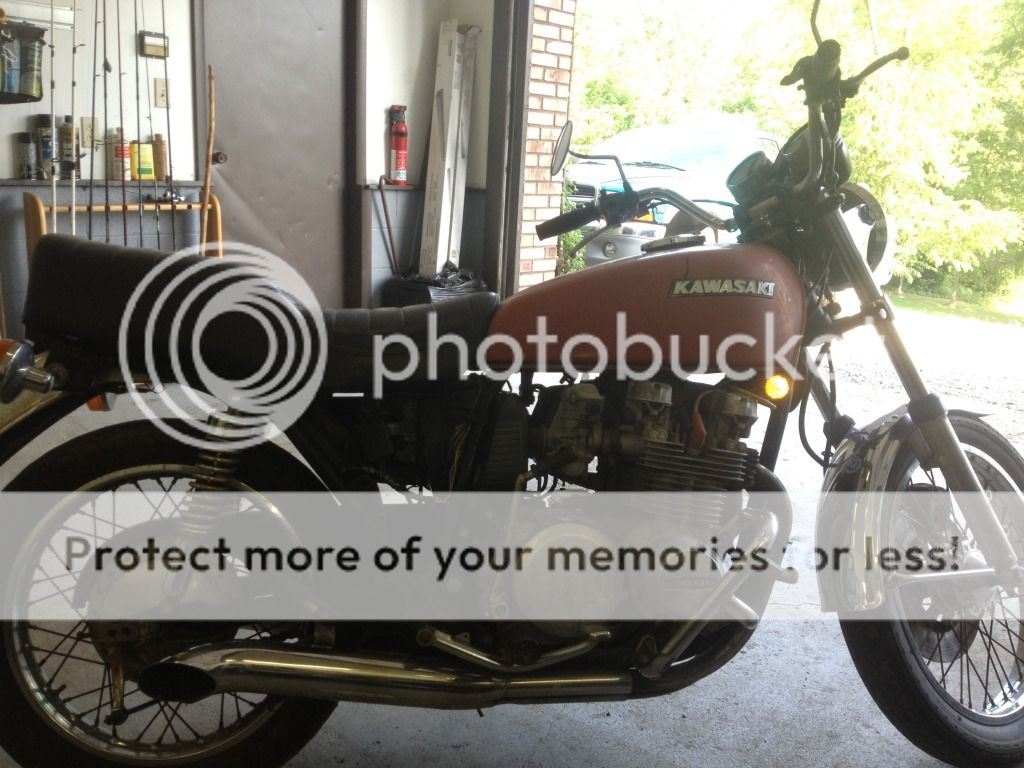
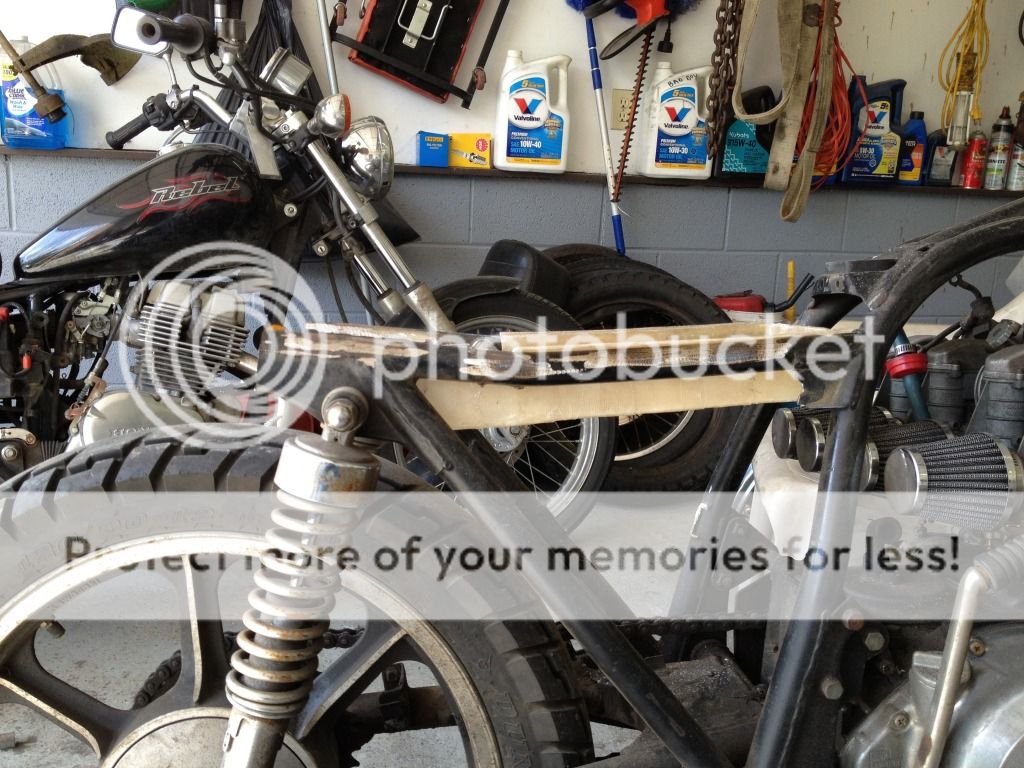
I am trying to decide between the spoked rims or if I should go a different route altogether.
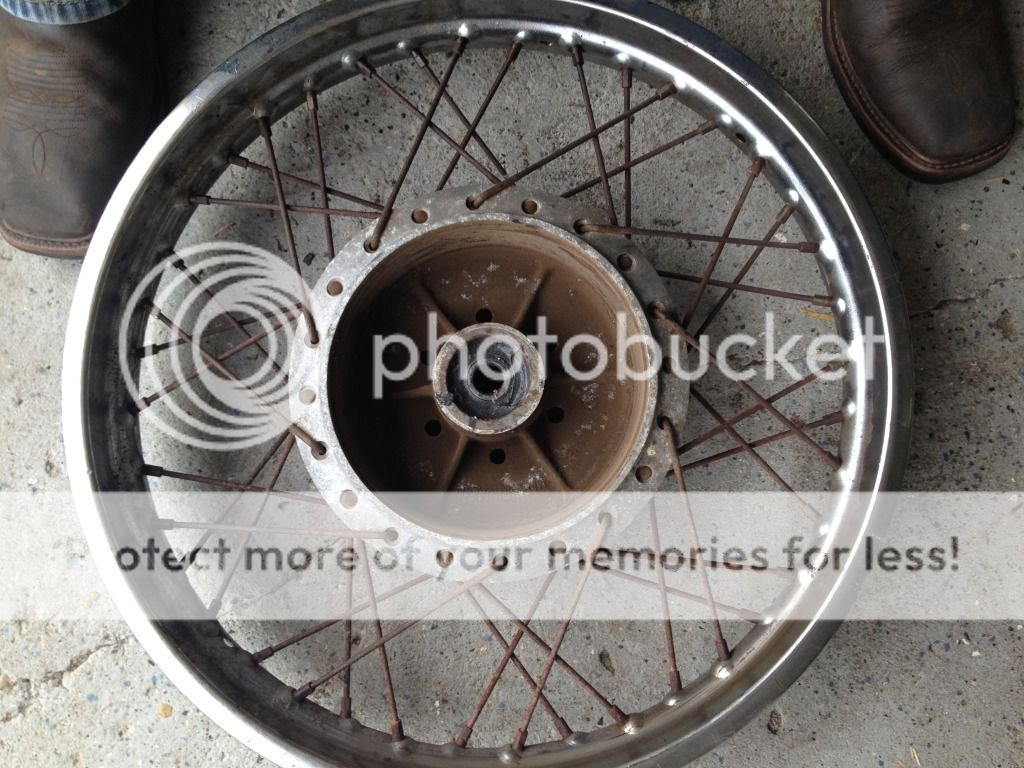
See first picture for pic of Mag? wheels.
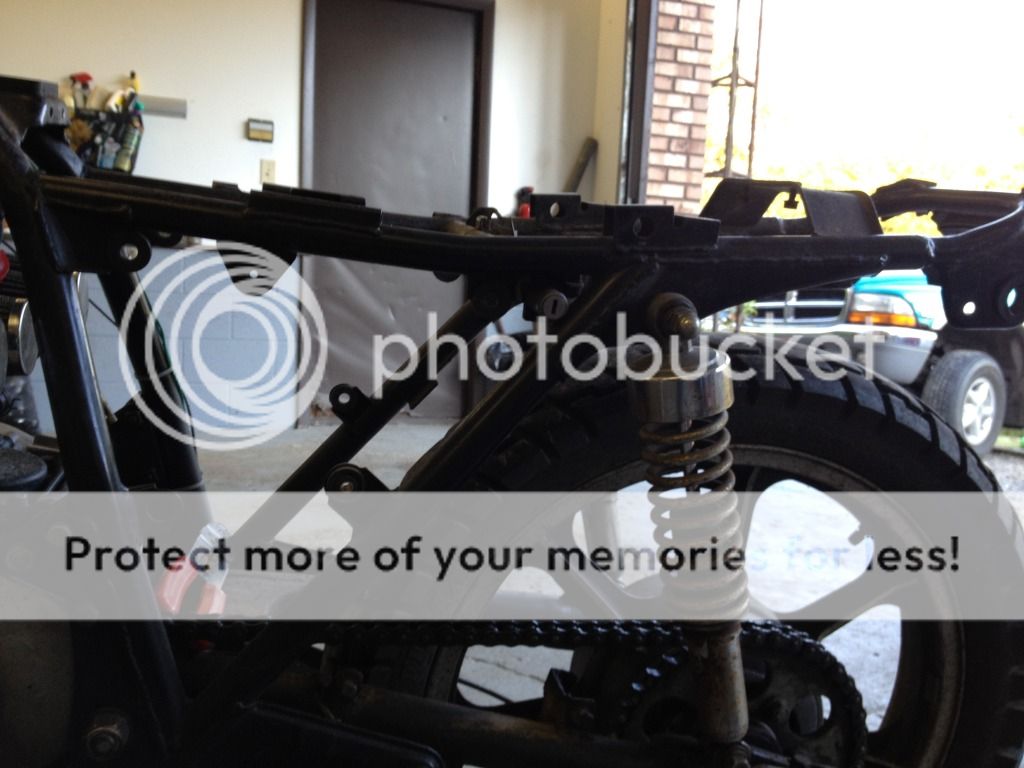
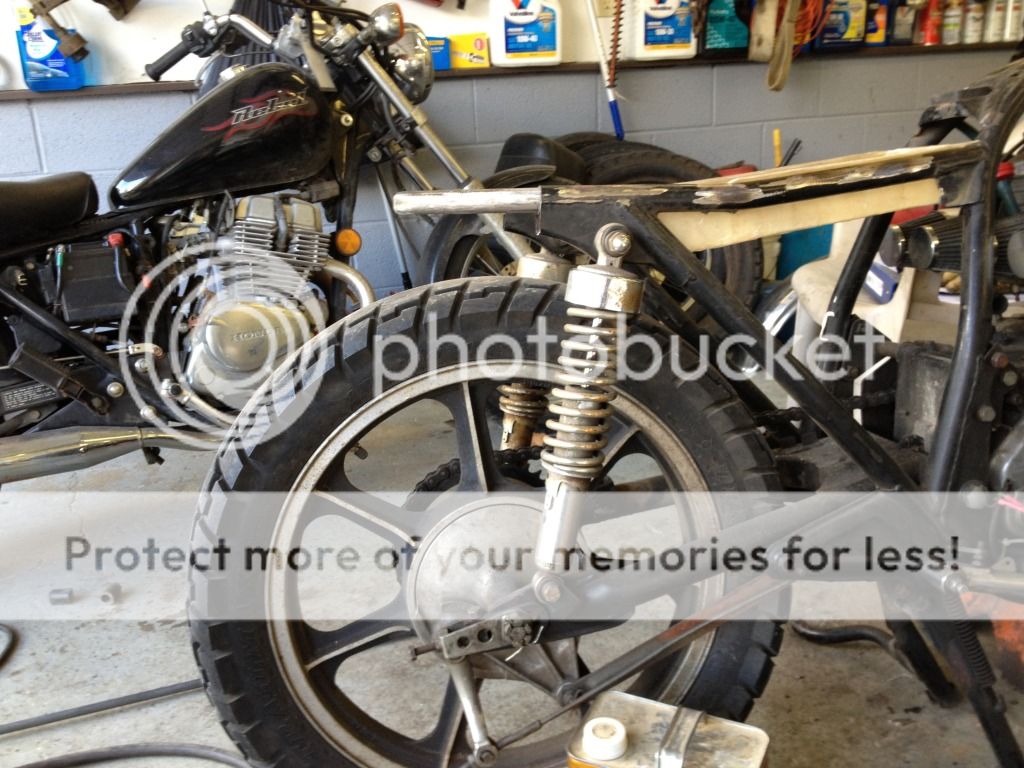
My next order of business was to detab my frame and begin to make my tail section. I attempted to make everything from fiberglass myself. I think I am going to ditch the fiberglass electronics compartment and weld up a steel compartment which will make grounding and heat transfer easier.
Before Detabbing
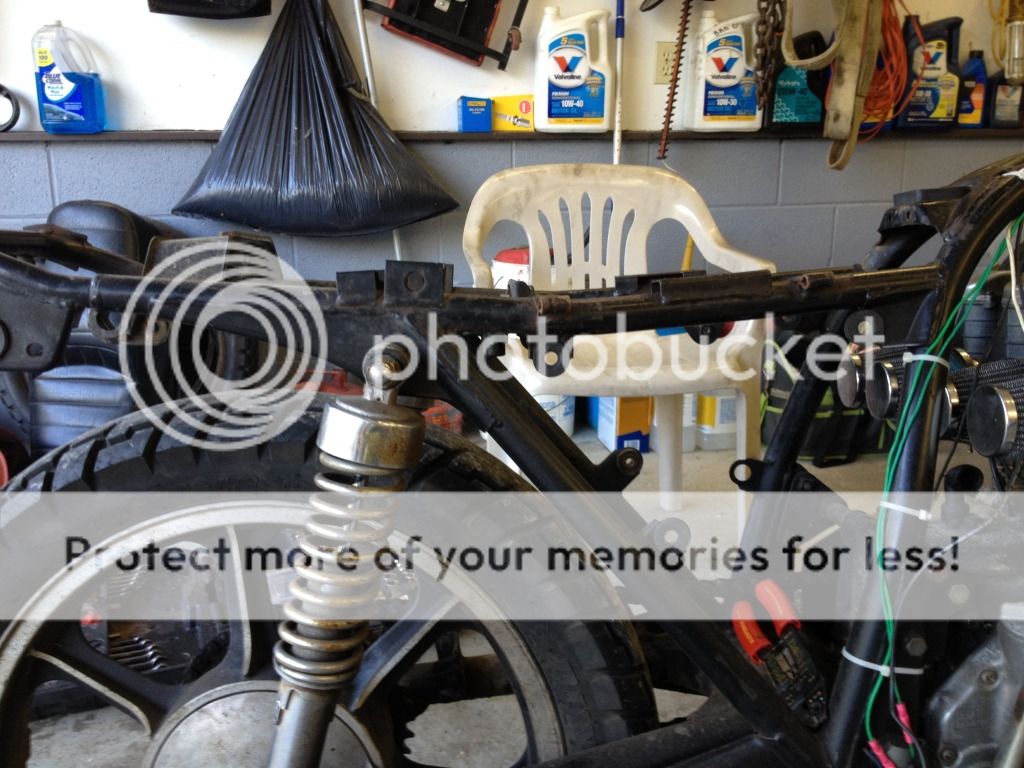
After I detabbed the frame I cut off the rear hoop and made a fiberglass electronics compartment.
The rear of it would need to be sealed up to keep the crud out but I believe I'm going to scrap it and make a steel one. The next order was to make a rear hoop. I don't have access to a bender. So after some thinking and building a template of the bend I would need this is what I came up with.
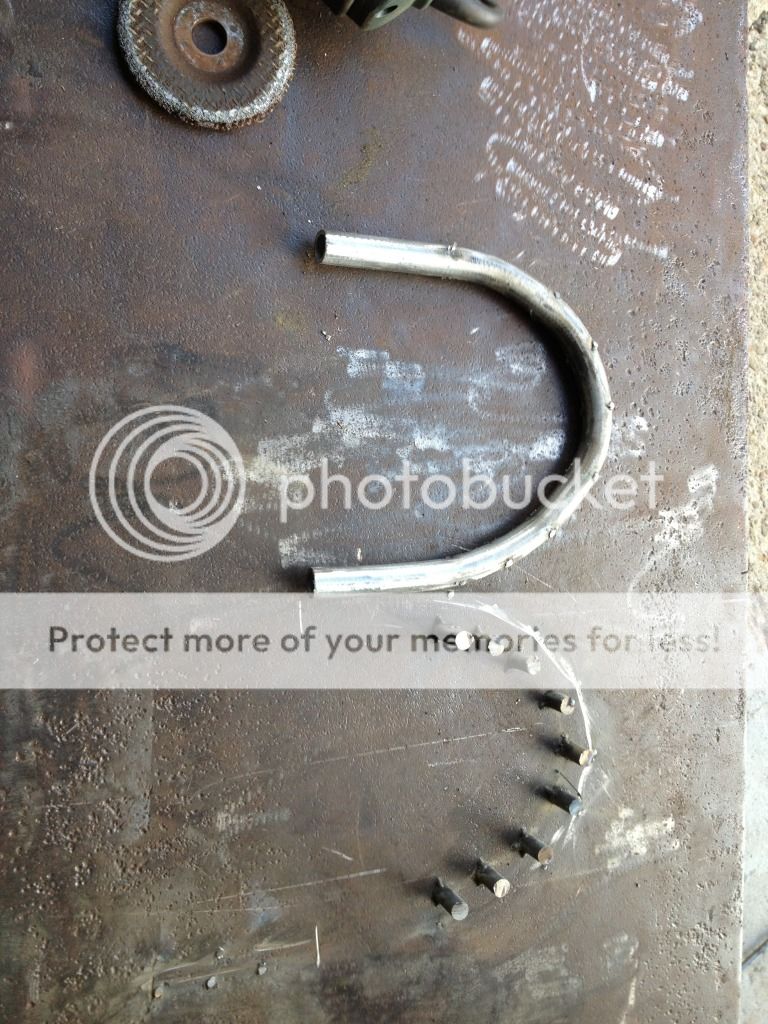
I welded the first portion to the table and heated the pipe and bent it around the template and welded as I bent. It turned out fairly good and needed minimal straightening to make it symmetrical.
The result.
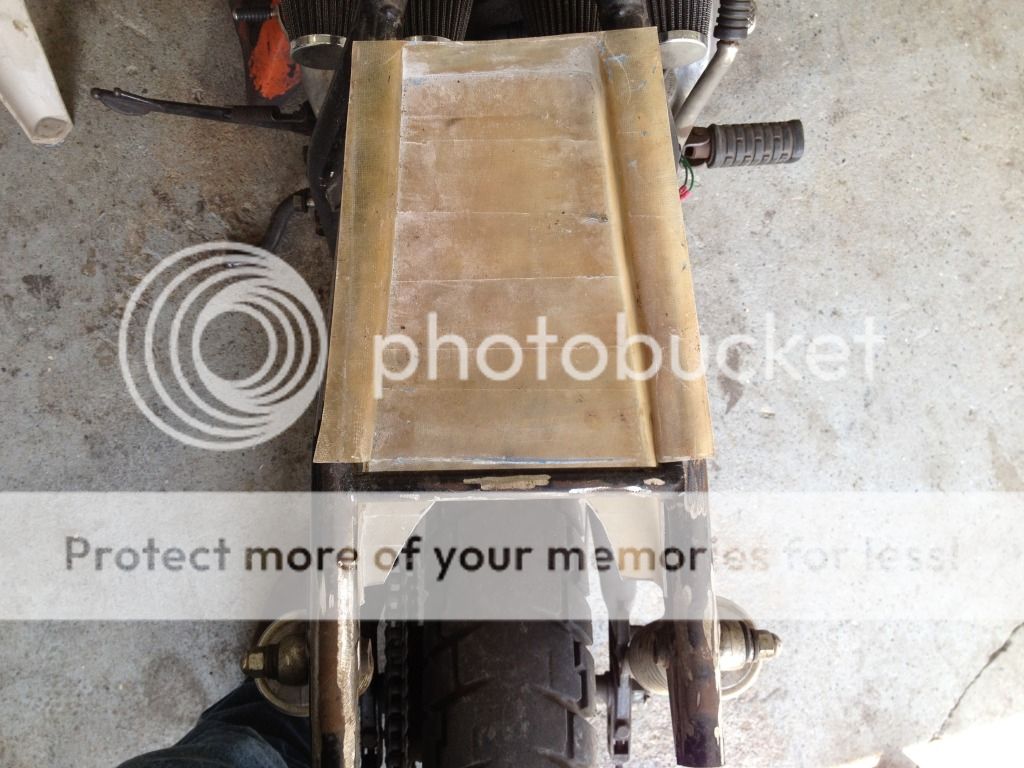
After I made the hoop I began work on my seat pan which is also made of fiberglass.
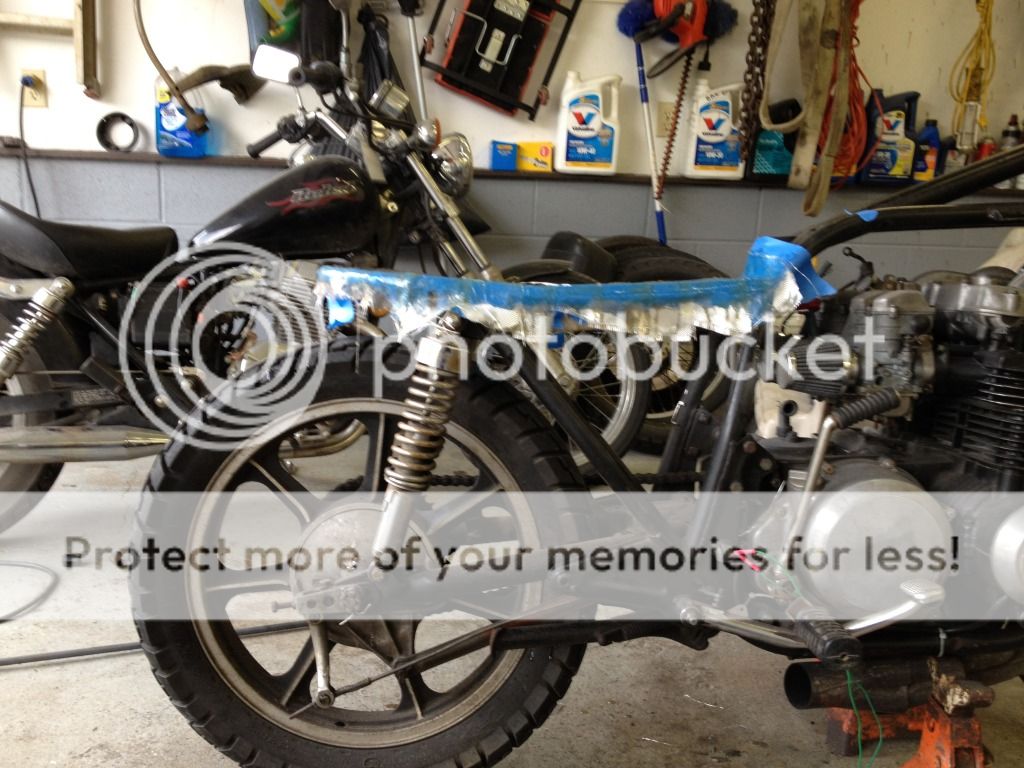
I took blue tape and created flat surface and began glassing it.
After several layers of matte and cloth I had my seat pan. So I moved onto creating the mold for my tail section.
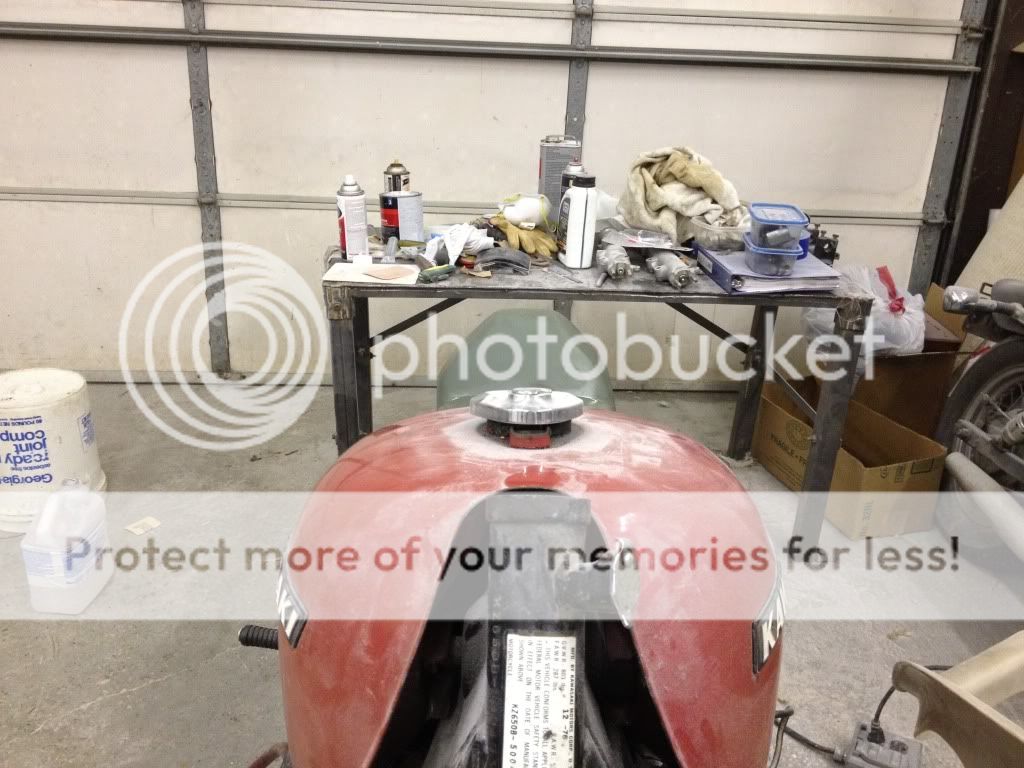
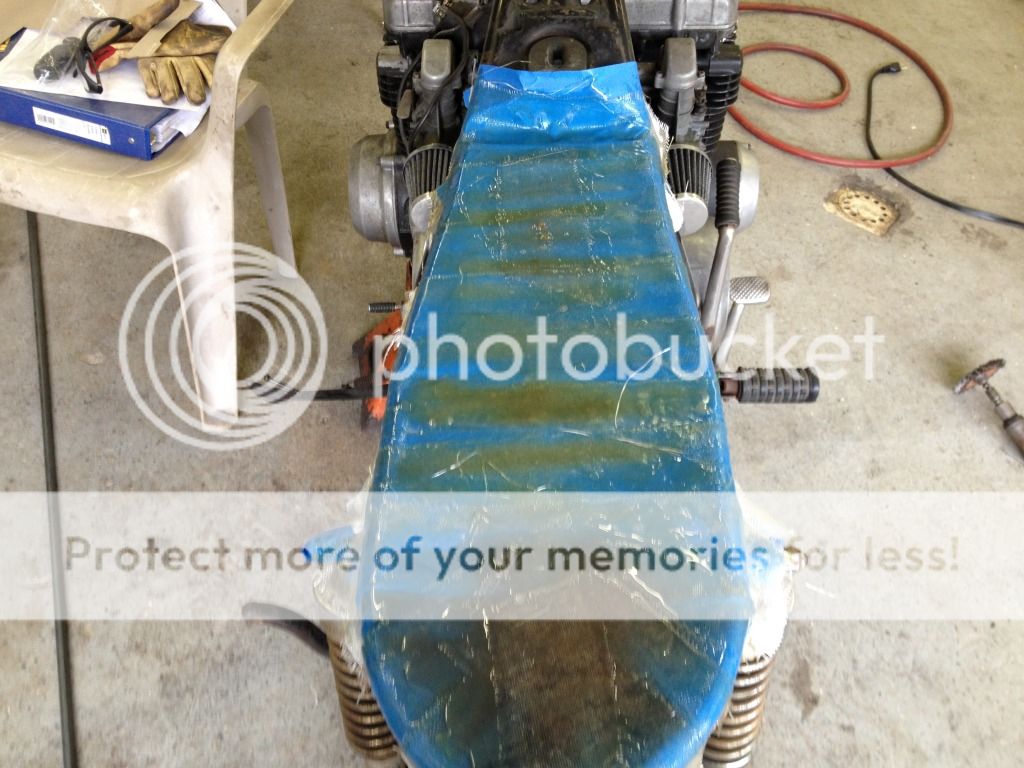
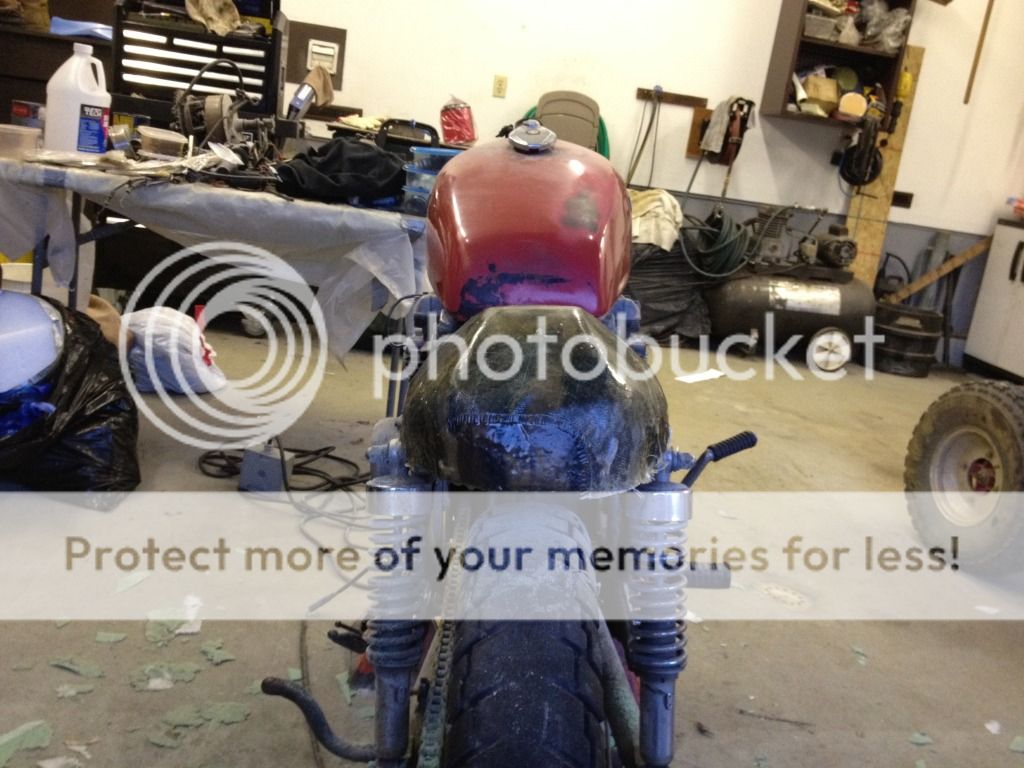
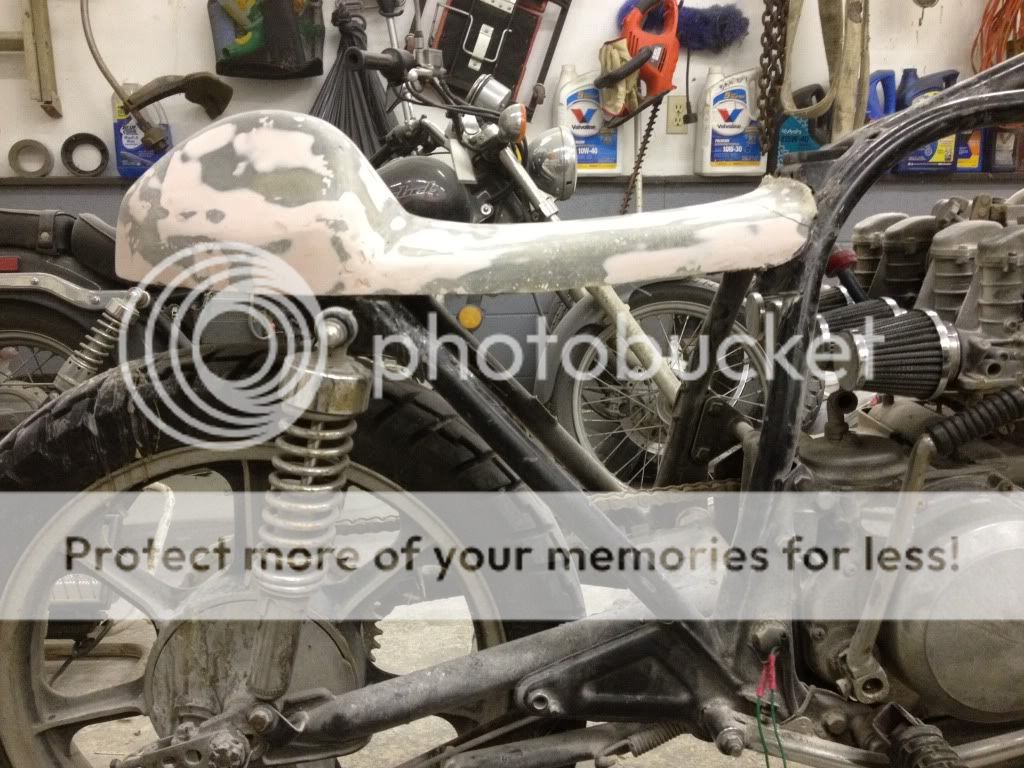
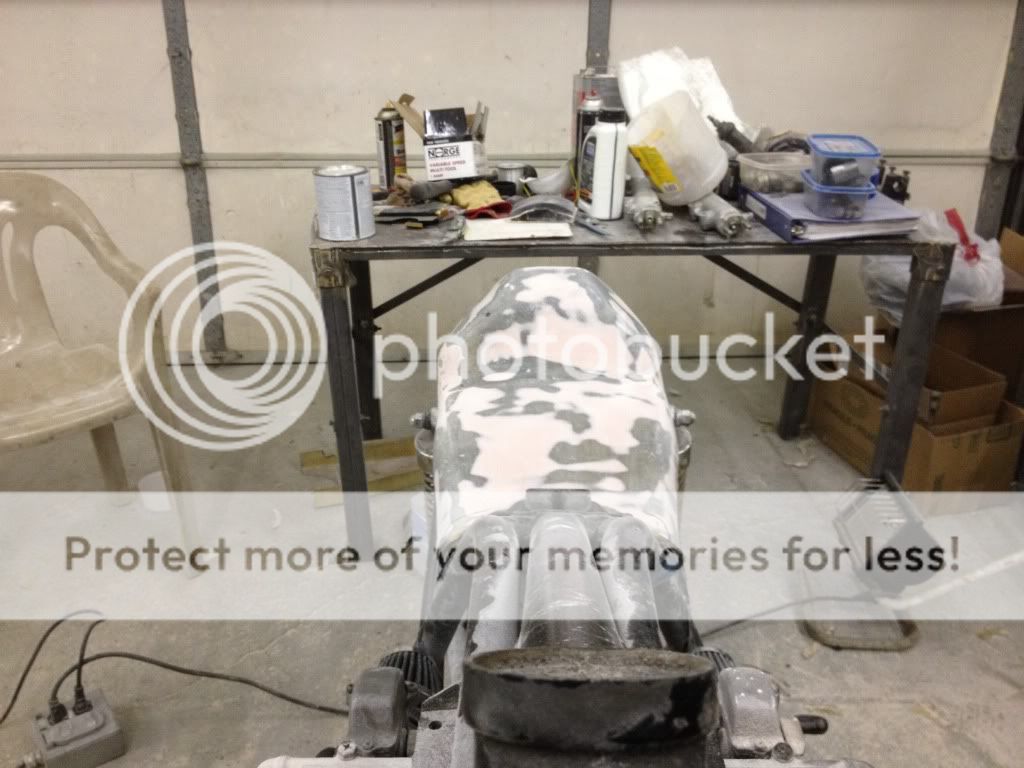
After sculpting the foam into the shape I was looking for I stretched Fleece over the structure and I used fishing line to tie down the creases toward the rear of my seat and the front lip by the tank. I then applied resin to the fleece and added layers of matte and cloth.
The light spots are not air bubbles the fleece I used was camo.
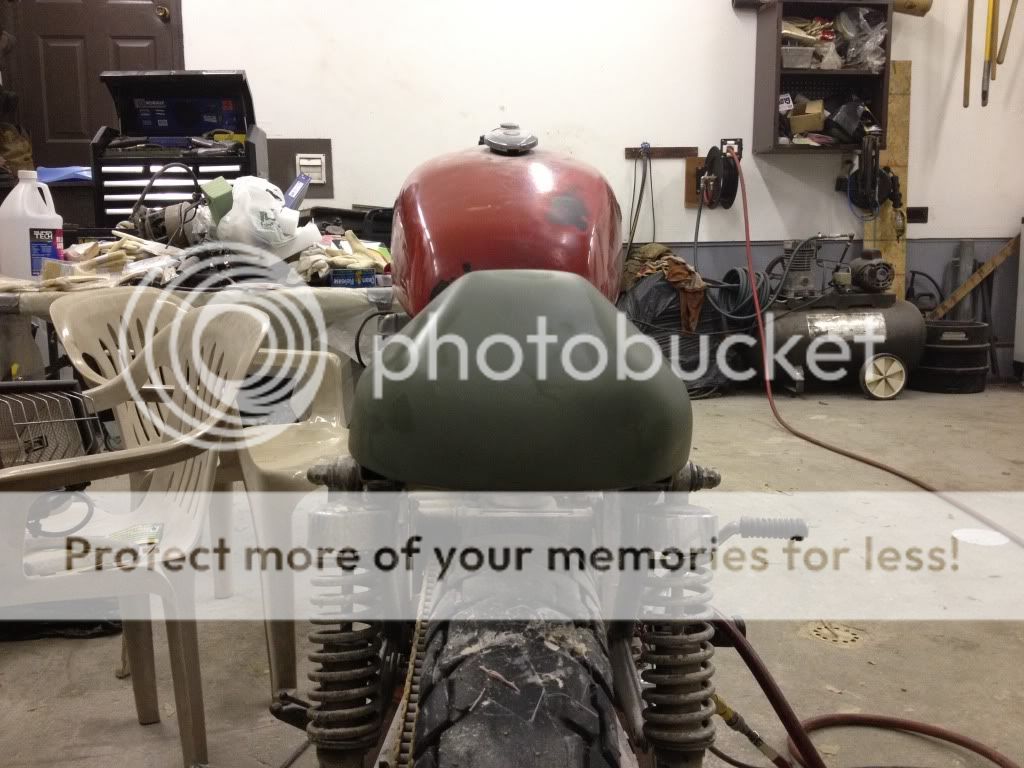
The tail section is still rough and needs some shaping yet but I'm fairly happy with the shape considering this my first attempt. The bottom edges need some straight cutting done. This is where she sits right now. I just applied some more cloth so I'm off to the garage to do a bit of sanding. Suggestions and comment welcome. Please just keep in mind this is my first build and I'm working with minimal budget. To this point with the two bikes, fiberglassing and materials I've only invested approx. $550. I apologize that I didn't go into detail about most things, but I'm playing catch and I kind of wish I'd have just made a thread from the beginning.
A little about myself. I'm from Rayland, OH it is a small town just outside of Wheeling, Wv and not too far from Pittsburgh. To make a long story short I got a free chopped up 1980 KZ650F1 with title.
I wrenched on the motor for a couple days and got it running. That is when I decided to purchase a parts bike because I was only planning on using this engine for the build. So I purchased a complete 1977 KZ650 B1 for $400 with clear title.
After a few days of wrenching on the parts bike I managed to get it running, but the carbs were all gummed up and needless to say it needed some work as well. So I took both engines out of the bike and began a top end rebuild on both of them. Heres a picture of the tear down on the 77.
After looking at the internals and knowing my budget was tight I decided to go with the F1 engine because it needed much less work and the cylinders were in better shape. Just a little honing and they were ready to go.
After reassembling the engine I decided to tackle the carbs. I'm not a professional by any means so I had my hands full. Luckily I had two sets of carbs one with an accelerator pump and one without. I was hoping to use the carb with pump but when I was tearing it down a piltot jet stripped out. Good thing for part bikes.
I cleaned the working carbs up and replaced the insides, reassembled and attached them to the newly assembled engine. My plans were to reassemble the motorcycle with engine and bare essentials to make a test run and ride the bike around the yard to make sure everything was in good order before continuing. Everything worked well and it also gave me a chance to simplify my harness and make a blueprint for part of the final wiring set up. My next step was to see how some of the engines cases would clean up to see if I wanted to paint over them or strip polish and clear.
This points cover had been laid down but it was the only before picture I remembered to take. I plan on replacing this cover though.
The cases cleaned up fairly well with minimal time. But it is by no means a finished product. I think I'm going to explore other routes to clean the engine up. I'm still thinking on that.
I am trying to decide between the spoked rims or if I should go a different route altogether.
See first picture for pic of Mag? wheels.
My next order of business was to detab my frame and begin to make my tail section. I attempted to make everything from fiberglass myself. I think I am going to ditch the fiberglass electronics compartment and weld up a steel compartment which will make grounding and heat transfer easier.
Before Detabbing
After I detabbed the frame I cut off the rear hoop and made a fiberglass electronics compartment.
The rear of it would need to be sealed up to keep the crud out but I believe I'm going to scrap it and make a steel one. The next order was to make a rear hoop. I don't have access to a bender. So after some thinking and building a template of the bend I would need this is what I came up with.
I welded the first portion to the table and heated the pipe and bent it around the template and welded as I bent. It turned out fairly good and needed minimal straightening to make it symmetrical.
The result.
After I made the hoop I began work on my seat pan which is also made of fiberglass.
I took blue tape and created flat surface and began glassing it.
After several layers of matte and cloth I had my seat pan. So I moved onto creating the mold for my tail section.
After sculpting the foam into the shape I was looking for I stretched Fleece over the structure and I used fishing line to tie down the creases toward the rear of my seat and the front lip by the tank. I then applied resin to the fleece and added layers of matte and cloth.
The light spots are not air bubbles the fleece I used was camo.
The tail section is still rough and needs some shaping yet but I'm fairly happy with the shape considering this my first attempt. The bottom edges need some straight cutting done. This is where she sits right now. I just applied some more cloth so I'm off to the garage to do a bit of sanding. Suggestions and comment welcome. Please just keep in mind this is my first build and I'm working with minimal budget. To this point with the two bikes, fiberglassing and materials I've only invested approx. $550. I apologize that I didn't go into detail about most things, but I'm playing catch and I kind of wish I'd have just made a thread from the beginning.


")