Oh yeah....I am also making my own paint booth in the basement to get this party started!!!!
That should work a treat. I just did similar for painting my new tank, but you could do with a couple of filters which can be as simple as a piece of 2' X 2' foam taped into that polythene sheet. A small bathroom type extract fan will be enough to pull out the spray mist which will otherwise stay air-borne, dry out and land on whatever your painting.
i just parted the polythene from my wall and blew the overspray out by using my spray gun as I did it next to my barn door. Try and use a high volume, low pressure HVLP type gravity fed gun, unless you have something already, as these cut down on a lot of overspray too.
Hose any walls or floors off with water and you should have a nice clean environment for painting there. Take a look at my tank and fairing, they came out as you would expect in a commercial booth.
Mark

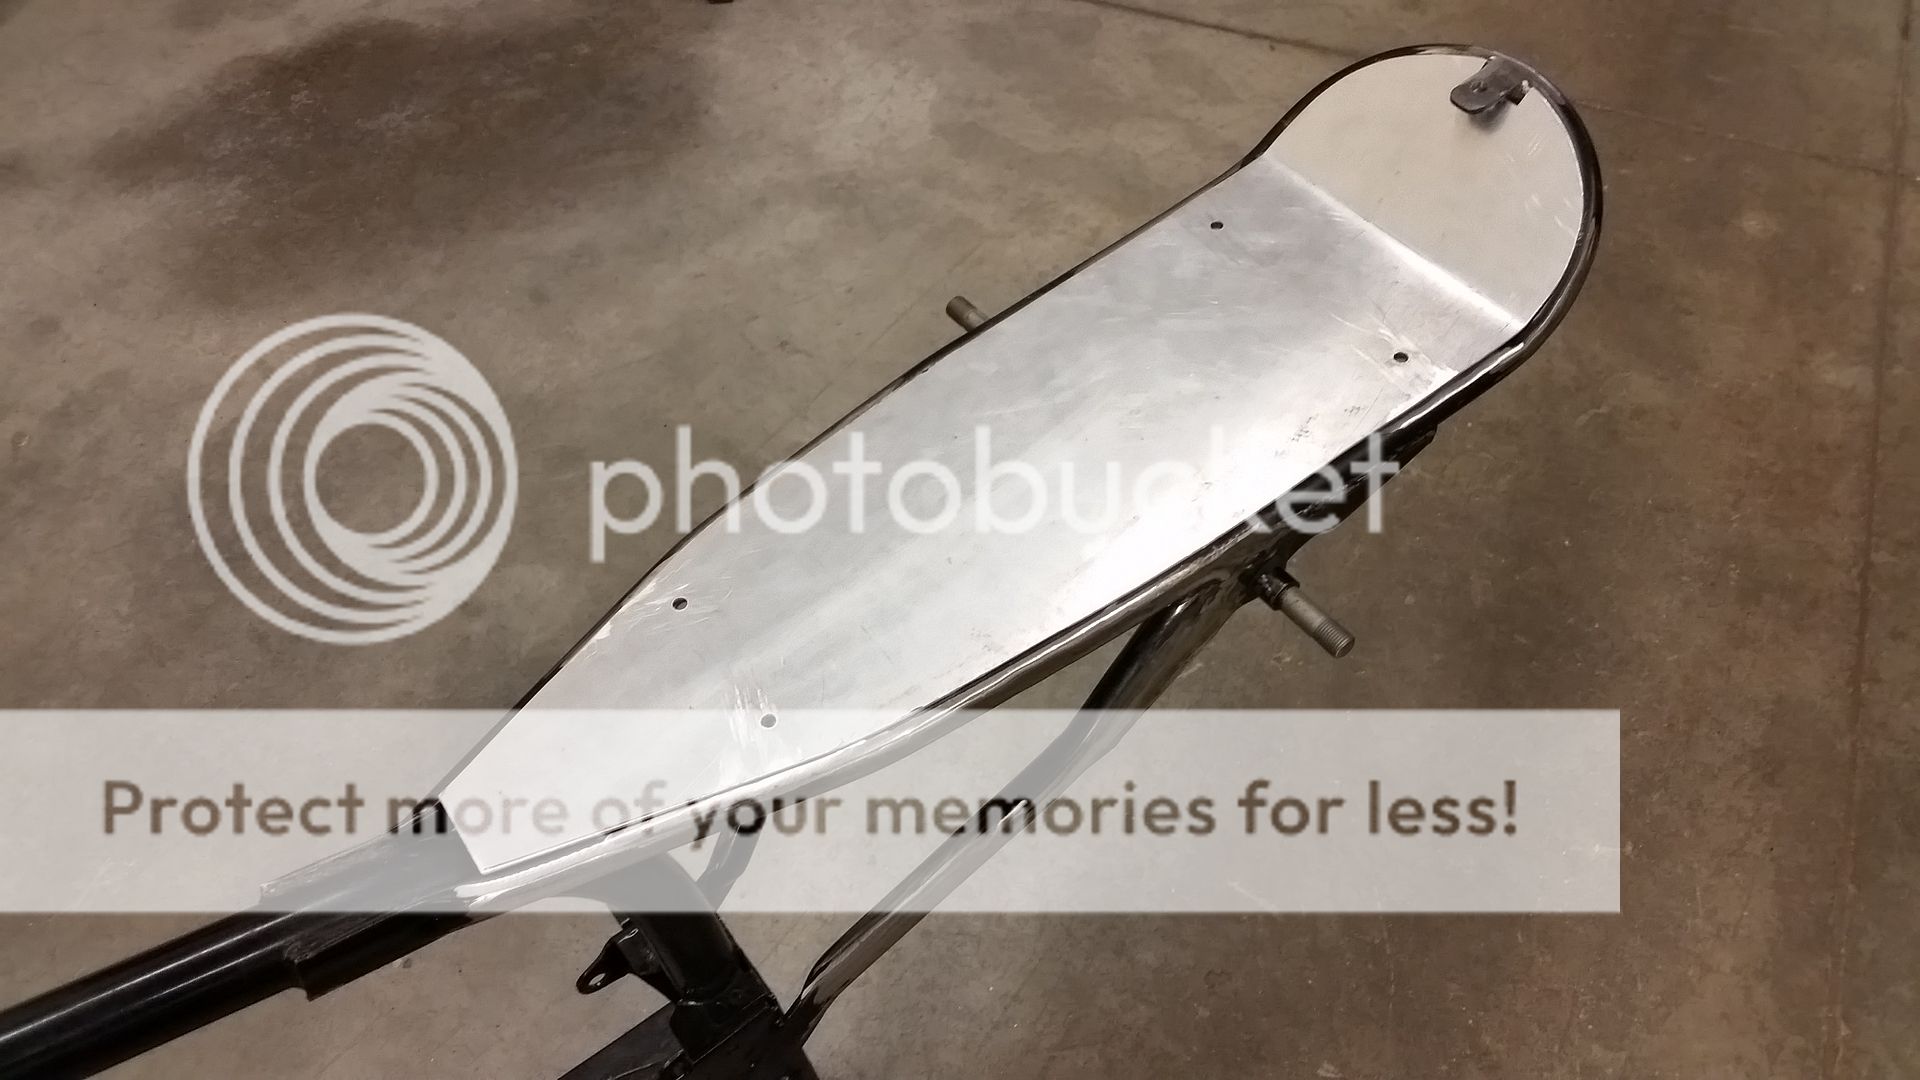
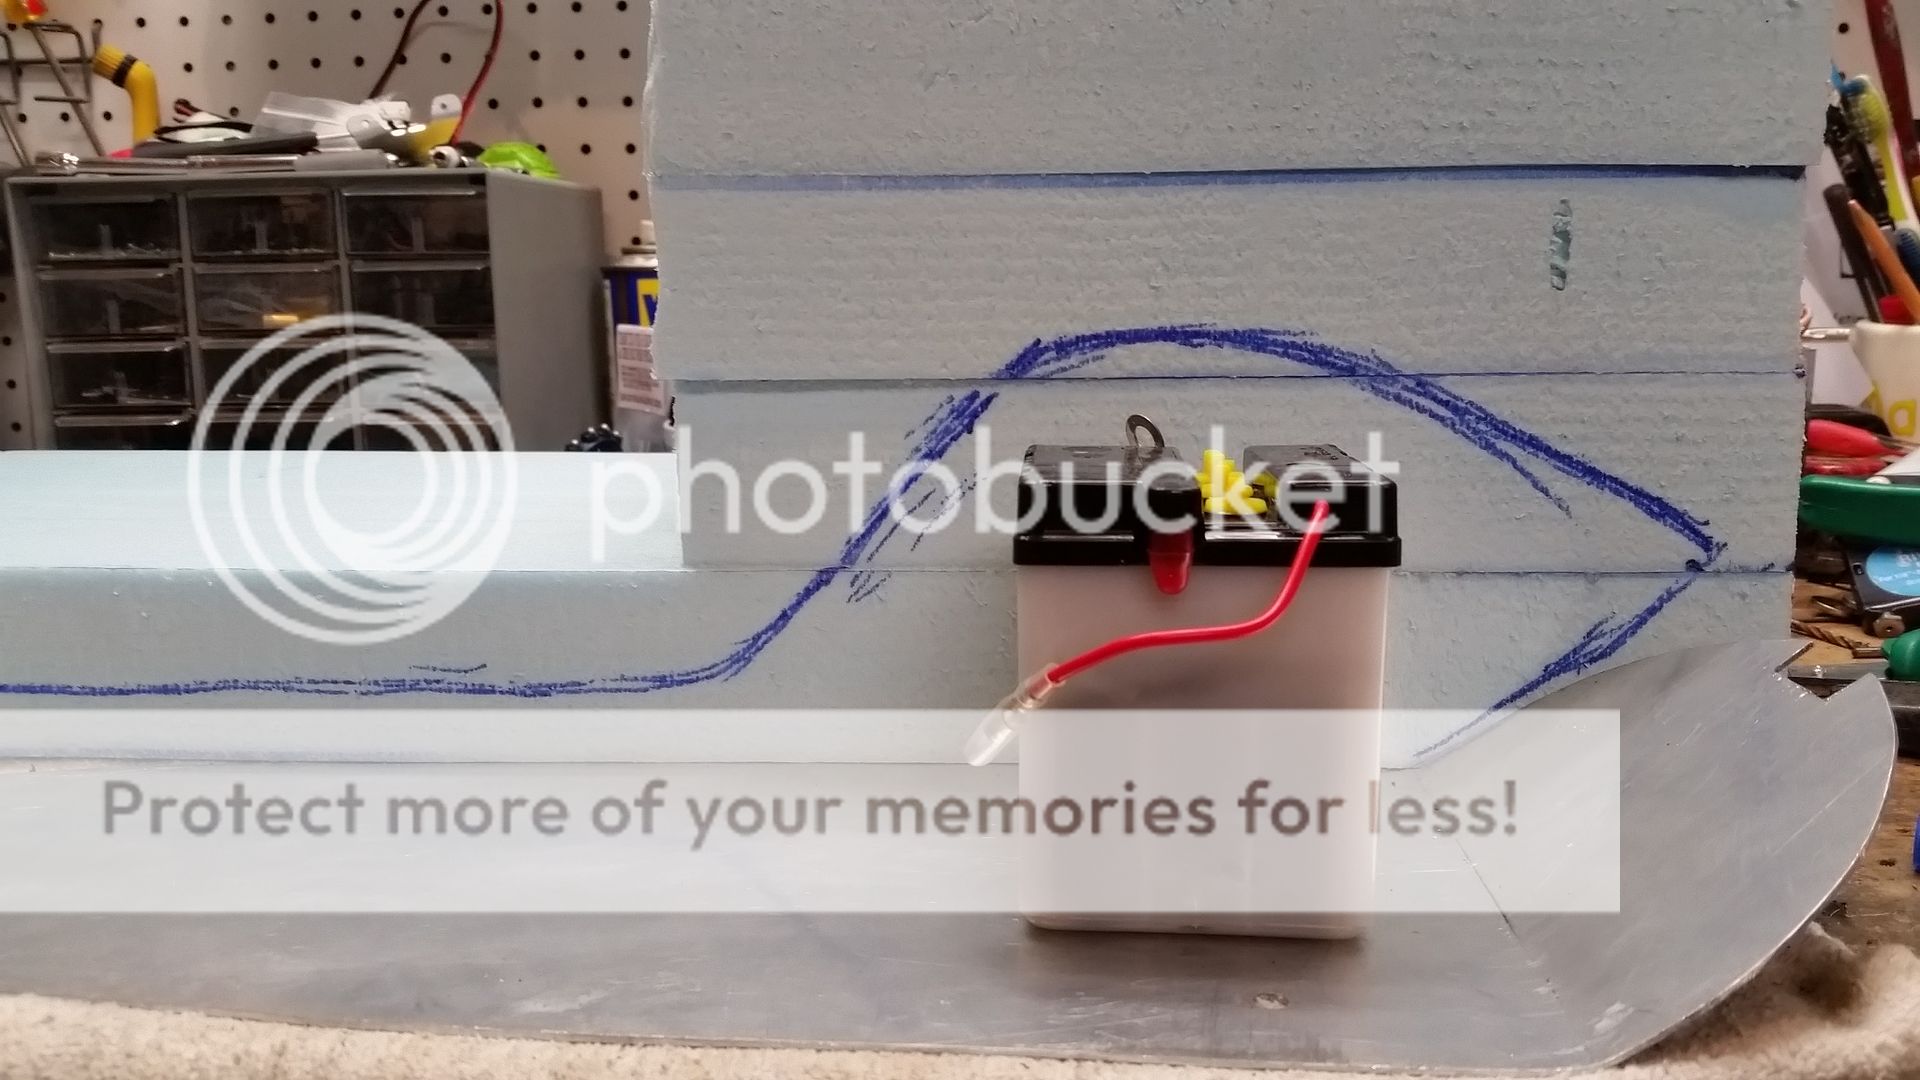
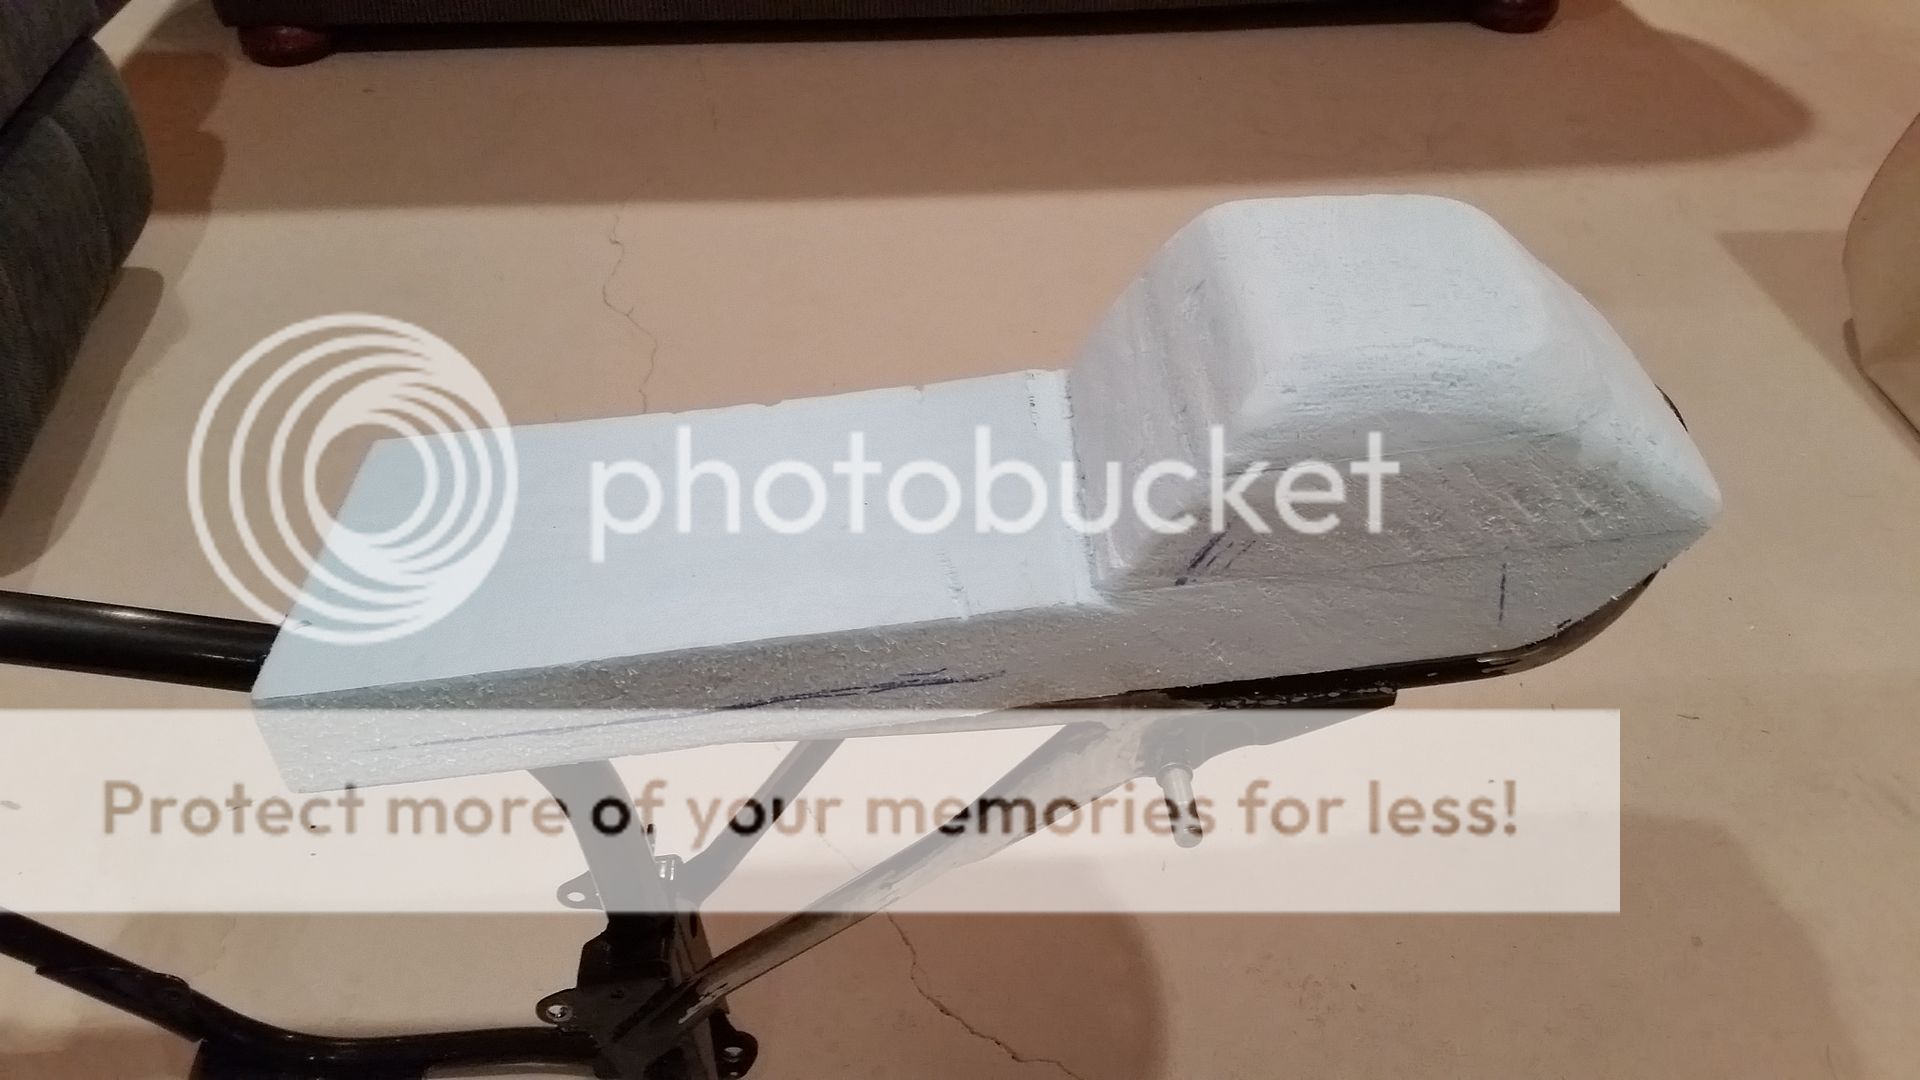


") I did head down and take a look with the old rear fender and seat. It is within an 1" clearance if that with the new seat pan compared to the old fender. I have some room to move the pan up into the seat and still have the battery fit in there. The bike did use to be an enduro so I hope that on the street I will not use all the travel it had to offer! ;D
I did head down and take a look with the old rear fender and seat. It is within an 1" clearance if that with the new seat pan compared to the old fender. I have some room to move the pan up into the seat and still have the battery fit in there. The bike did use to be an enduro so I hope that on the street I will not use all the travel it had to offer! ;D


