Honda 200 "The Neverending Bike Build" ARTAX

yawlright

Been Around the Block
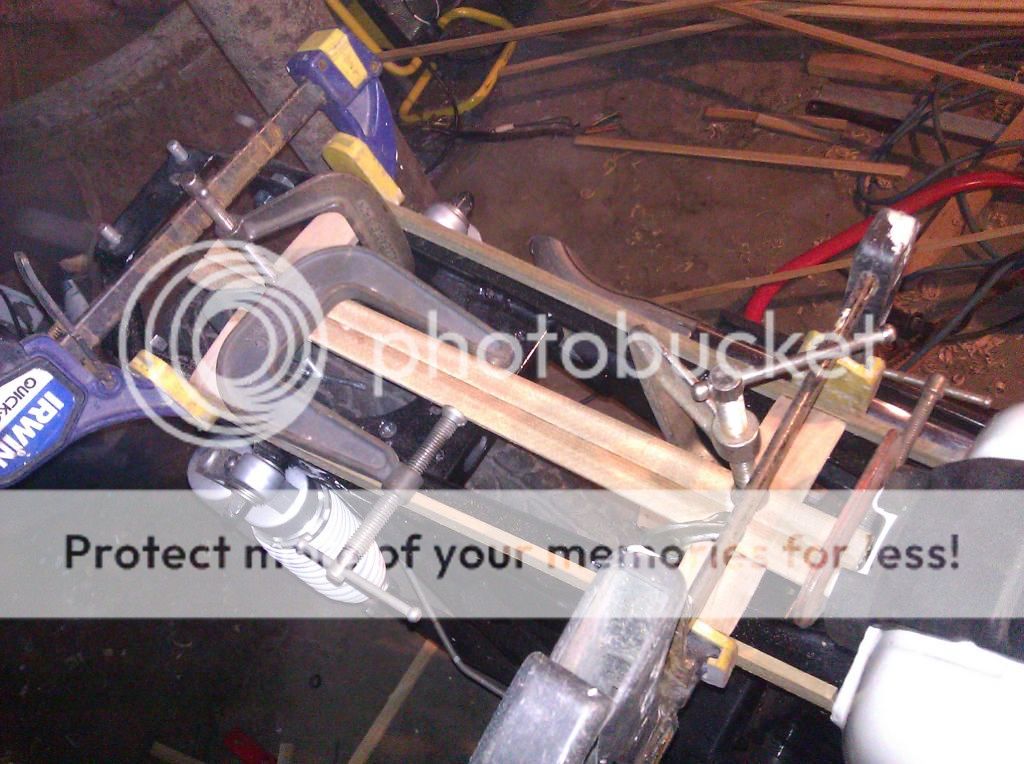
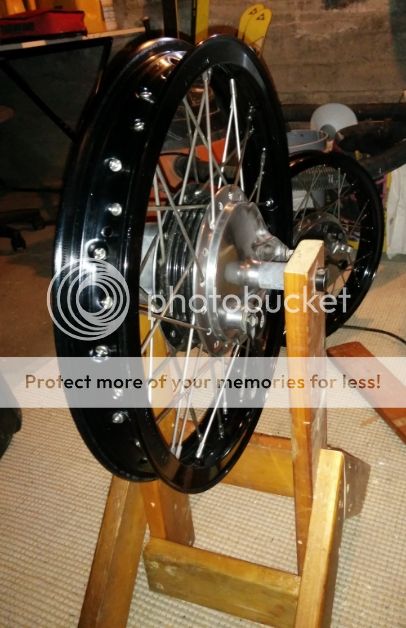
Good Day all DTT people. I am here once again to continue my Honda CB200 build!
Here is a link to my first attempt: http://www.dotheton.com/forum/index.php?topic=27628.0

I felt it unwise to resurrect my dead zombie thread even on the same exact bike. So here I am starting fresh.
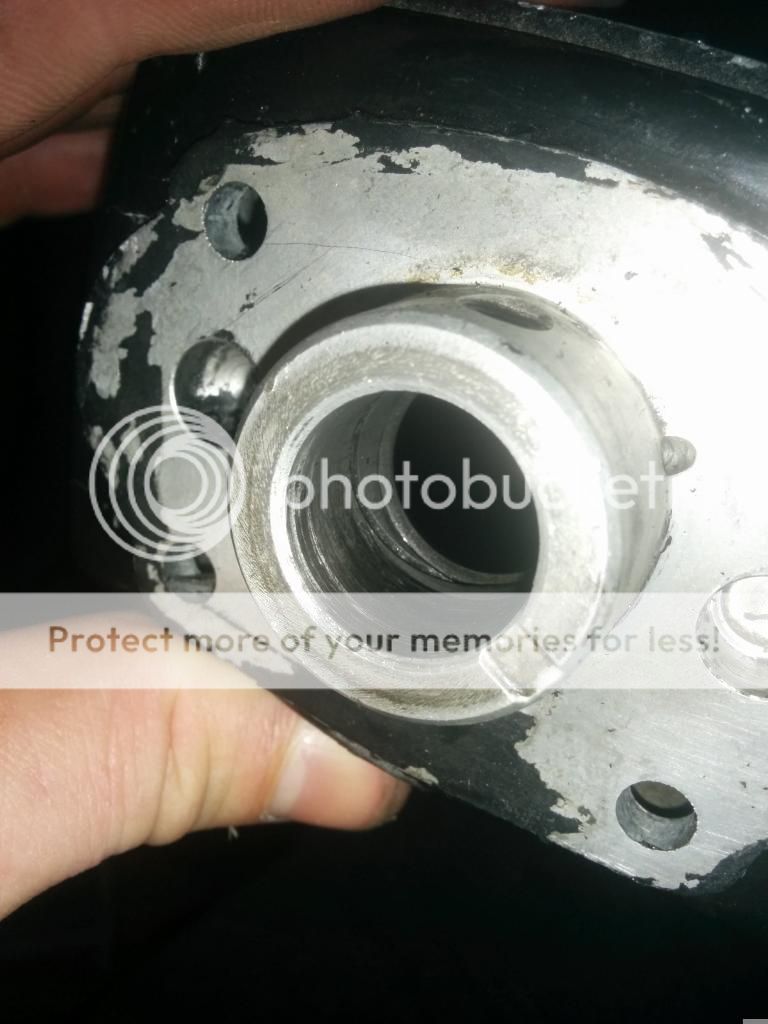
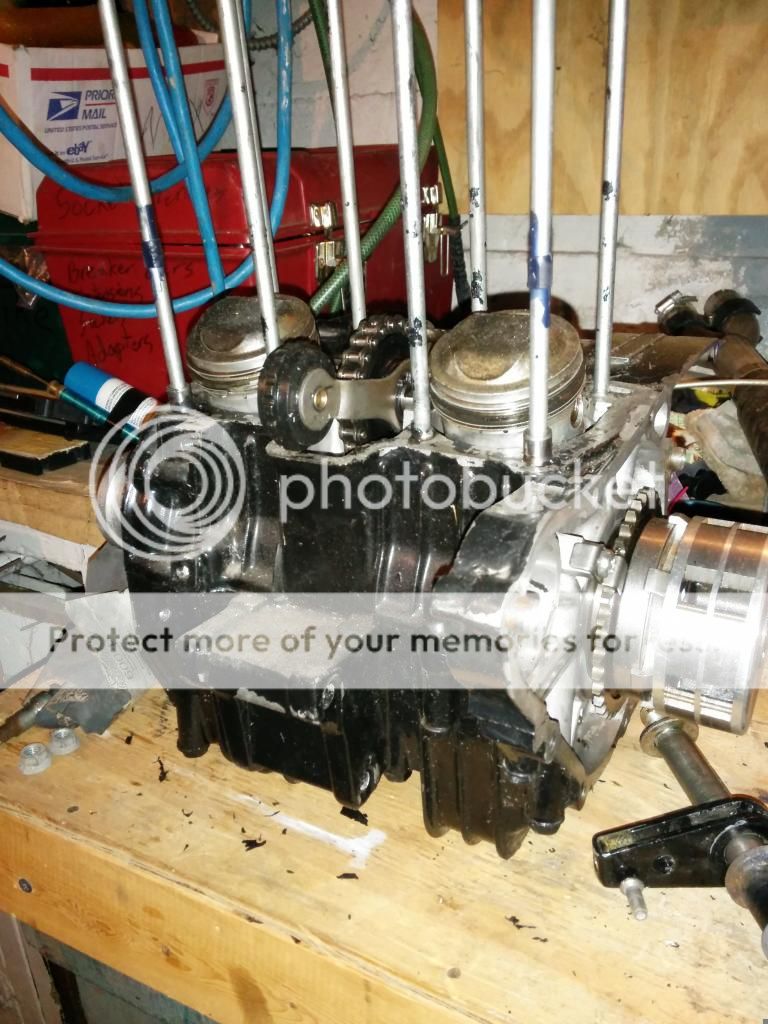
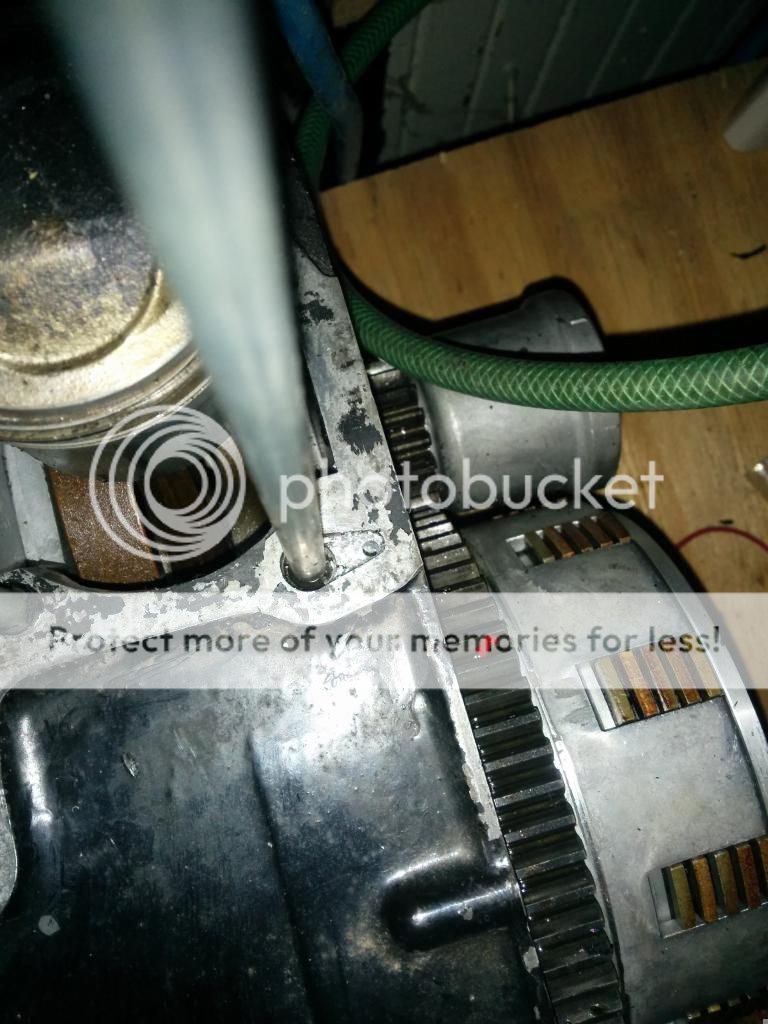
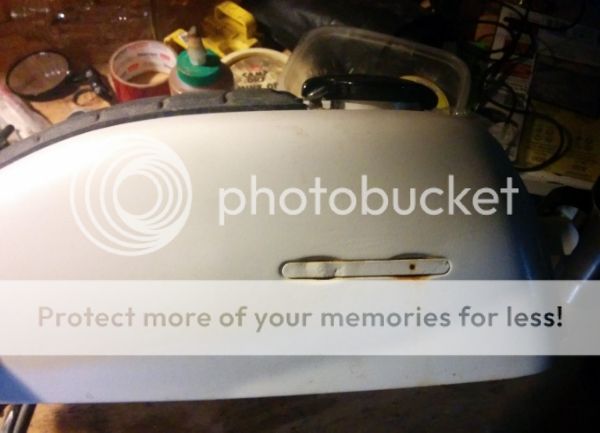
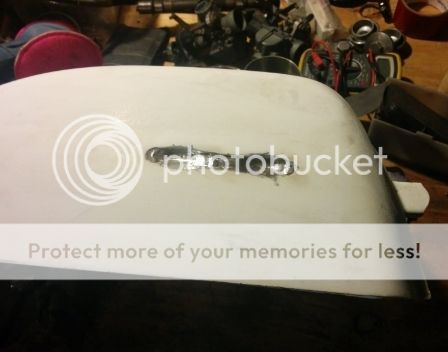
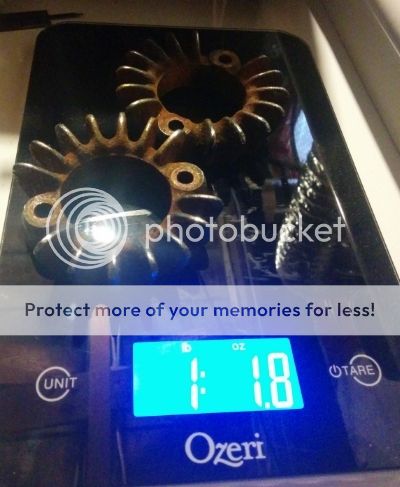
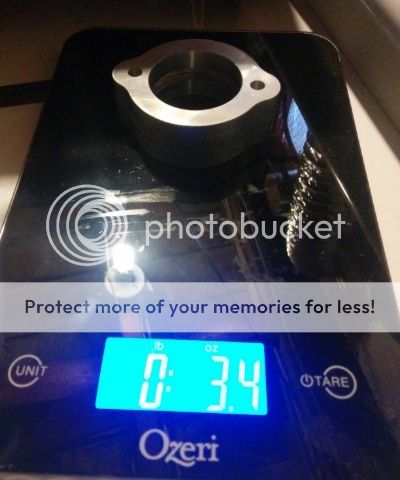
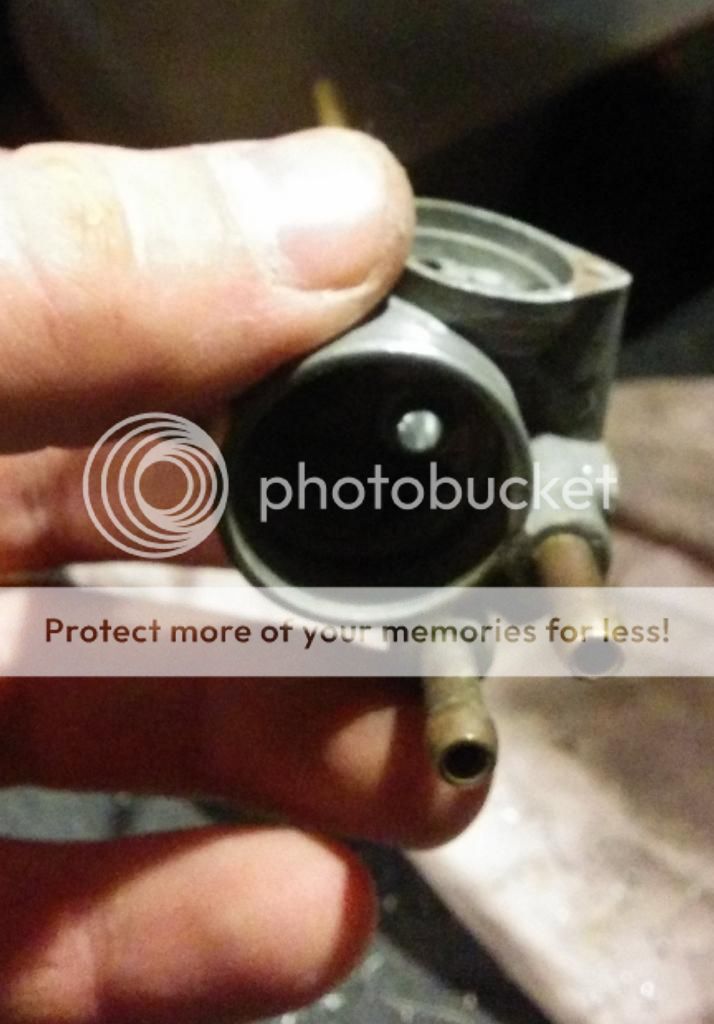
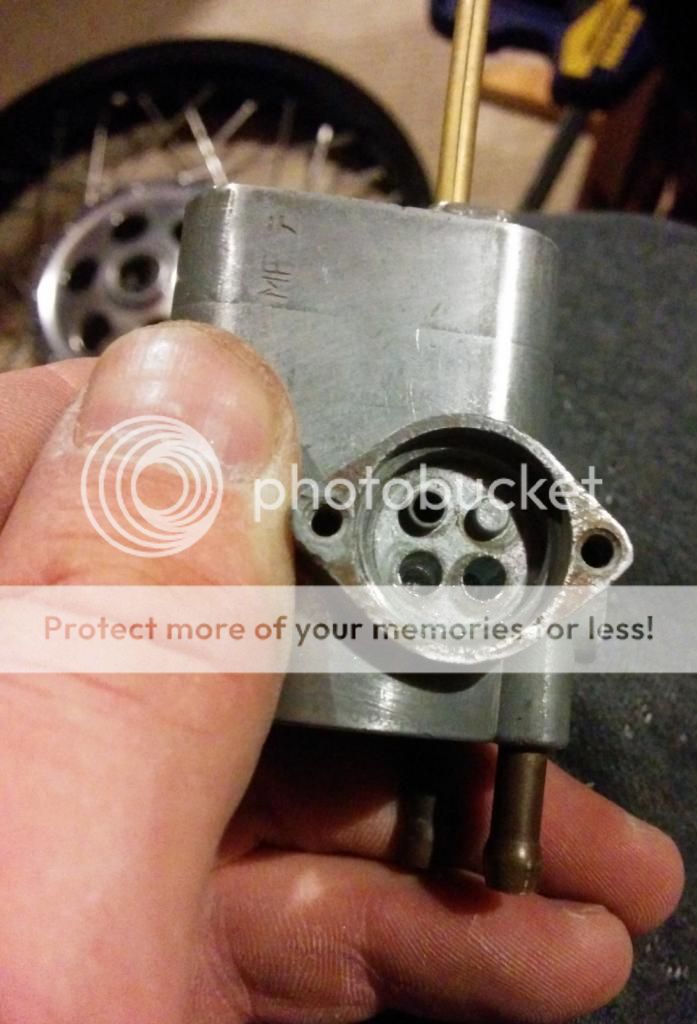
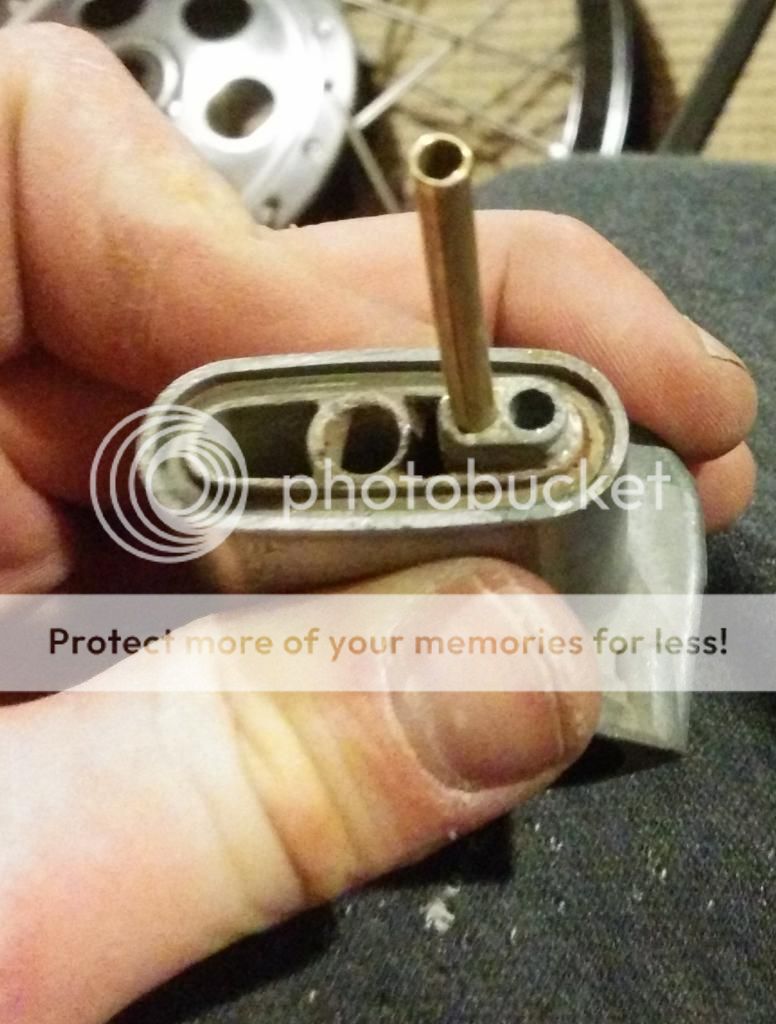
First a little back story... Read my first thread i guess. Then at the end of the first thread after immense and gratifying work i got the bike started. The next day I noticed some smoke after letting it idle for a few minutes. Poof! Meltdown. I knew it was my cam journal overheating and to be fair the journal wasn't melted to bad or even stuck. What melted was the magnet sleeve for the electronic ignition. Talk about a safety mechanism... The cam journal does have some marring however good thing i have a spare. The frustration was palpable so I parked the bike at my parents and didn't think about it ... for a long time. until last month when after an extremely long hard summer of work, I now have the time and $$$ to FINISH HIM! I do not mean rip out my bikes spine.

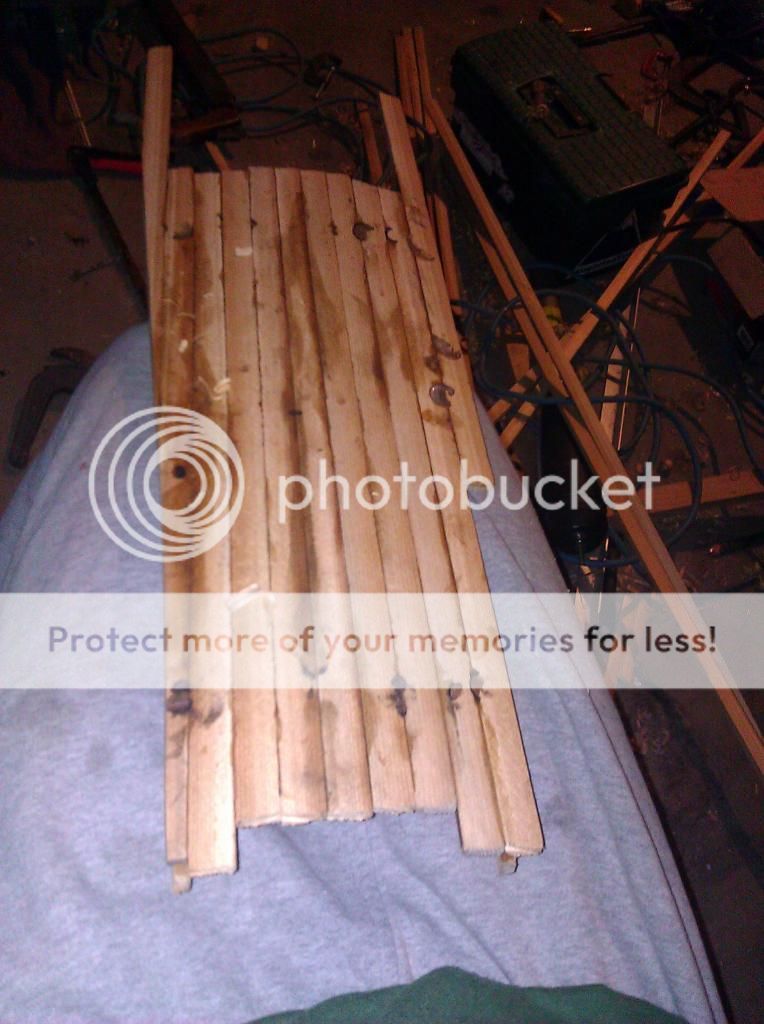
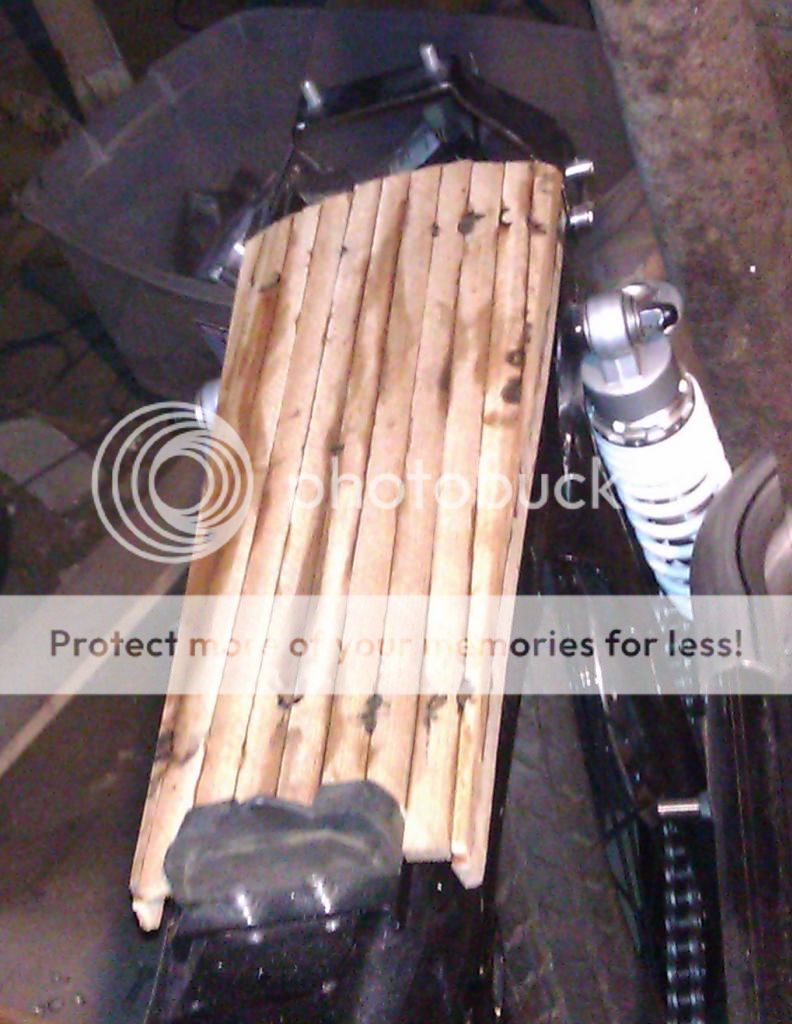
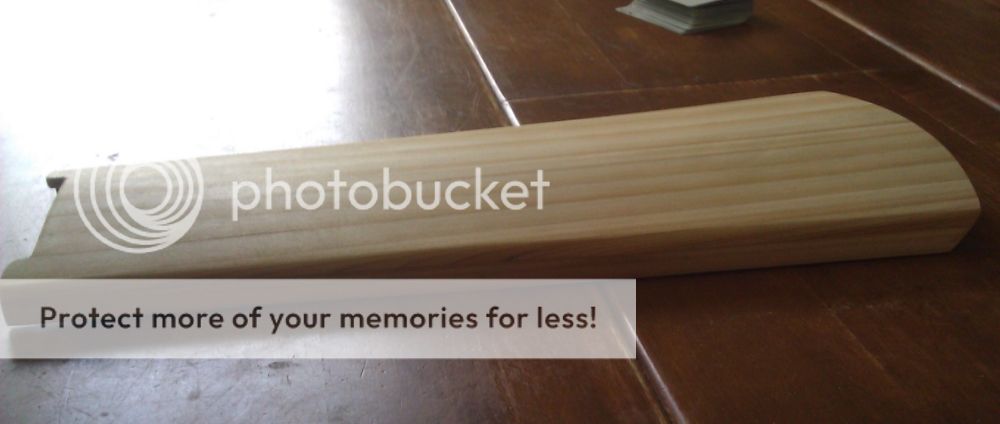
So I will upload pictures and updates as I go along. They will be frequent and I am excited. The help I received on my initial attempt was so amazing. I can only hope to garner enough attention from the experts lurking on here to get me to the finish line. for realz this time. To think, if you read the first post of my other thread, I was optimistic of my timeline to get the bike complete. I now know just what it will take to get through the lengthy task, my intense and satisfying passion for tinkering!

Cheers, Eric
 
UGH just remembering how to forum again. Had to reset photobucket password and everything. So here we go.

The culprit :mad:
You can see the wearing on the journal enough to score a bit but not a total meltdown like some I've seen. thanks expensive plastic magnet sleeve from pertronix...
So I will be doing some mods to make sure oil is getting to the end. plus the needle bearing on the tach side.
IMG_20150203_2008091.jpg


Motor in current state of dismantle
IMG_20150213_2122211.jpg


I made a valve spring cap removal tool from a little copper pipe. +big clamp = liberated keepers.
IMG_20150213_2120491.jpg


And of course i started buying stuff. Like shiny stainless Buchanans spokes.
IMG_20150217_2238501.jpg


I started with this motor mod for greater oil flow to top cam. This hole next to the stud is originally very small. I am unsure of how big I could or actually should make it. but enlarged it to this to begin with. Also my overzealous application of threebond did not help as some was in the way of the hole restricting flow even more. this is probably the sole reason the top cam got hot. but i still want more oil getting up there.
IMG_20150203_1847061.jpg


So I have more and more work that I have been doing. pics to come.
-Repolish of all shiny bits.
-sanding my wood/fiberglass seat for final epoxy coat then a final UV protection coat.
-remove magnet rotor using the sneaky rear axel screwed into the end of the crank.
-above was to remove the starter gear and assemblage from the crankshaft. I will replace the magnet rotor for the foreseeable future until i hardcore race this thing years from now.
-lapping valves
-bought new aluminum wm2 rims from mikexs

TODO: List is too long for final vision, but here are the next couple steps.
-build wheels (again)
-clean motor
-more top cam oil mods
-build motor (again)
-I may crack the lower case again, but don't want to. I just want to be 100% positive that it is 100% clean in there

The rest of the list is massive but again, I will update as I go along.

Cheers, Eric
 
OOO boy, got the wheels laced this eve. I hope when trued the spokes do not stick into the rim and require a little grinding. I will need to build another jig for truing. maybe a little more accurate than the last time where i had less than 1/128" hop or wobble. this time the spokes won't rust out on me again. learning all over again to lace inners first then outers... here they are again with their new rims spokes and repolish/resand on hubs.

IMG_20150220_0025321.jpg


Removed over a pound in mass on the crank. the starter gear and uni directional cam came off.

IMG_20150219_1911031.jpg


just a shot of the 2-1 for my exhaust setup for now.

IMG_20150219_1914061.jpg


so this is a shot of the sanded seat and rear butt stop that i made from cedar strips and fiberglass. the goal is to have a clear coat to the wood. it is a nice strong sandwich construction.

IMG_20150219_1914341.jpg


also got some 31mm clip ons from the ebay.

IMG_20150219_1914511.jpg


That is all for now, I am headed to a birthday party at a cabin with a bunch of friends so I wont have time to work on it until next week. So much more to come!

Cheers, Eric
 
tach block off plug!
d8e7bb15-4823-40d7-ba93-bf0d13aefc5a.jpg


also here is the process of how i built my seat pan.
I decided to do a two piece unit. the seat pan then a rear fairing. a one piece seemed too complicated and i was still in the process of deciding how i want it to look and if i wanted to have the option of a brat/ tracker seat. COMBOOOOO 8)

So i made two cross pieces that sit on the rail of the frame cutting out grooves so it rests right over the 6mm bolt holes in the frame.
IMG_20120504_133923.jpg

then i glued and clamped a strip of cedar down each side
IMG_20120504_143244.jpg

then glued and clamped strips down the middle
IMG_20120504_153210.jpg

here i am further along
IMG_20120504_144401.jpg

This is fully stripped but still has a lot of excess
IMG_20120517_214959.jpg

this is trimmed down with a hand plane and a pull saw
IMG_20120517_220017.jpg

Finallly! sanded and very pretty.
IMG_20120519_113204.jpg

I then fiberglassed fully the outside. I took into account sharp corners on the underside while building so the fiberglass would lay down nicely. Then a couple coats of epoxy makes it super smooth. I got the idea from cedar strip canoes which are light and strong.

I still want one final smoothing coat of epoxy before putting a coat of clear uv protection possible a varnish or similar to keep the resin from deteriorating in the sun.
Cheers, Eric
 
I reset my Honda speedometer. Not sure of the legality of this action, but I never plan on selling this bike. So this is a quick video I took showing how it is done.

https://www.youtube.com/watch?v=Ysq_5PxGW7k

Cheers, Eric
 
Small update.

So I noticed some rust coming out from under the tack welded side badge mounts on my tank. I had to nip this in the bud.
IMG_20150226_1406531.jpg


I am going to fill both sides with epoxy and repaint. i think...
IMG_20150226_1455521.jpg


Also got some exhaust flanges off of ebay.
Old.
IMG_20150226_1355221.jpg

New
IMG_20150226_1354441.jpg


That's it for now.

Cheers, Eric
 
Not too much has happened since last update.

I received my petcock rebuild kit for the tank and will plan on doing that soon. Also I will bore out my petcock a tad to give maximum flow.
I epoxied my tank on one side and put a coat on my seat. I have damaged it and exposed it to too much weather for it to be perfect but I like the character and color the extra UV's give. I'll put a clear coat on it to keep the integrity of the fiberglass and epoxy as long as possible against the UV rays.

Here is the tank side filled in:
IMG_20150301_2148371.jpg


Here is one of the seat:
after glass epoxy much time and another coat of epoxy
IMG_20150301_2131421.jpg


Cheers, Eric
 
I had some time to tinker on my petcock this evening. First I wanted to increase flow into the bowl of the petcock. Boring the holes into the bowl to a diameter of 9/32". This was the exact size of the new 4 hole rubber seal in the rebuild kit that I got. Starting with the hole entering the bowl I used my power drill and a steady hand to let the bit find the path of least resistance down the middle of the old shaft.

now I can see the light!
IMG_20150303_1900271.jpg


Here I have bored both lower holes in from the face as far as the vertical shaft they correspond to.
IMG_20150303_1928361.jpg


The lower right hole is the "reservoir" hole which will also be known as "Race Mode" from now on. It goes up next to the shaft with the brass tube. To drill it out i removed the brass tube but ended up crushing part of the tube pulling it out. Now my "reservoir" is half as tall. I just saved some weight right?

My shortened reservoir tube and bored out hole next to it.
IMG_20150303_1928471.jpg


I left the ports that exit the gas bowl area stock at the moment as it is splitting the flow of the single upper gas hole. I am just trying to ensure enough/equal gas to both fuel lines to the carbs. I also left the port with the brass tube for normal running stock diameter as I won't need any extra gas just putting around. Anyway that is all for now.

Cheers, Eric
 
Looking at purchasing this to stick down to the seat for padding. I may make several seats with varying amounts of padding that I can switch out if I am going on a long ride with more padding or short jaunt/race padding. What does everyone else use for seat padding?

-Eric
 
I was thinking trying to use a Lithium 12v power tool battery pack for a battery.... could this work? i've already deleted the starter motor. hmmmmm

-eric
 
Like this ;D

I am curious. For racing you could have the tool charger and a gutted tool to plug the pack into the bike and delete the bike charging system. I am not sure how many Ah you need to complete a race fully....
 
Hello again. I didn't have much time to do things tonight but sanded the epoxy on one side of the tank smooth and a compression tester came in the mail! Also another thing came in the mail as well. 3x 33,000uF 50V capacitors @ $3.95 each from apexjr.com (not on his website but he has them). I may try to use one as a battery replacement. Or maybe combo with a small 12v lithium battery (1-2 Ah) to give me juice at low idle to keep it running when the RPMs cant keep up the charge in the capacitor. Also to keep the lights from flickering at idle as well. Will be making all LED lights as well to keep the bikes amps to a minimum. I will make make the headlight, brake light and maybe rear signals.

Here is the tank again.
IMG_20150304_2123471.jpg


Thought this will be handy for years to come.
IMG_20150304_2035431.jpg


And here is the caps to give you an idea of size. Note the screw terminals for easy install.
IMG_20150305_0010091.jpg


Thats it for now. I did take some time to sand my tappet covers but didn't take a pic yet.

Cheers, Eric
 
Back
Top Bottom