Follow along with the video below to see how to install our site as a web app on your home screen.
Note: This feature currently requires accessing the site using the built-in Safari browser.
We noticed you are blocking ads. DO THE TON only works with community supporters. Most are active members of the site with small businesses. Please consider disabling your ad blocking tool and checking out the businesses that help keep our site up and free.
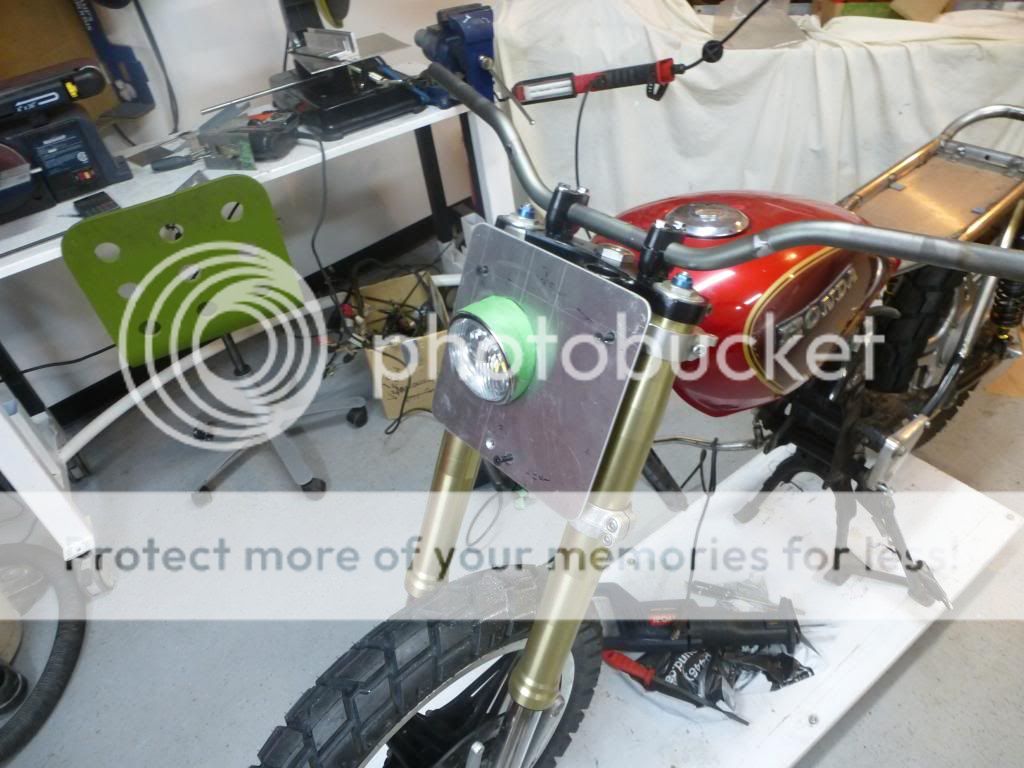
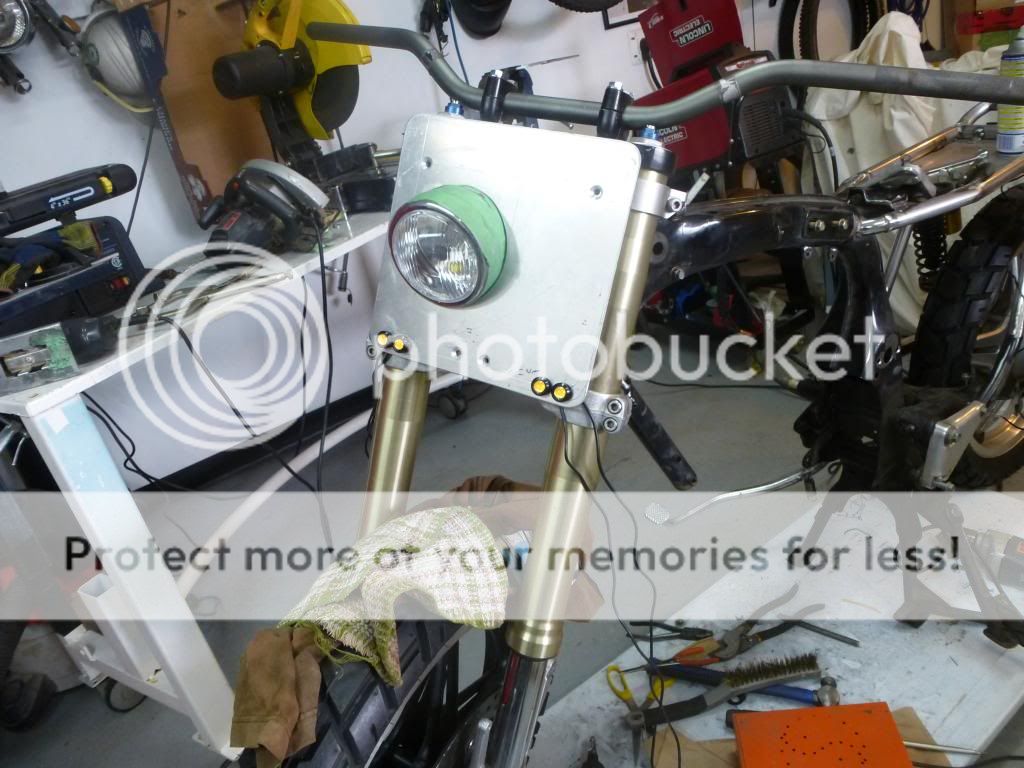
Mounting the head light was difficult but after much staring, cutting, and drilling I managed to figure it out. Lately I've been plugging away at doing the last little bits of fab. Here, I'll bore you with some pics of what happened last week.
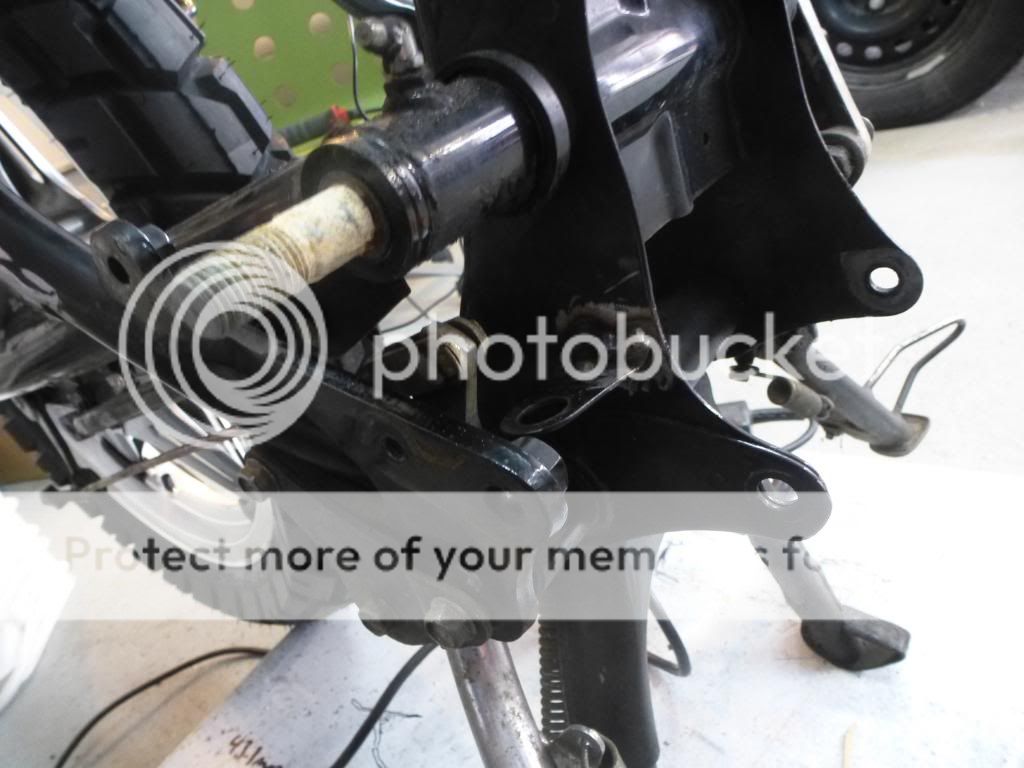
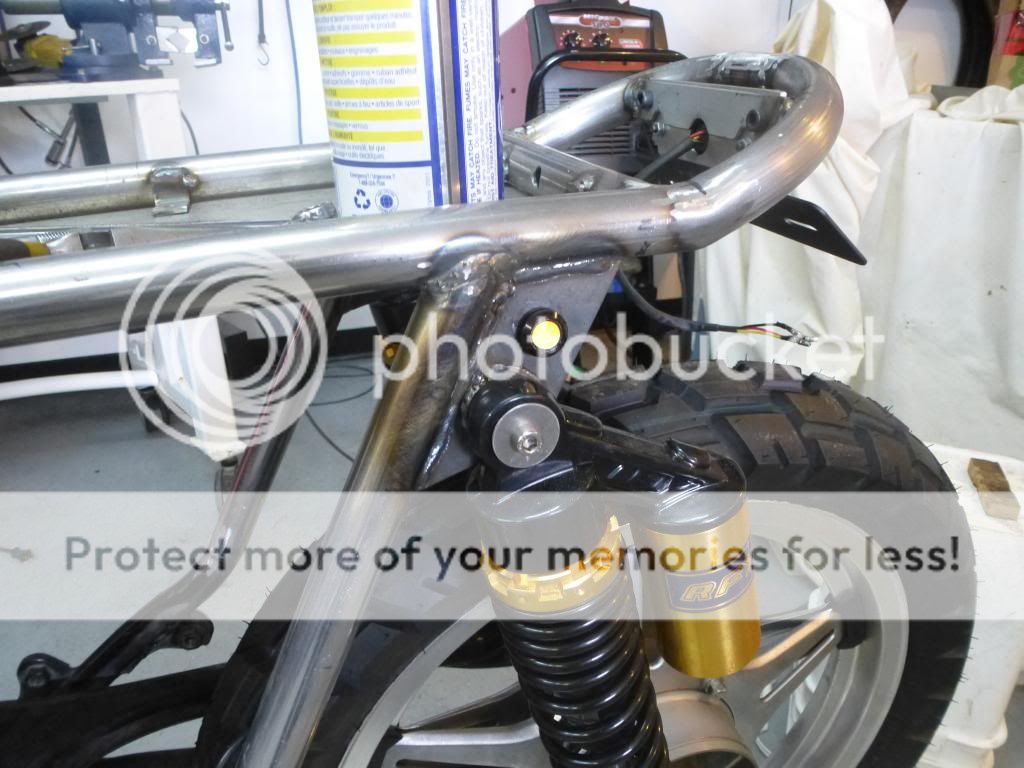
I moved the mount for the rear brake light switch.
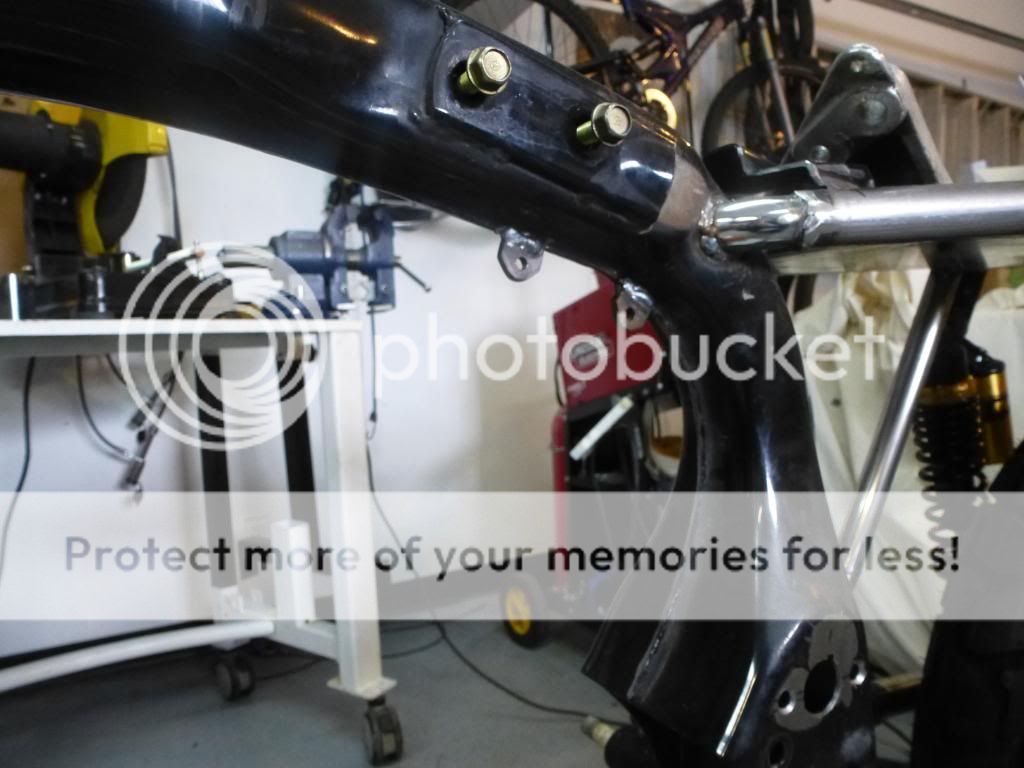
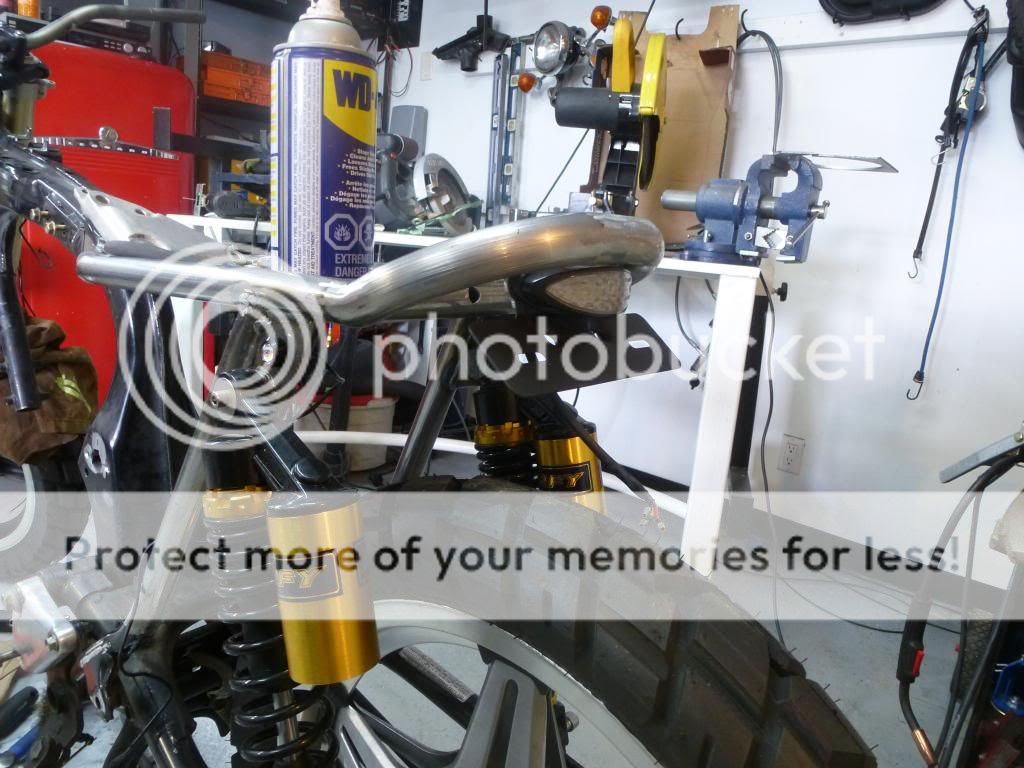
Since I know the Mikuni carbs will need something to hang off of I welded on some tabs. Not sure exactly what it will look like but some sort of bracket will need to be made to go here.
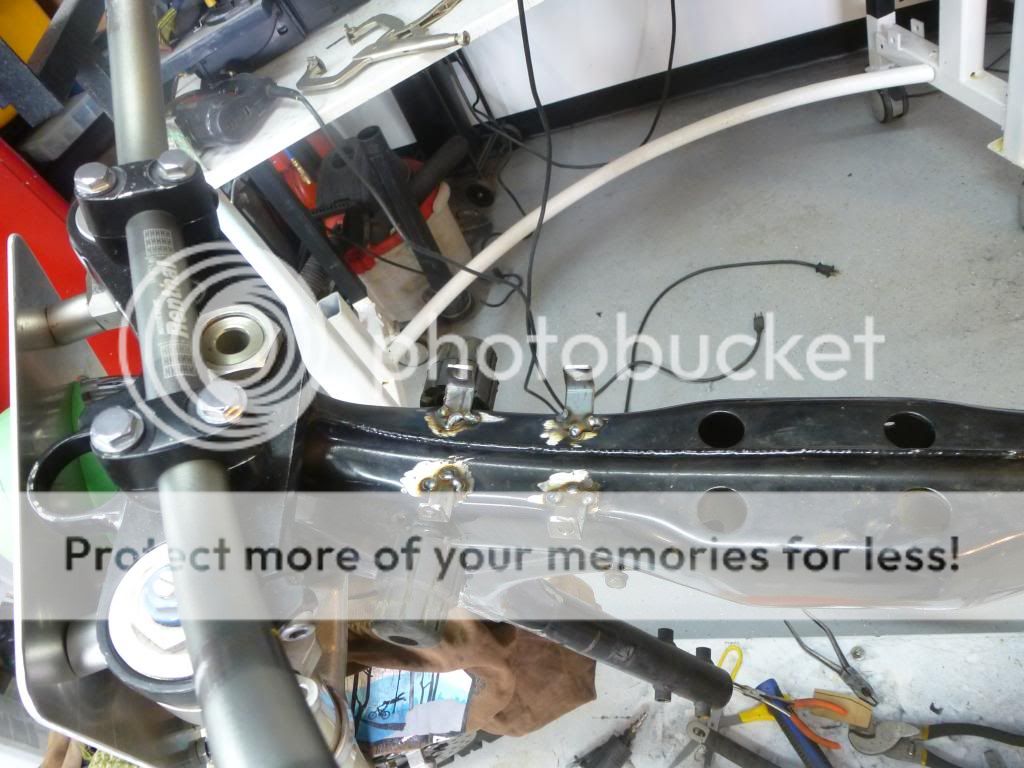
Funny how I spent a bunch of time cutting off unused tabs just to add a bunch more. These are for securing the mess of wiring that would usually be contained in the headlight.
Mounted the tail light. I ordered this one without the integrated signals since I didn't like how dim they were on my last build.
For signals I'm using these "Eagle Eye" LED's. They are ridiculously bright. Cheap on Ebay.
Another Eagle Eye here. As well, there will be some mounted on the licence plate.
Thanks for the positive comments! Starting to feel burned out on this build but since spring is here I'm feeling the pressure to get her done.
So I finished some odds and ends last week. Still waiting for my seat to return, until then I can't finish off the frame. But for the this week I've been painting all the small bits.
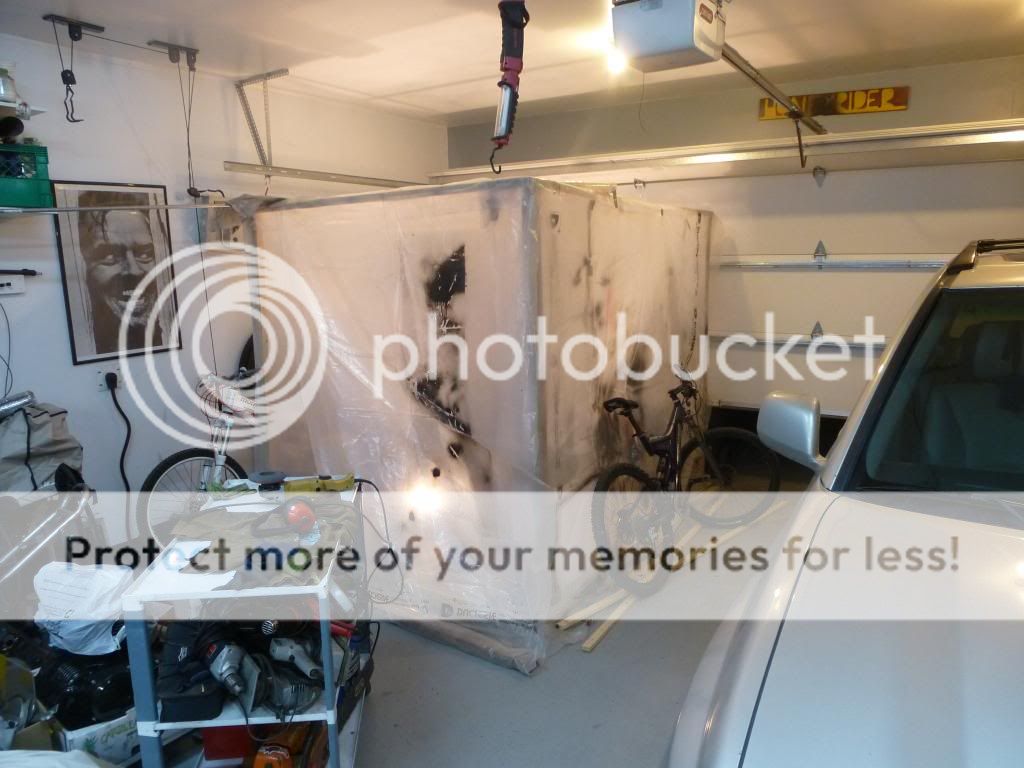
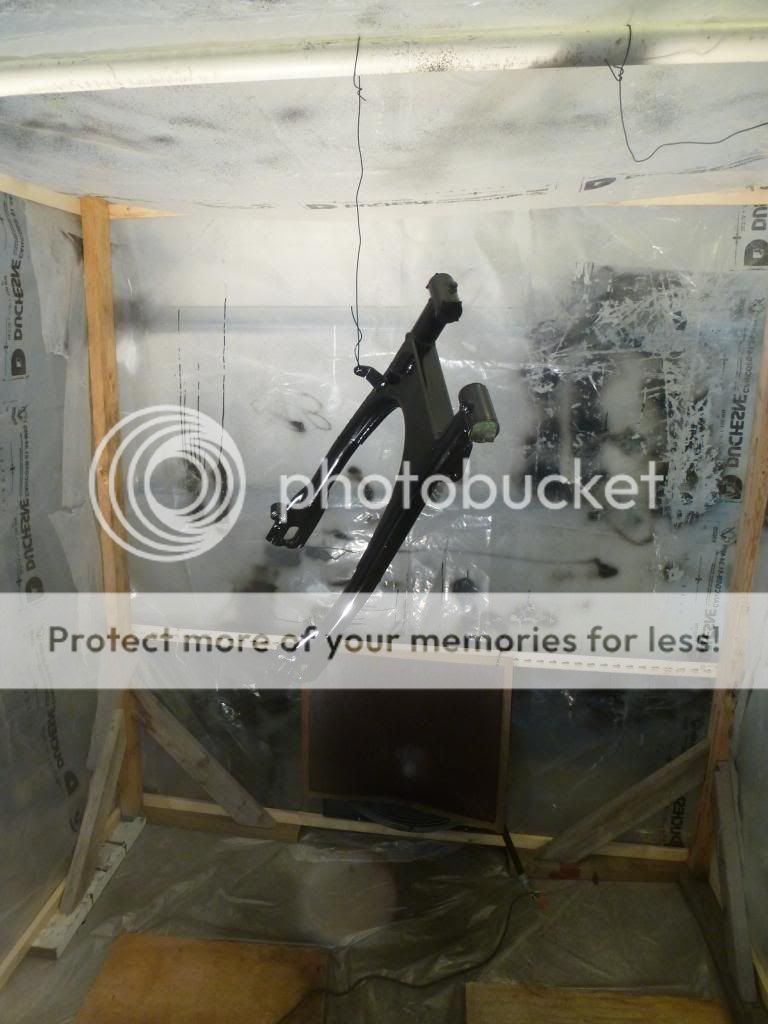
Had some buds come over and help me snap together my paint booth. Much thanks to them making this one way better than the last. It's complete with a suction fan and filtered intake.
Here it is in action. Using the VHT "Roll bar and Frame" epoxy paint on the frame.
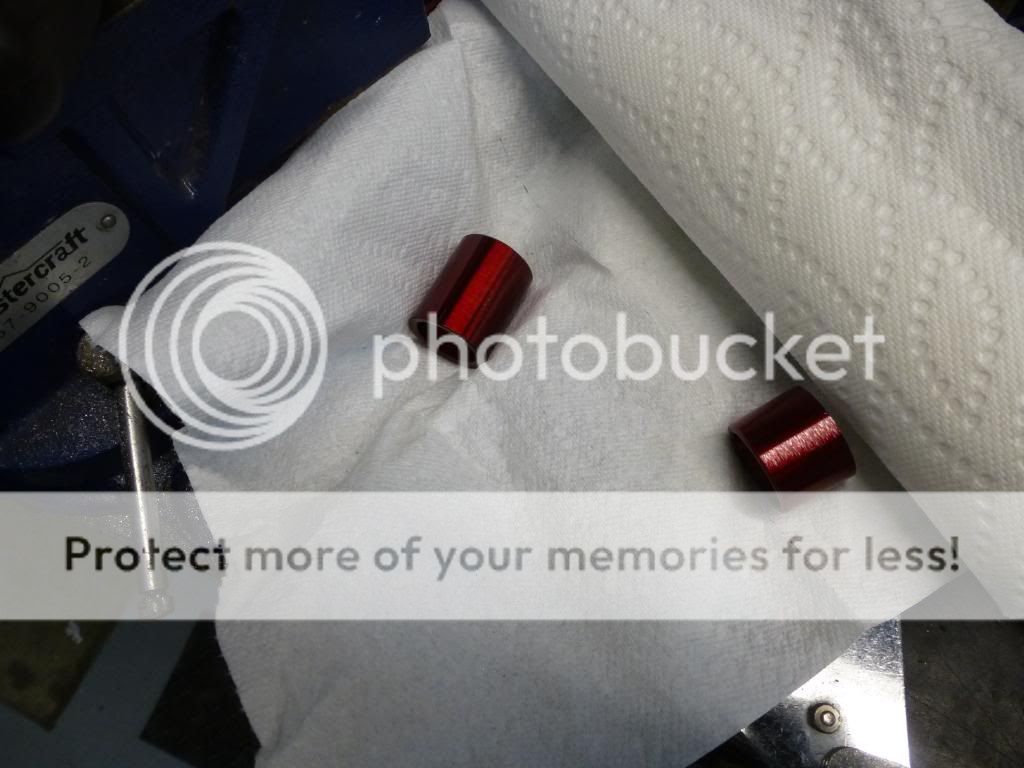
Got my hands on some Dupi-color Metalcast Red. Repainted the valve cover and a couple other bits with it. Below are the front axle spacers.
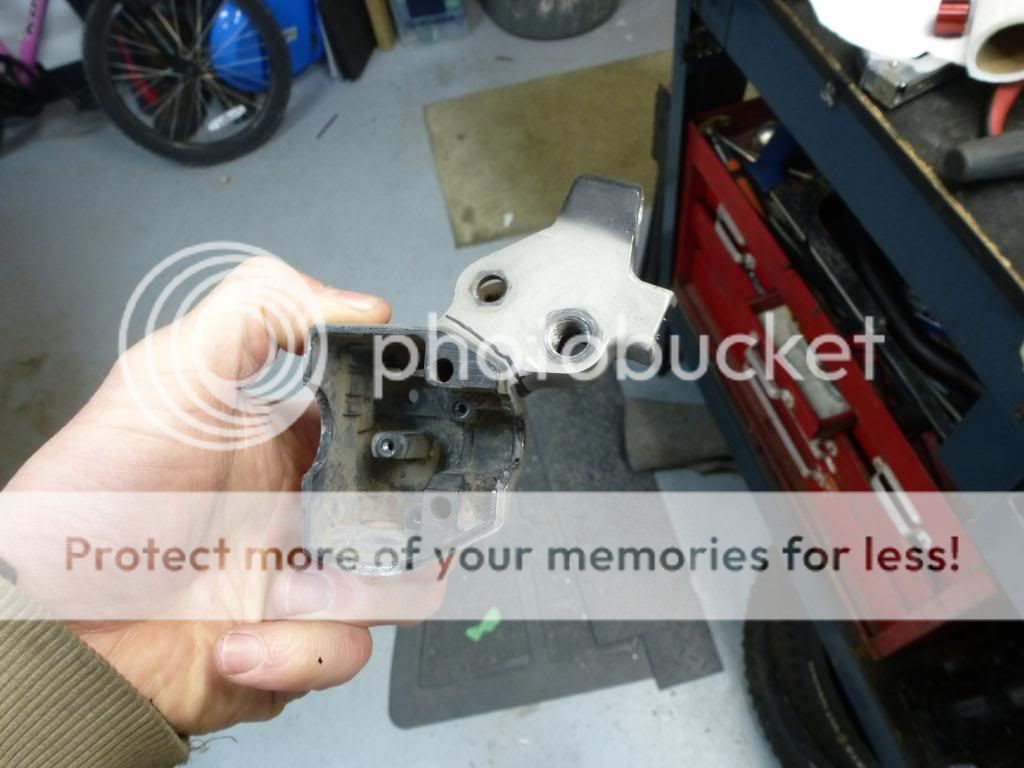
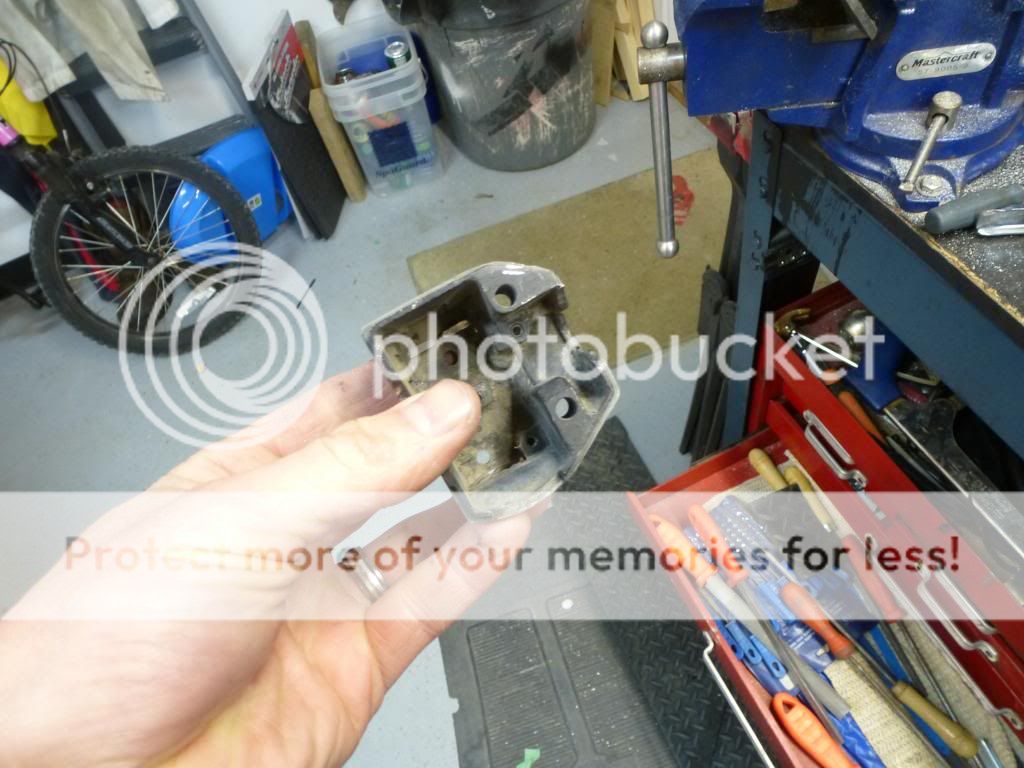
Since I was planning on using the levers that came with the R1 fork I forgot that the clutch lever was part of the switche's case. So I chopped it off. Yay!
I had a moment this after noon so I tried painting the engraved text on my switches. Read people using super fine paint brushes or just spreading on the paint then wiping off the excess with a cloth. I didn't have a super fine brush so tried the wiping method. I used gold model paint, a sort of fine dollar store bush, and a cloth (t-shirt) with a little thinner on it. I started with the "START" text since it was the least visible. I first realized using the thinner on the cloth was a bad idea since the more I wiped the more black paint came off. As I carried on to the following texts I tried a couple other techniques. Ultimately, the best technique I found was try to brush the paint into the letter with a fine brush and then give it a firm wipe with a thin dry cloth. Doing one letter at a time.
I had a CX500 prior to getting this Cm400. I was shocked how similar they are. Besides the motor; the frame, suspension, and controls appeared identical.
Pretty sure the fork from a CBR600RR bolts right on to your CX500.
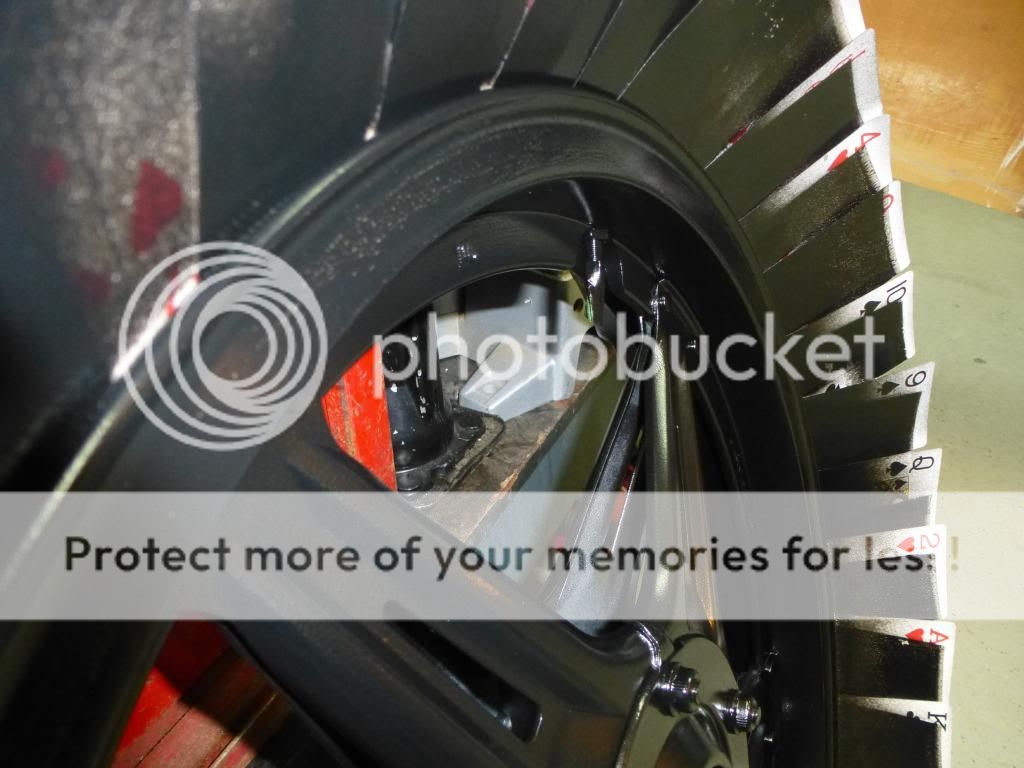
I sprayed the frame, all the little bits, and the rear wheel using the VHT "Roll Bar and Chassis" with great results. The above the photo is off the front wheel where I started with a fresh can. I prepped the front wheel the same way as the front but for some reason the paint orange pealed like crazy. Also along the lip the paint is separating as if the surface was oily.
So I resanded it, washed it, and repainted. It failed again exactly the same way. Guess I'm going to have to strip it and use some primer.
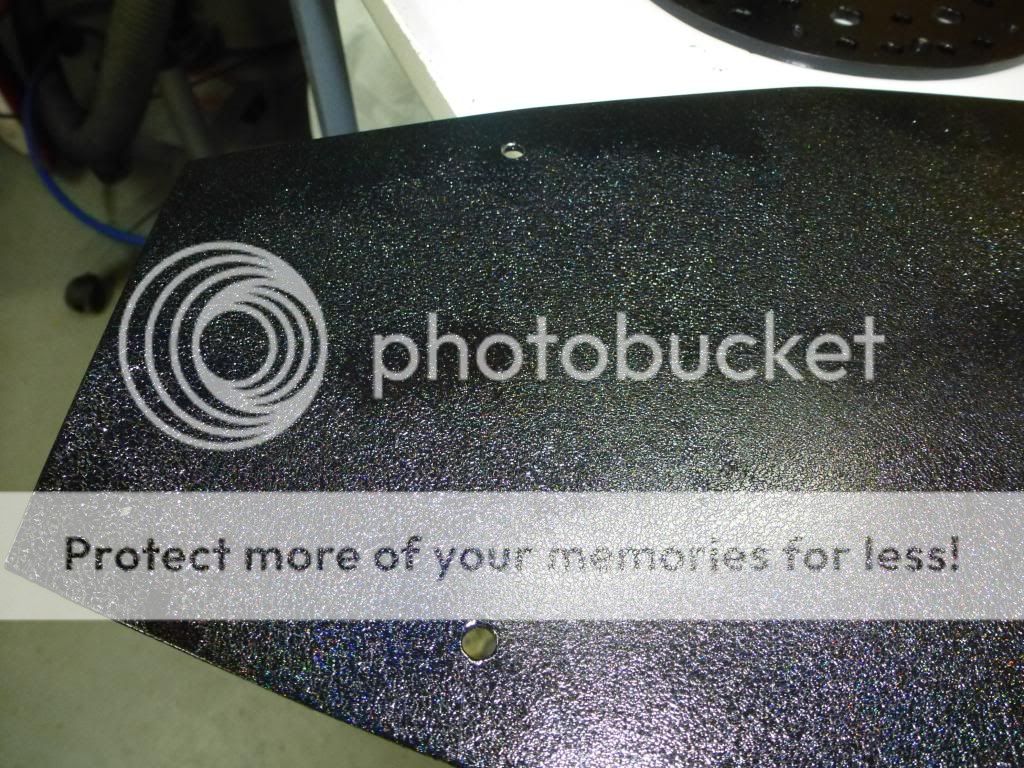
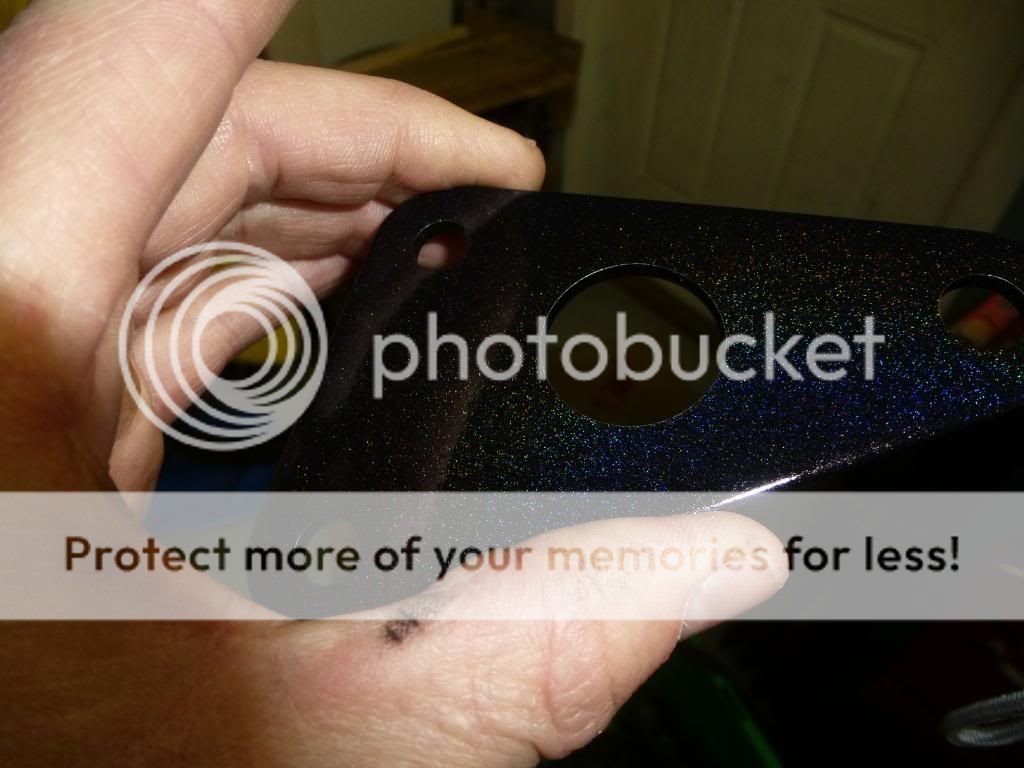
THEN! I tried some Dupicolor Metal Flake Clear over the VHT "Roll Bar and Chassis" paint. It just ate the paint like stripper. So weird. This peace was aluminum that was primed before the black.
But then I tried on a peace of steel that was not primed before the black. It worked fine. Weird. I was going to spray the whole frame with this stuff but I decided against it since it seemed to amplify the imperfections. I just used it on a couple bits.
This site uses cookies to help personalise content, tailor your experience and to keep you logged in if you register.
By continuing to use this site, you are consenting to our use of cookies.

")