Follow along with the video below to see how to install our site as a web app on your home screen.
Note: This feature currently requires accessing the site using the built-in Safari browser.
We noticed you are blocking ads. DO THE TON only works with community supporters. Most are active members of the site with small businesses. Please consider disabling your ad blocking tool and checking out the businesses that help keep our site up and free.
Sorry man, I was wrong about the weld. That was on my nighthawk. The 750 I just drilled and tapped in the steering stop. I can’t really get in there to get a good photo. I can’t remember if it’s 6 or 8... Whatever the standard mount bolt was. I locked it down with thread lock and lock nut.
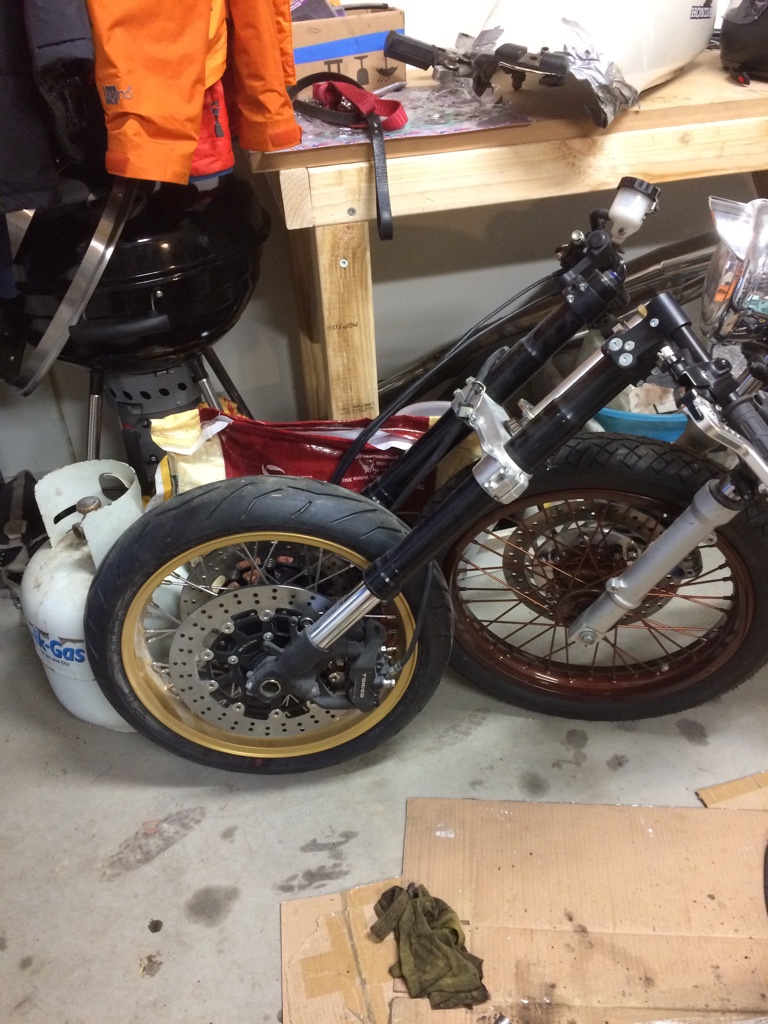
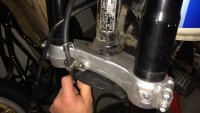
Now thats a cool idea because the bottom triple clam on the front left side has a mounting point for the damper i reckon. Hopefully the damper i got is not too long, as that would be a nice discreet place to mount it.
i was looking through my build photos and cam across a photo of the triple, im wondering if the damper will fit like you said from the stopper to the preexisting mount on the lower triple.
I just hope the 63mm stroke is correct sucks not being home so i can try it out.
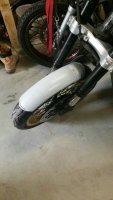
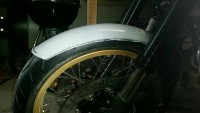
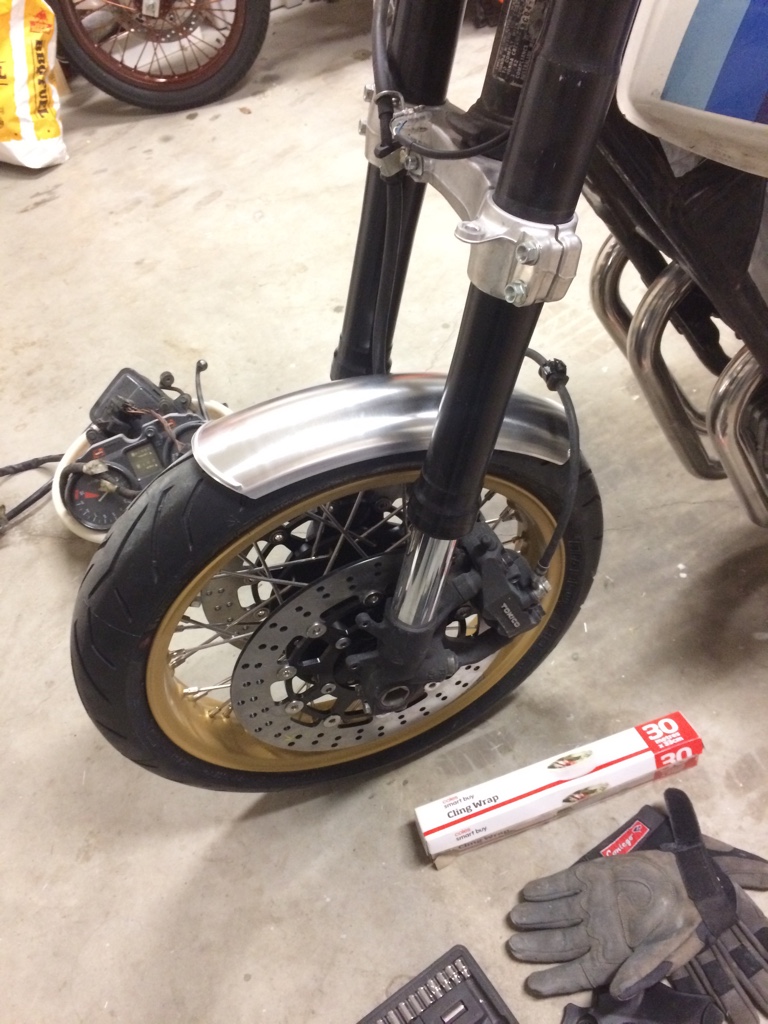
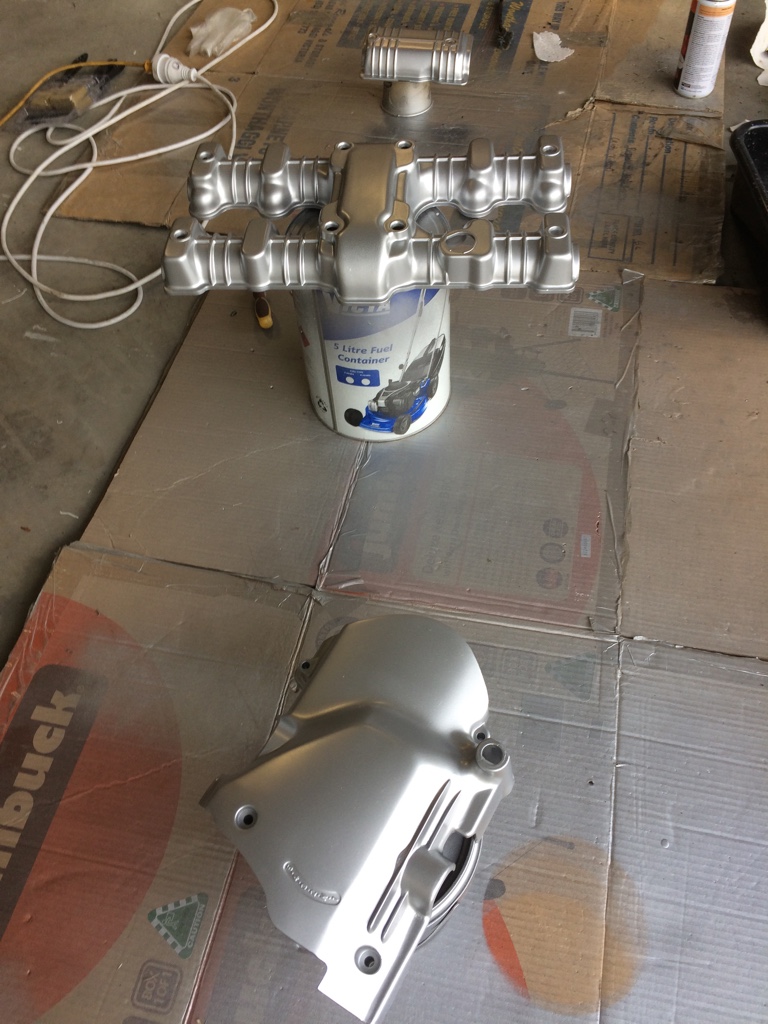
So the front guard arrived in the post and my wife was kind enough to show me what it looks like on the bike... although its not in the correct position give me a fair idea.. im thinking painting it all black so as not to draw much attention. The fun part will be fabricating the mountin brackets
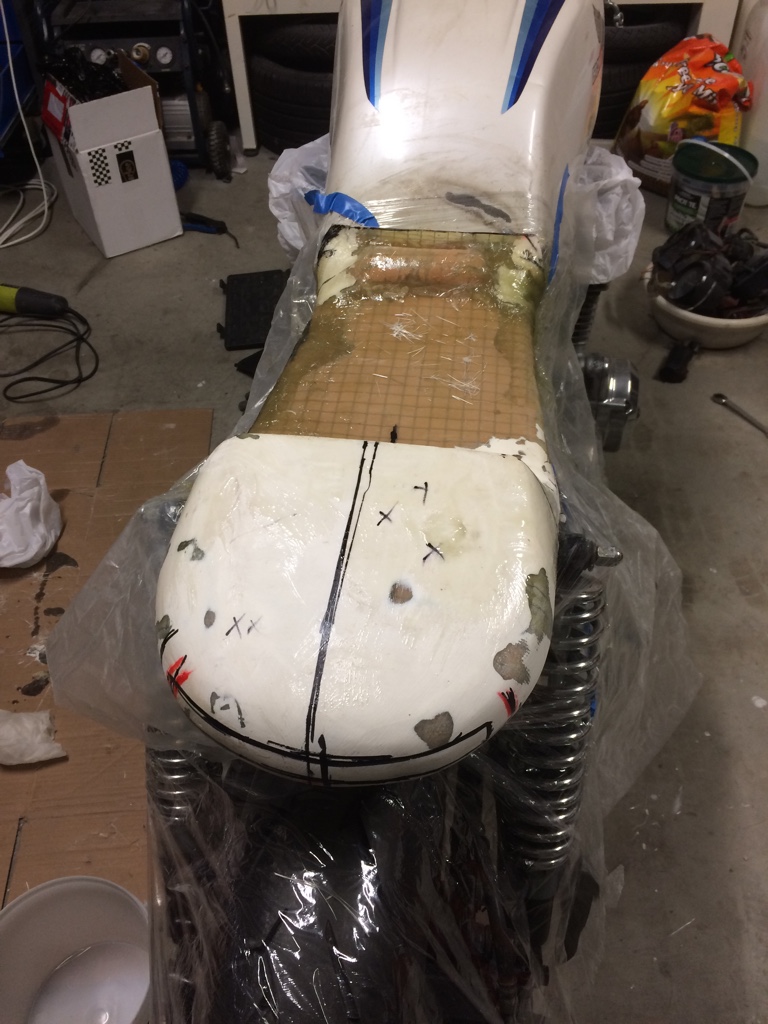
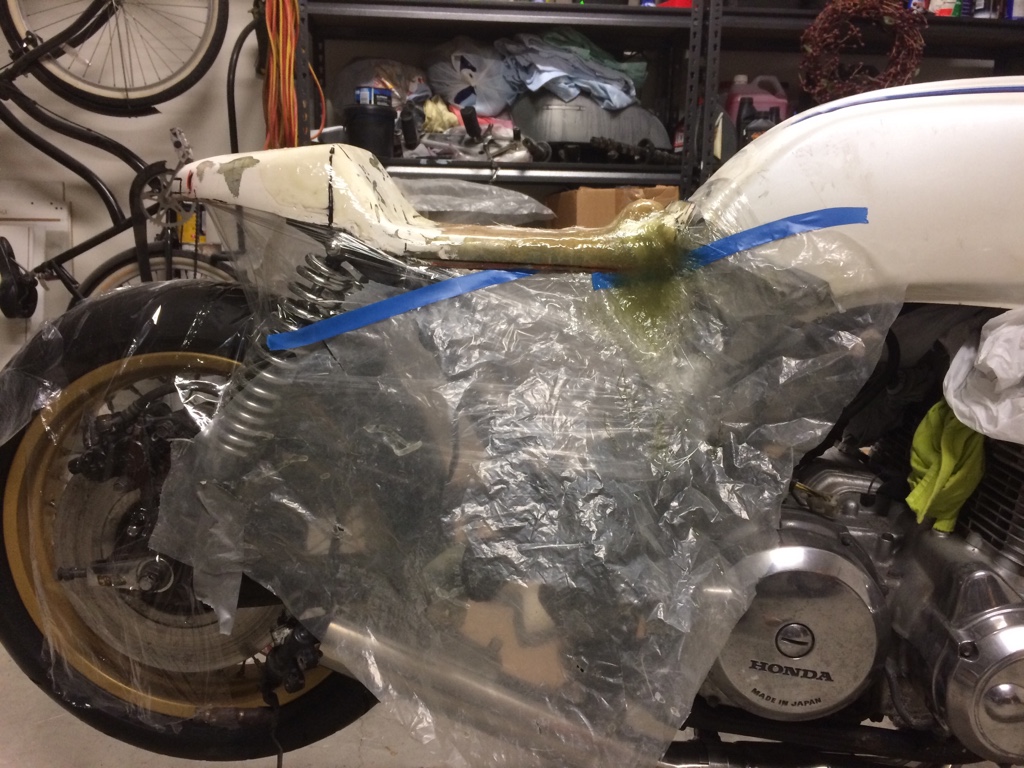
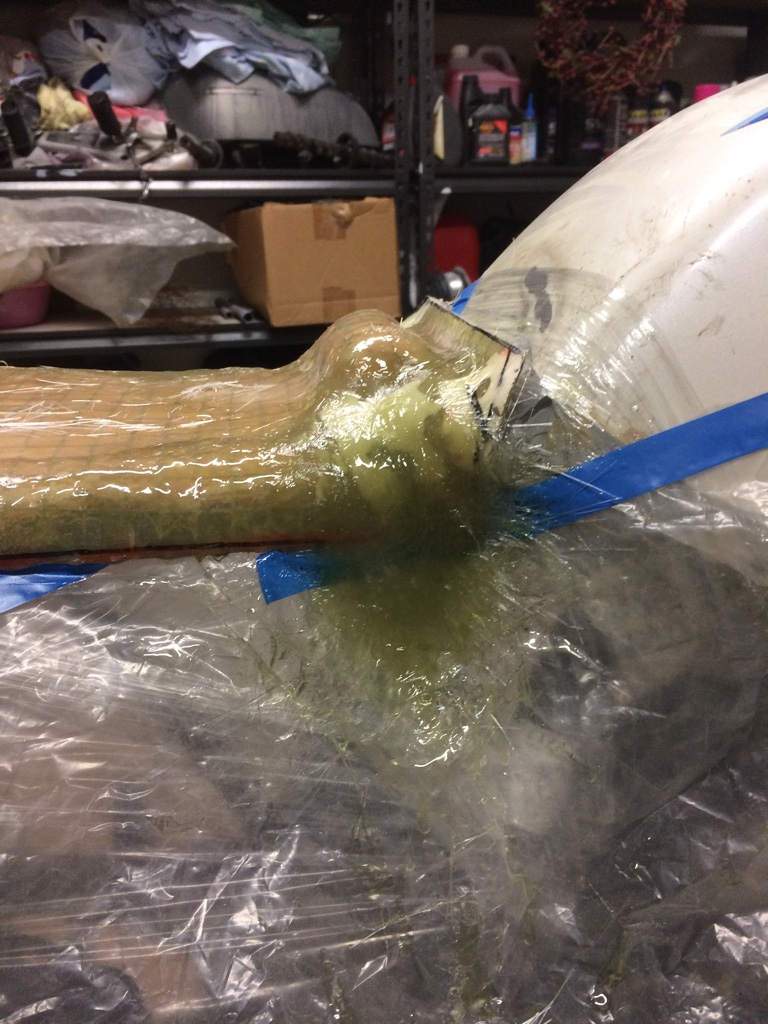
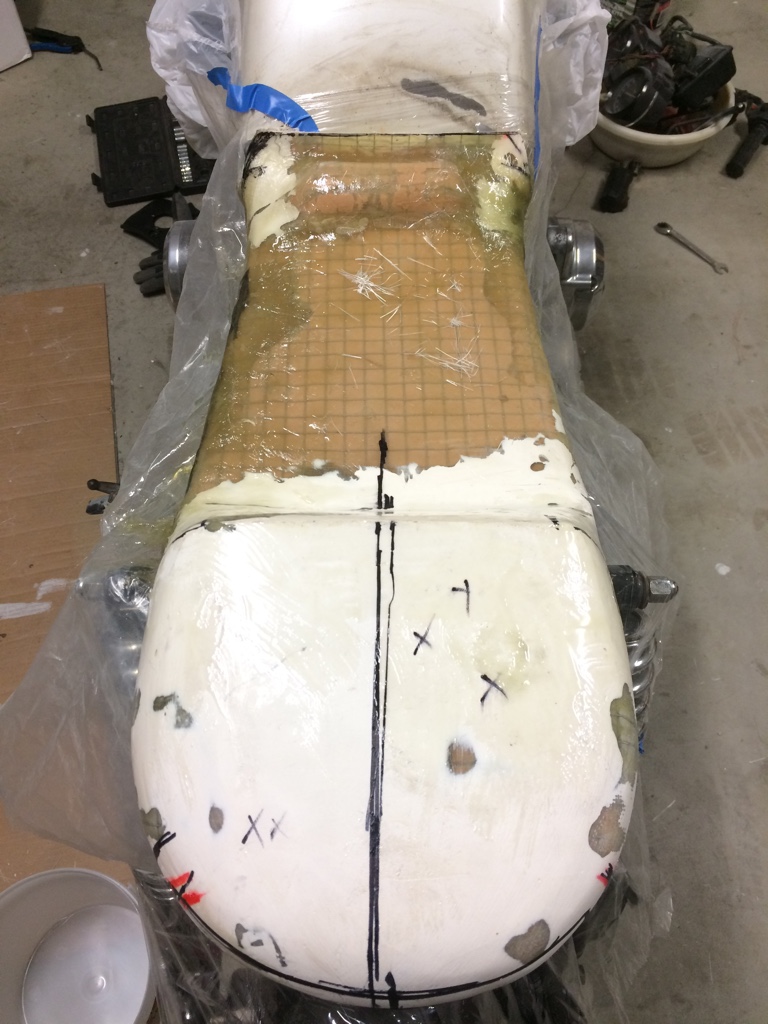
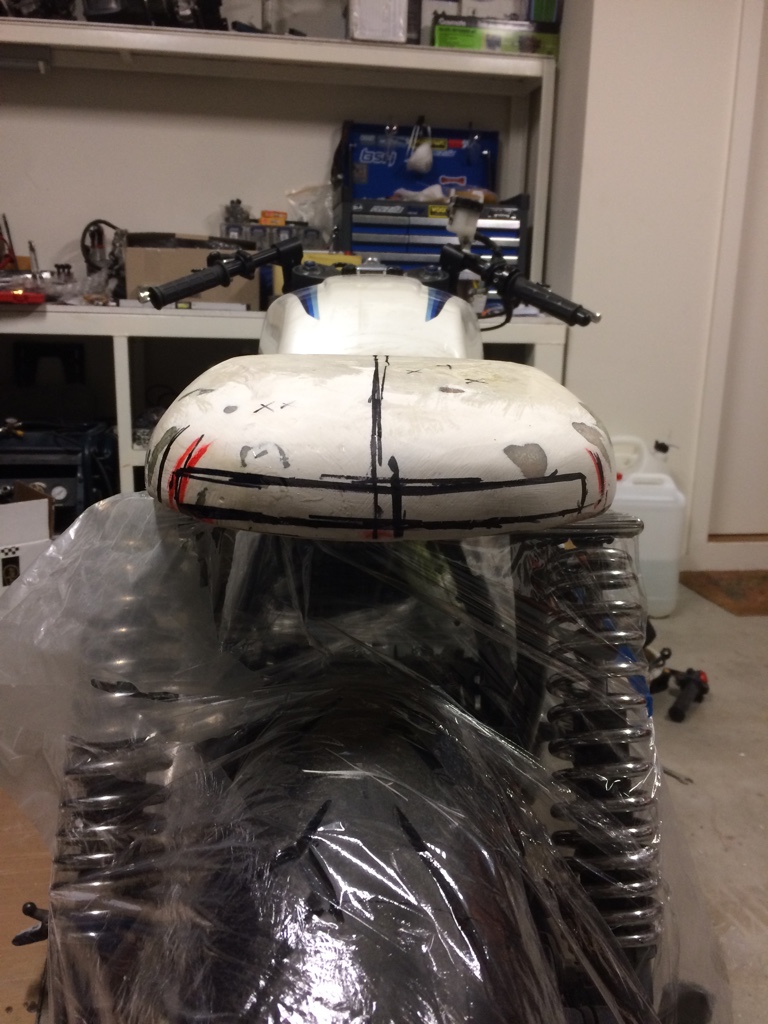
So I've been home a few days and finally got to get into my shed I decided to carry on fixing the many imperfections with the seat
I marked out the place I would be cutting out to flush mount the rear LED brake and indicator strip
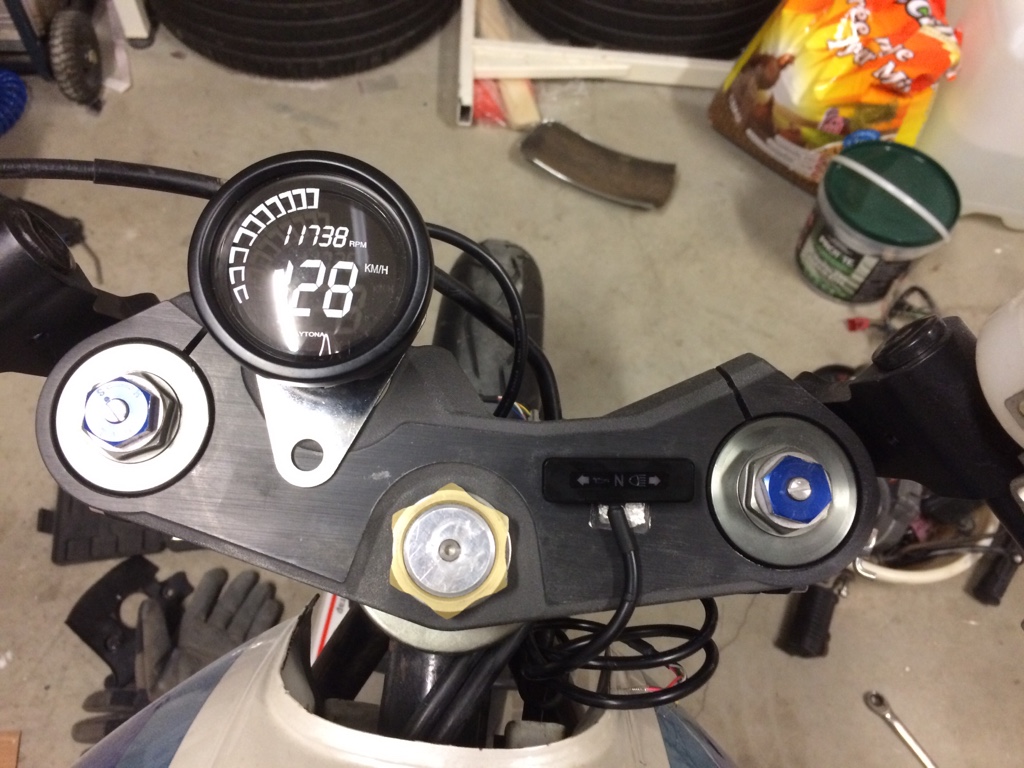
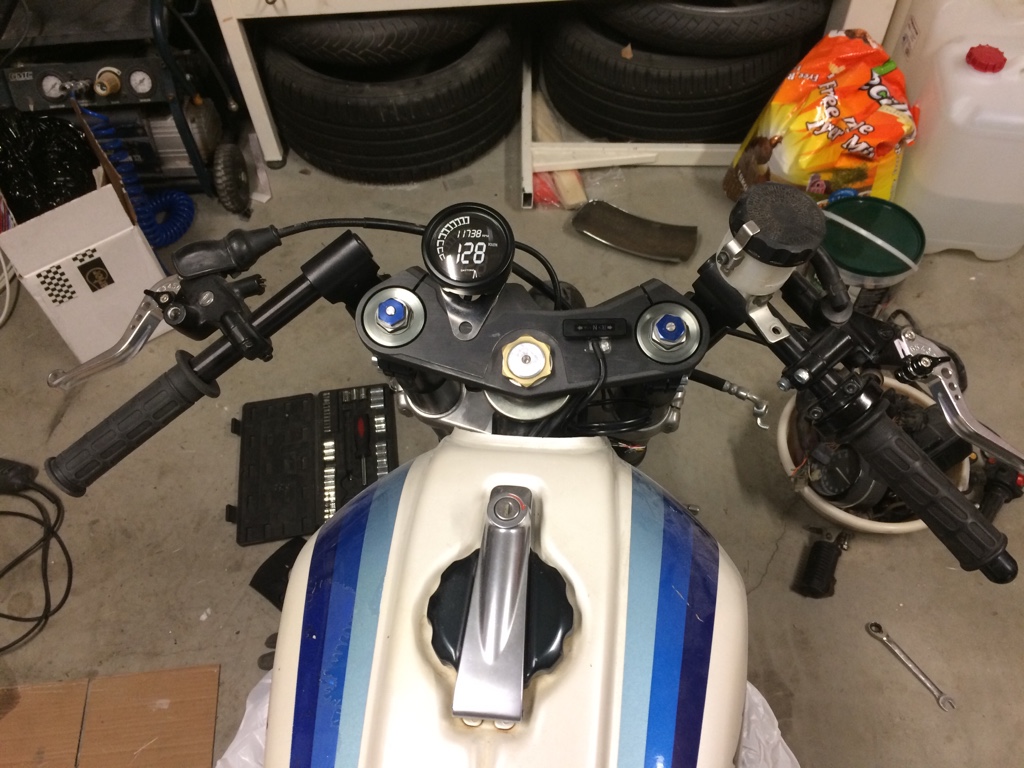
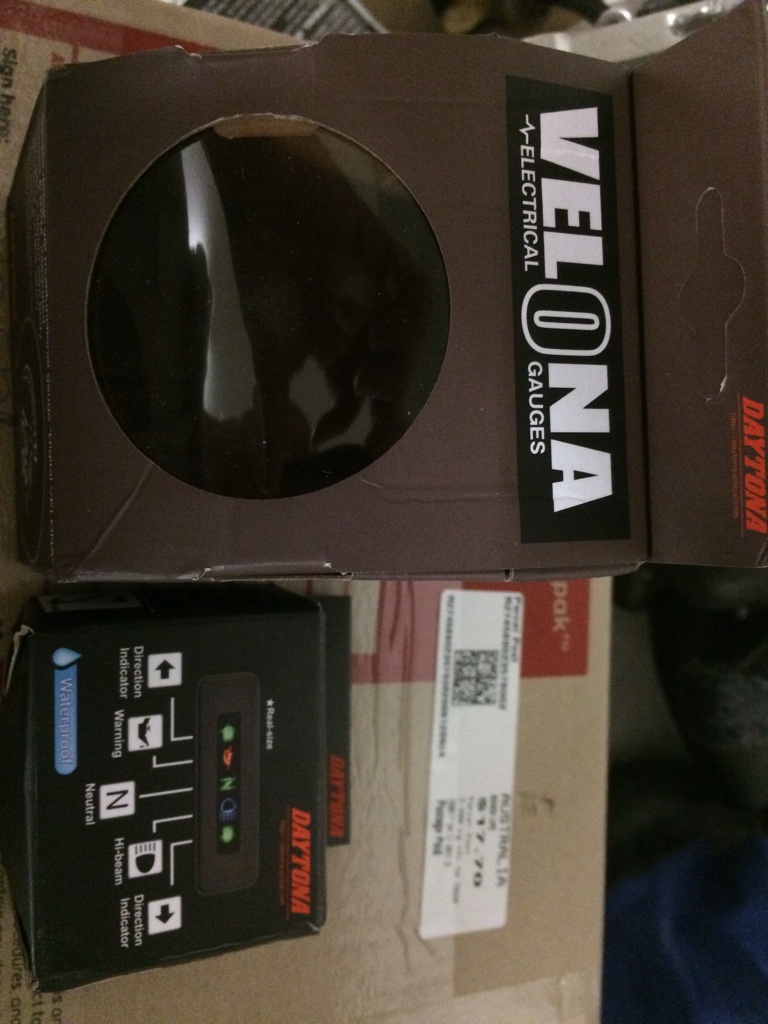
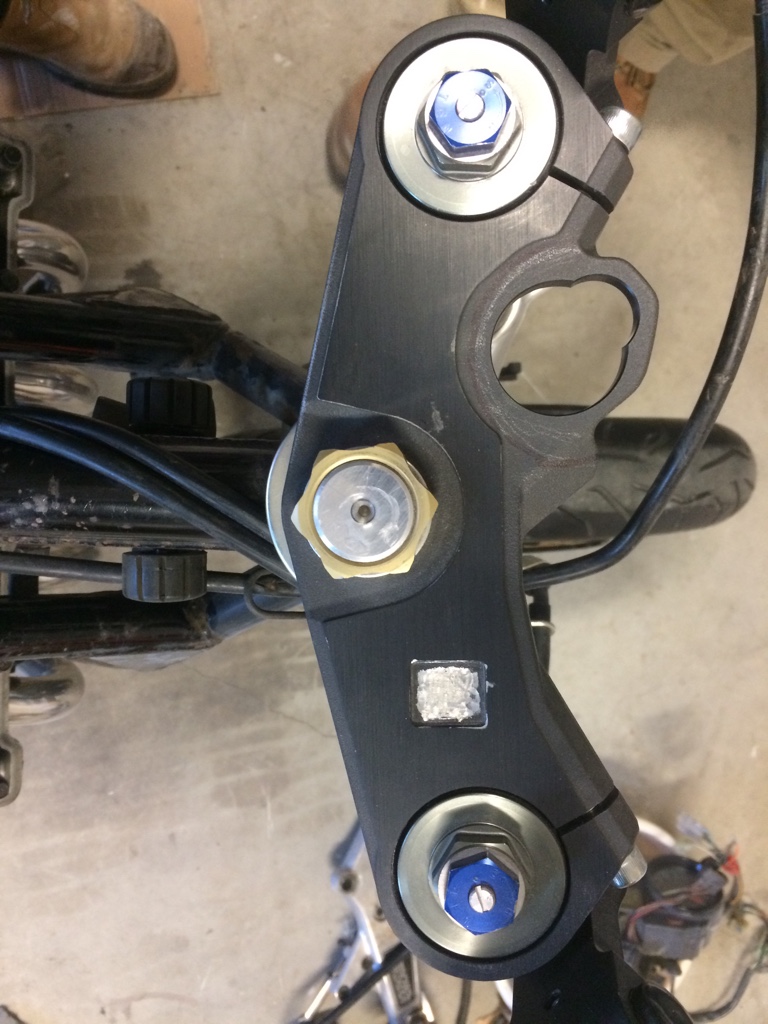
I then thought I'd play around with the Daytona digital speedo and idiot lights I'm thinking I will mill out a hole in the top triple to flush mount the idiot lights
I then unwrapped the front guard I got from flea bay to see what it would look like I think I will paint it satin black so as not to draw attention to it
I'm getting a mig welder tomorrow so I'm going to see how I go fabing an electrical tray I'm anticipating it being a little ugly
. So going to try and modify this triple clamp to house the idiot lights and also take out the section where the key would normally go to house the speedo so it also sits flush with the top of the triple.
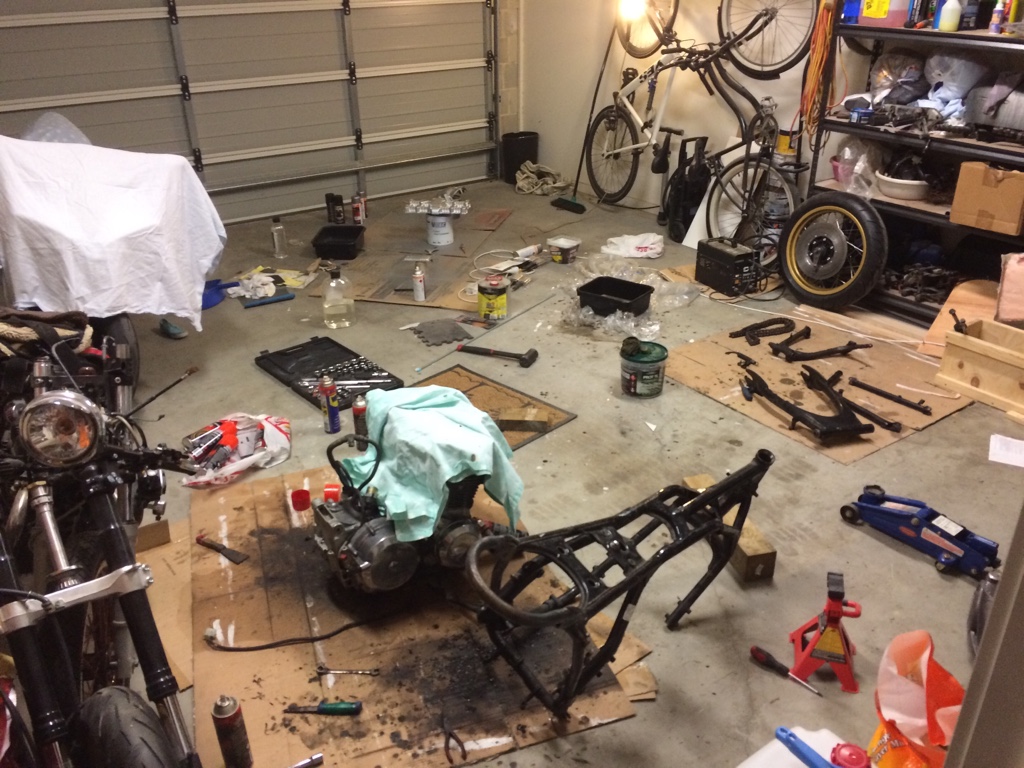
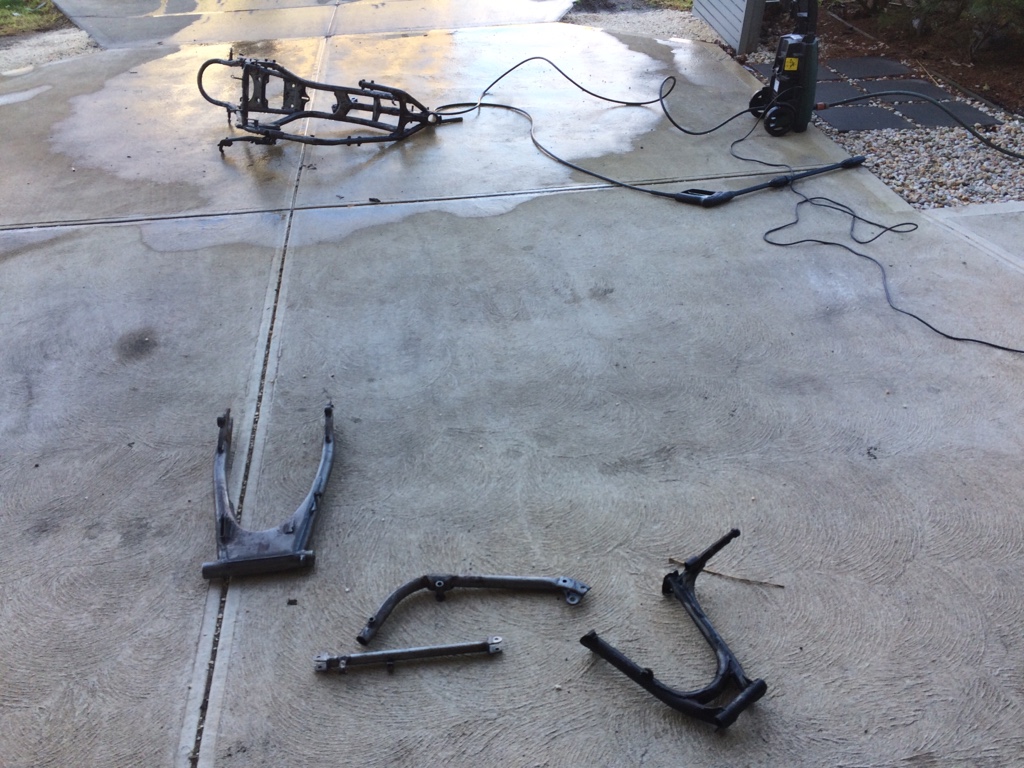
Ok so it was one of those days where you have to clean the shed before you can start working in it.
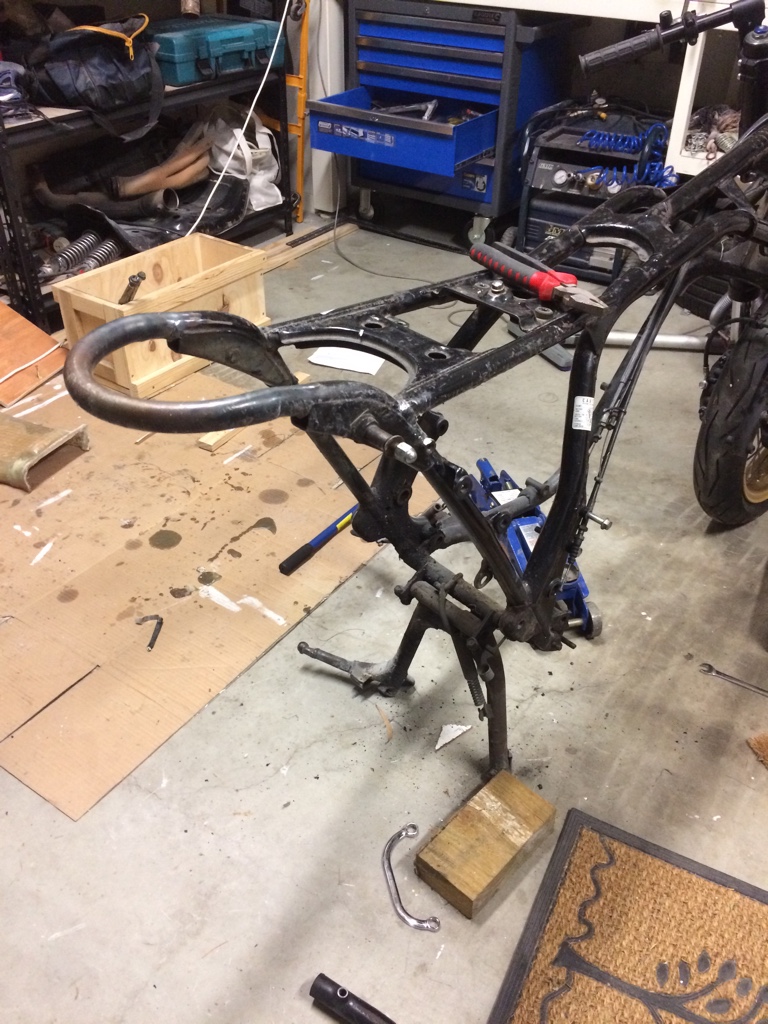
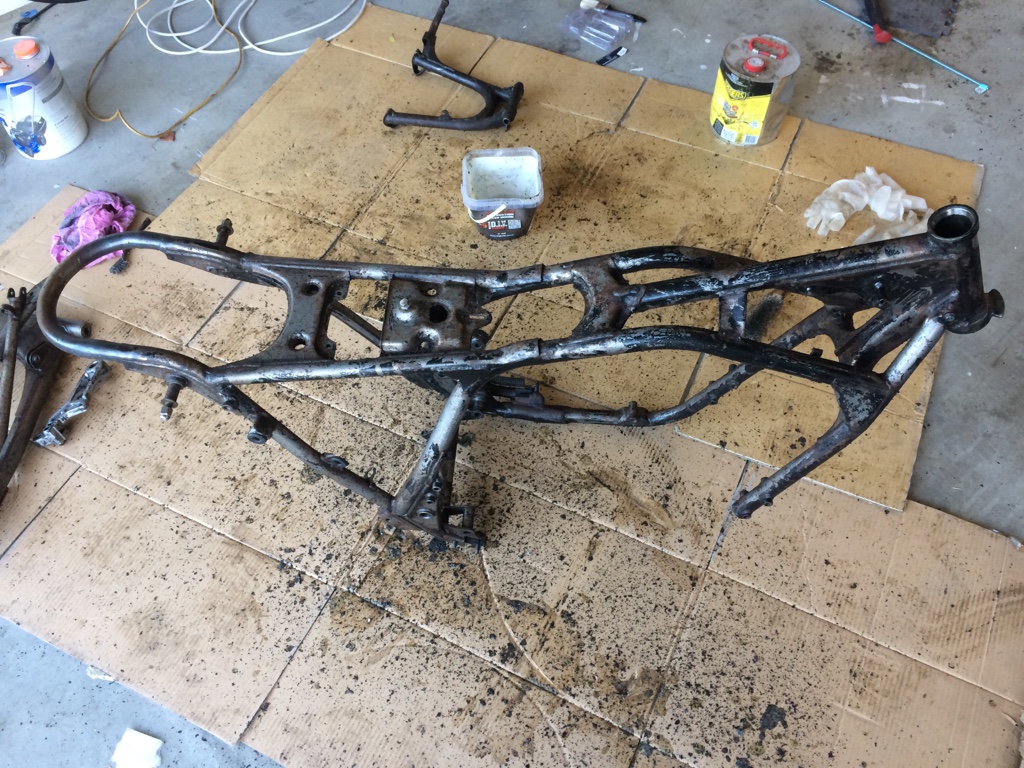
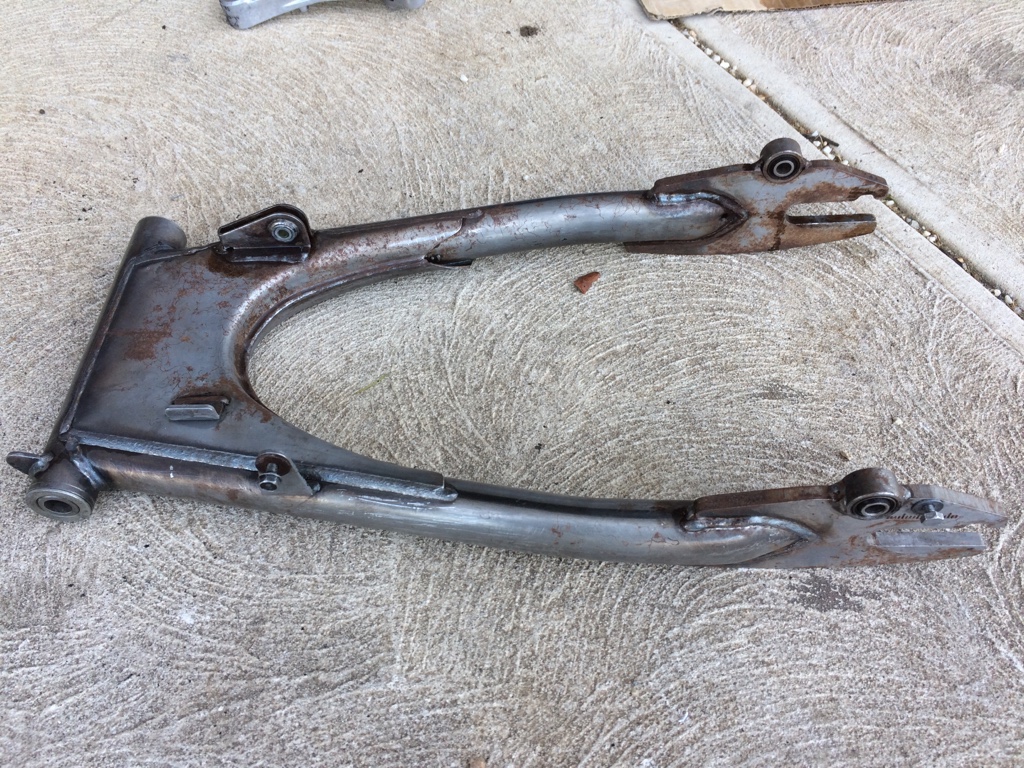
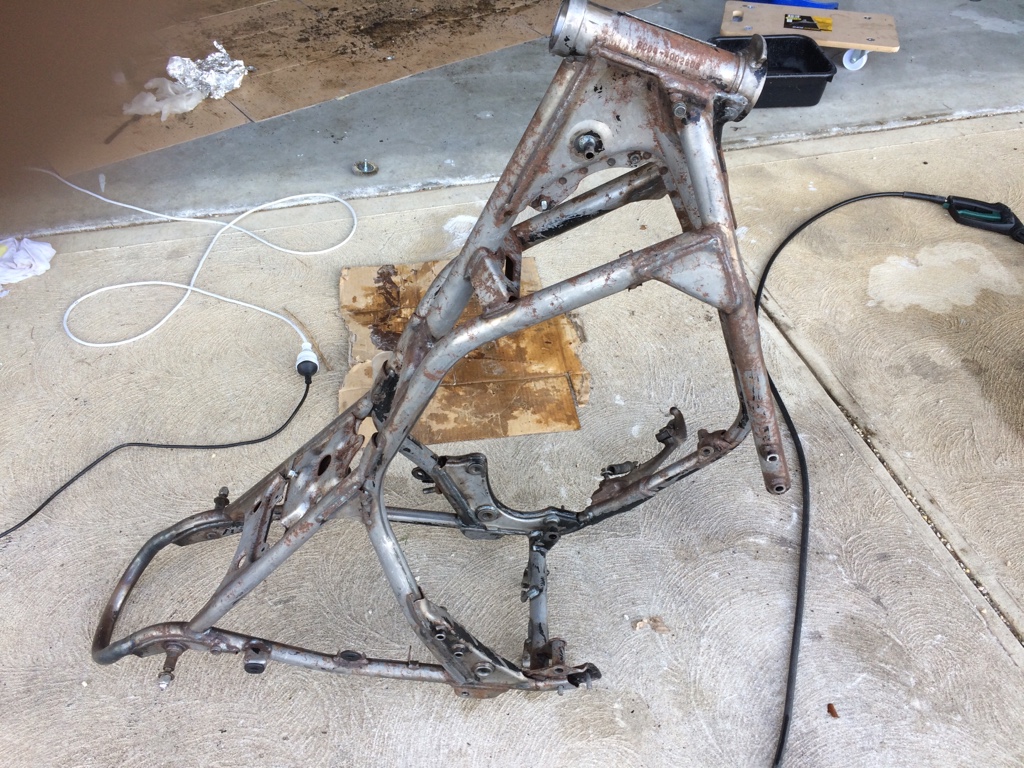
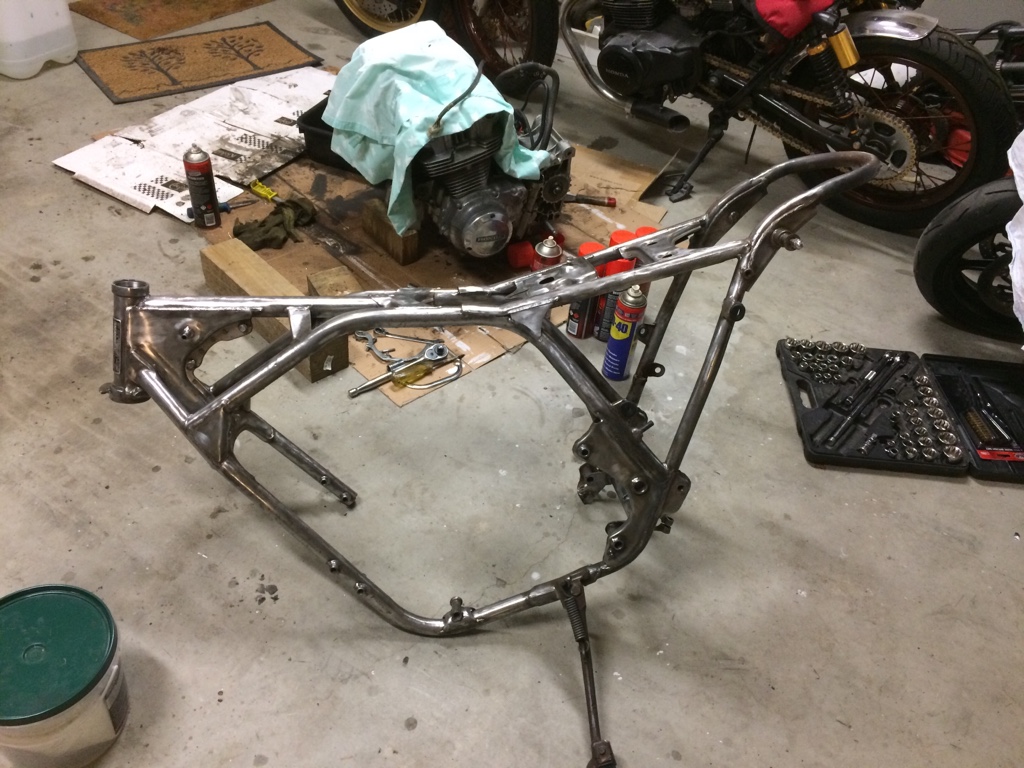
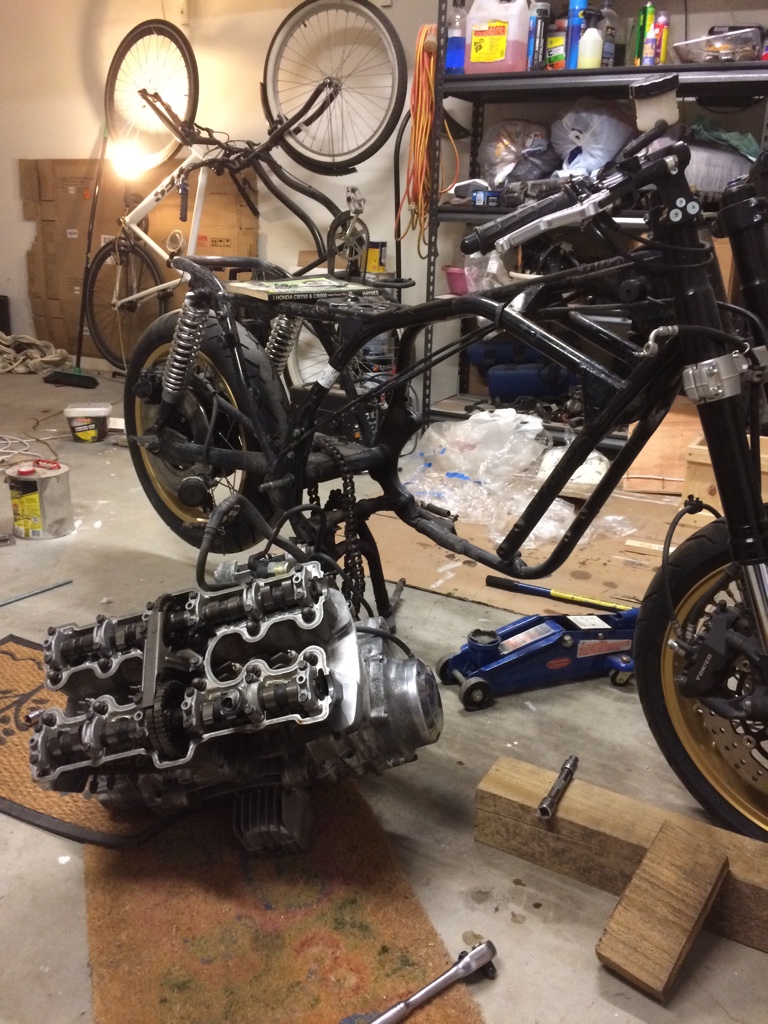
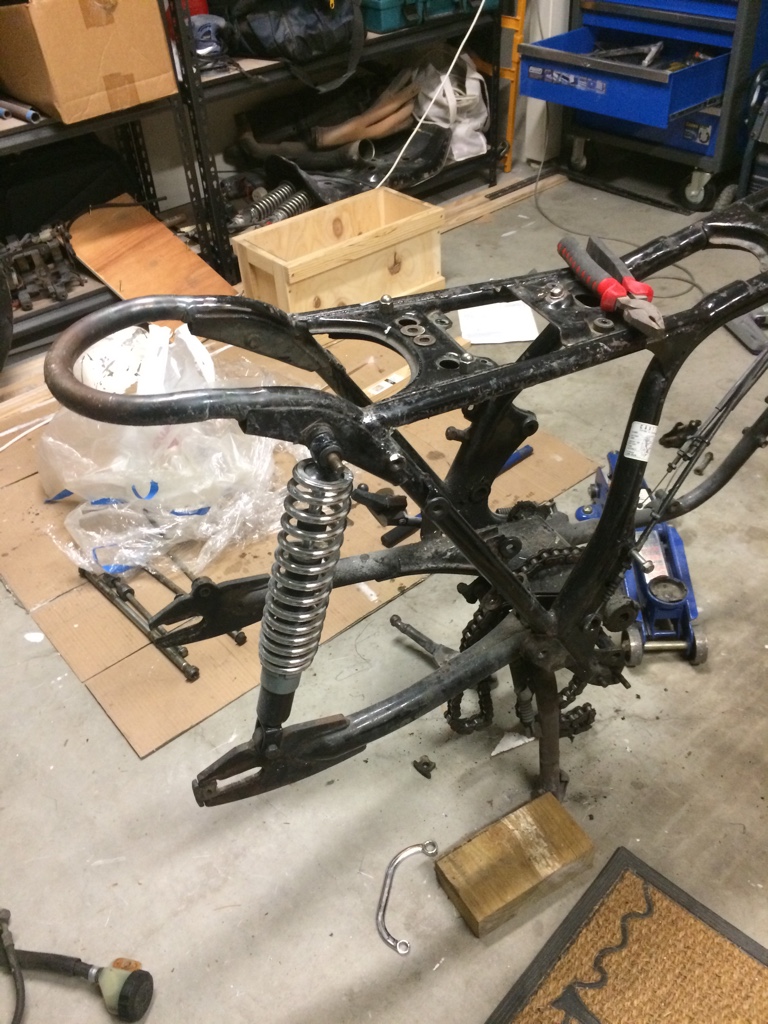
So I removed the engine in preparation of spraying it and the frame.
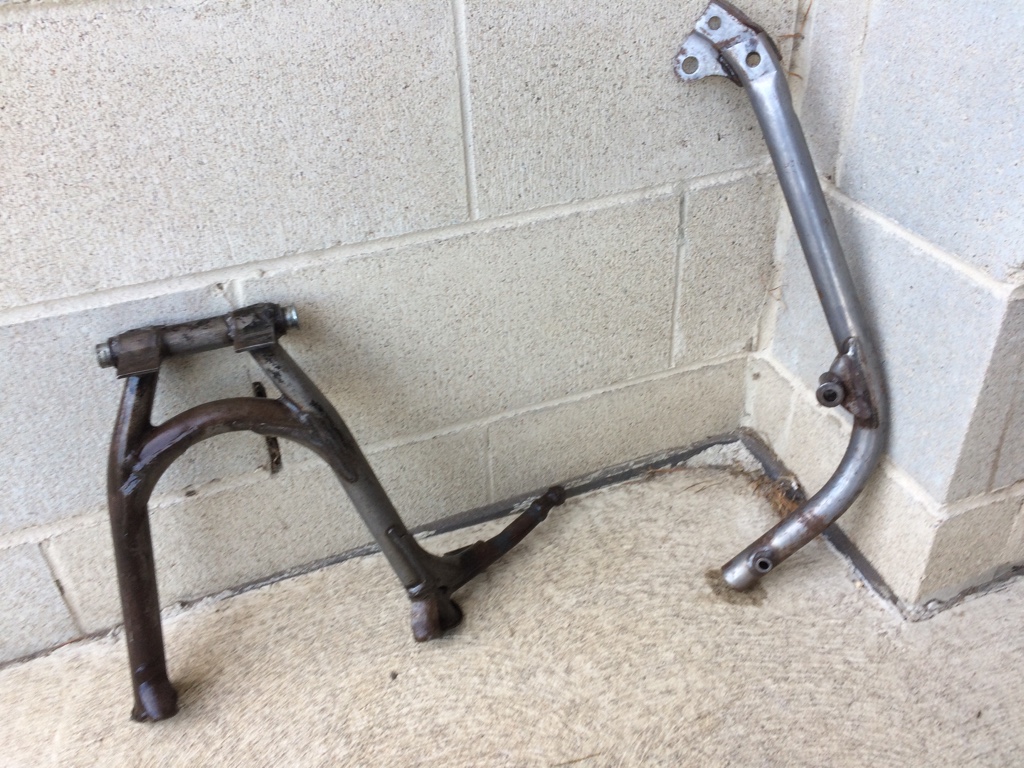
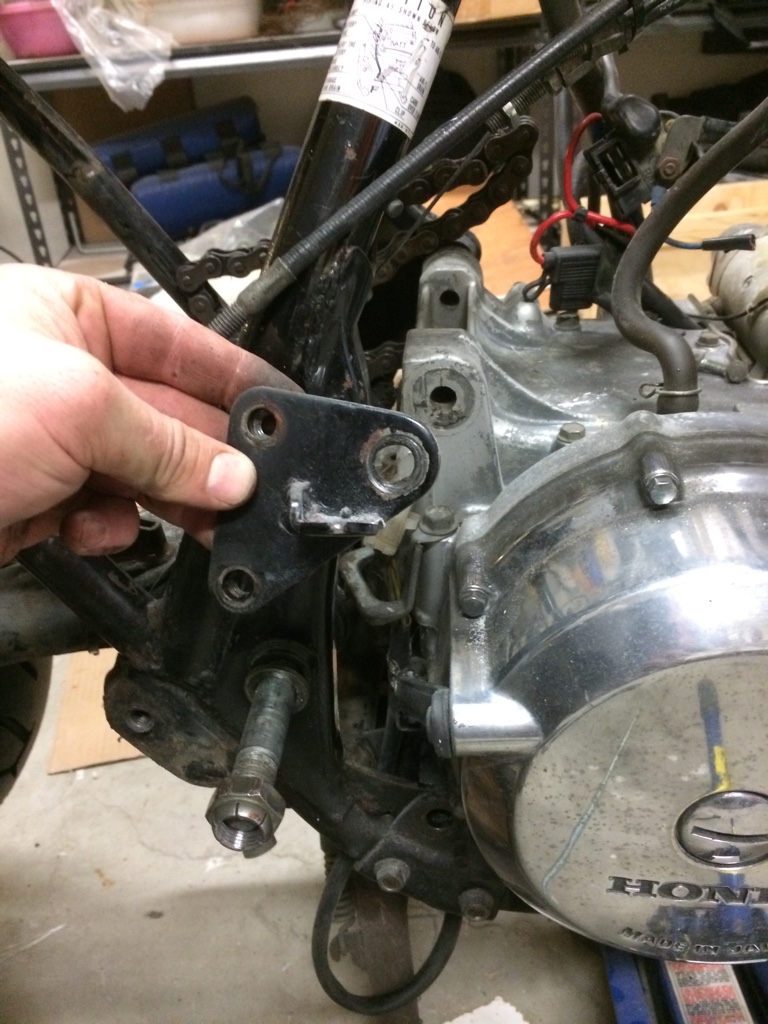
So these are all the bolts I had to remove from the frame
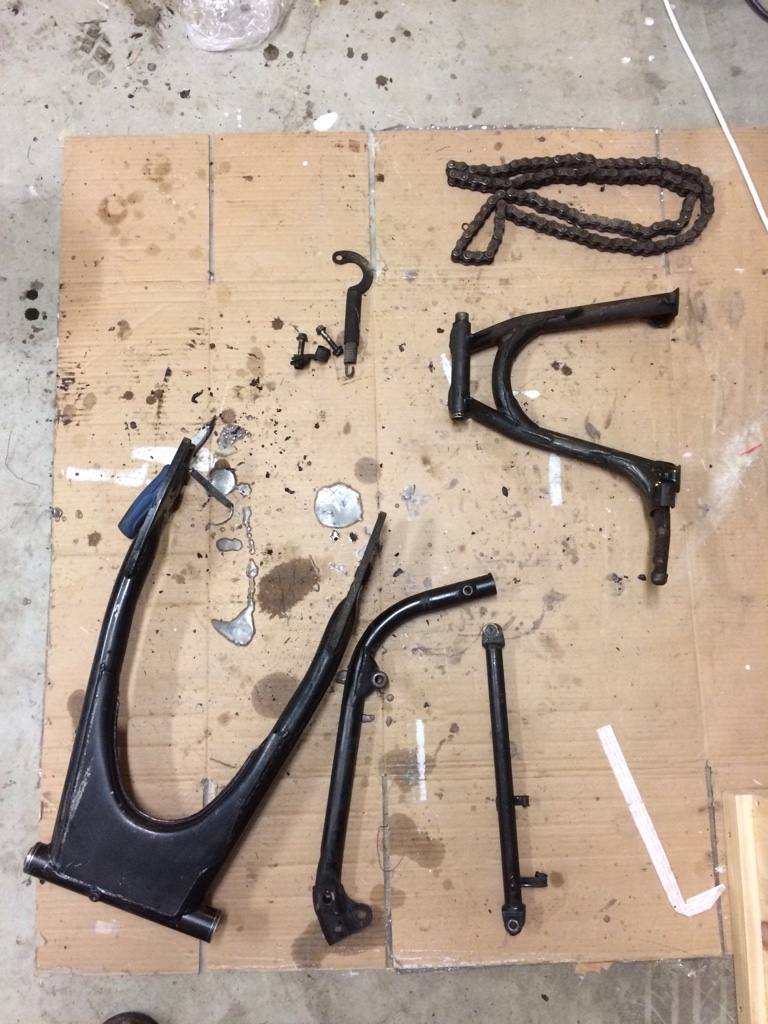
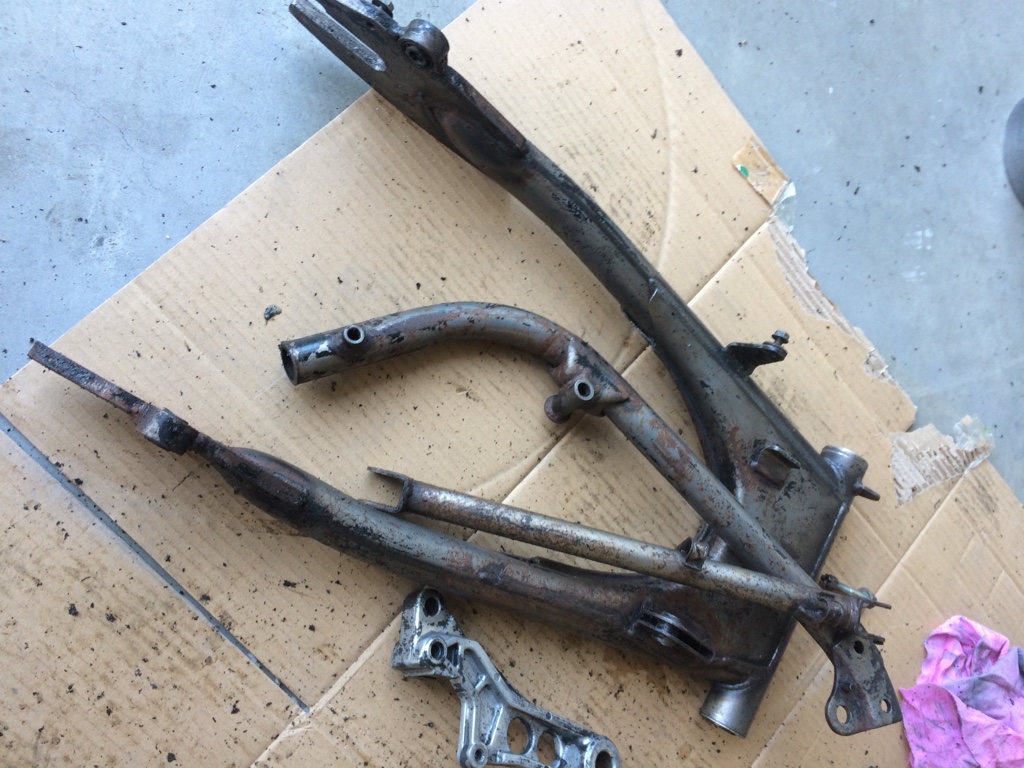
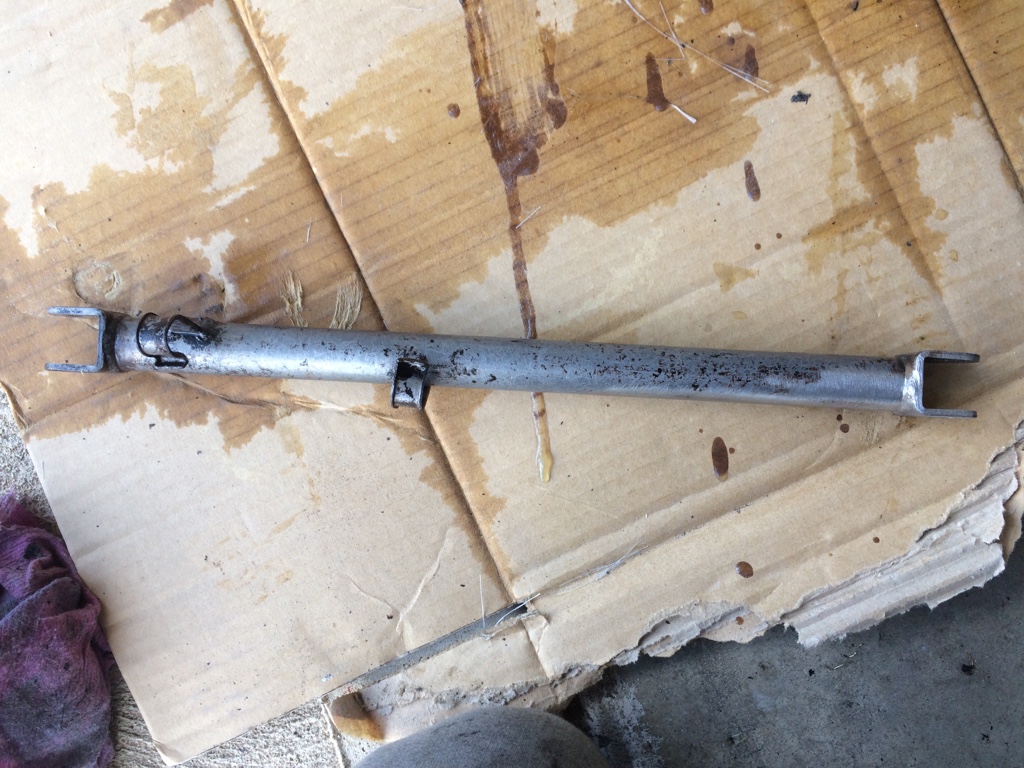
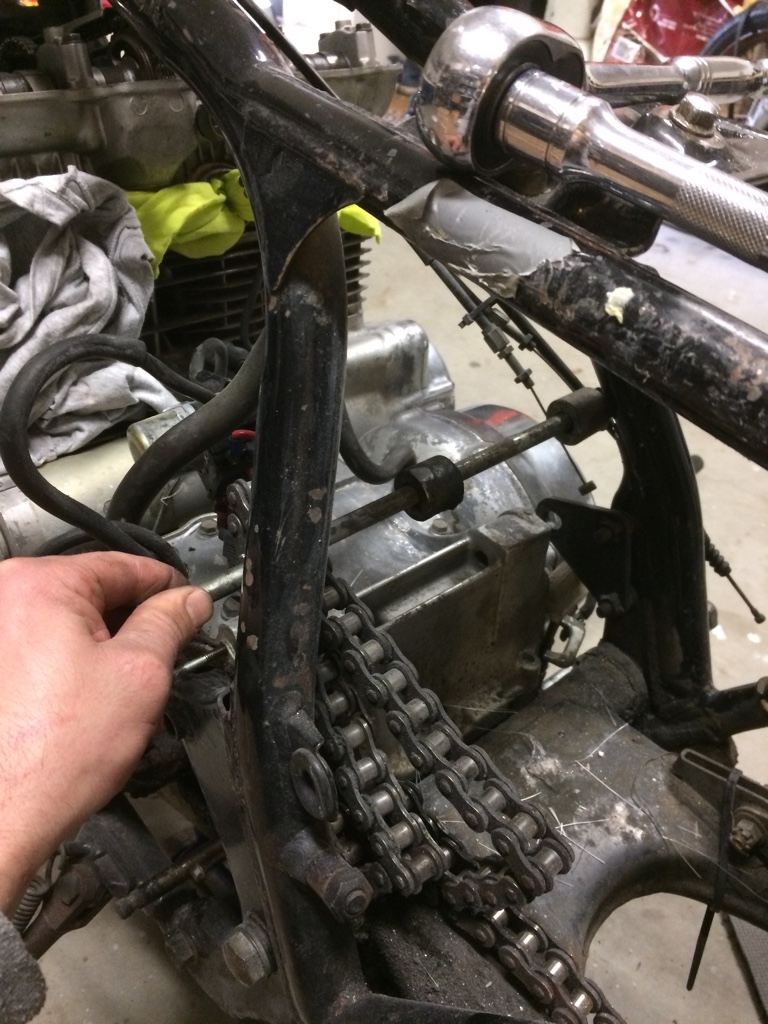
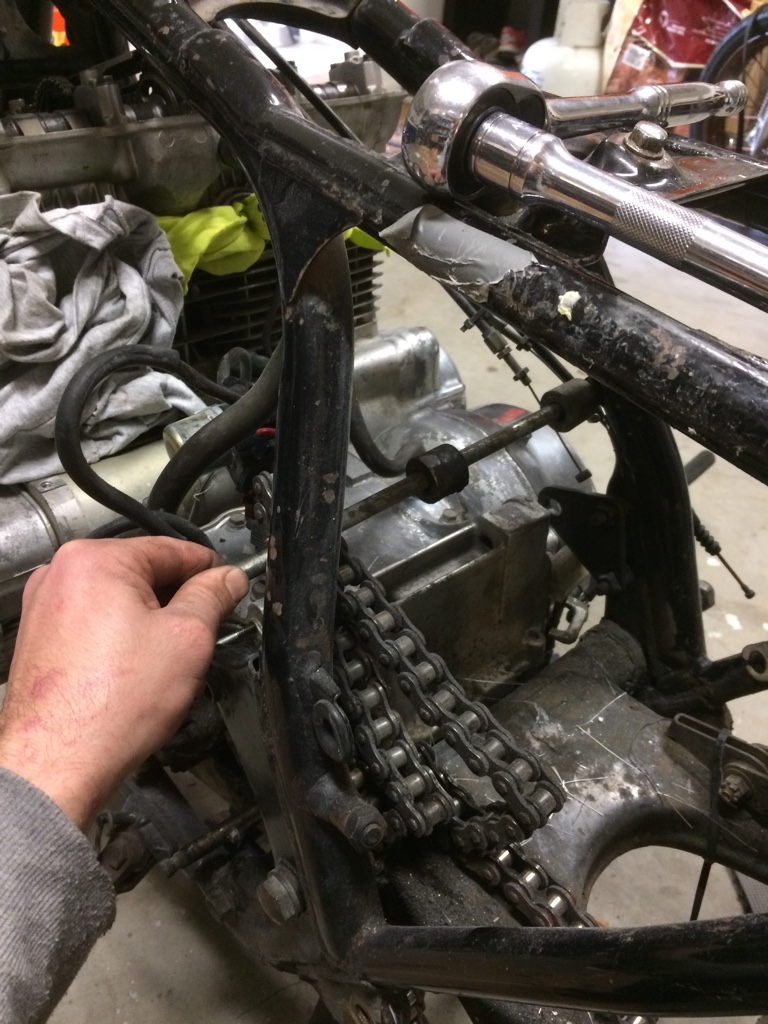
be sure to completely remove this bracket as it gets in the way if you try to remove the engine with it still in place
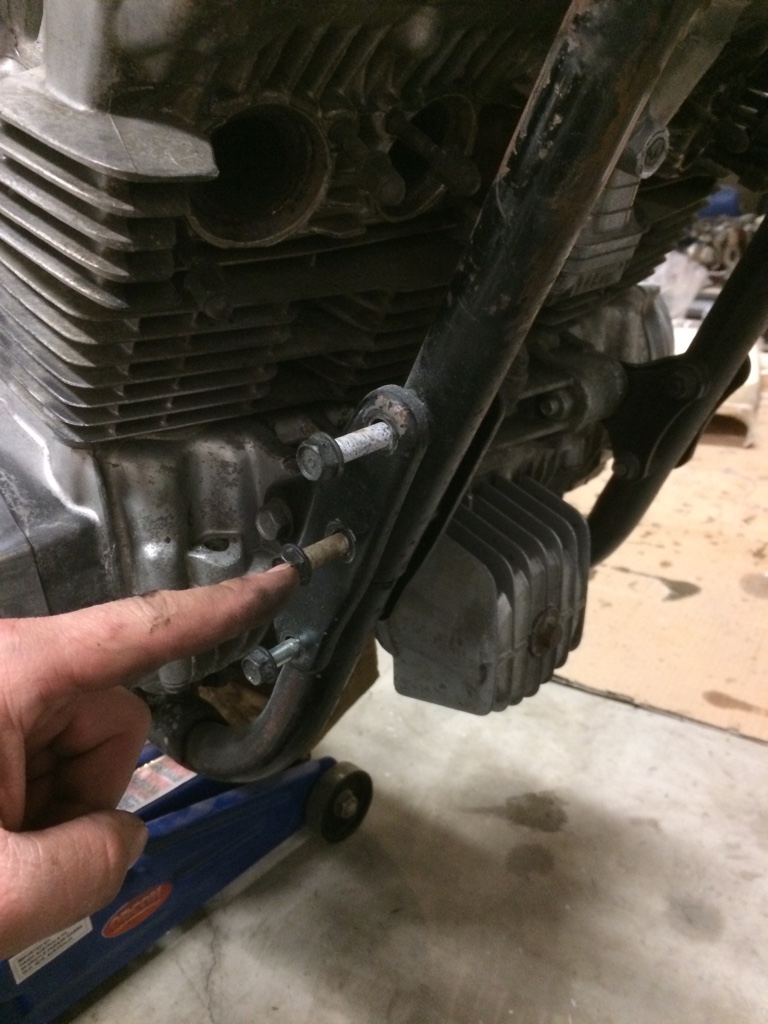
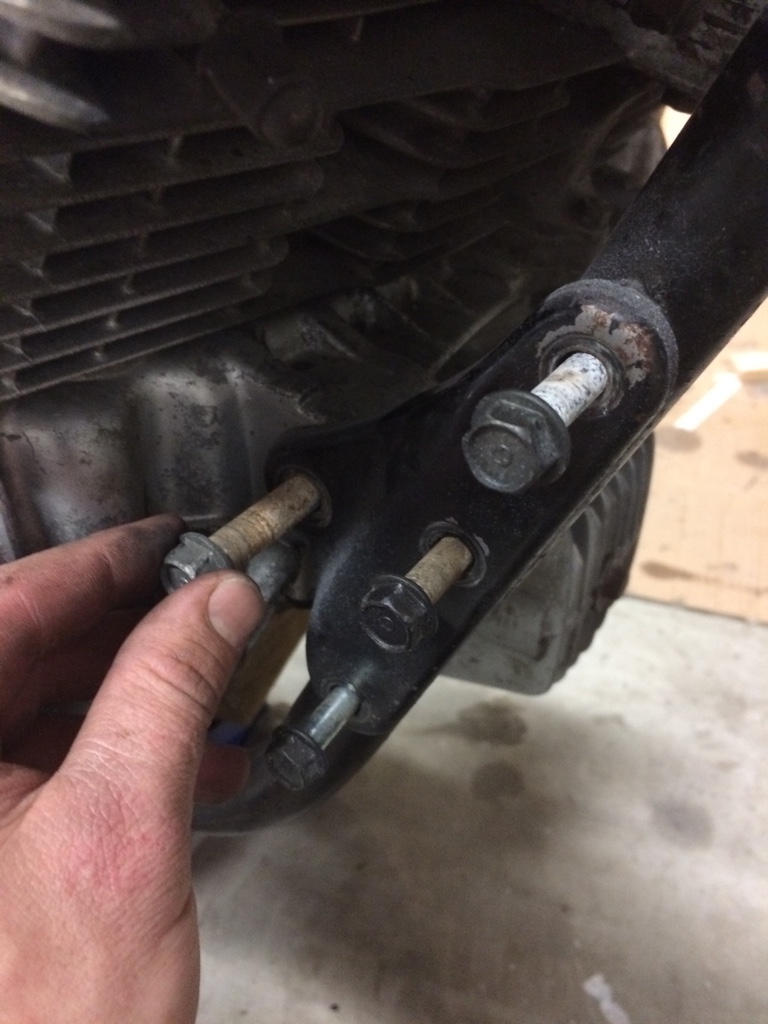
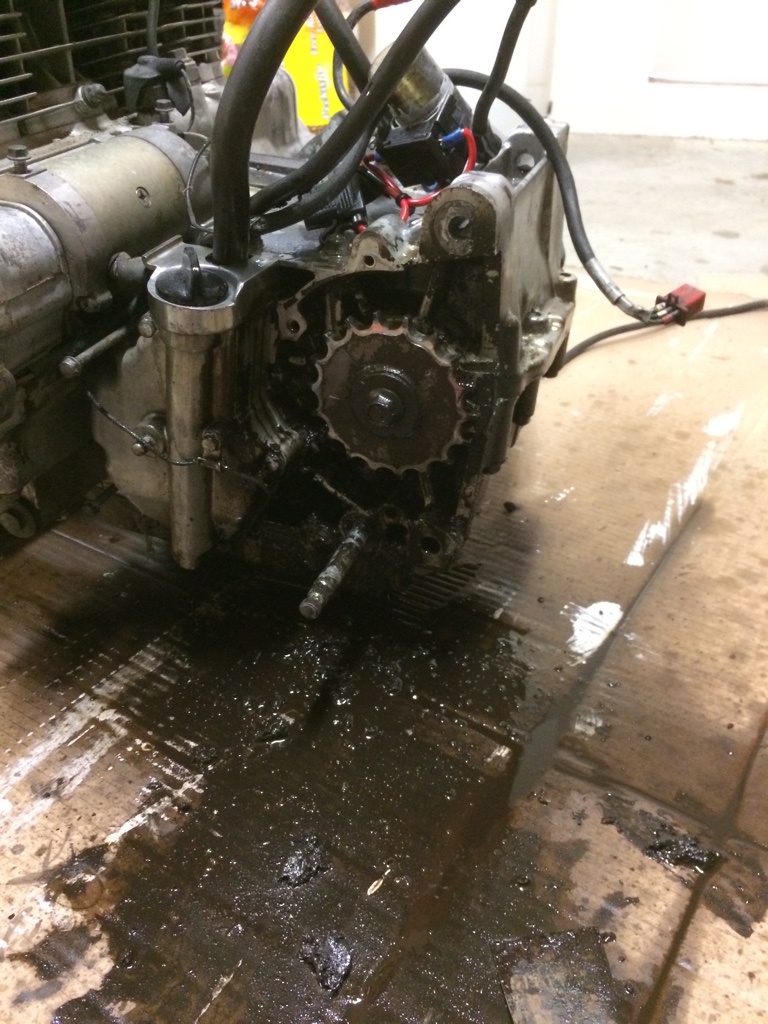
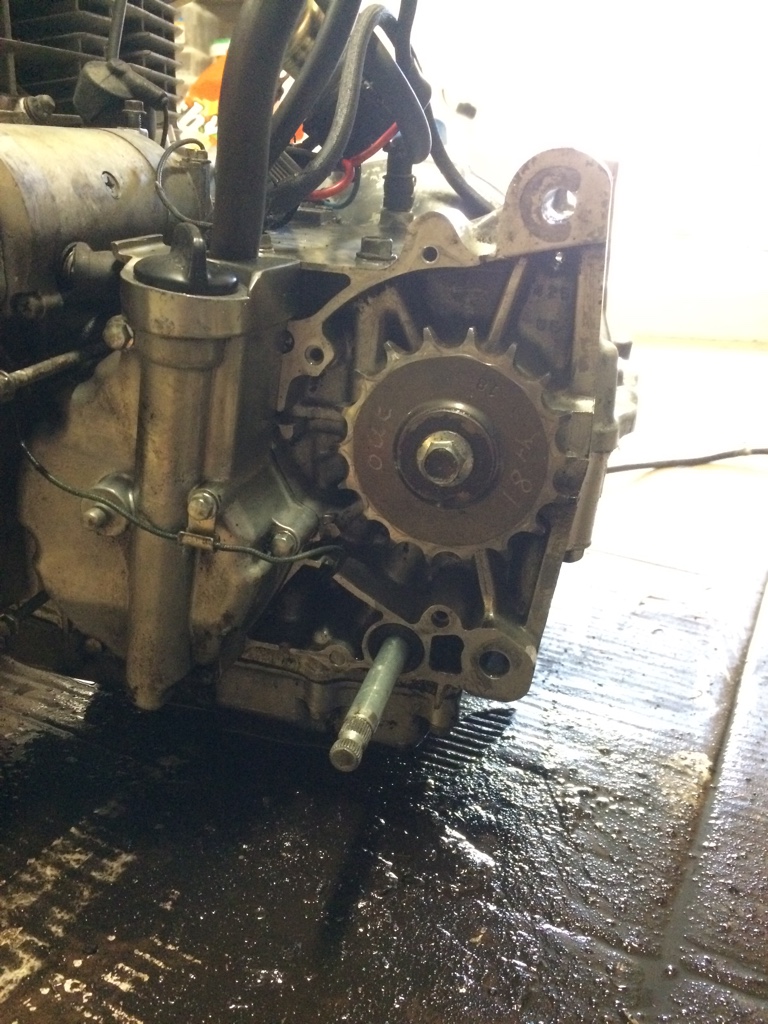
then I removed these front engine mount brackets be sure to remove both of this completely also it's a pain in the ass trying to balance an engine that is half out whilst trying to fish out the right sized ratchet.
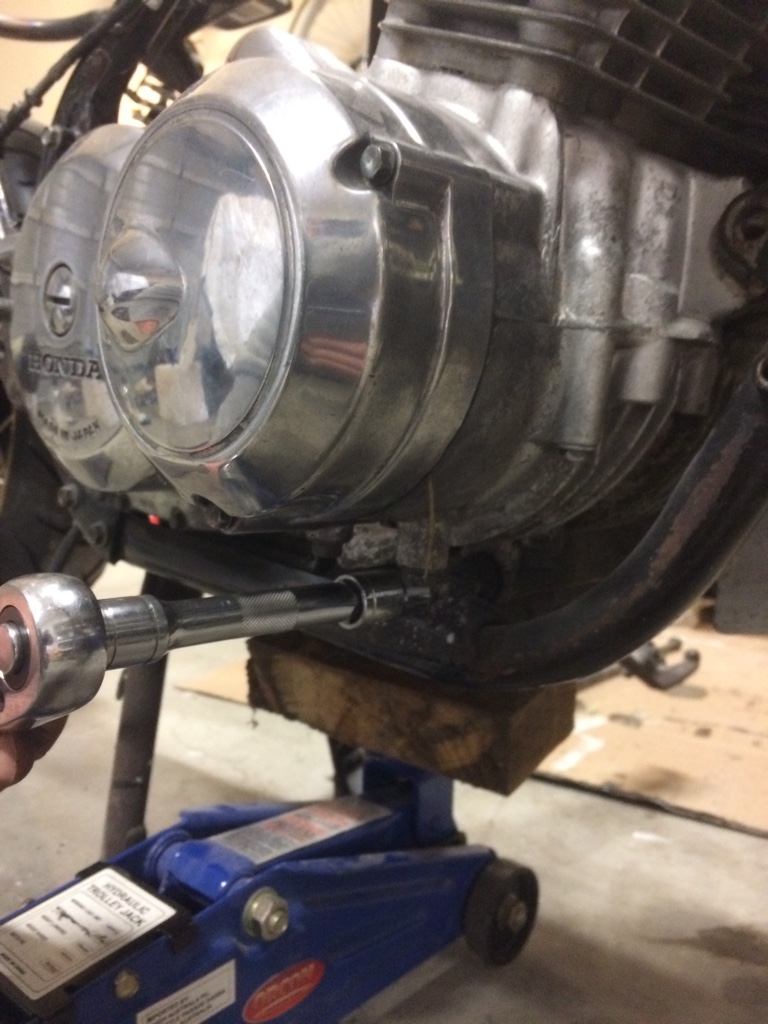
the two on the right side at the front and one just behind the clutch there once those two are out the sub frame comes out
The next bit involved a few F bombs and a lot of manoeuvres of which I could not recall exactly even if I wanted to
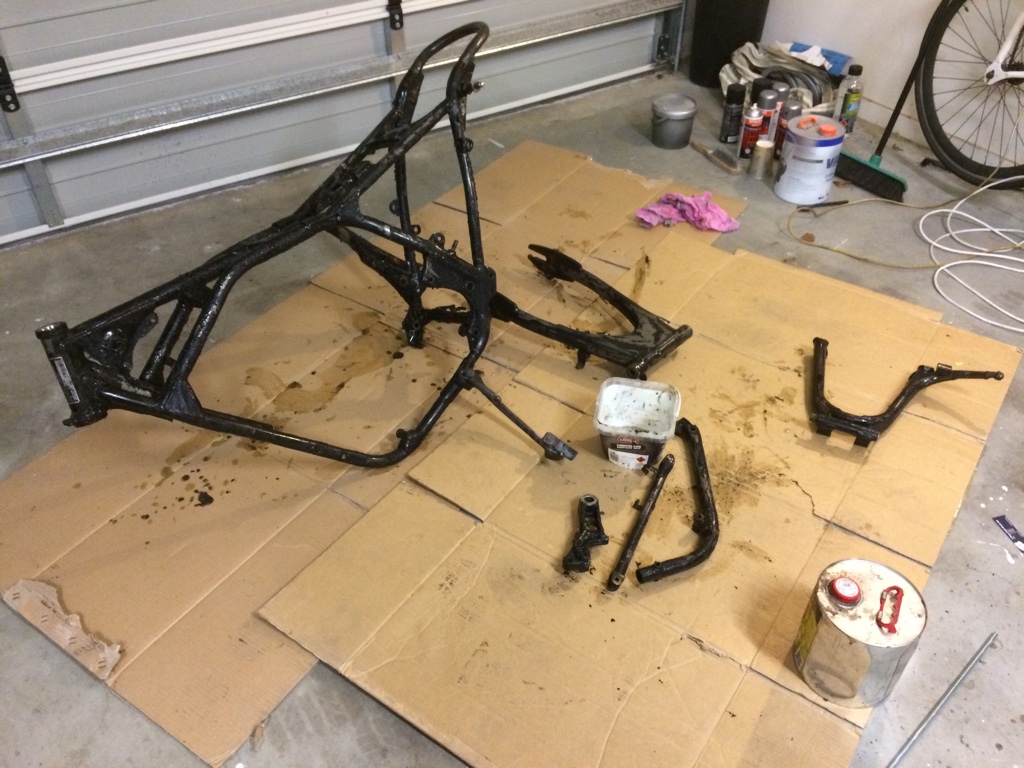
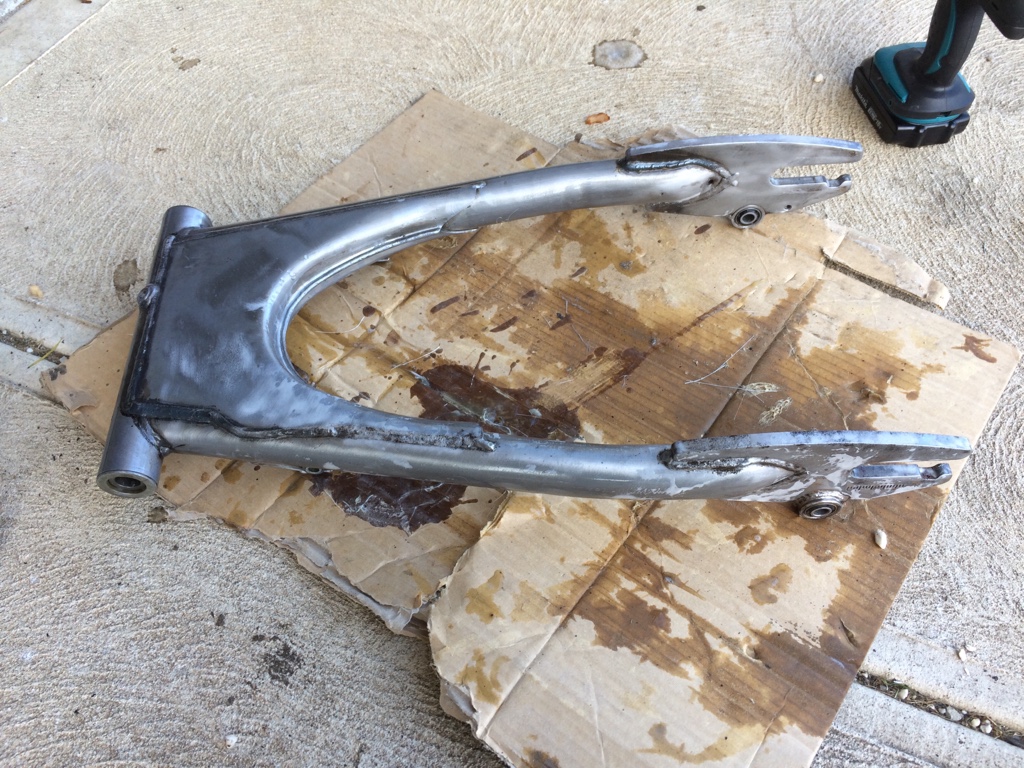
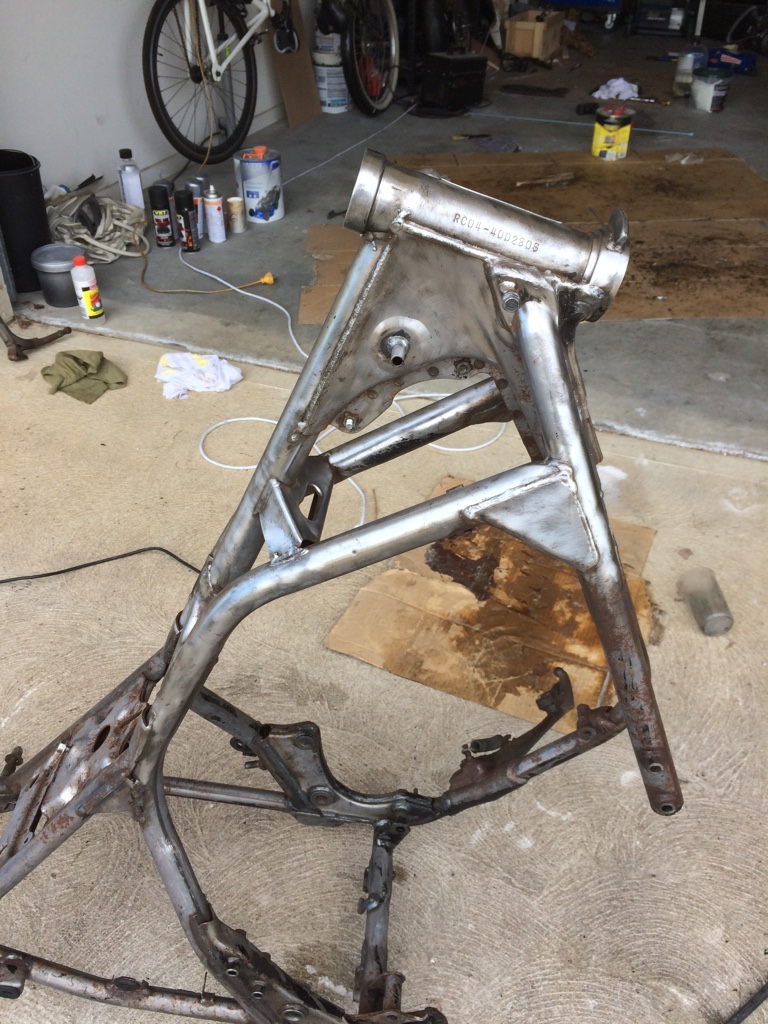
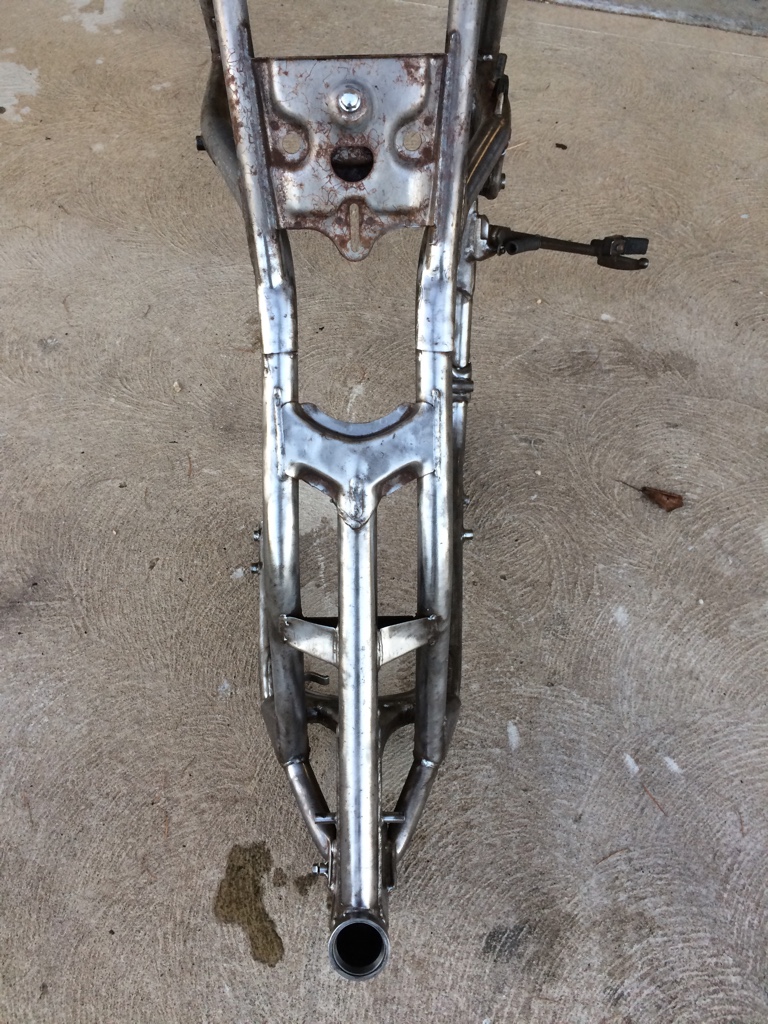
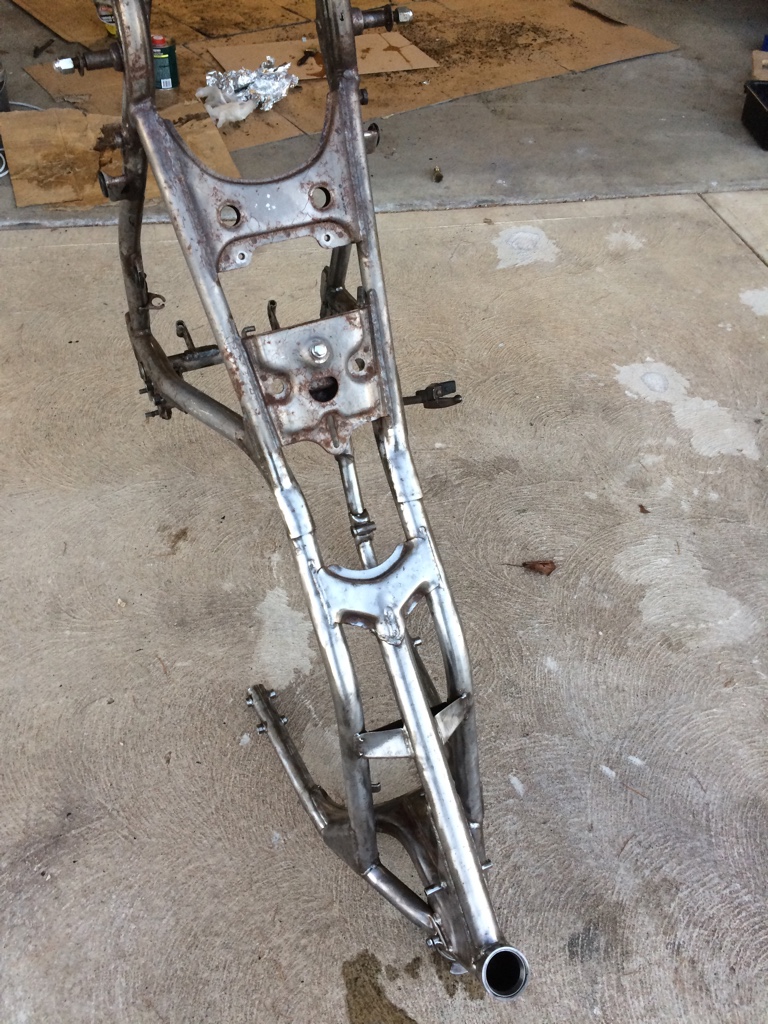
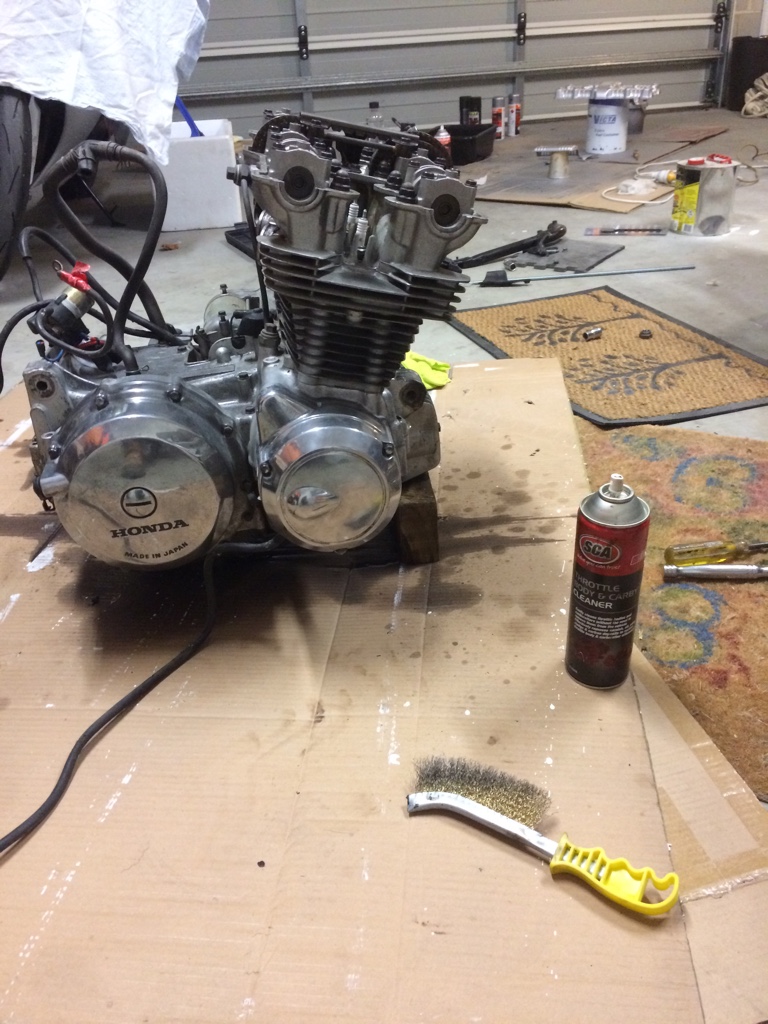
Now for the fun part degreasing then stripping it back to get ready for painting
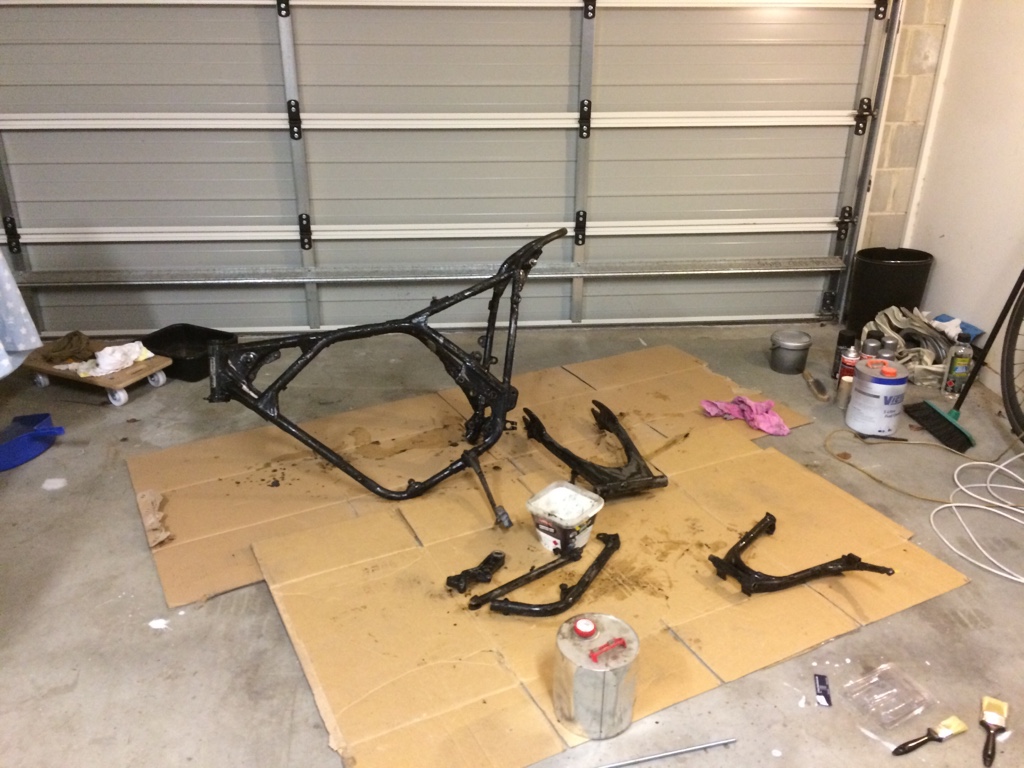
Now I'm out of degreaser so I'm pulling up stumps I painted up some of the parts now waiting for everything to dry
Yea degreased, paint stripper, wire brush, sandpaper then mineral turpentine and finally the wax and grease remover. Surprising how long it takes to get it back to where you want it not looking forward to all the fins on the engine.
I've doused the engine with degreaser so later this arvo I'll try to sand back the frame and paint it up
gonna have to get this project near completion over the next week
Errr I hope you meant week(s) You are making great progress, but....... You will end up frustrated and hating the bike if you push too hard. Good luck and keep up the great work I wish you both well for the big day :-*
Lol it's true, I'm fly in fly out so I have a full 84 hrs primary focus is to get frame de tabbed, stripped and painted and engine striped and repainted then back in the frame so she's rolling again anything after that is a bonus hopefully the seat will also be finished
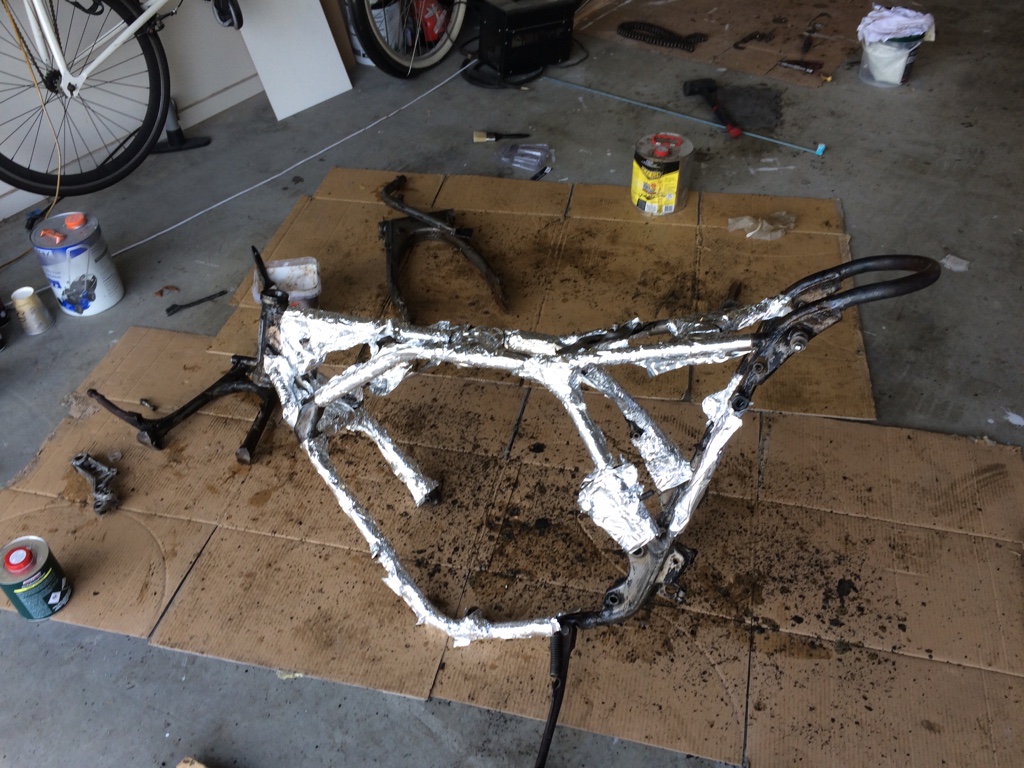
Paint stripper didn't work as well as I had hoped, apparently if you wrap it in foil dull side down it's more effective so I'm off to get some more stripper then back to it
Dogs are walked and fed washing done and hung out should have a full day at it
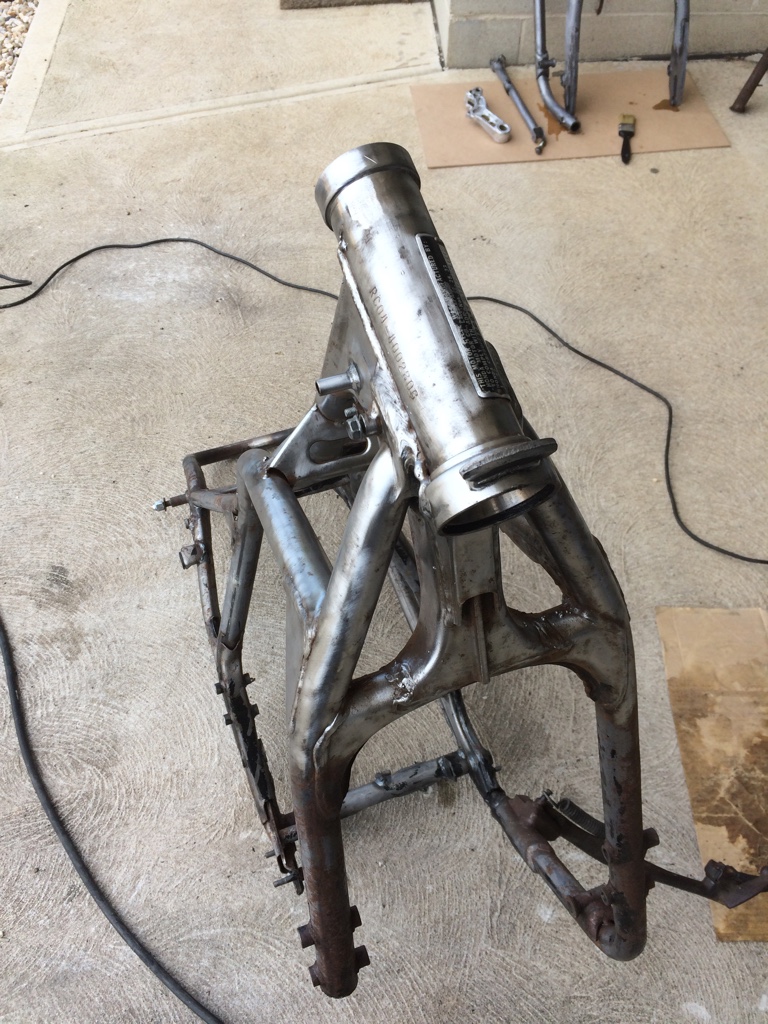
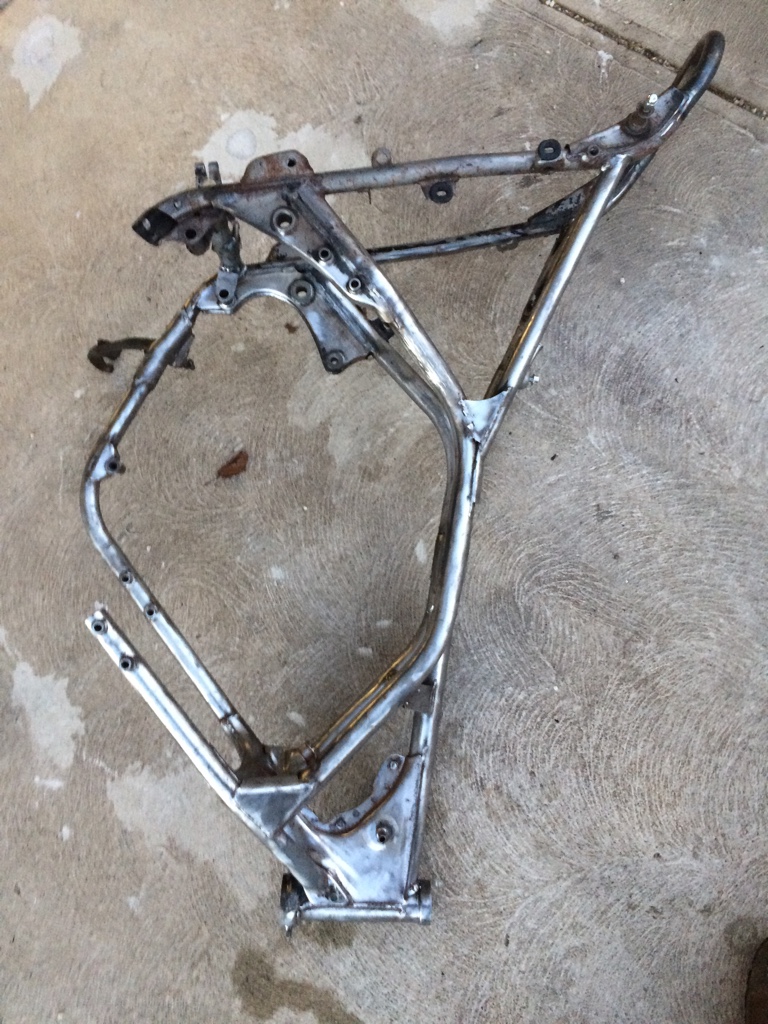
Yea I'll have to give it a scuff to smooth it out after the rust converter
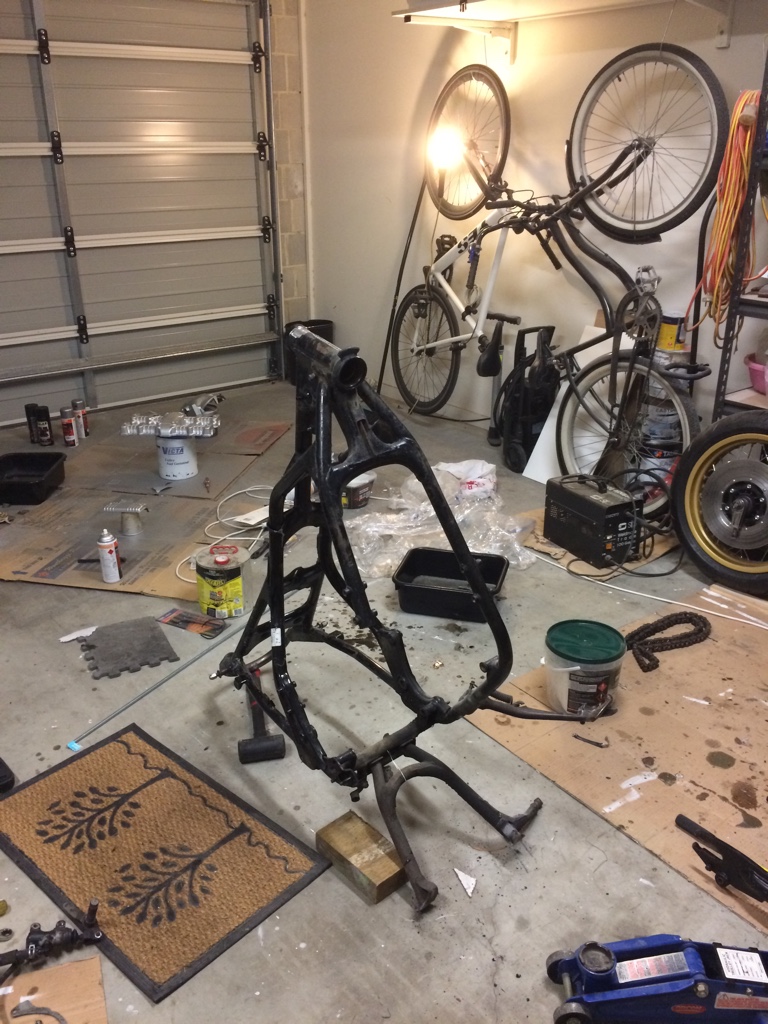
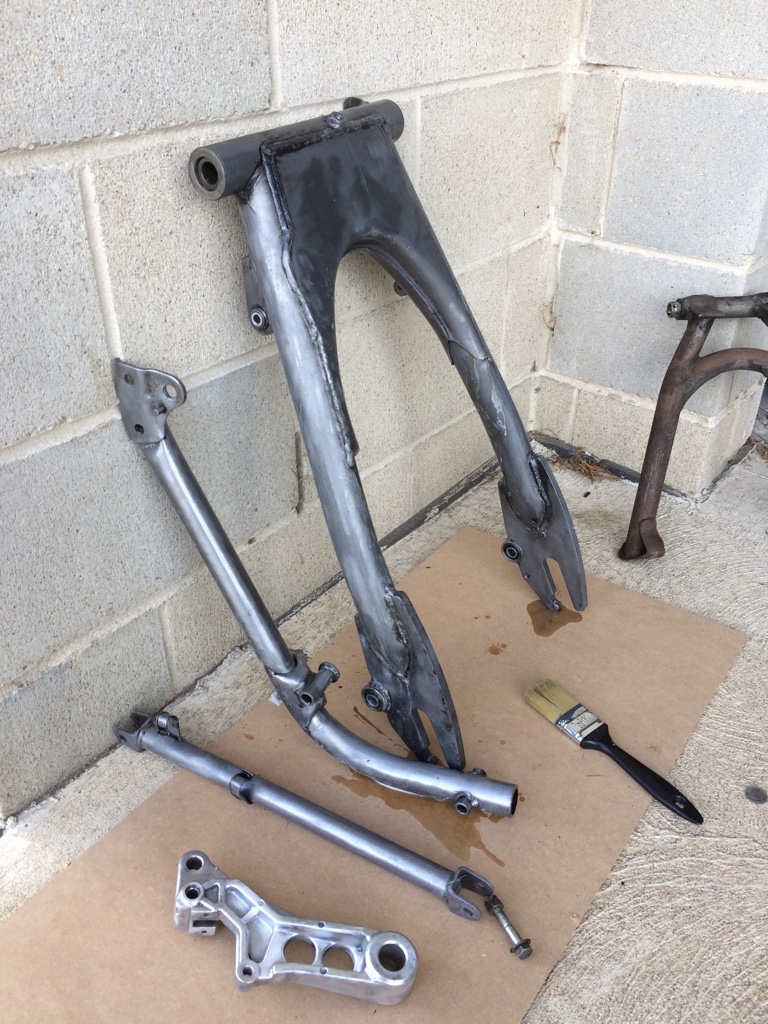
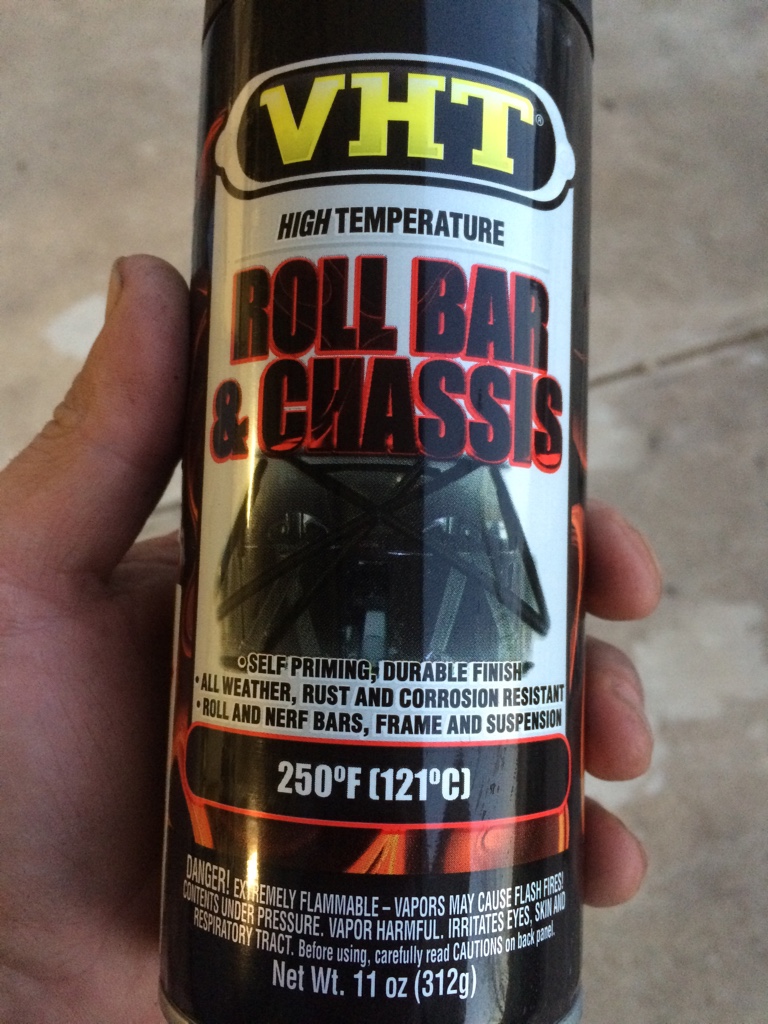
Unfortunately spraying isn't going to be too tech so I thought I'd use this
This is the evolution of the frame batteries for the drill are both flat waiting for it to charge so I can finish the job and get the rust converter onto it
yea i figured if its good for roll cages it should be fairly durable. That said im still paranoid of scratching the frame when i reinstall the engine.
Im thinking about bubble wrapping the frame when i go to in to install the engine, not sure how far ill get tomorrow as Im heading across town to my dads to have a crack at modifying the triple clamp on the mill to house the speedo and idiot lights.
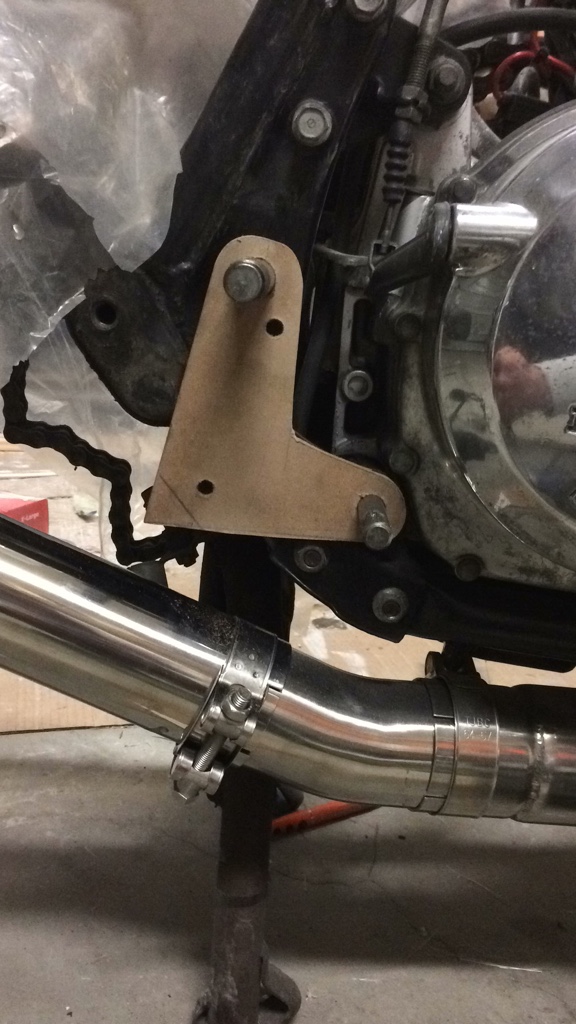
If we get enough time we will try to make up some adapter plates so that the R6 rearsets can mount im thinking of using the original bolts that held the old rearsets then tap in some threads.
I made up a wooden template for us to get the holes right
This site uses cookies to help personalise content, tailor your experience and to keep you logged in if you register.
By continuing to use this site, you are consenting to our use of cookies.


 gonna have to get this project near completion over the next week