MHDesign
Been Around the Block
I've tried applying as much force as I can give the rod (with some thought toward not breaking anything) I can't imagine that anything is frozen clutch-wise given that I rode the bike (mechanically sound) 40+ miles before the build.
My next question- the rod, at one point, walked out of position (out of the case, toward the drive side of the motor). If the rod is removed from its point in the trans, can it be reinserted? Does this take it out of its relationship to the rest of the trans?
Sent from my iPad using Tapatalk
My next question- the rod, at one point, walked out of position (out of the case, toward the drive side of the motor). If the rod is removed from its point in the trans, can it be reinserted? Does this take it out of its relationship to the rest of the trans?
Sent from my iPad using Tapatalk

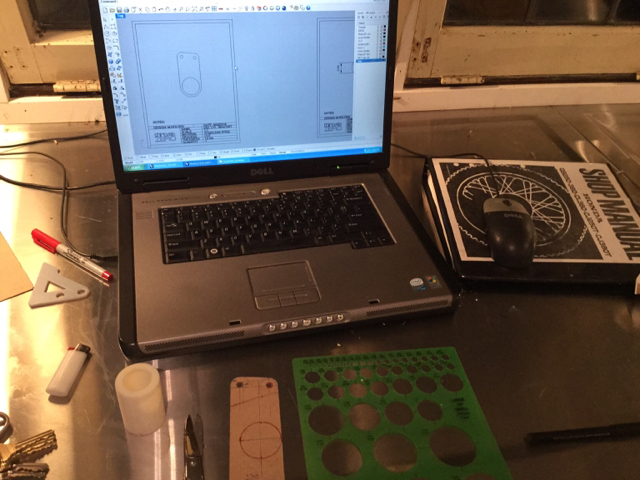
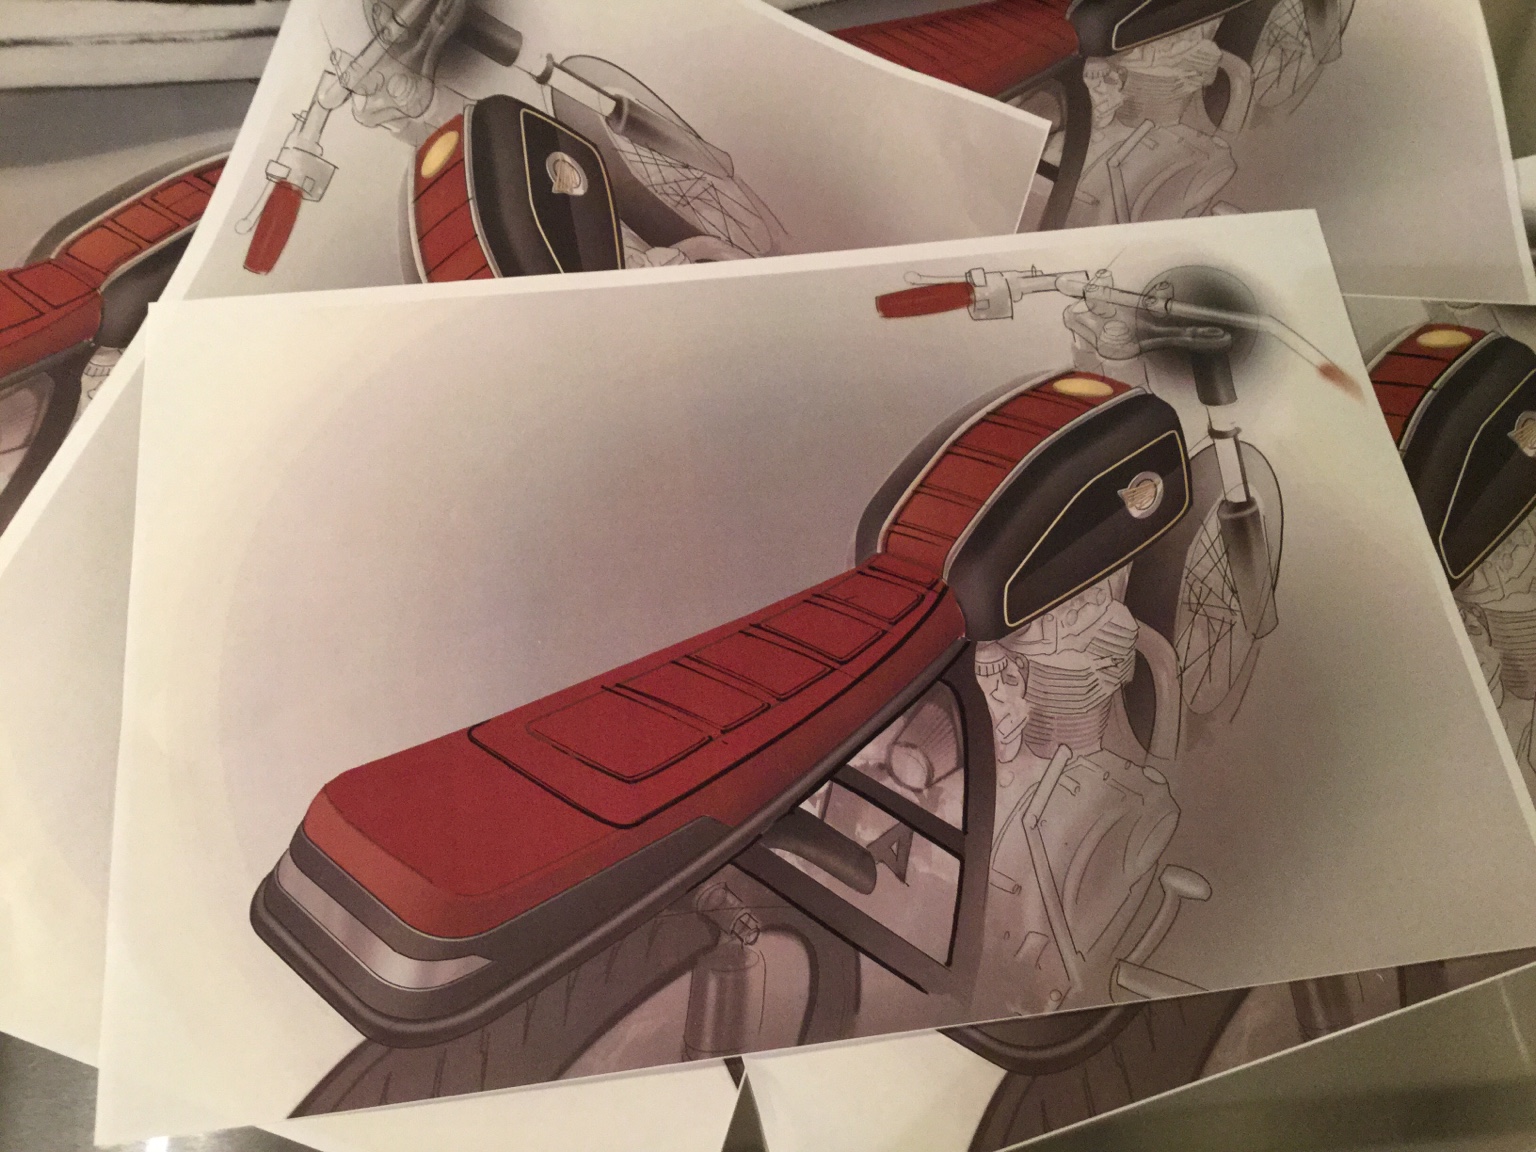
") ) I was curious on what rendering software you had used for your plans on the first page. It looks a heck of a lot better than my scribbles on white paper haha. Good luck! and thanks.
) I was curious on what rendering software you had used for your plans on the first page. It looks a heck of a lot better than my scribbles on white paper haha. Good luck! and thanks.
 )
)