Follow along with the video below to see how to install our site as a web app on your home screen.
Note: This feature currently requires accessing the site using the built-in Safari browser.
We noticed you are blocking ads. DO THE TON only works with community supporters. Most are active members of the site with small businesses. Please consider disabling your ad blocking tool and checking out the businesses that help keep our site up and free.
Yeah, my bad on the mixer... Straight up is definately the way to go with the Bushmill's.
Hell yeah dude, you cleaned some more after I left. I've got grease in the cracks of my fingers that I cannot get clean! That bike is definately the dirtiest most unloved lump I've ever worked on. What a difference some elbow grease can make! Wait till you guys see his drum cover. It's lookin tight! In fact he's convinced me to start drilling on the Rob-Bob!
BTW: Brandon's tool setup is most definately the Poo! Far superior to mine. Everything's at hand and organized. It's a real pleasure to work in that sewing room.
Kiley, thanks man, I wish you were closer too! I want to play with Gretta! I will be in the Ham in a couple weeks and was thinking of going to Barber Museum. We should get up with each other! Oh, and I am sorry you have been miled to the OTHER team! A real shame! ;D
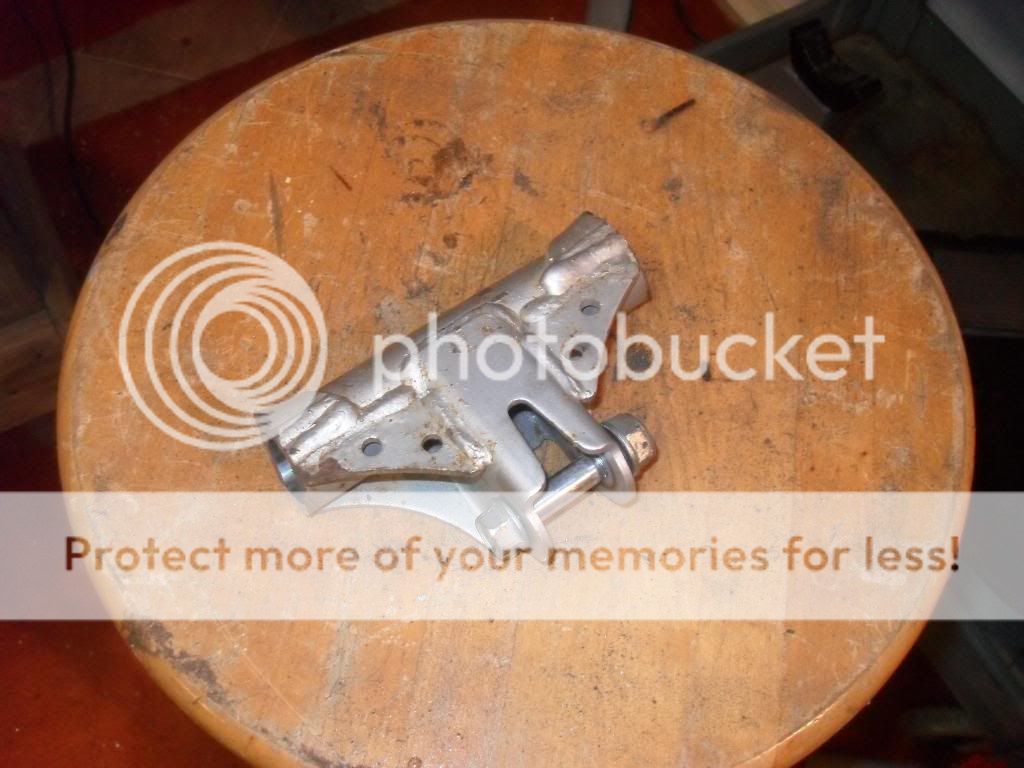
thompsonmx100, it will be a mono-shock. Some tabs and other parts I have left on the frame and swingarm for mock-up purposes. I will be taking the CBR down for parts next week! All the stuff I have done so far is the easy stuff! I know the project is about to hit the slow stuff! Sorry your root for Flawduh! ;D
Alex, thanks for all your help and you know your welcome to come and use my tools any time! I made you a key to the shop today.
Mike, I have some ideas on the paint but nothing set in stone. I know I want to use a good bit of white. What I have in mind is more of a vintage layout. I may use more modern tones and I may not! I really won't know till I mock her up. I plan on mocking-up the whole bike then tearing her down to paint before final assymbly.
What I like about this forum the most is seeing some ratty POS get taken apart, elbow grease thrown at it and made into something truly amazing. Great work.
Jay
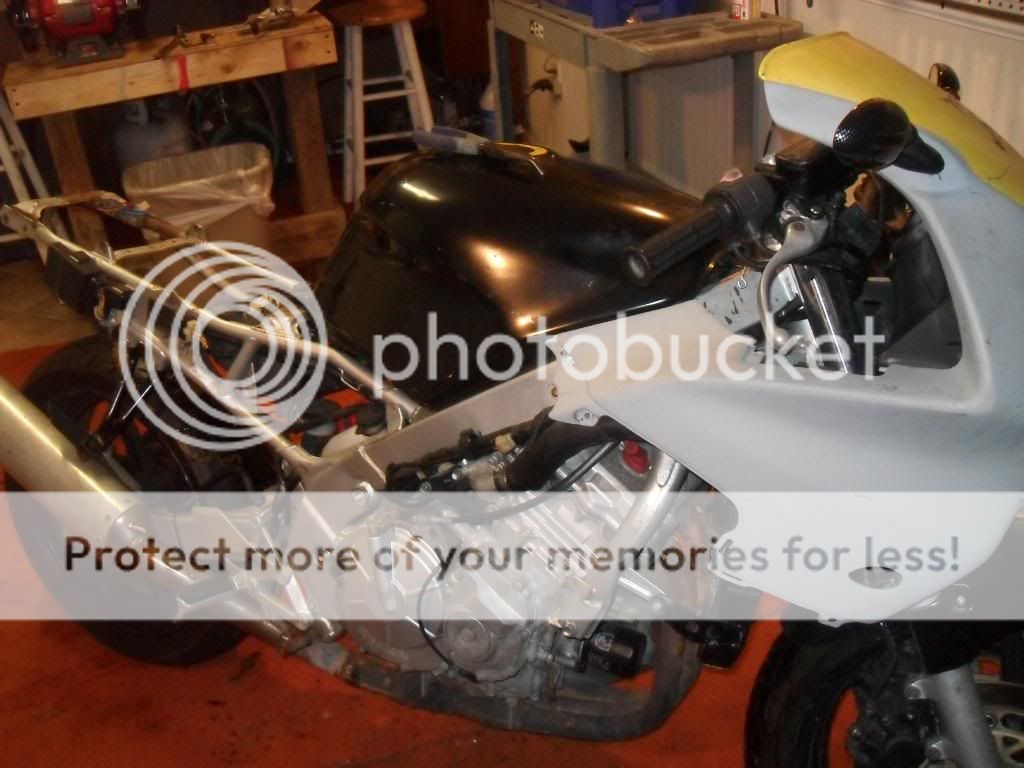
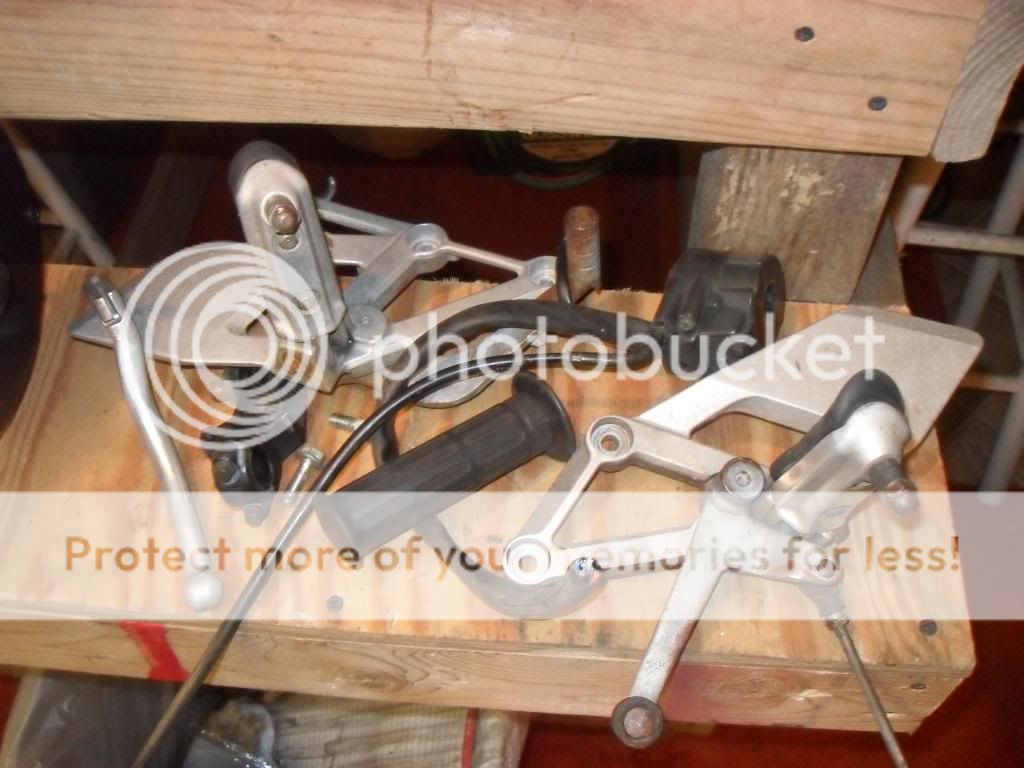
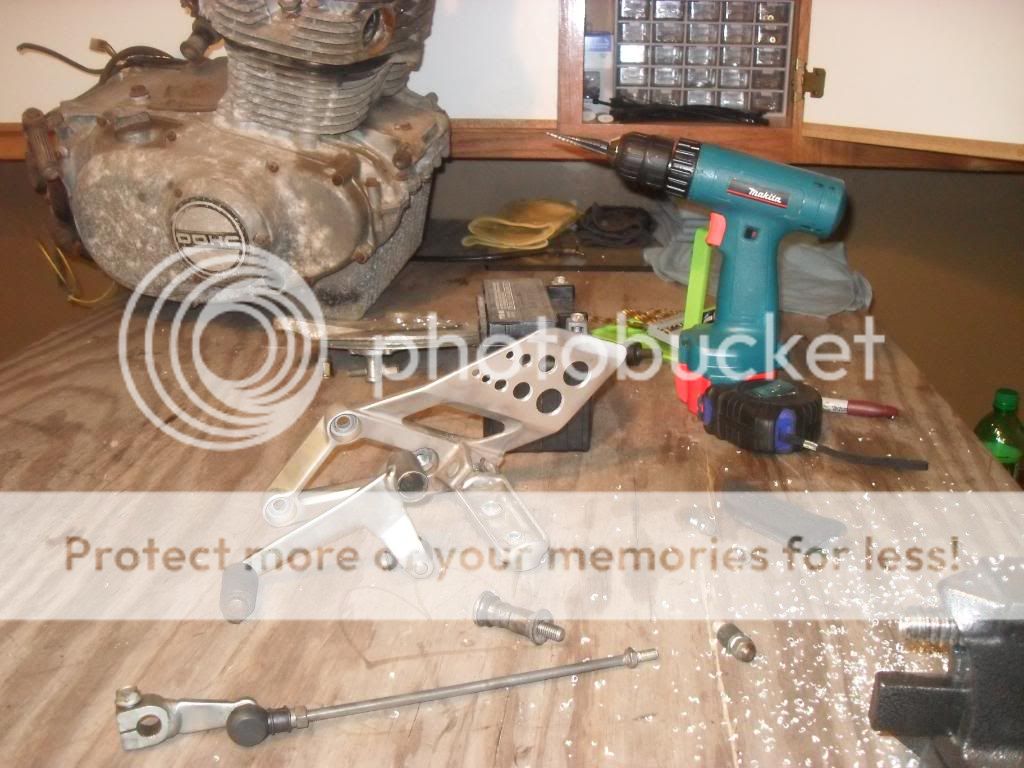
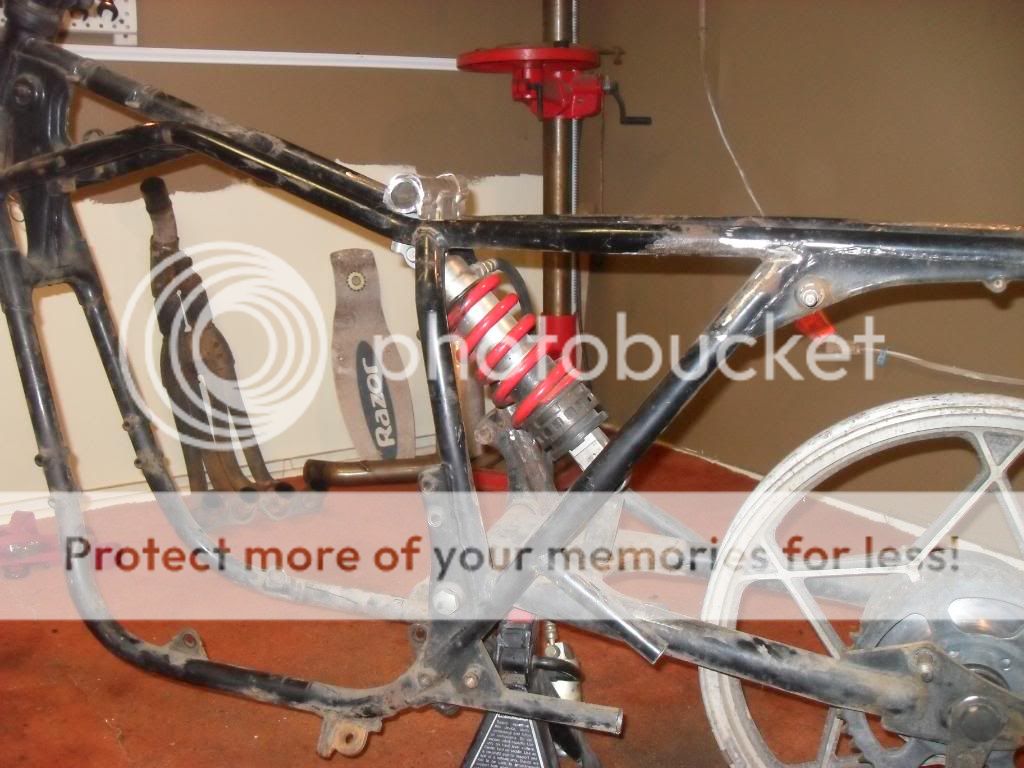
I was out of town and busy all weekend, so I had no time for Eileen. As soon as I got home tonight I spent a couple hours in the shop with the donor CBR! Here is some pics of the progress. While out this weekend I may have found some USD forks! I am not getting too excited but I hope it works out for me to get them! Eileen would love them! Here are some pics for you guys. Pics of the donor CBR and mono-shock!
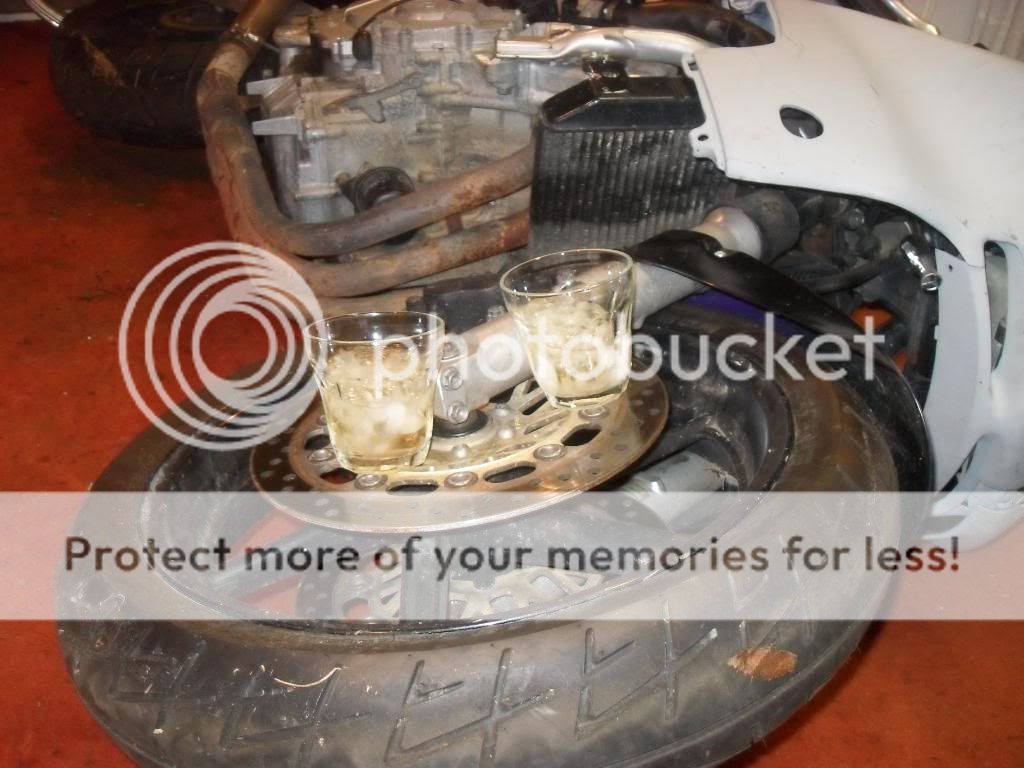
Last night I did not get anything done on the bike, rather last night served more as a directional motivater. Alex came over to help me move the CBR around and tear some parts from her. After much frustration we finally decided to use some outside the box ideas to achieve what I wanted to do! After getting the front wheel and rotor off, I looked at it on the wheel of Eileen and did not like it at all! I have decided not to persue the USD forks and not to use the brake system from the CBR! The rotor is just too big to look good on Eileen's wheel. This lead to my decition that I want to keep the smaller forks on the front too, it just keeps with the light weight look of the bike that I first designed in my head. I may still try to get the USD's for a future project .
Now the project has a much more clear picture. I have determined what my fabrication plan is as far as the frame and suspension goes. I am going to start on cardboard mock ups for the shock mount on the swing arm which will also serve as the mounting point for a small hugger fender. Along with that I will be mounting the top shock mount to the frame and mocking up some gussets for it. I also need to make two more gussets for frame support but will end up being more decrative than funtional, but still light in weight. Once this mock-up work is done I will be staring on the custom fiberglass tank and seat! Things will be moving slow as I want to mock up with the clip -ons on before fabing up the tank. If anyone out there has a spare set of 33mm clip-ons, let me know if you want to part with them! Eileen has come to the slower moving section of the build and also to the point where she starts digging deeper into my wallet! Just like every other woman in my life ! I will be getting some parts, materials, and supplies over the next month. As I get something to work with I will be working it but I am going to have to have a lot of stuff to come together before any serious work begins again! Whish me luck!
Here are some pics of our outside the box thinking! With no rear shock in place it made it difficult to get the front off the ground to remove the tire, so after some Bushmills (on ice I might add) this is what we came up with! Problem solved!
I hate working on modern sport bikes, too cramed in every tiny space and no lower frame! Just frustrates the shit out of me!
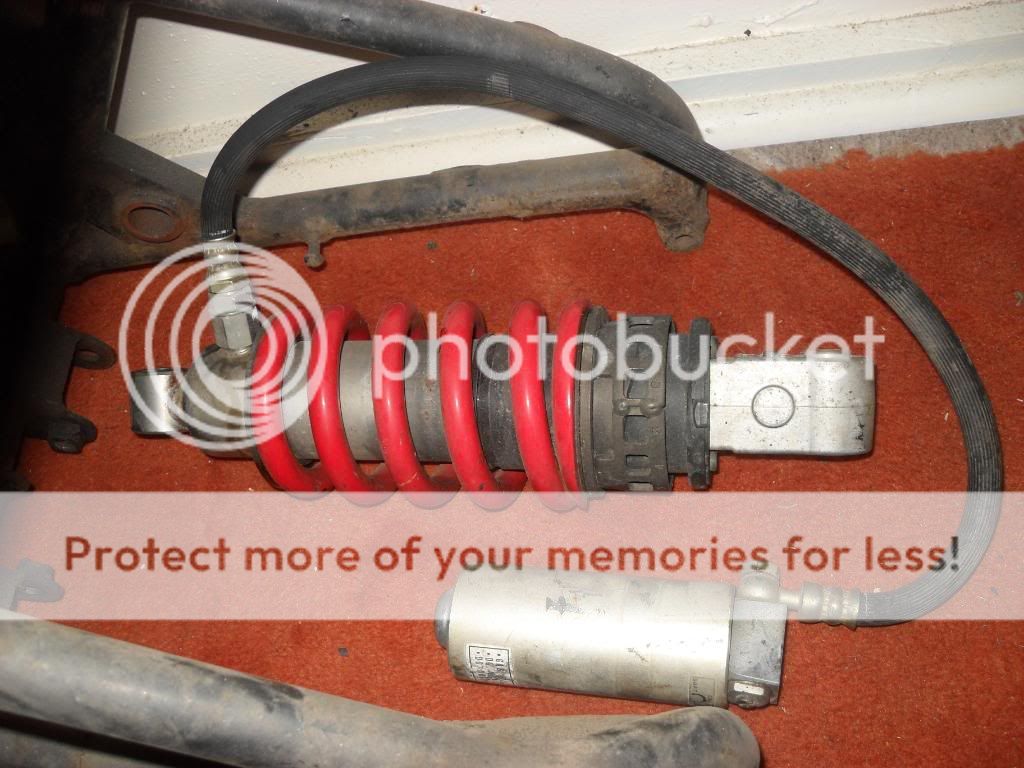
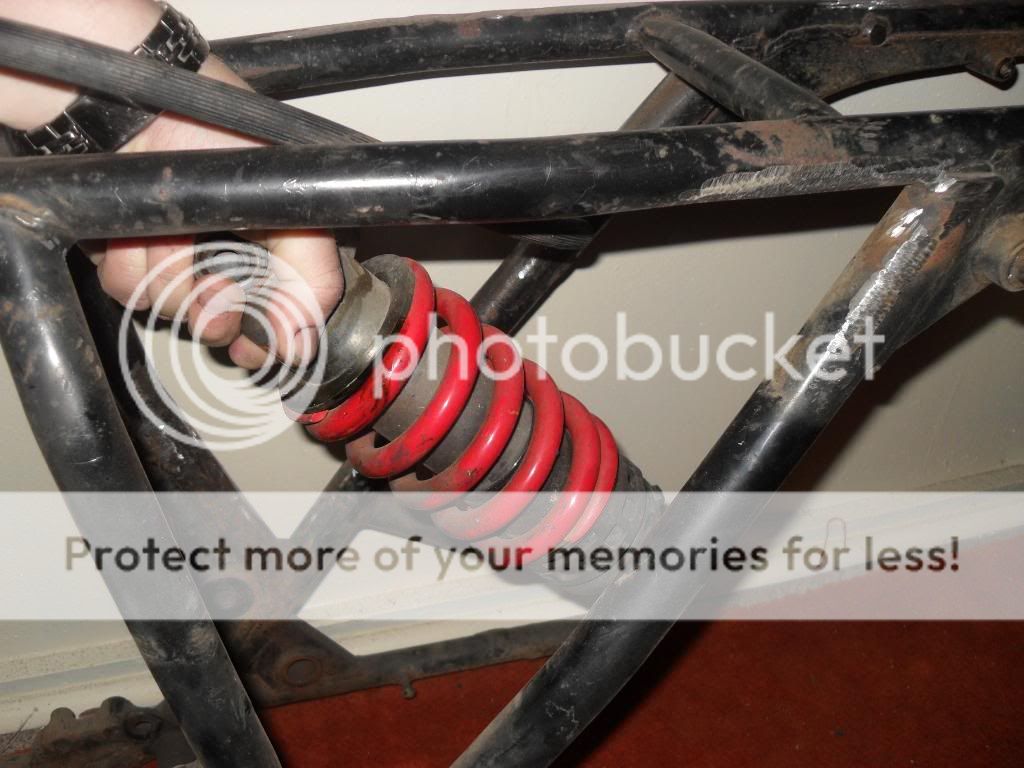
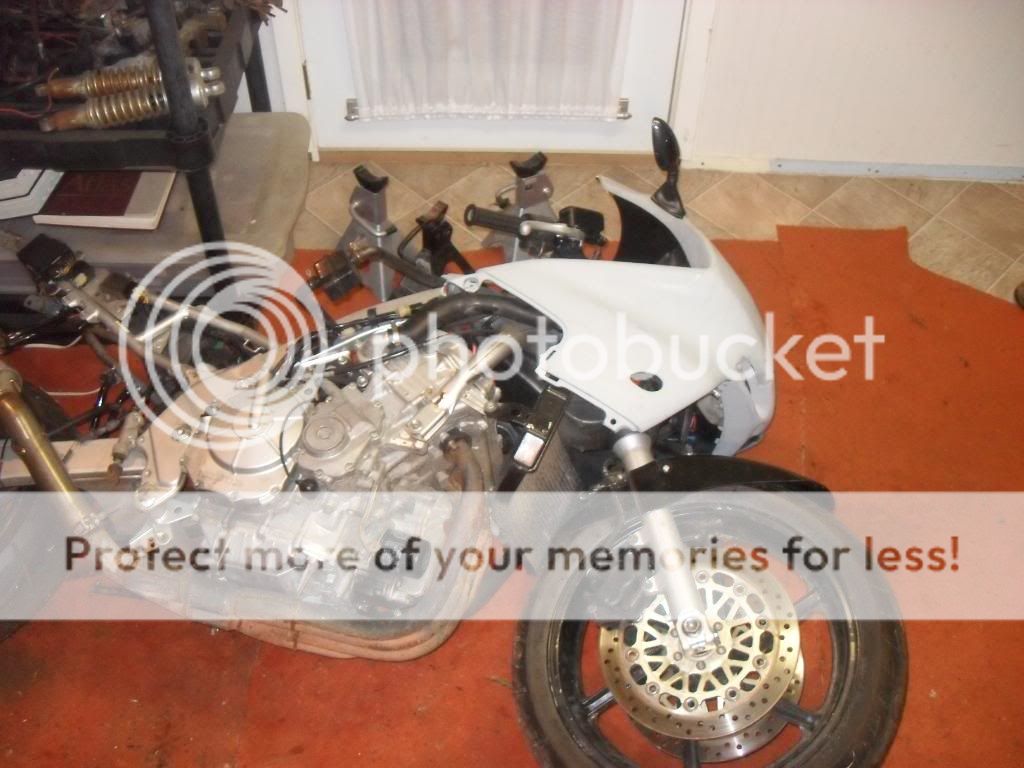
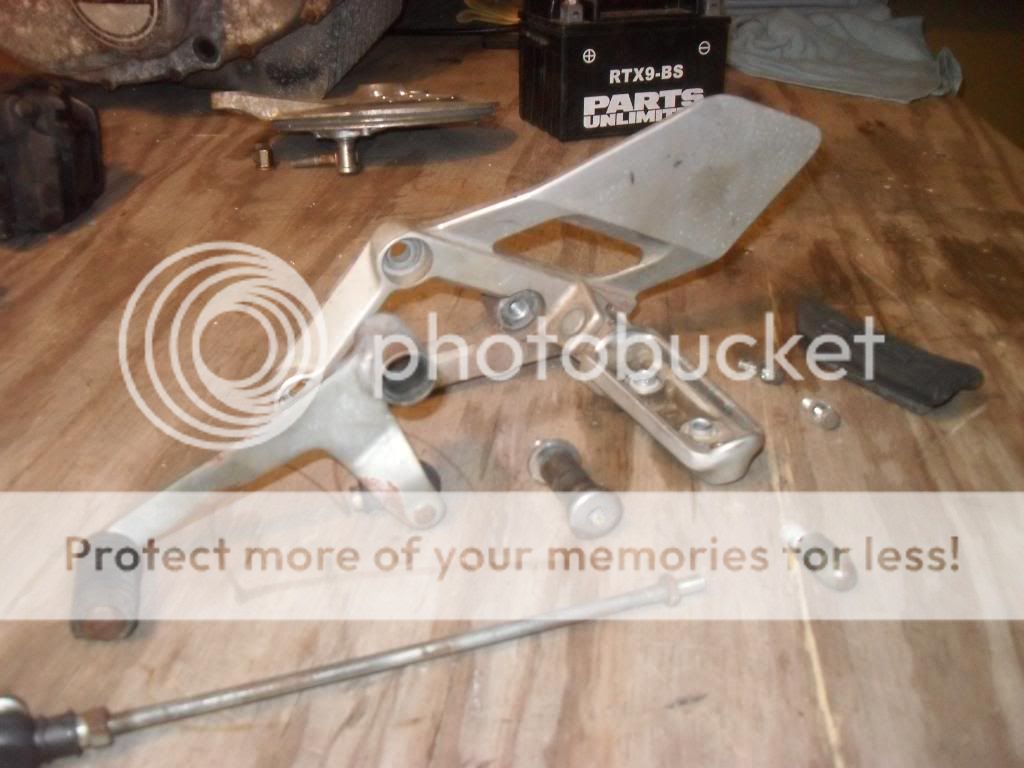
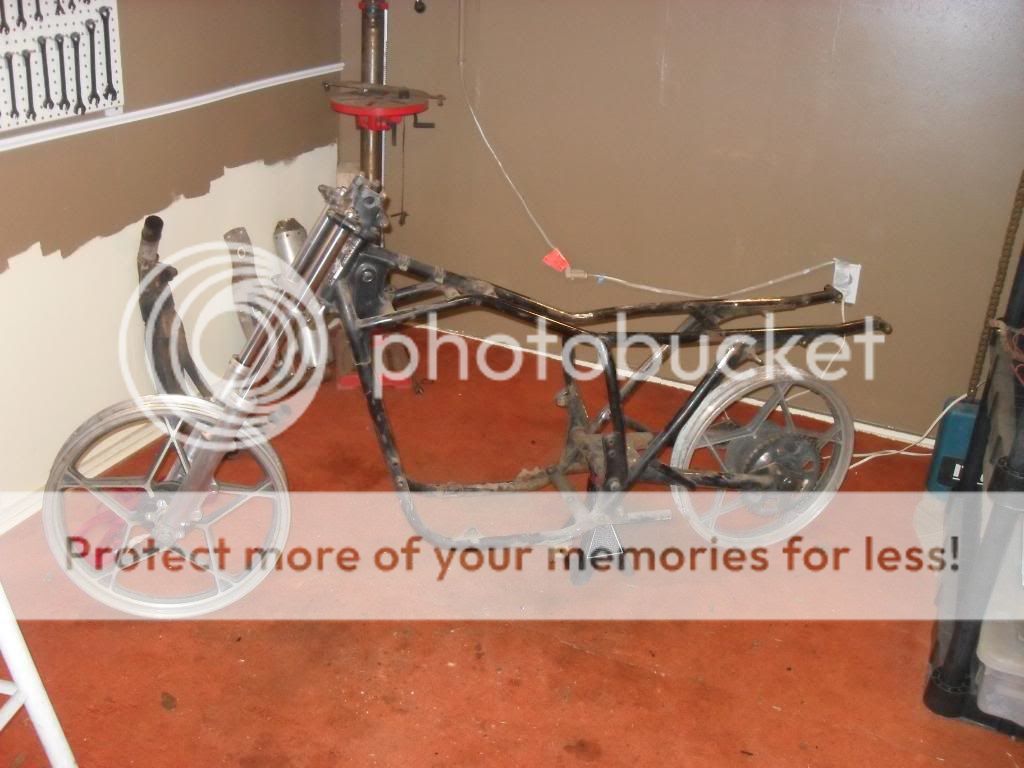
I got the CBR shoved to the side and was able to move Eileen back into the spotlight! Started getting her back together a bit for some mock-up! Working on gettin ready to fab up some shock mounts and swingarm altering for the mono-shock. Also planning the fab stage of the rear set mounts and a few other goodies.
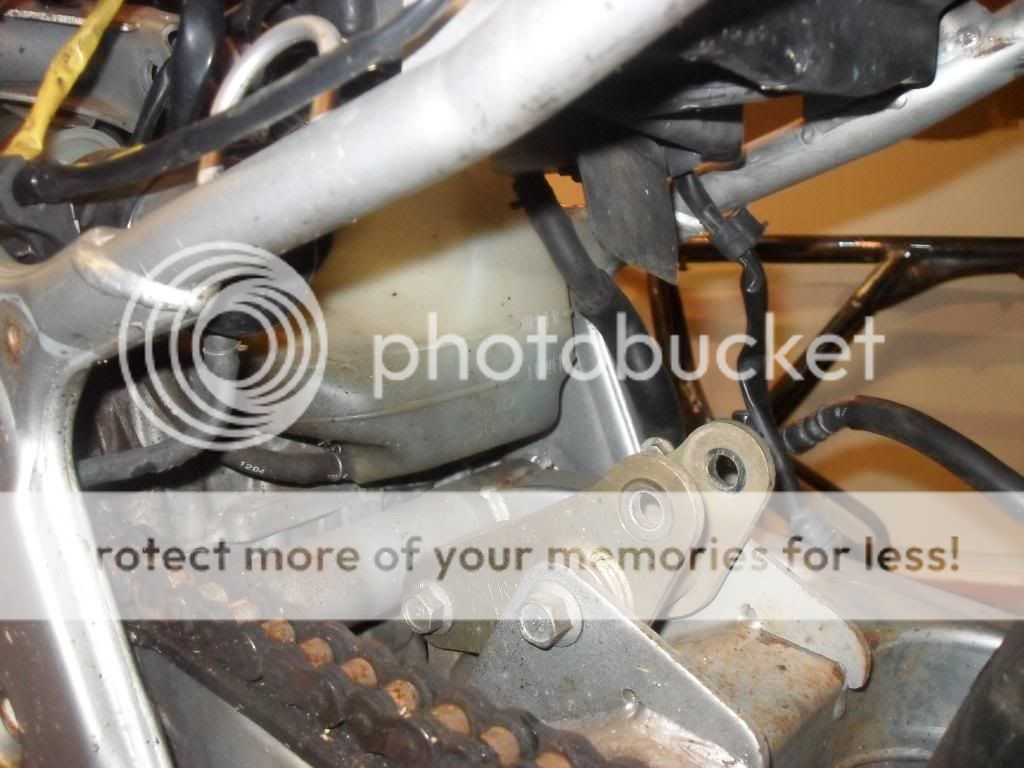
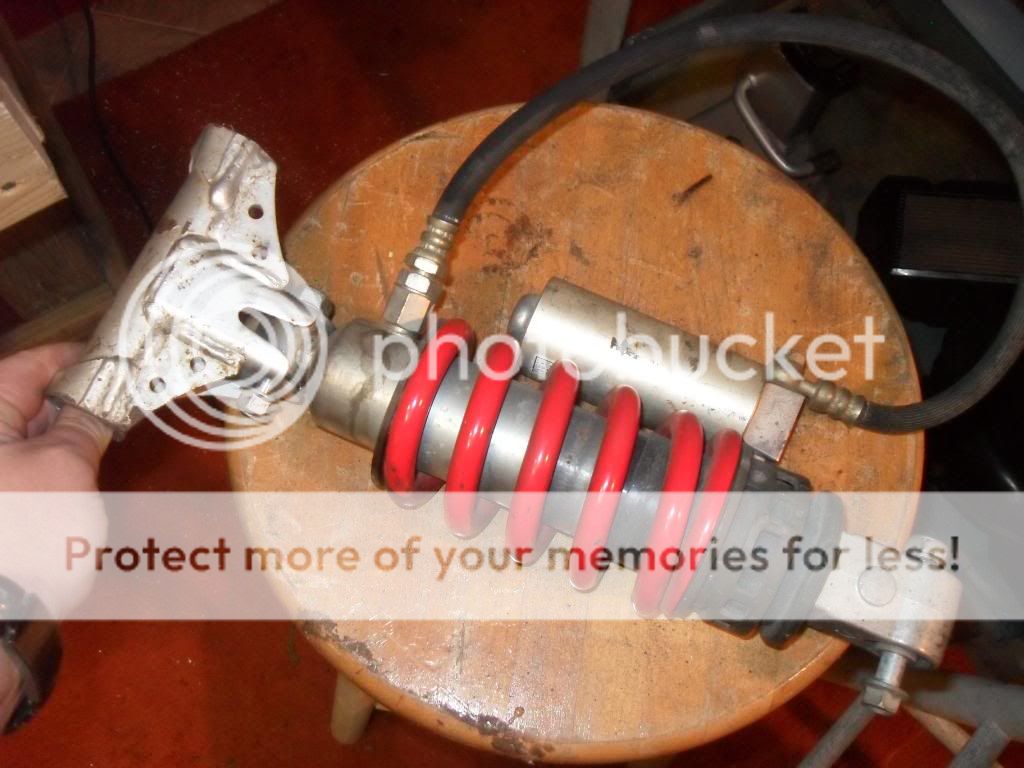
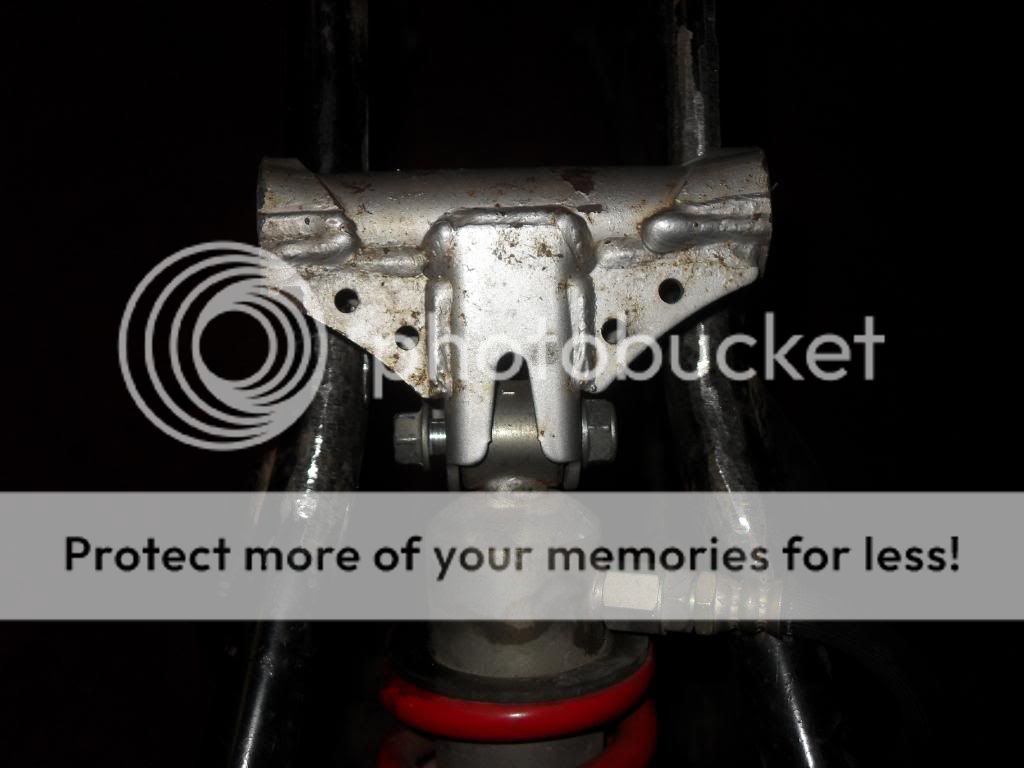
Cut out the factory CBR upper shock mount to use on Eileen.
This is about where it will sit just to give you an idea! The bracket will actually be cut and welded between the frame rails.
Doing some math now and some scetching of what the swingarm mount will look like and funtion correctly. I think I have it mostly, so I will be making some cardboard stencils then on to steel!
hillsy, I have thought about that but to get the correct angle on the rear axel it has to be about there! I will get some angled manifolds if I have to, and I really like that look anyway. I have also toyed with the idea of building a custom air box! That is too far away to really be concerned with as long as I have plans for if it is a problem, and I think I have thought it through. As far as which path to take, well I will burn that bridge when I come to it! Thanks for the heads up though! It is nice to have people watching along with you to bring up these things incase you don't see it when your planning!
What are your plans on the swingarm side of things as far as the shock mount goes? Those stockers are flimsy, so at least brace the ever lovin' SHIIIIIT out of her. I'm sure you know what you're gonna do. I just like to be inquisitive.
What are your plans on the swingarm side of things as far as the shock mount goes? Those stockers are flimsy, so at least brace the ever lovin' SHIIIIIT out of her. I'm sure you know what you're gonna do. I just like to be inquisitive.
Well, I tend to over-engineer everything so here is the plan, you guys give me some feedback on it!
I am fabing a hoop from round stock to travel from the original shock mount spot (welded in) to just above or below the mount area of the mono-shock. The mono-shock mount will be two plates, side by side that are welded to the swing arm and the hoop. I plan to gusset all connecting areas. I was also thinking of welding some angle iron strips under it from front to back offering lenear strength to the entire swingarm (I may omit this, I don't know if i really need it and I don't want excess weight!). Basically a straight line will be formed from the top mono-shock mount (the one welded between the frame rails that was robbed from the CBR) to the bottom of original shock mount using the mono-shock and the hoop, this should force the load to be supported at the same place it was in the original shock set-up.
So, if any of you have any experience with this please enlighten me if I am wrong! I am a little concerned with the hoop having chain clearance issues, but I can figure my way around that!
This site uses cookies to help personalise content, tailor your experience and to keep you logged in if you register.
By continuing to use this site, you are consenting to our use of cookies.

 As soon as I got home tonight I spent a couple hours in the shop with the donor CBR! Here is some pics of the progress. While out this weekend I may have found some USD forks! I am not getting too excited but I hope it works out for me to get them! Eileen would love them! Here are some pics for you guys. Pics of the donor CBR and mono-shock!