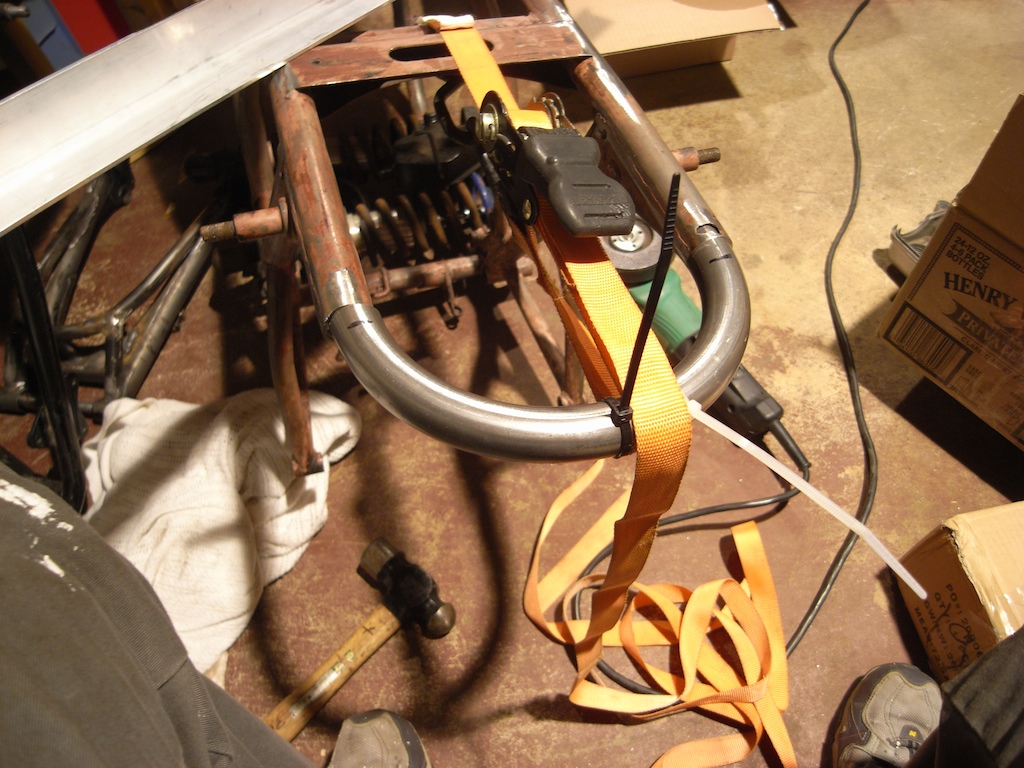
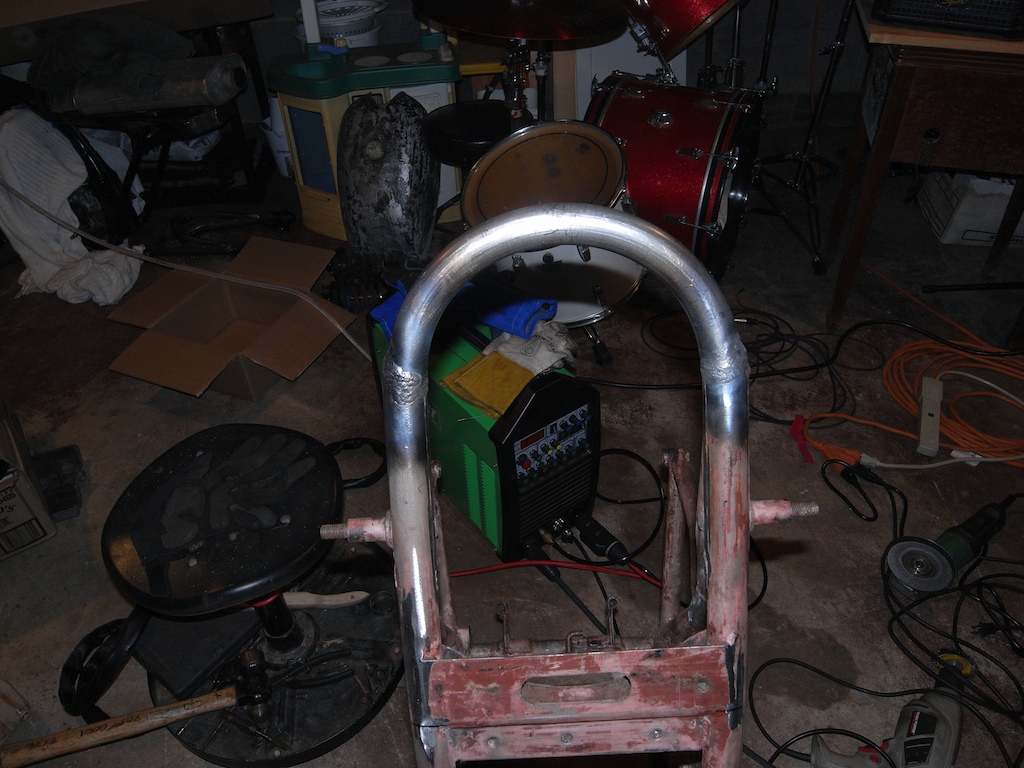
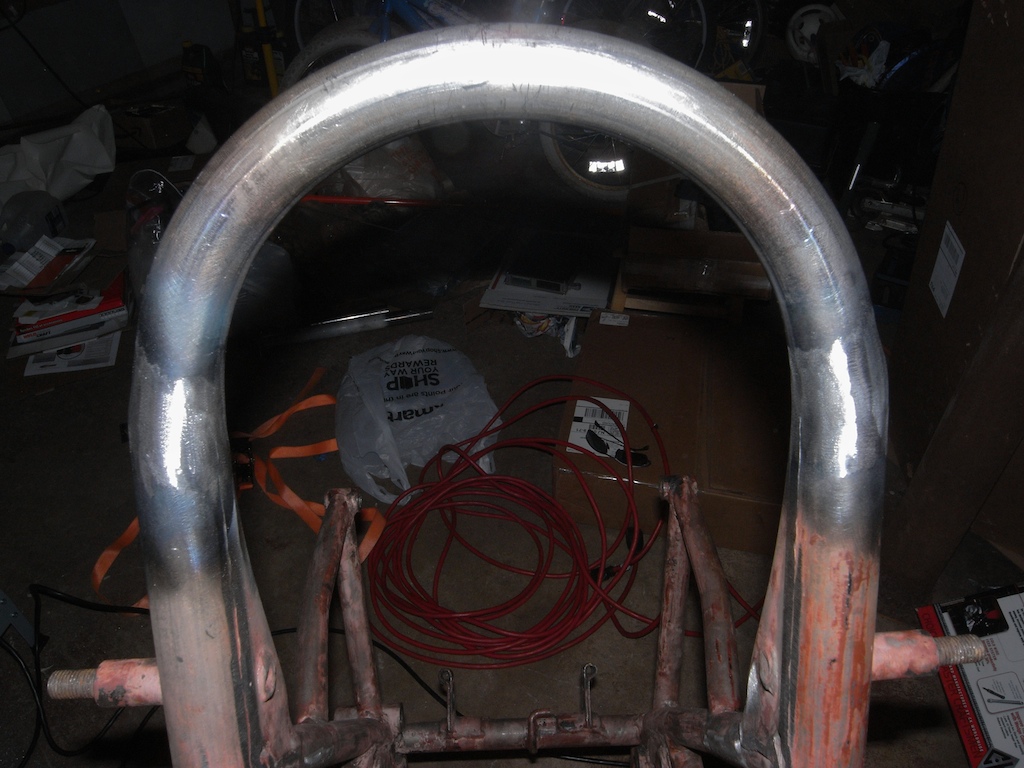
Hi, all! I figured I would throw up a build thread for the work I am doing for MB to his CB750. The basic plan is detabbing, welding on a new rear hoop, building a custom seat pan and battery tray, maintaining as low a profile as possible. I just finished up the rear hoop tonight, but I'll let the pics do most of the talking. Most of this is going to be cross posting specific stuff relating to MB's bike from my blog (link in sig). I hope you find something interesting, and please do ask any questions and I'll even take criticisms. =)
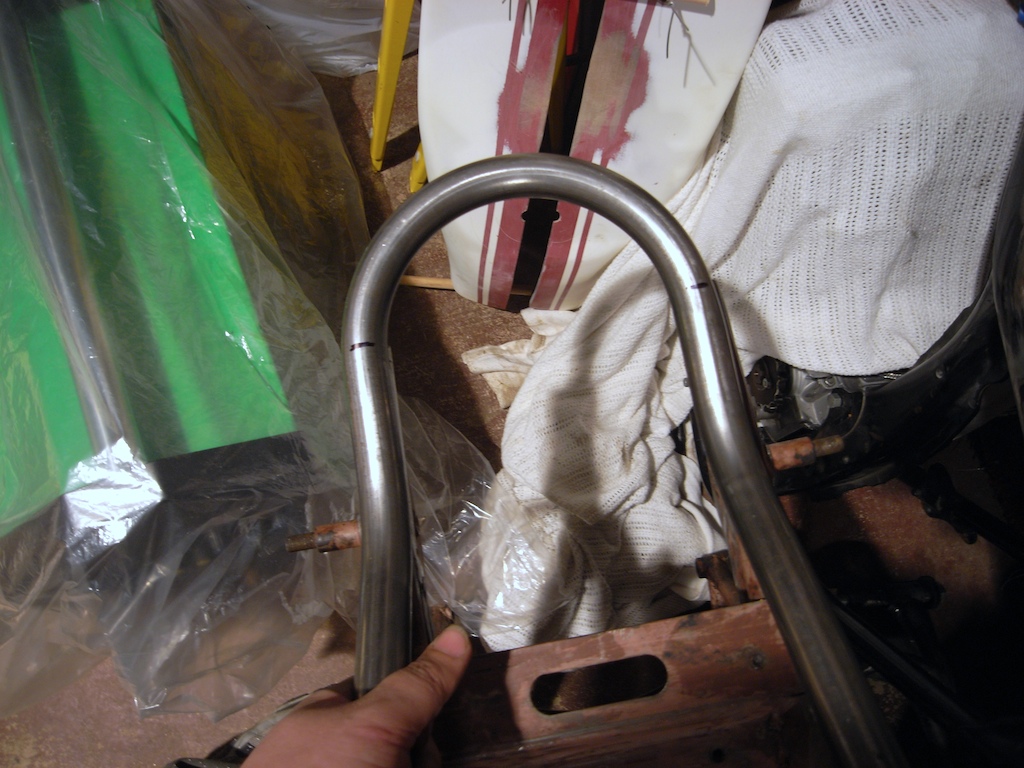
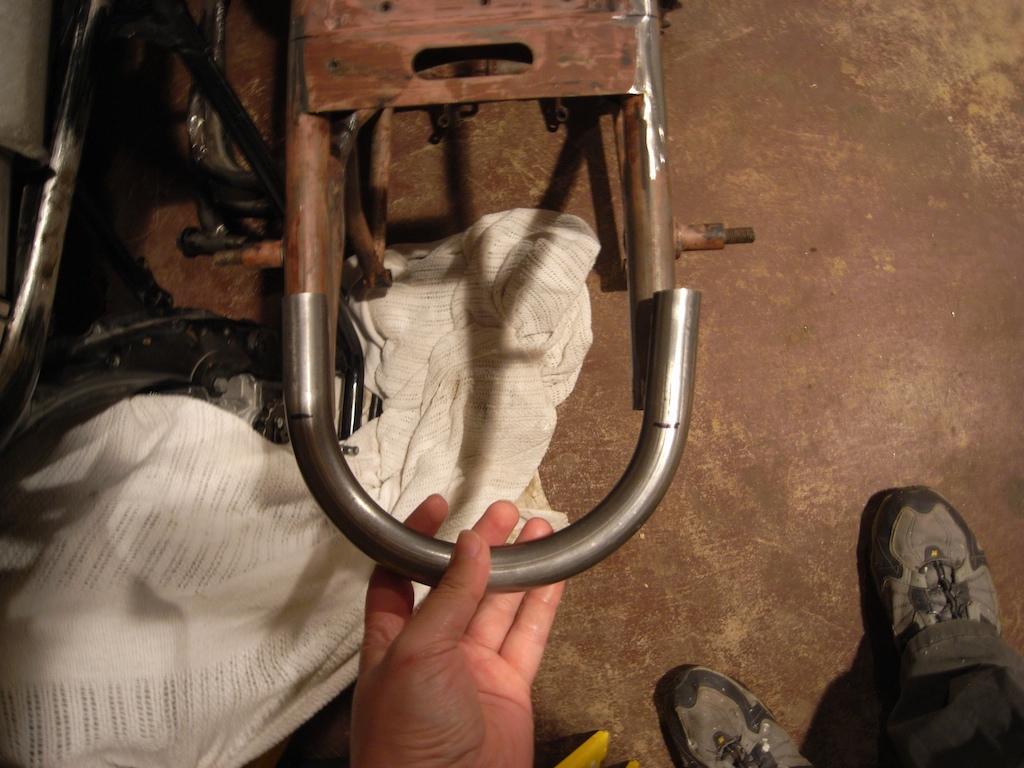
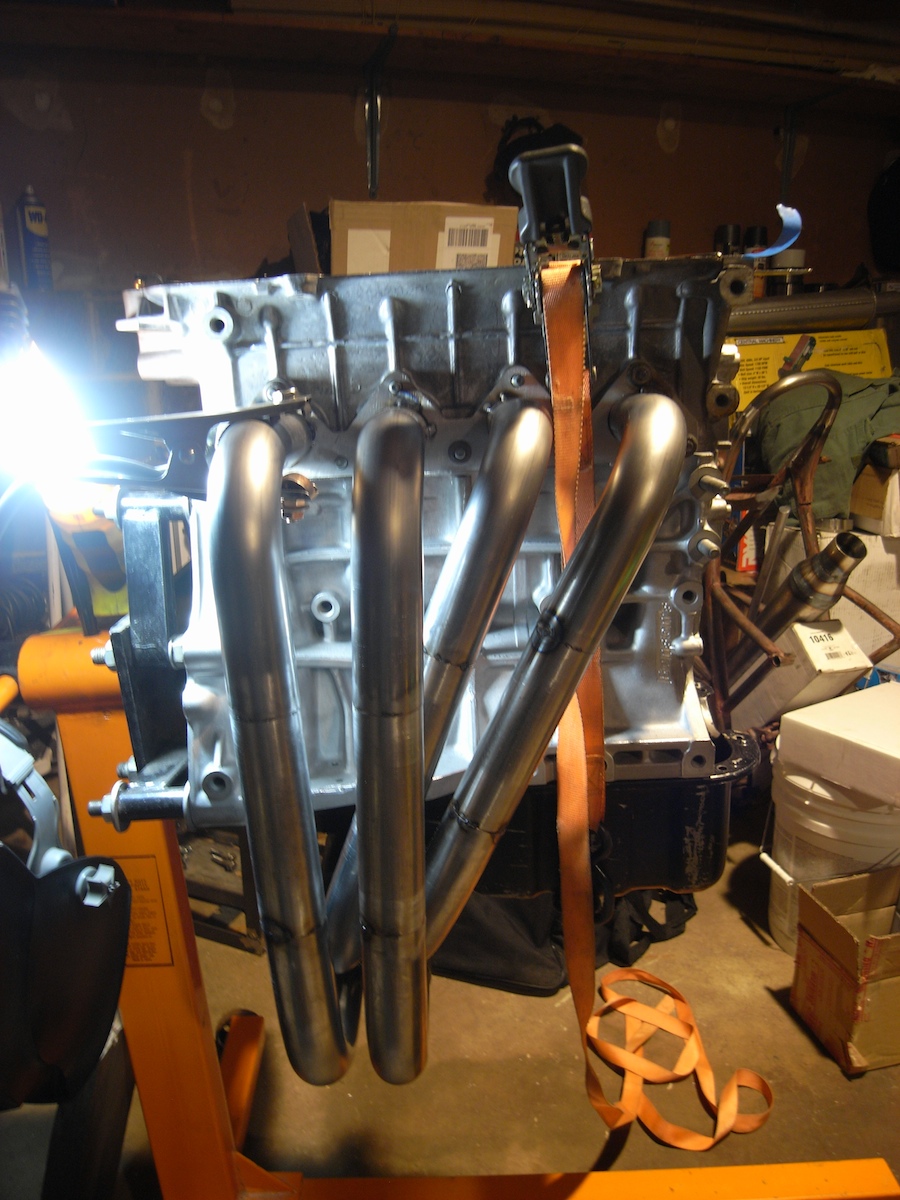
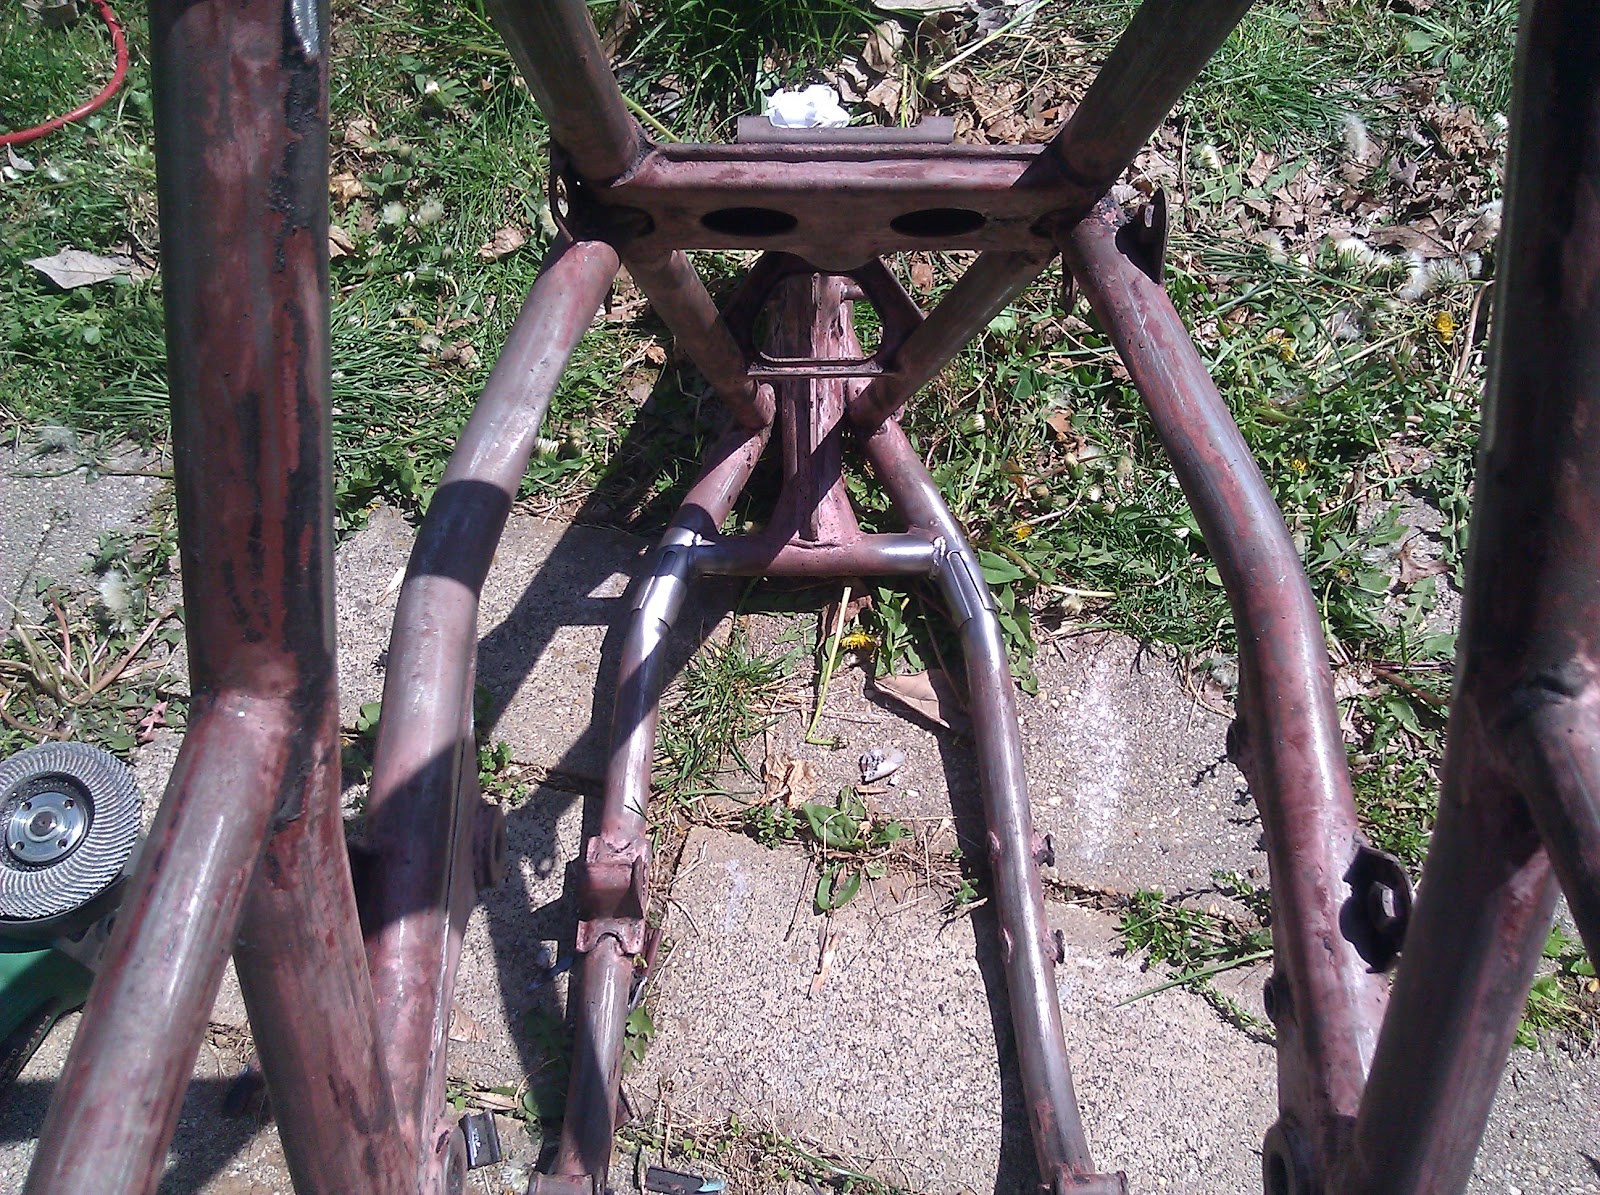
MB's frame as it was when I took possesion of it:

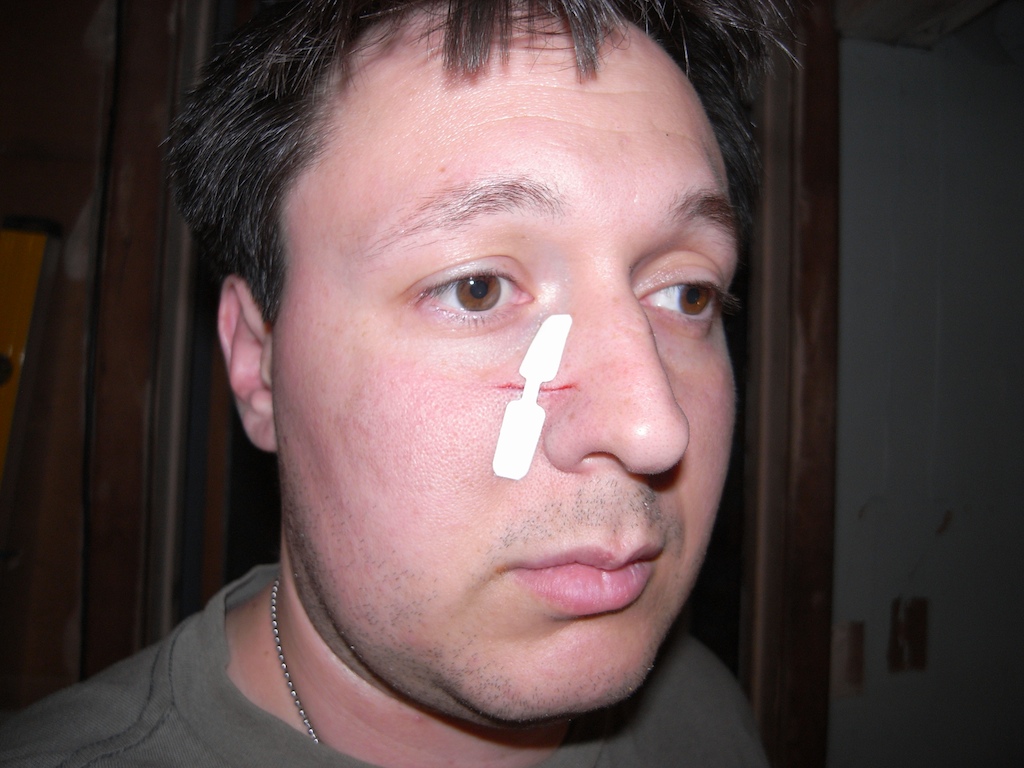
MB was kind enough to cover it in Aircraft Remover so I would be reminded at how effective that stuff is at removing/irritating skin. heh
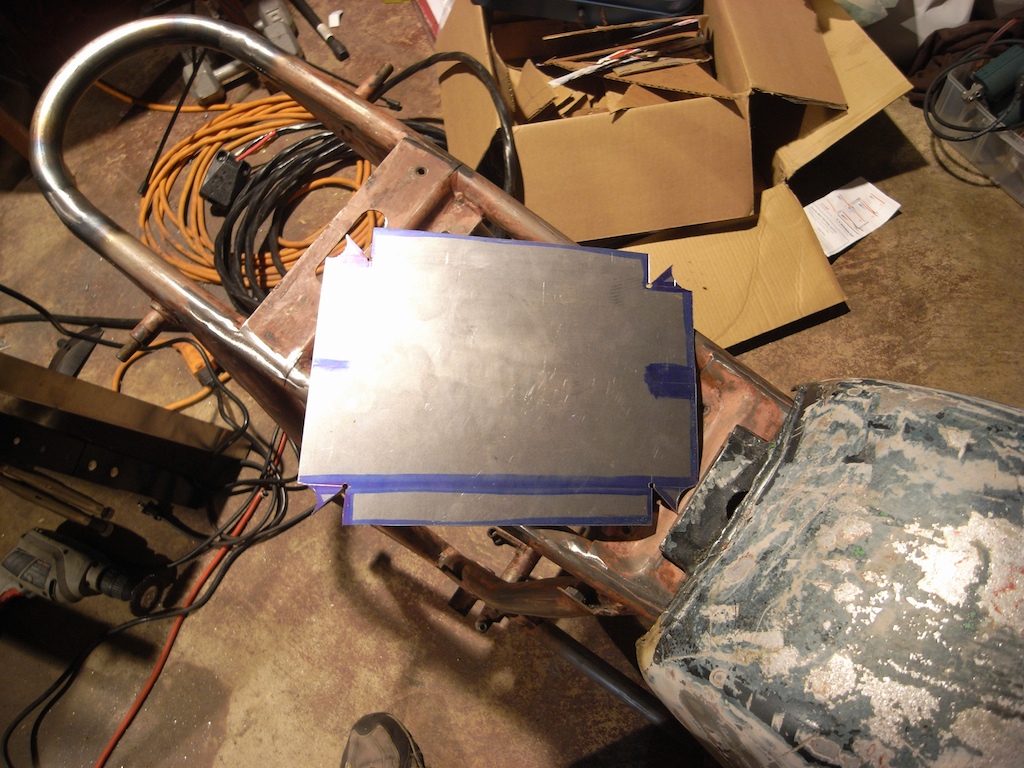
He also kindly supplied this tank so I could properly dimension the seat pan (which is the next thing to get worked on):
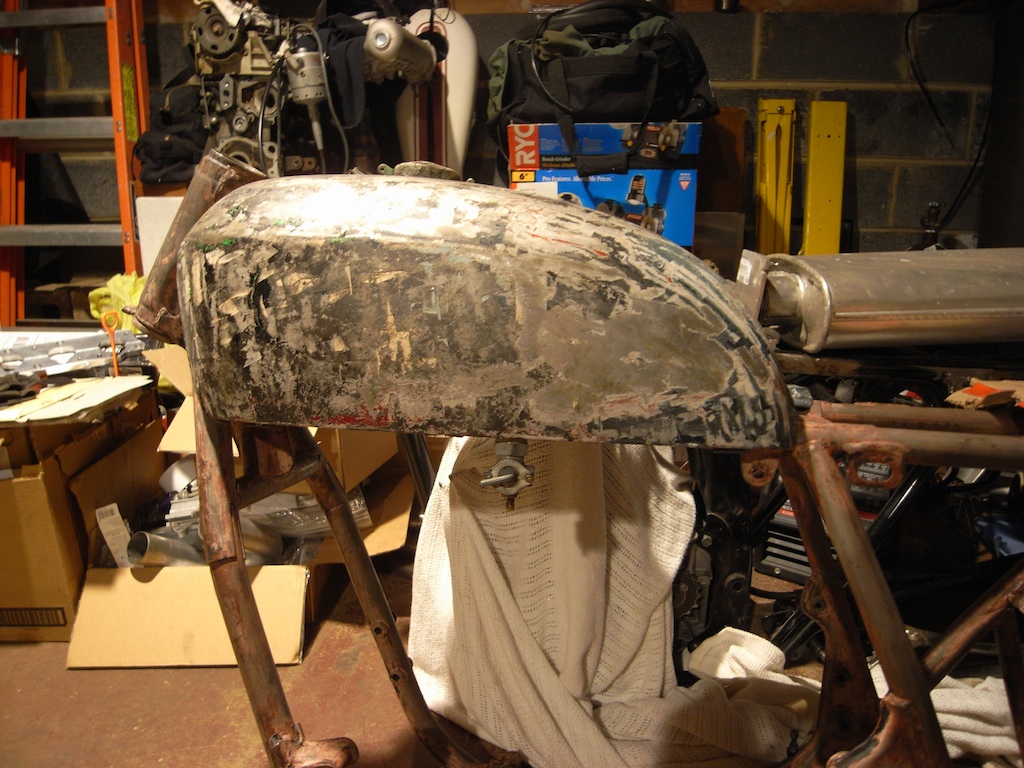
I actually like the tank just as it sits. LOL!
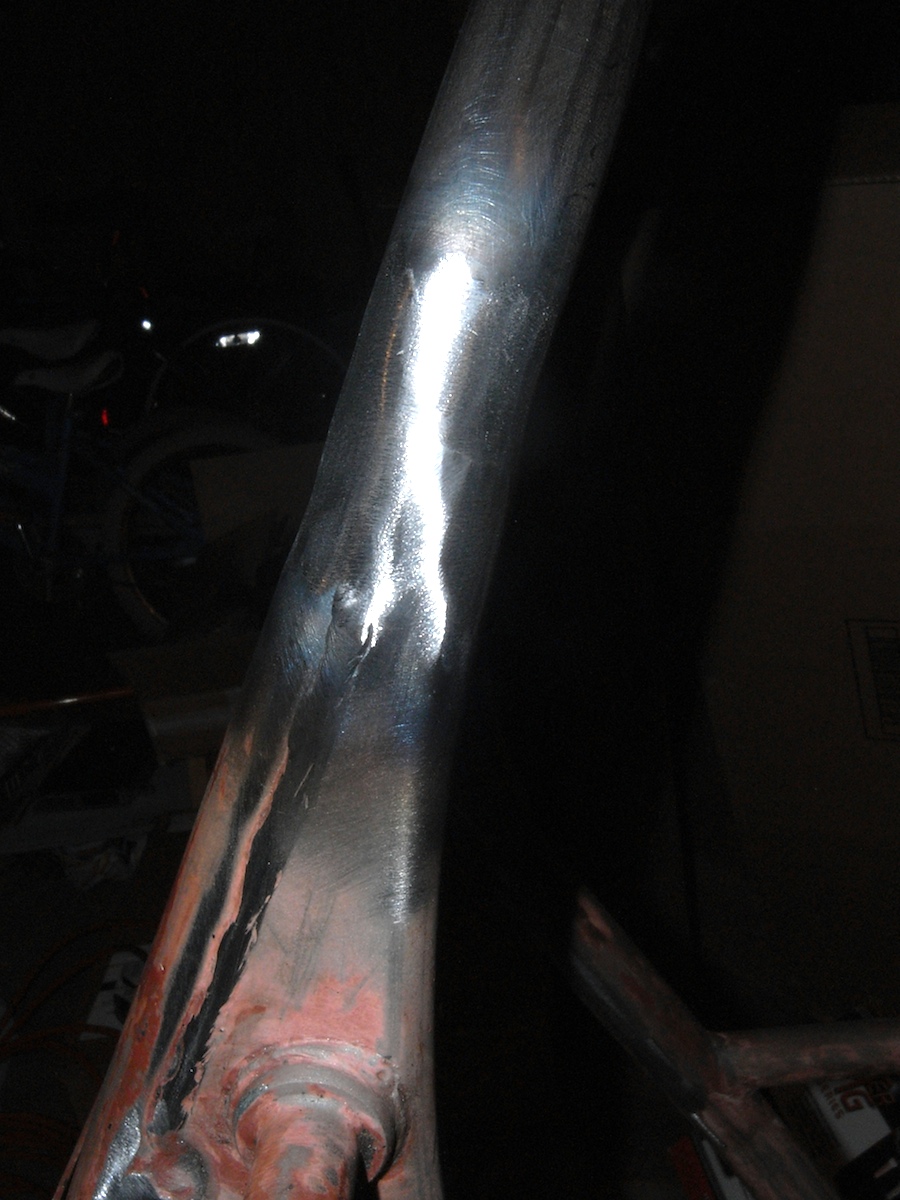
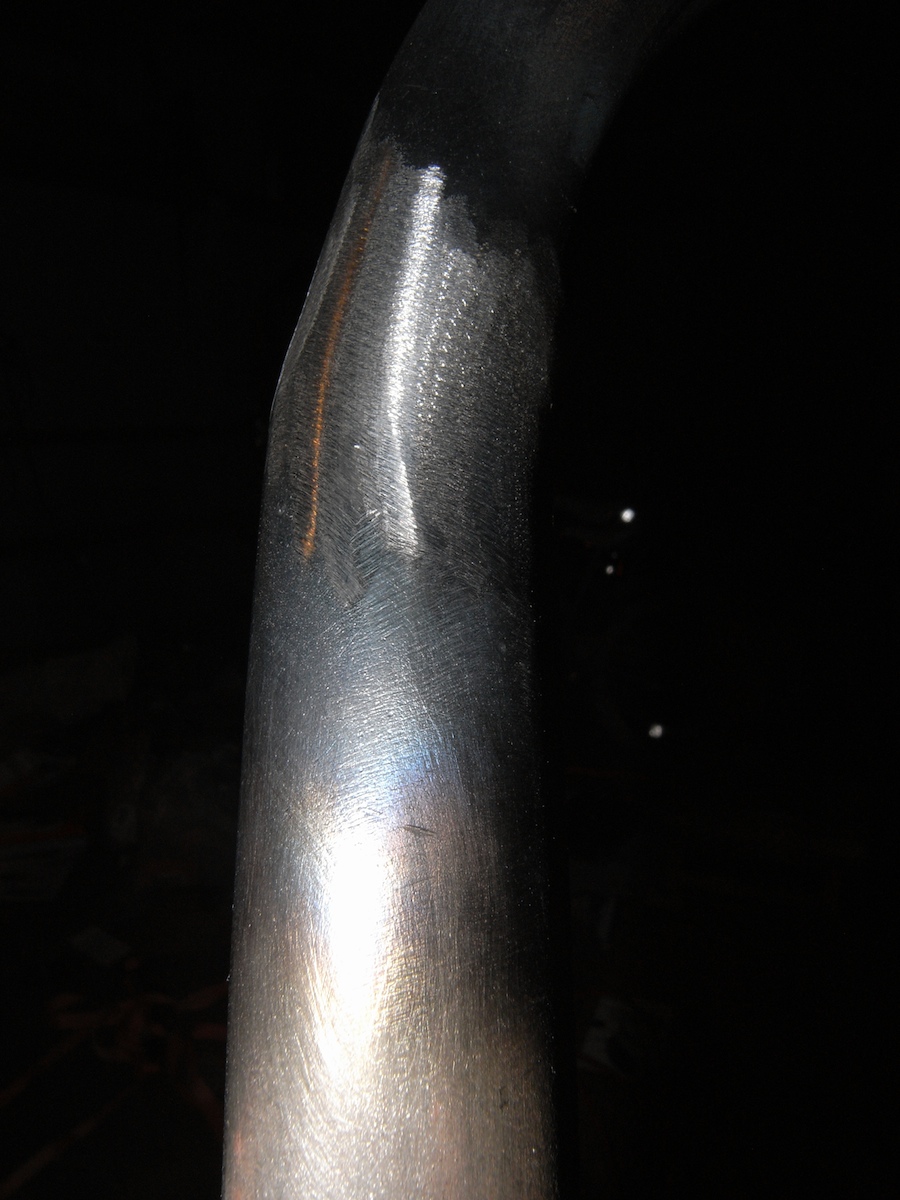
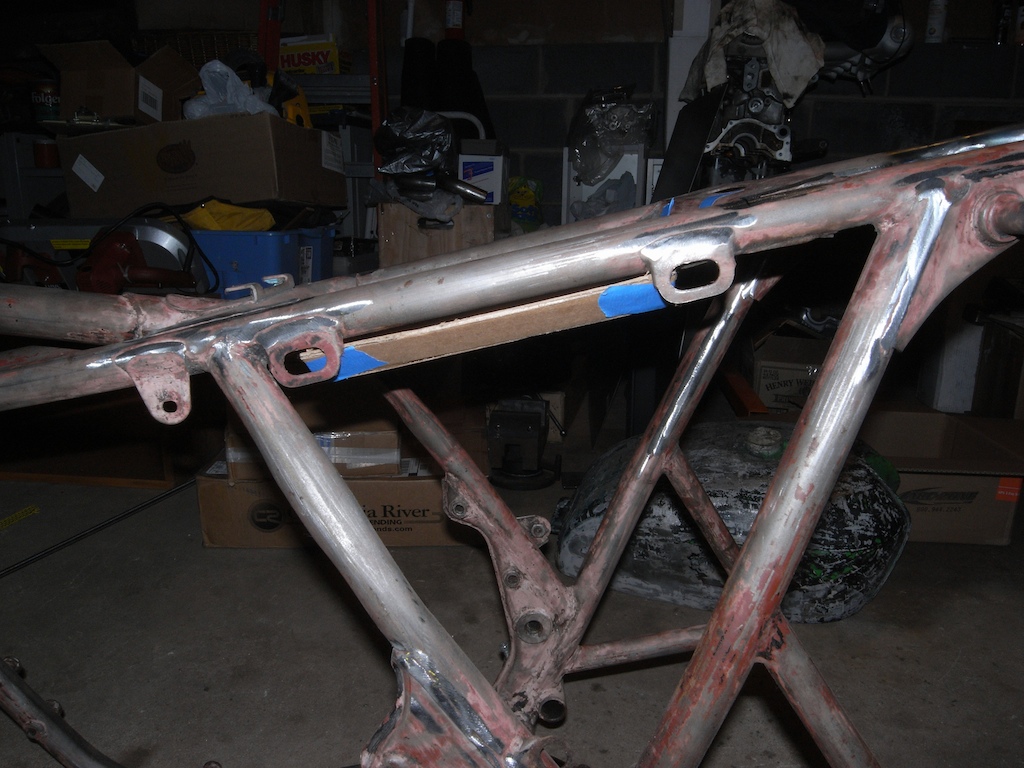
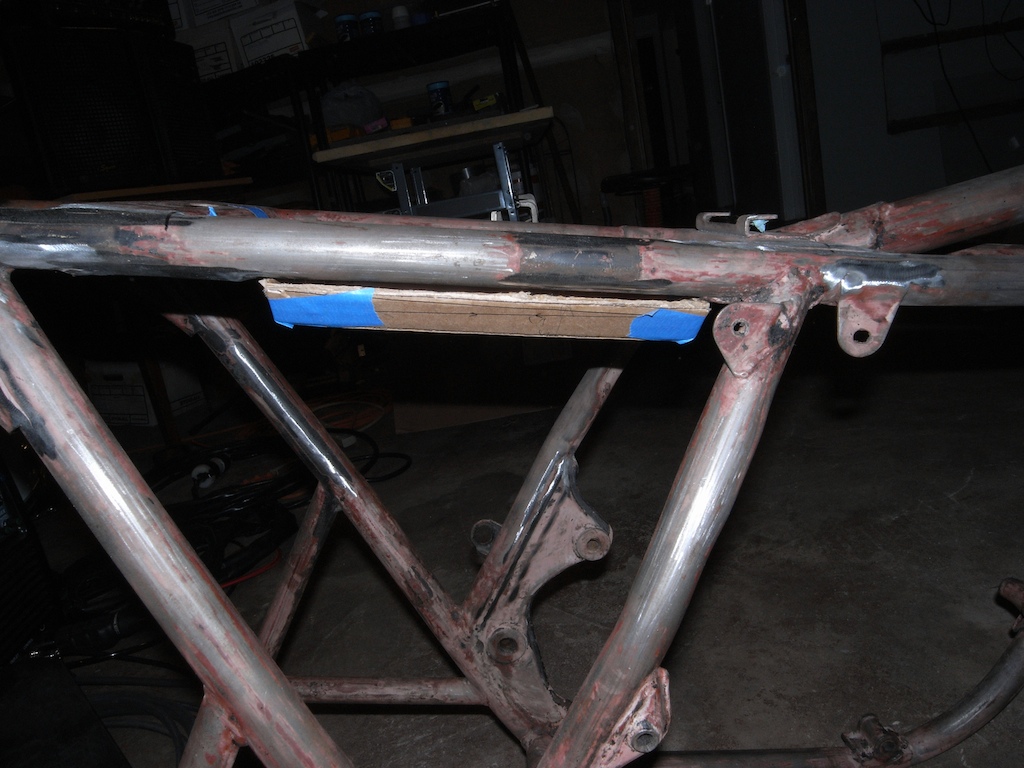
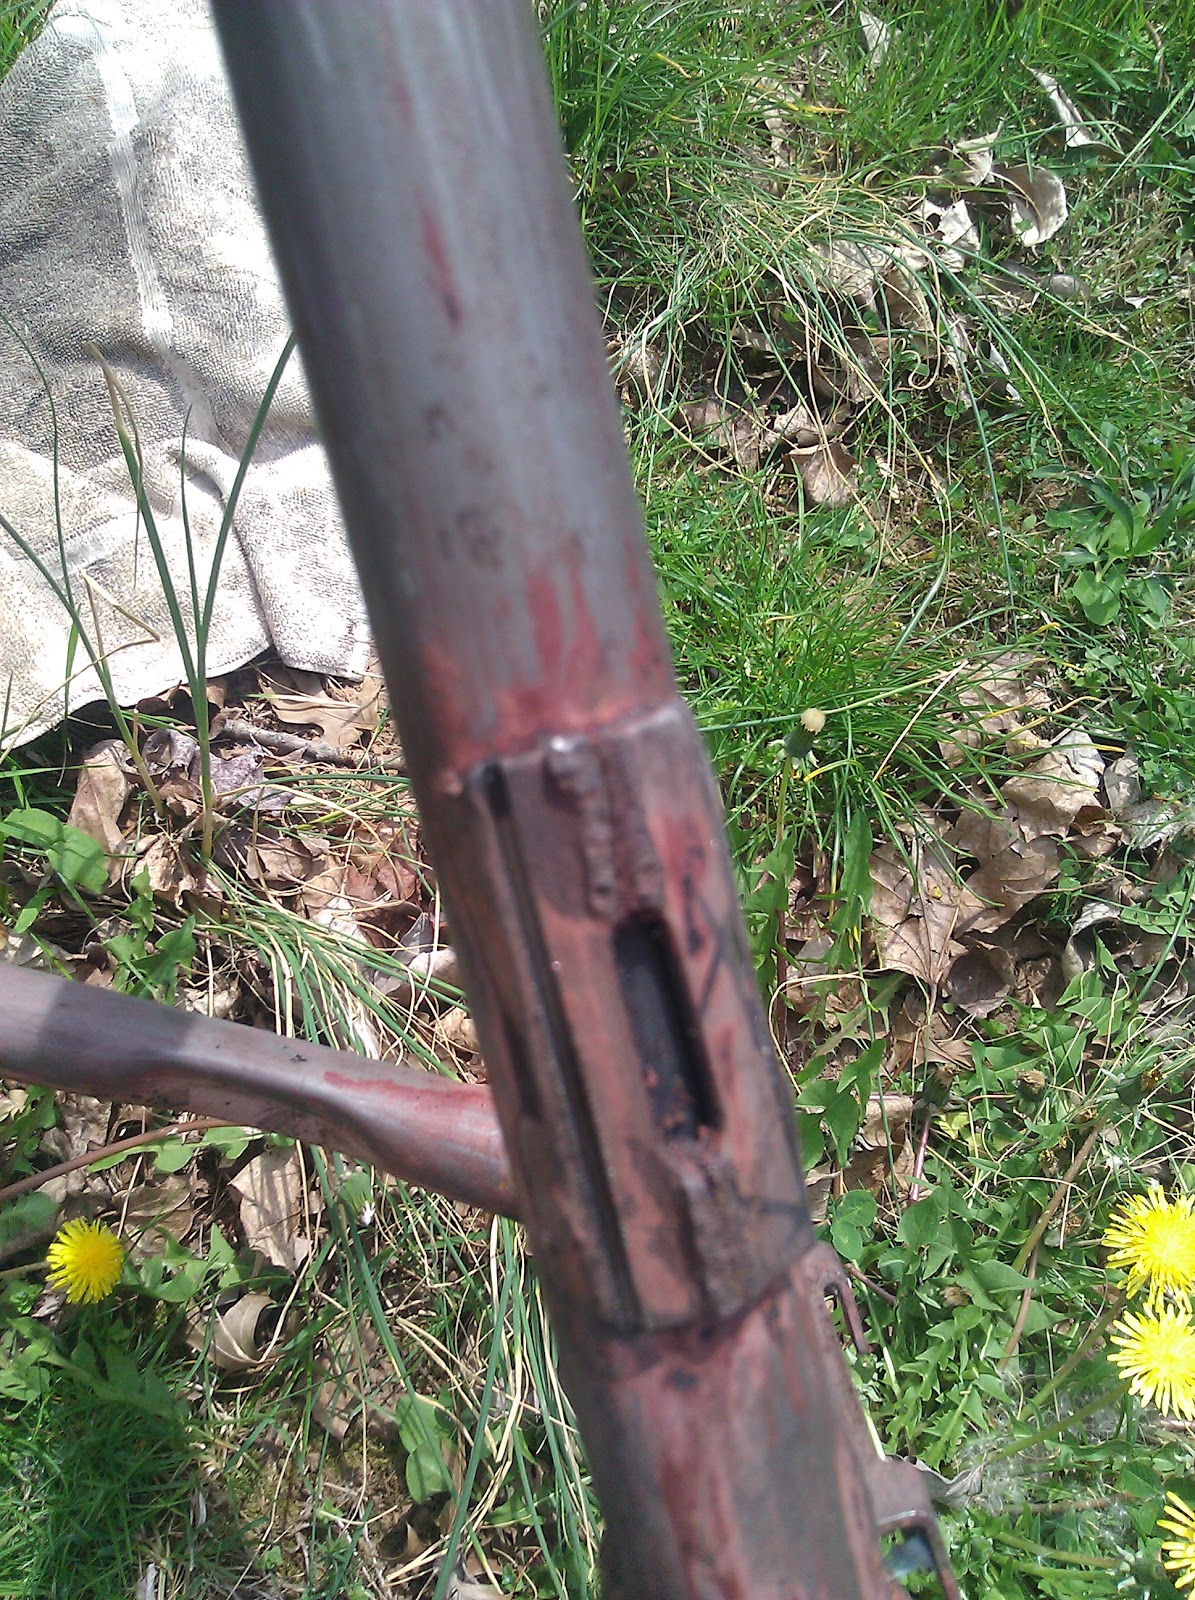
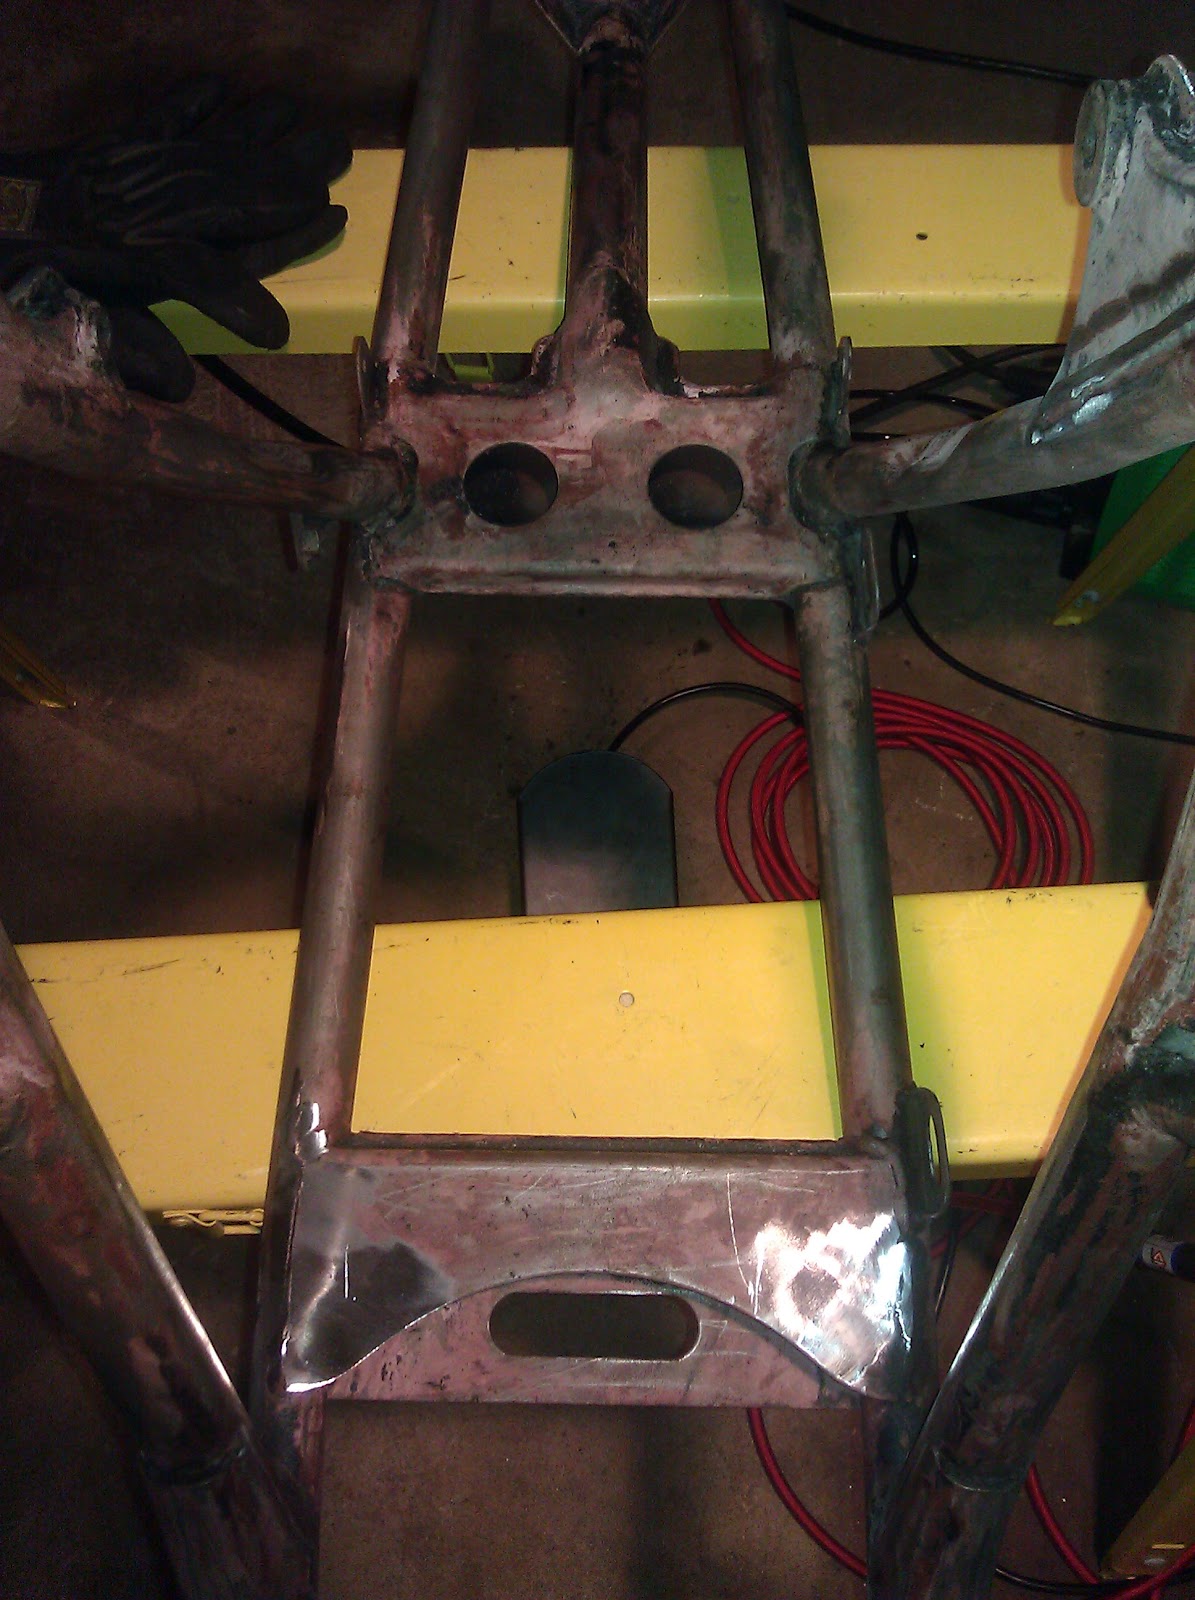
Next up, I started a bunch of de-tabbing and smoothing:
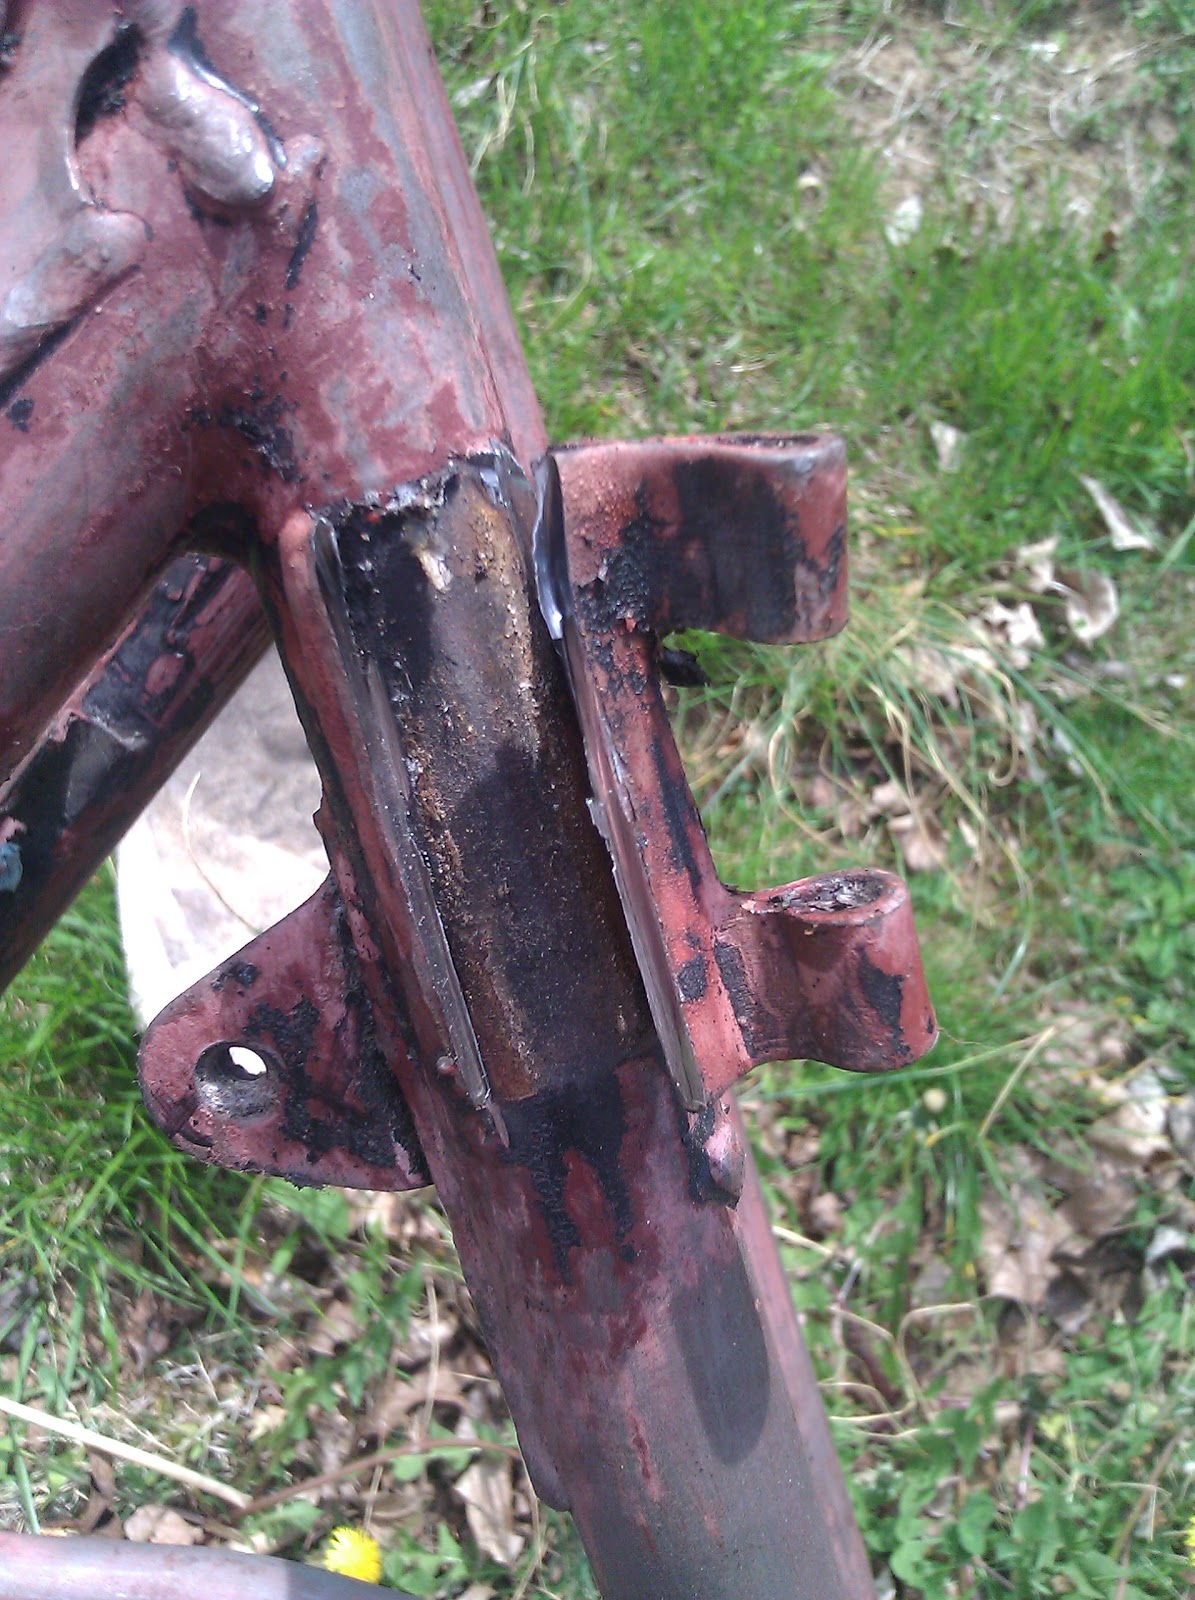
Some of the shots are out of focus, as I only had my dang phone on me at the time, but I think you'll get the point:
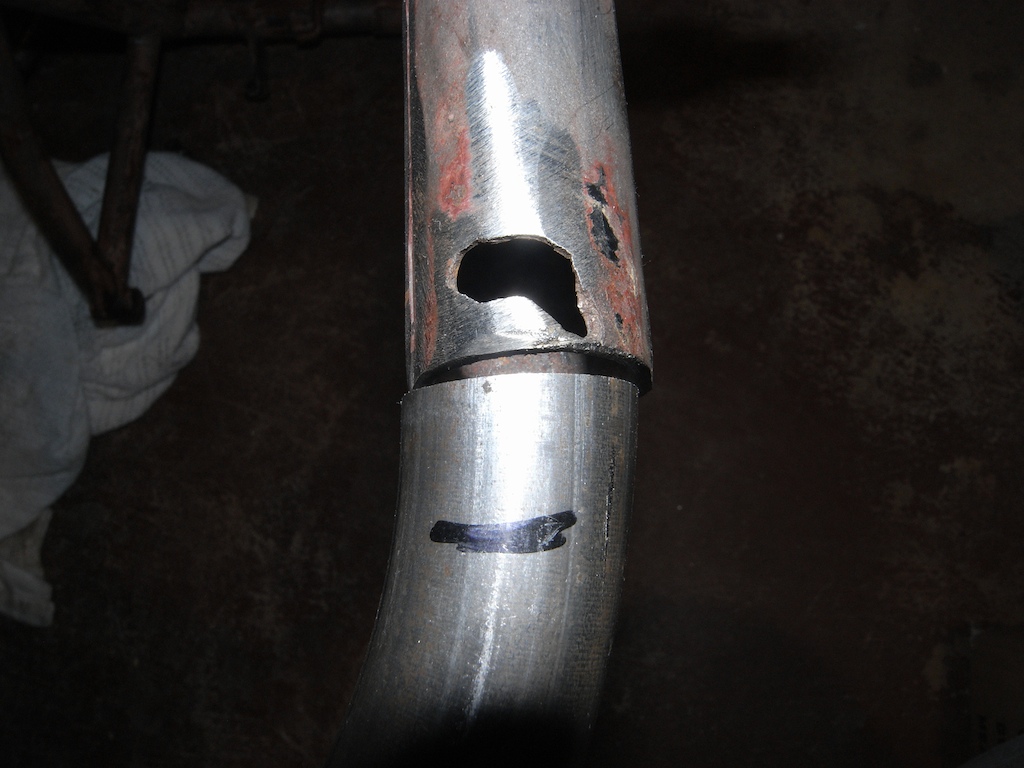
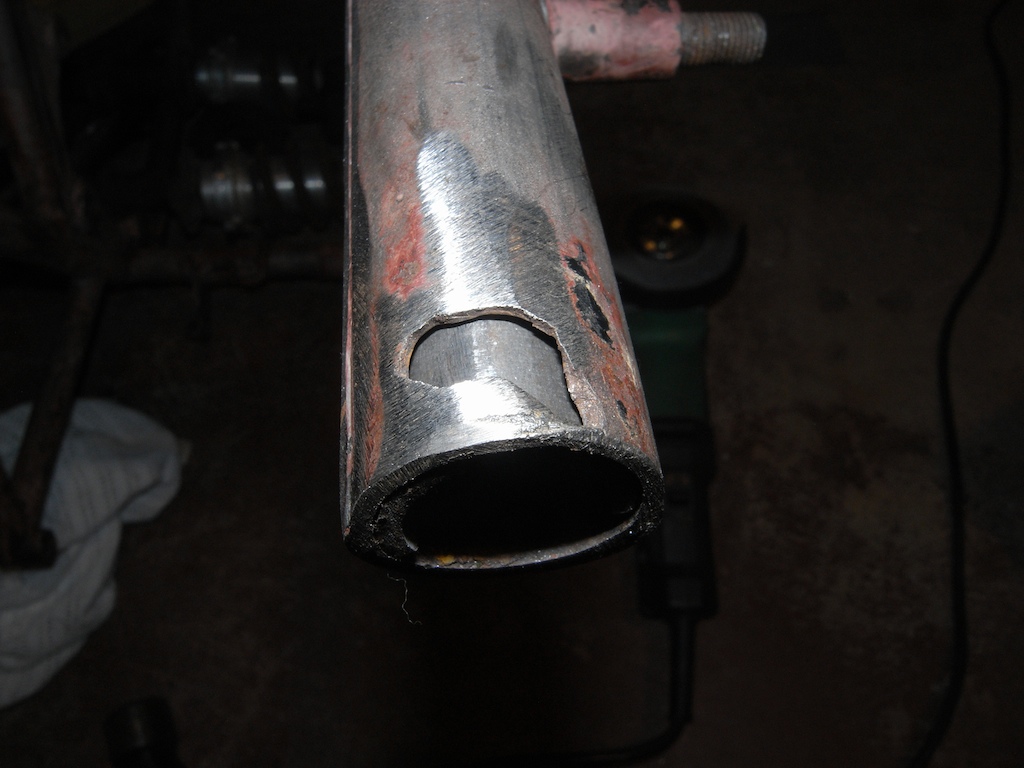
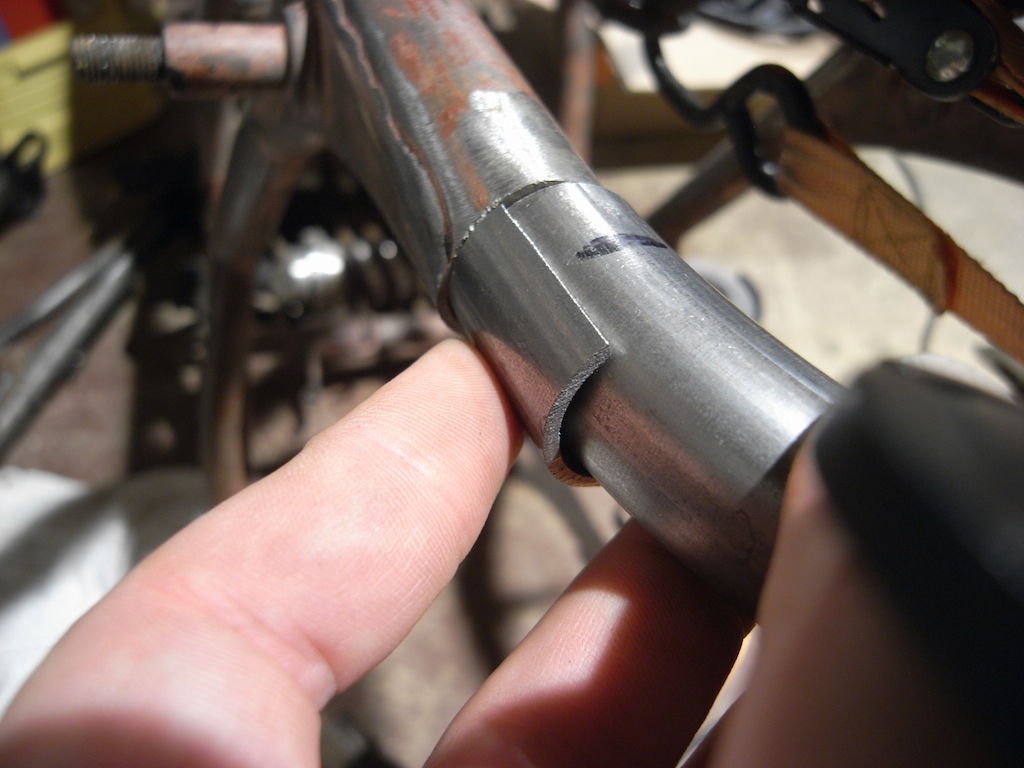
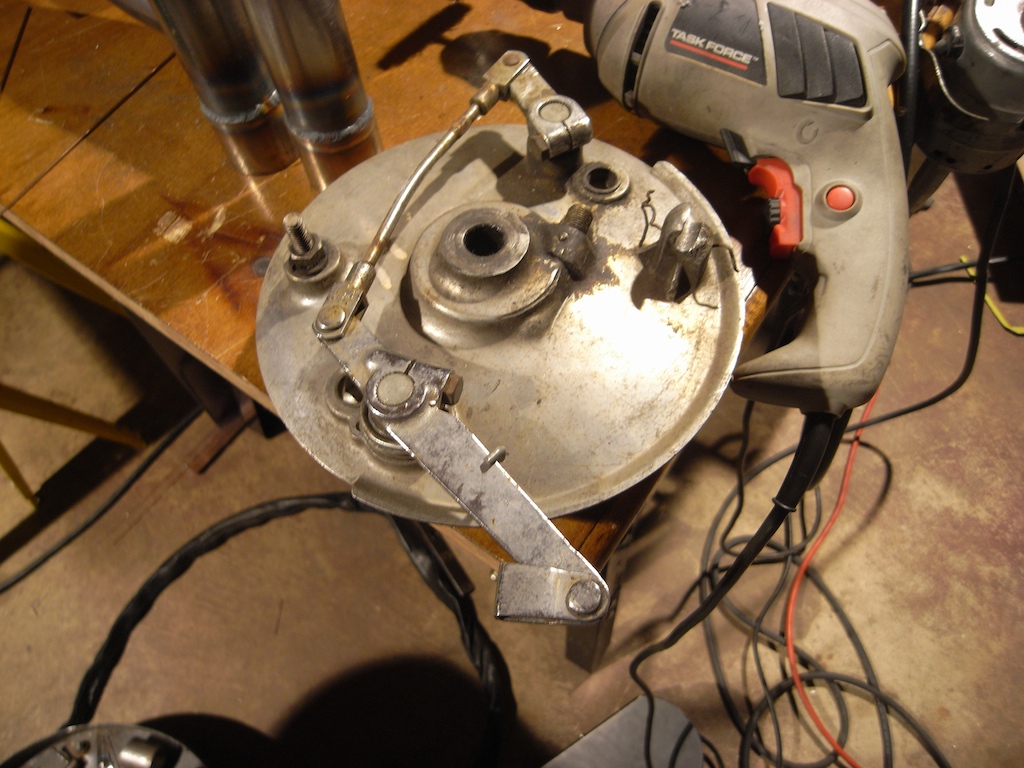
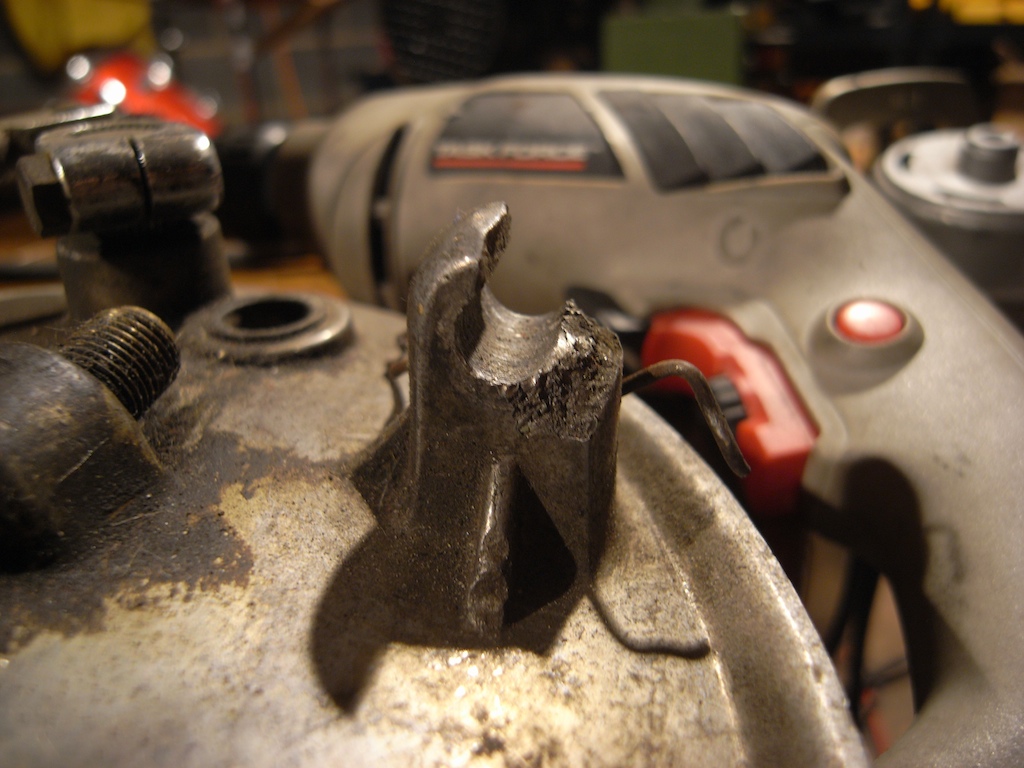
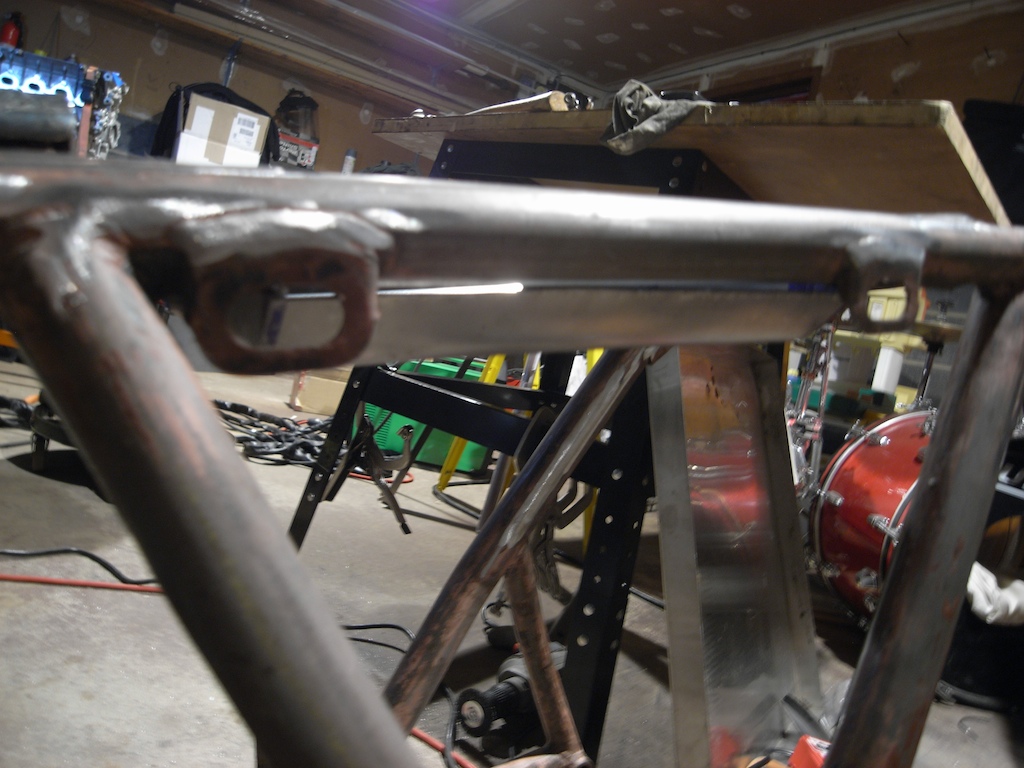
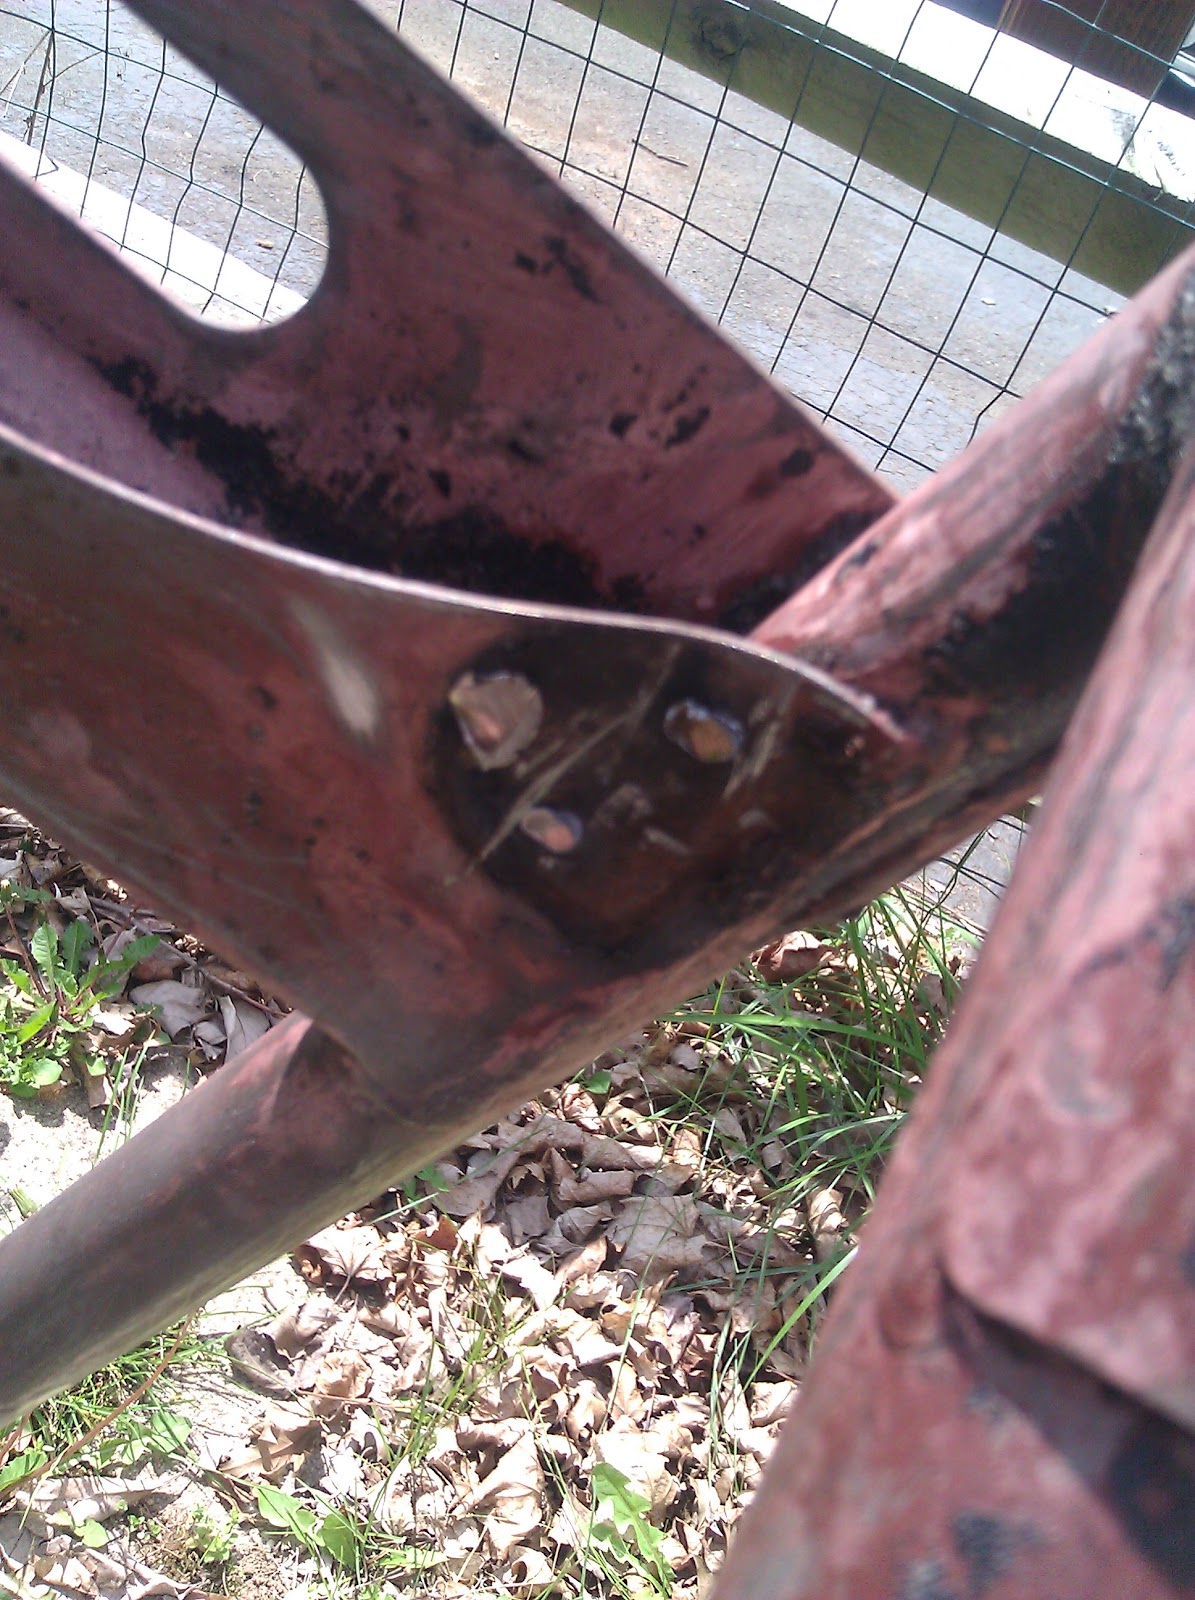
This was something interesting I discovered when cleaning the ends of the frame:
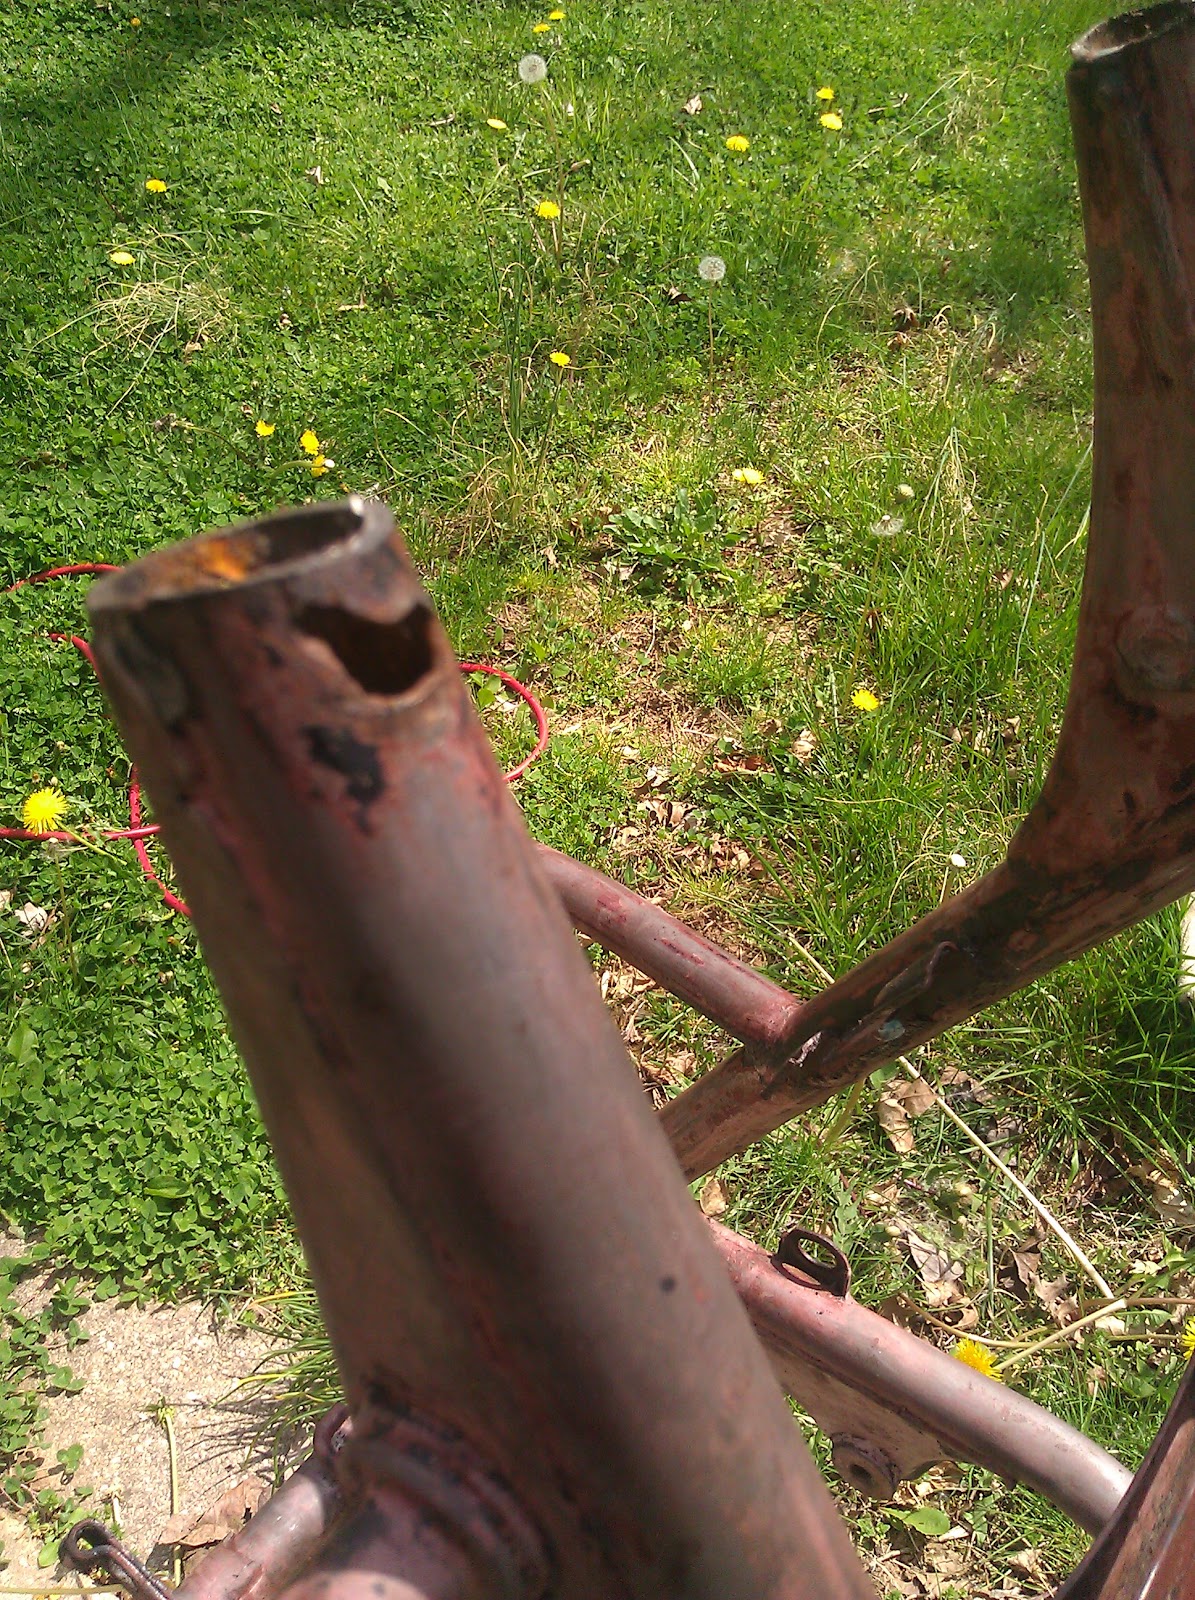
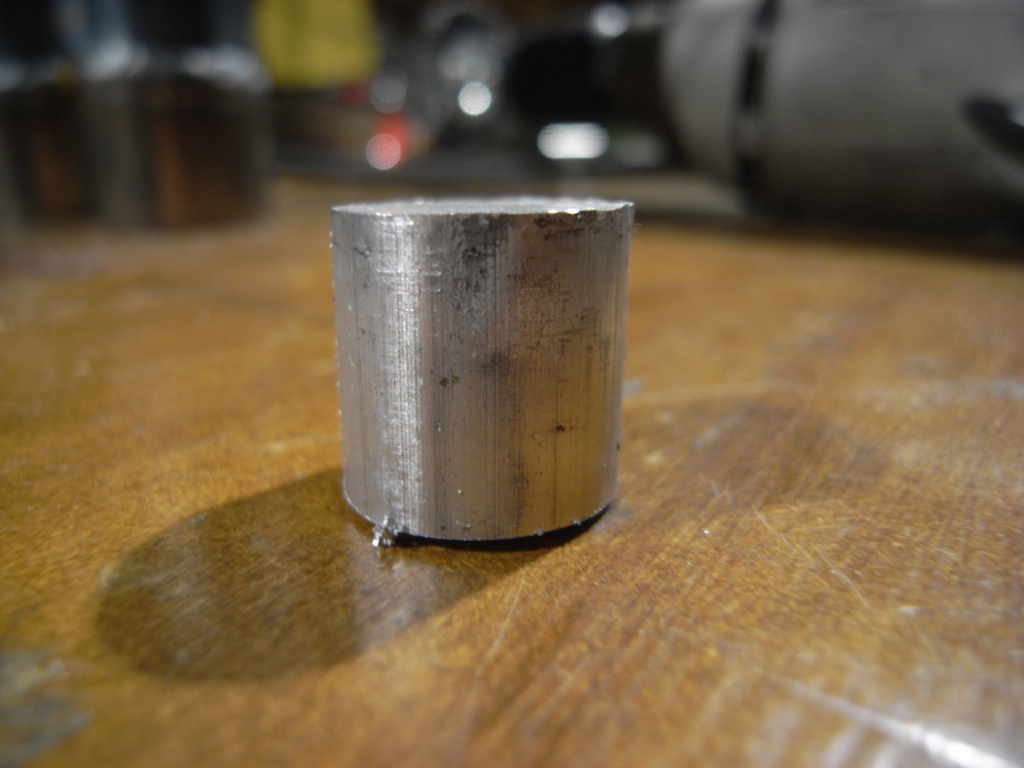
It was filled with body filler. That would have to be taken care of, for sure!
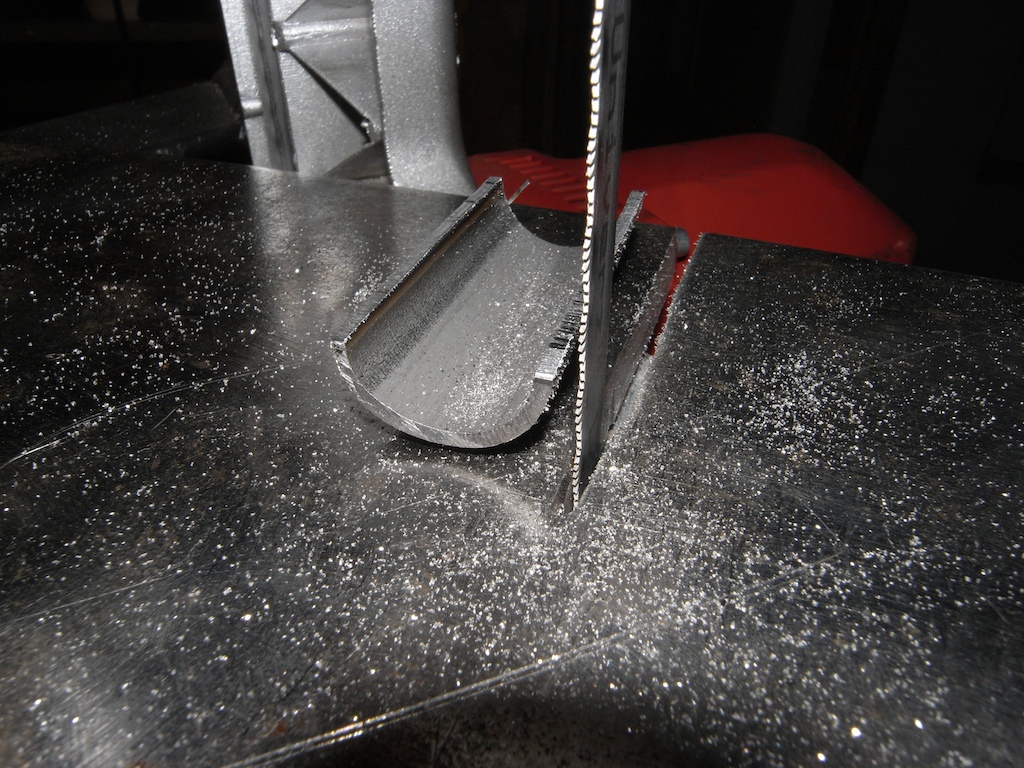
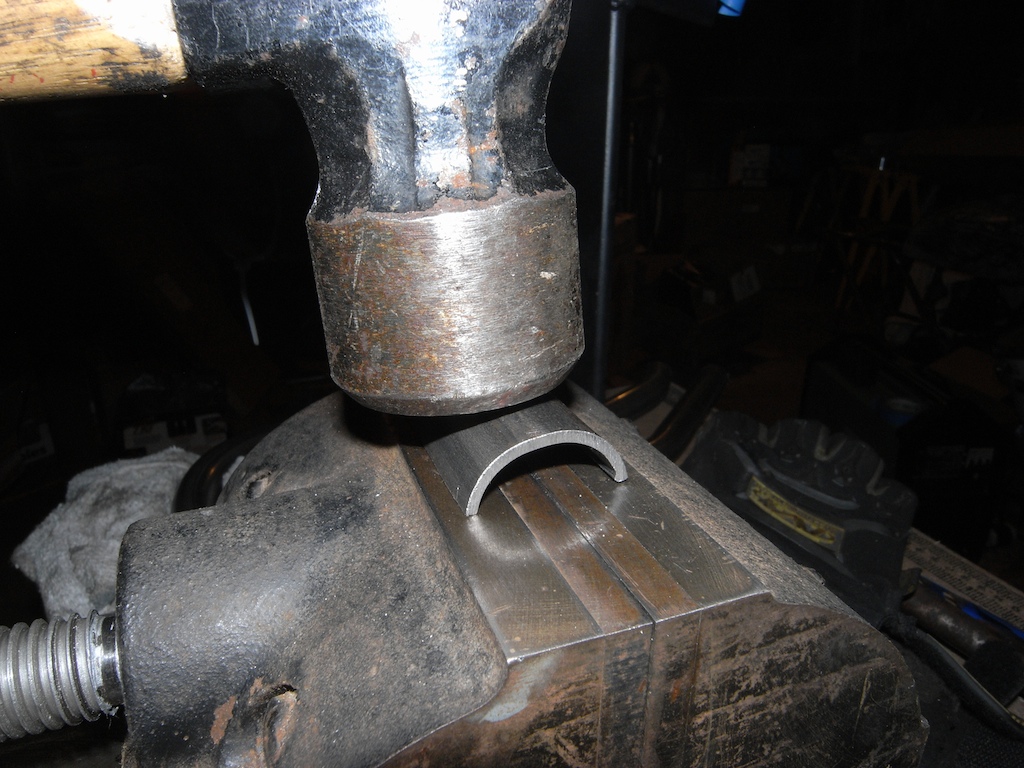
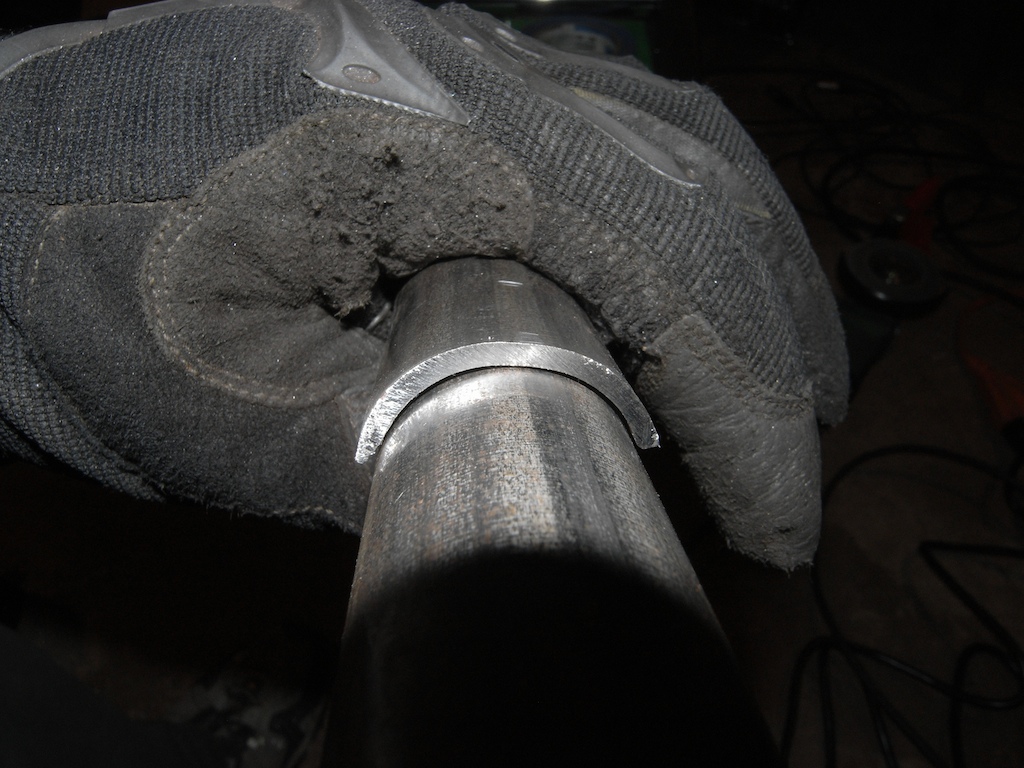
To take off the tabs from the under side of frame brace, I cut most of the tab off with a cut off disc, then pried off the flat part of the tab that was spot welded in place:
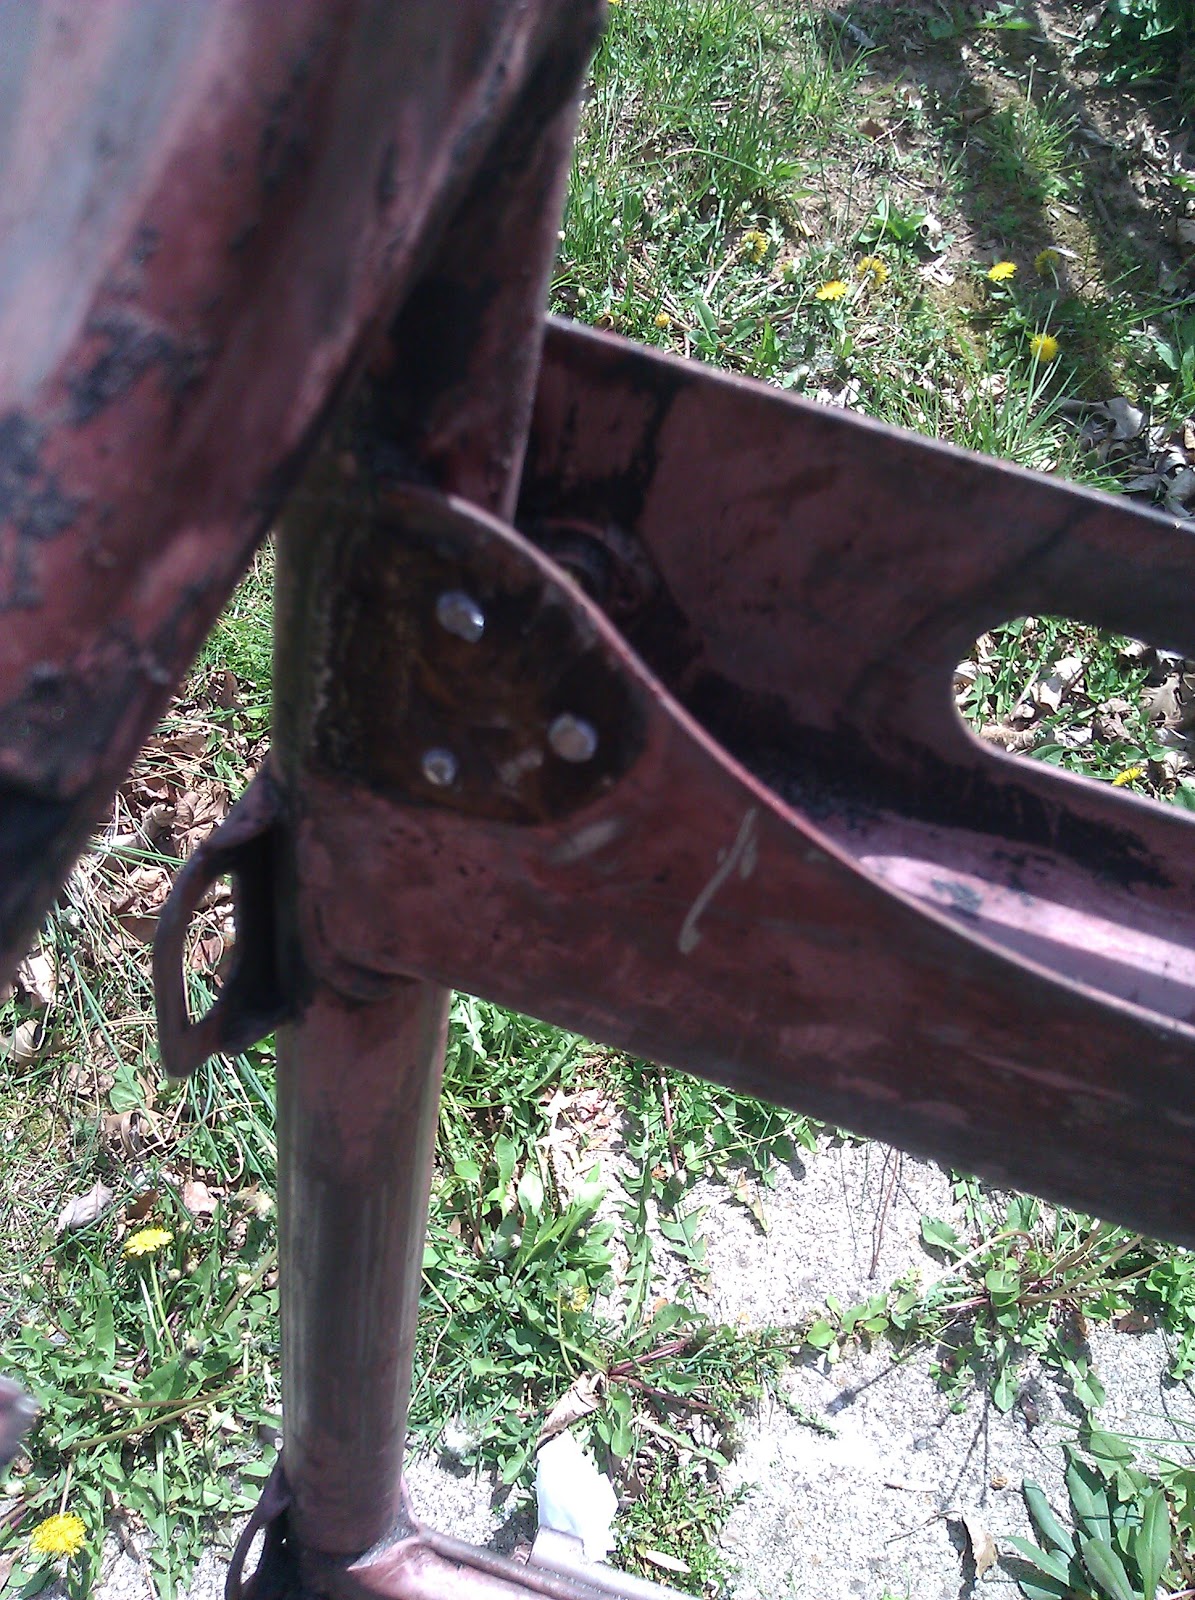
This saves your time and your flap discs. Don't use regular grinding stones for most stuff. Flap discs run smoother, allow for more control and leave a much smoother surface finish than normal grinding wheels!
Comparison between times:
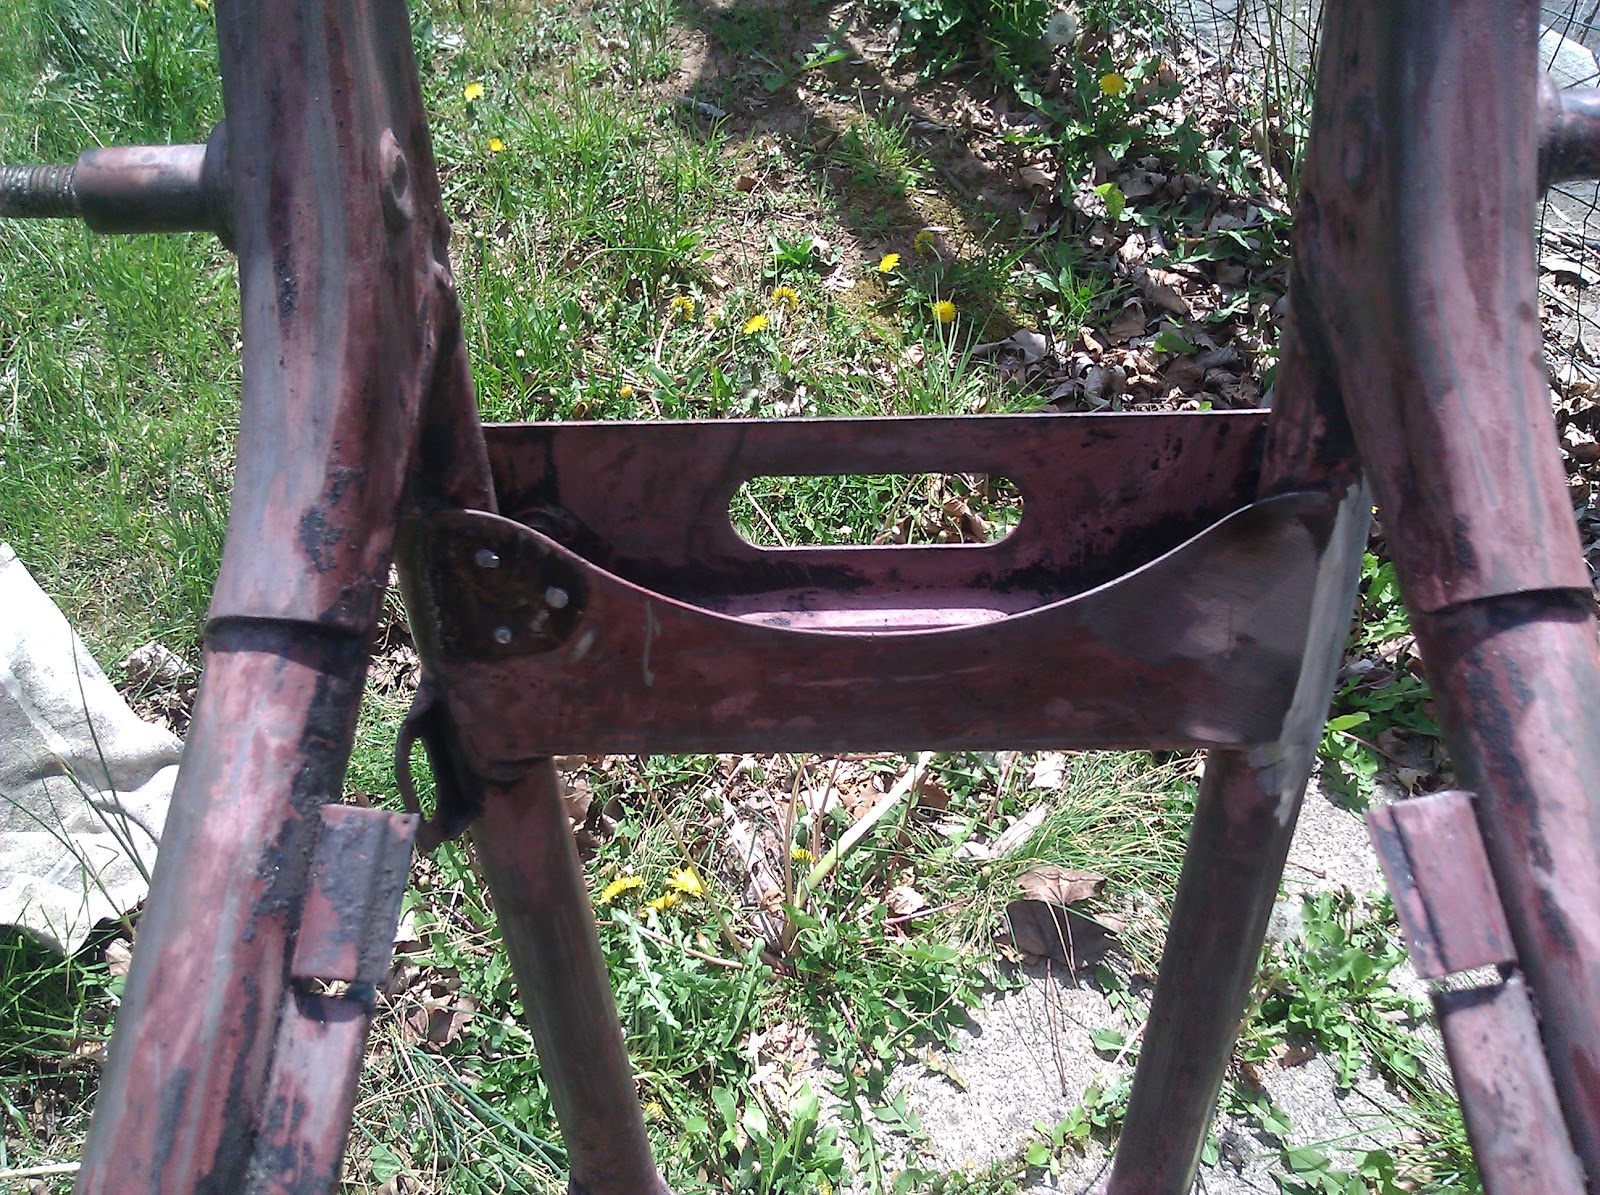
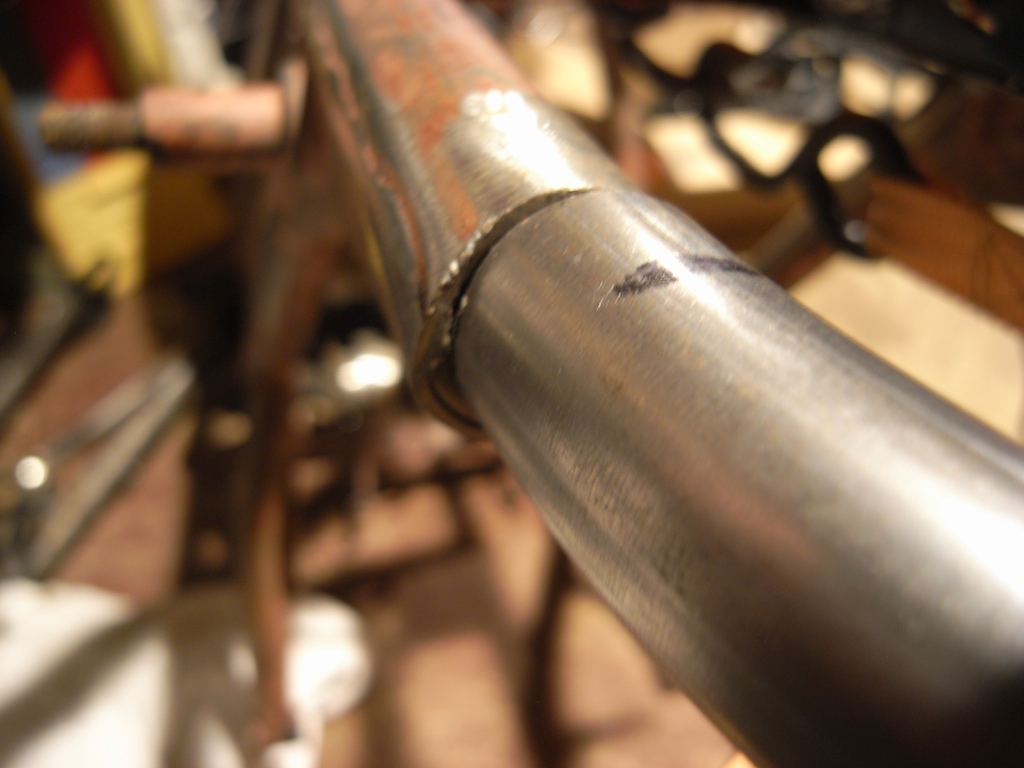
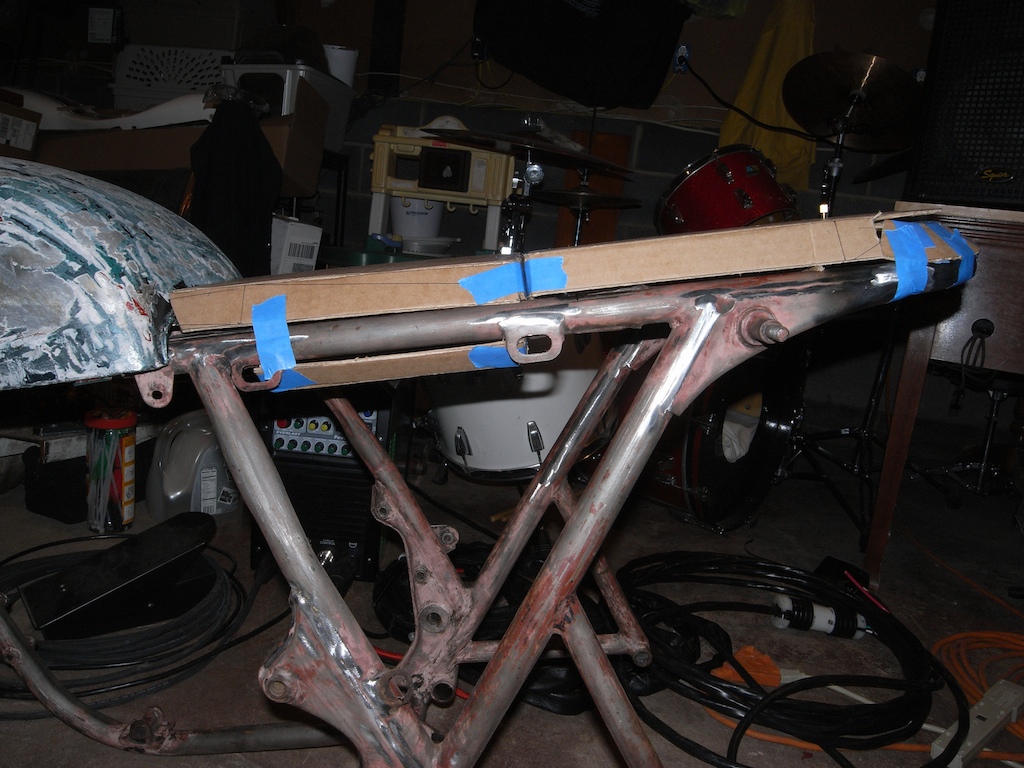
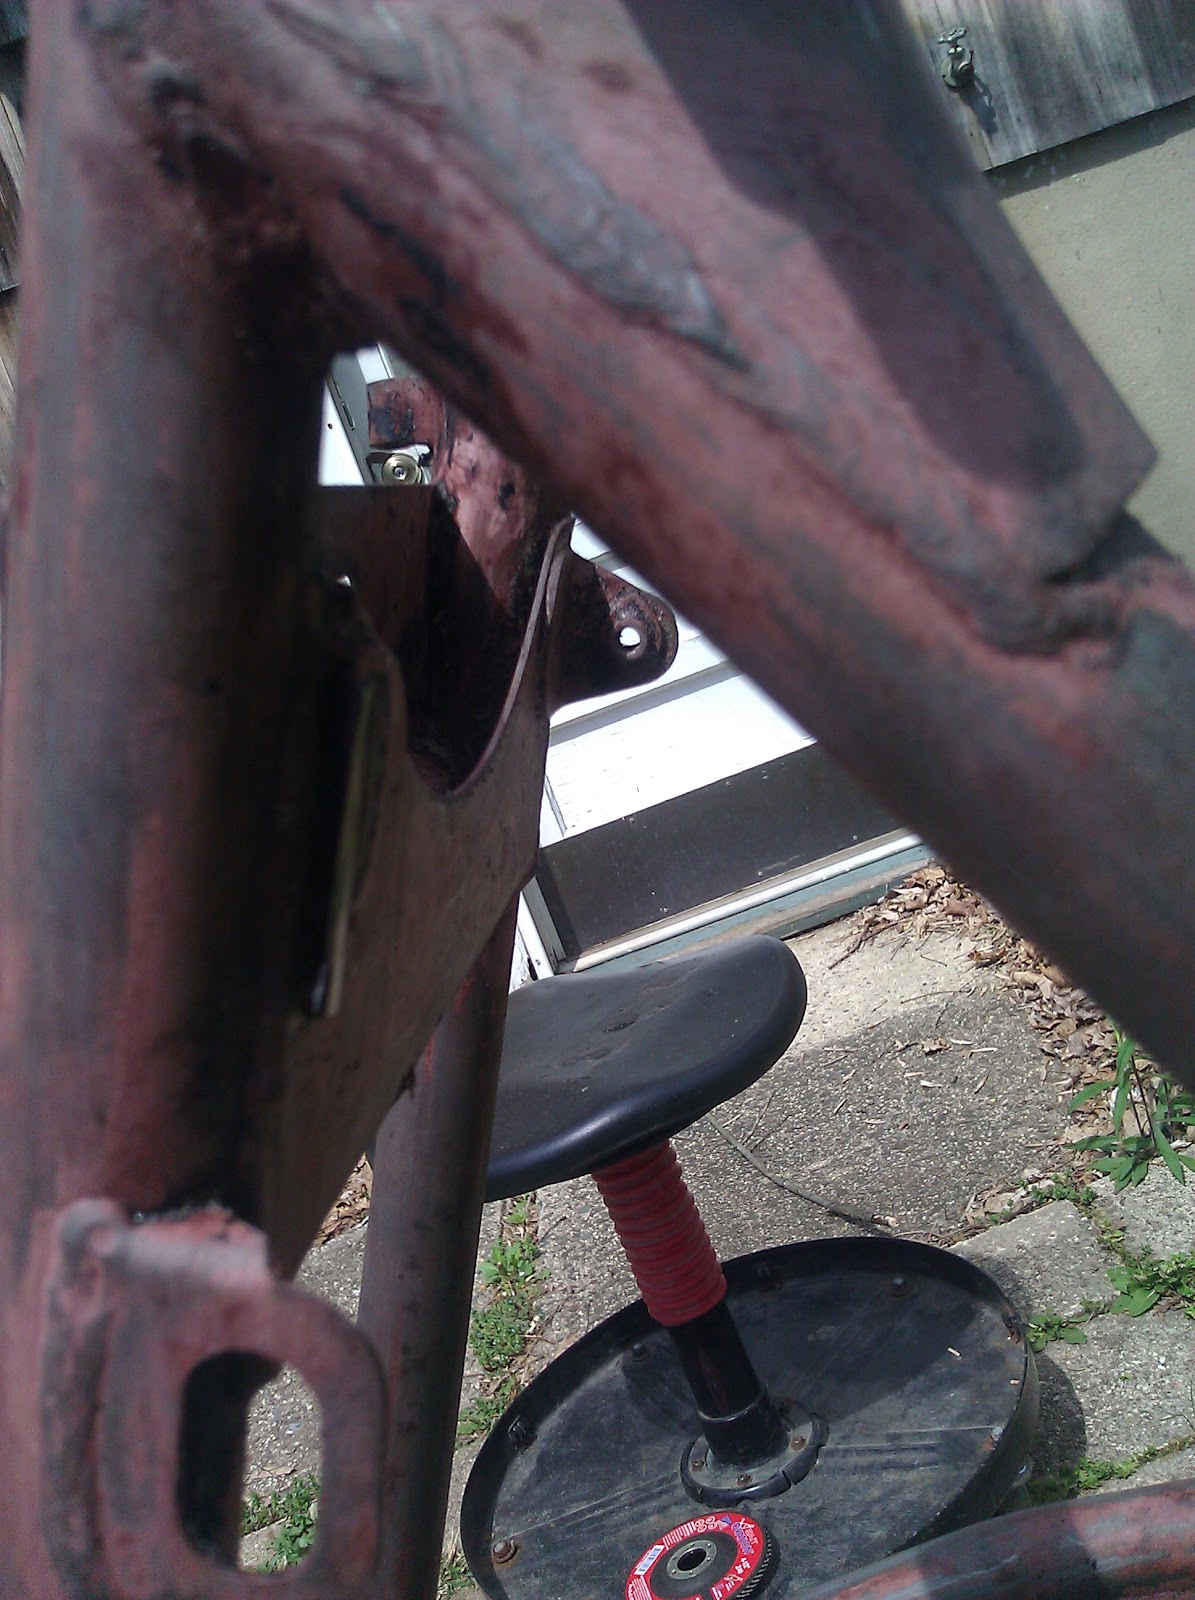
I also decided the front section needed some love and brushed off the slip fit joints:
There was a tab here:
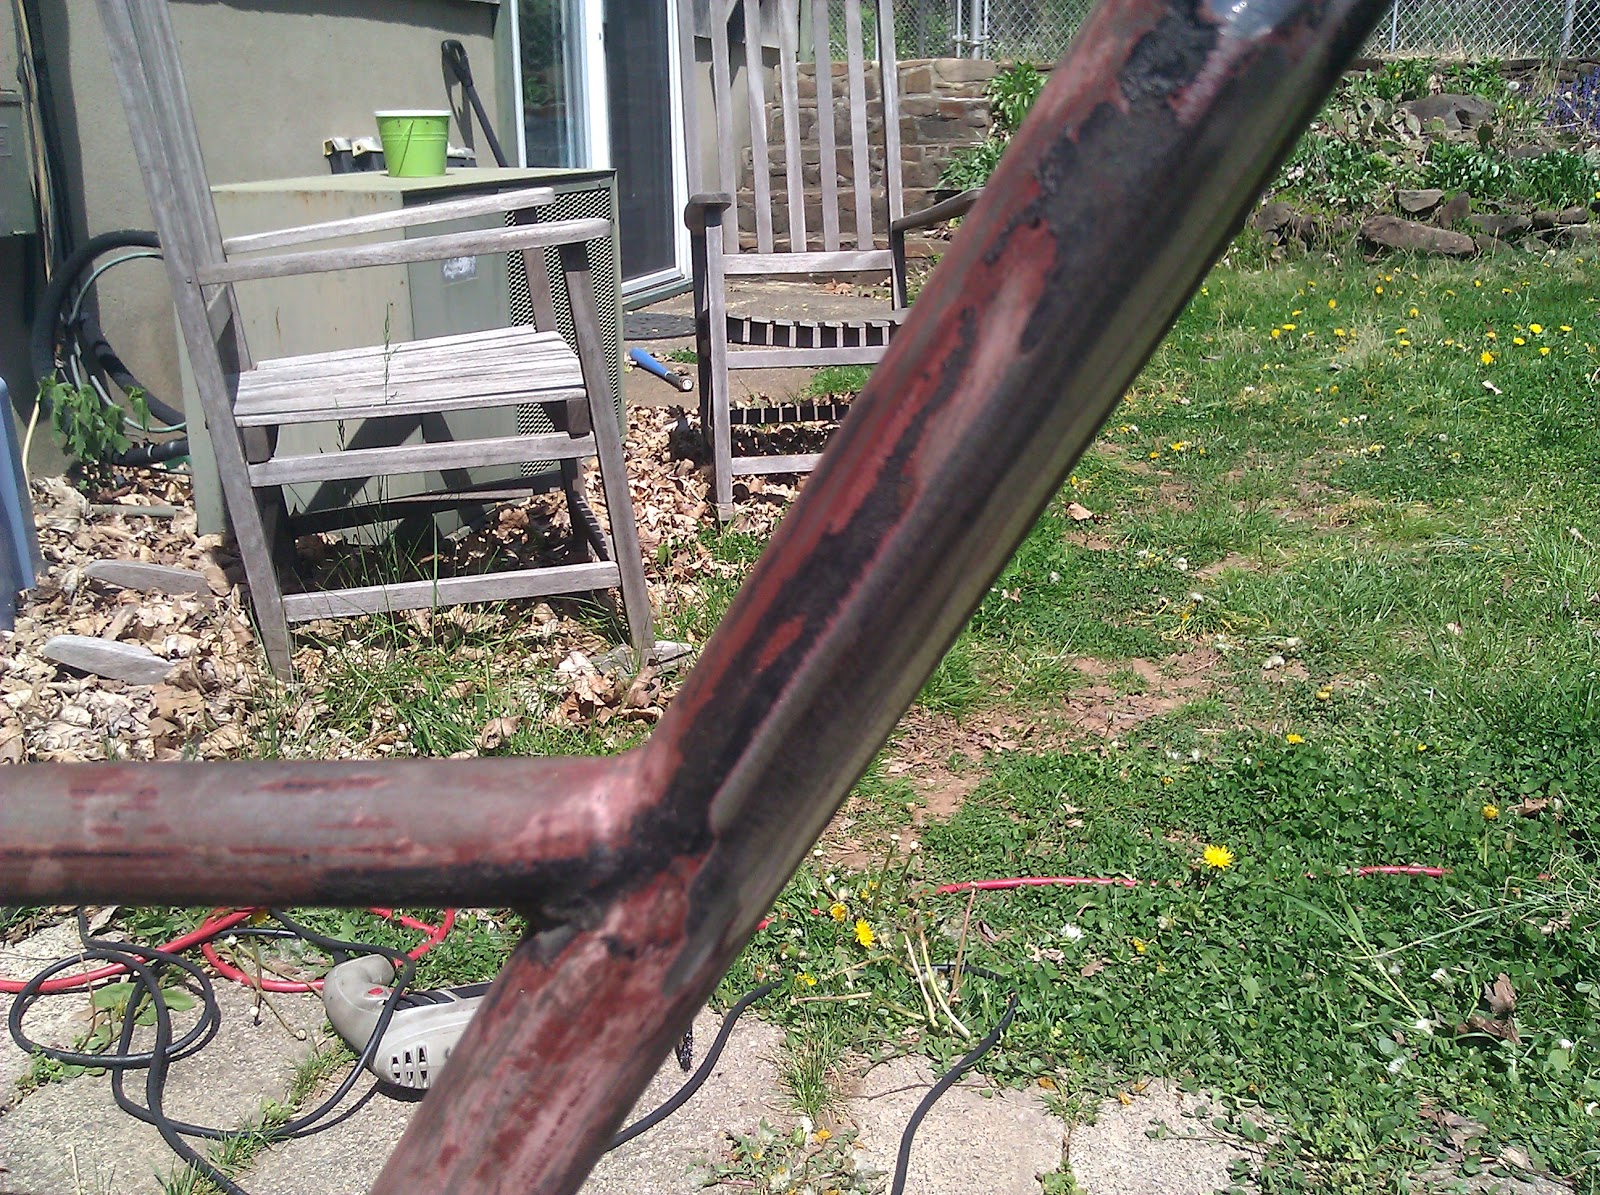
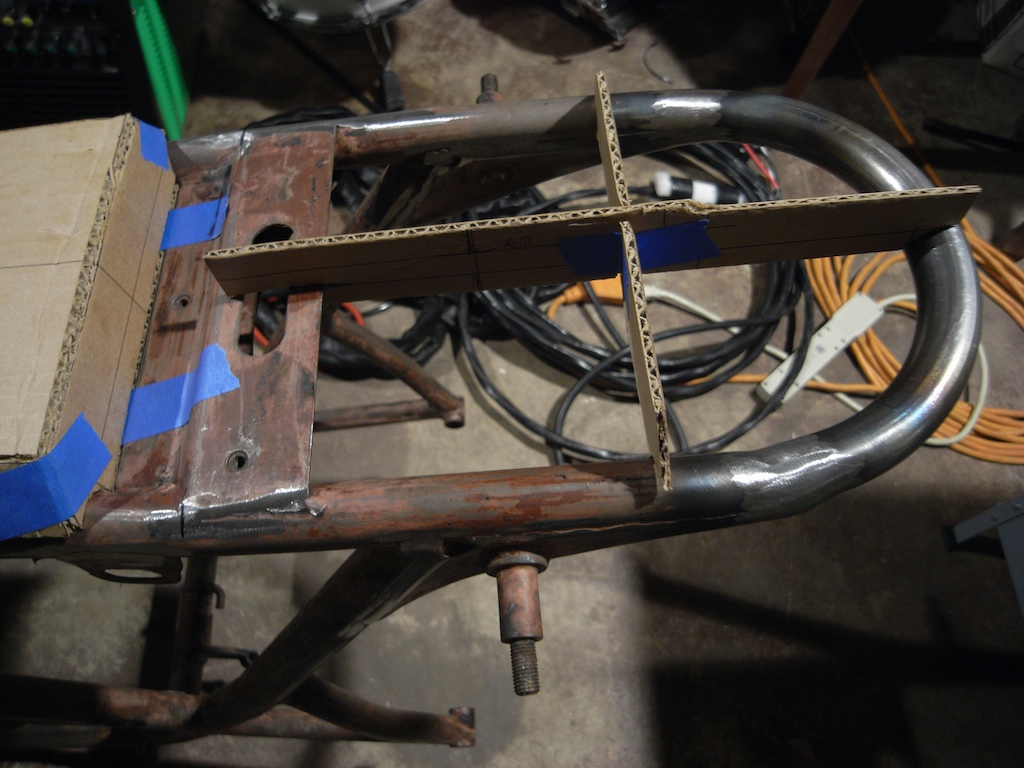
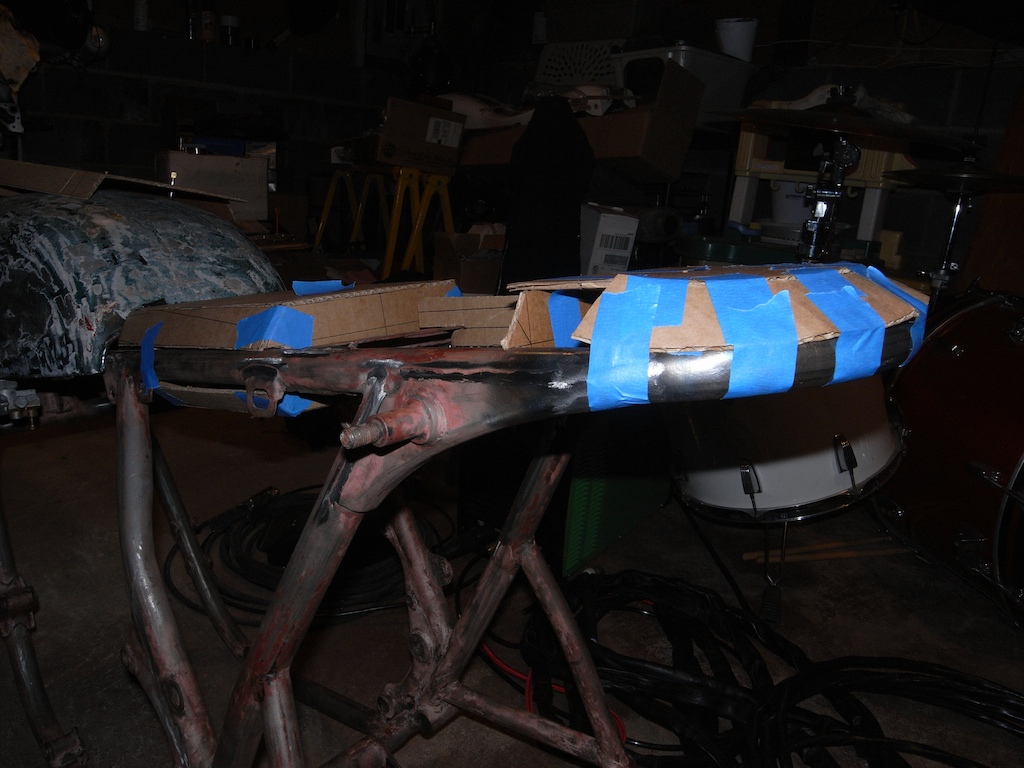
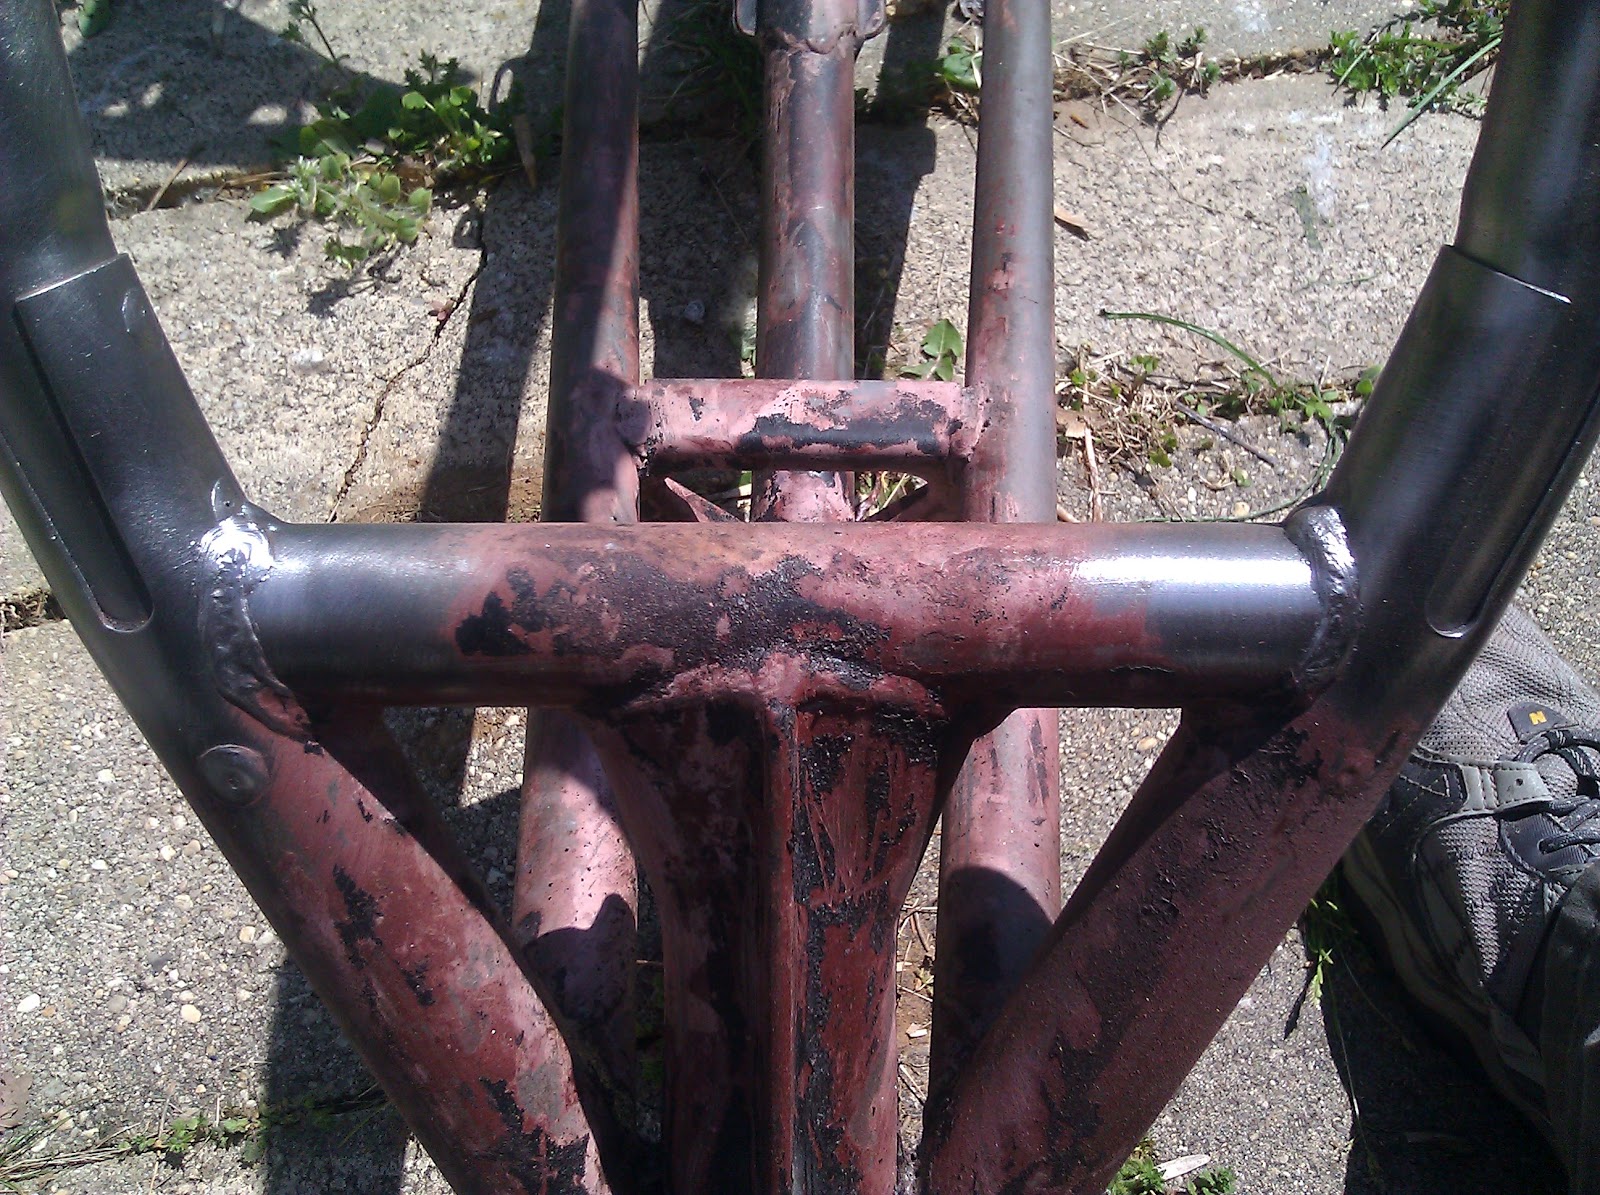
Then I got some beads on the front:
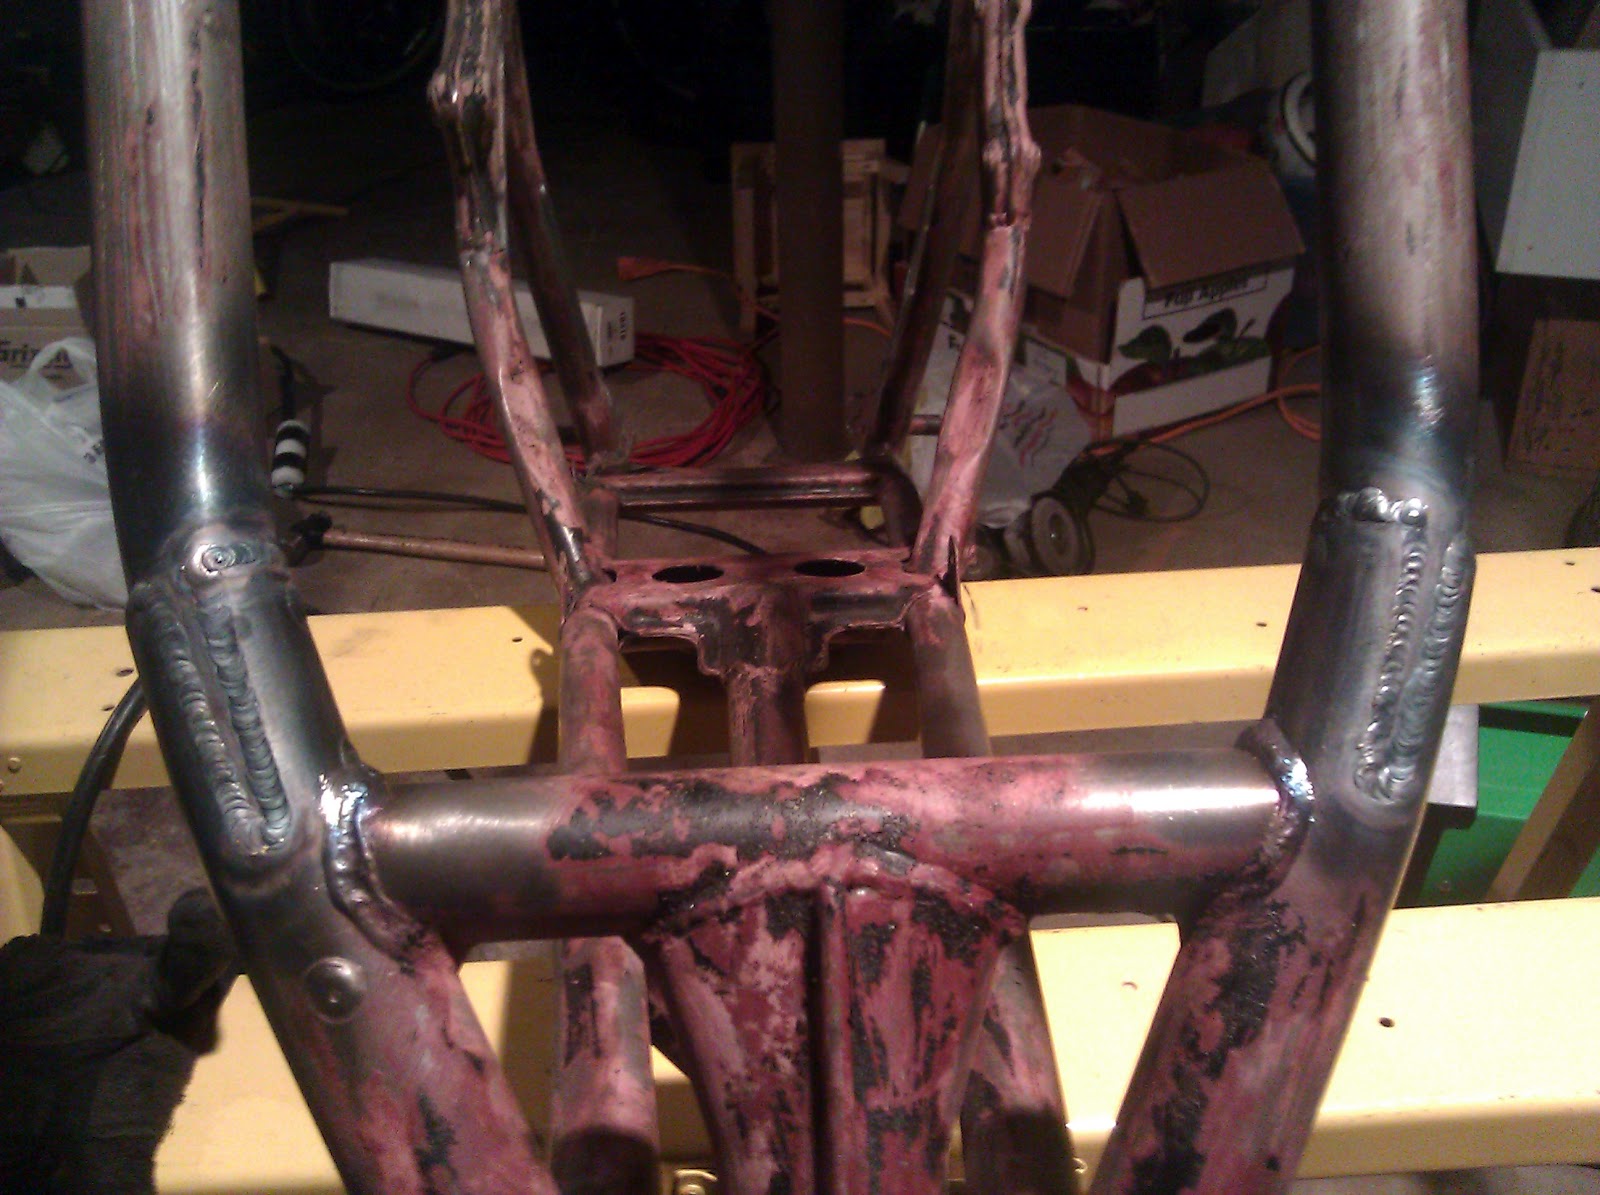
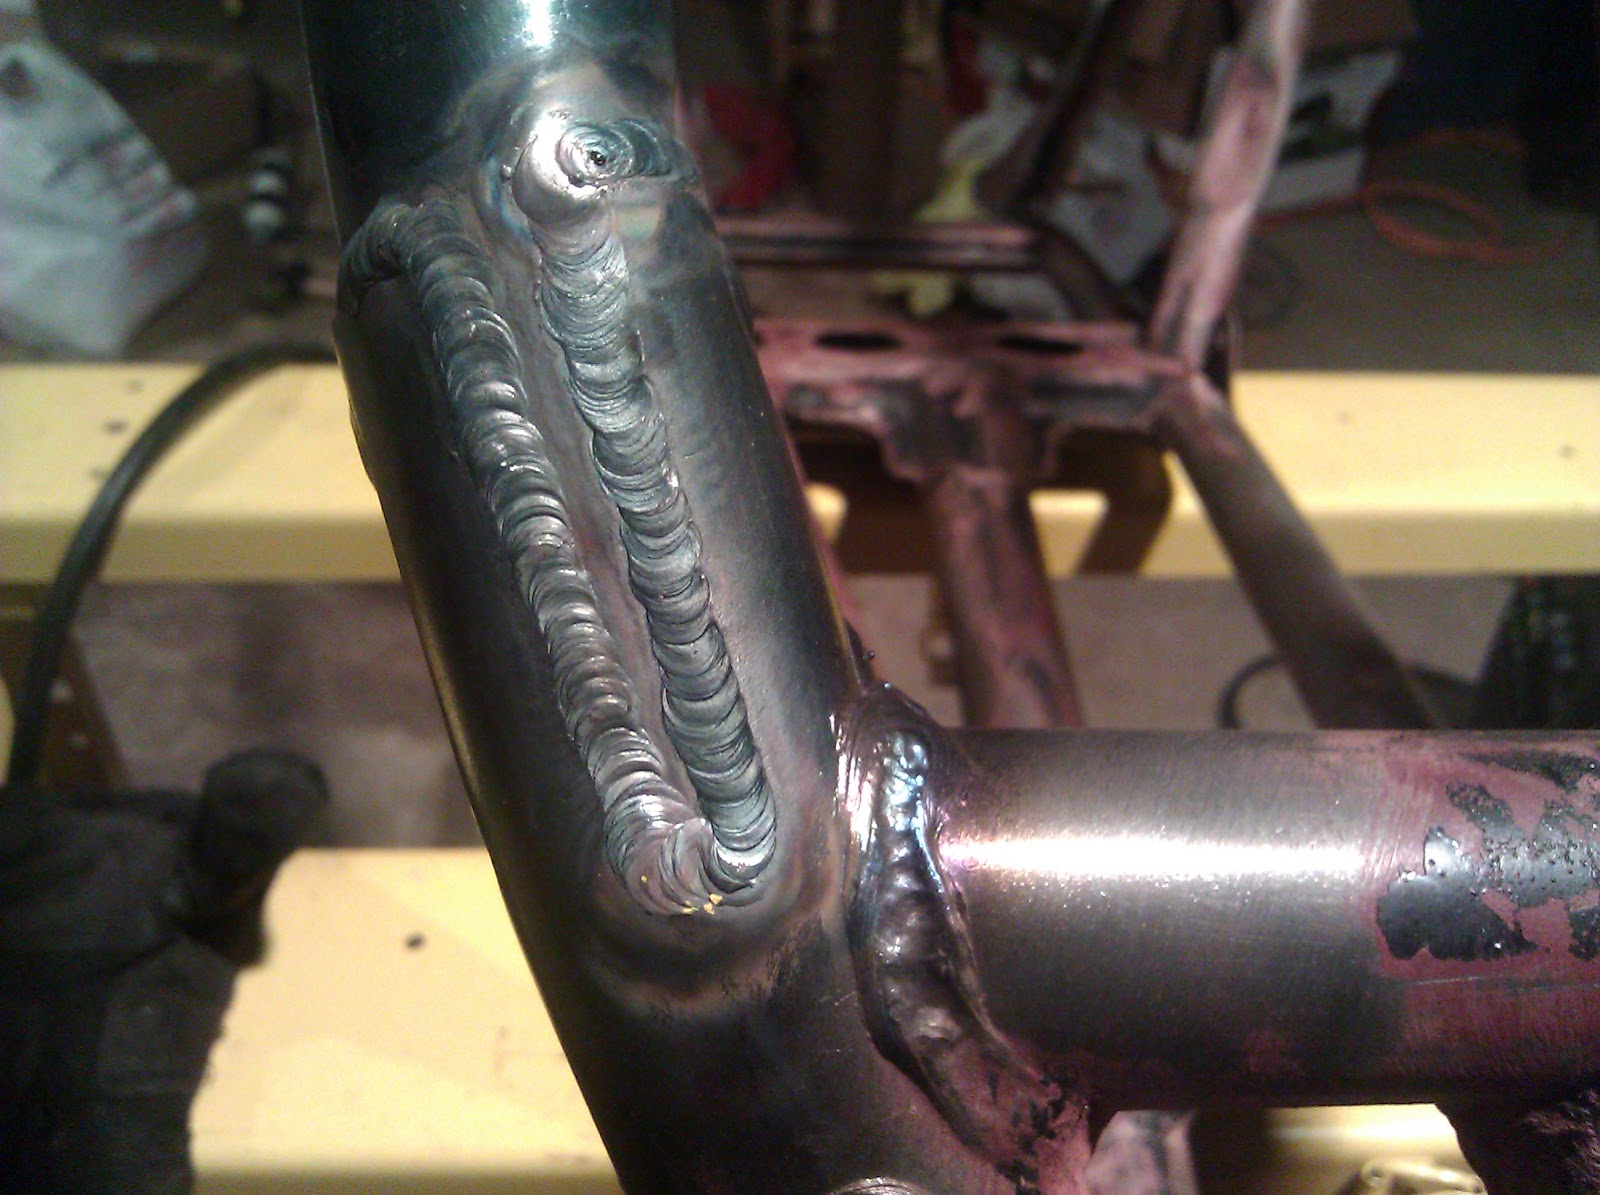
Welding on old metal is always an adventure, no matter how well you clean it! LOL!
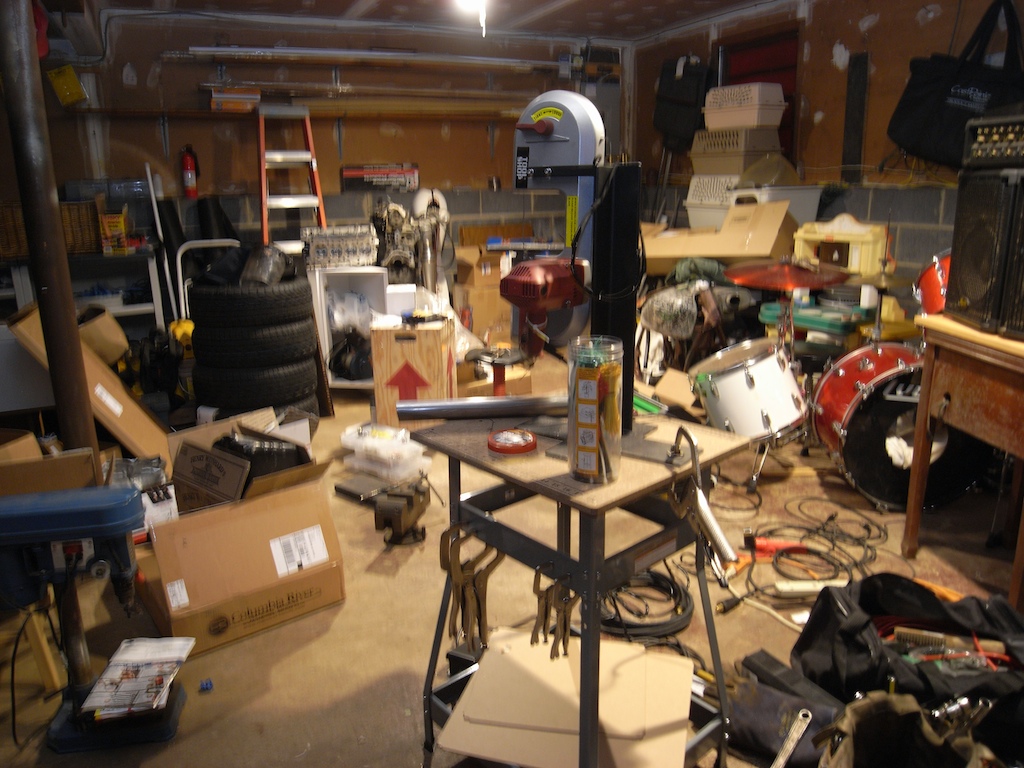
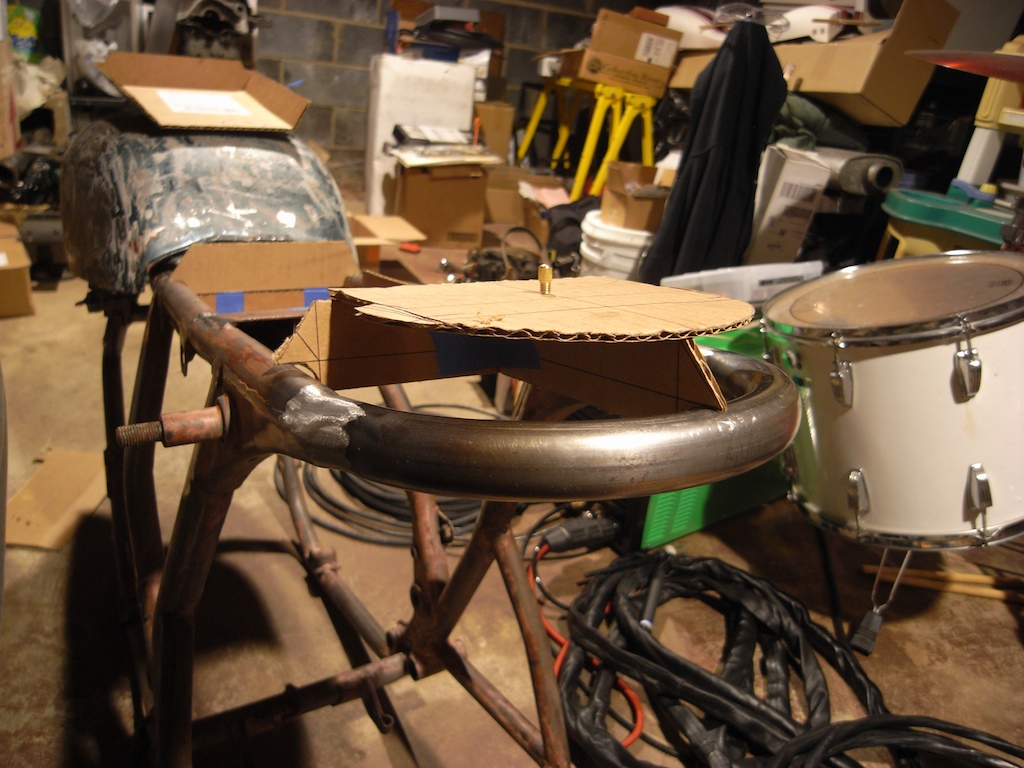
Another random view
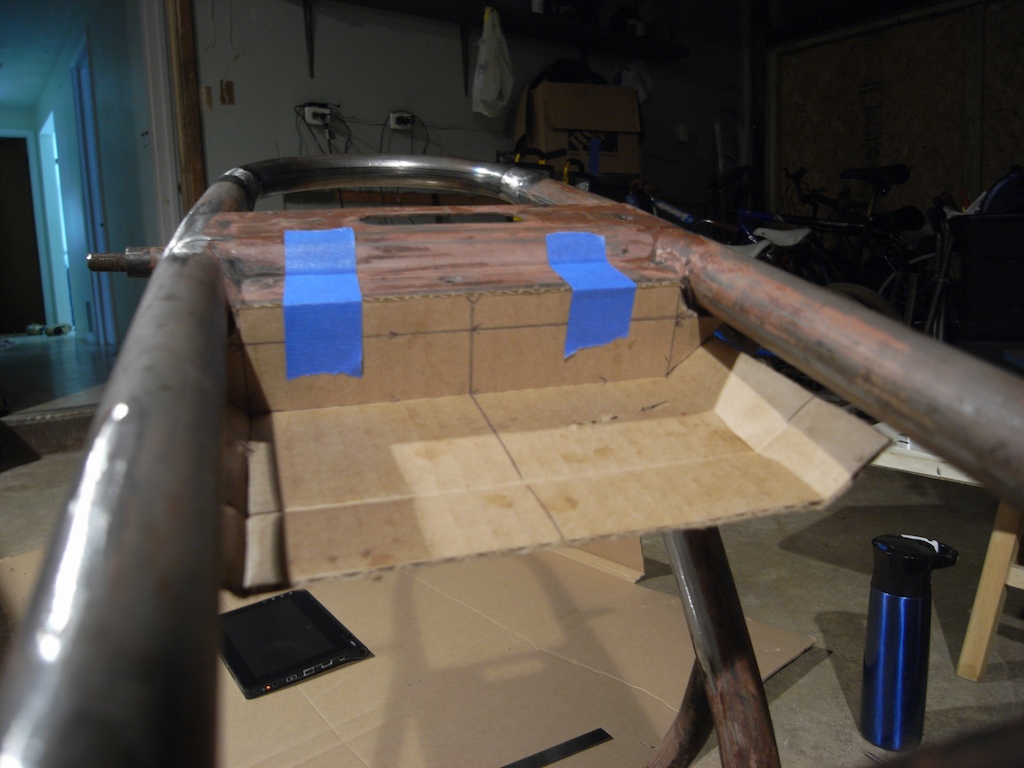
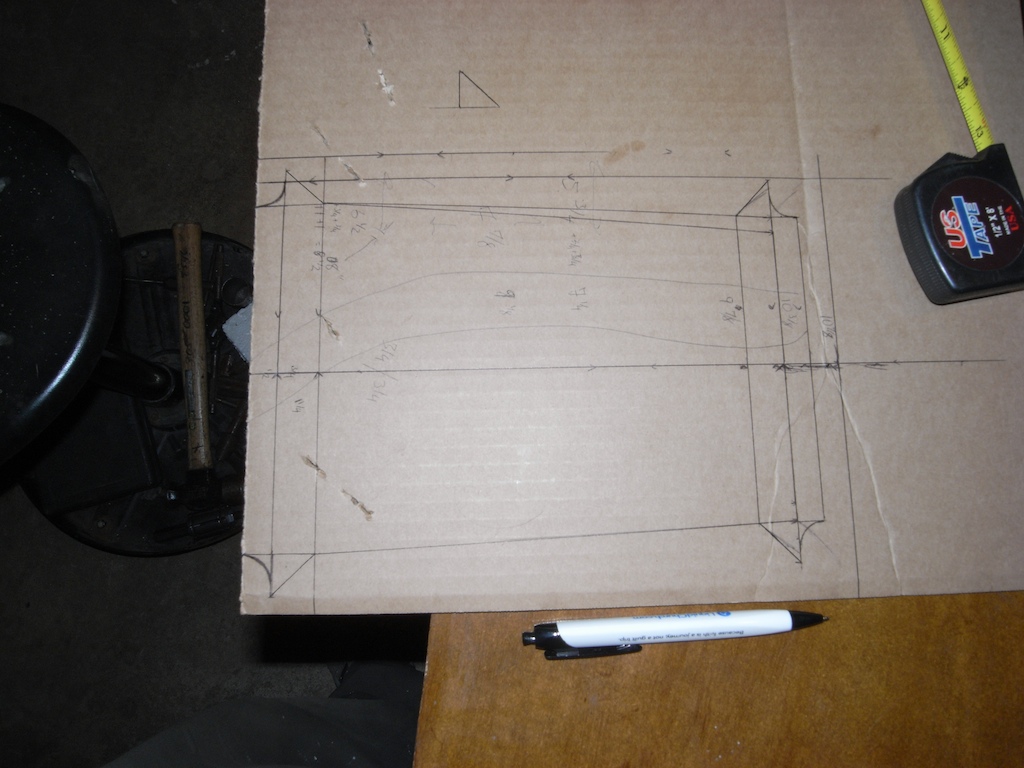
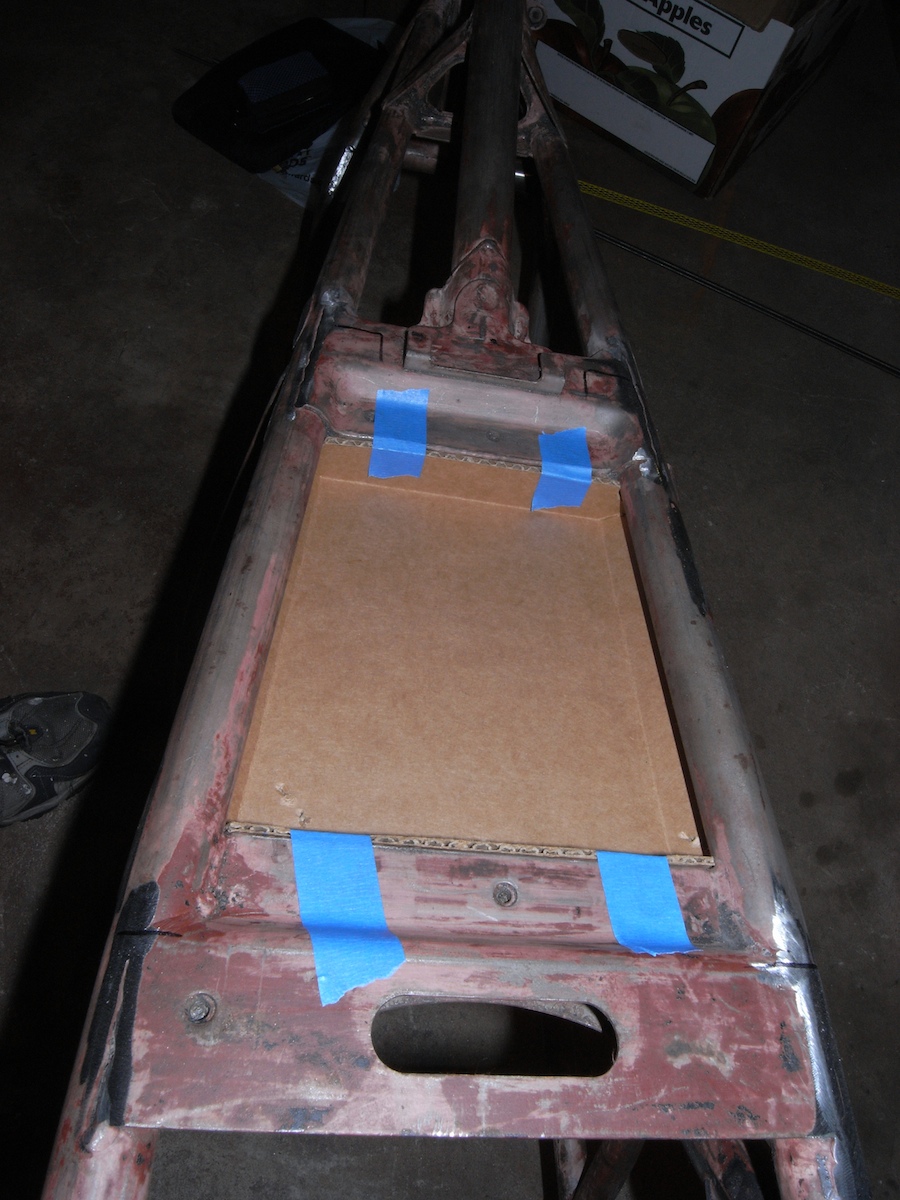
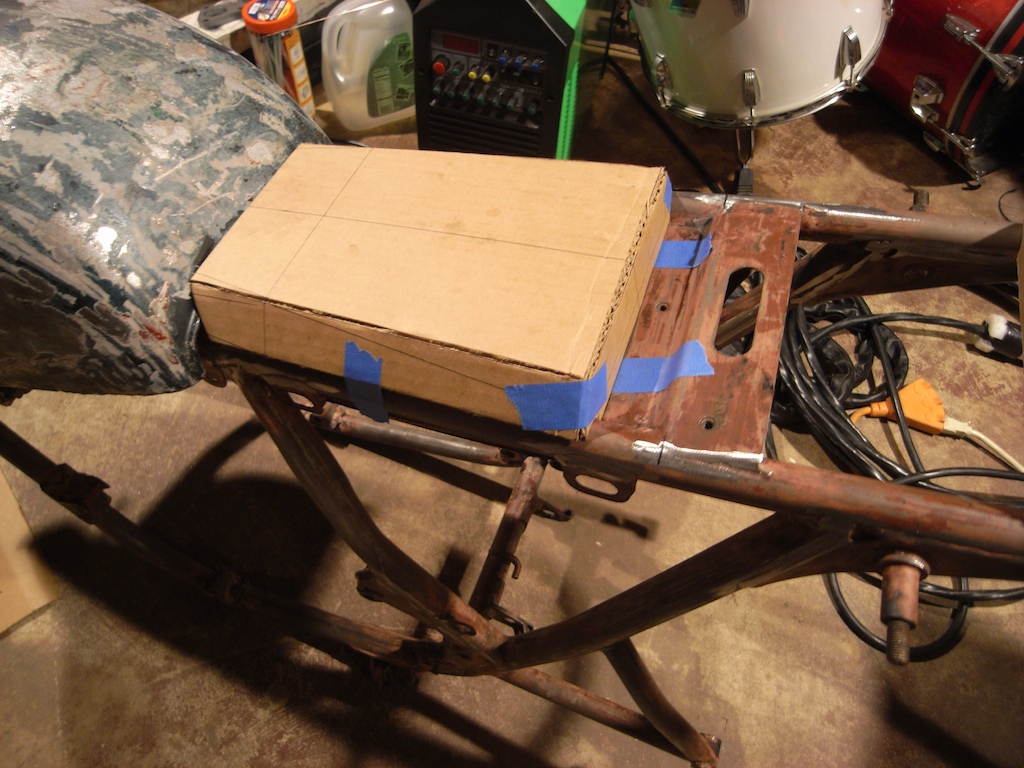
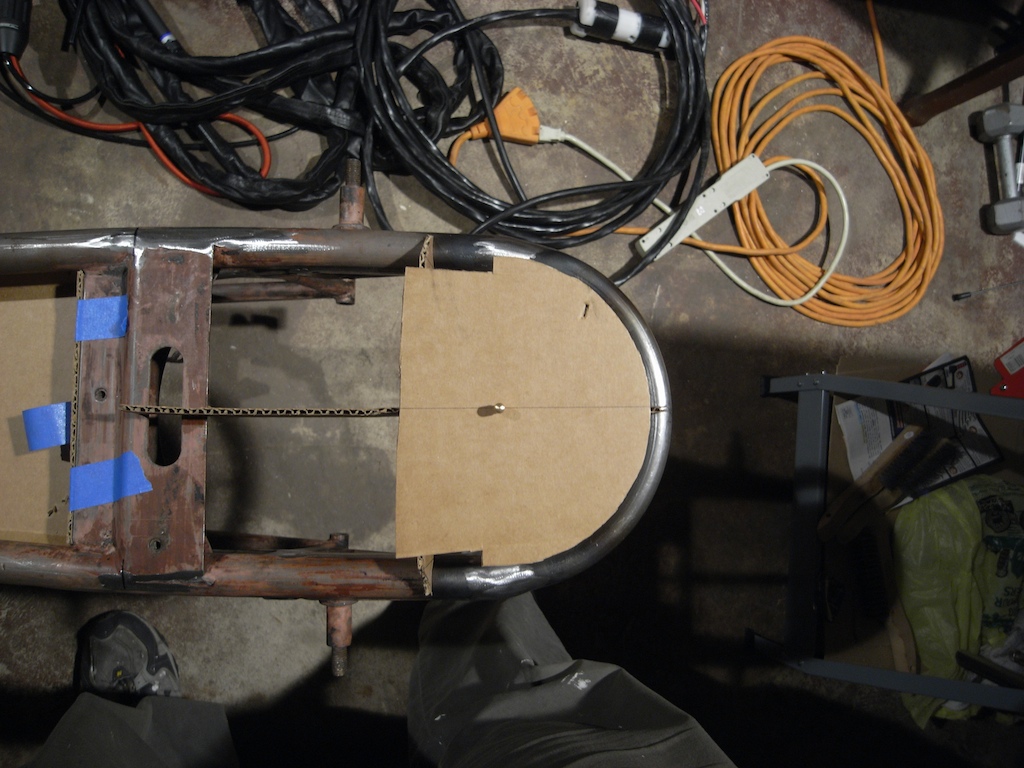
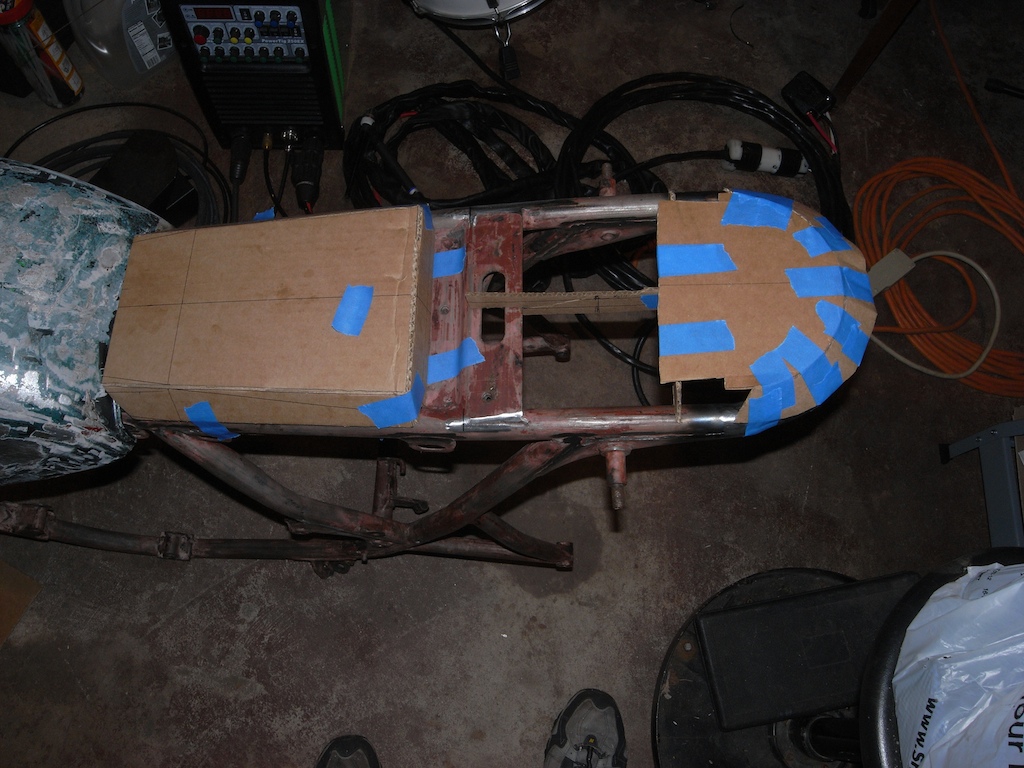
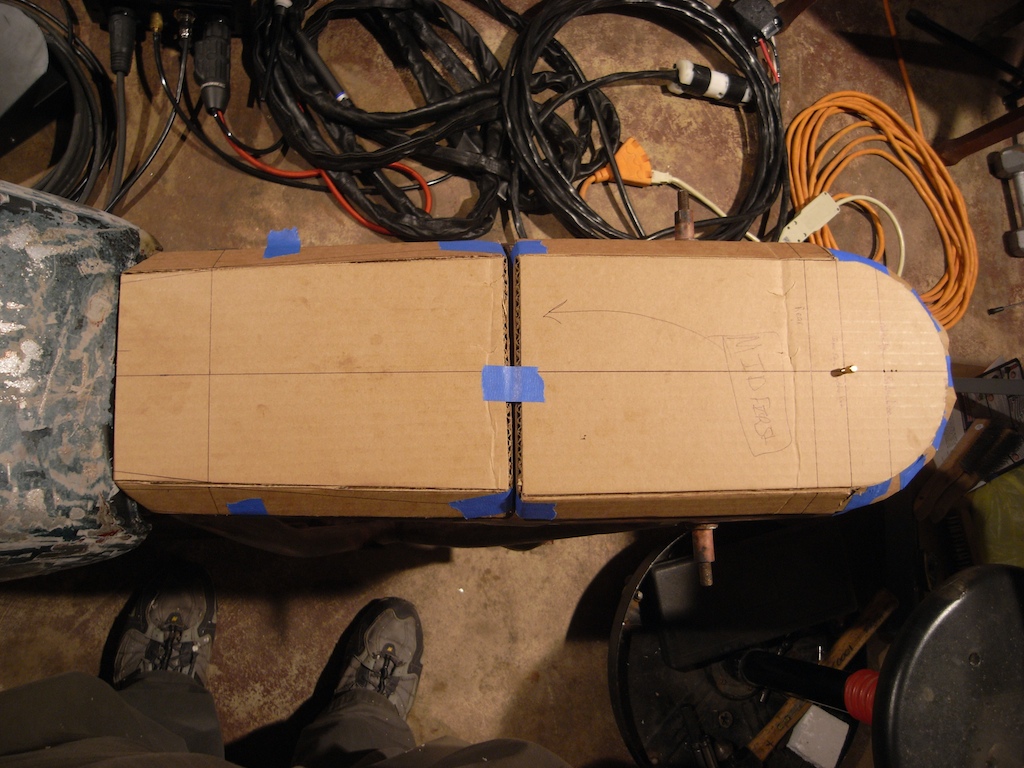
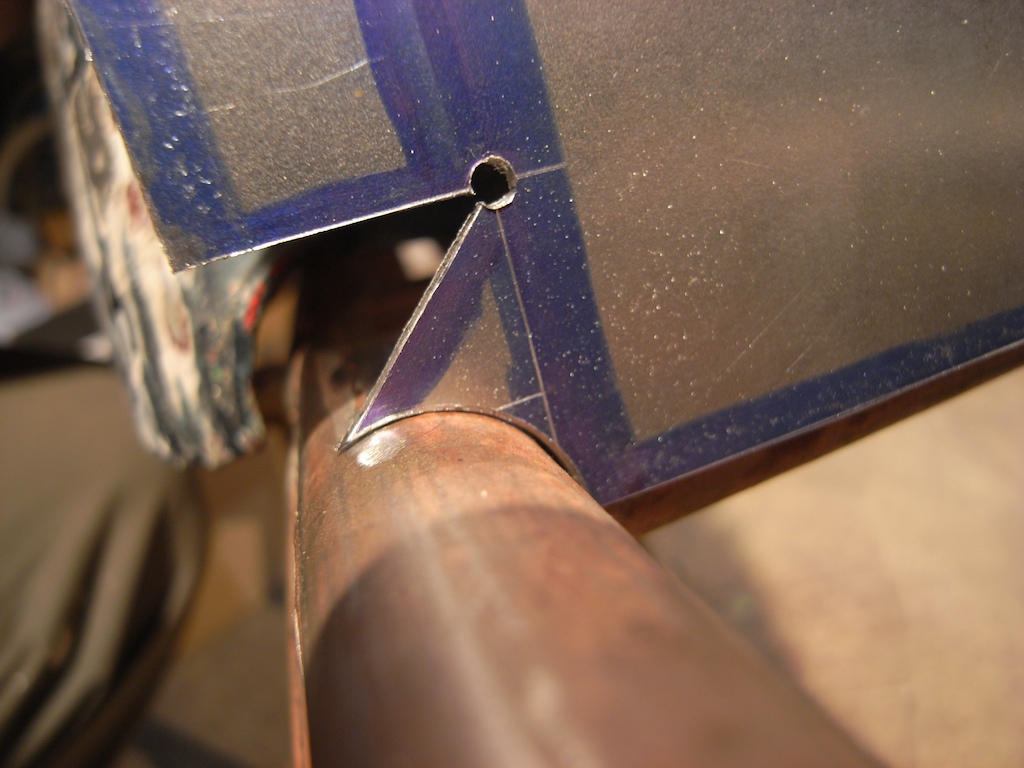
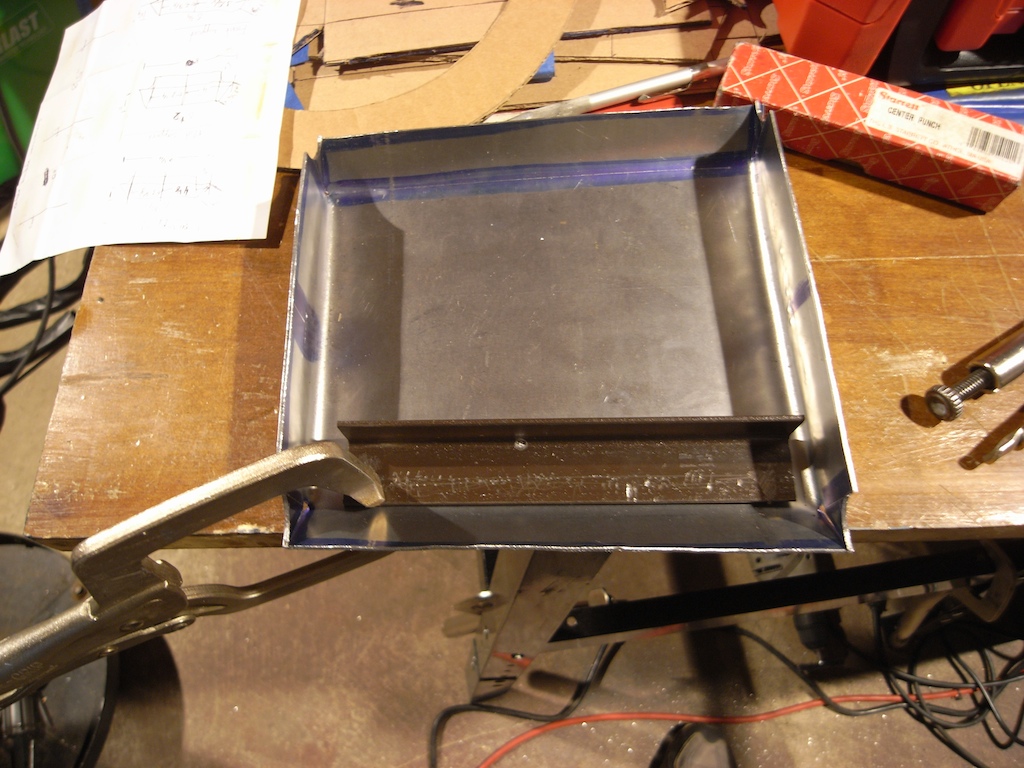
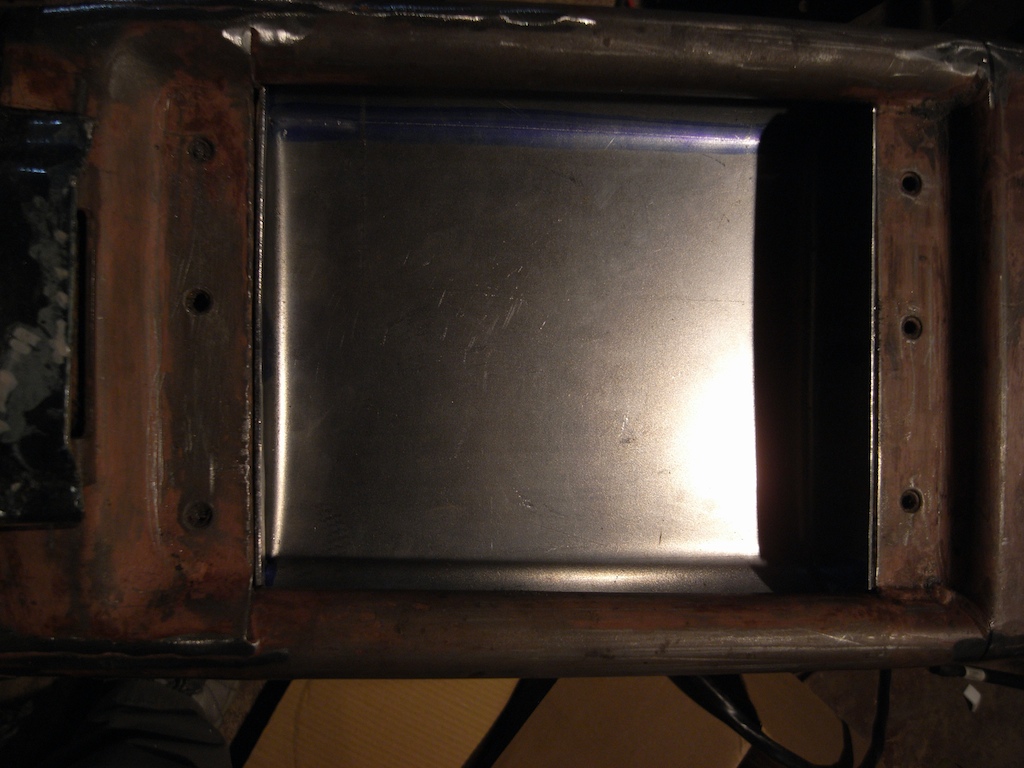
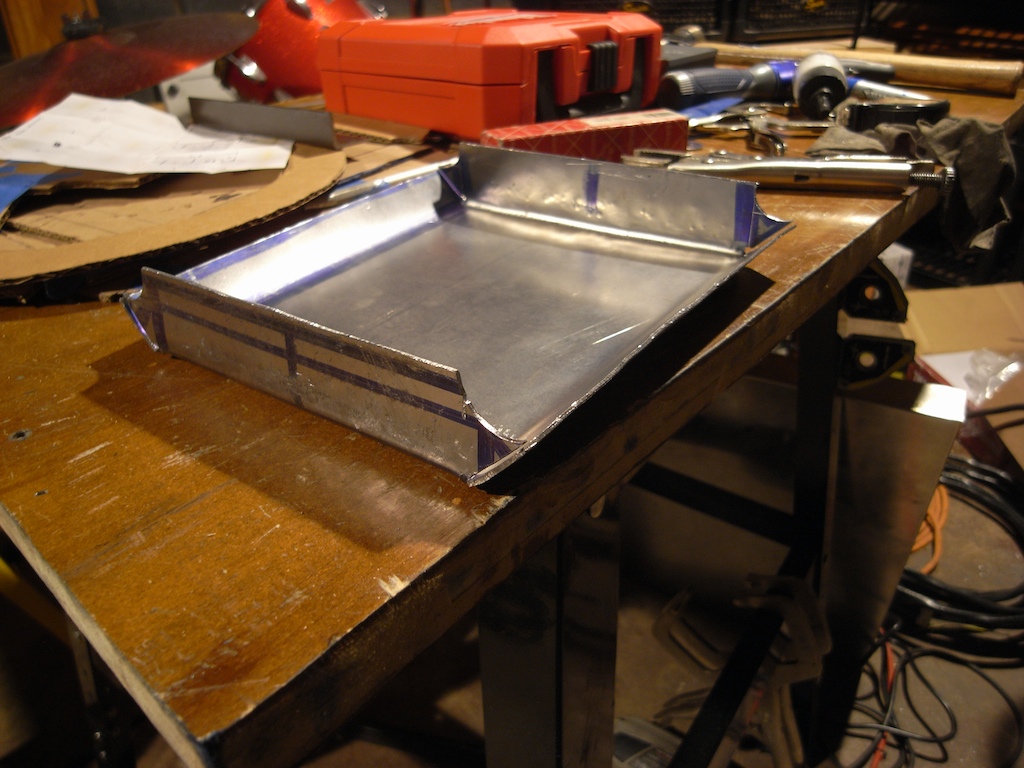
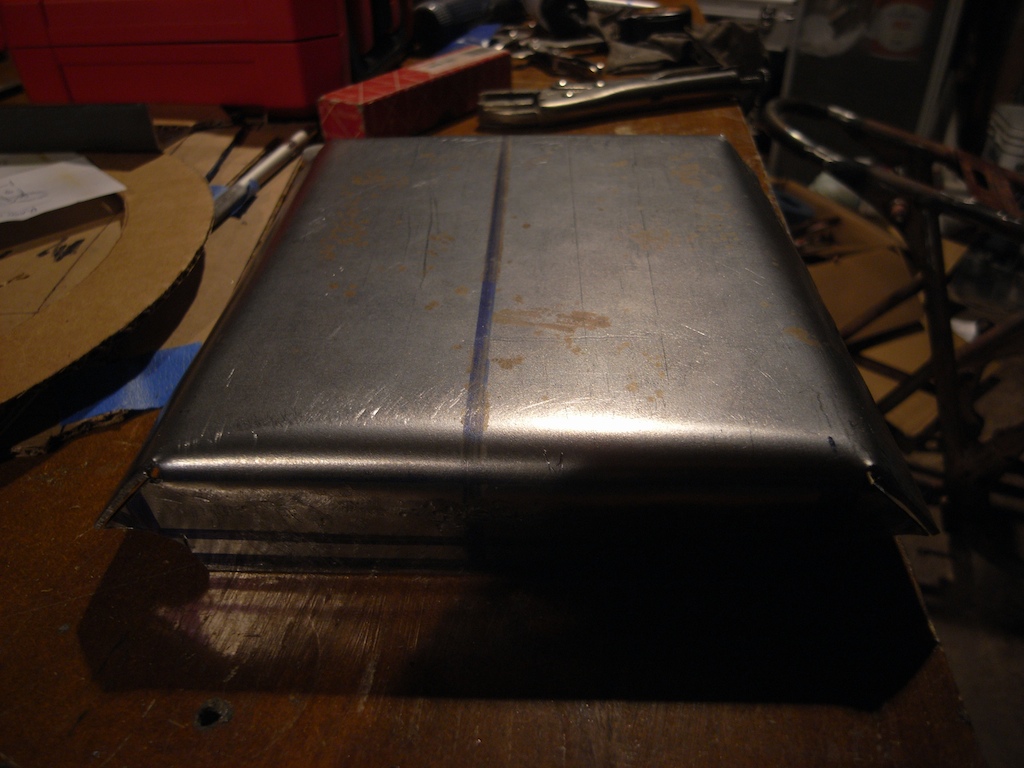
Then I measured a bunch and drew up some plans for the seat pan and battery tray:
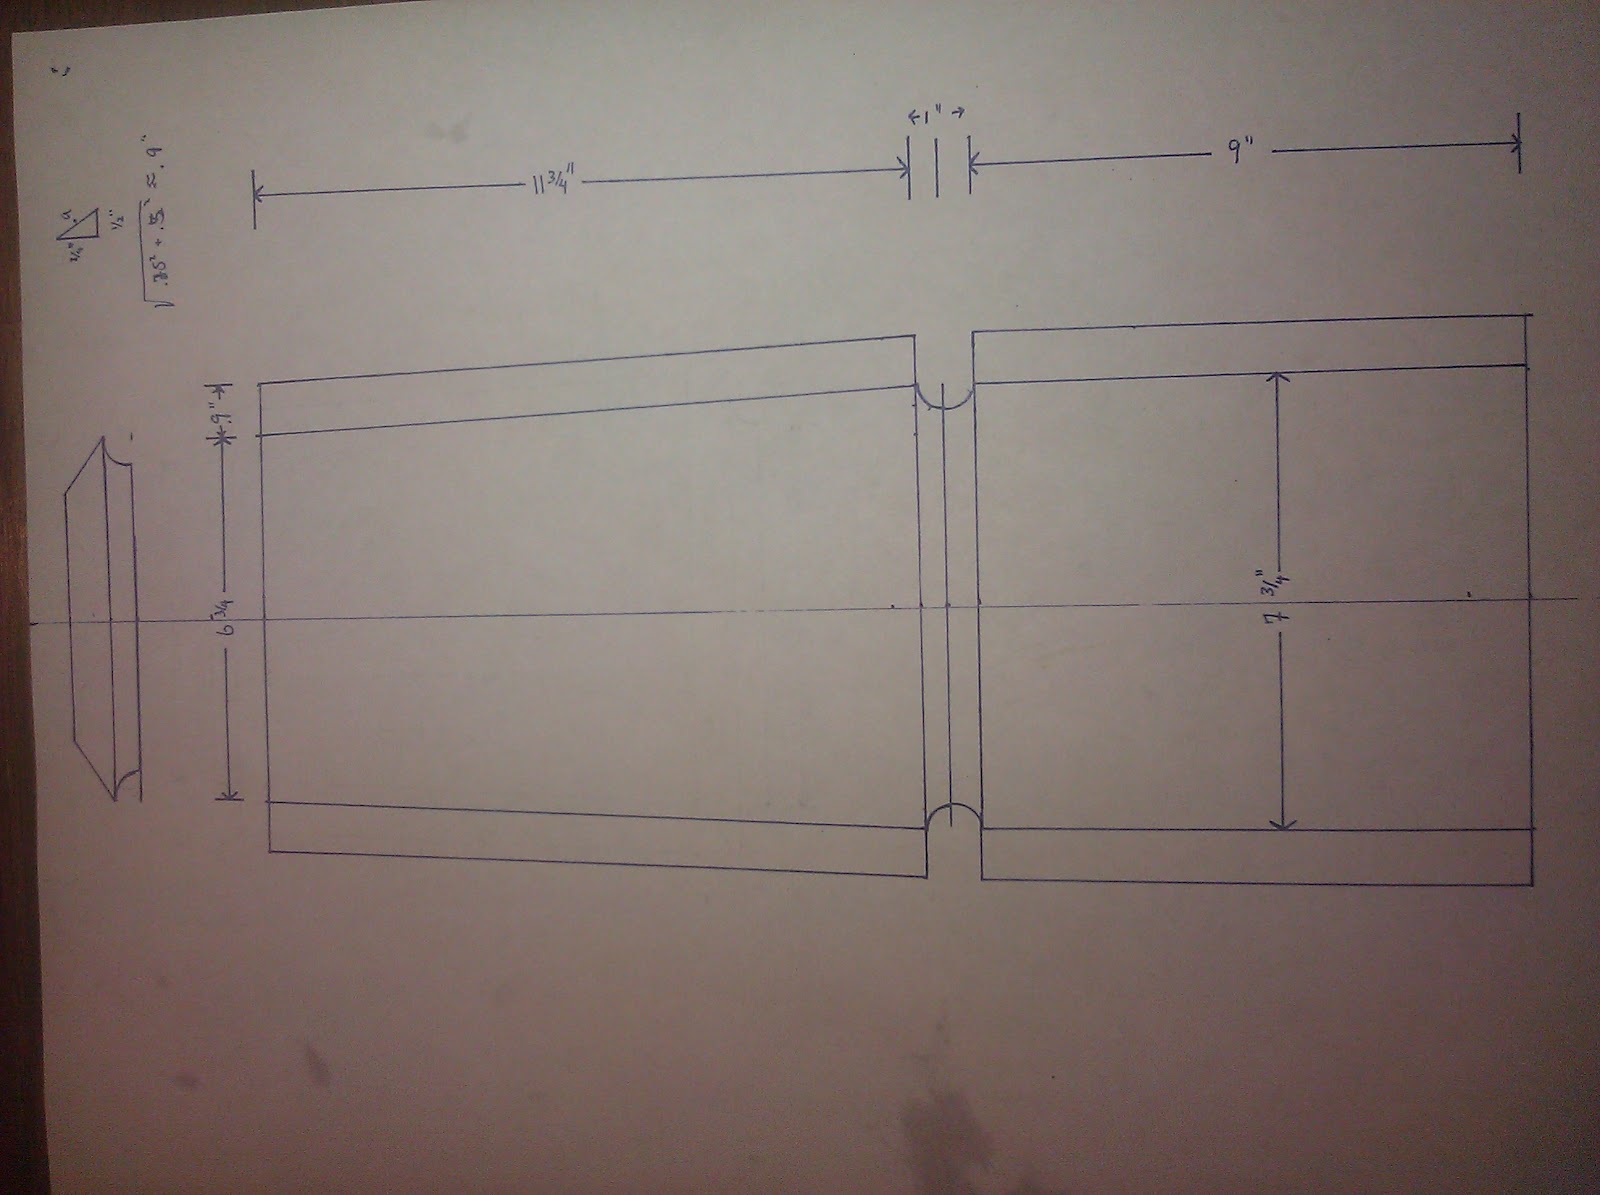
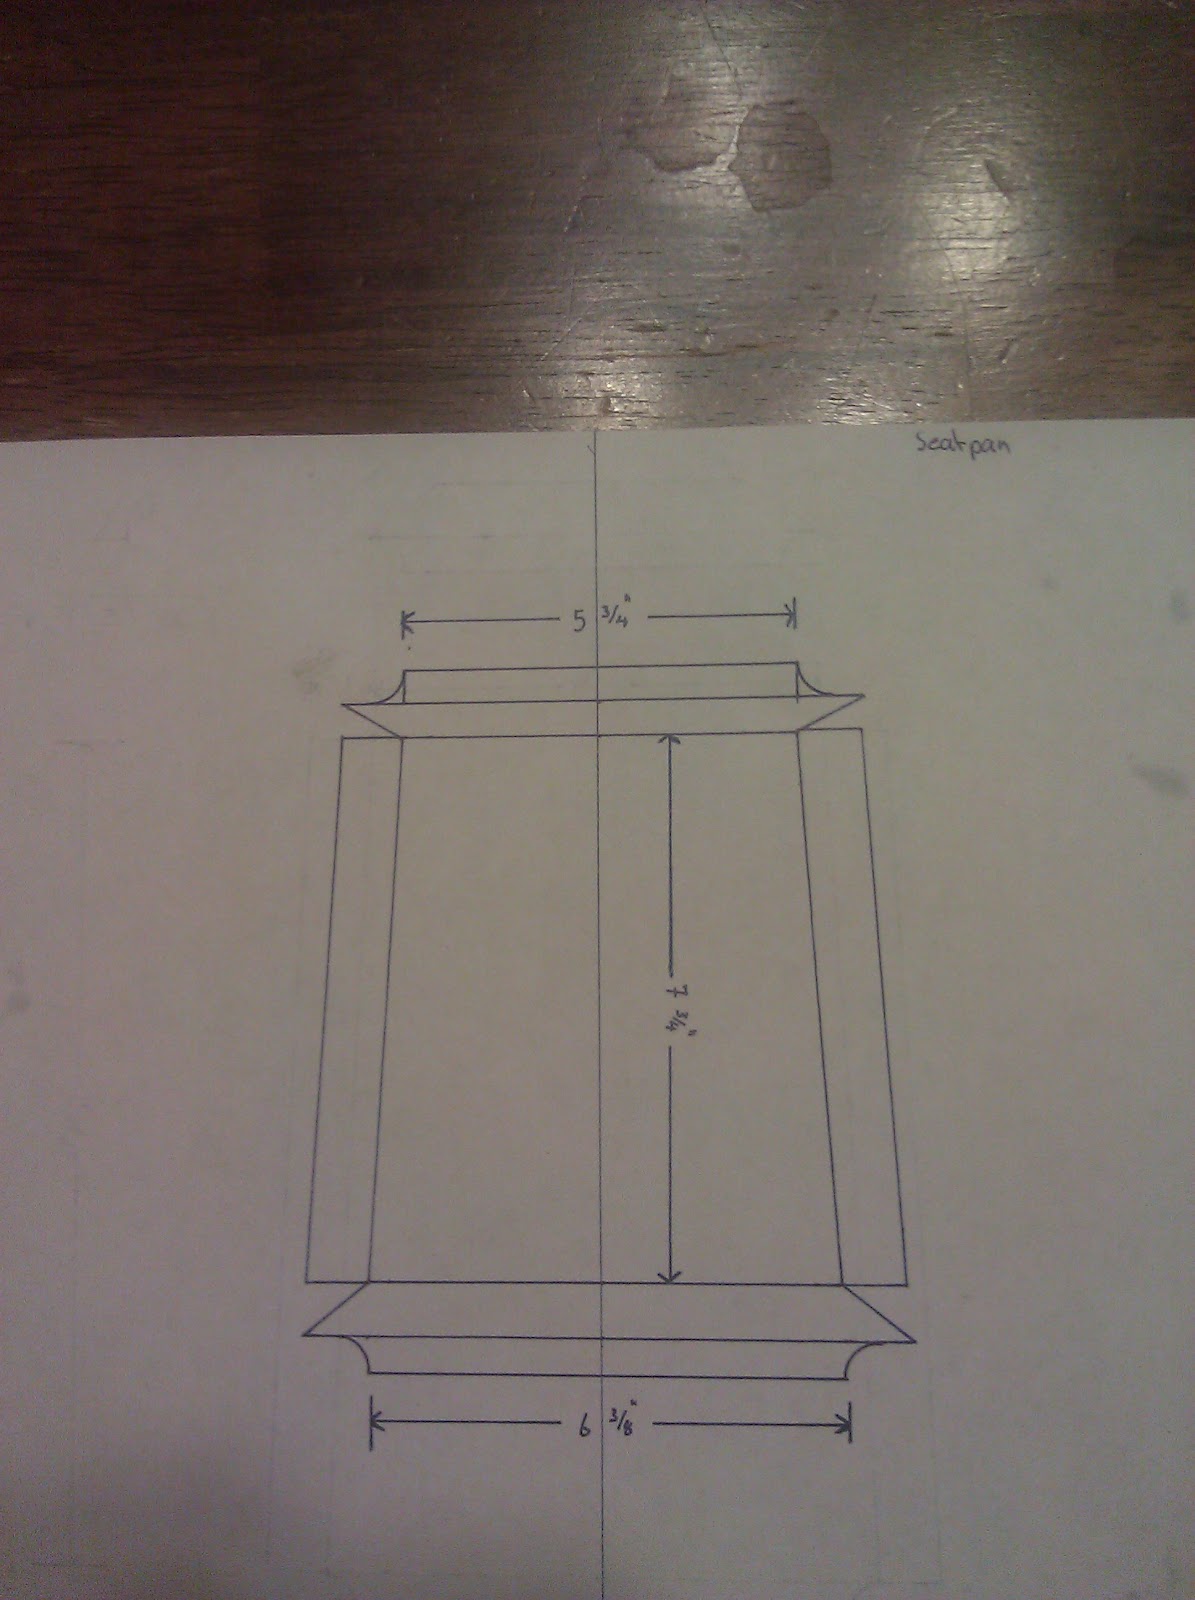
Mike wanted everything to be as streamlined and visually minimized as possible. I think that I'll achieve that, especially based on the templates I made (and will show soon enough).
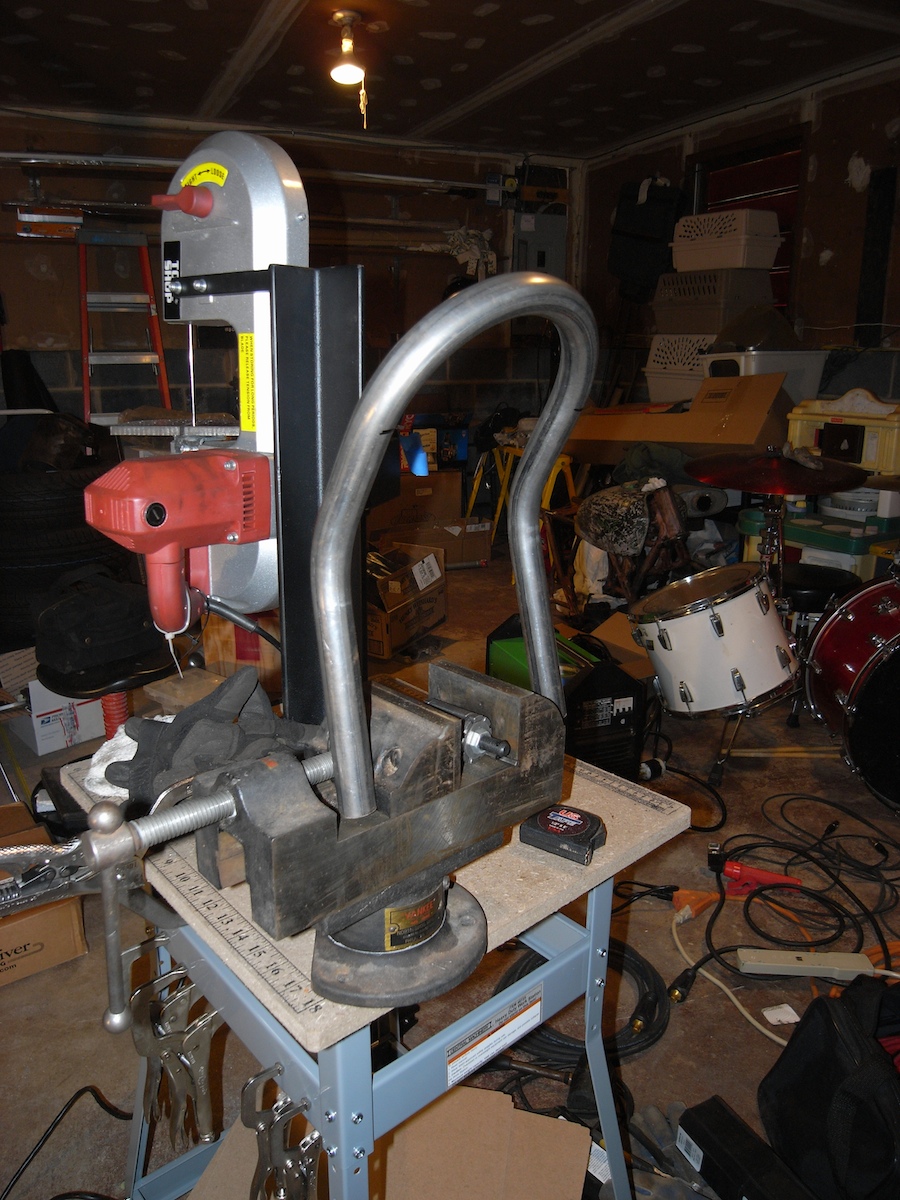
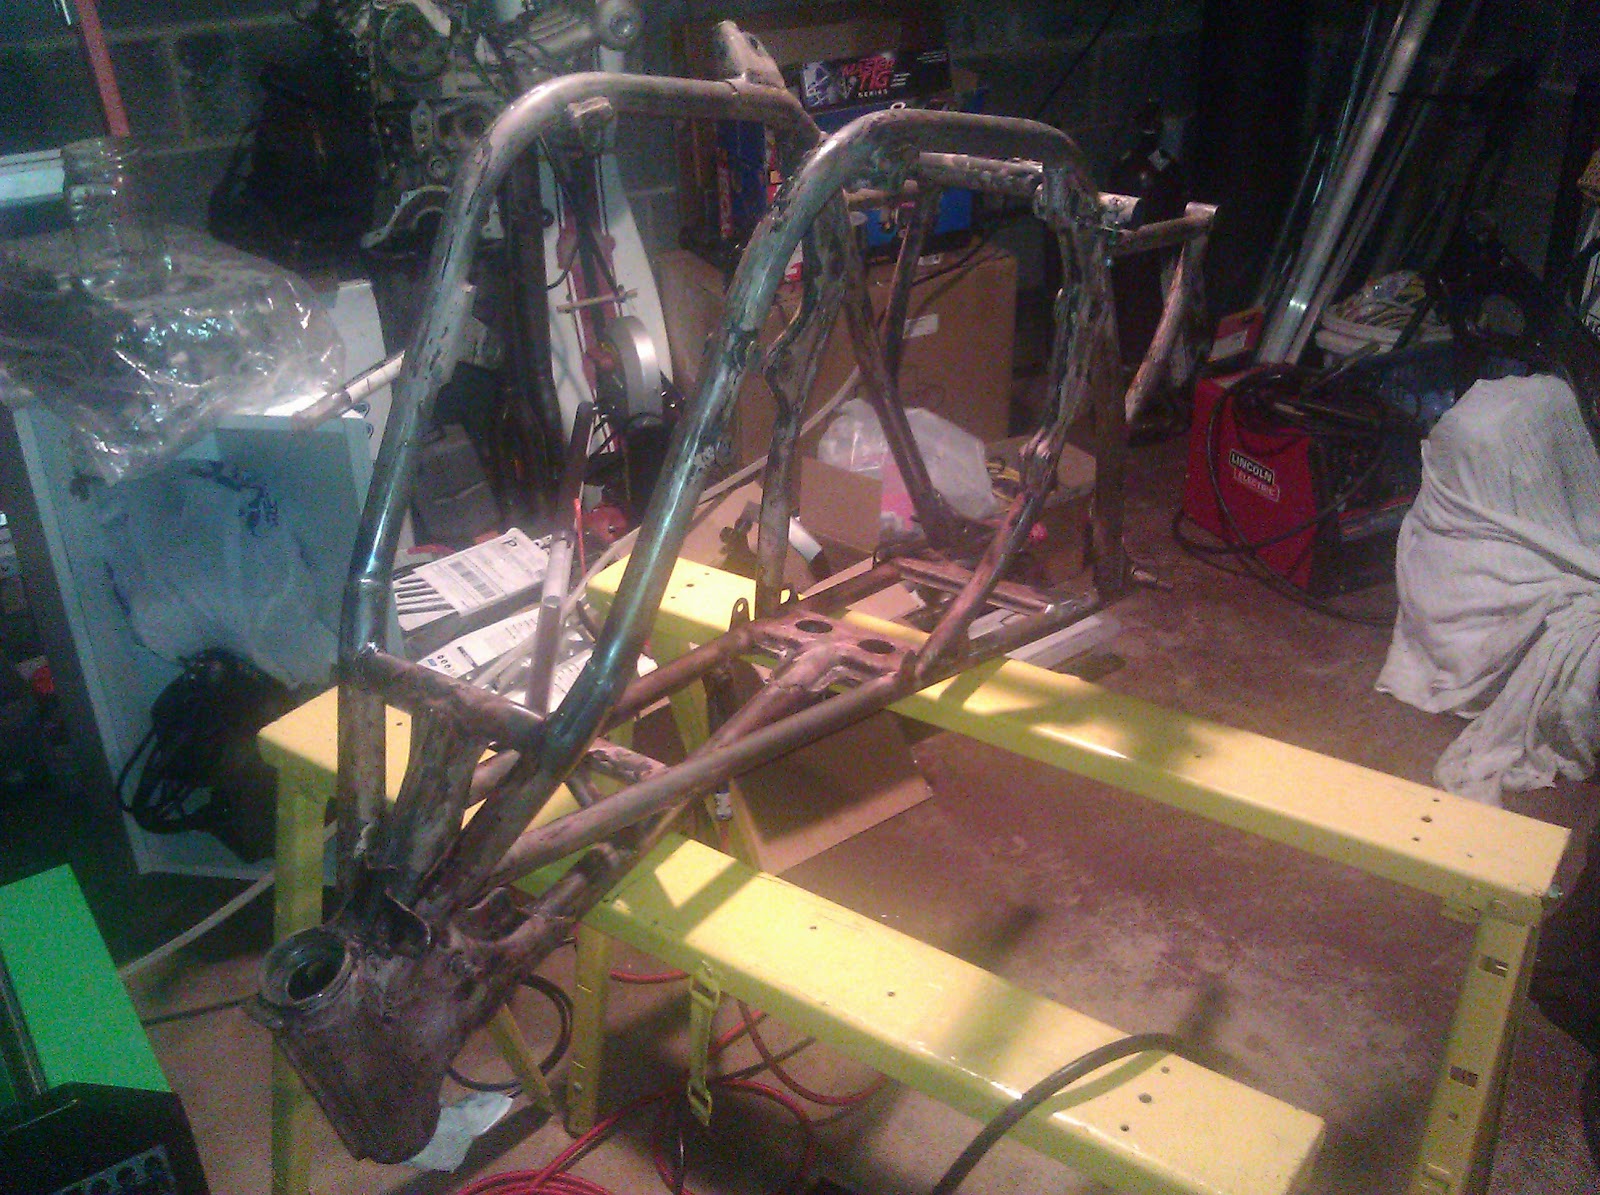
Final shot of the frame that day:
Here's where most of these pics and more commentary can be found:
Mike's Frame
MB's frame as it was when I took possesion of it:
MB was kind enough to cover it in Aircraft Remover so I would be reminded at how effective that stuff is at removing/irritating skin. heh
He also kindly supplied this tank so I could properly dimension the seat pan (which is the next thing to get worked on):
I actually like the tank just as it sits. LOL!
Next up, I started a bunch of de-tabbing and smoothing:
Some of the shots are out of focus, as I only had my dang phone on me at the time, but I think you'll get the point:
This was something interesting I discovered when cleaning the ends of the frame:
It was filled with body filler. That would have to be taken care of, for sure!
To take off the tabs from the under side of frame brace, I cut most of the tab off with a cut off disc, then pried off the flat part of the tab that was spot welded in place:
This saves your time and your flap discs. Don't use regular grinding stones for most stuff. Flap discs run smoother, allow for more control and leave a much smoother surface finish than normal grinding wheels!
Comparison between times:
I also decided the front section needed some love and brushed off the slip fit joints:
There was a tab here:
Then I got some beads on the front:
Welding on old metal is always an adventure, no matter how well you clean it! LOL!
Another random view
Then I measured a bunch and drew up some plans for the seat pan and battery tray:
Mike wanted everything to be as streamlined and visually minimized as possible. I think that I'll achieve that, especially based on the templates I made (and will show soon enough).
Final shot of the frame that day:
Here's where most of these pics and more commentary can be found:
Mike's Frame