Follow along with the video below to see how to install our site as a web app on your home screen.
Note: This feature currently requires accessing the site using the built-in Safari browser.
We noticed you are blocking ads. DO THE TON only works with community supporters. Most are active members of the site with small businesses. Please consider disabling your ad blocking tool and checking out the businesses that help keep our site up and free.
True. But I wouldn't have thought to attach the hangers to the old shock mount position. Sometimes when it's your bike you can't see the wood for the trees.
Birthday coming up so might push for a sheet metal brake. Then I can fold up some seats to test out some options.
I'd like to see really short pipes under the pegs but I think it might make the bike look short and tall and the longer pipes tend to stretch the image a little.
The shorter the pipe the higher revs for the max horsepower point so the pipe length should match the design of the rest of the engine. I don't think many people worry about this though.
Looking great. I like the longer pipes myself, think they suit the style of your build.
Ridiculously short pipes always remind me of a dog/cow that's had its tail docked off.
In theory at least. In practice, primary pipe length and collector design have more impact on power curve but most aftermarket pipes lose power regardless of the theory.
Mind you it has been a while since I saw a decent before and after pipe comparison. That engine has not been optimized for power let alone maximized, so i suspect that whatever he comes up with will be at least as good as the designs he doesn't try. ;-)
Can't remember exactly but I believe there was a lot of math going on and longer pipes used 2,3,5, and 7th harmonics (or something similar) Shorter pipes for racing where your keeping motor at high rpm, longer for general road use (plus they will be quieter)
I remember all the crap we went through in late 70's>all the 80's where aftermarket systems were often a PITA to fit and lost a ton of mid range power. Usually bike 'felt' quicker as it climbed out of the hole the exhaust caused and suddenly 'took off' Dyno showed overall power lower than stock with terrible carburation, god knows where they got the advertised numbers?
Exactly PJ. Biggest change used to be reduced weight which made the bike feel quicker and more responsive, and that huge hole before the pipe started to work that felt like a turbo kicking in. Bike mags used to test exhausts and they rarely made a couple of extra HP at the top and all lost midrange - some more than others.
There were a couple of decent UK makers like MOTAD IIRC. Compared to a stock 400-4 though one would imagine that almost anything would work better but the real advantage is weight loss I think.
I was under the impression length on the exhausts would help with mid rev power, although as I relooked at my calculations I only really saw a length for headers and just a diameter for secondaries.
Either way I prefer the look of the long secondaries and will try and maintain that where possible as I'm really keen to have the exhausts exit out the rear.
The bend on the secondaries on the left will drive the final placement of the mufflers anyway as the first bend is much closer to the muffler.
teazer: motor is mildly hopped up, 466 pistons and minor porting.
I think the theory is that as the exhaust pulse from the first cylinder to have it's power stroke exits the header pipe it sucks out the next pulse to occur after the first pulse passes the union of pipes, and so on. I forget the theory behind the tail pipe/can length.
A.G.Bell has all the relevant formulae. What he didn't have in the last edition was info on merge collectors that merge the flows and have less of a pulse reversion effect that we expect. In general, longer pipes resonate at lower revs and make for an easier bike to ride.
And then we have to think about flow rates and temperatures for sound wave velocities and all manner of other variables. That's what makes this so fun.
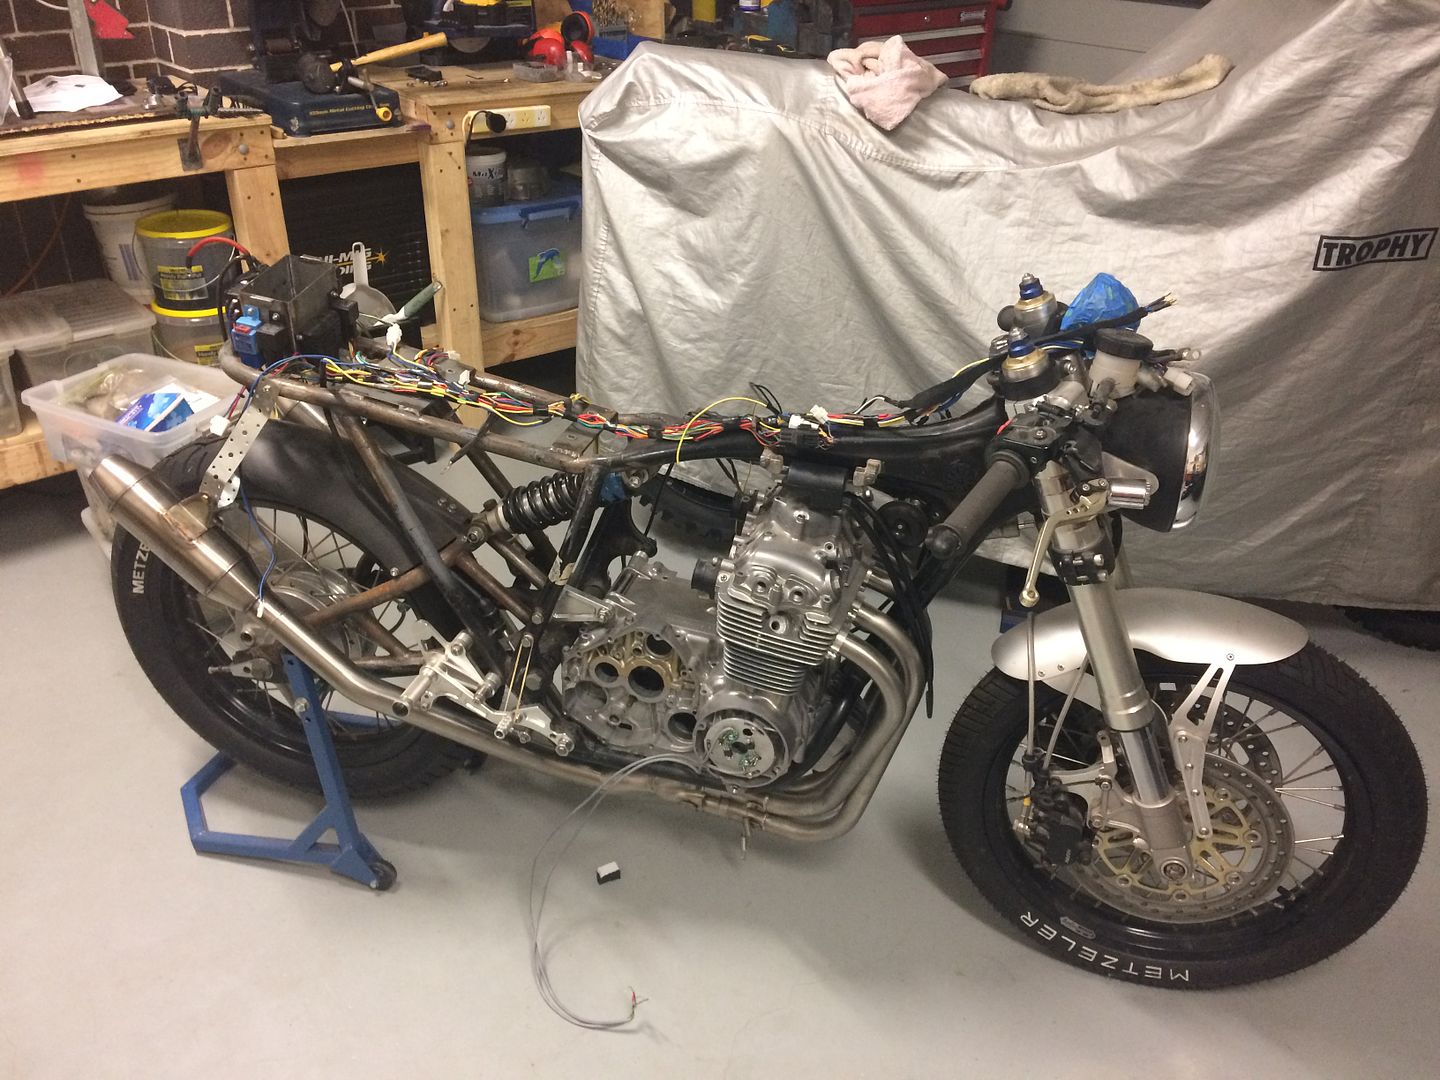
It's too hot to do too much in Sydney today, but the wife and kids went to the cinema, so I thought it would try and progress something on the bike.
I've been thinking of getting the electrics finished off, so I can cross that off the list, especially now I have my coils and ignition plate.
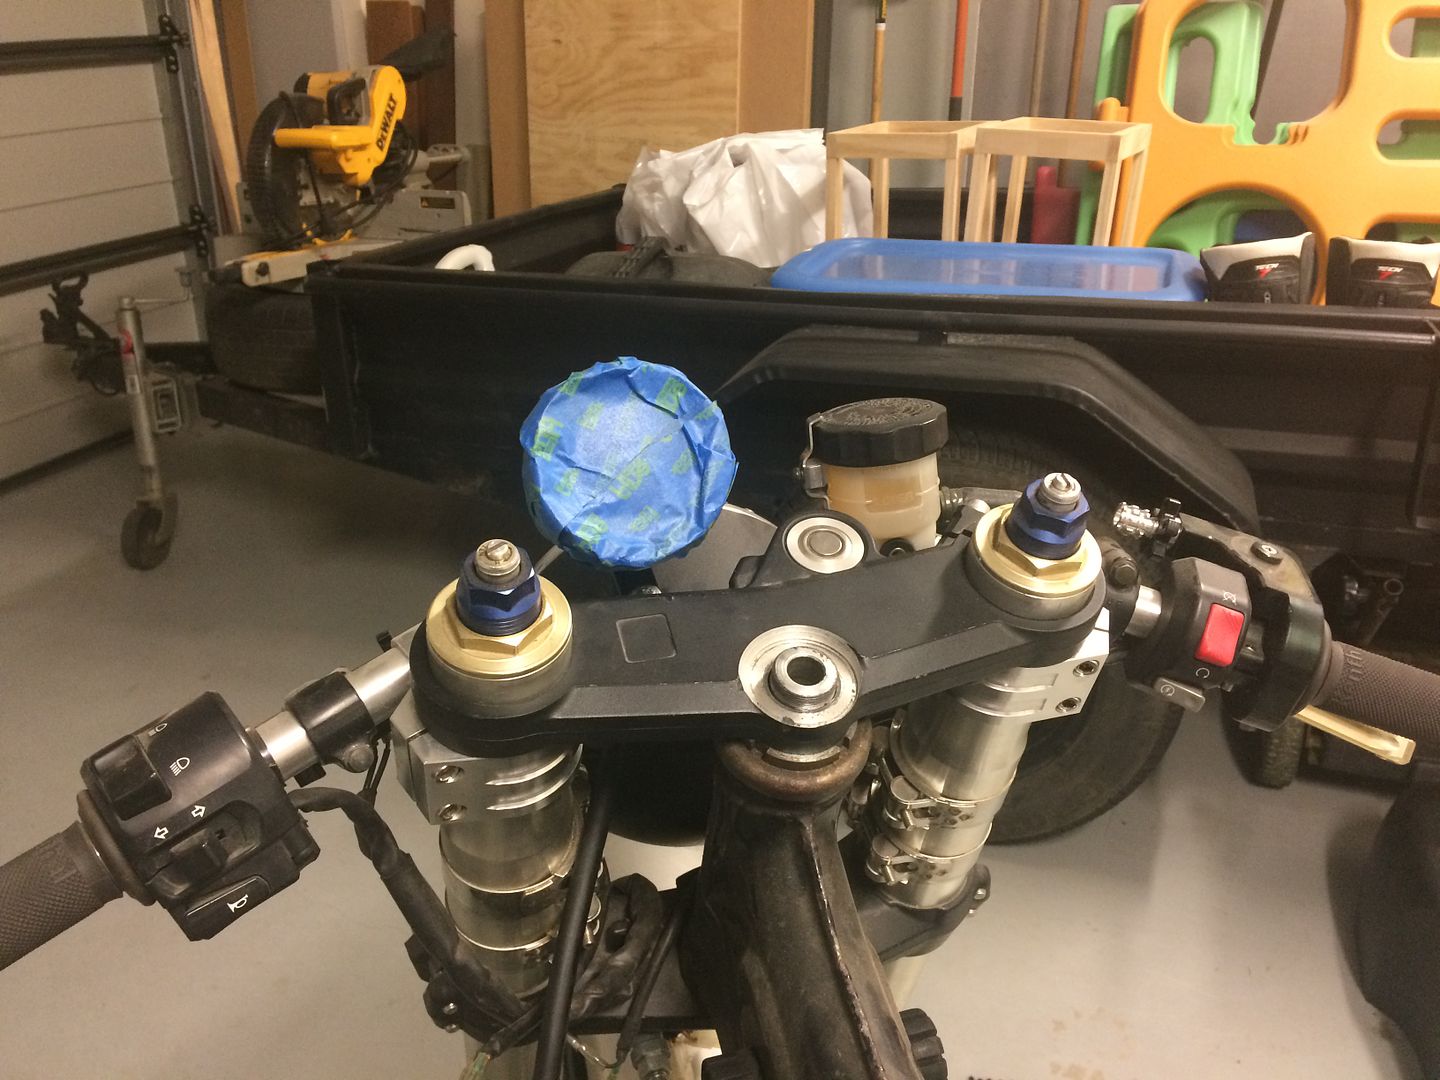
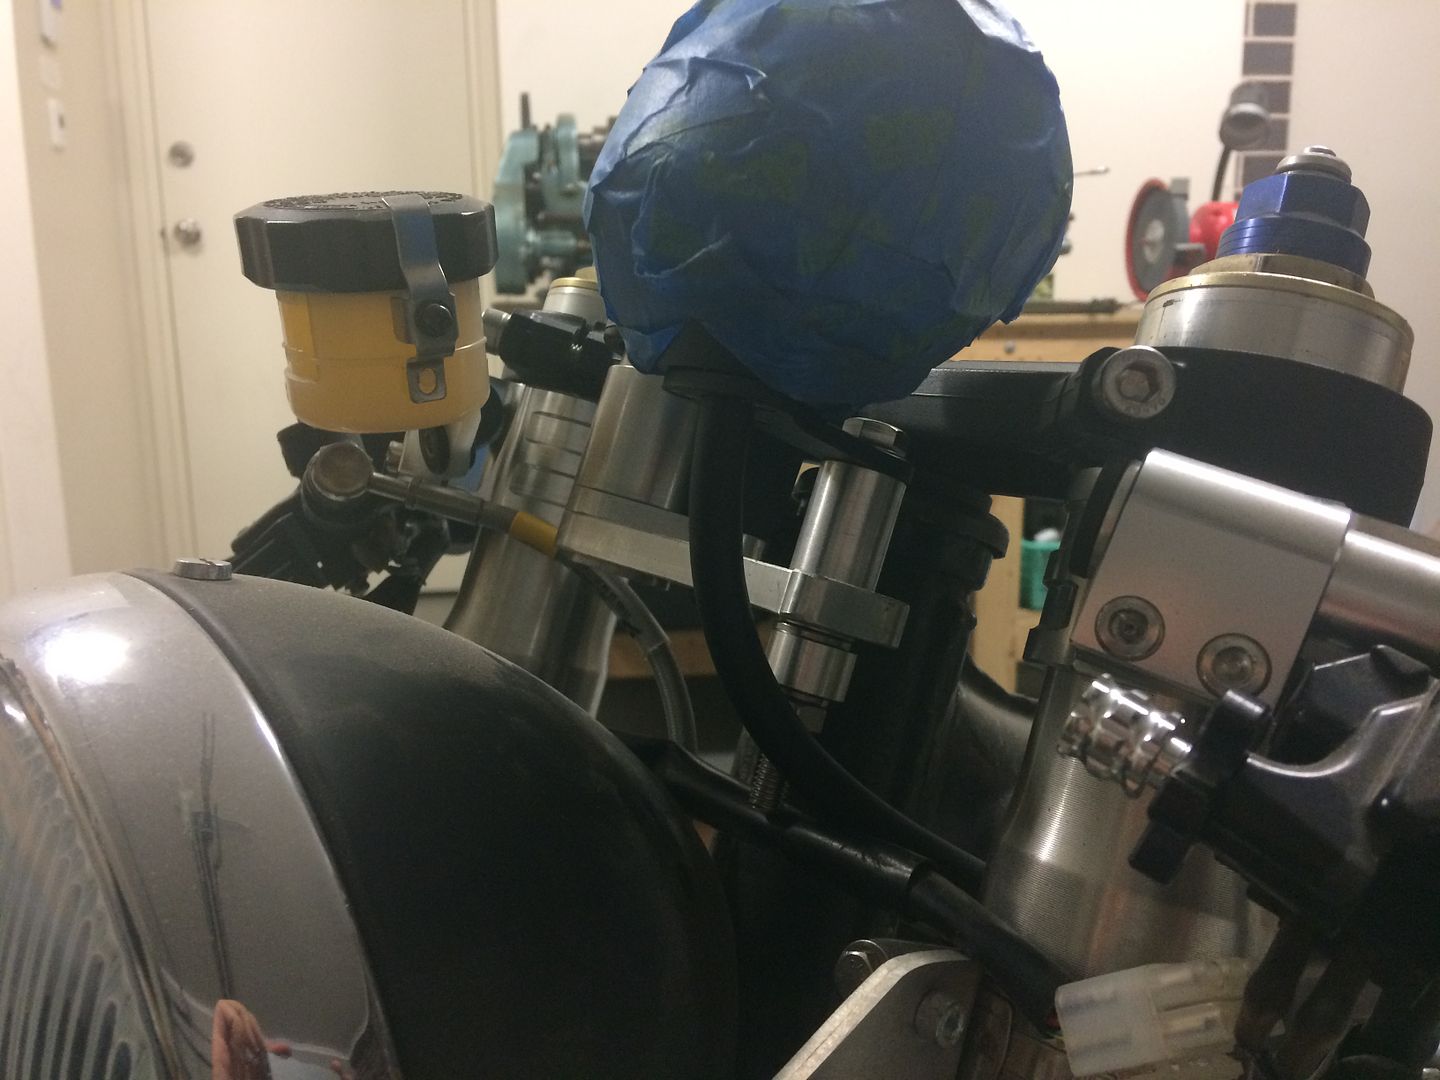
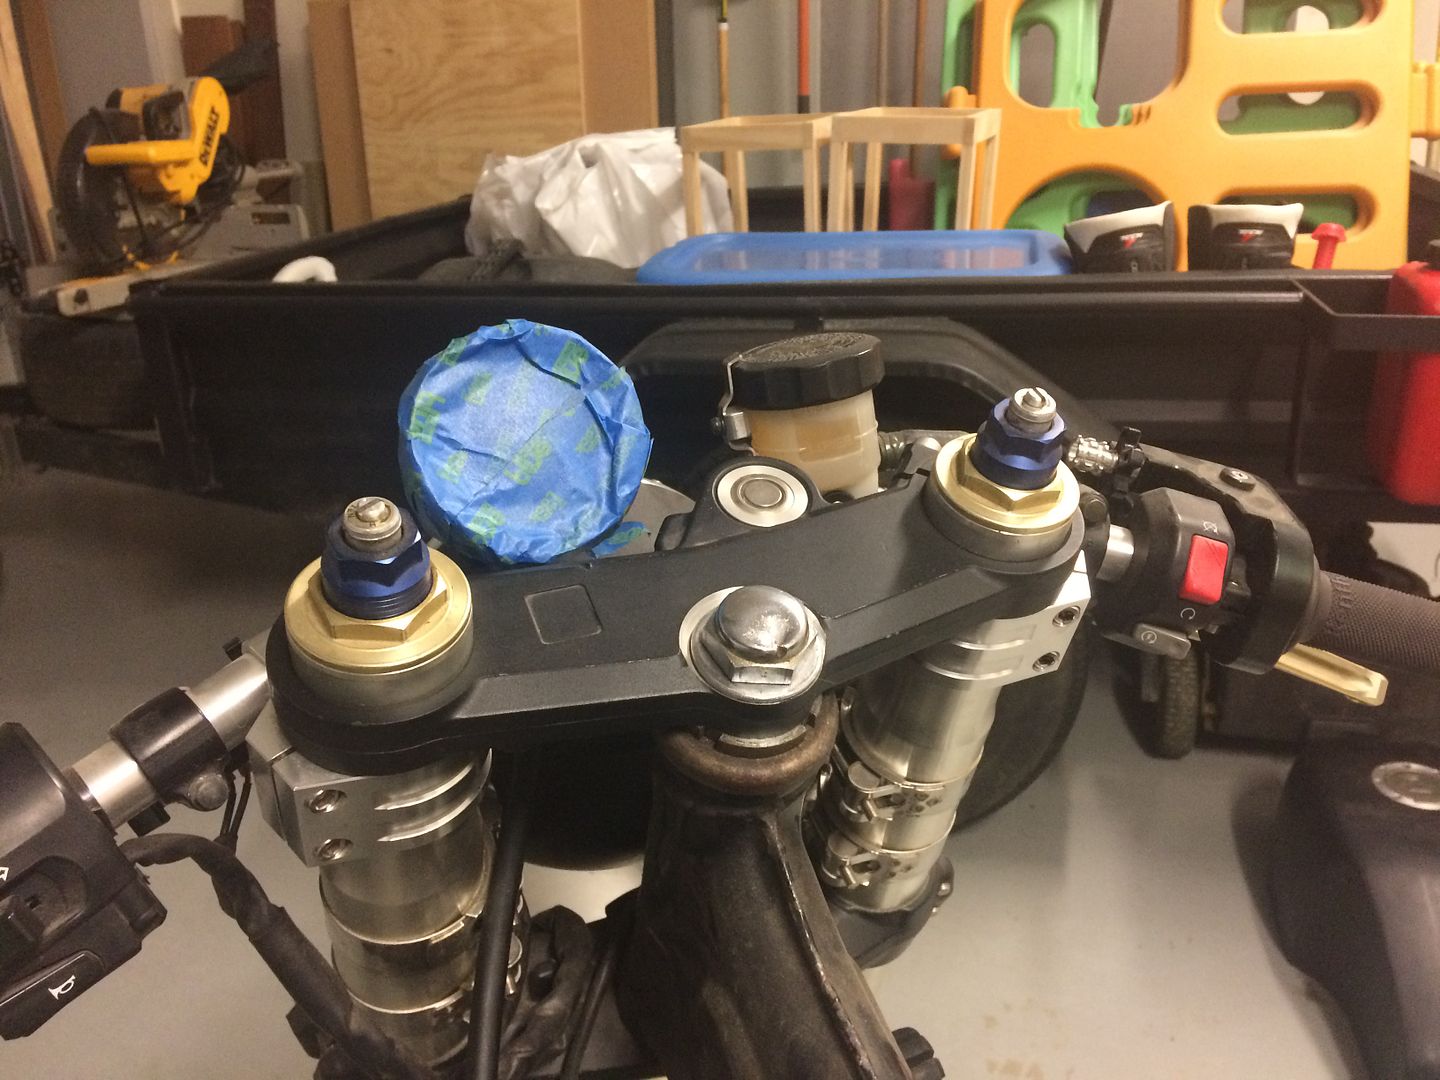
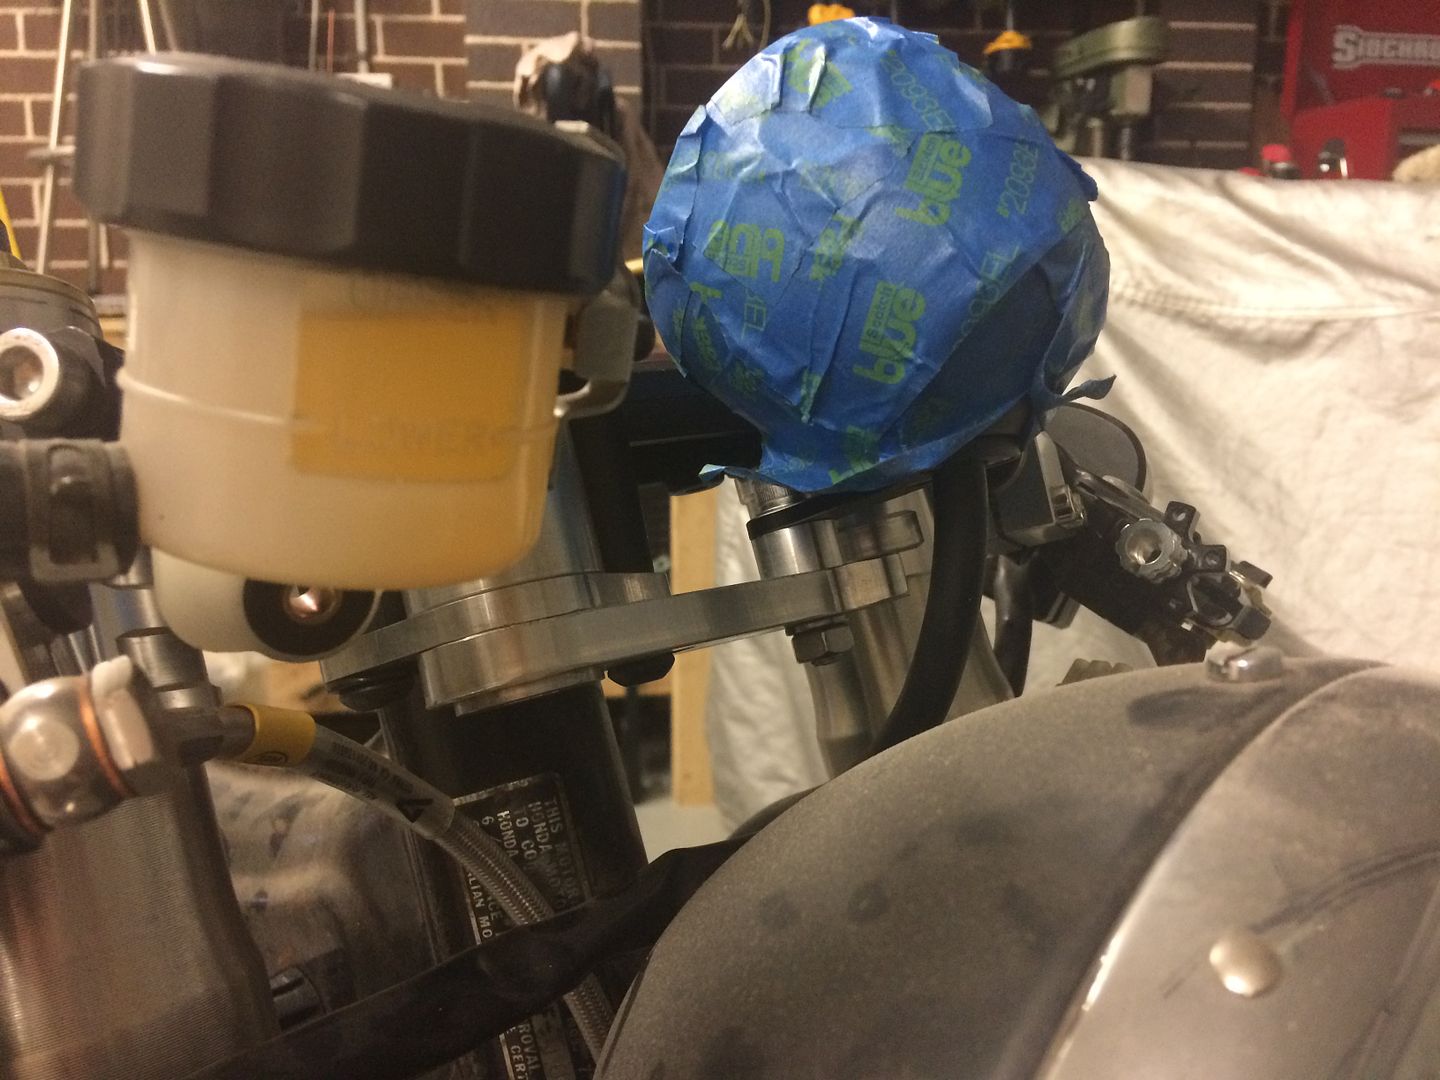
First step was to finally mount the speedo. I'd had some parts made but they were not right. So I thought I would cobble together a load of parts, with a view to getting the gauge where I wanted it and use this as a template for making a final part on my buddy's CNC.
First go was a bit too tall:
I didn't think the second go was going to work but thought I would have a crack anyway. Turns out it's pretty spot on:
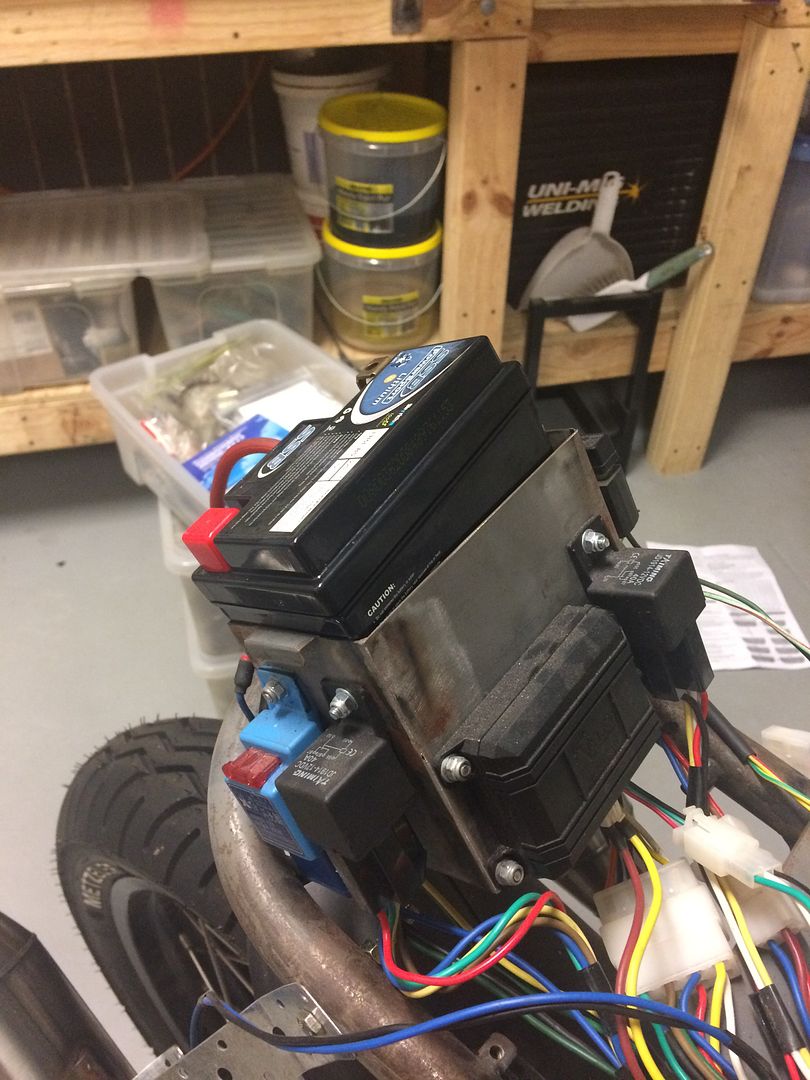
Next up I got the rats nest of wires back out and planned on getting all the electrical parts back on and in their rightful place:
I still need to make a mount for the battery box and also redo the subframe tray mounts too. Slowly, slowly!
Wiring my Pamco and coils want to make sure I have this all correct:
1. My main power feed (from coils relay) goes to both red wires on Pamco
2. 1 green wire from the Pamco goes to each of the coils (does it attach to the coils -ve or +ve?)
3. Black wires from Pamco go to frame
4. Other side of coils (I'd assume the -ve) also goes to frame
I think I have it wrong as I cannot understand how the tiny wires from the Pamco can power the main feed for the coils.
I would have thought that as it's for Honda Pete would have used Honda colours? (i.e., green ground, black live)
Didn't he supply instructions (or, like me, you 'filed' them so safe you can't find them ;D )
I would have thought that as it's for Honda Pete would have used Honda colours? (i.e., green ground, black live)
Didn't he supply instructions (or, like me, you 'filed' them so safe you can't find them ;D )
Colours are not matching to Honda loom and I may have misplaced the instructions too.
Also I don't have a stock loom as I built a custom one and I have no idea how to wire coils.
I do know the Pamco is:
Red - switched live
Black - earth
Green - to coils
The bit I'm not sure about is how to wire into my loom as currently I only have a switched live in place from a relay off the battery direct.
So would I:
1. Wire both the positive side of coils and switched live of ignition into relay
2. Ignition to earth through black wires
3. Negative side of coils to green wires on Pamco
Checked the manuals I have here (Haynes and another one). Both show a very simple setup for coils and points:
1. Switched power to coil
2. Other side of coils to ignition trigger wires
That's it!
So I assume my recommendation above is correct with the addition of the earth for the ignition (as it has its own earth vs using the cases) and the power to the ignition to run the electronics.
Yep, it really is so simple you may think you have it wrong (been there a few times in the past)
All the electronics I've looked at ground a live feed so having power through the coils first makes sure they are powered up and the 'electronics' switch to ground (I just re-read that, does it make any sense?)
I do the best I can to maintain wire colours when I re-wire a bike, makes life down the road a lot easier
The first bike I re-wired completely from scratch was a Honda XL100
About 4 yrs later it came into the dealers with an electrical problem which took way longer to fix as I ended up tracing all the wires to find a fault (in switch not wiring 8) )
It should have been 30 min max labour :
Guy was pretty happy though, he got convinced to trade it for a bigger XL and didn't pay the repair bill ;D
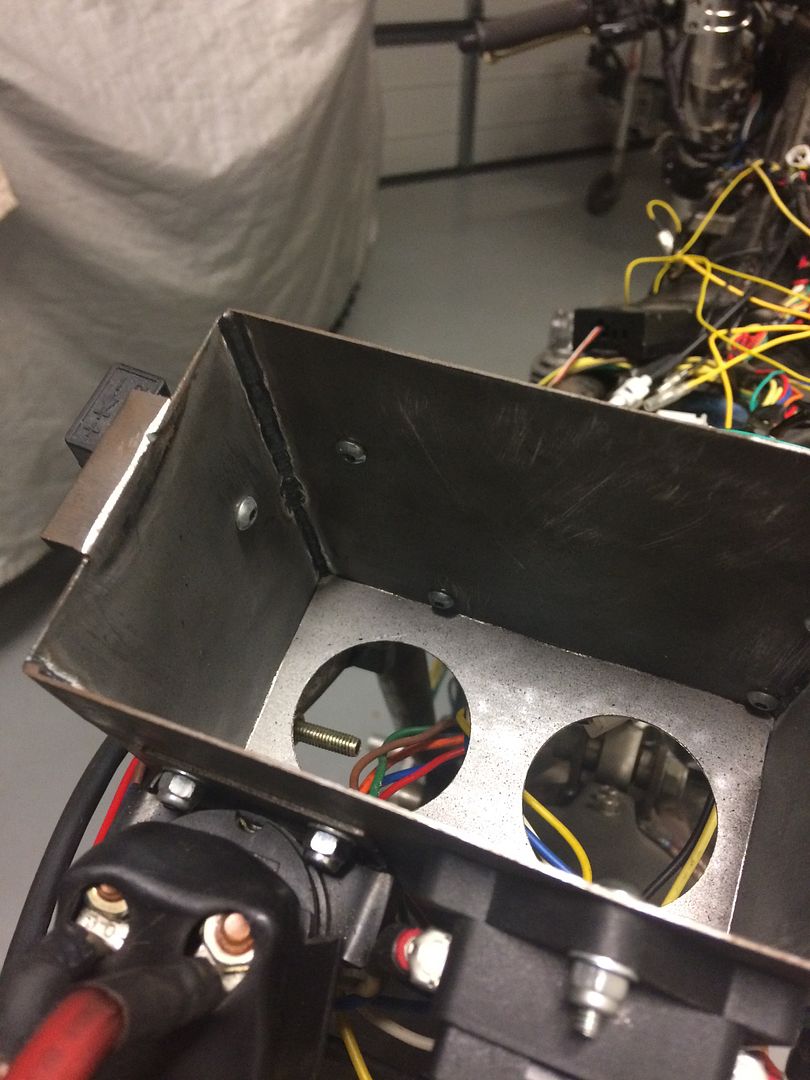
The battery is proven for me as I have one in my enduro bike, it's good CCA and small/light too. Annoyingly it fits in my battery box but fouls the button head bolts I have in there:
I would like a solution to get the bolts fixed to the battery box. I was thinking of trying to weld them in and grind the backs down. Is that possible?
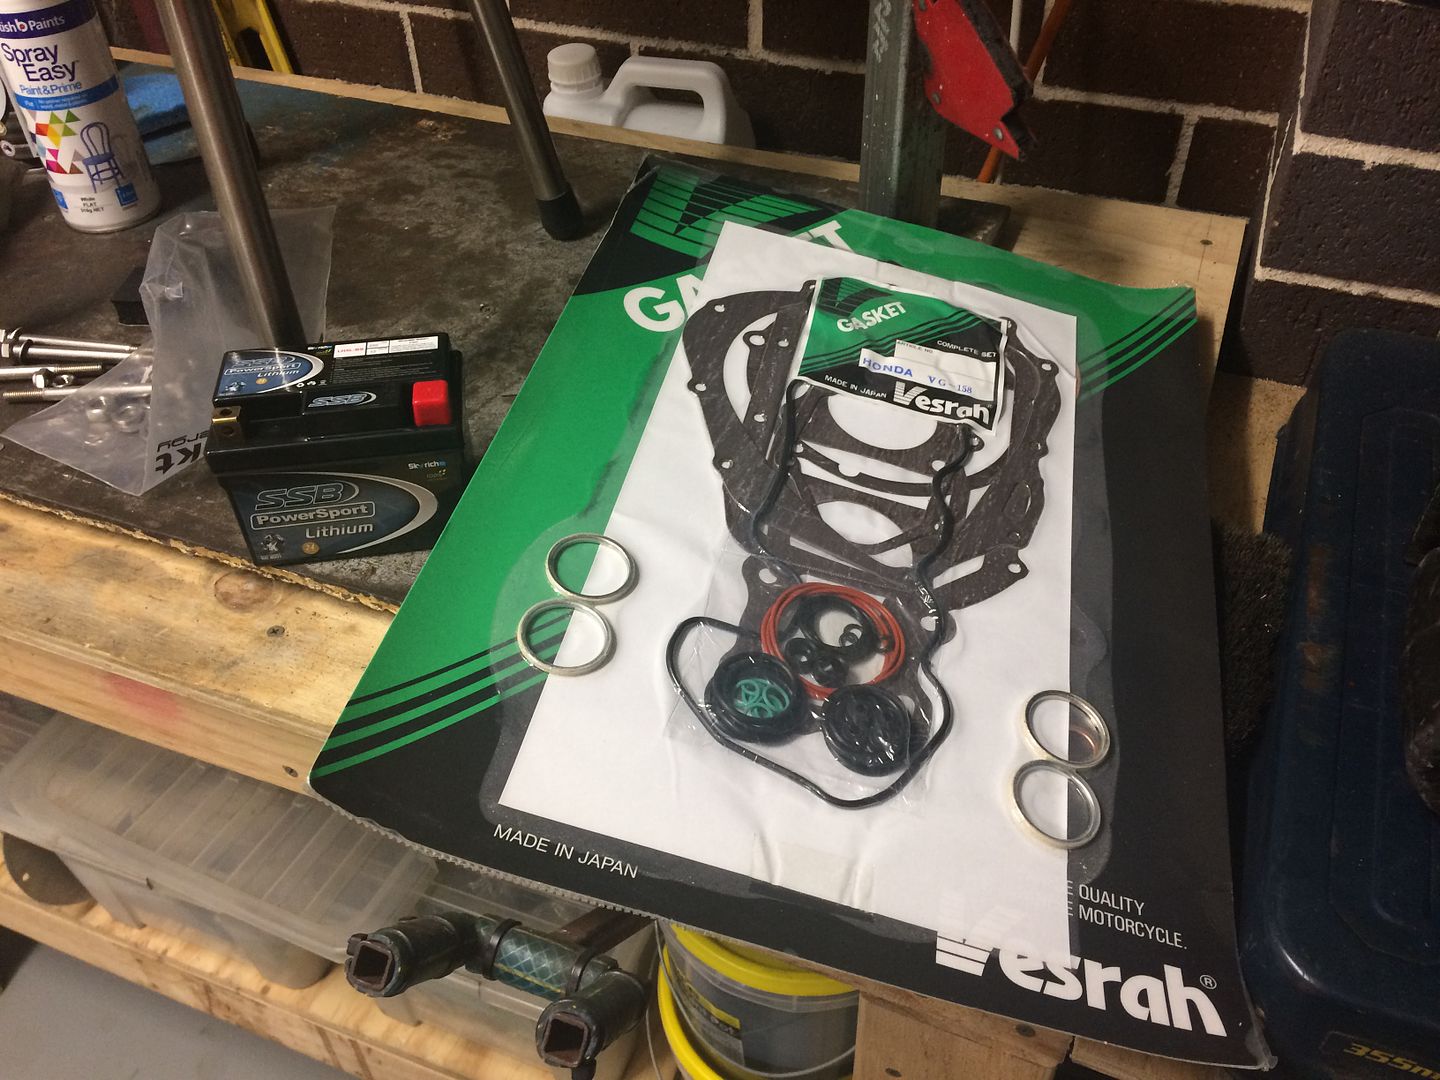
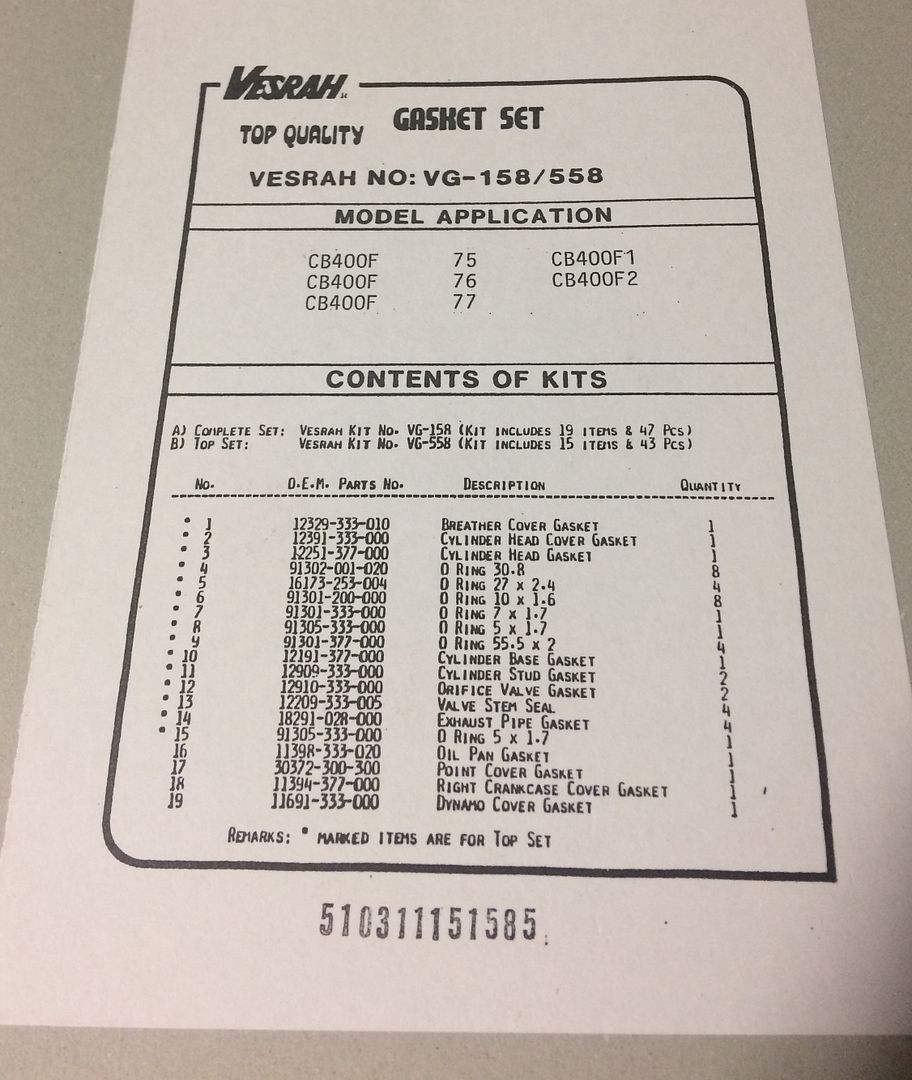
I also went with the Vesrah kit because it got the best write ups by far. I'm using the head gasket from the piston kit and will use OEM oil seals. The kit has a lot of parts in it so I'm going to have to try and figure out what they all do as some of the descriptions are a little vague:
This site uses cookies to help personalise content, tailor your experience and to keep you logged in if you register.
By continuing to use this site, you are consenting to our use of cookies.


 said:
said: