We noticed you are blocking ads. DO THE TON only works with community supporters. Most are active members of the site with small businesses. Please consider disabling your ad blocking tool and checking out the businesses that help keep our site up and free.
You are using an out of date browser. It may not display this or other websites correctly.
You should upgrade or use an alternative browser.
You should upgrade or use an alternative browser.
1975 CB400F Project "Replacement Girlfriend"
- Thread starter SONICJK
- Start date
SONICJK
Reminds me of...me No, I'm sure of it. I hate him
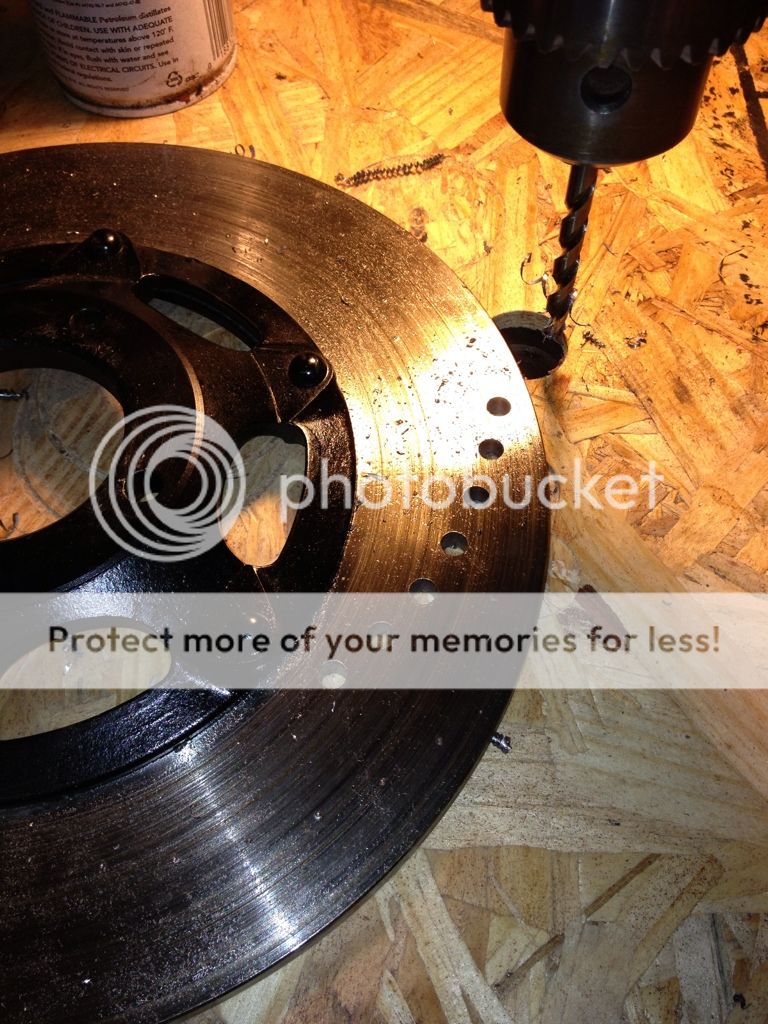
Got the rotor drilled.
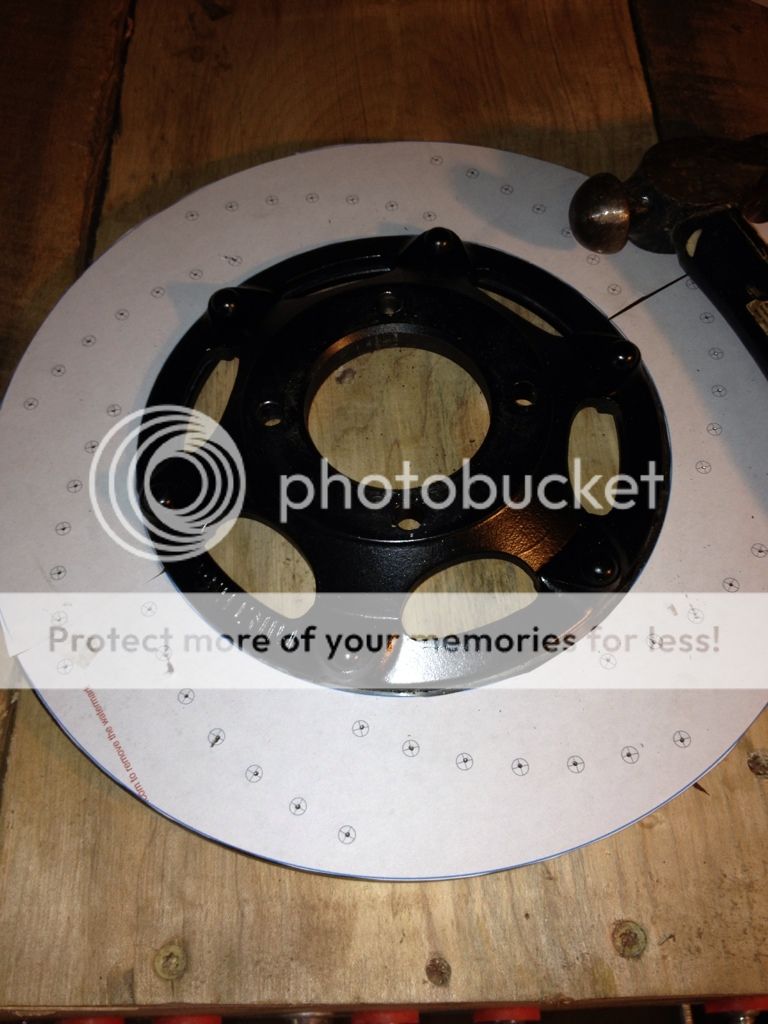
Printed off a template.
Cut it out, put a veeeeery light coat of spray glue on it and stuck it on the rotor.
Went through with a center punch and punched each hole in (near") ) the center.
) the center.
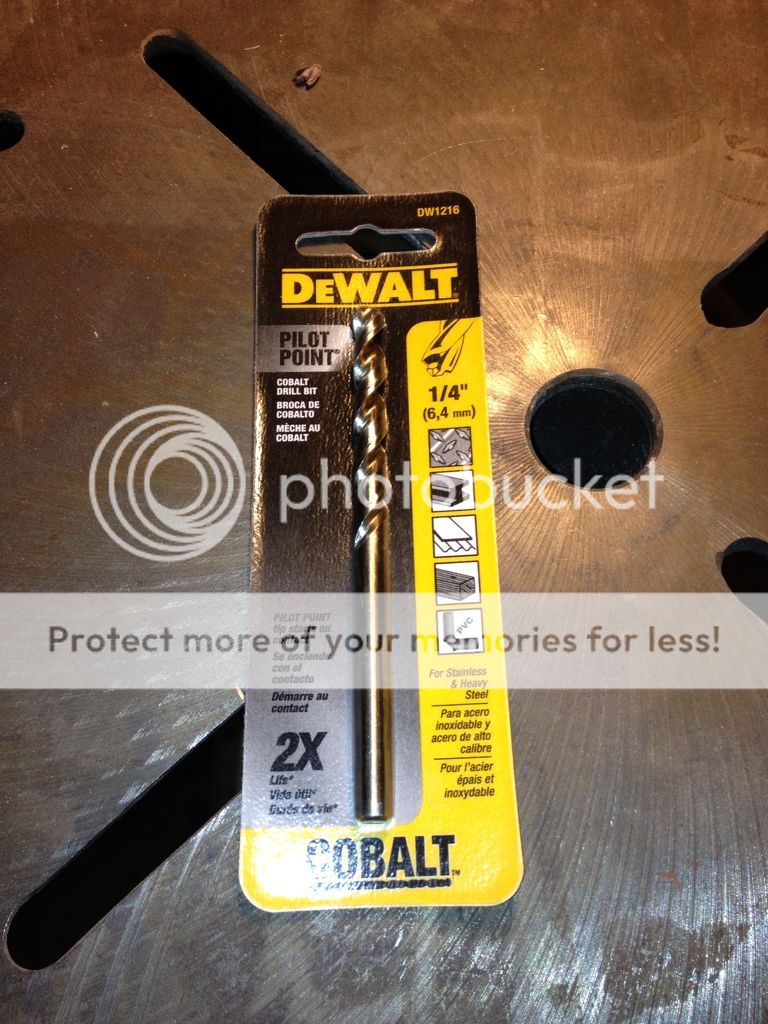
Got a 1/4 inch cobalt tipped drill bit
Set the drill press to 250 Rpms and added a drop of oil and away we went!
About 45 minutes later she looked like this
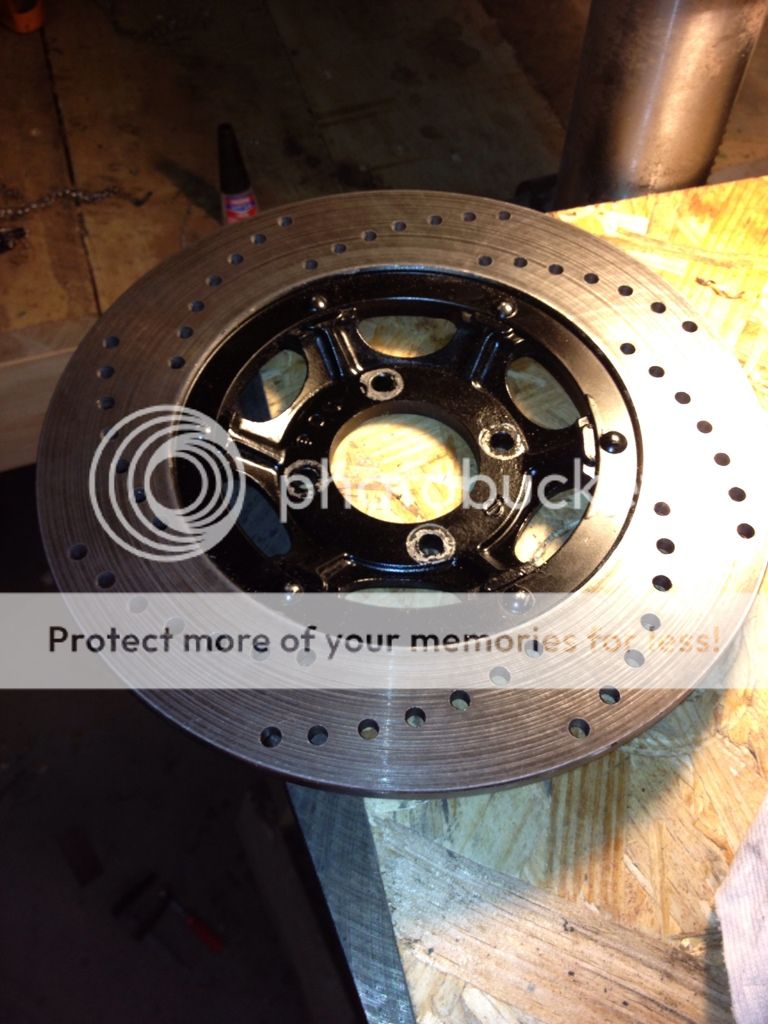
I then hit it with some 800 grit sandpaper on a pneumatic orbital to take all the little burrs out.
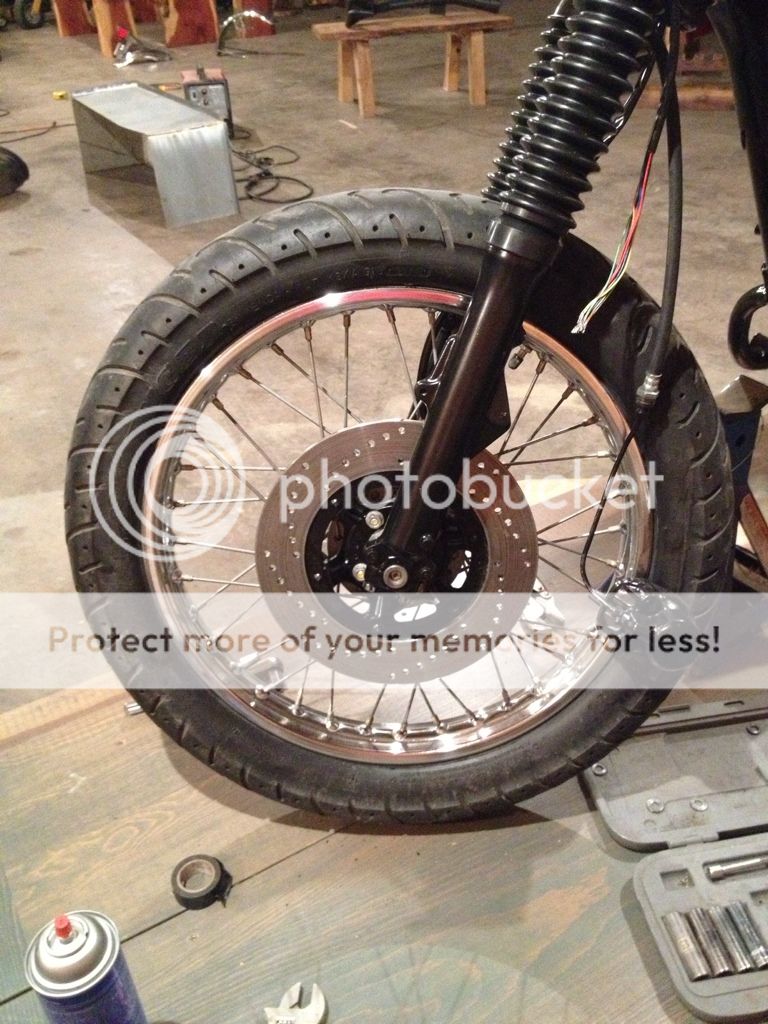
And then got it reinstalled on the bike.
Huge visual improvement, a good bit lighter, and should really help wet performance and cooling. I'm a happy camper. Overall cost: $5.46 and an hour and a half of my time.
Printed off a template.
Cut it out, put a veeeeery light coat of spray glue on it and stuck it on the rotor.
Went through with a center punch and punched each hole in (near
) the center.
Got a 1/4 inch cobalt tipped drill bit
Set the drill press to 250 Rpms and added a drop of oil and away we went!
About 45 minutes later she looked like this
I then hit it with some 800 grit sandpaper on a pneumatic orbital to take all the little burrs out.
And then got it reinstalled on the bike.
Huge visual improvement, a good bit lighter, and should really help wet performance and cooling. I'm a happy camper. Overall cost: $5.46 and an hour and a half of my time.
gearhead231
Been Around the Block
Those looks really nice man! Way to go!
evilaugust
Been Around the Block
I like the rotor pattern. A little different than the usual. Mind posting your template file?
SONICJK
Reminds me of...me No, I'm sure of it. I hate him
I hate a cluttered handlebar.
And I've been wanting to try this out for a while, so here goes.
This (with a relay) will be my starter switch, tucked in tight to the throttle grip.

Then the kill switch beside that (the stalk is too long I'm going to Dremel it to a size I like)
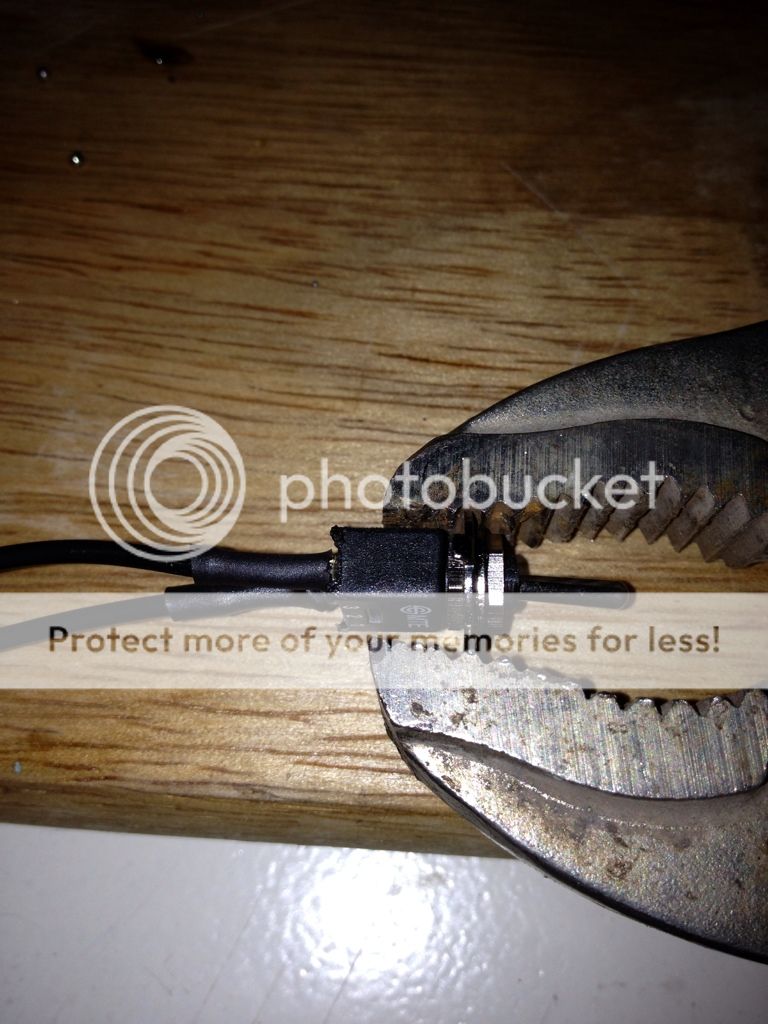
And then only thing on the left bar will be the clutch perch and these two switches for the turn signals
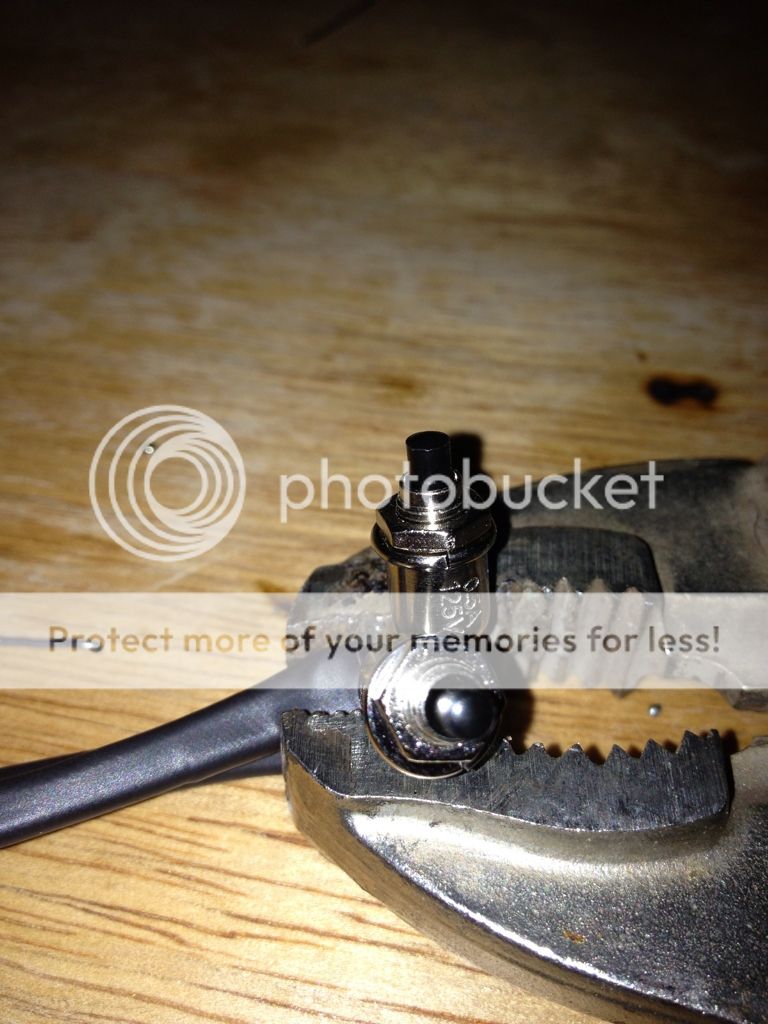
The headlight high low off will probably be mounted in the bucket.
And I've been wanting to try this out for a while, so here goes.
This (with a relay) will be my starter switch, tucked in tight to the throttle grip.
Then the kill switch beside that (the stalk is too long I'm going to Dremel it to a size I like)
And then only thing on the left bar will be the clutch perch and these two switches for the turn signals
The headlight high low off will probably be mounted in the bucket.
SONICJK
Reminds me of...me No, I'm sure of it. I hate him
Got my top case in the mail and went through about 30 lbs of soda getting it perfect.
50 lbs really doesn't go a long way haha.
Before:
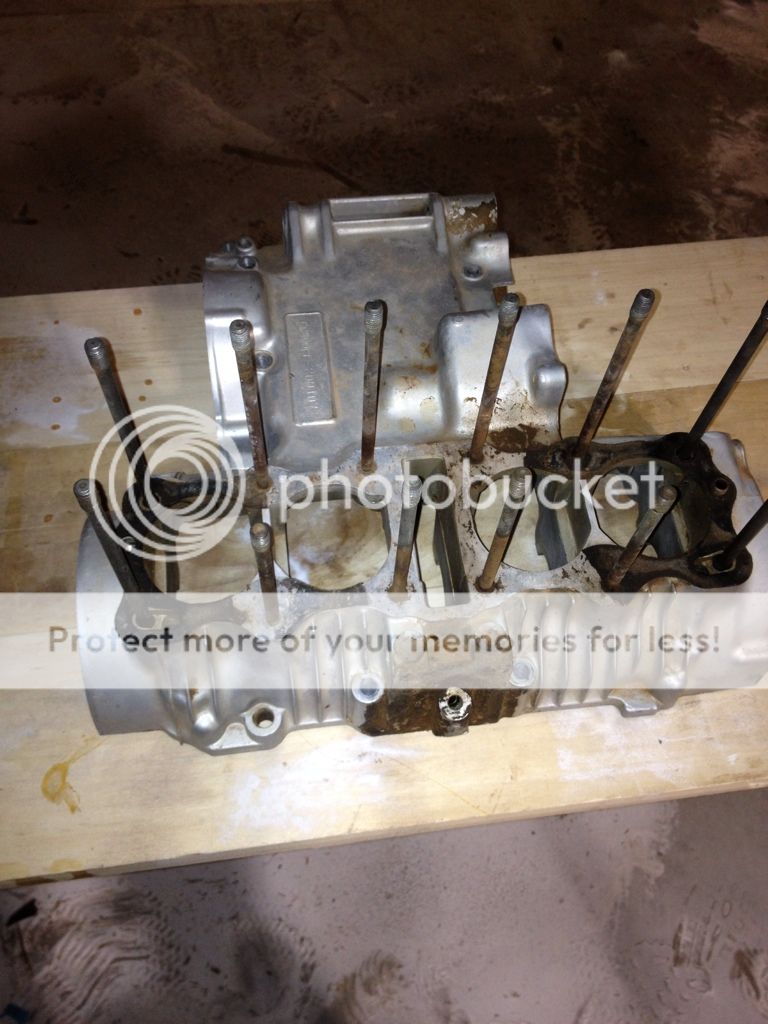
And after:
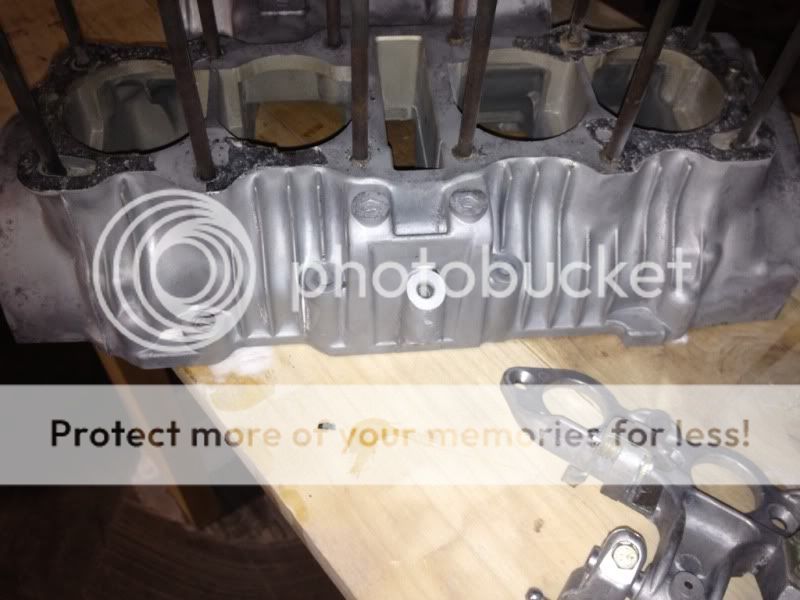
Sadly it doesn't remove gaskets :/ ill have to use some elbow grease for that one. I HATE stuck on gaskets.
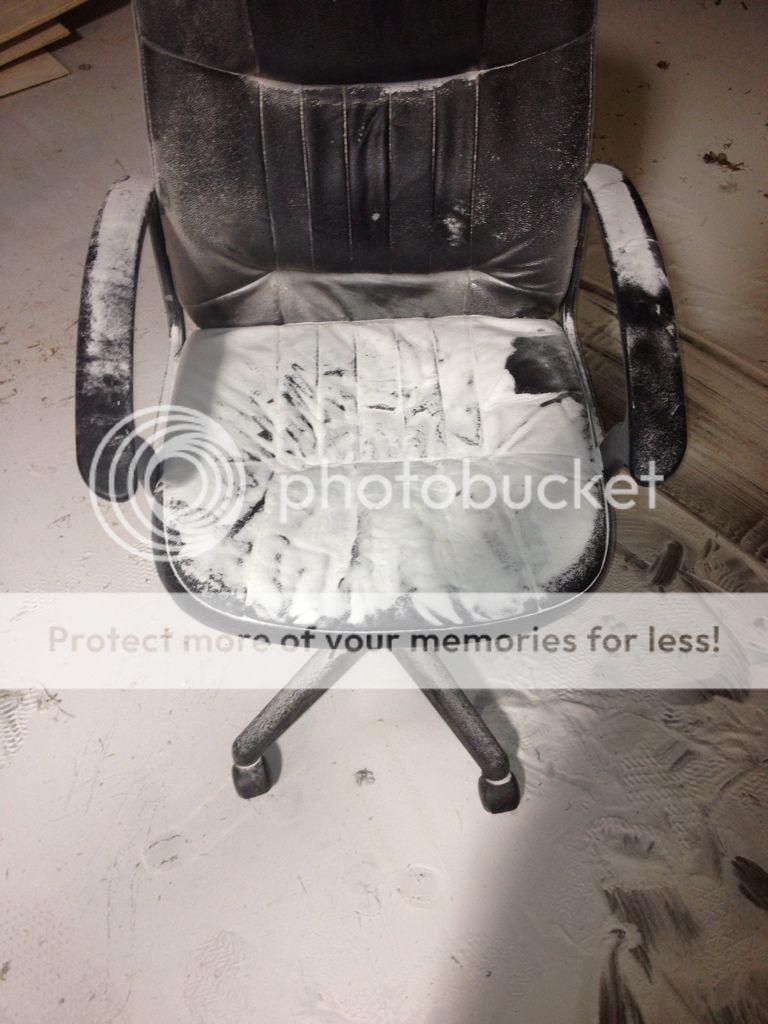
also learned soda blasting without a blast cabinet makes a MESS
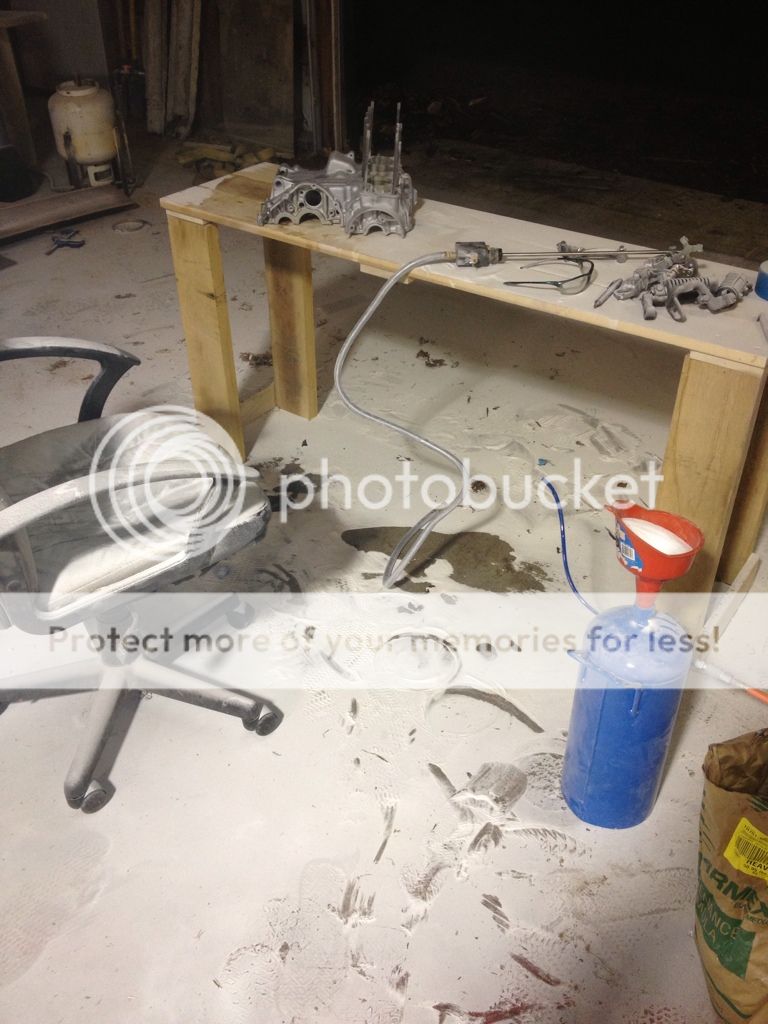
This is UNDERNEATH me.
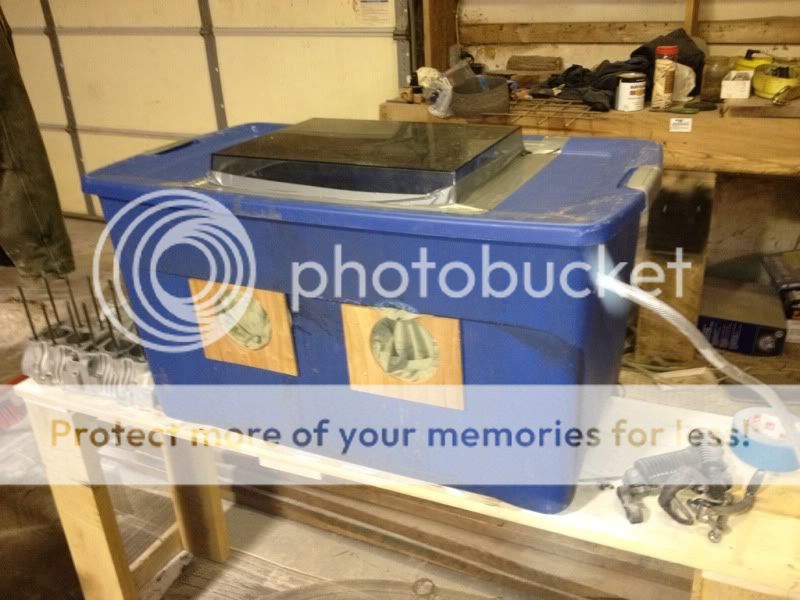
Would be a really tough job without one of these:

50 lbs really doesn't go a long way haha.
Before:
And after:
Sadly it doesn't remove gaskets :/ ill have to use some elbow grease for that one. I HATE stuck on gaskets.
also learned soda blasting without a blast cabinet makes a MESS
This is UNDERNEATH me.
Would be a really tough job without one of these:
gearhead231
Been Around the Block
When we used to blast wheels we would always hang tarps from the rafters of the shop. it helps alot.