1970 VW Bus - Westfalia Resto

adventurco

Nick Ol' Eye
DTT BOTM WINNER
Alrighty folks. I've been putting off making a thread here until I had some progress under my belt. Well, not much progress has been made but its time for a thread anyways! To catch up I'll be copy and pasting from my thread on another forum. Here we go.

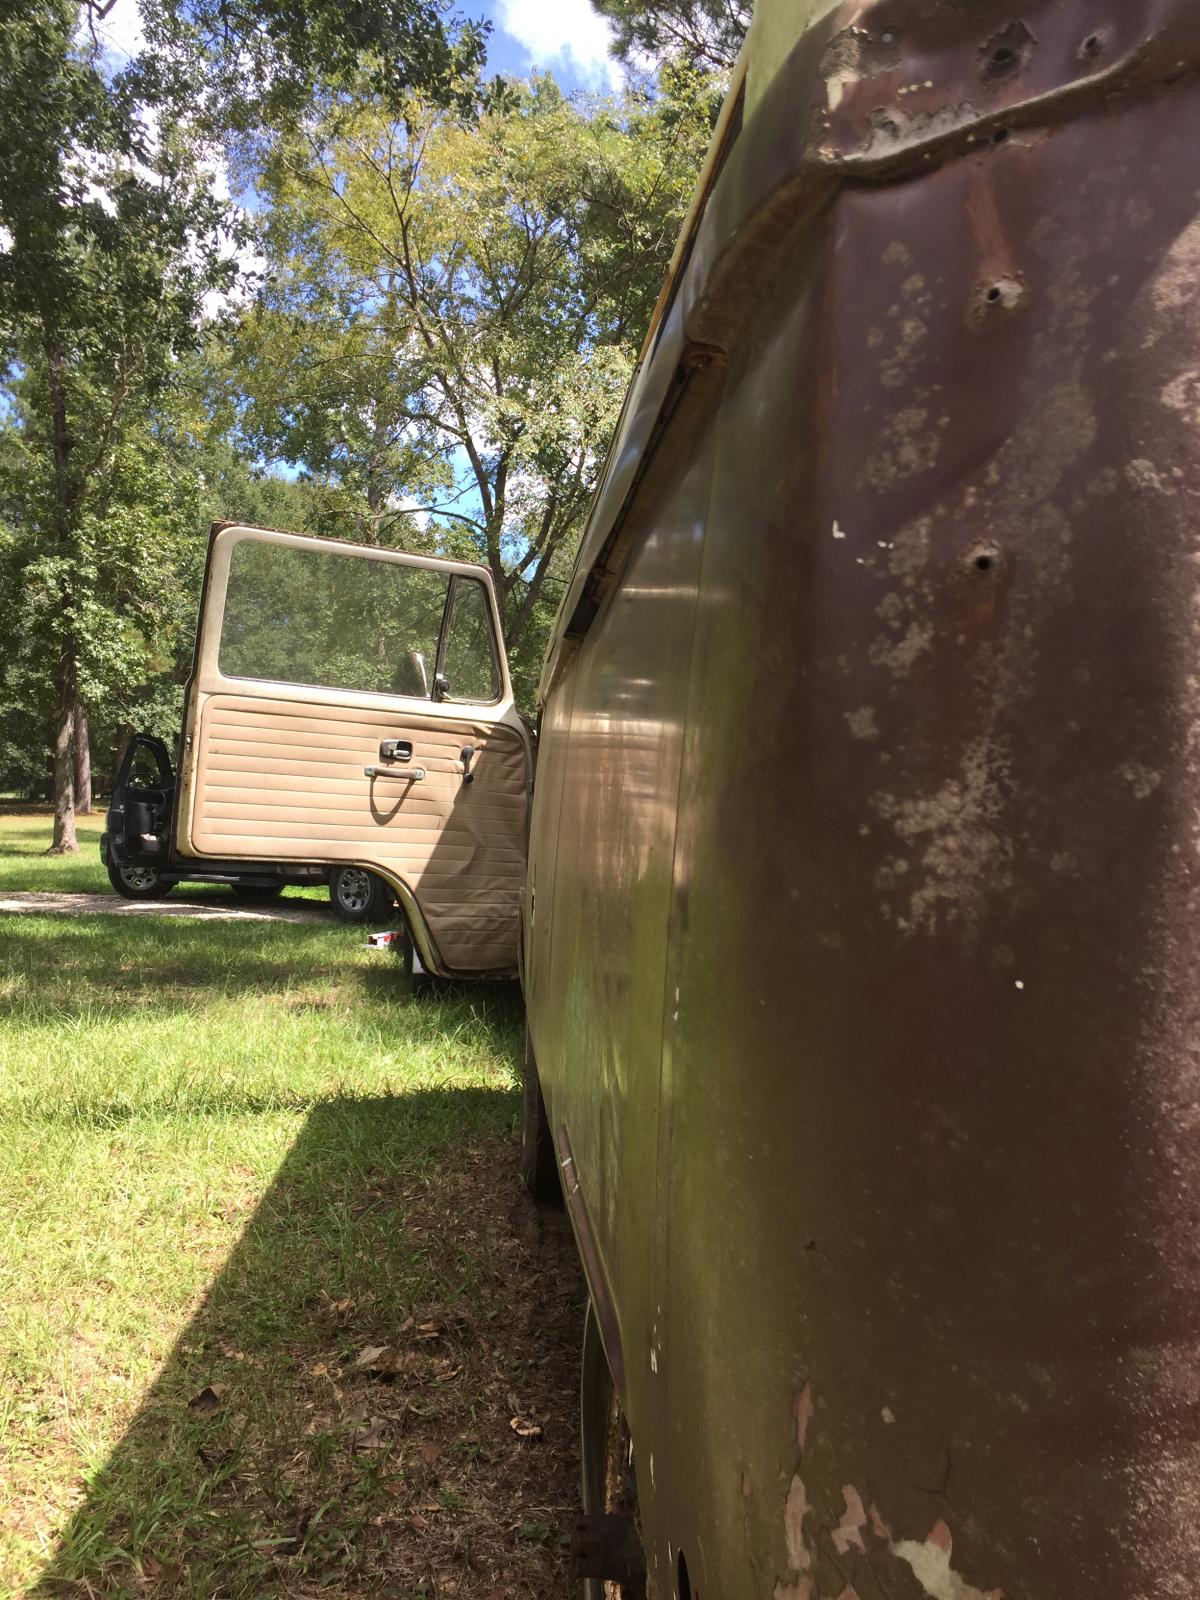
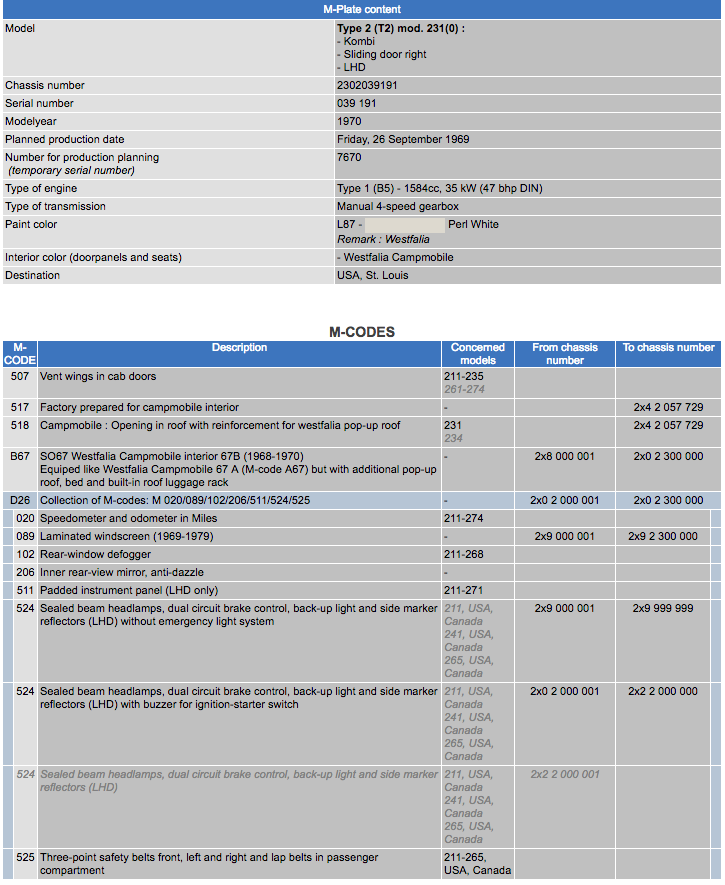
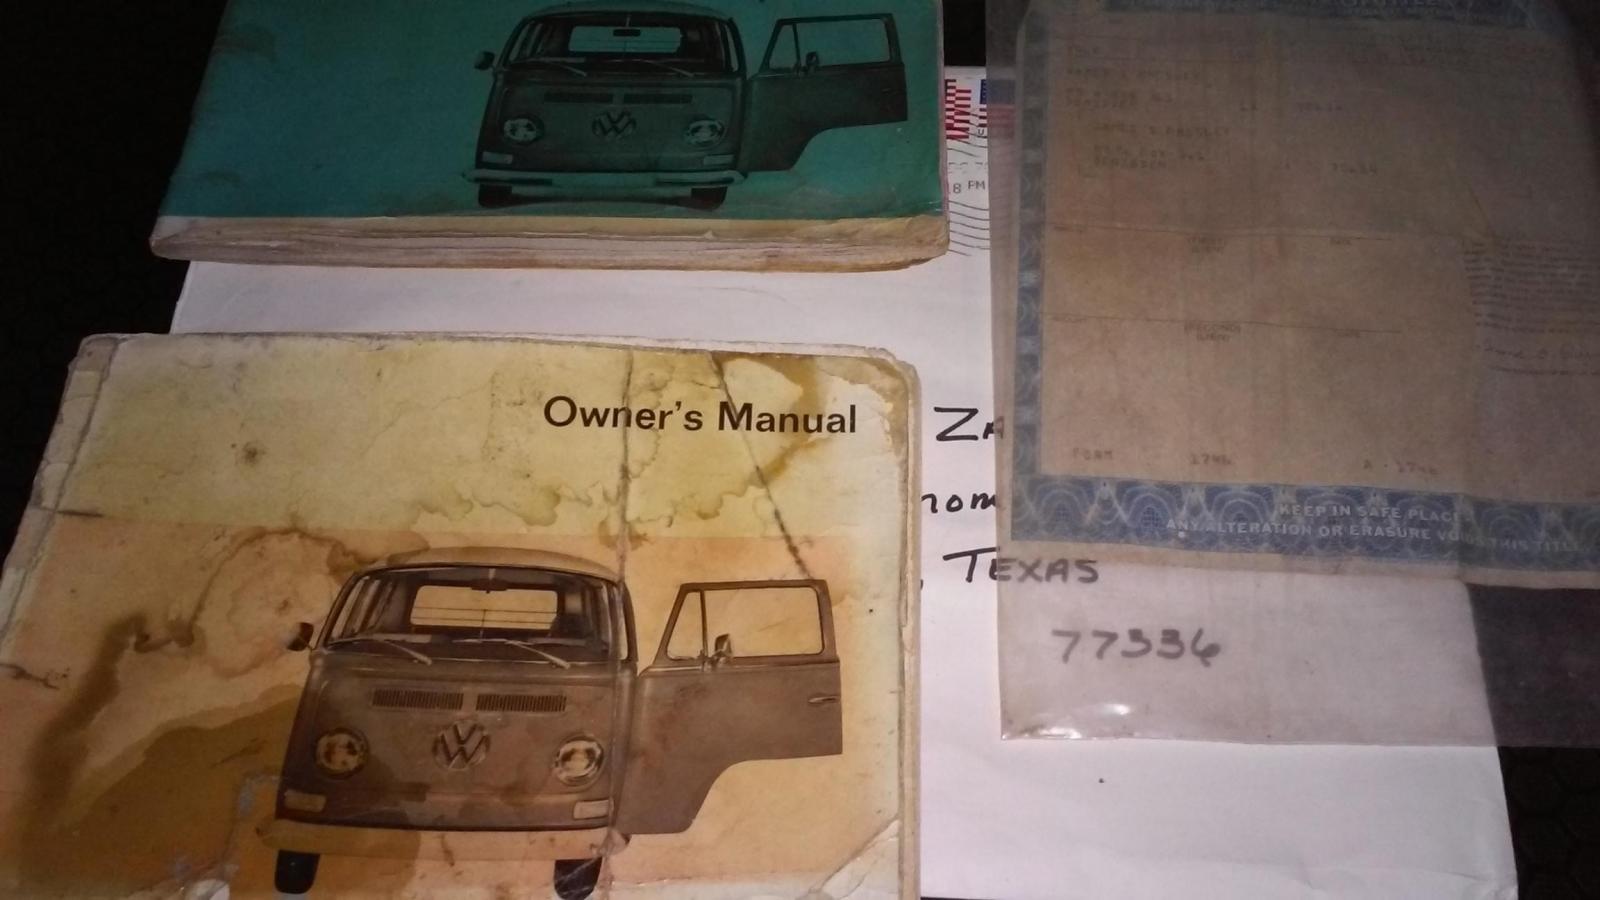
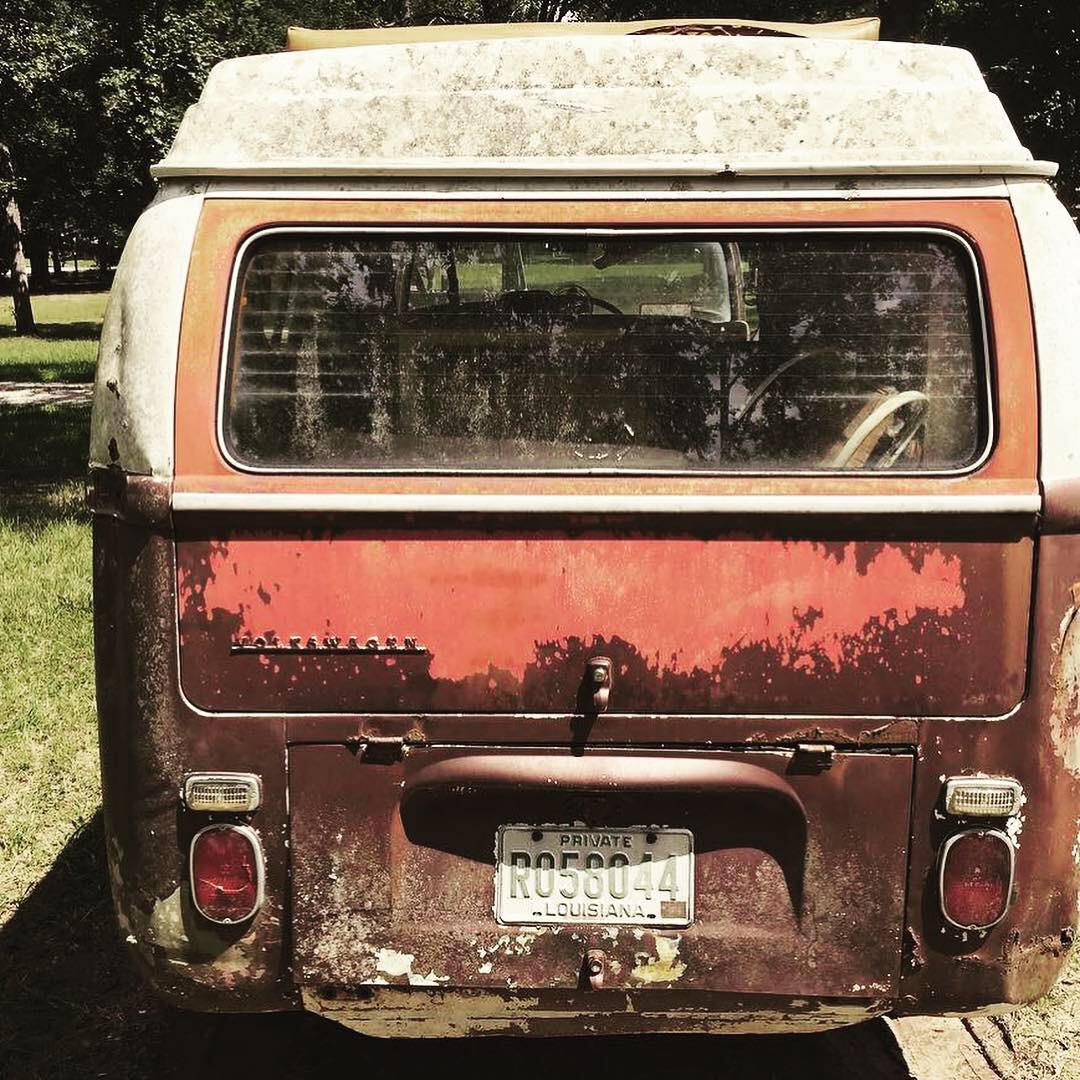
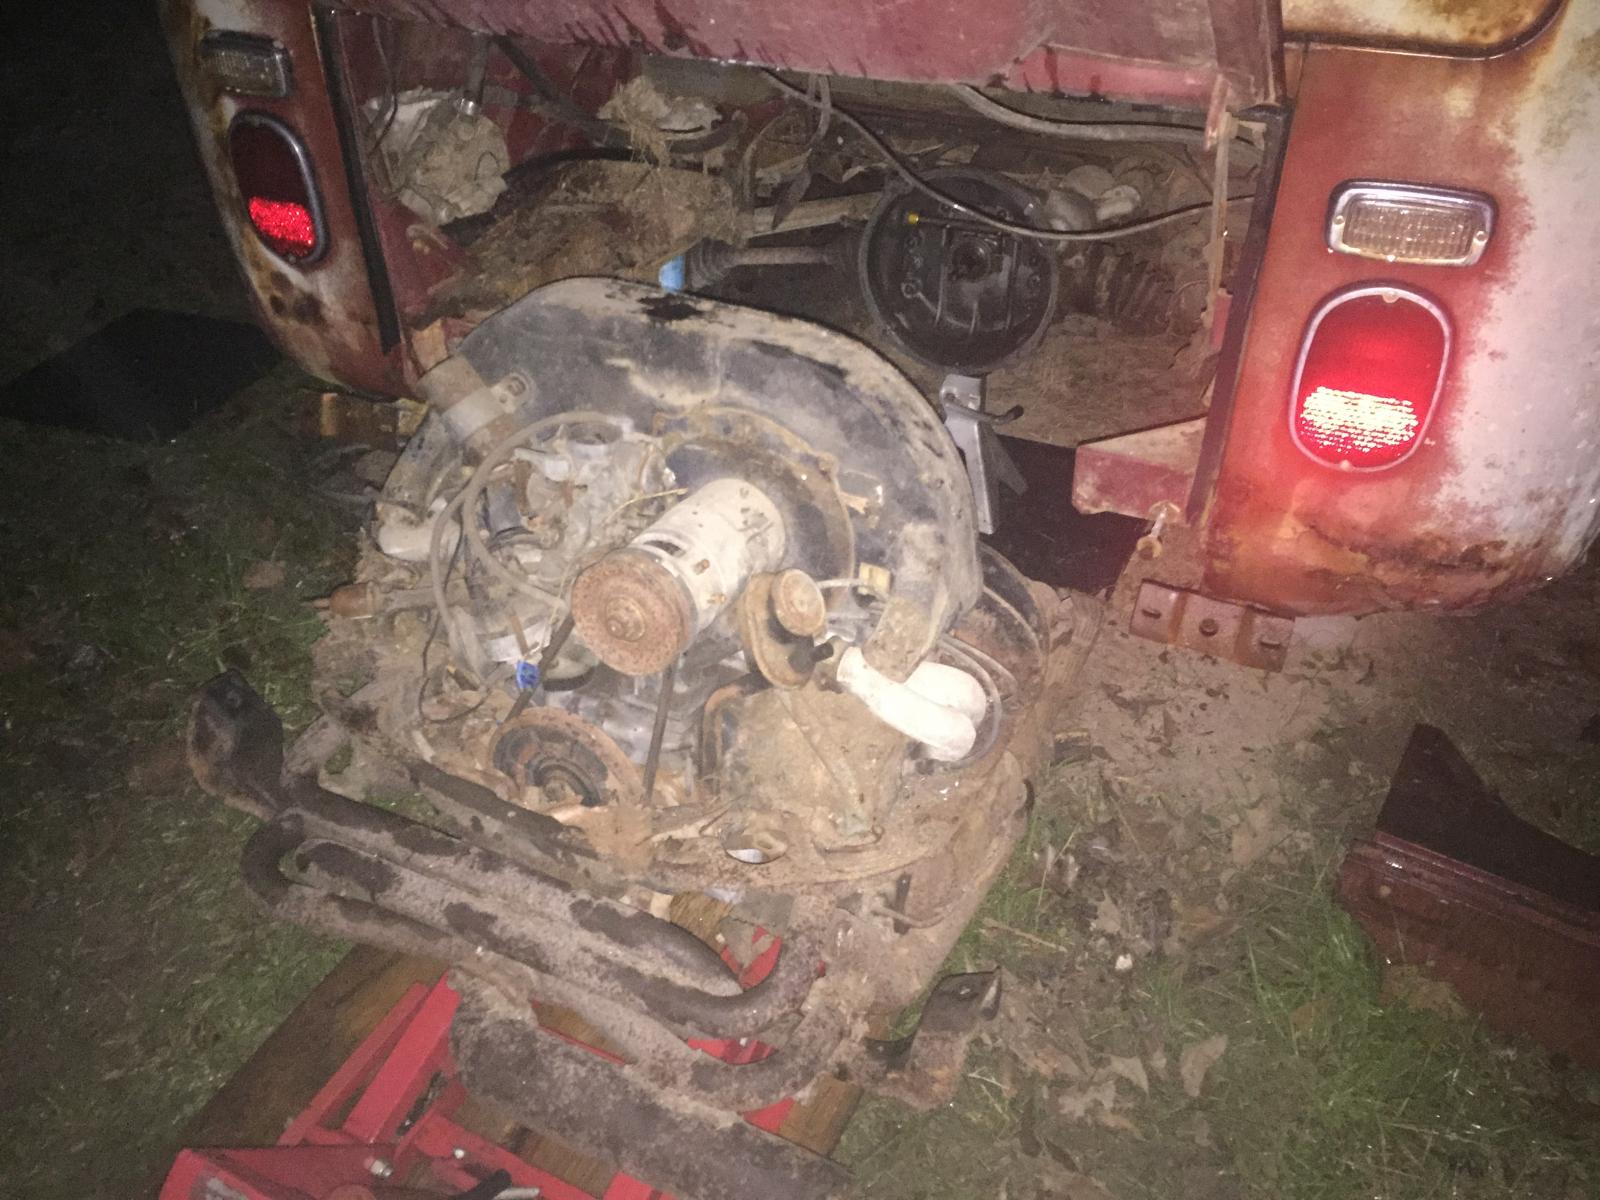
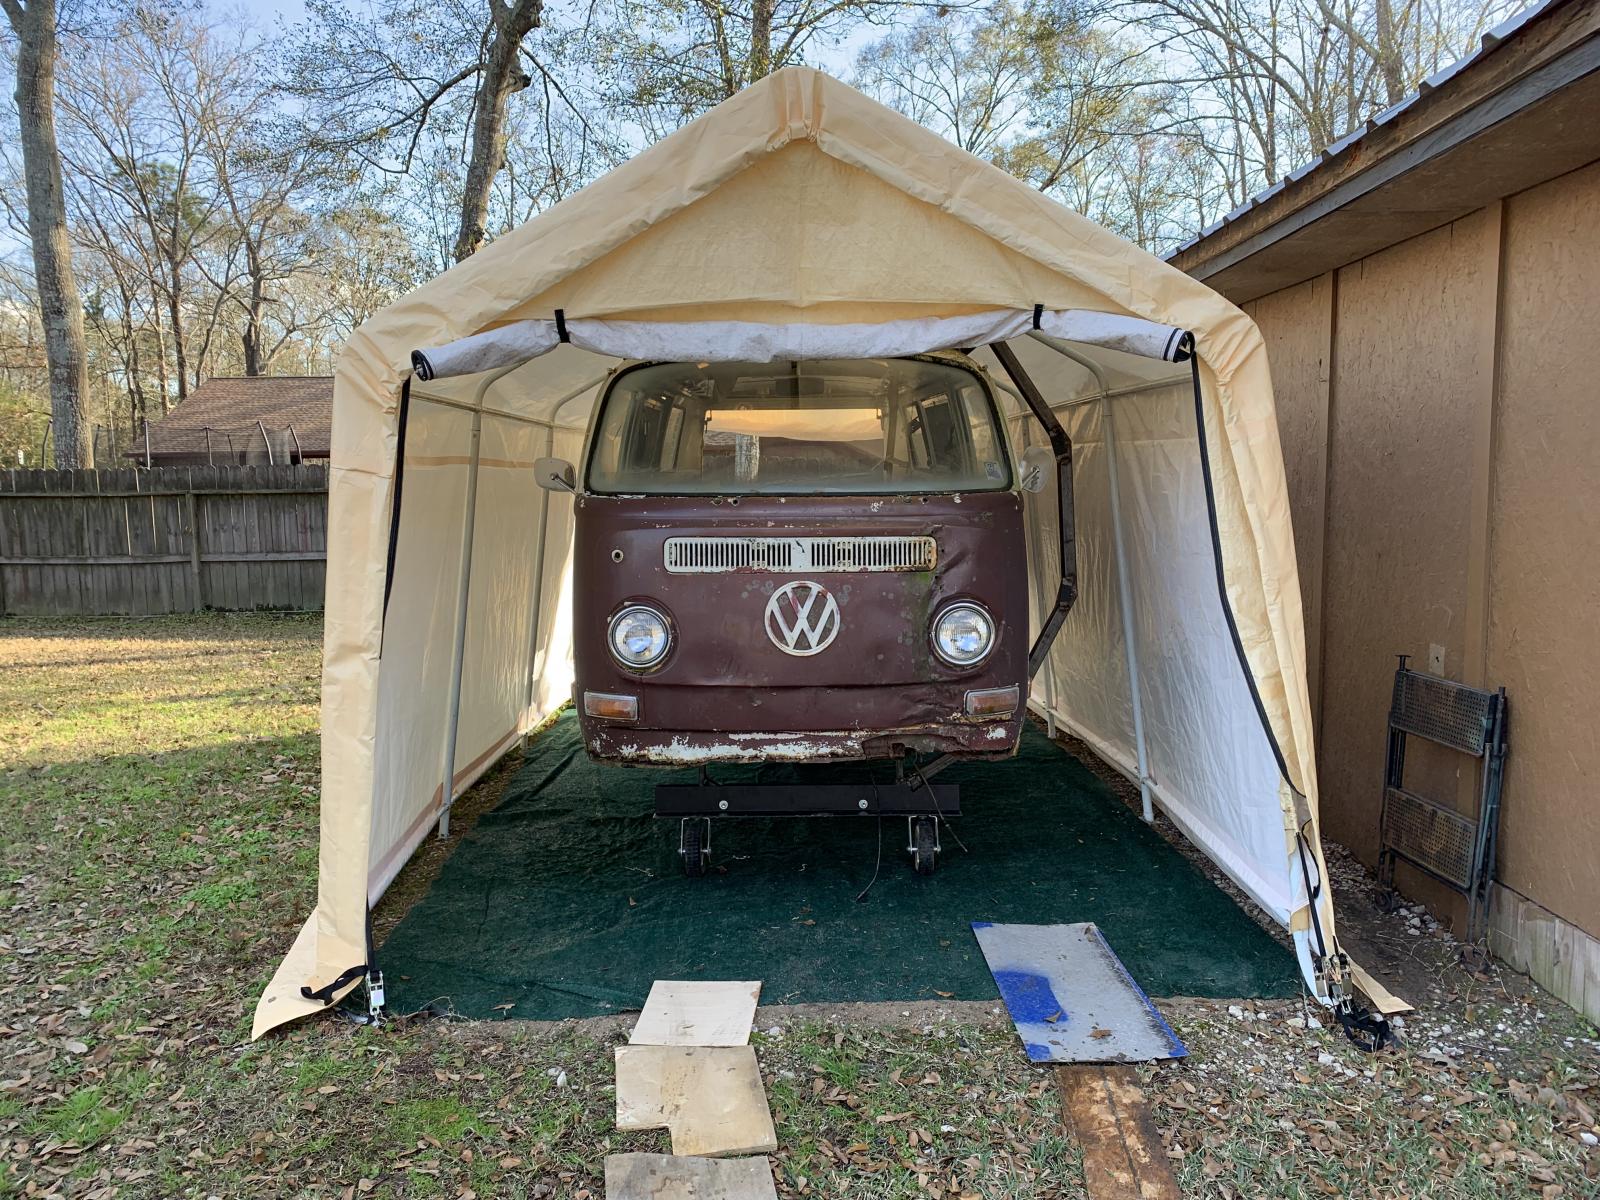
A few months ago a buddy of mine acquired two early Bays sight unseen, a standard and a Westy. I went over to help him clean them out and evaluate their condition - and I let him know that whichever one he decided to keep, I wanted to buy the other. After some deliberation, he decided to keep the sun-baked standard, which meant I get the Westy. YES! I've always wanted a Bus, and even more so a camper - and this old girl just kinda fell into my lap. The pair were bought and lived in Louisiana until '84 when they were both parked.

1819401.jpg


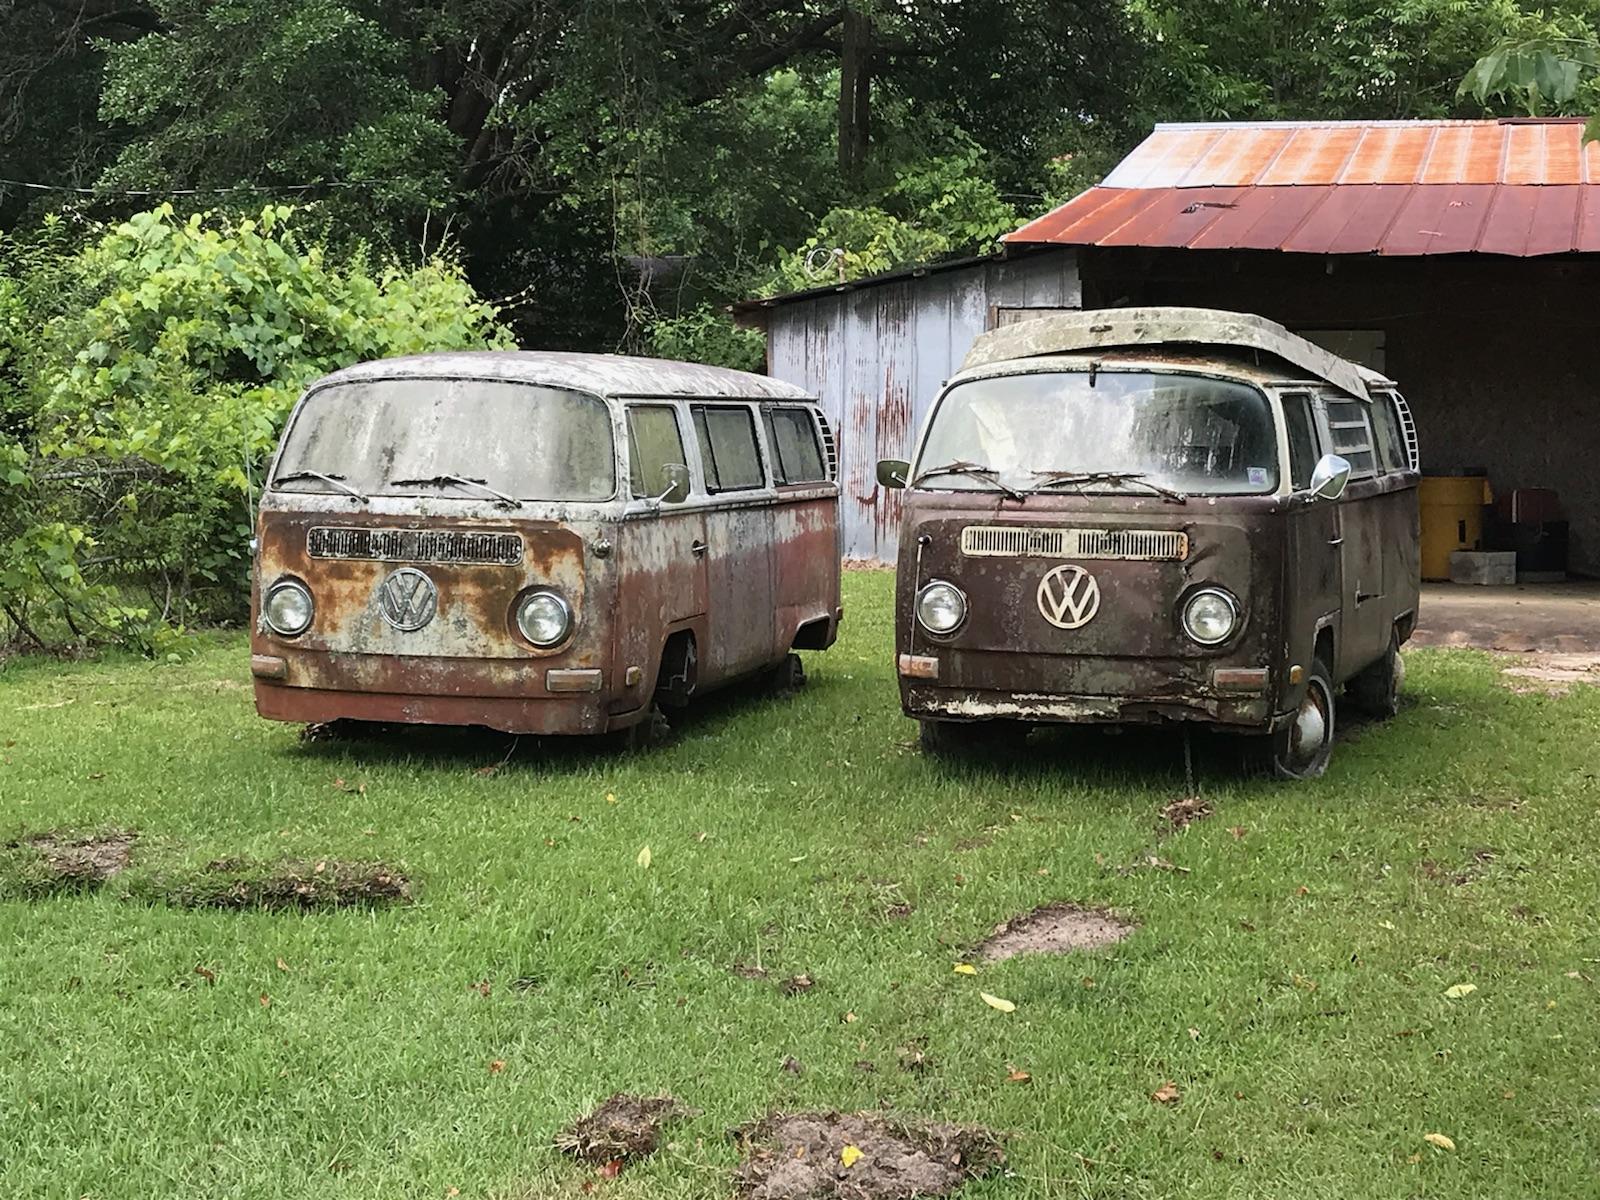
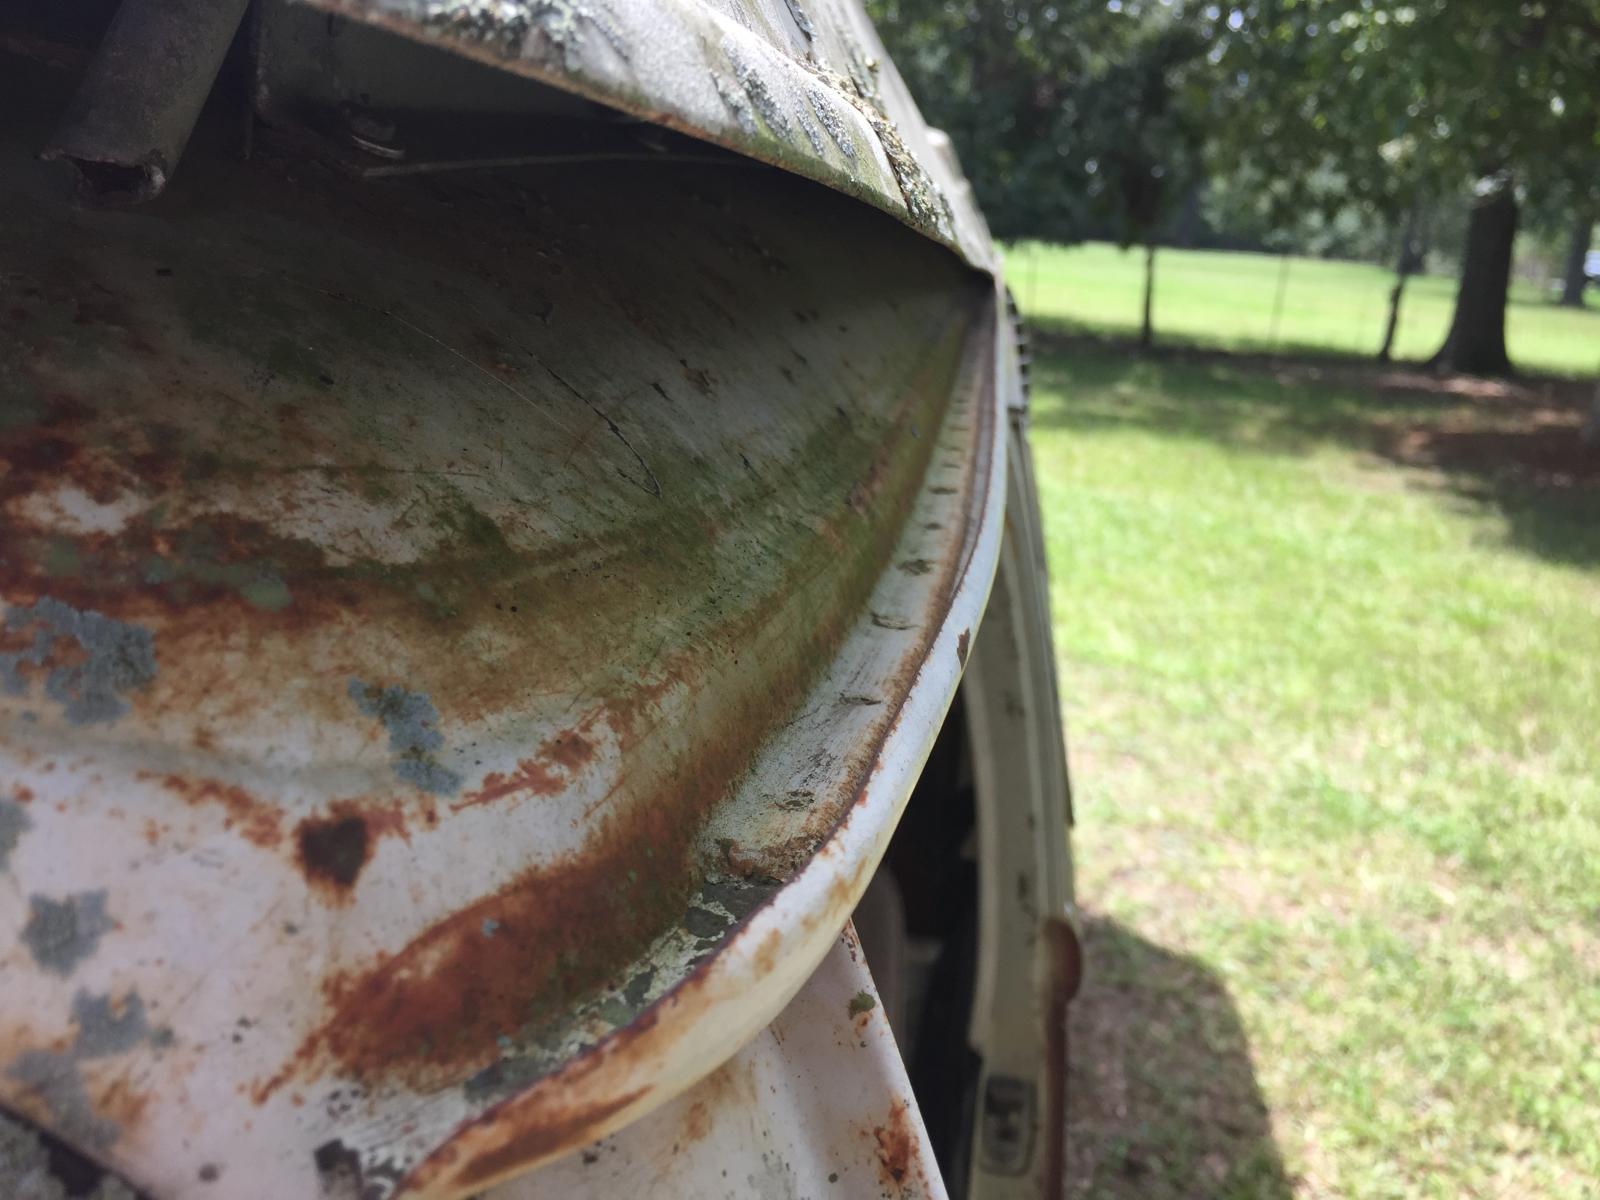
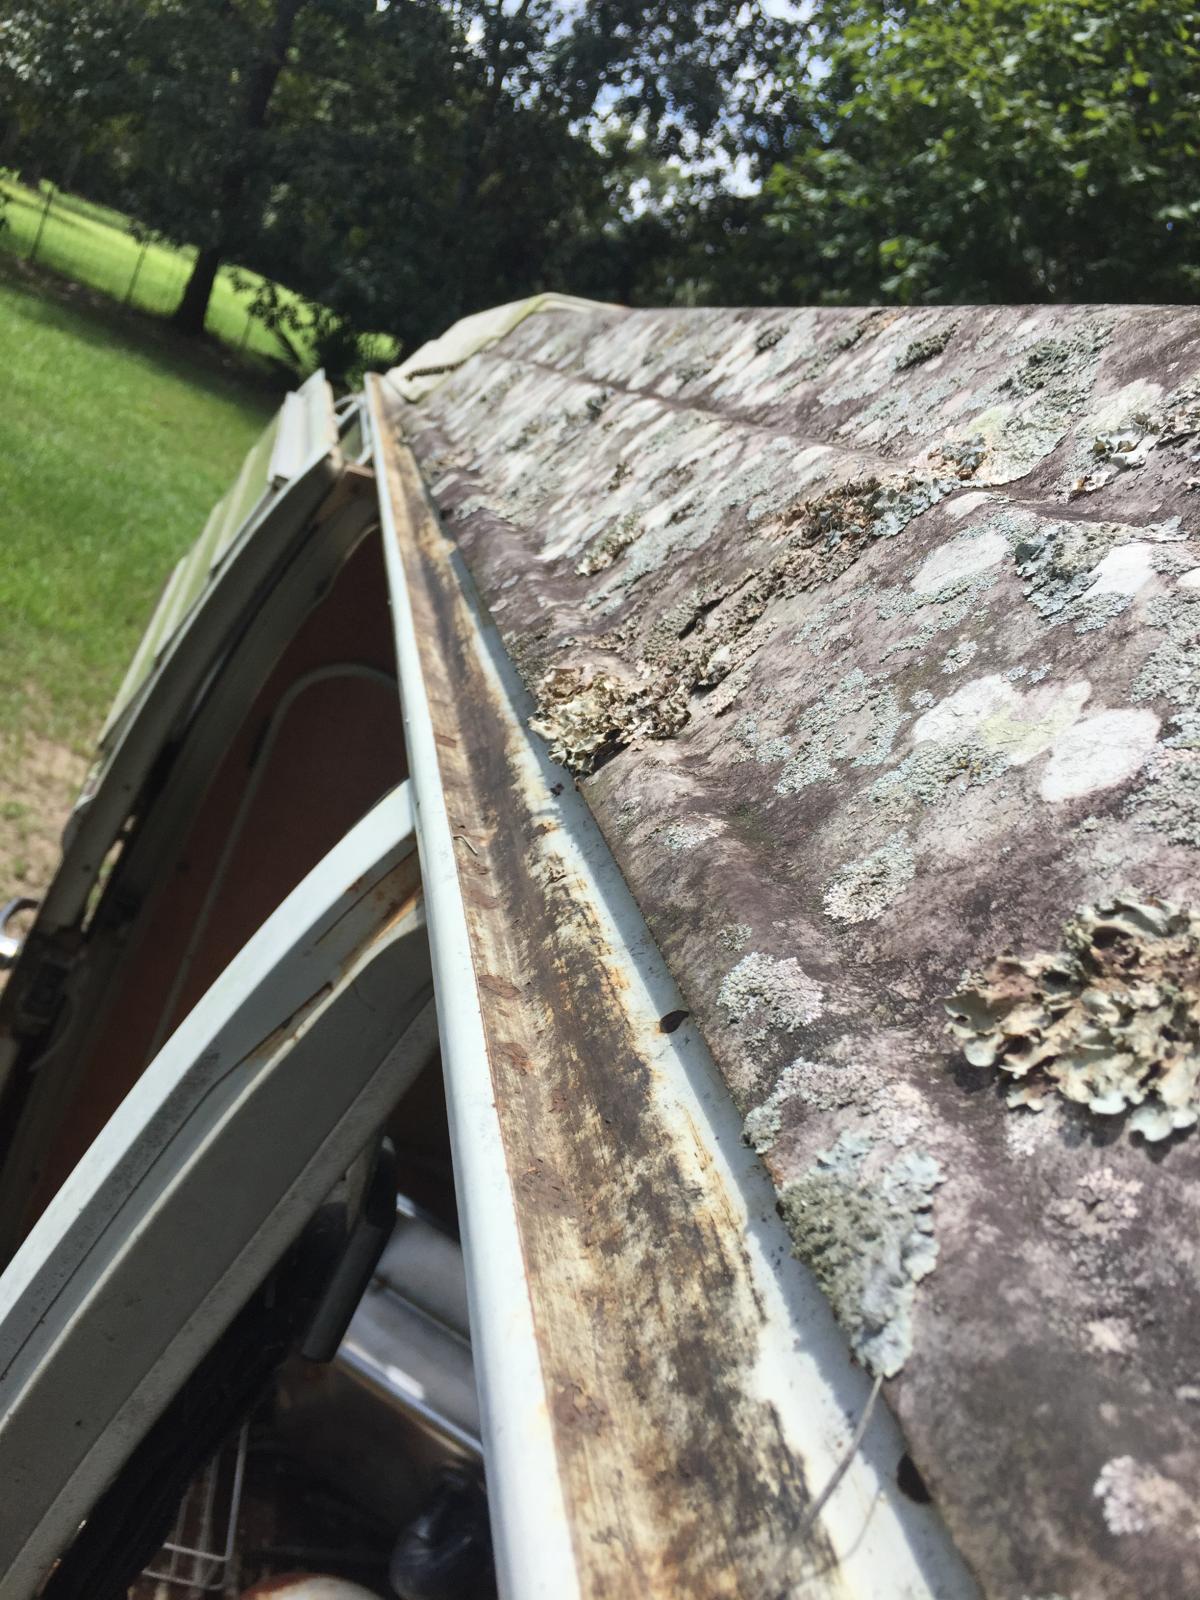
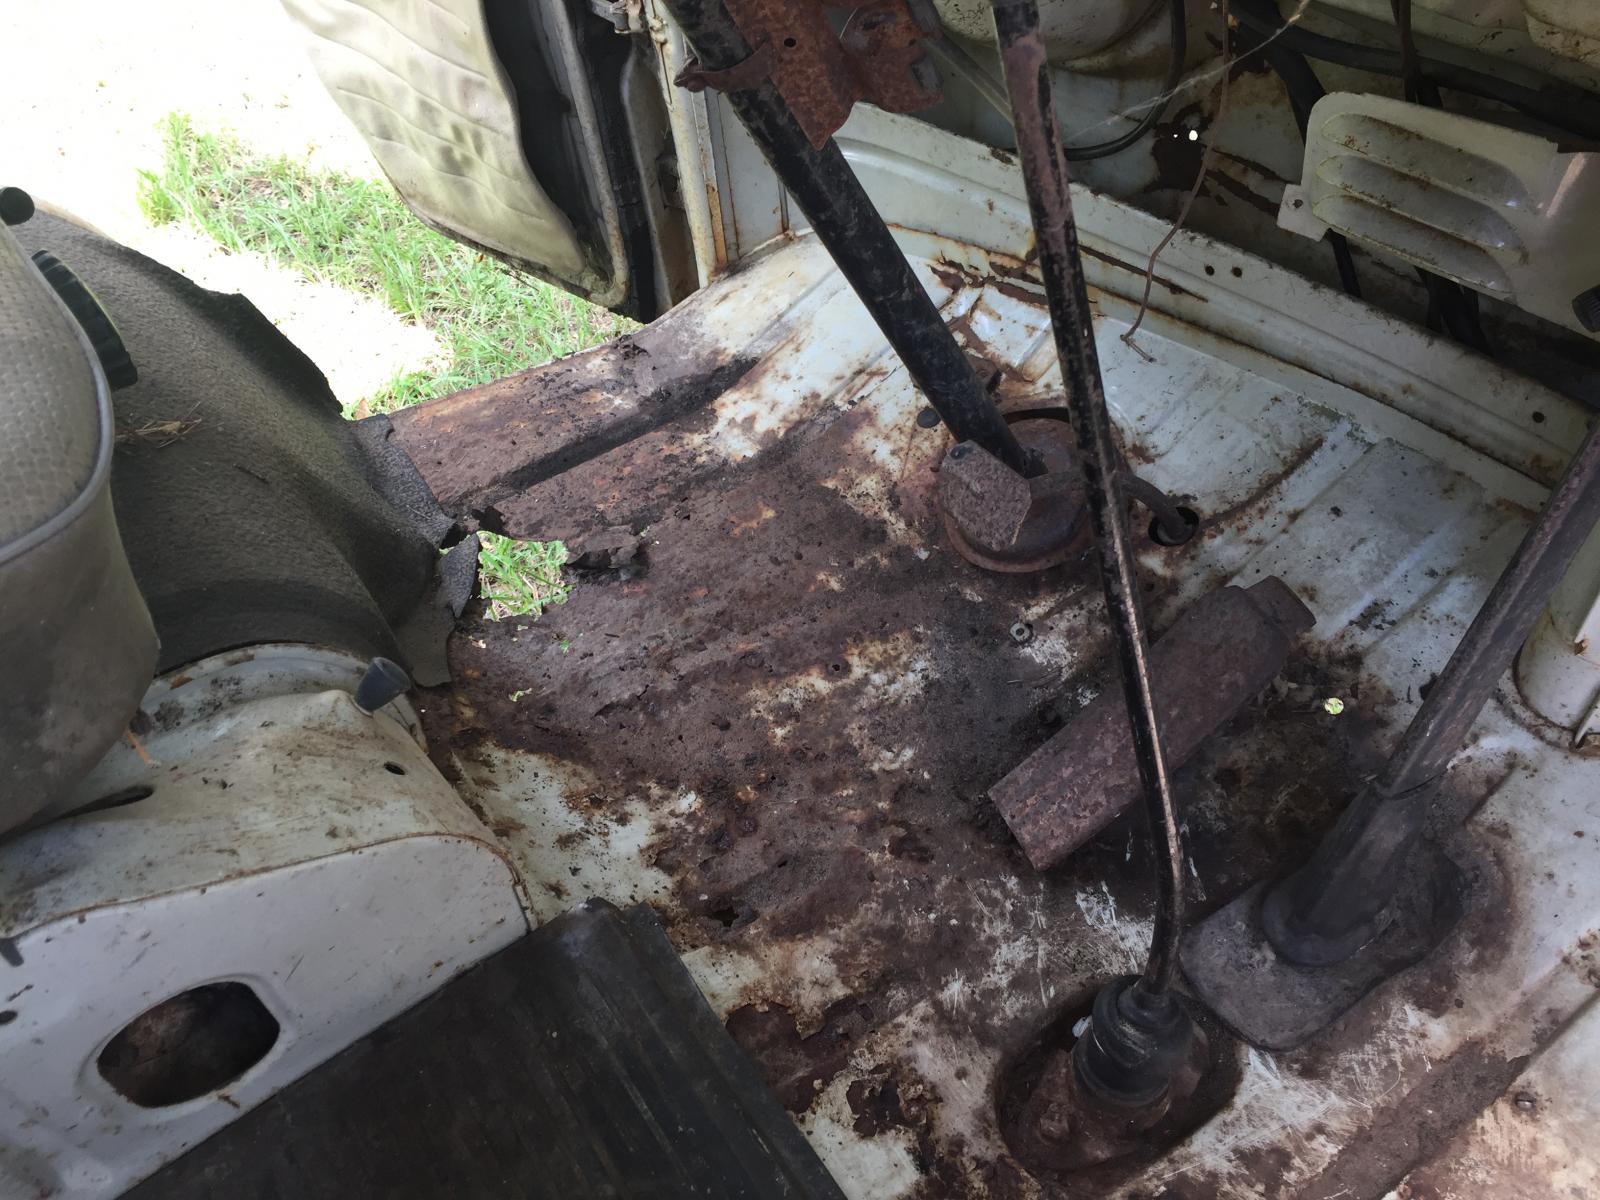
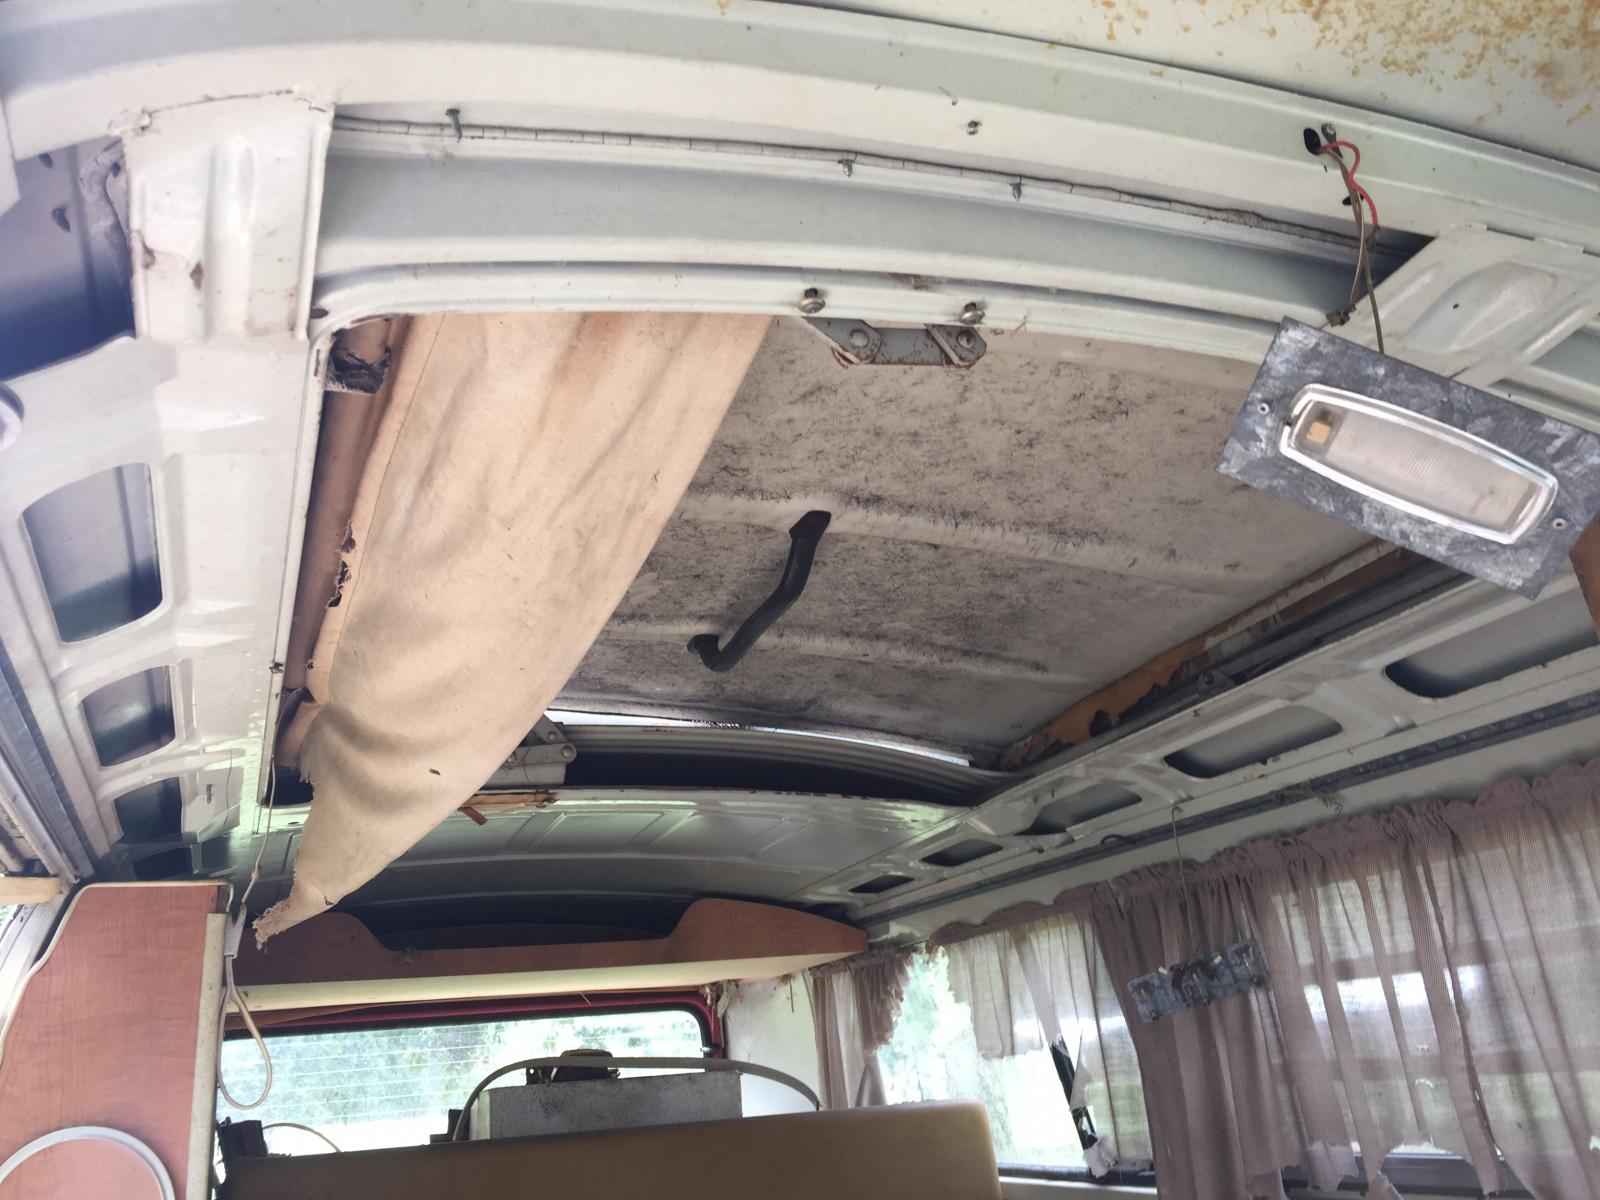
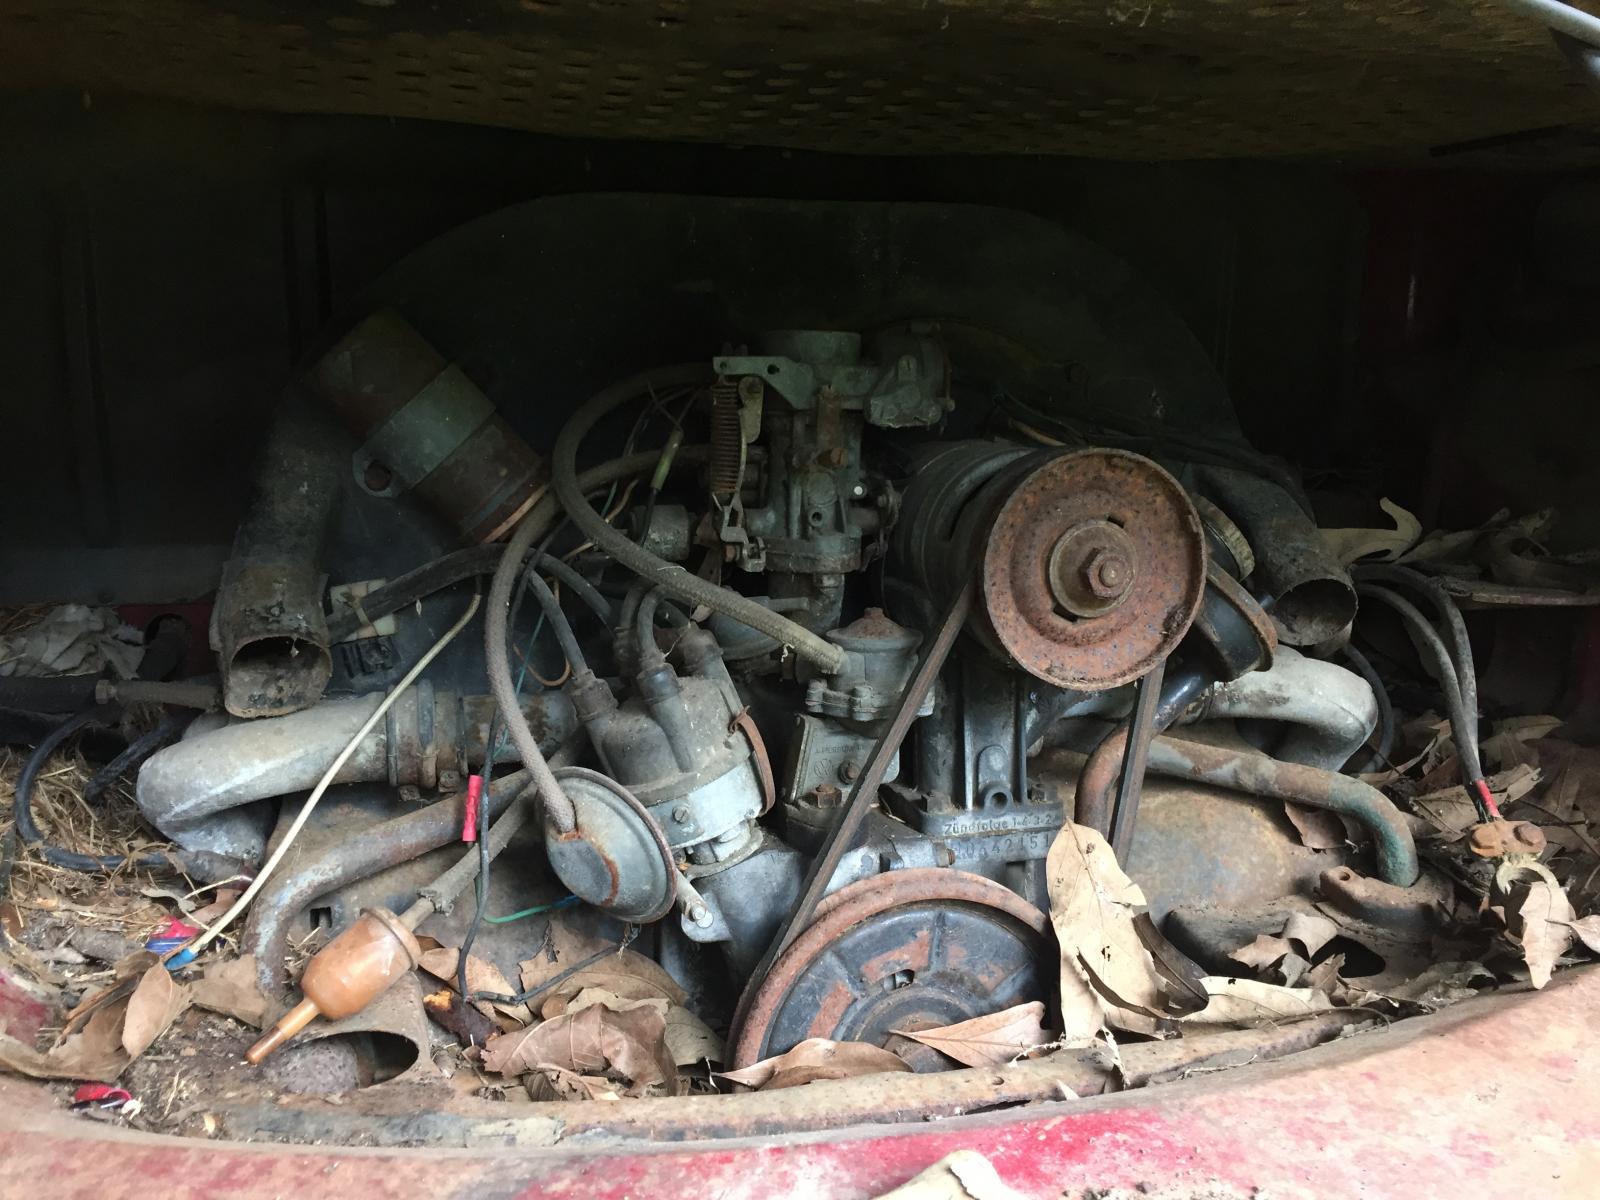
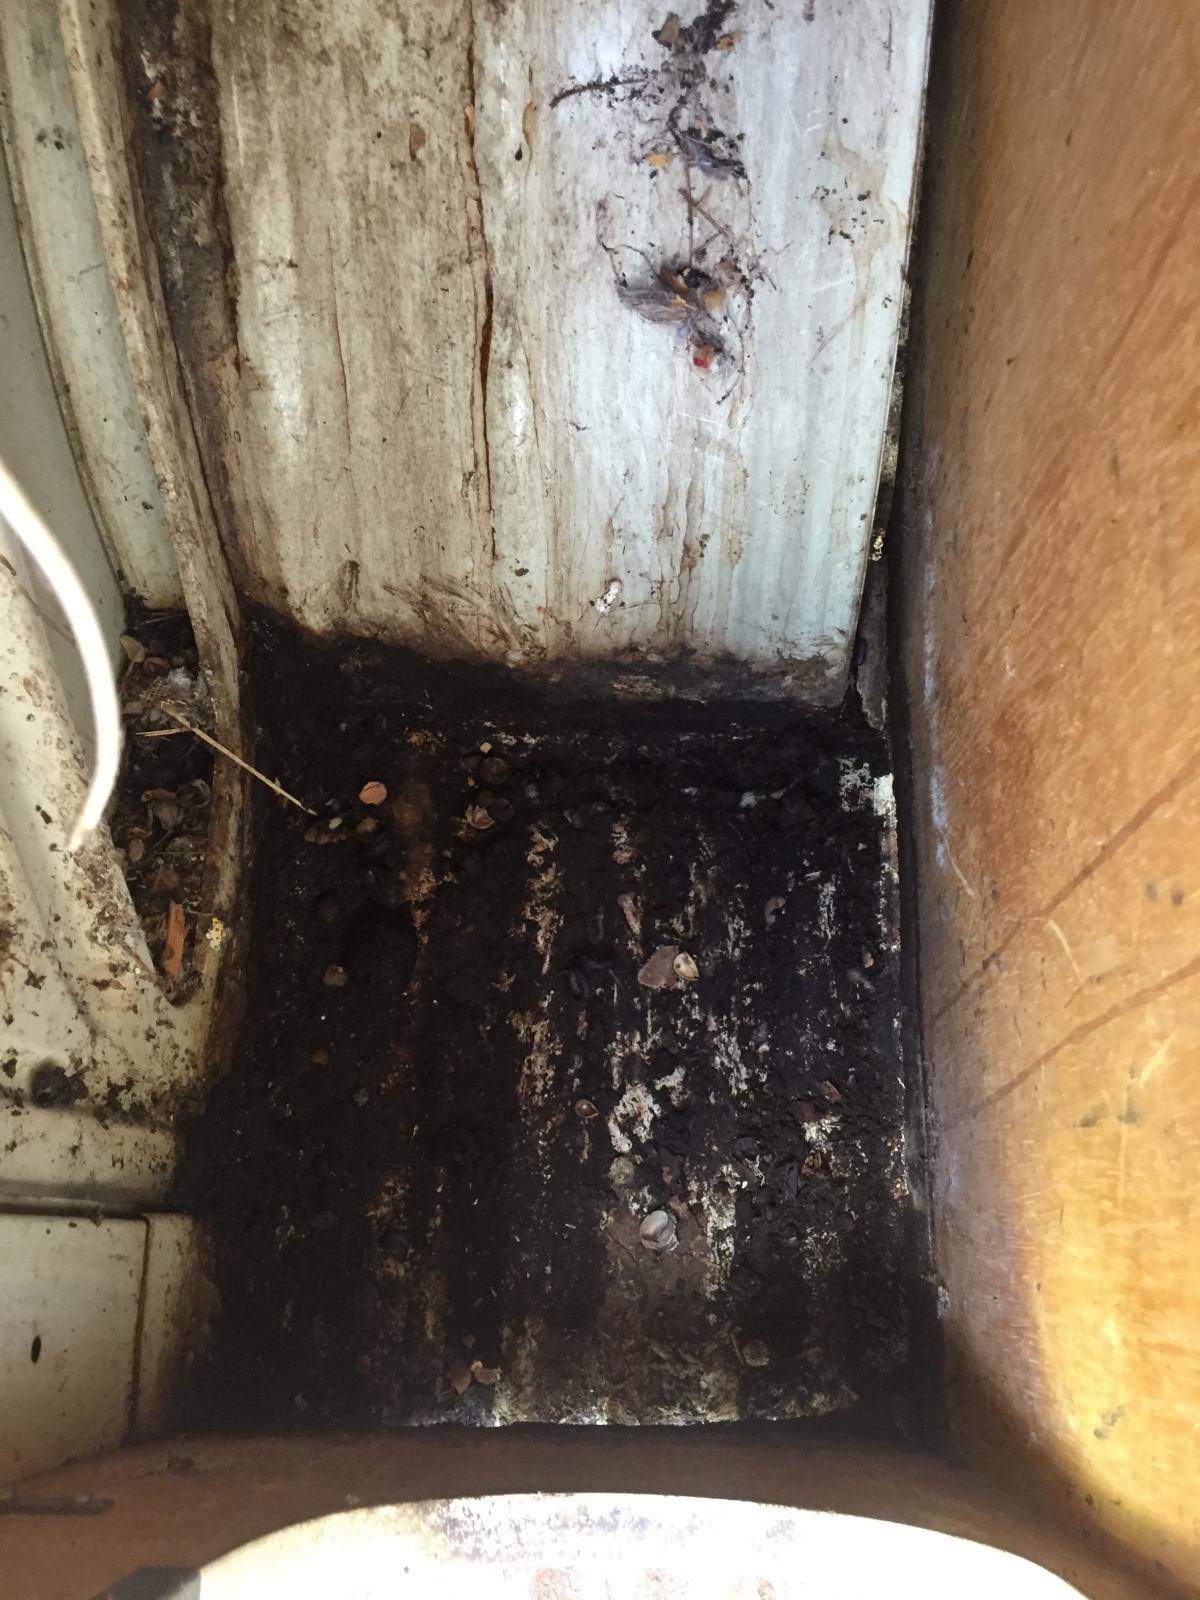
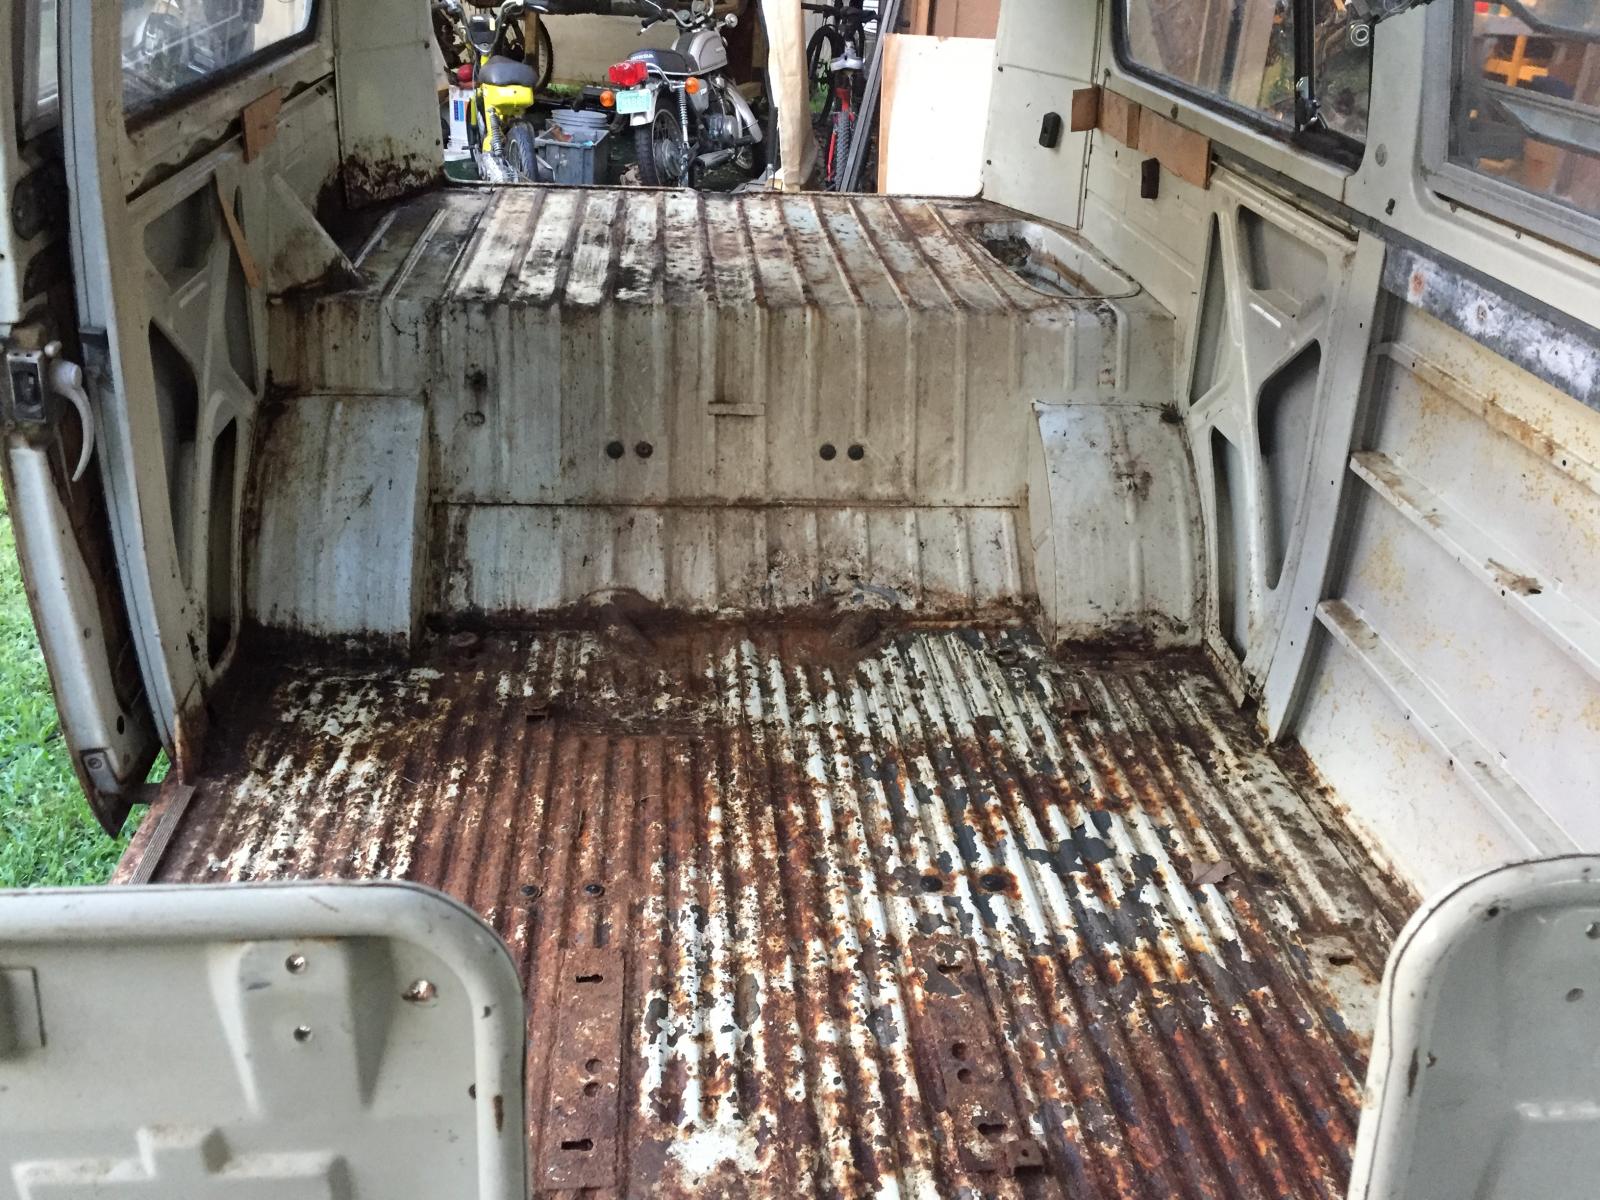
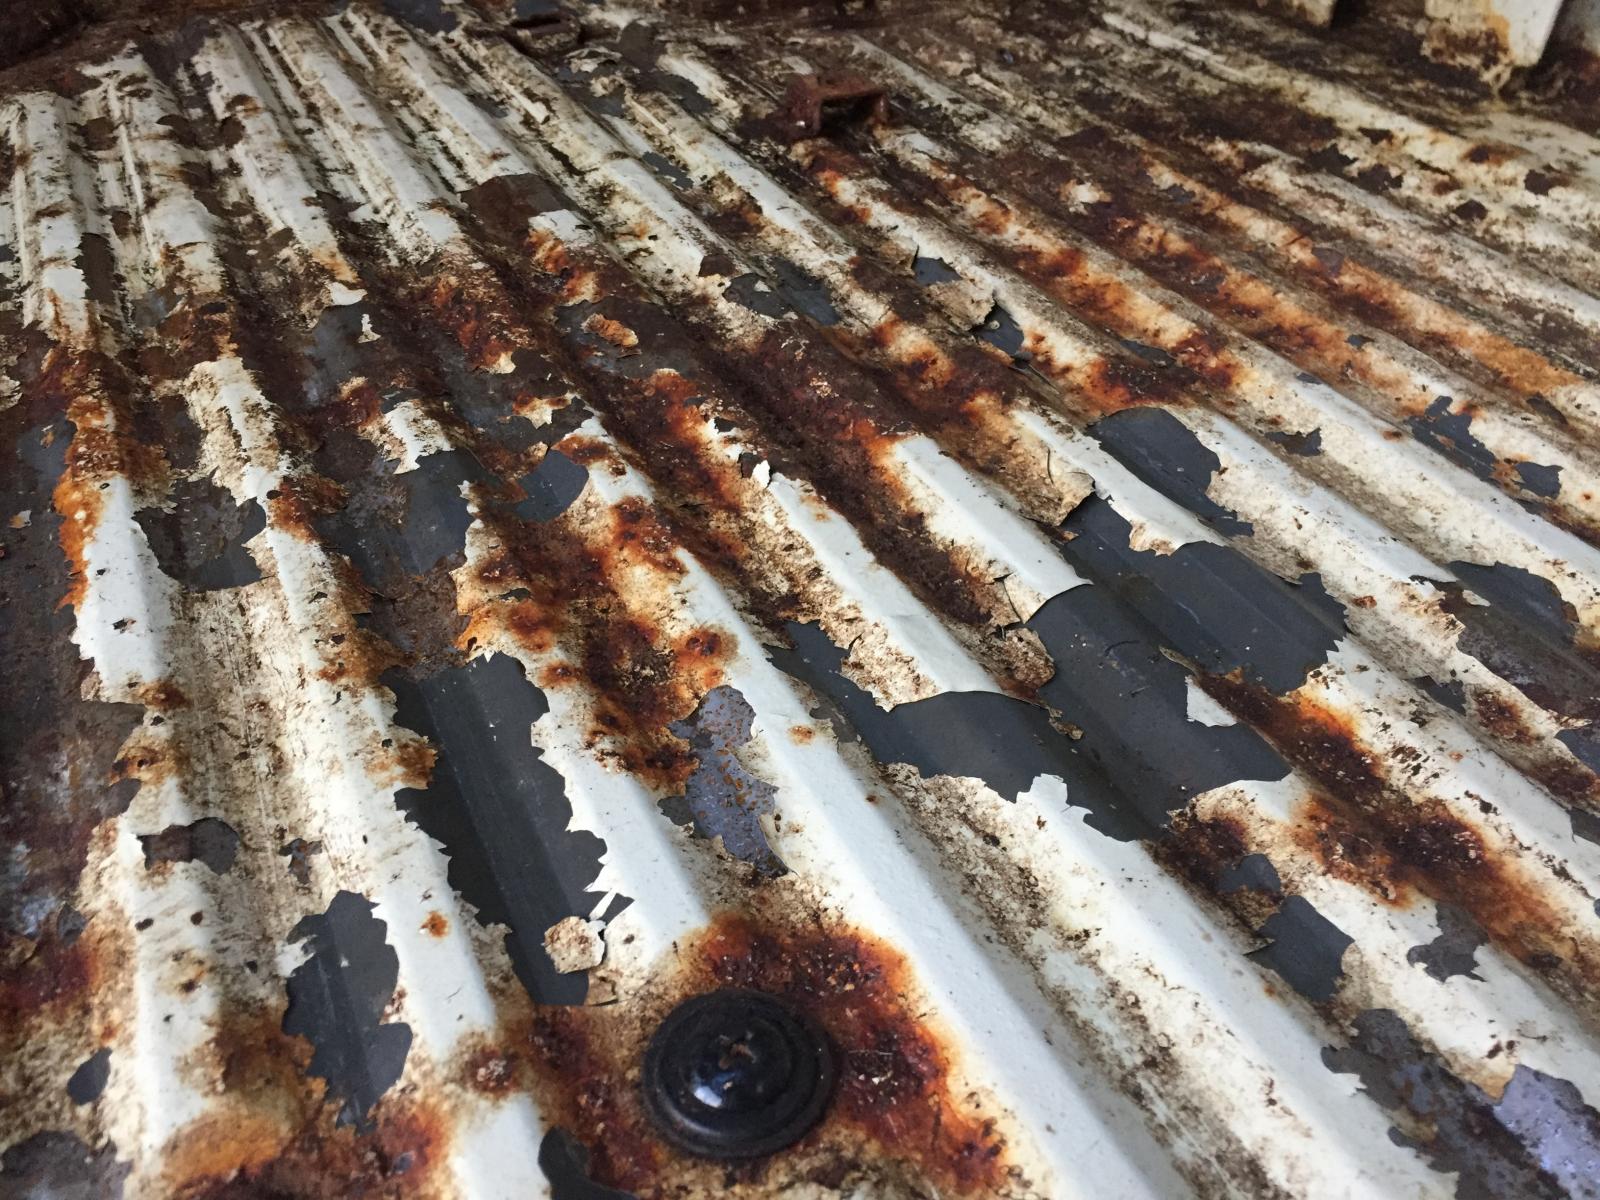
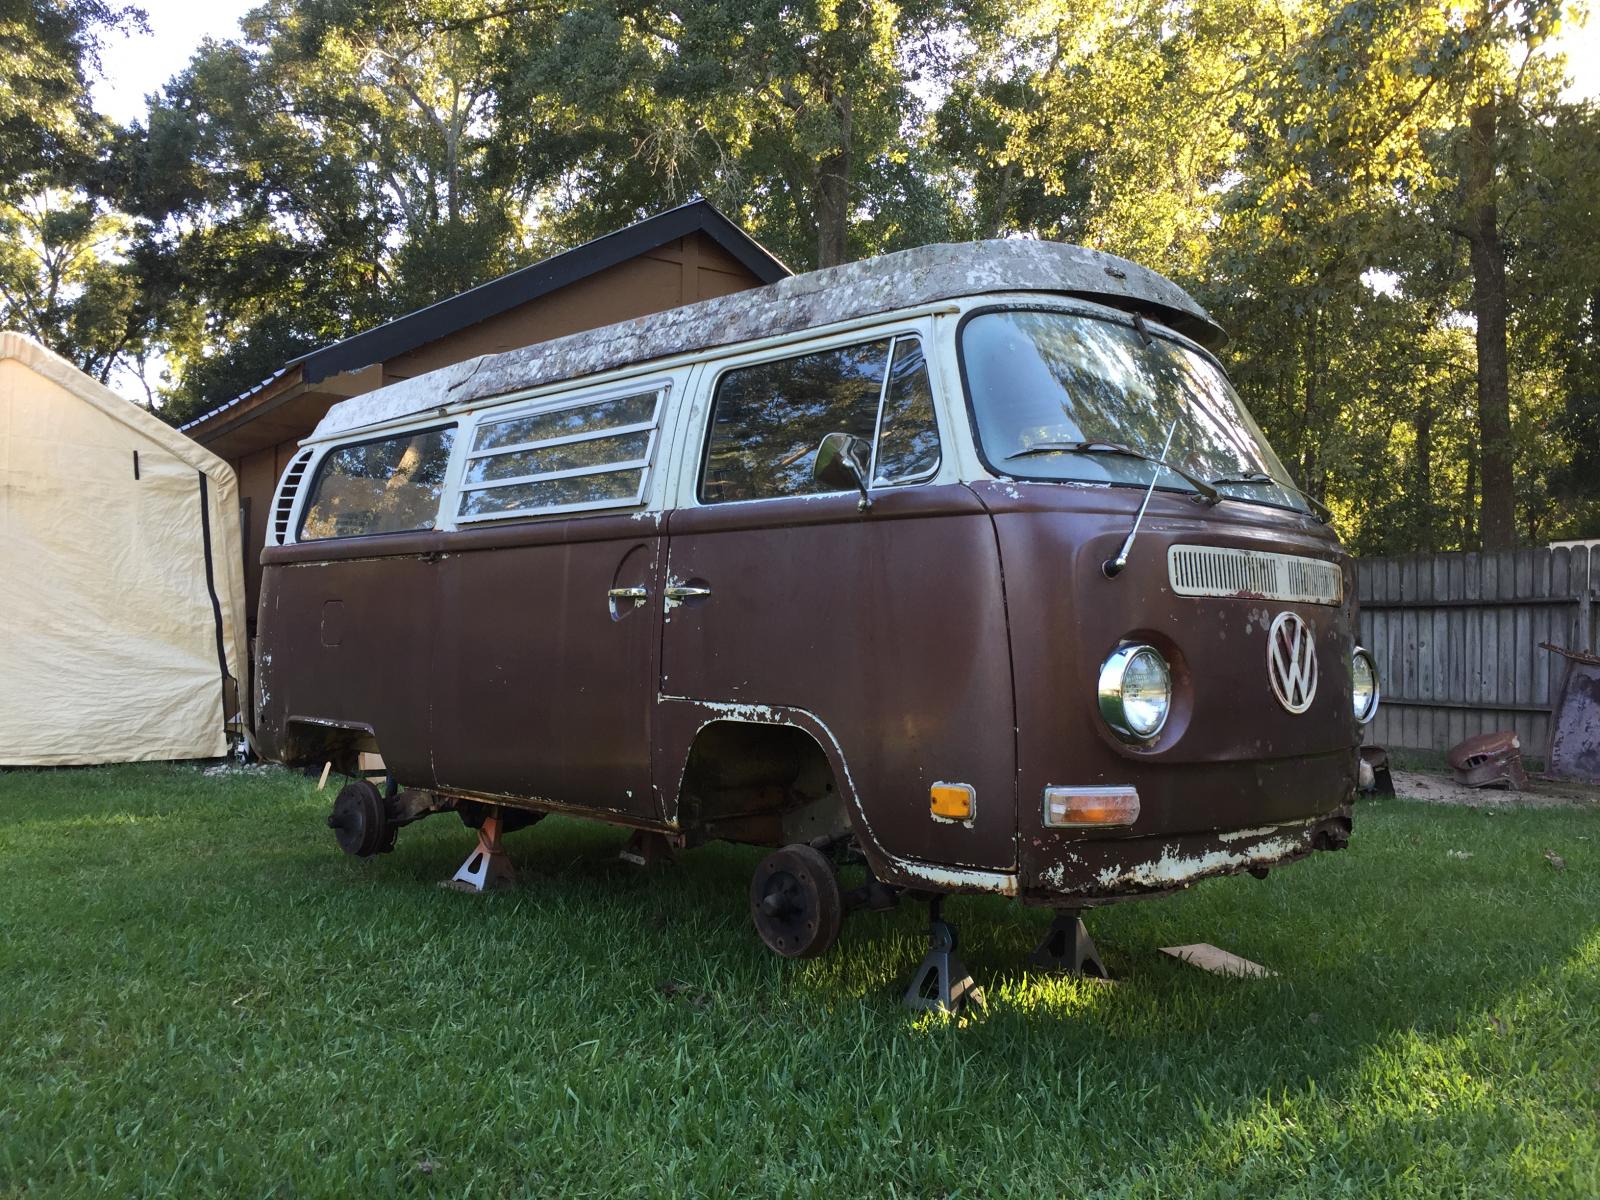
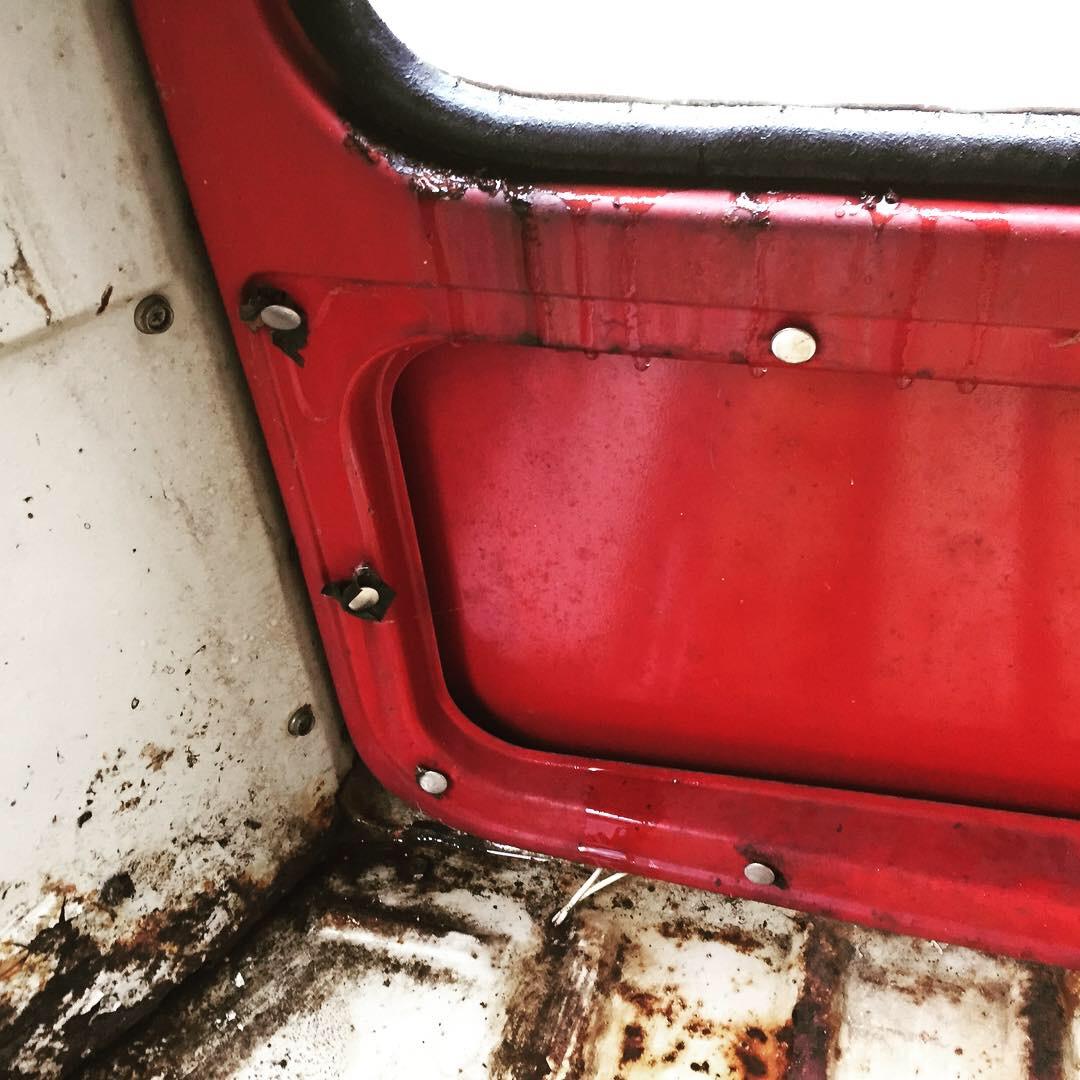
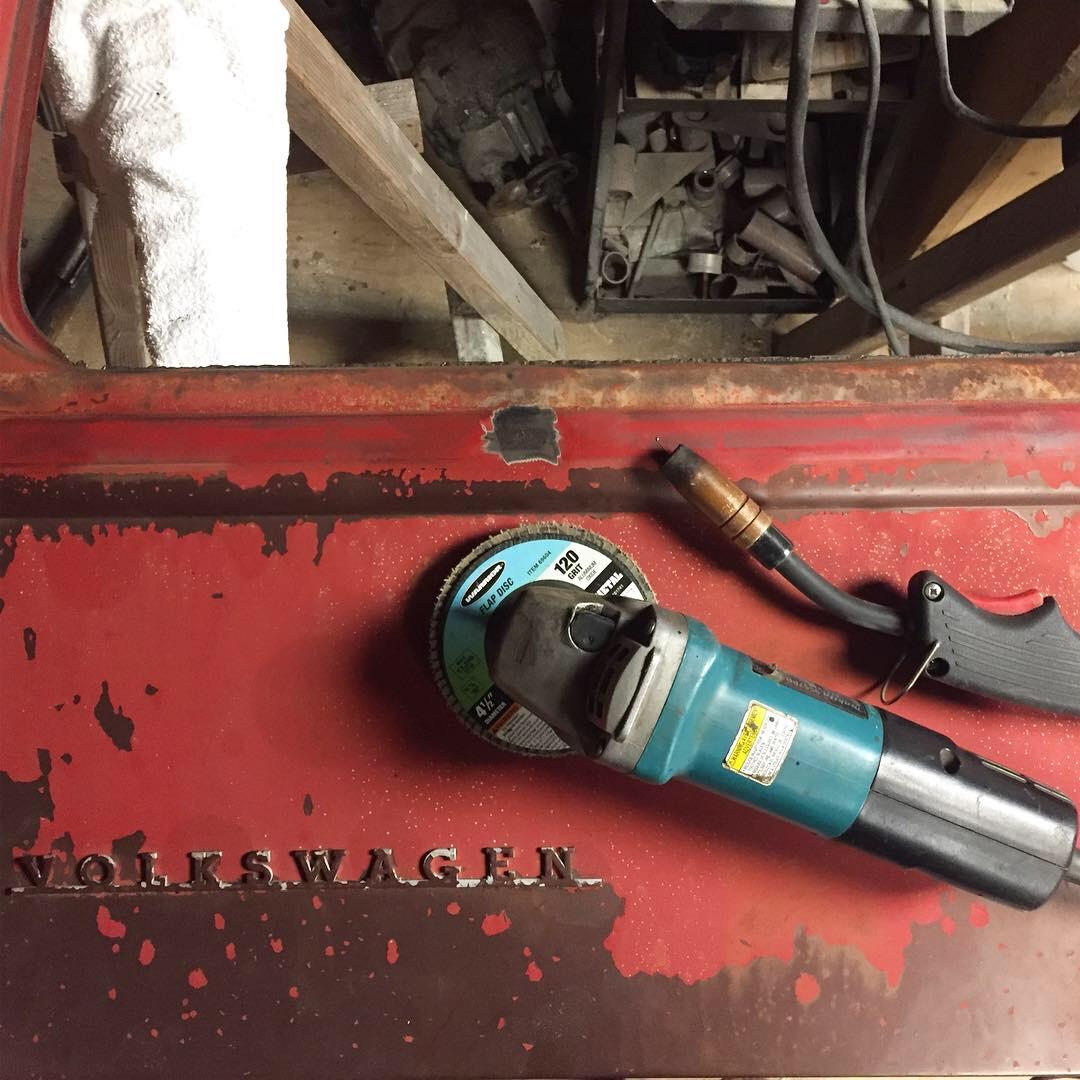
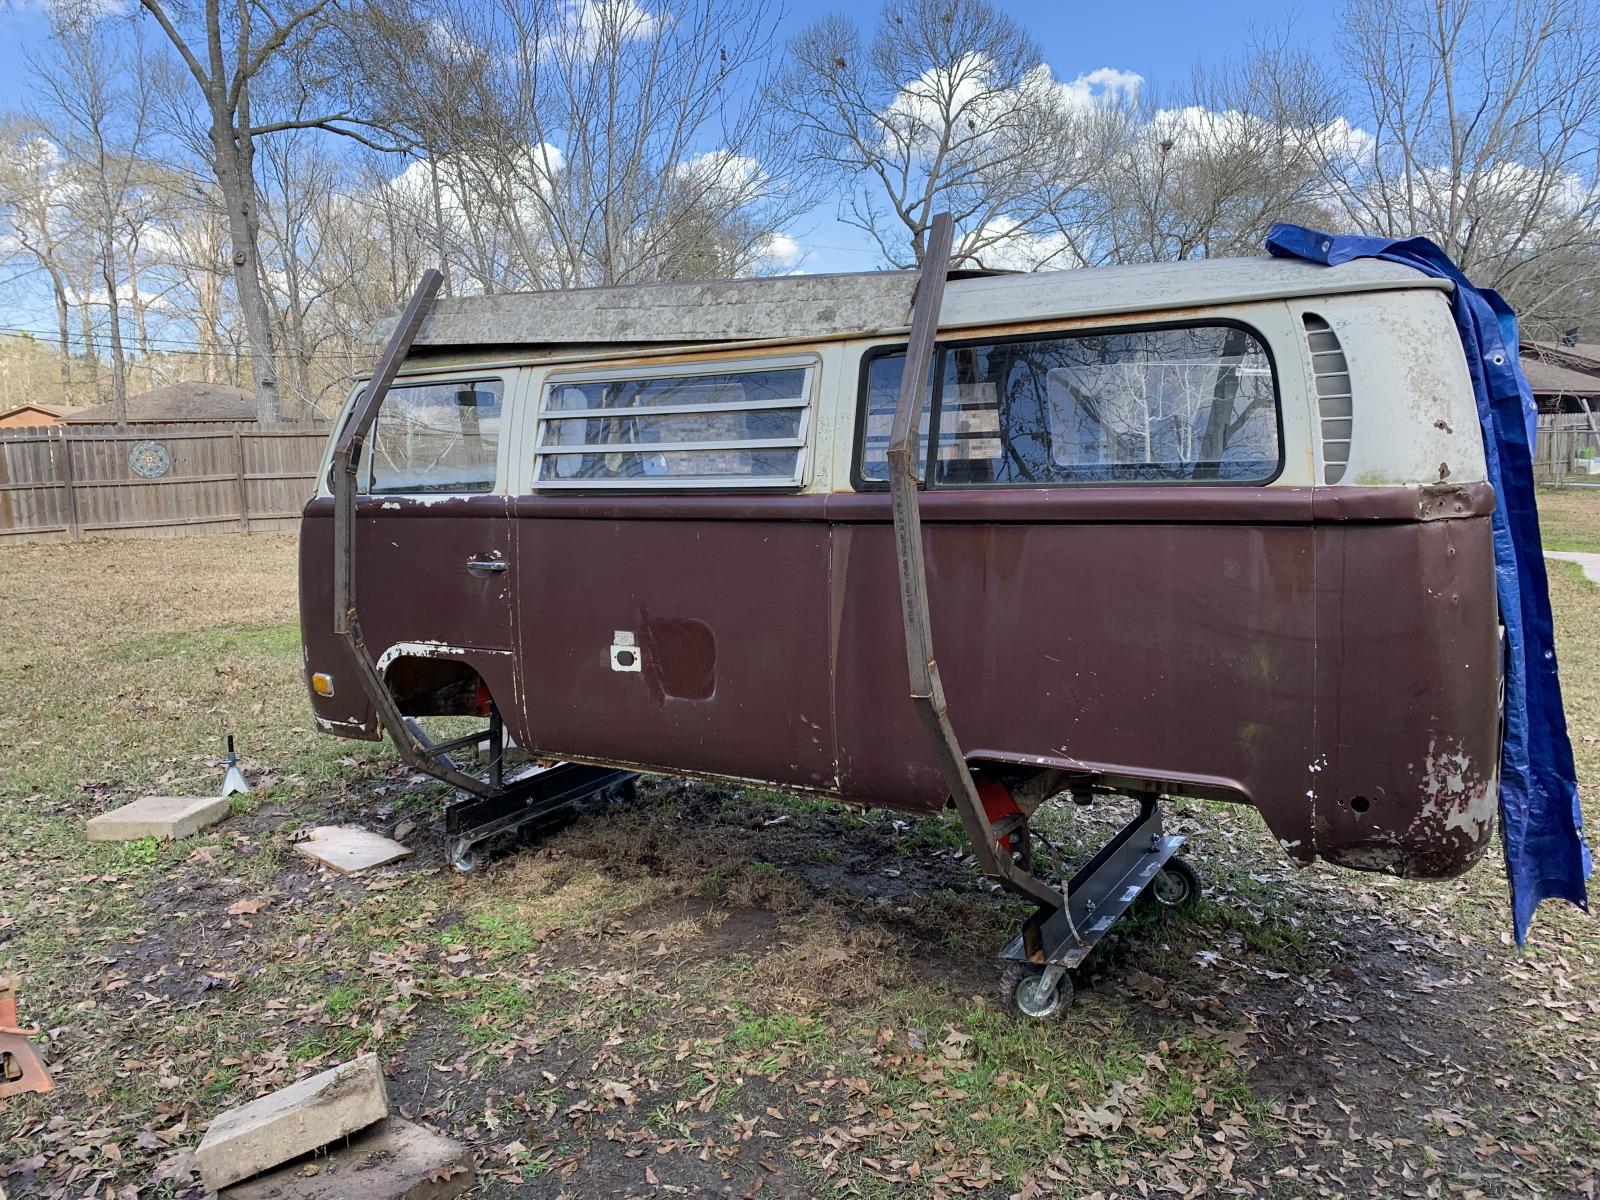
After cleaning out about 2" of dirt and grime on the floor (lots of rotten plywood, squirrel nests, etc) and really getting a good look...the thing is SOLID. It appears to have been painted to imitate the Champagne Edition (I'm no expert but I think that the Champagne was only a late model ['78 only?] option - someone please correct me if I'm wrong).


1819398.jpg

1819400.jpg


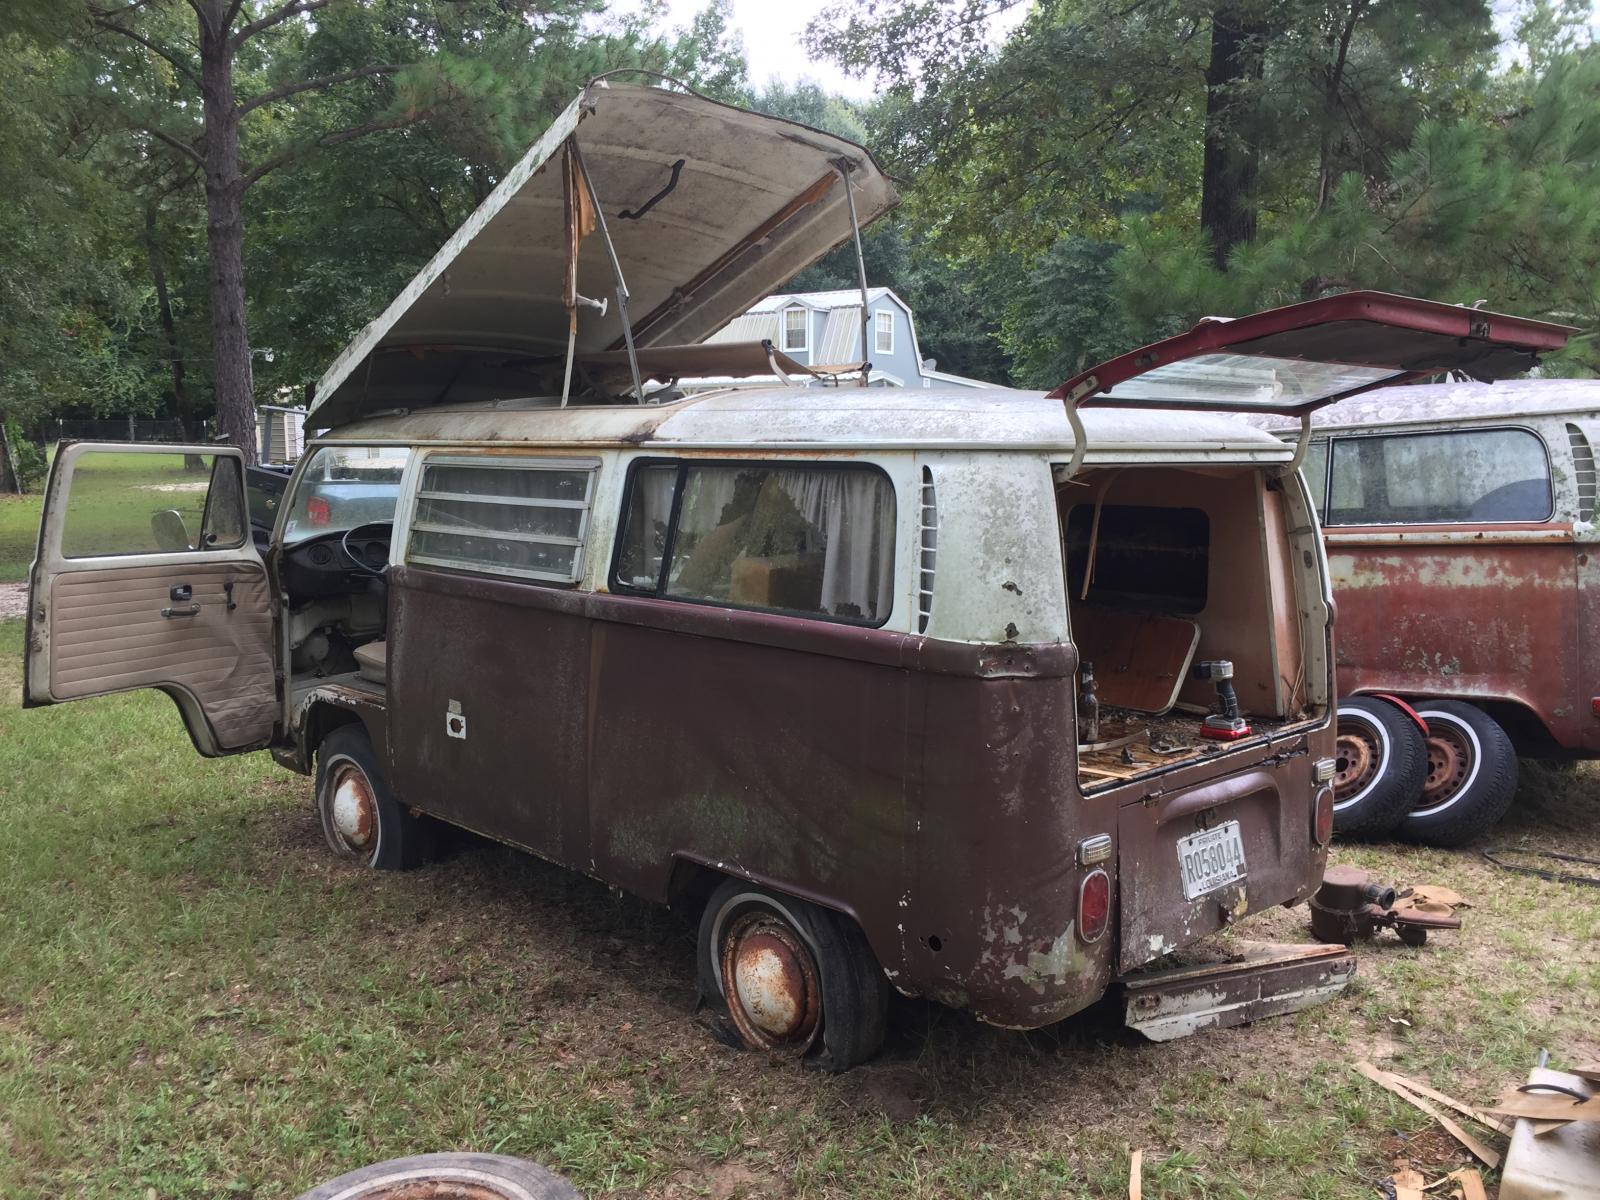
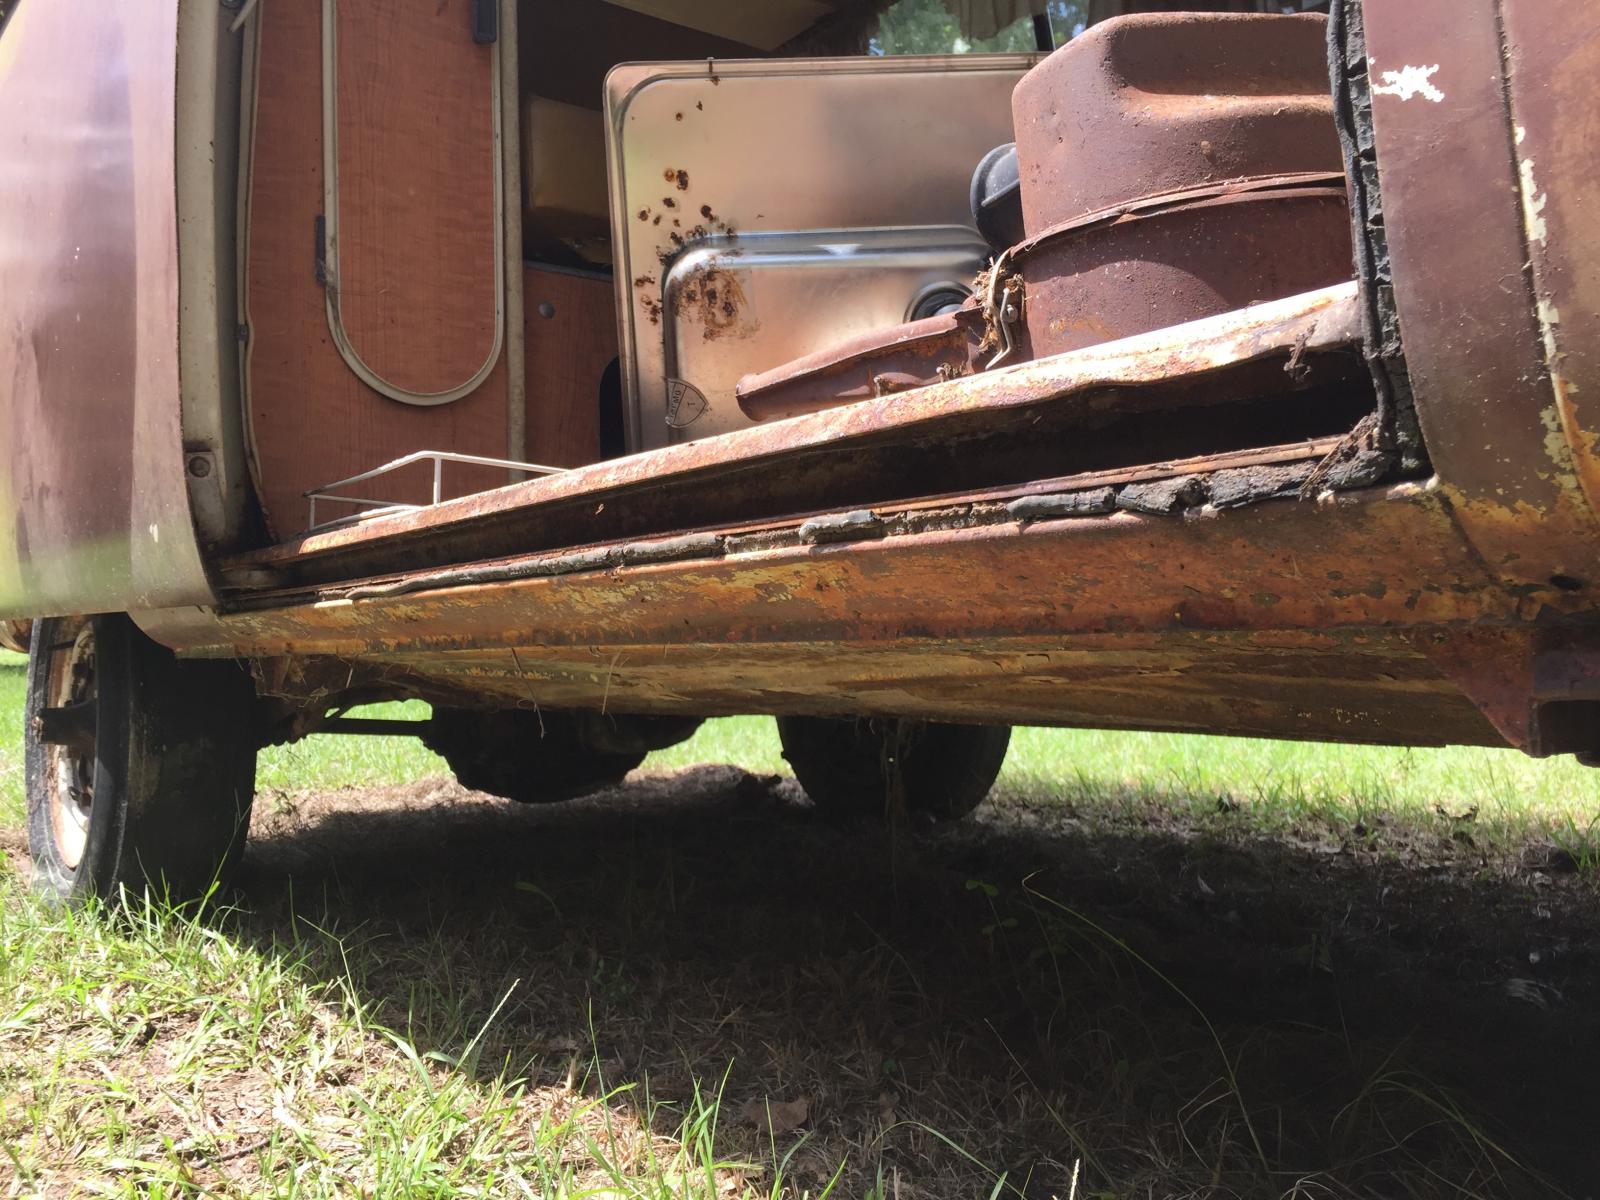
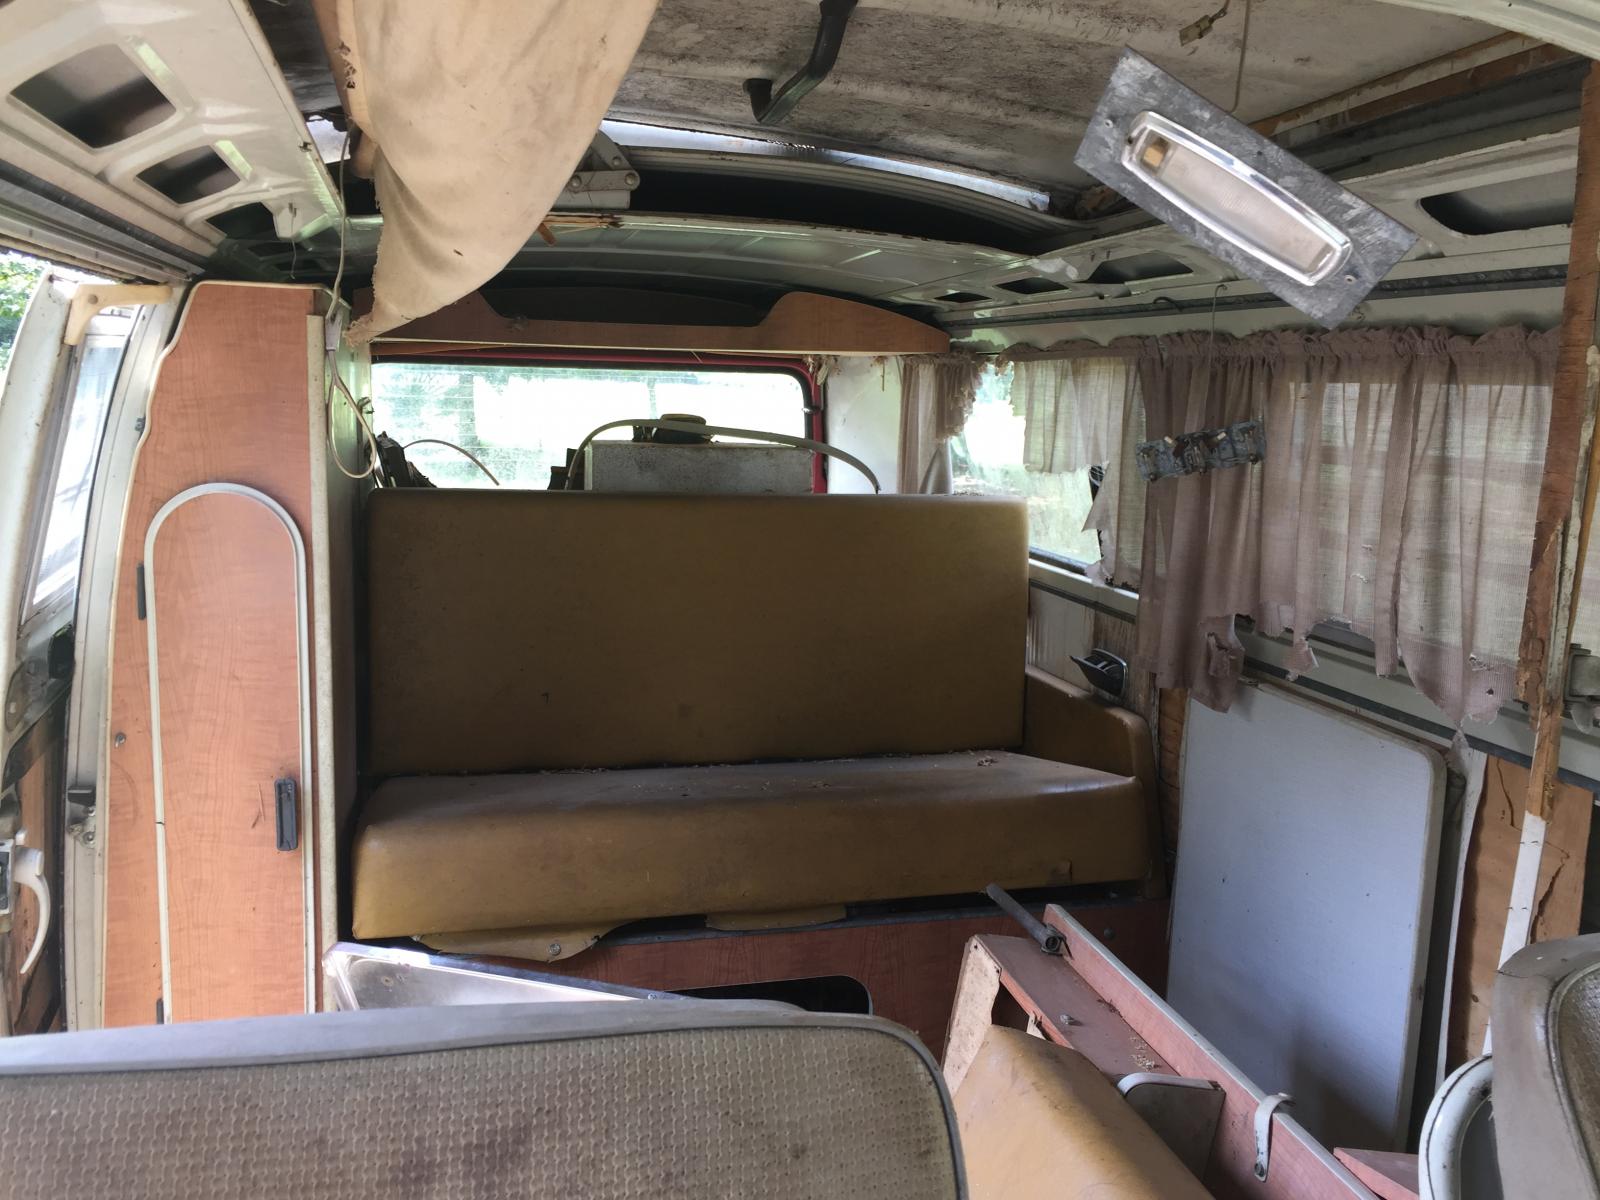
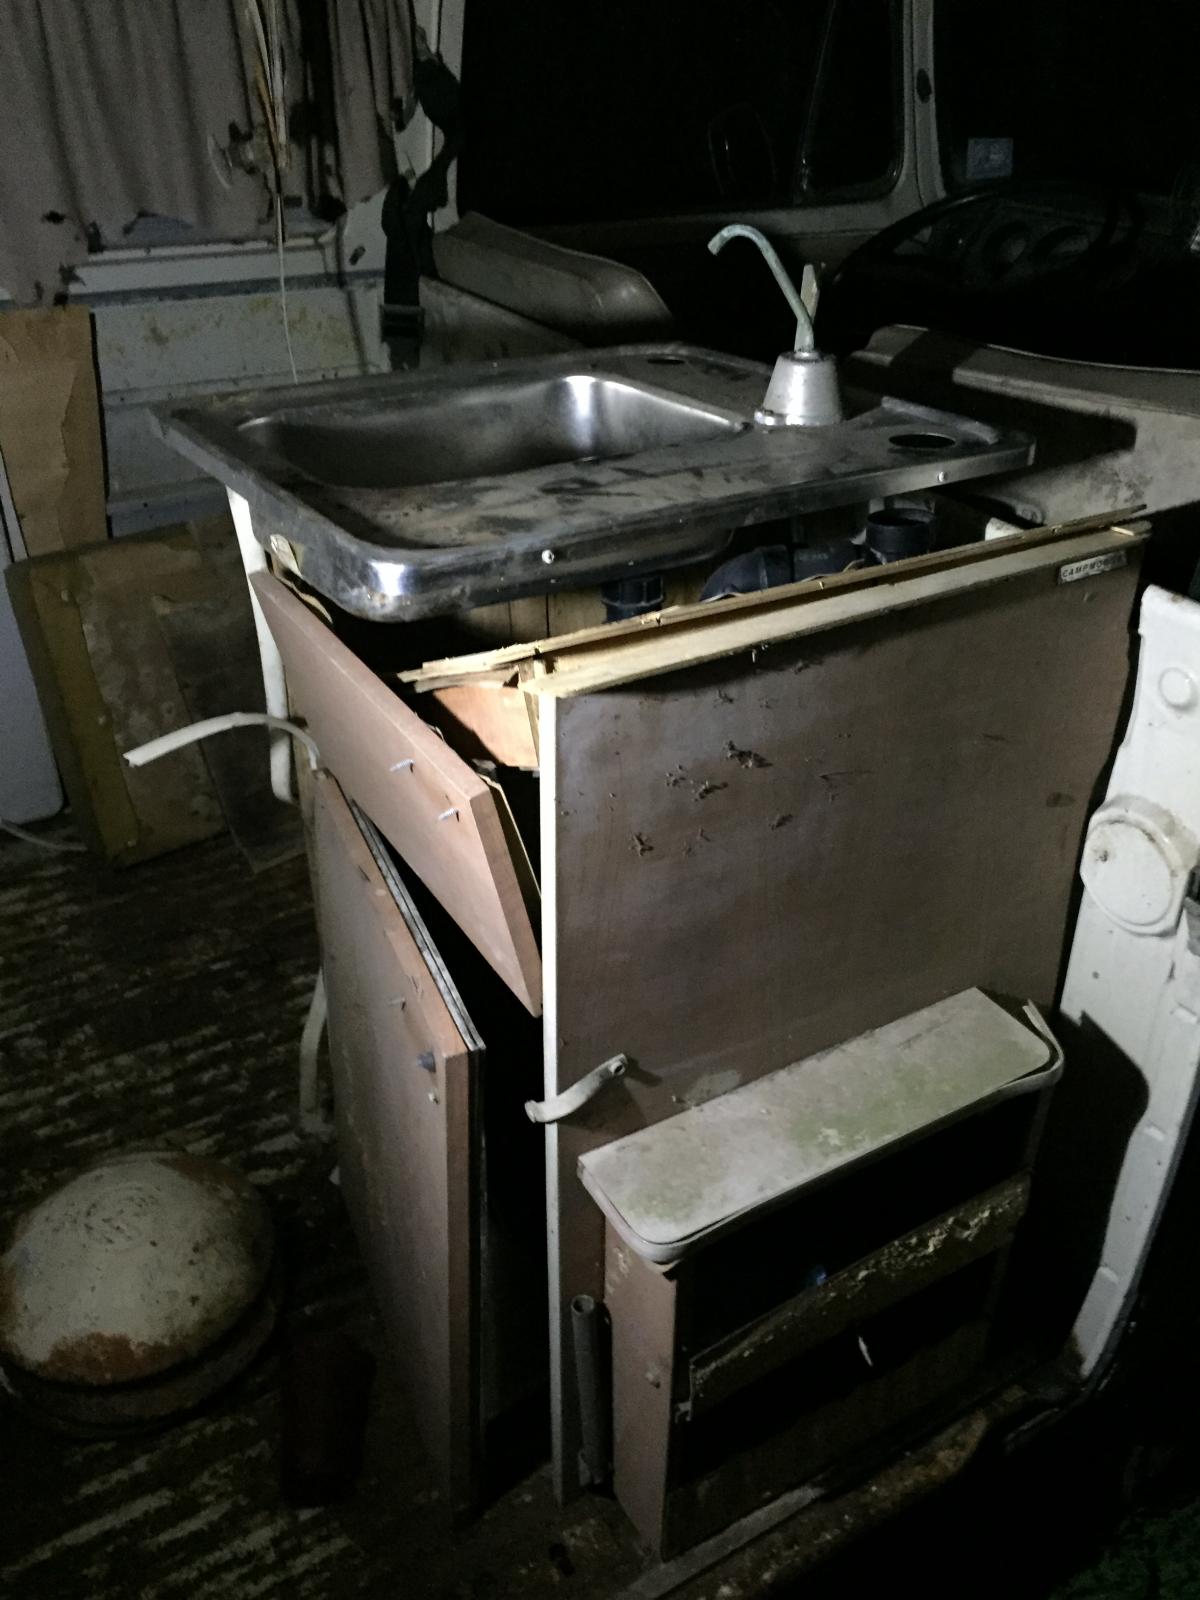
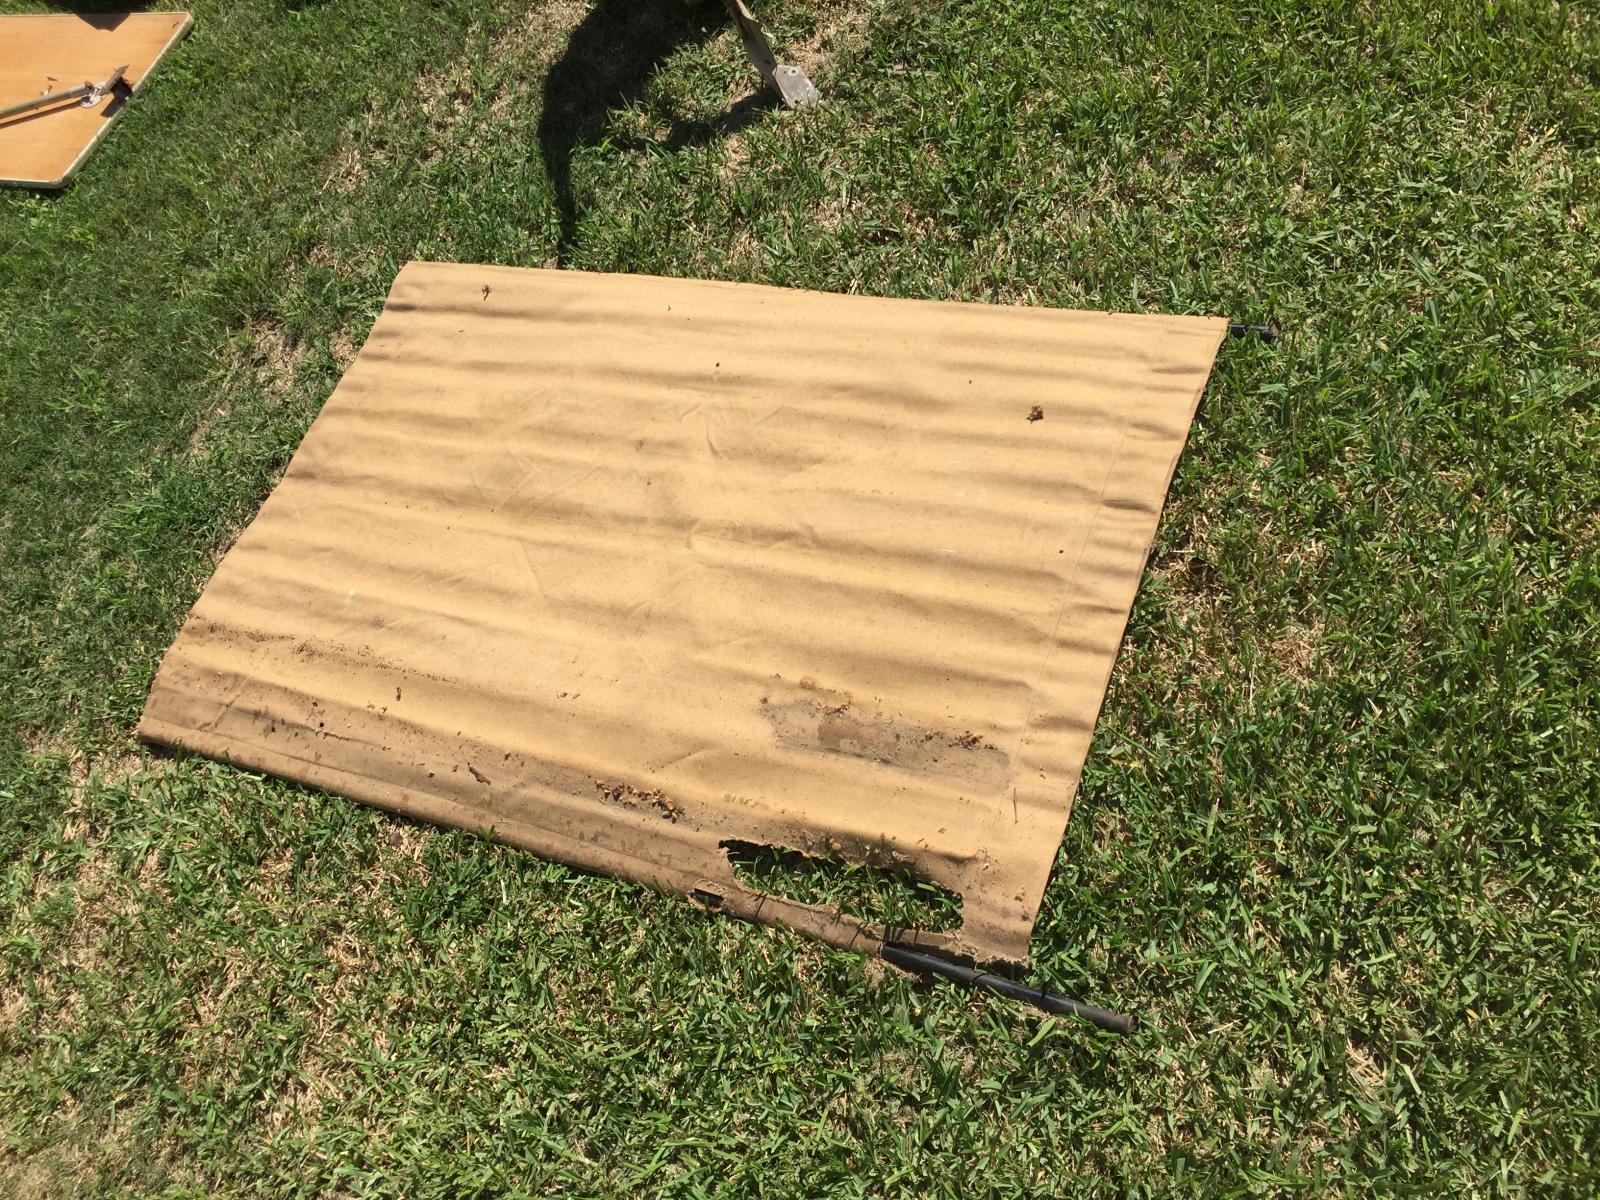
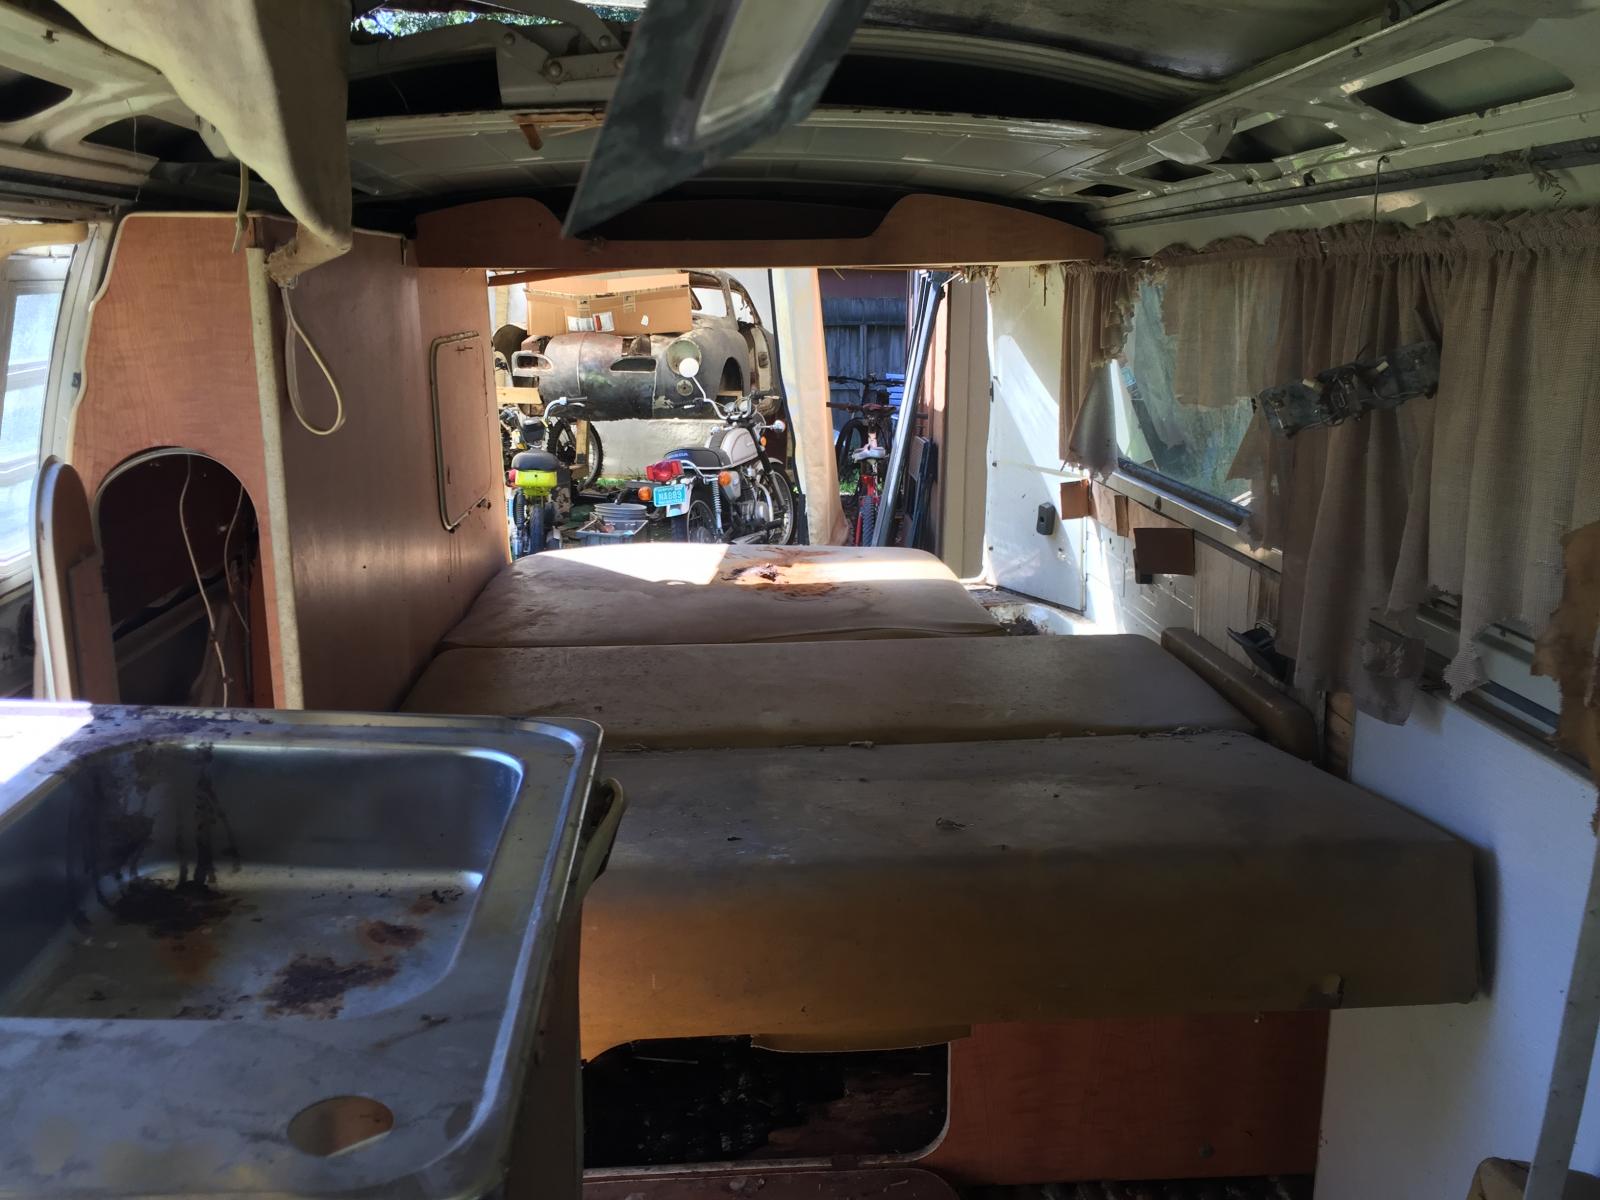
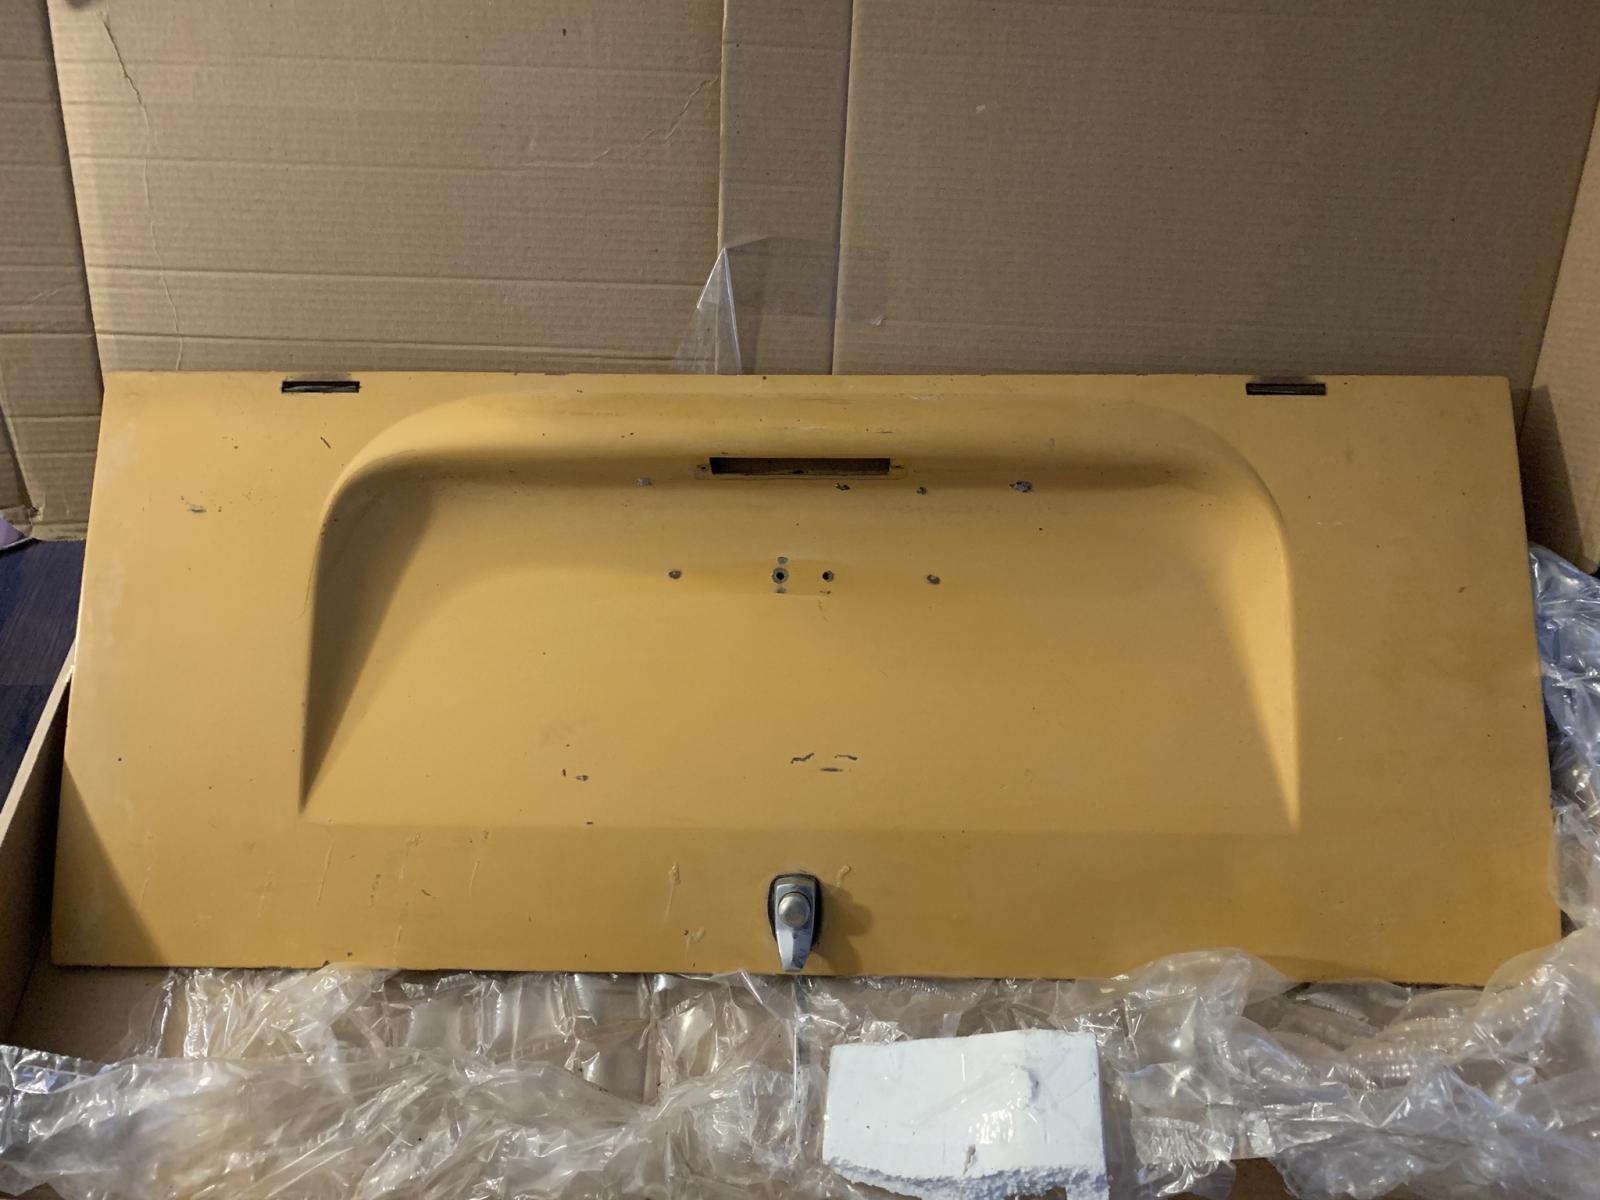
I didn't take any pics of the interior but the majority of the camper gear is in there, some intact, some not. The sink cabinet is busted up so I'll use it as a template for a new one. The jump seat and stool that go behind the cab are missing as well. The "closet" and passenger side cabinet are all there as well as the bench seat and table. OG front seats are there as well and the covers look like they will clean up.

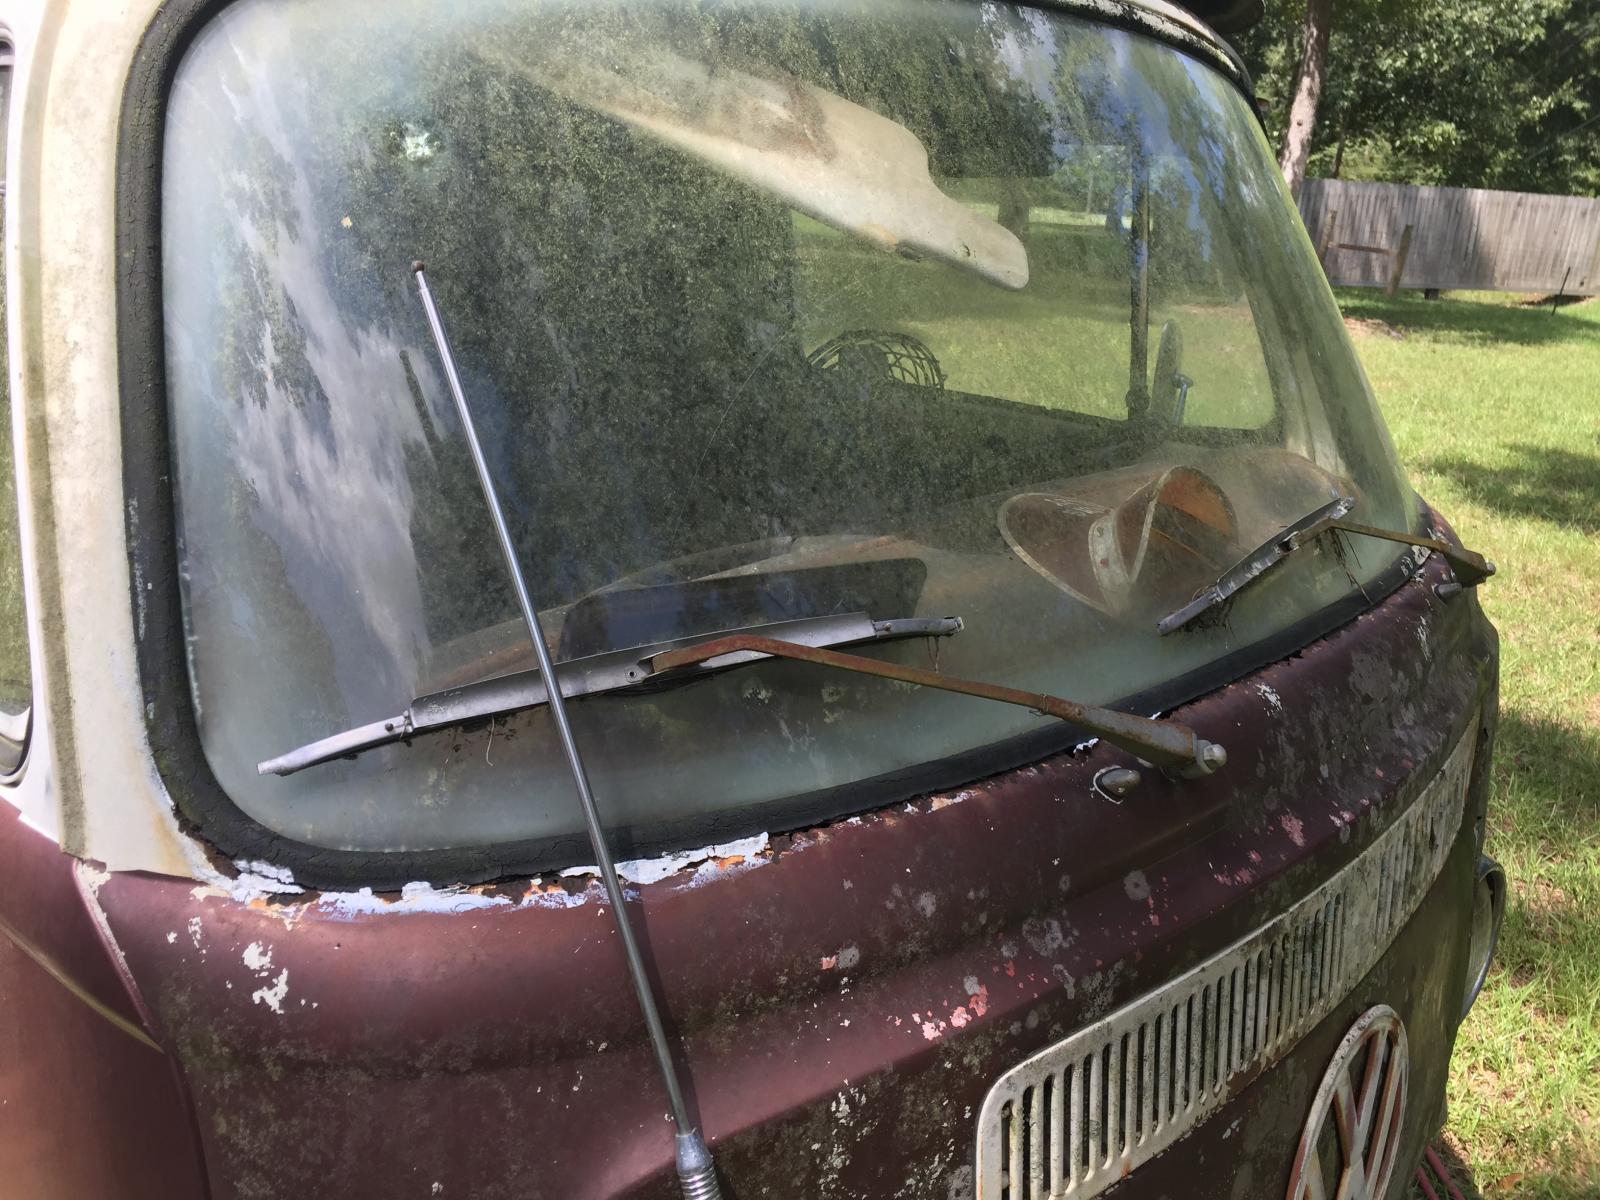
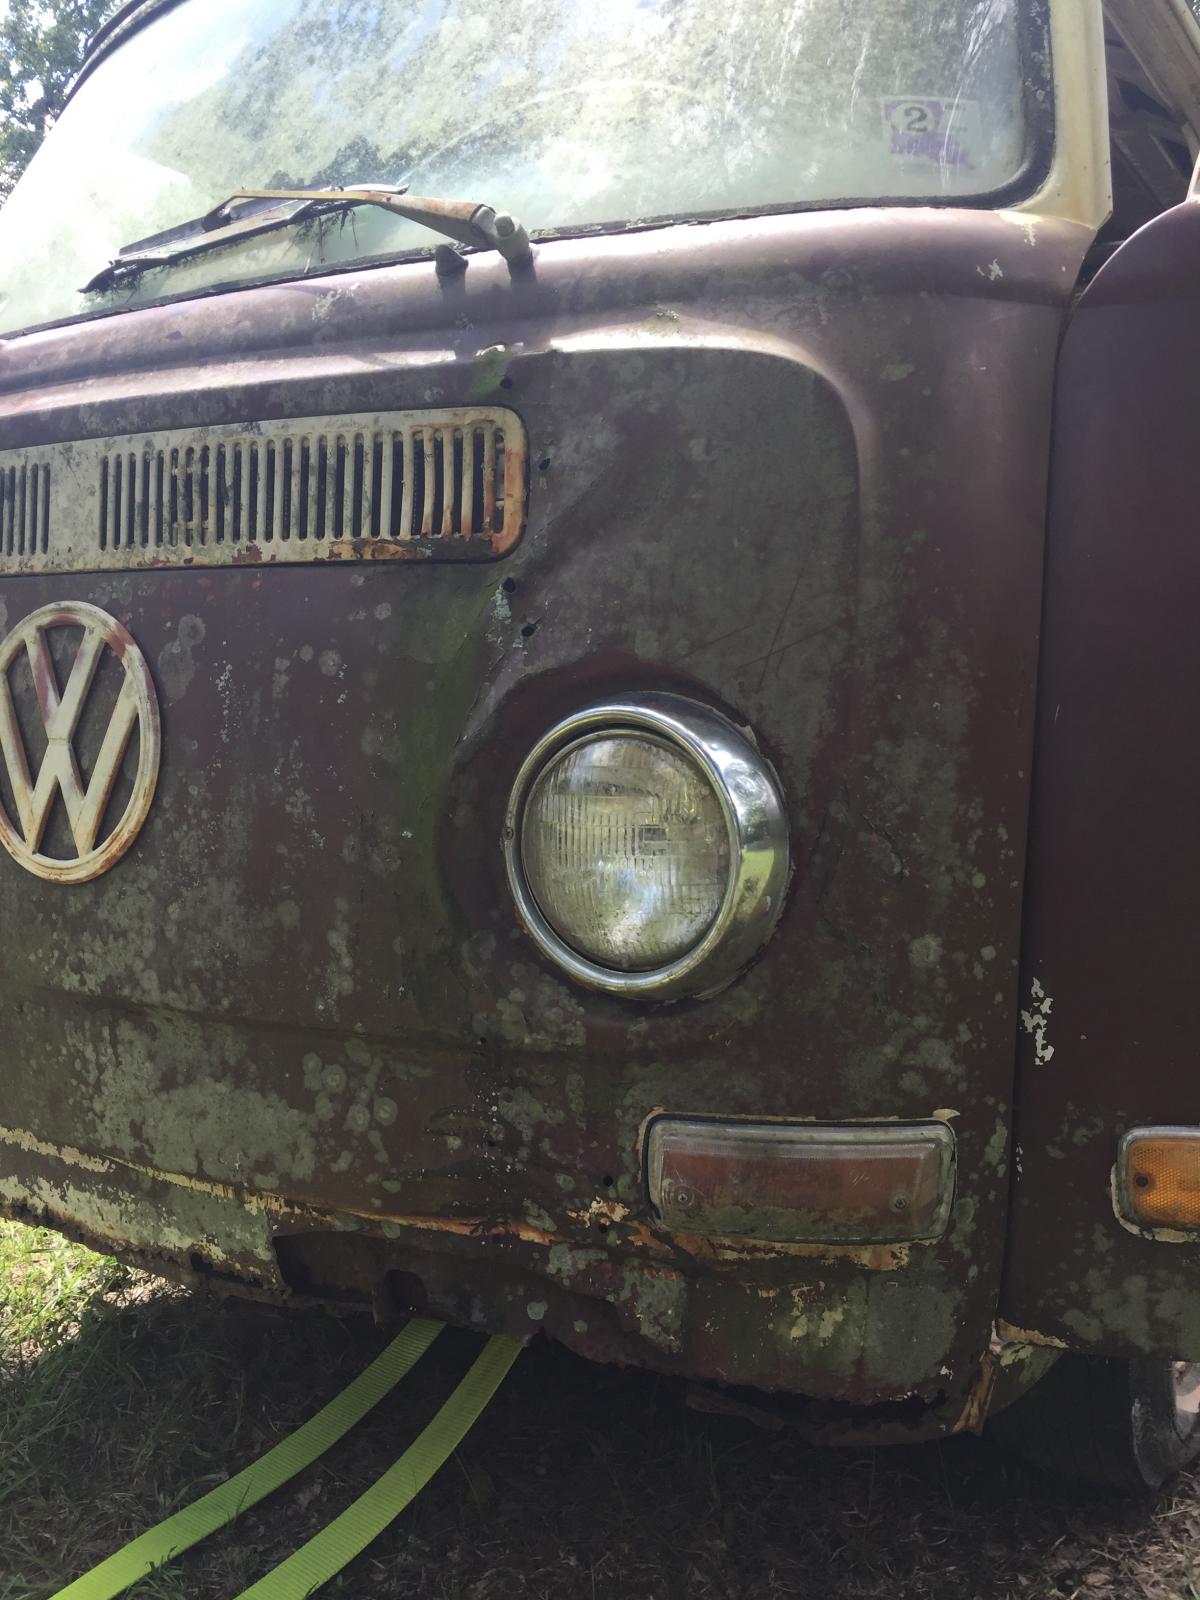
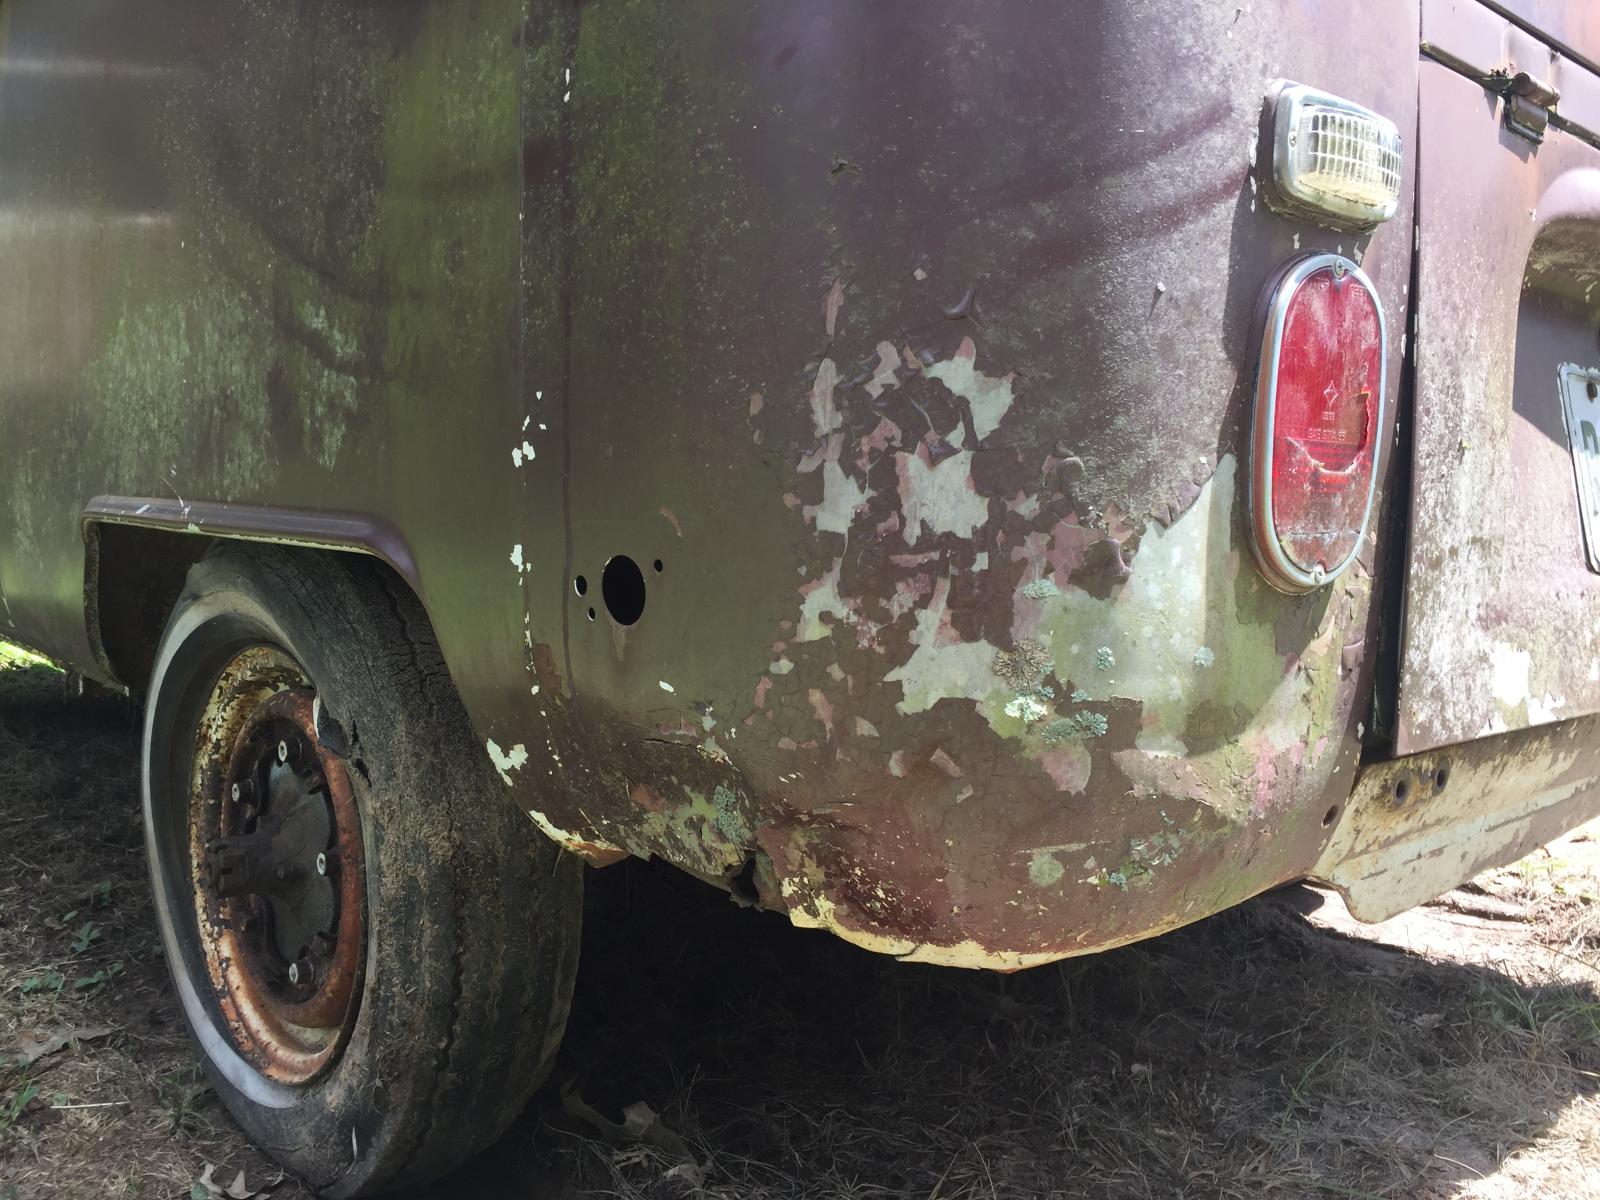
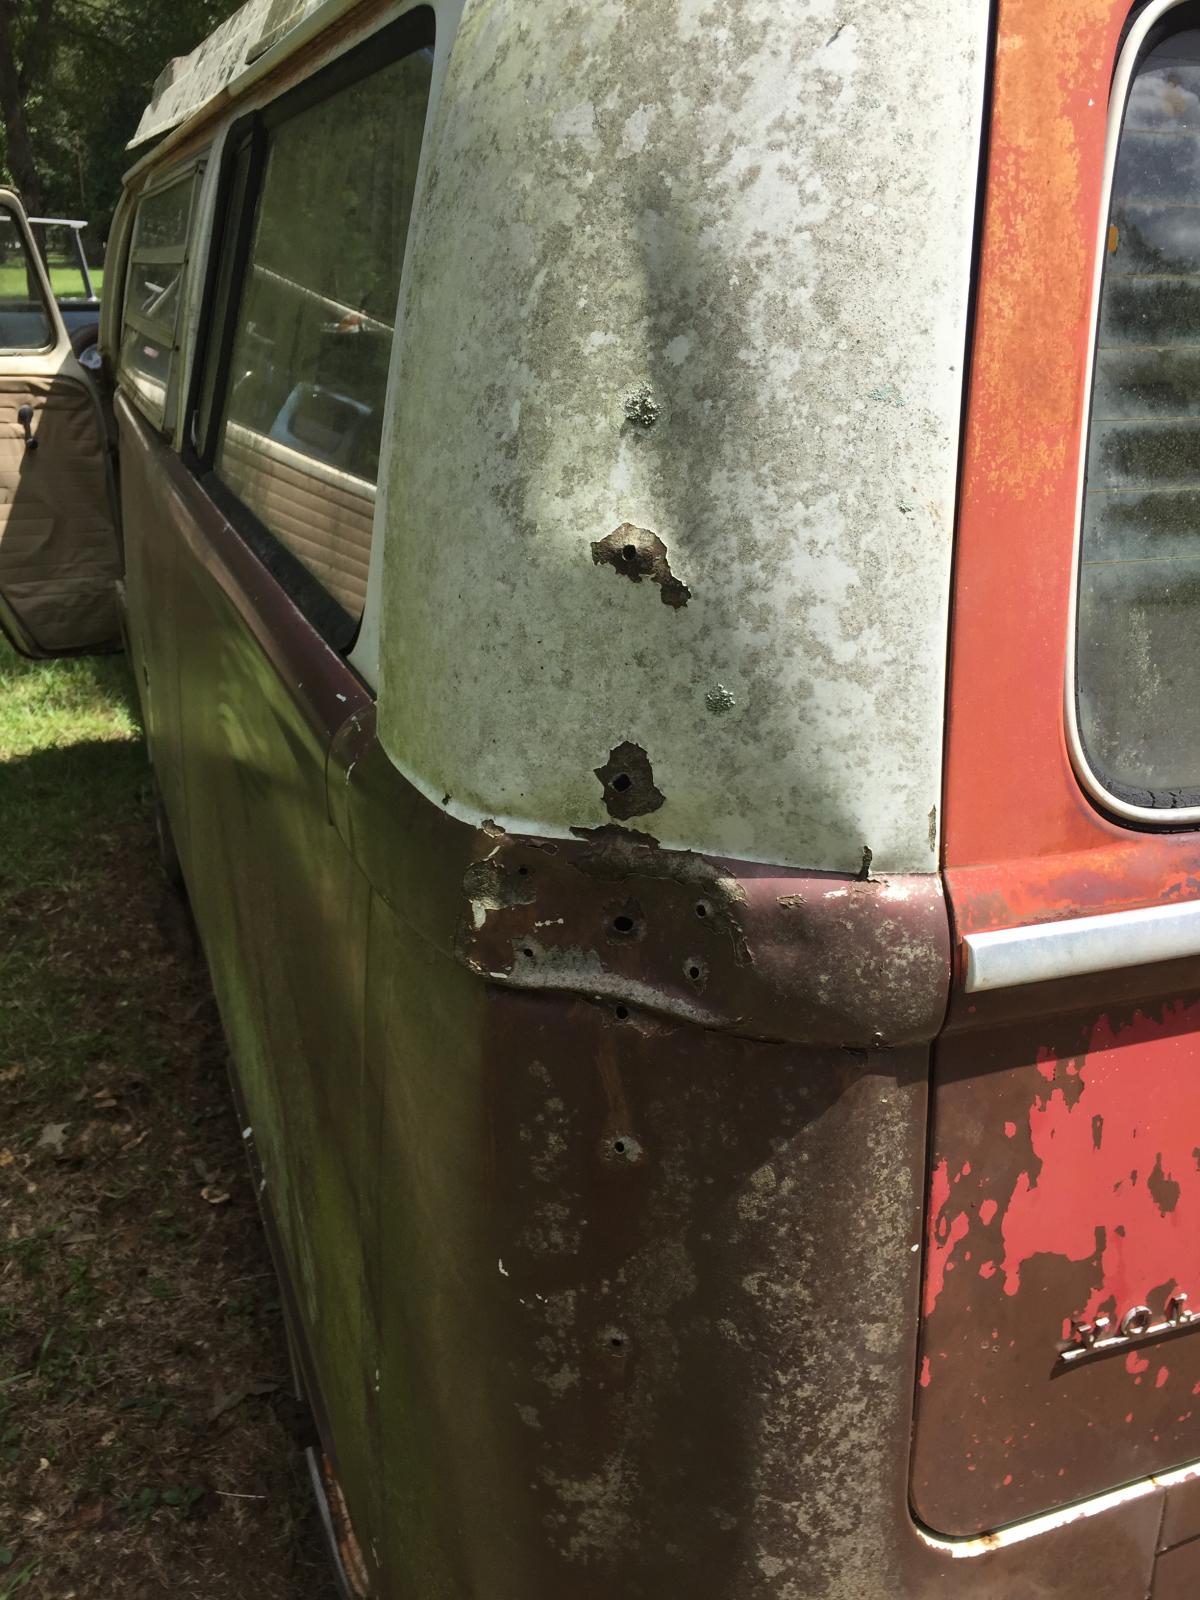
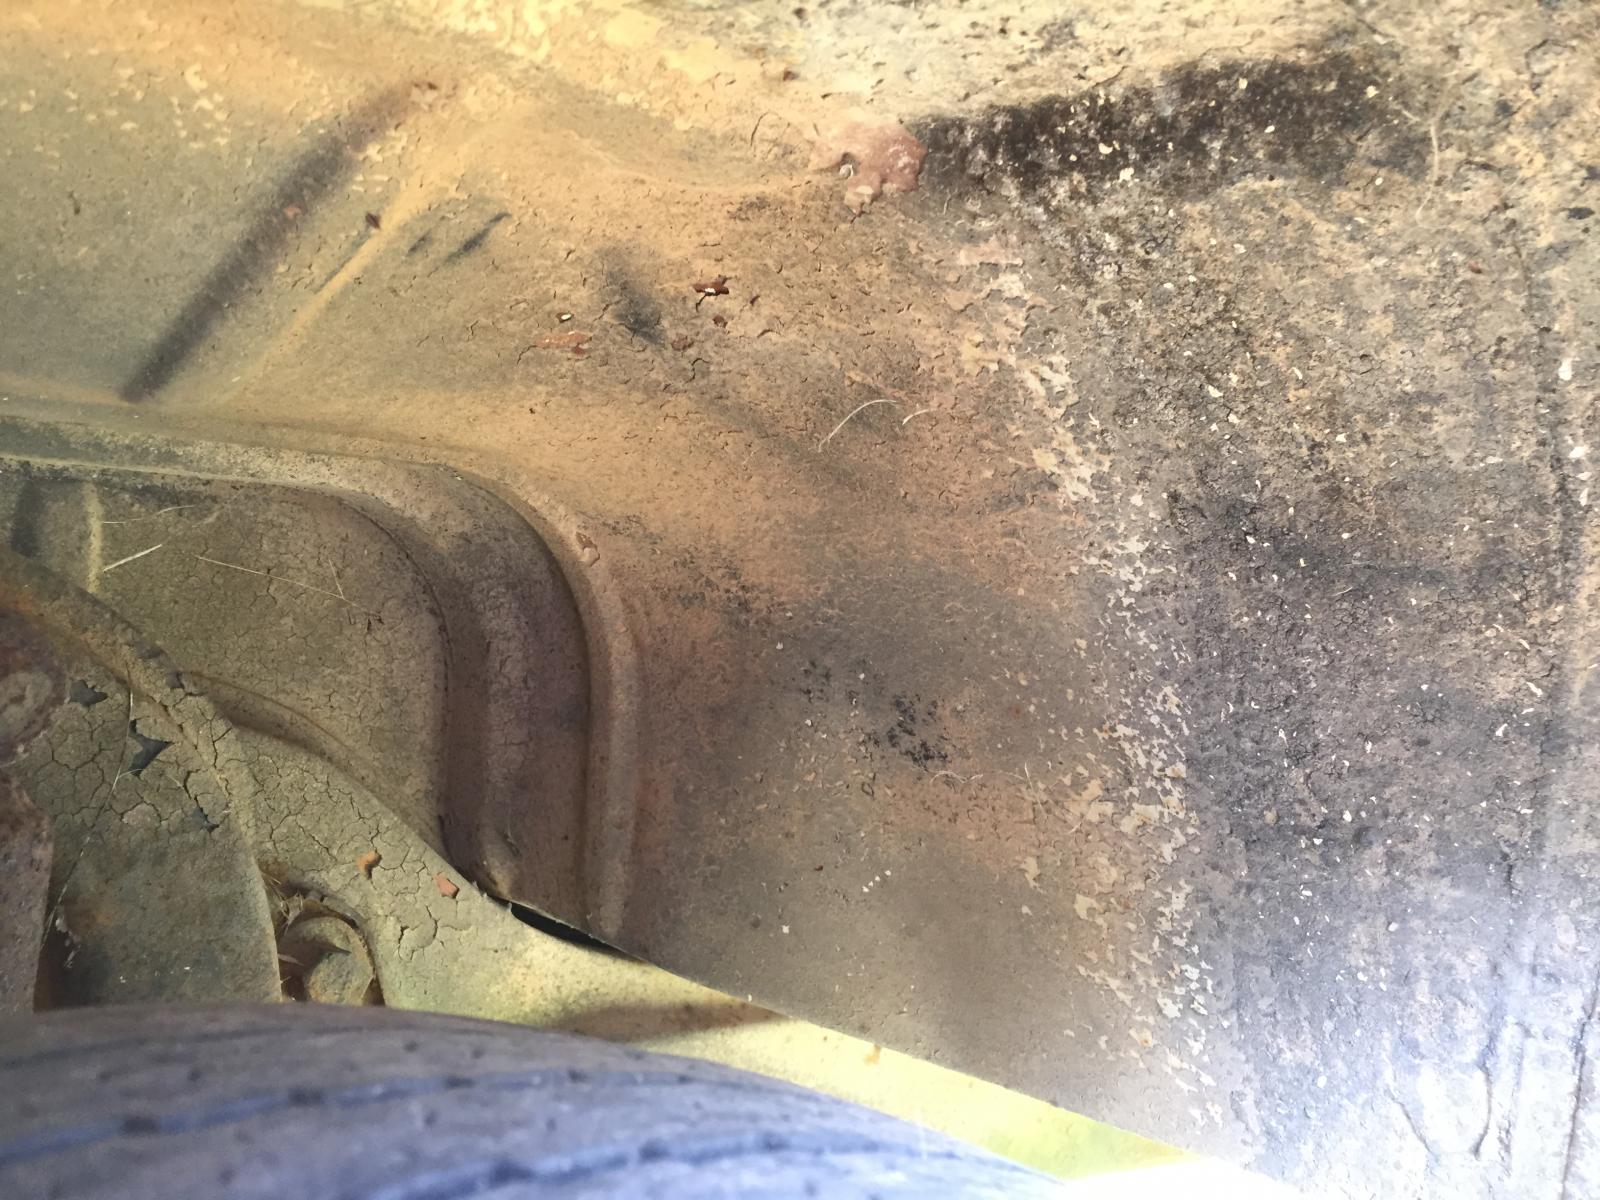
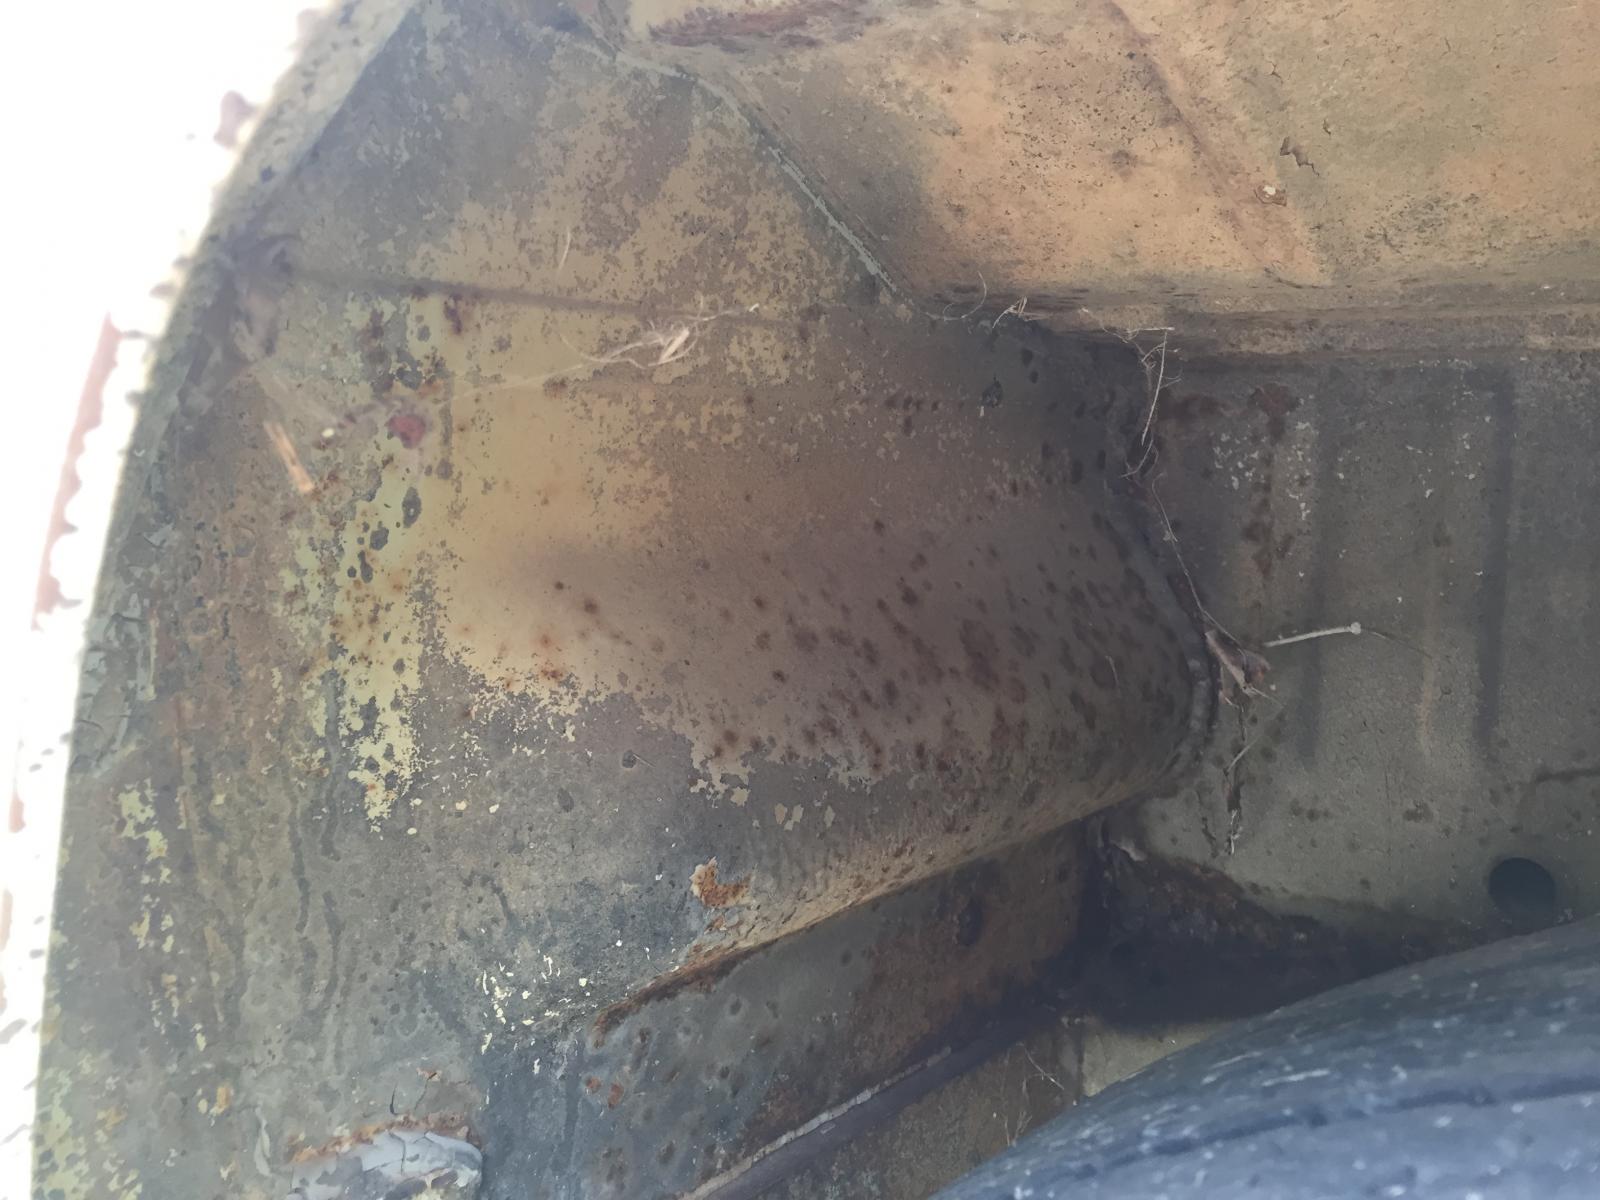
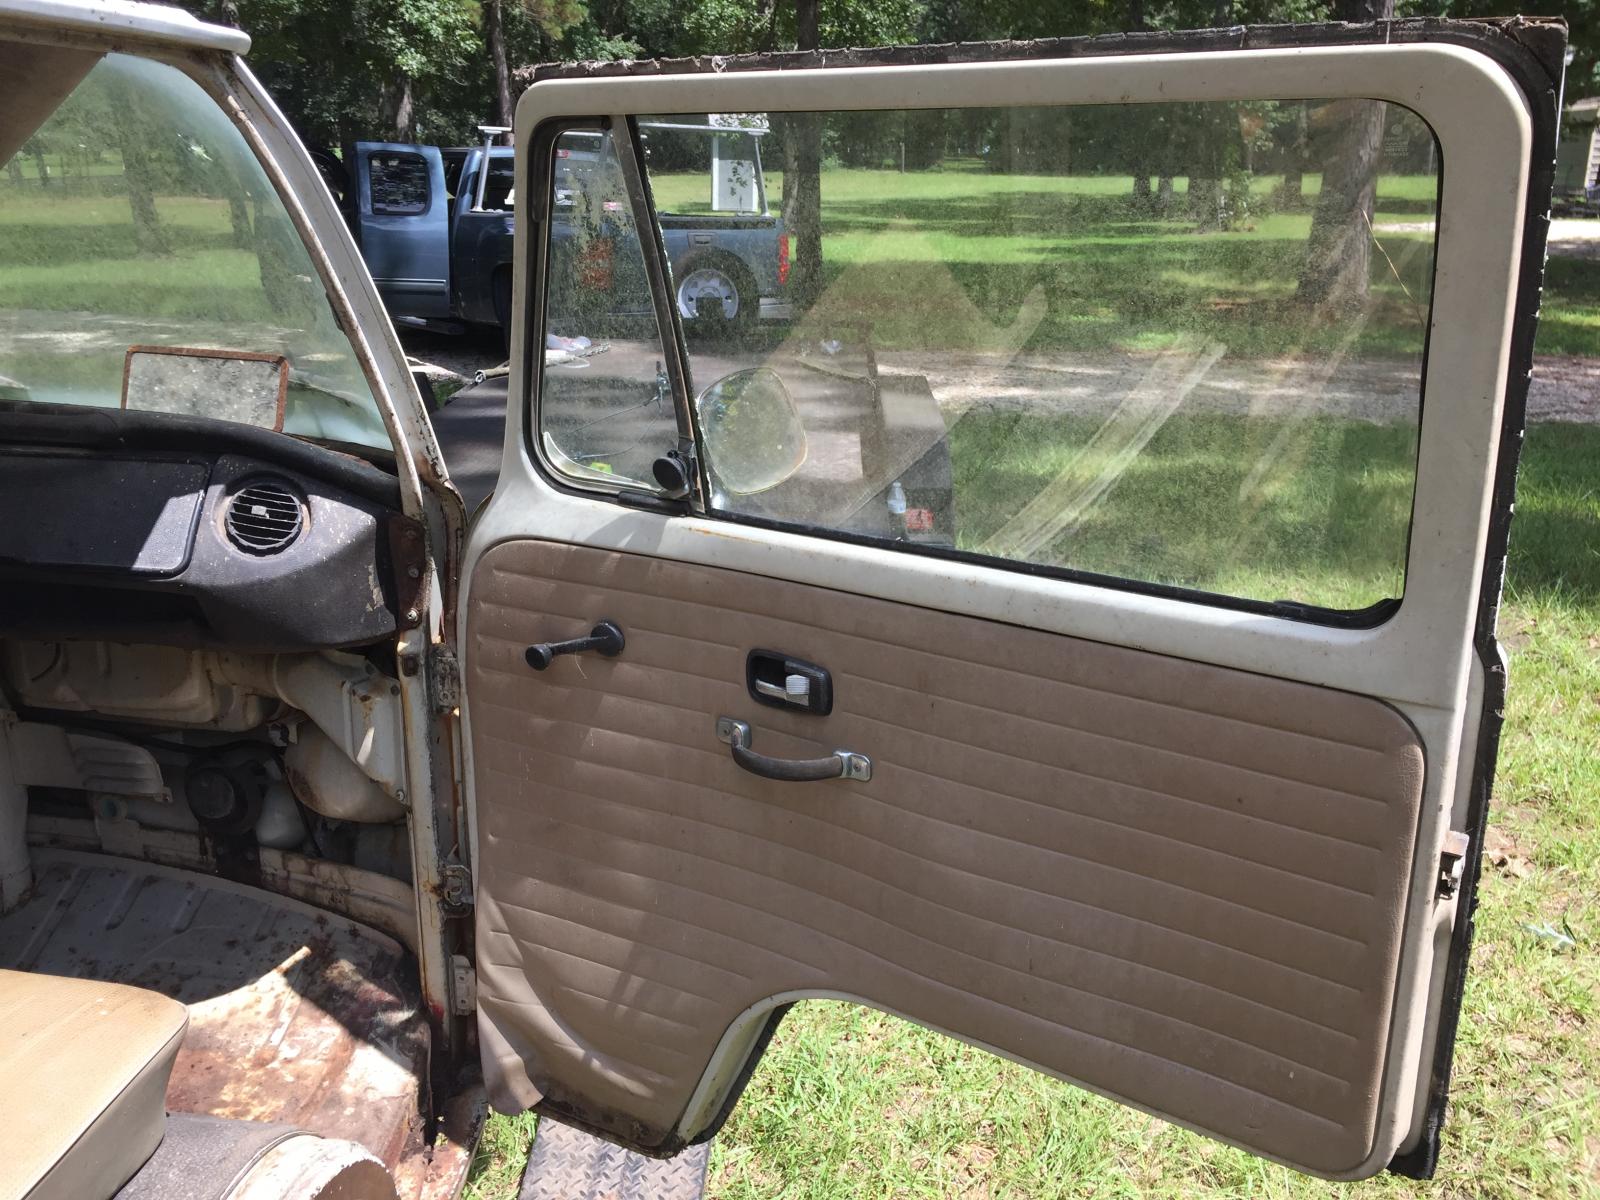
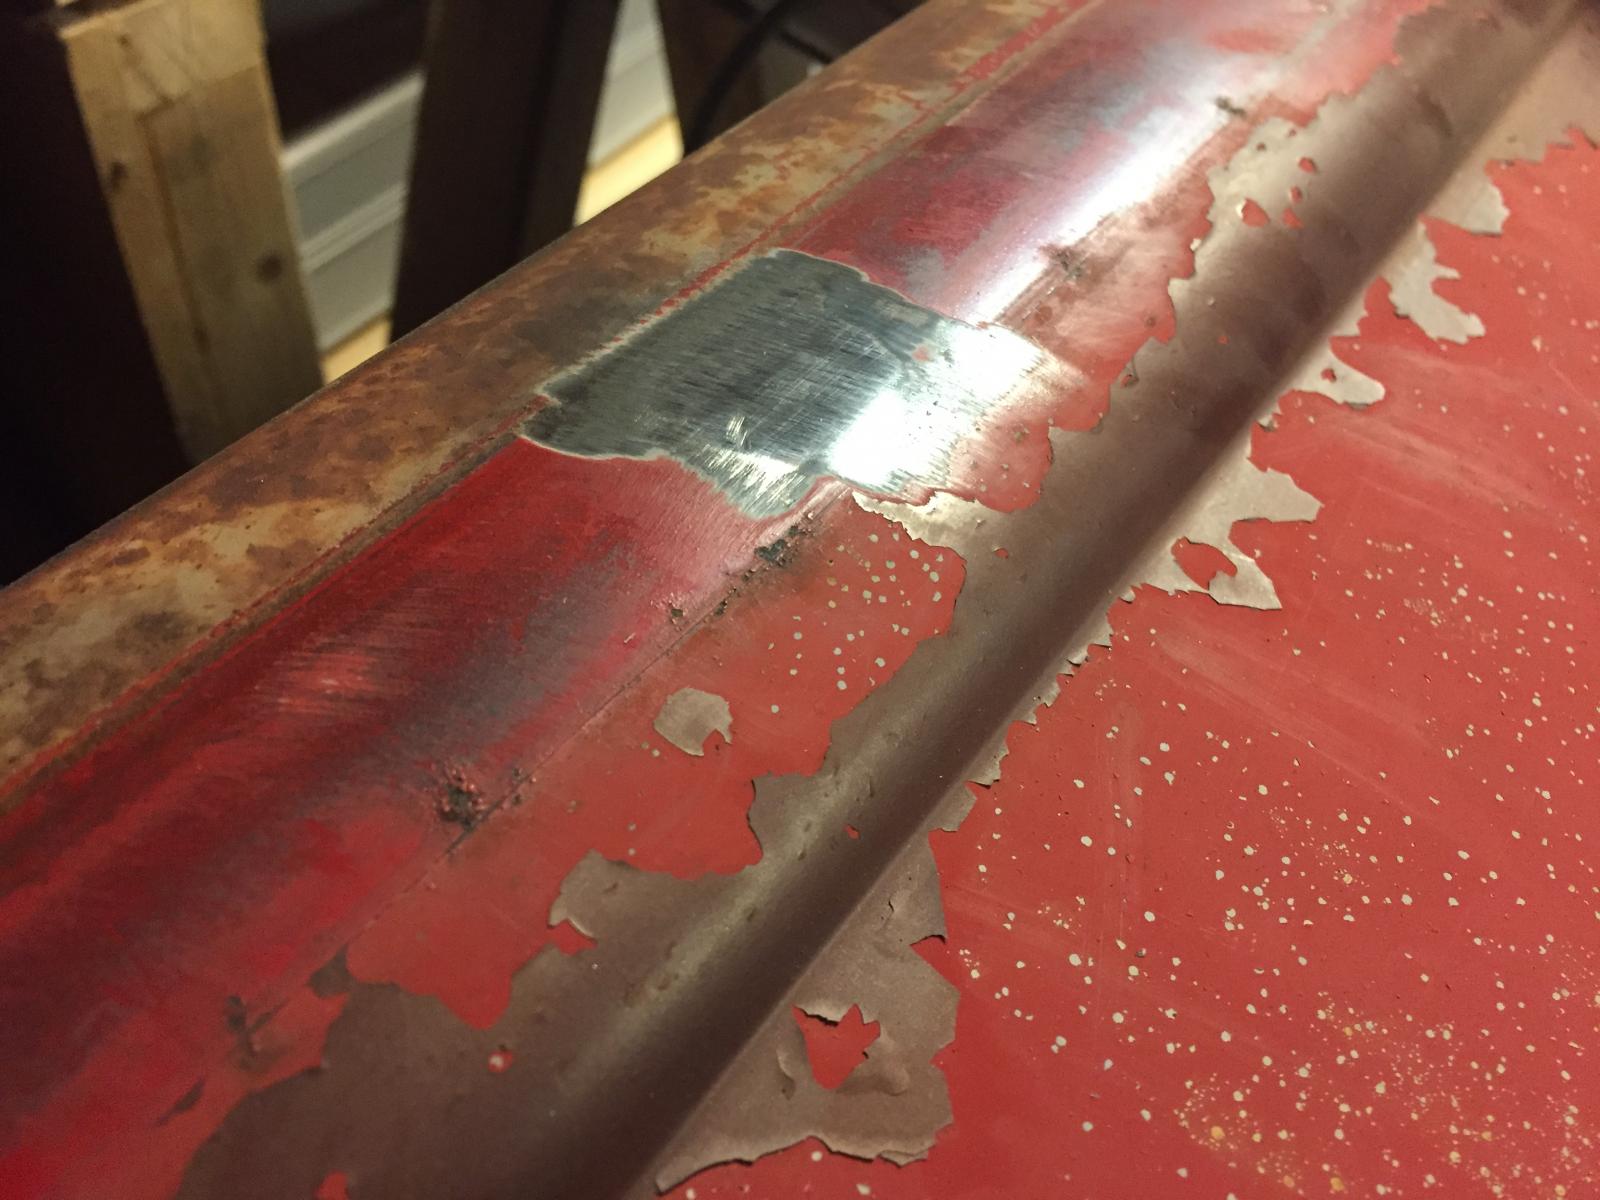
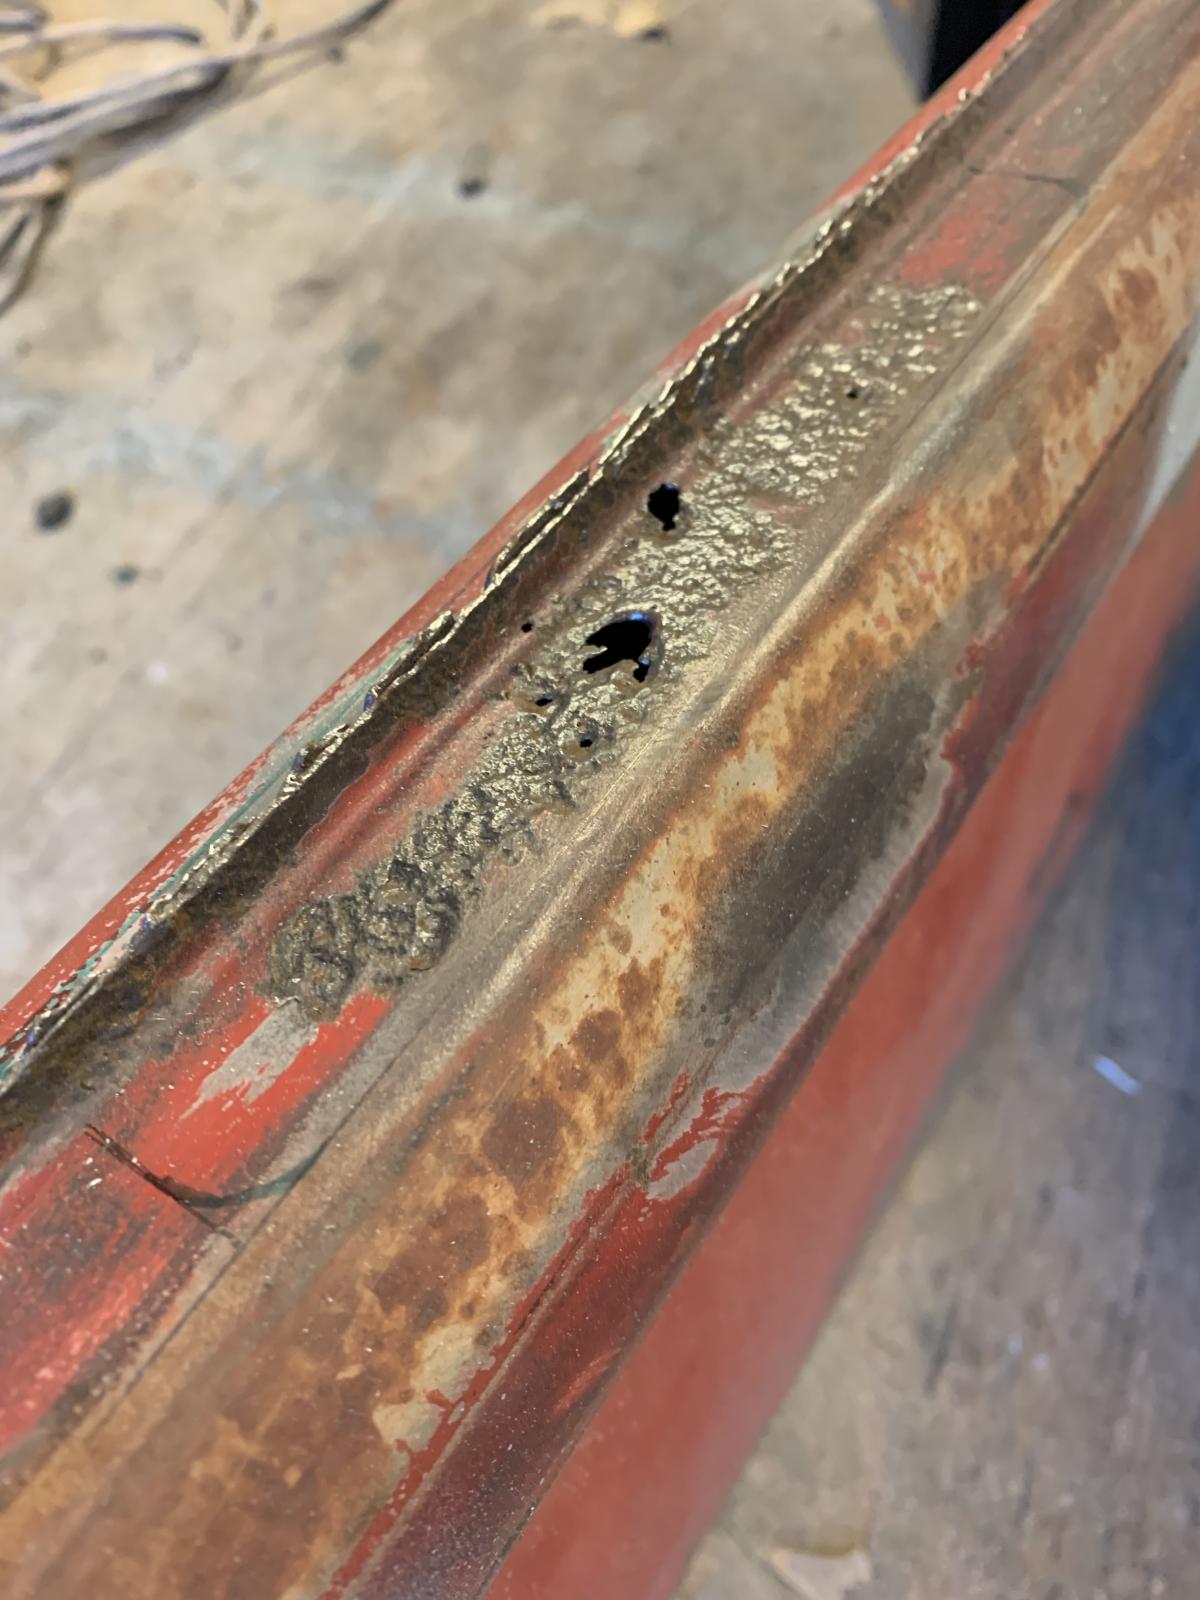
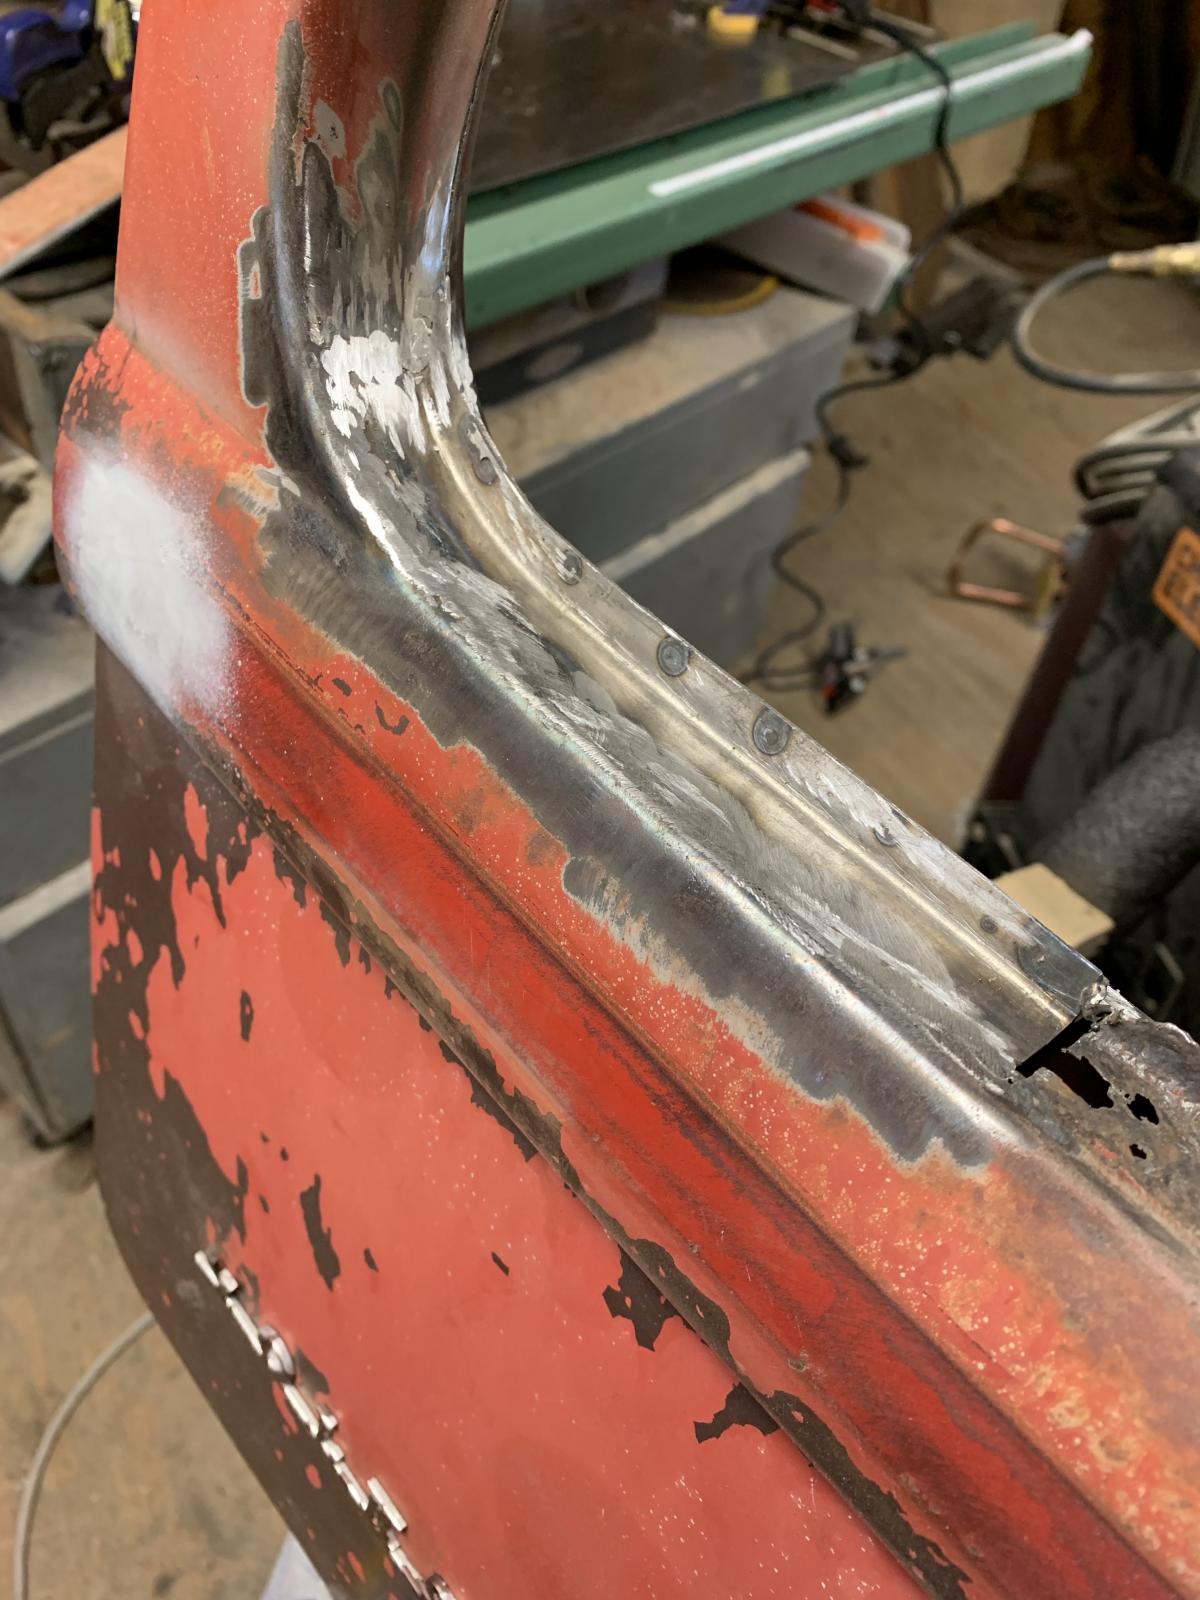
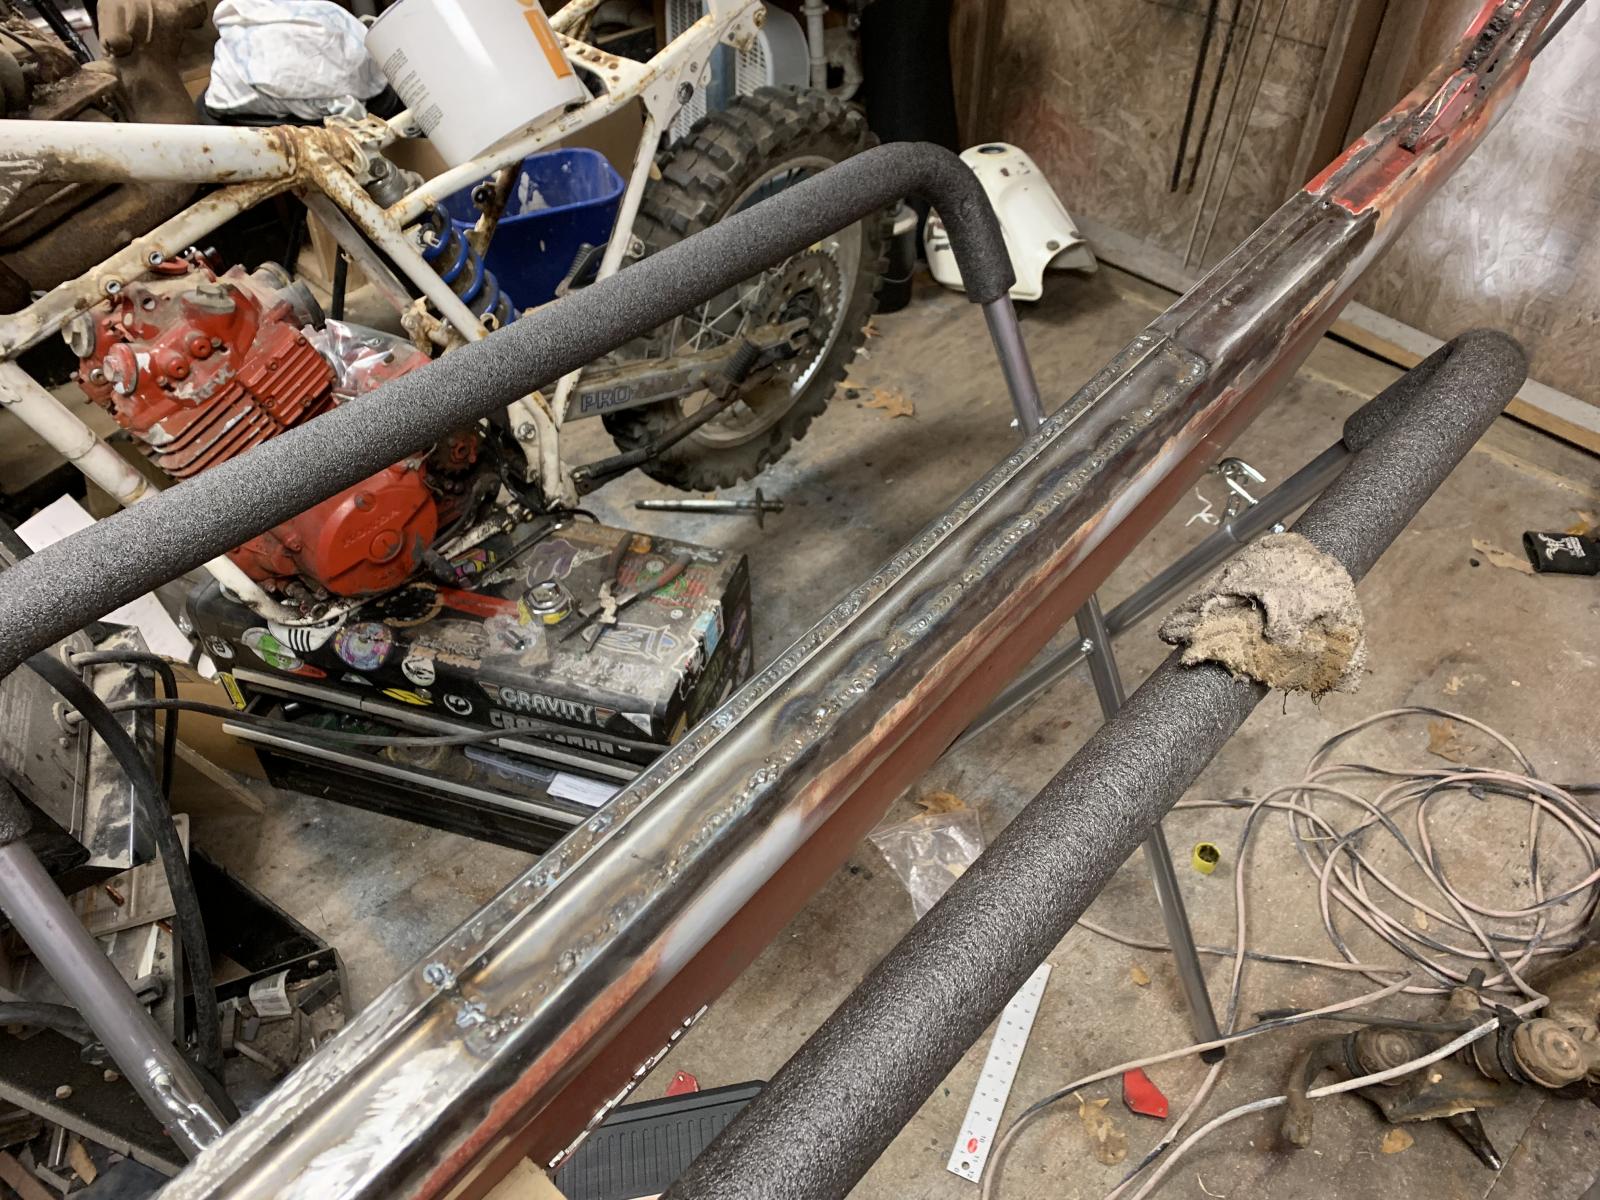
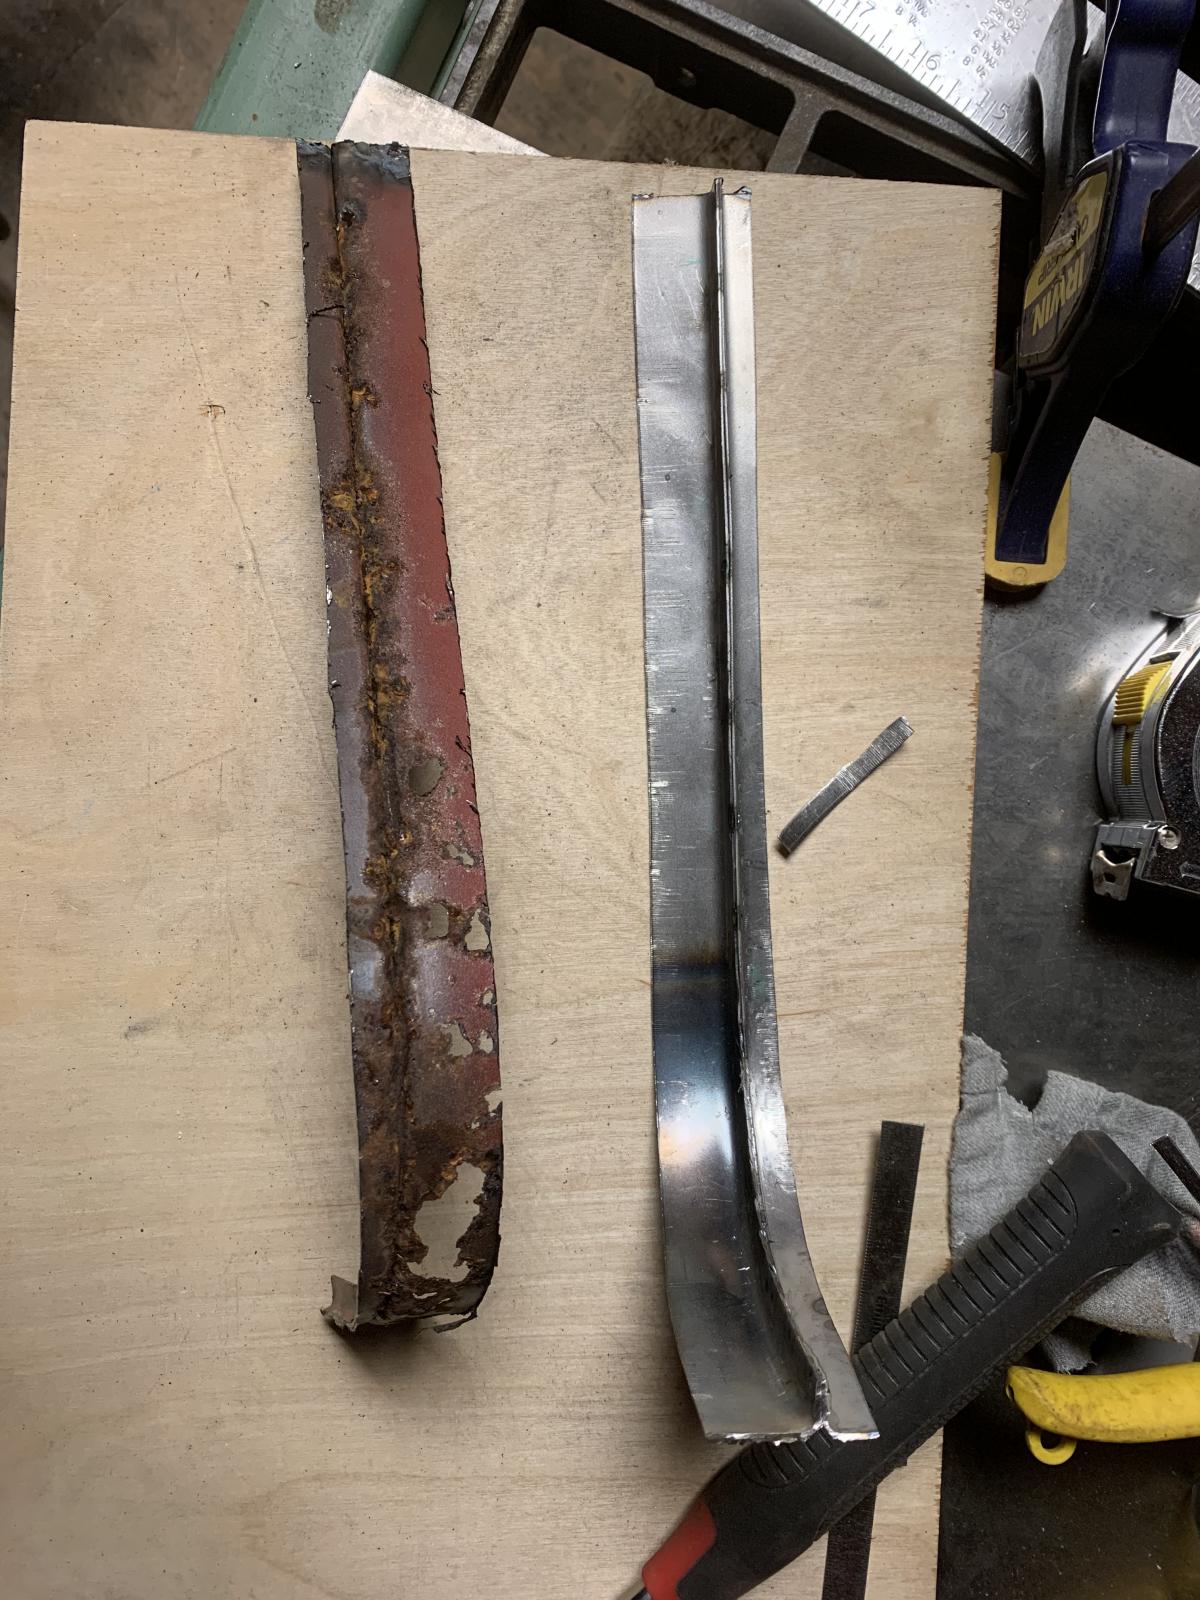
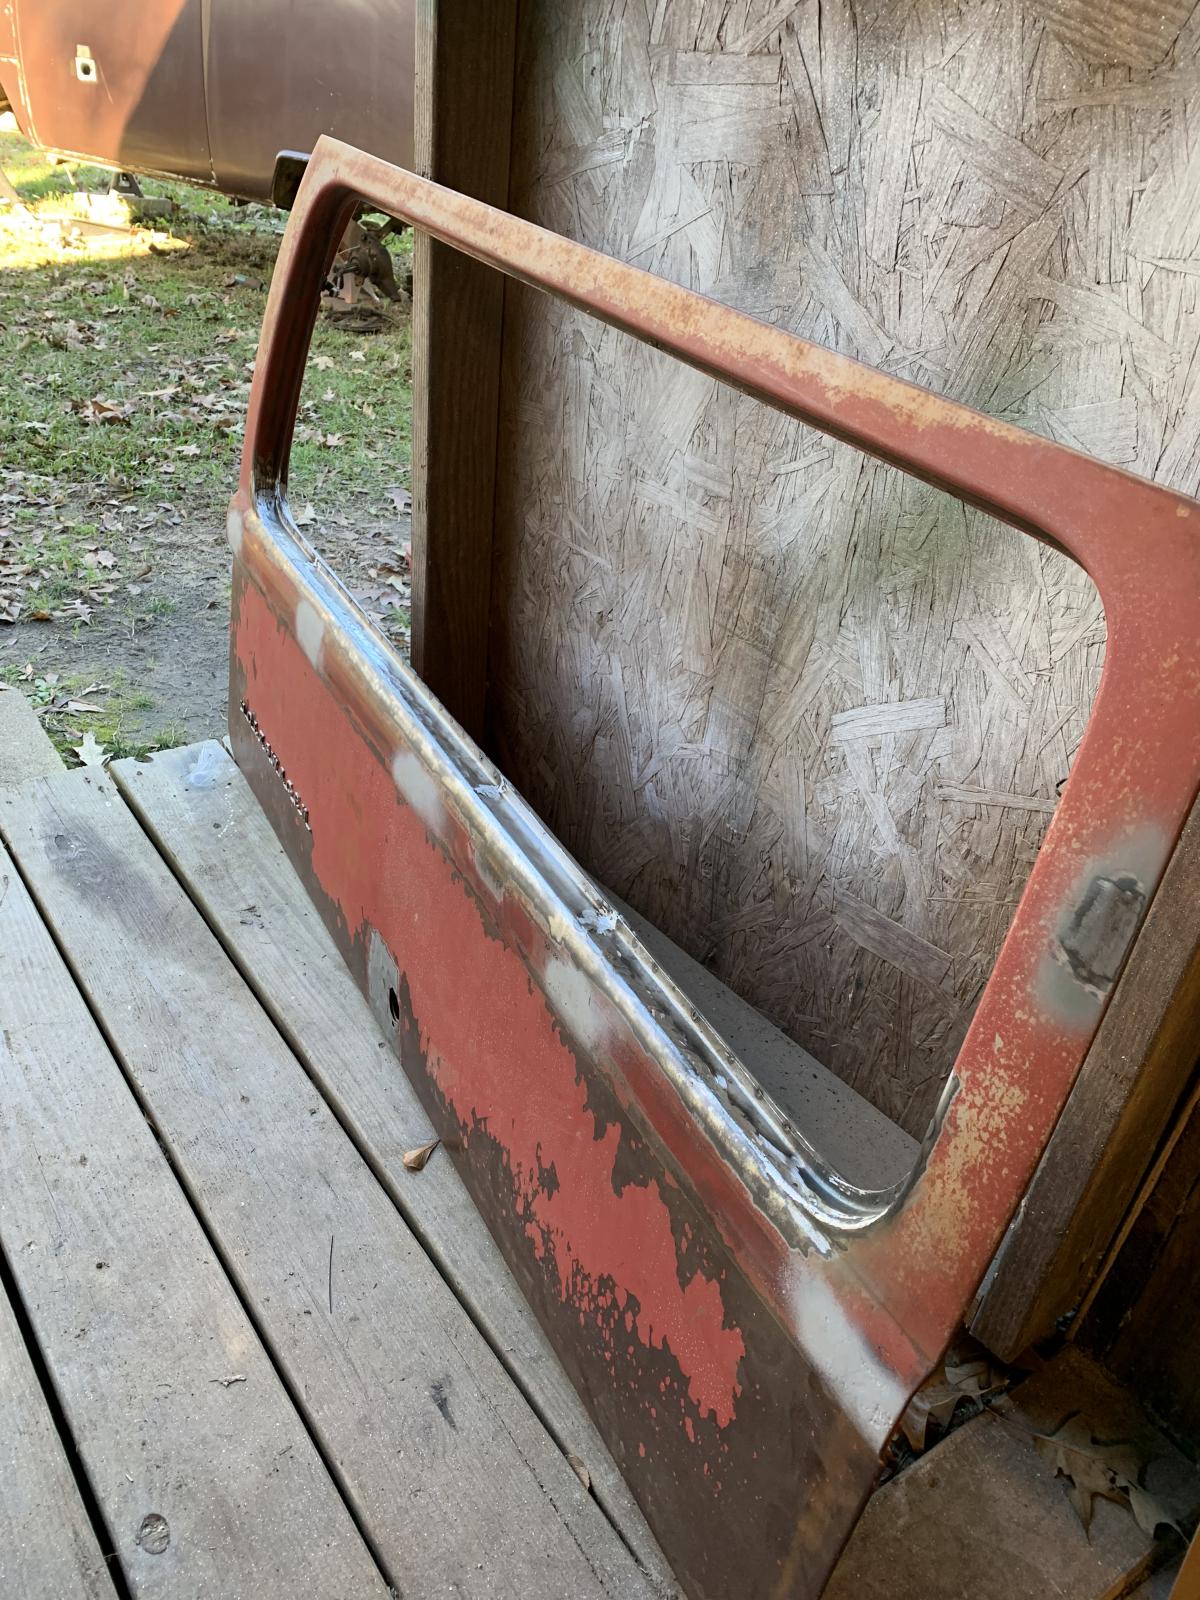
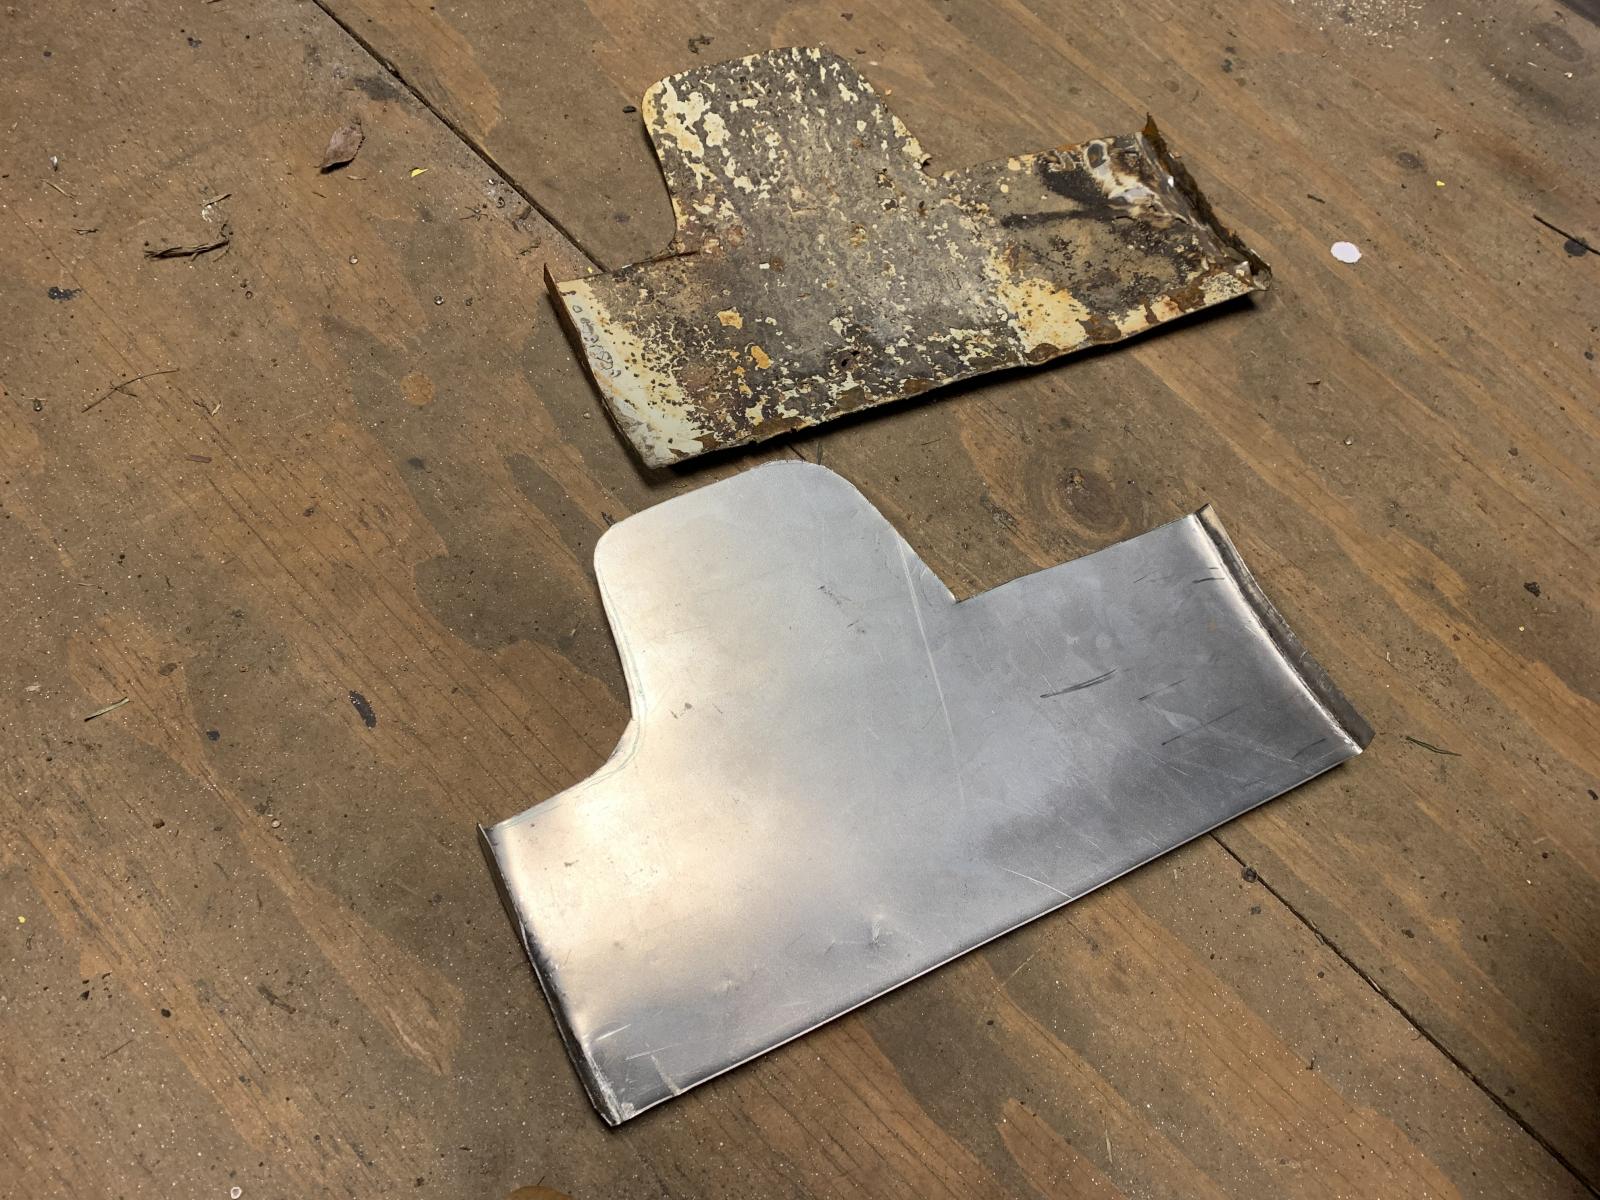
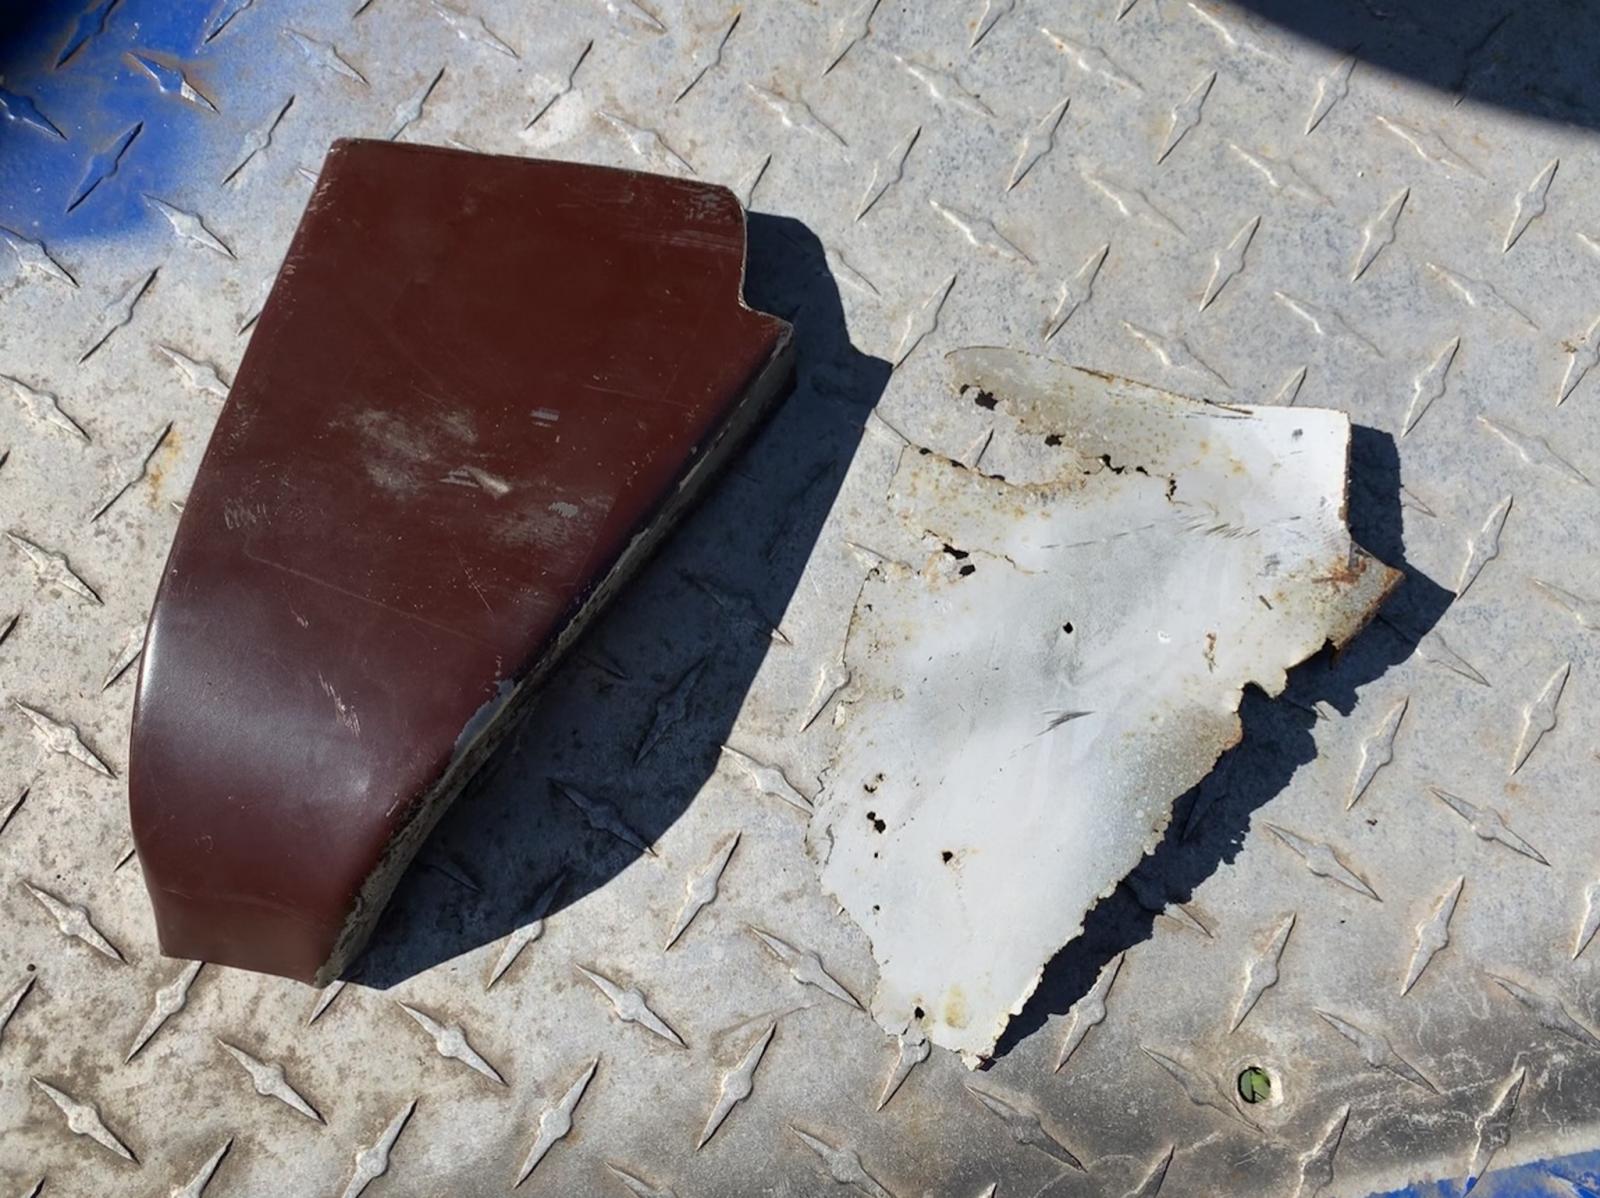
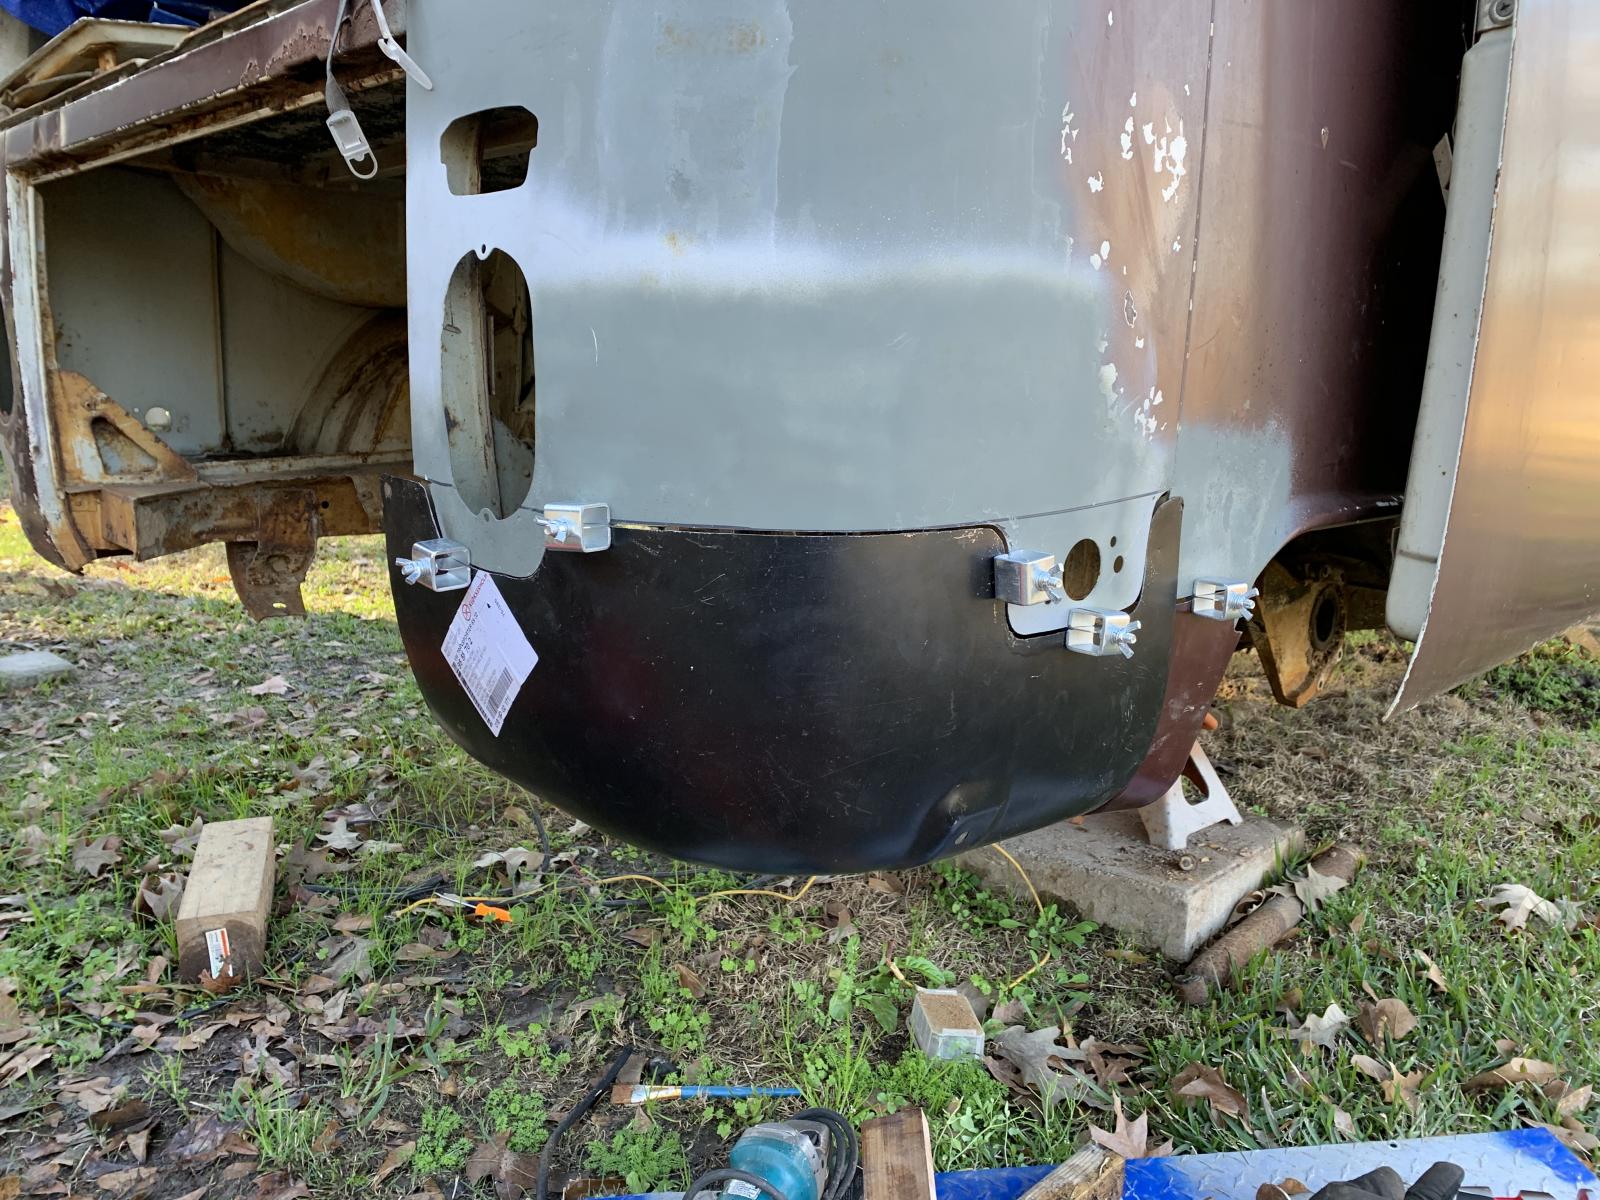
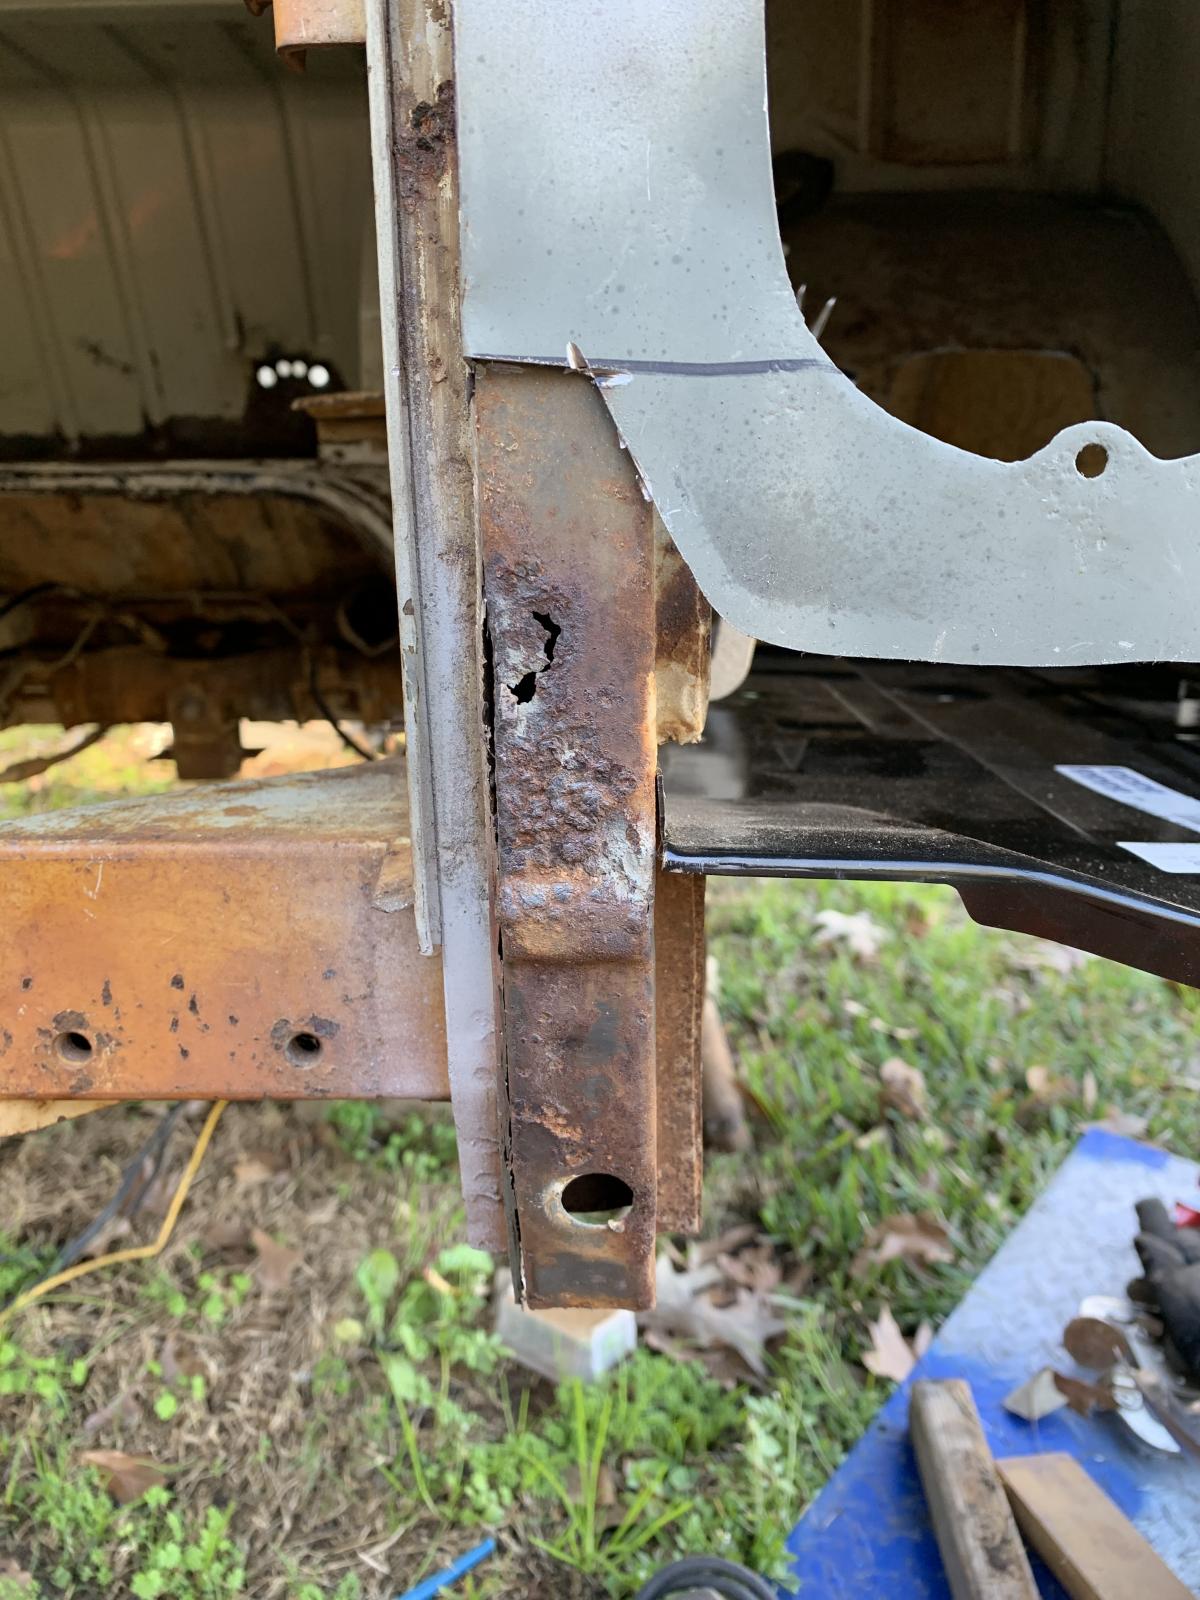
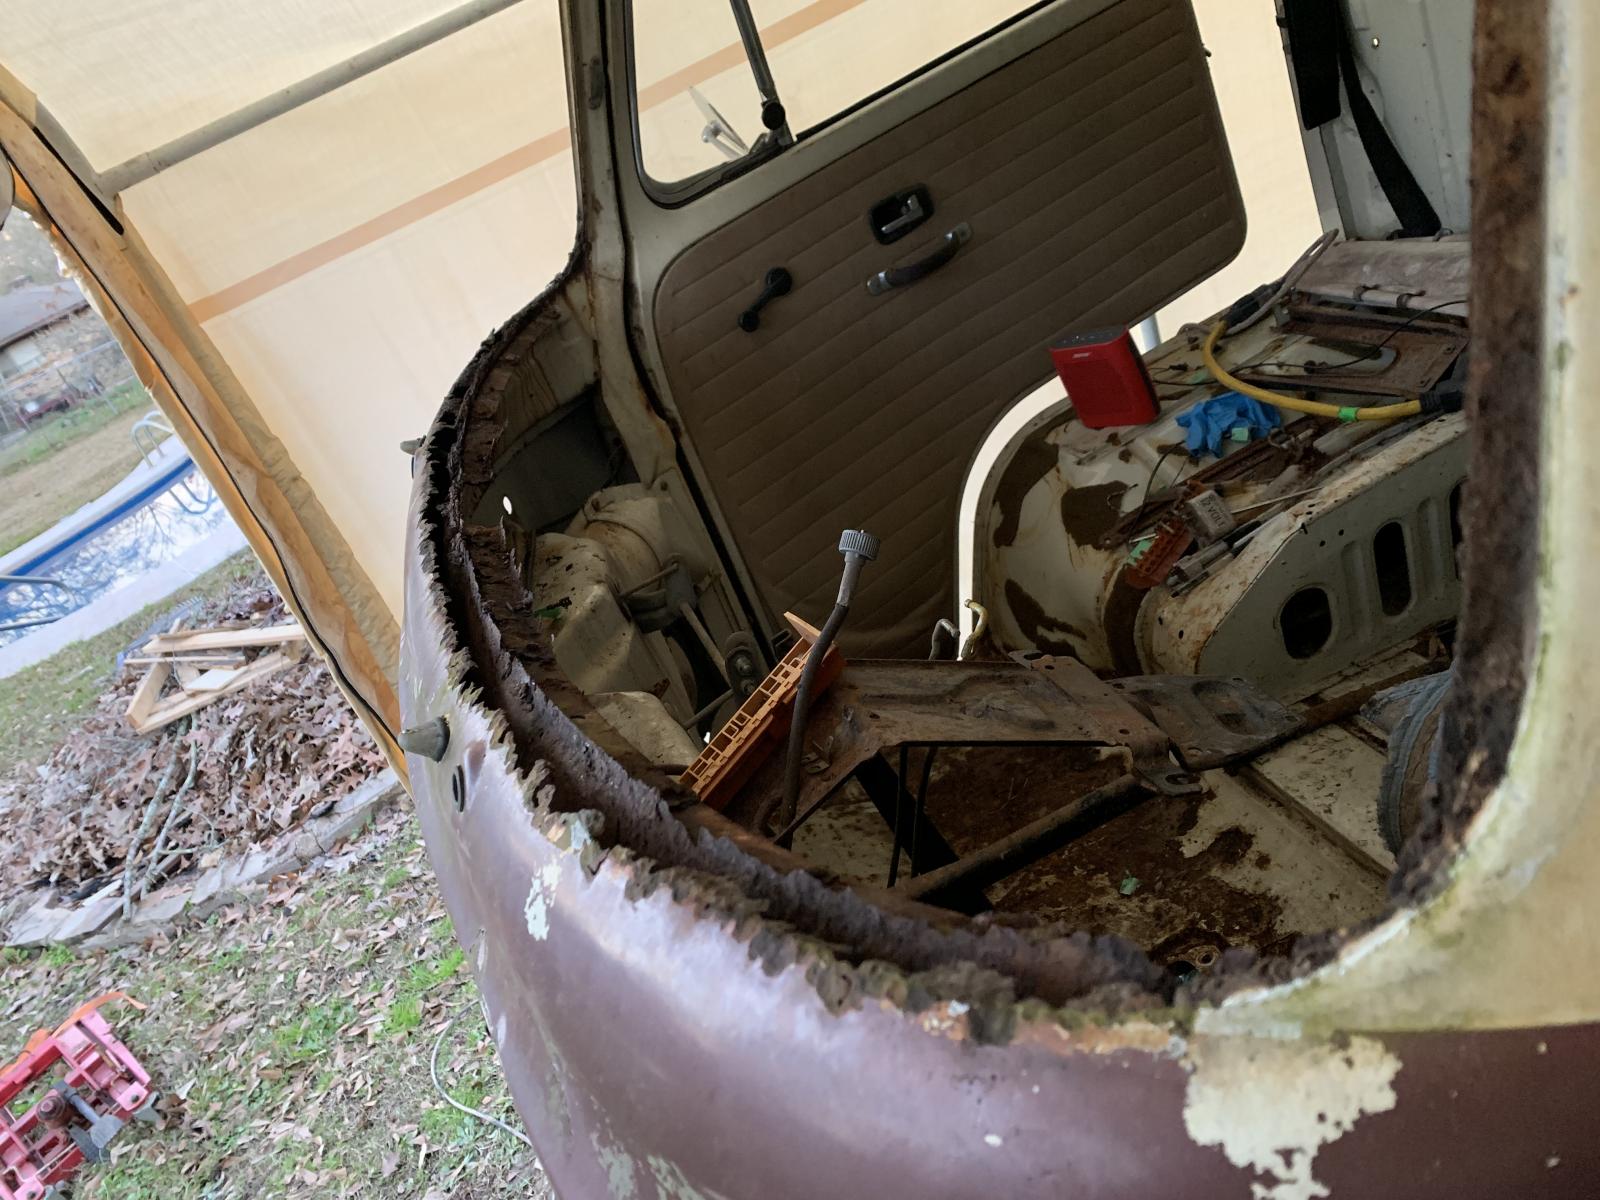
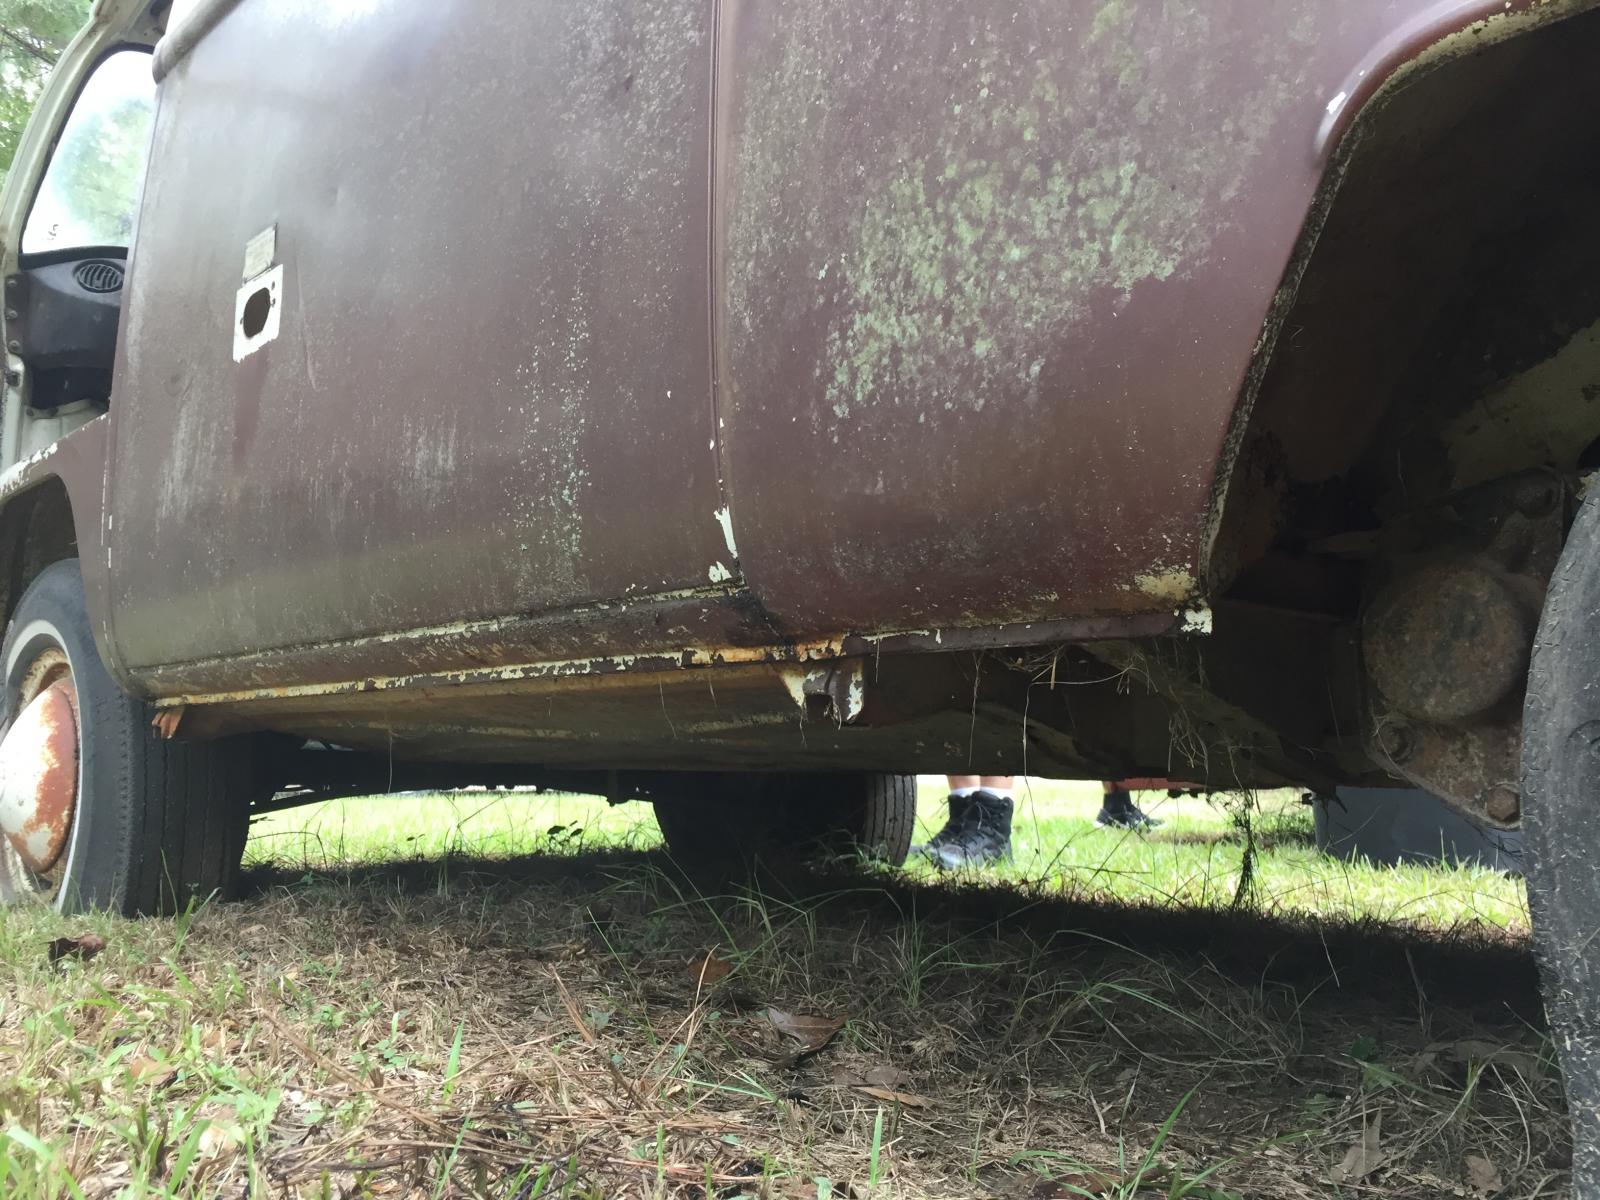
Right off the bat I know it needs the battery tray replaced, bottom of the windshield, front apron, a few patches on the front floors and some work on the doglegs. The floor, rockers and majority of the body panels are straight. Looks like someone started to pull a few dents on the drivers side front and rear quarters but just drilled the holes and left the dents :evil: so I'll be fixing those as well. I want to keep the paint , but we'll see what happens.
 
Got the bus home this weekend [many weekends ago]. Took about 2 hours to get it cranked up on the trailer.. and to everyone's surprise it rolled right off the trailer when we got it into the yard.

Here's some pics of the exterior, some good and some bad. The two rear lower corners are pretty rough, and the front drivers side is tweaked pretty bad. The steering column is actually slightly off center on the hole in the front floors, I'm hoping nothing is tweaked in there.


1823572.jpg


1823578.jpg

1823576.jpg

1823574.jpg

1823573.jpg

1823575.jpg

1823577.jpg

1823579.jpg

1823582.jpg

1823584.jpg

1823583.jpg
 
Some interior shots:

Front floor, driver's side needs replaced. Its hard to tell from this pic but note the position of the steering column in the hole. Will address that soon.
1823607.jpg

1823606.jpg

1823605.jpg

1823604.jpg

1823603.jpg

"Casco" Fan, made in Bridgeport CT. I have a buddy who restores vintage fans who told me this is from probably the mid to late 60's. Pretty cool, it will stay but I'll probably relocate it.
1823602.jpg

Here's the motor that's in the standard (it spins!), should be the original motor for my bus.

1823601.jpg


Sink cabinet has seen better days
1823600.jpg

Inside the "closet"
1823599.jpg

Dug a metric ton of squirrel nest out of the cabinets. This big nest caused some rot on the passenger side rear sheet metal that will have to be addressed.
1823598.jpg

Found the children's cot for over the front seats, mostly intact!

1823597.jpg

With the bed in place

1823594.jpg


Stripped the entire interior out, vacuumed everything up and sprayed everything down with bleach. Let it air dry overnight.

1823596.jpg


While the floor appears rusty, it seems that the paint did its job and is bubbling off while there is clean bare metal underneath. This photo was taken from under the rotted wood base of the rear seat

1823595.jpg
 
I snapped a pic of my M-Plate and punched it into the decoder. Looks like my factory installed rear seatbelts were removed at some point. Pretty cool stuff though.


1823831.png
 
I pulled the crusty old wheels and dry rotted tires off last night. I'll be prepping them for a repaint and new rubber within the next couple weeks. Going to pull the hubs off after our trip out to Big Bend this weekend (wishing I was taking the bus...maybe it'll be ready next time :lol: ) and check the condition of the brakes and hardware.

Planning to clean up the drums and have them turned, grab new shoes and have them arced to the drums (if I can find a local shop to do so), and new lines all around. I'd love to reuse the wheel cylinders and masters and rebuild the stuff if its savable.

The pair of buses did not come with paperwork when my buddy bought them. He has been in contact with the seller, and she has been very helpful up to this point. We've been looking into getting bonded titles for the pair, when I had the idea of asking the PO to file for lost title. Well long story short, a couple weeks ago, she had mailed my buddy some paperwork for the buses. He hadn;t seen it as it went to a friends place that they were having their mail forwarded to (the long part of the story). Anyways, it turns out that the package included the title for his Deluxe, as well as the 2 OG owner's manuals that came with the buses. Sweet! The seller's brother was the owner of my Westy, and she has agreed to look for the title (it exists) and if it can't be turned up, then she will help obtain one. Definitely a step in the right direction, as a bonded title will run me over $1000 here in TX! That saved money will buy most of what I need to get this old girl back on the road.


1824391.jpg


Also, I'm trying to figure out what color was used to respray the bottom half of the bus. From the Type 2 color chart, it appears that:
Agate brown 77-79 L86Z
is the brown used on the Champagne edition, but looks a shade or two lighter here.
895752.jpg


I want to grab a pint or a few rattle cans so I can touch up any areas that need rust repair or bodywork. Its actually a pretty crappy respray, but it makes the bus look like an old, well worn boot and I love that. Since I need to do some repair on the lower lip of the windshield, I'll probably remove the brown paint from the bump out around the sides and rear, so I can use that break line and paint up my repair in pastel white.
 
For what it’s worth, I wouldn’t recommend putting a bay up on jack stands in your horribly uneven yard with fire ant piles underneath it. I need to block it up better before I climb underneath it that’s for damn sure. But ya gotta do what ya gotta do. I need to get rid of some Ghia corpses and parts so I can park this thing “indoors.” My fiancé gave the bus a wash the other day and despite being pretty dull the paint came pretty clean.

And this is what a floating loaf of bread looks like:

1824742.jpg


I’m going to pull the transaxle as it’s hanging low and only by the front mounts. CV boots are torn to shreds so they’ll need replaced. Battery tray and the left side tray are both gone. I’m sending back a bunch of Ghia repair panels I bought a few days before I found out about the bus, so I’ll turn that credit into a bunch of sheet metal for the Westy.

Stay tuned 8)
 
Not much progress lately as I need to buy an extension cord for the welder so I can get it to the bus.

I decided to pull the rear hatch door off because the window seal was leaking like a sieve. I vacuumed out over a gallon of water after a 30 minute rainstorm here the other day (when it rains it pours in Texas). It'll stay drier with a tarp over the hole for the time being. I think we rescued these buses in the nick of time..with that much water entry another year or so would have been devastating for this bus.

I'm going to get rid of the deluxe trim because this ain't a deluxe. So I'll weld up the trim holes and buy the plain rubber trim. Oh, and I need to get rid of that RED!

1829817.jpg

1829816.jpg


On the way are the repair section between the decklid and the rear hatch, window seal and if my budget allows a few more sheet metal parts for the back end/engine bay area. Hopefully I can straighten the decklid skin as its pretty tweaked, I may just end up sourcing a straight one from the classifieds.
 
I'm trying to subscribe to the "one thing a day" principle even if its something small, ordering a part or going to the hardware store. Last week I pulled the rear hatch off in order to evaluate the damage. Its pretty rusted out along the bottom of the window channel. Eastwood was having a sale over the weekend, and I bought myself a shrinker/stretcher and some other bodywork essentials such as seam sealer, weld thru primer and epoxy primer.

For whatever reason, both of our buses came with rear hatches with deluxe trim. I cleaned up the beltline and set out to close up the holes from the deluxe trim. Disclaimer: I've been welding for about 5 years now, but I haven't done much with sheet metal, and even less on a vehicle. So I figured this is a nice easy job to start out with. I filled the holes and smoothed them. I went a bit too aggressive with the flap wheel, which isn't really the right tool for the job - I'm waiting on some Roloc grinding discs that I ordered over the weekend before I keep going. The spots I filled ended up being about 0.05 mm low when checked with the straightedge, so I will be careful of that moving forward. Anyways, one small step forward. Once I get in the shrinker/stretcher I will begin fabricating the repair pieces for the rear window.


1831600.jpg

1831599.jpg
 
Not a whole lot of physical progress happening lately. I have been selling off a bunch of Ghia parts and collecting sheet metal, some additional welding supplies I need and building the tip-over dollies so I can move the bus around and work on the undercarriage without crawling around on the grass.

Had some time to get over to my buddy's and pull the motor for my bus out out of his Deluxe. The story goes that the owner daily drove the Deluxe, and when the motor crapped out, he swapped the motor from the Westy into the Deluxe. We had to dodge a few downpours but eventually the rain let up just before dark and we were able to unbolt the sucker and slide it out. Loaded it into the truck and brought it to the shop, where I unbolted the Ghia lump from the stand and put the Bus engine there while I had an extra set of hands.

It spins over but its been parked since the 80s and I'll most likely do rings, hone, and lap the valves in and send it. The camper had 44k on it when it was parked, and judging from the loose wires and missing bolts I'm in doubt that the installation was ever finished.


1843656.jpg


1843655.jpg
 
Not much but its a start. I decided to tackle the sill rot on the rear hatch to get my feet wet with the sheet metal repair. I figure if I botch it up badly enough I can always buy a new one, right? :lol: The first area was out in the middle so I figured it was the easiest to go for.
1850475.jpg


After a few rounds of trial and error, I managed to make a good repair section out of two pieces of 20ga bent up in the brake. I coated the back side of the bent pieces with weld through primer and stuck them together.

1850474.jpg


I went ahead and cut out the rotted area after tracing my repair sections. I'd like to get a body saw for better cuts but I'm rolling with what I've got for now. Got my gaps as best I could. The gap on the inner section should've been a bit bigger. Live and learn. Tacked it in place only blew a few holes through :oops:

1850473.jpg


Welded it up and hit it with the grinder and a roloc to finish it out. I'm pretty happy with the way it turned out. Kind of sucks having to weld so close to the bend there, I don't like finishing out welds that close to a bend since its easy to remove too much material, but gotta do what I gotta do.

I probably should've made the repair section a couple inches longer, I opened up that hole when I was finishing out the weld :evil:

1850472.jpg


1850471.jpg


Feels pretty good to get the first bit of rot cut out and replaced with new sheet metal. Not the prettiest repair ever but I think its a good start and I'm ready to start tackling more of this stuff.
 
Spent some time in the shop trying to get the rest of this window surround buttoned up. Took a lot of fussing to make this piece, I had to leave the center section 10mm longer to be able to bite with the shrinker, and then trimmed each side before I spot welded them together. After they were stuck together I hit them with the belt sander to get the profile closer, I'll find tune it once I get it welded in place.


1851070.jpg

1851069.jpg
 
How many posts can I write on this rear hatch? 5? 10? Tallyho! We're almost ready to move on...

I got the corner piece welded in and finished off. Had to massage it a bit to get it perfect but it fell right in place. Next, I went right along the line and made up an 18" piece to fit between the corner section and the small piece I replaced last week.

I had originally planned to only replace the sections that were badly rotted, but the more I looked at the seam where the two halves were spot welded together, I felt like I might as well replace the entire bottom sill. My brake is only 18" so unfortunately I'm forced to do it in smaller sections. It seems to be going well but just a little more work.


1851883.jpg

1851881.jpg

1851880.jpg


I've got the two halves made up for the passenger side corner, just have to fine tune them and spot weld them together, then a small dent to pull right by the latch and the hatch will be ready for epoxy primer.
 
I’m glad I decided to replace the entire sill of this rear window. The first 6” on the straight portion of the piece pictured below looked great from above but was actually looking pretty rough underneath. This corner took quite a bit of fussing to get right, eventually it was just “good enough”. I went to let it in to the door and found that I accidentally cut it about 1/2” short on each end :evil: guess I like making extra work for myself.

1854090.jpg


Here’s the finished product. I still need to finish polishing the welds out and do some heat shrinking in a couple spots where I let it get too hot.

1854088.jpg


The passenger side corner had some rot a little further down than anywhere else on the door. I made a mini buck out of some 3/4” scrap plywood and bent the corner around as best I could match. It was close and with a little hammer action after it was tacked in it fit perfectly.
1854087.jpg

1854089.jpg


I’m gonna call this adventure into the world of panel work a success! I learned a lot and feel pretty well prepared to start working my way around the bus itself. Onwards and upwards!
 
Not much to report in the past few days. I'm busy working on a tipover jig based on a design I borrowed from the Split forum. Just a few more days on that and I can finally move the bus again. I moved the Ghia out of the Harbor Freight portable garage in order to make room for the bus and shortly thereafter found a giant split down the ridge of the tarp that covers it :evil: . Headed back up to Boston to get hitched over the holidays so I'll be picking work on the bus back up in January.

Switching gears for a bit, I dragged the beam into the shop and finally pulled the spindles off. The ball joints on here are OG and seem to be in really good condition. The bus has 44k original miles on the clock and there seems to be very little play in the ball joints. The boots are trashed. I checked in the manual and theres a method of checking the play by pulling the trailing arms away from each other, and also read there is a way to do it with a C-clamp but couldn't find much more detail on that, so if anyone has a link to that procedure it'd be appreciated. I'd love to install zerk fittings on the tops of these OG ball joints and re-boot them if possible.

After some research it looks like the aftermarket boots available offer pretty crappy longevity. After searching around here someone found some OEM Mercedes boots that fit and are reasonably priced so I'm going to try that if the play is within spec. A link to the thread where I found this info: https://www.thesamba.com/vw/forum/viewtopic.php?t=340451&postdays=0&postorder=asc&highlight=boot++ball++joint&start=20

1855480.jpg


1855479.jpg


I finally got around to pulling the driver's side spring plate and torsion bar. The red coating (paint? powder?) is compromised on this side and theres some light surface rust that has formed. I've read that if this coating is compromised, the torsion bar is basically trashed. I didn't take a pic but I'll post one later.

If all goes according to plan I hope to pick up a very dry and roofless donor bus that has all the rear suspension (and OG CV axles) intact so I can hopefully steal from there if this bar needs to be replaced.
 
I decided to clean up the spring plates and diagonal trailing arms. They were hanging around the shop dirty and rusty and there's nothing I like less than dirty rusty parts cluttering up the shop.

I had a bit of the POR-15 left over from the work I was doing to the Ghia. I've been pretty happy with the results, but I don't think I'll buy another can. Moving forward I'm going to try the Eastwood Rust Encapsulator as it is UV resistant where POR isnt, and doesn't require all the extra steps.

Tried and failed getting the rubber bushings out at home. I'll get the new ones in hand and find a shop to press them out and in for me.

Do I need to strip the paint off the spring plate where the diagonal arm and bearing housing mate with it?

1861533.jpg


In the spirit of jumping all over the place (if you haven't figured it out, that's my style - it keeps me from getting bored or burnt out on one area of a project) I started disassembling the rusty, crusty, nasty, roach hotel motor.

So I was originally under the impression ("the story goes...") that this was the original motor out of my bus. Upon matching the number on the cases to the Samba's engine # chart, I discovered that these cases are actually from a 1500cc Beetle engine. :? Sooo...I wanted to get in there and see what I actually had. This thing was disgusting. I've cleaned up some pretty roached out, seized up engines in the handful of years since I started restoring bikes, but this takes the cake.

Before:
1861538.jpg


1861537.jpg


1861536.jpg


Check out this kick ass moustache bar adapter plate...

1861535.jpg


The good news is, all the components seem to be correct minus the missing flaps in the doghouse and thermostat. German 34 PICT-3 carburetor which will be headed to volkzbitz for a rebuild. Bosch blue coil will need to be tested. Need to double check the dizzy numbers against what should be on this engine.

Still need to check the end play which I need to figure out how to do. Depending on that I plan to refresh this engine and get the bus rolling with it. After I finish the other expensive parts of the restoration, I'll be building a new long block on correct Bus cases so I don't have to run a janky bracket off the oil pump.

I digress...so I pulled the heads and jugs off carefully because I have no idea whats going on inside this Franken-motor. It turns over nicely after the stuffed-full-of-crap fan was removed. Inside the valve covers looked great. Some massaging with a rubber mallet and the heads and jugs popped right off. The bores look great, no rust at all and the rings are all free. I roughly measured the bores (I only have calipers) and they came up at about 85.5mm, which means I do actually have a 1600cc here to work with. Sweet!

1861534.jpg


Lots of cleaning to do but I think I'll be able to get rolling with a set of rings and a hone, clean up the heads, lap the valves back in and send it.

Does anyone know what that little deal is attached to the back side of the fuel pump?[/quote]
 
My work schedule changed at the beginning of the year so I've had a bit more time after work/before dark to move along on the bus. Back to the battery tray/inner fender/rear pass corner repair. I drilled out the spot welds as best I could (its tight in there) and cut the rotted bits out. Rough cardboard template then cut the piece out of some sheet metal. Bent the edges in and shrunk the edge to get the curve. Fits pretty well but needs some final adjusting before I get it welded in place.


1862218.jpg
 
]I made some progress last week and over the weekend. I bought the Klok rear corners and rear wheel arch pie slices. They suck. I had to move the flanges on the rear wheel arch section inward to get it to fit properly, smooth out their crappy tuck shrinks, and properly shrink the flanges to fix the profile. Its not perfect yet but it'll work.

The rear corner is another story. They don't bend the flanges on either end, and the engine bay side needs two flanges to be spot welded into the seal channel for the decklid. I am going to see if I can get the flanges in there without totally messing up the profile. If not I will just throw this in the scrap pile and shell out the cash for the Gerson corner.

Not a great pic of it, but I bought the WW battery trays. Autocraft I believe. They fit great so far, seem to be really high quality pressings. Might need a little smoothing out around the outer corner. I was considering using panel adhesive to install the battery tray but haven't decided yet - anyone have an opinion on that?

1864498.jpg


1864497.jpg


1864499.jpg


Need to make a repair piece for the rear pillar (D pillar? E pillar? :lol: ) so that'll be the first bit to get addressed before this can all go back together.

In other news, my long search for a rust free, straight decklid finally came to a close. Found this in the classifieds on Thursday last week, and got it yesterday for a great price. Its damn near perfect, almost a shame to cover up that OG Sierra Yellow.


1864495.jpg


Side note, this thread has definitely turned into more of a resto than a "refresh," as is the usual style for my projects :?
 
Last week and this weekend I made the push to finally finish my "rotisserie" or tip-over thingamajig. I don't have a great space to work on the bus so I needed to be able to roll it around and tip it on its side to facilitate the work on the undercarriage. When we restored our '64 I did the undercarriage on the ground and I'd rather not do that ever again.

I had a buddy come over on Saturday to help me get the bus up in the air and everything bolted on. Its WAY high up with the big casters, which is pretty awesome for working around the entire bottom of the Bus.

1868766.jpg


Yesterday my wife and I pushed the bus into the carport. Took a few hours fighting the muddy ground but we got it in place. I'm pumped to have the Bus under shelter now, and we promptly removed the windshield and two rear windows.

1868765.jpg


1868767.jpg


Just about as rough as I thought LOL. I bought a donor nose from a dry western bus that should be here pretty soon. Rather than replace the inner lip, outer lip/beltline, the lower inner and outer valance and then still have to spend a ton of time pulling the wrinkles and dents out of the nose, I figure it will be cheaper and faster to do the whole nose clip.
 
aaaaaaaaaand we're up to date. A little bit of a dump initially but I'll keep this thread caught up on my progress. Hope y'all enjoy the pain, this is my most gluttonous project to date. ;D
 
Back
Top Bottom