
We noticed you are blocking ads. DO THE TON only works with community supporters. Most are active members of the site with small businesses. Please consider disabling your ad blocking tool and checking out the businesses that help keep our site up and free.
You are using an out of date browser. It may not display this or other websites correctly.
You should upgrade or use an alternative browser.
You should upgrade or use an alternative browser.
"Patina" The 1973 CB175 Cafe Racer
- Thread starter 1sttimer
- Start date
1sttimer
Over 1,000 Posts
o1marc said:They are the same mufflers on my bike now. We made these pipes in 1977. The discs in the ends let you adjust back pressure and consequentially noise levels. The more discs the louder and less restriction in the exhaust. The fewer discs the more back pressure and quieter sound level.
The full set up runs about $80 each if you part them together. I want to run a longer megaphone than Supertrapp makes, but I can get all the parts to end it like the one before.
That's seriously not bad for a full tunable exhaust. The off-road 3M exhaust would fit. And on top of that they have odd sizes like my 1-3/8 exhaust OD.
Sent from my iPhone using Tapatalk
1sttimer
Over 1,000 Posts
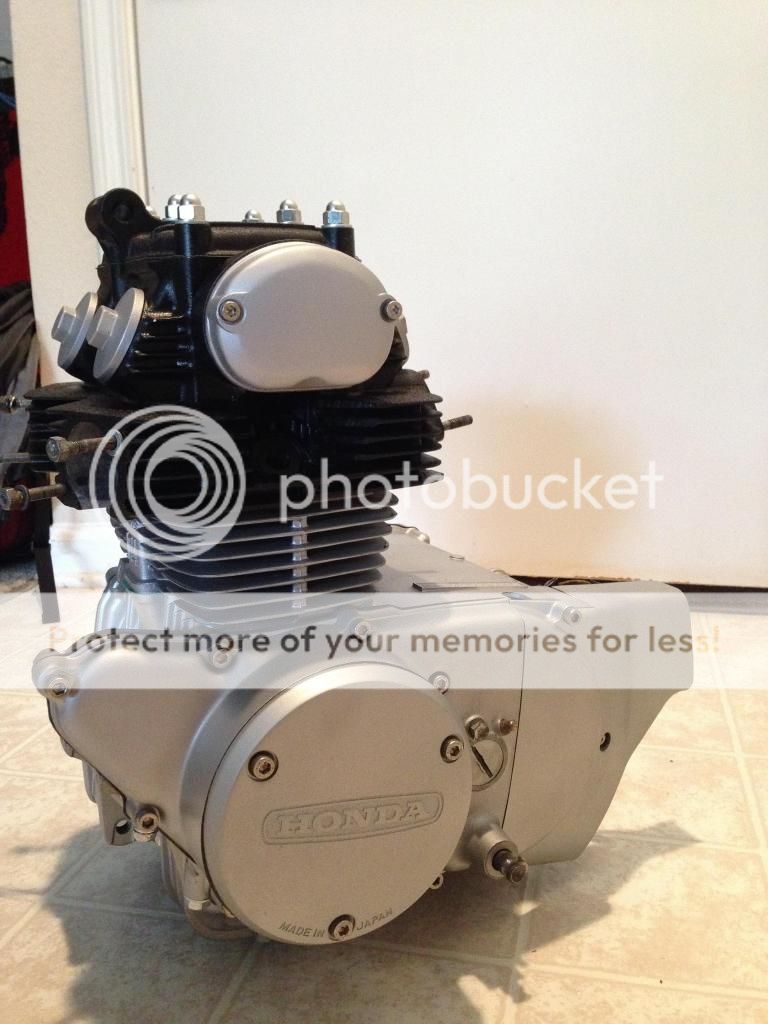
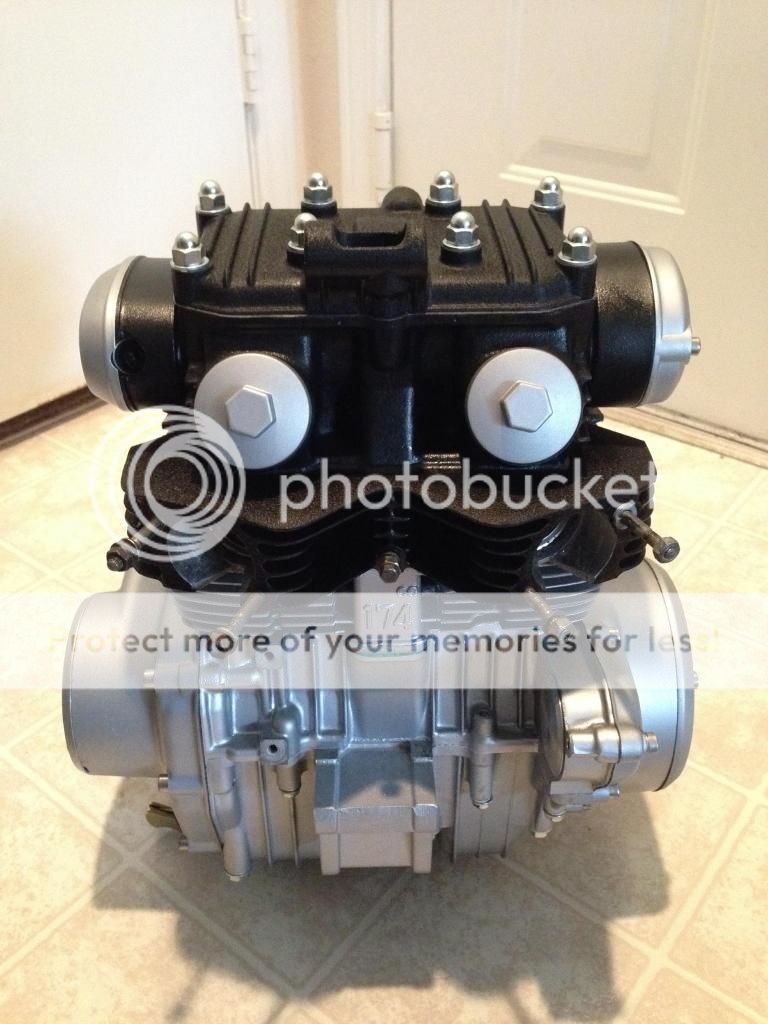
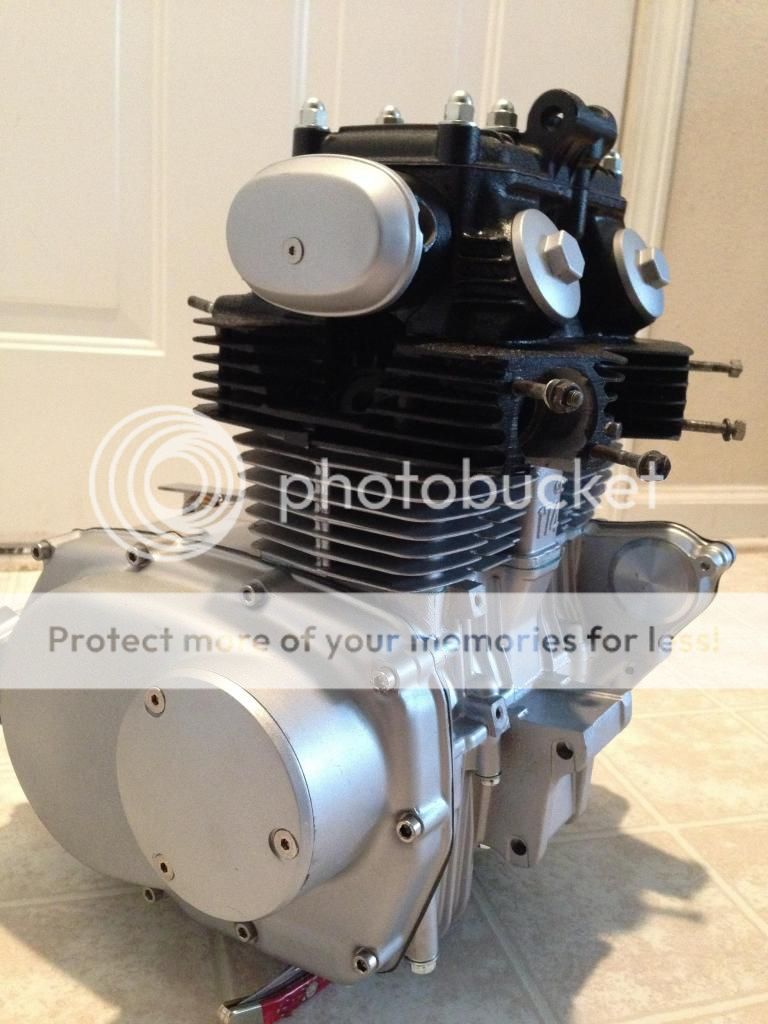
Alright, now we're getting somewhere. If you read the post earlier, I had some issues with the engine due to a badly scored cylinder wall. Plus the entire thing was taken apart to paint the components individually. Benjamin over at Gaston Motor Werks (http://gastonmotorcyclewerks.media-317.com/) gave me a call this week to let me know my engine was ready for me to pick up. I took care of all the painting, prep and parts gathering and he did the final assembly and torqued everything to correct specifications.
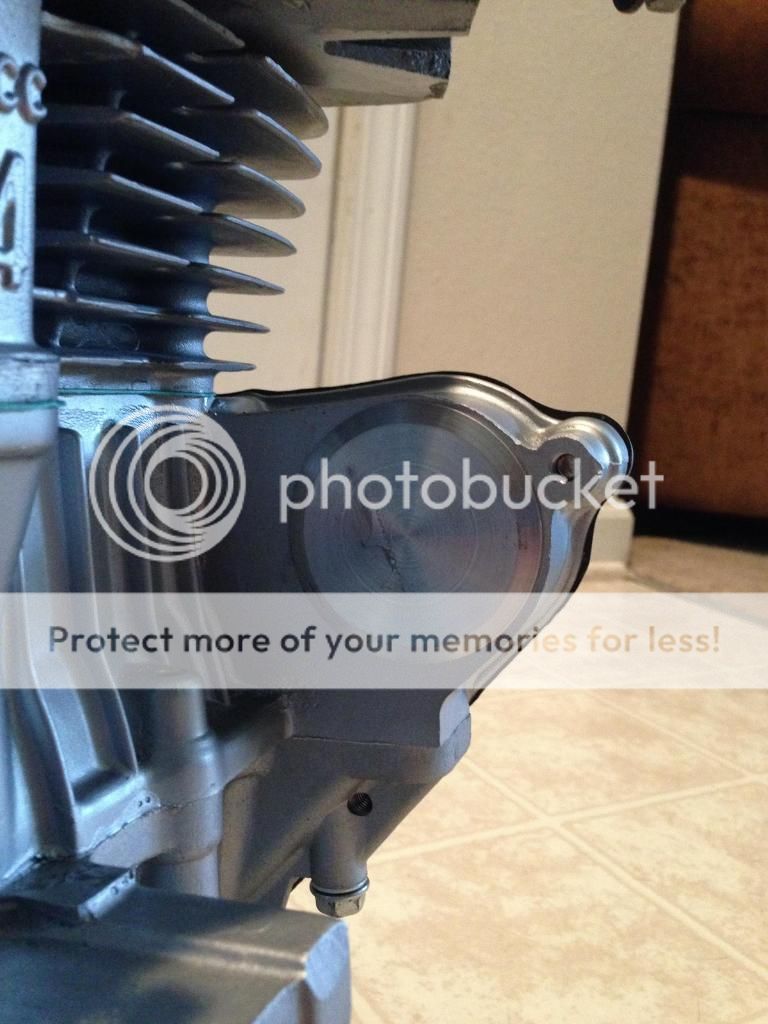
Major upgrades include 1.00 mm overbore with hone, brand new OEM pistons, brand new rings, brand new bolts (literally every bolt/nut was replaced with Honda OEM hardware), and a Z1 enterprises hex nut set for the side covers and points/tach covers. Oh and I've eliminated the starter with one of CrazyPJ's starter block-off plugs. I believe the dimensions are the same as the cb350. Everything worked out perfectly.
Here she is in all her glory!
And the starter block off plug:
Major upgrades include 1.00 mm overbore with hone, brand new OEM pistons, brand new rings, brand new bolts (literally every bolt/nut was replaced with Honda OEM hardware), and a Z1 enterprises hex nut set for the side covers and points/tach covers. Oh and I've eliminated the starter with one of CrazyPJ's starter block-off plugs. I believe the dimensions are the same as the cb350. Everything worked out perfectly.
Here she is in all her glory!


And the starter block off plug:

1sttimer
Over 1,000 Posts
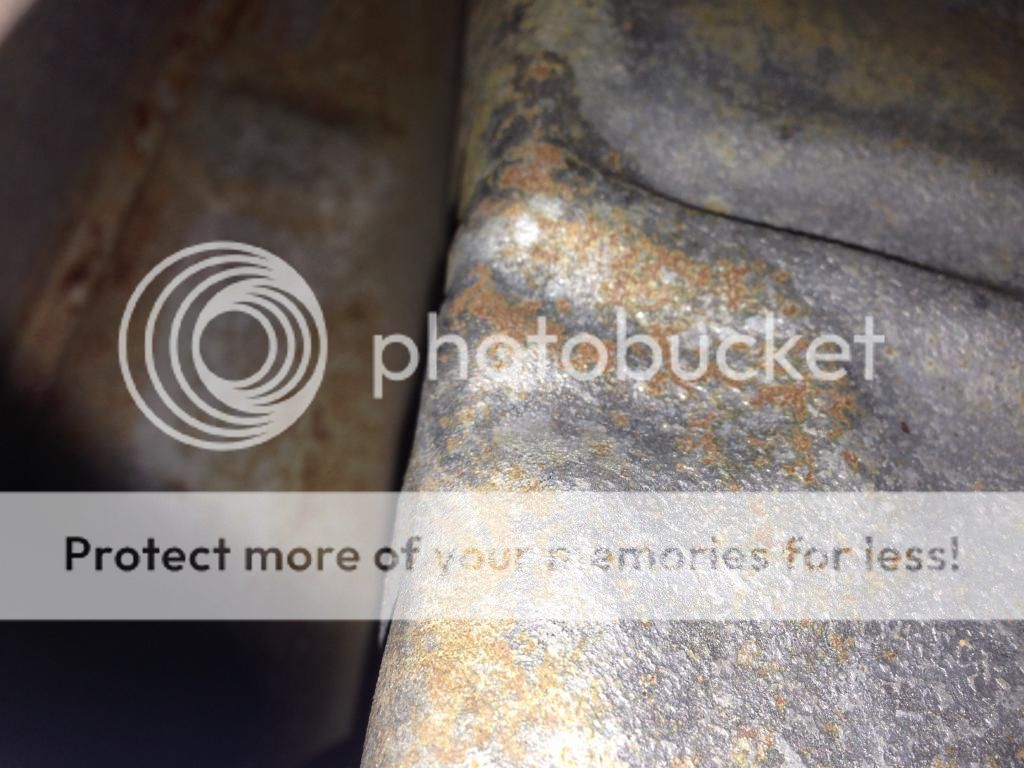
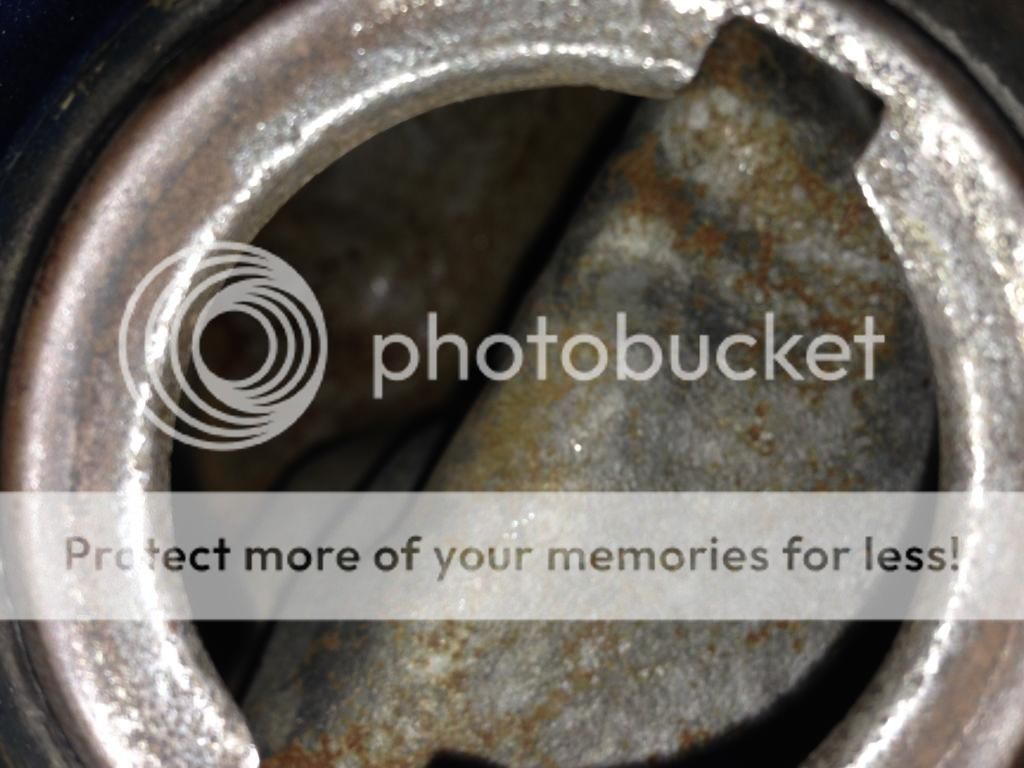
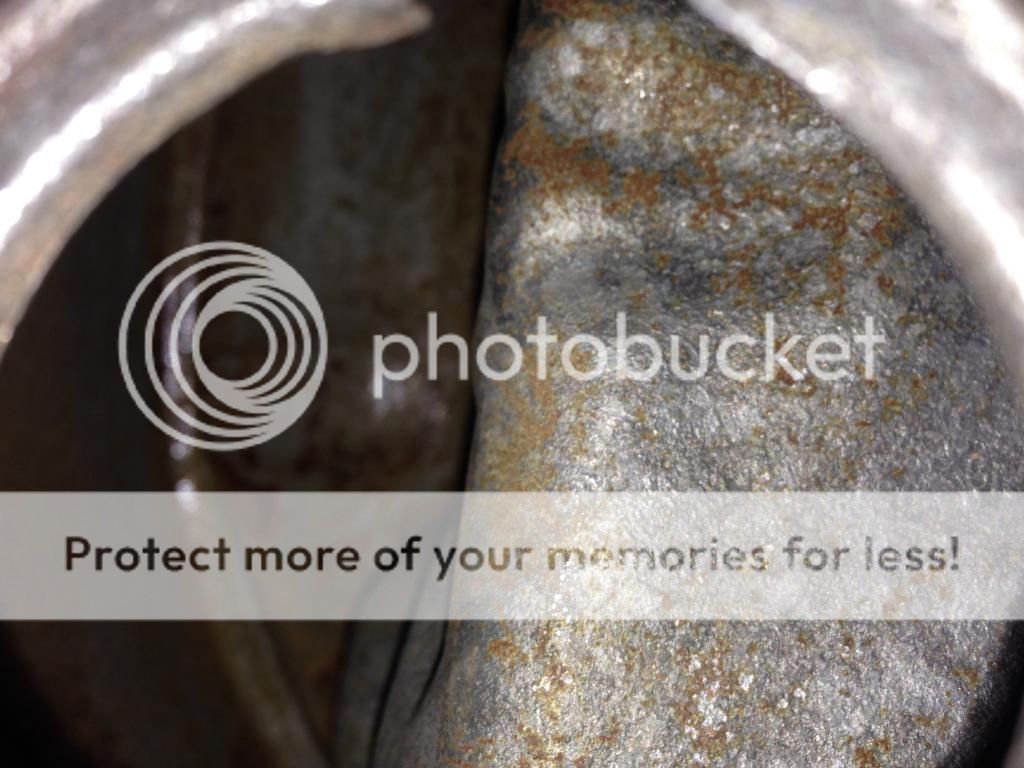
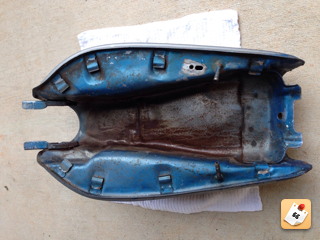
Question about my tank...to be honest the inside doesn't look that bad, relatively...
There's some spots of rust but it doesn't look like anything is caked on anywhere. There are no holes or anything like that. I can't decided to leave it like it is and run a small inline fuel filter or if I should go ahead and spend the 70 bucks for some POR-15. I recently saw a tank in person which was lined with POR and it looked fantastic. I'm just not sure if it's needed.
Also, does it matter if I line and seal the inside before or after I get the outside professionally painted?
Here's some pics of the inside:


axeugene27
Over 1,000 Posts
I probably would just leave it like that it doesnt look too bad to me as long as there are no leaks. I would fill it with gas and make sure it doesn't leak anywhere before you pay to have
it painted.
it painted.
axeugene27
Over 1,000 Posts
i've used a product called red kote with alot of success if you are really worried about it. It only cost like 30bux and there is enough to seal 2 tanks.
1sttimer
Over 1,000 Posts
1sttimer
Over 1,000 Posts
So, am done stripping the paint off of the too of the tank. So far everything looks clear...no covered up dents with bondo or anything.
Can I take a media blaster to the underside of the tank?! The paint really doesn't want to come off under there. I'm not at risk if blowing through the metal. It all longs really strong.
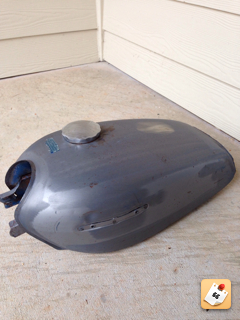
Sent from my iPhone using Tapatalk
Can I take a media blaster to the underside of the tank?! The paint really doesn't want to come off under there. I'm not at risk if blowing through the metal. It all longs really strong.
Sent from my iPhone using Tapatalk
axeugene27
Over 1,000 Posts
even with auto stripper? that crap usually takes paint off anything
o1marc
Over 1,000 Posts
Send it on in. Make sure you wrap it so it's vapor proof so it doesn't rust in transit.1sttimer said:Maybe I didn't put enough on the bottom or something.
Hey Marc, how do you feel about clear powder coating this tank for me. It's looking great sanded so when I finish up I'll ship her your way.

Sent from my iPhone using Tapatalk
axeugene27
Over 1,000 Posts
i've heard of people just oiling a tank if they are going to leave them raw. Like rub some wd40 on it every 2 weeks to keep rust away and be done with it. Powder coating in clear seems like a big expense for not much result to me. Unless you have a guy who will do it on the cheap.
1sttimer
Over 1,000 Posts
Marc above has done some parts for me before and his work is great. His price is very hard to beat...plus I'd hate to smell like WD-40 walking around the office!
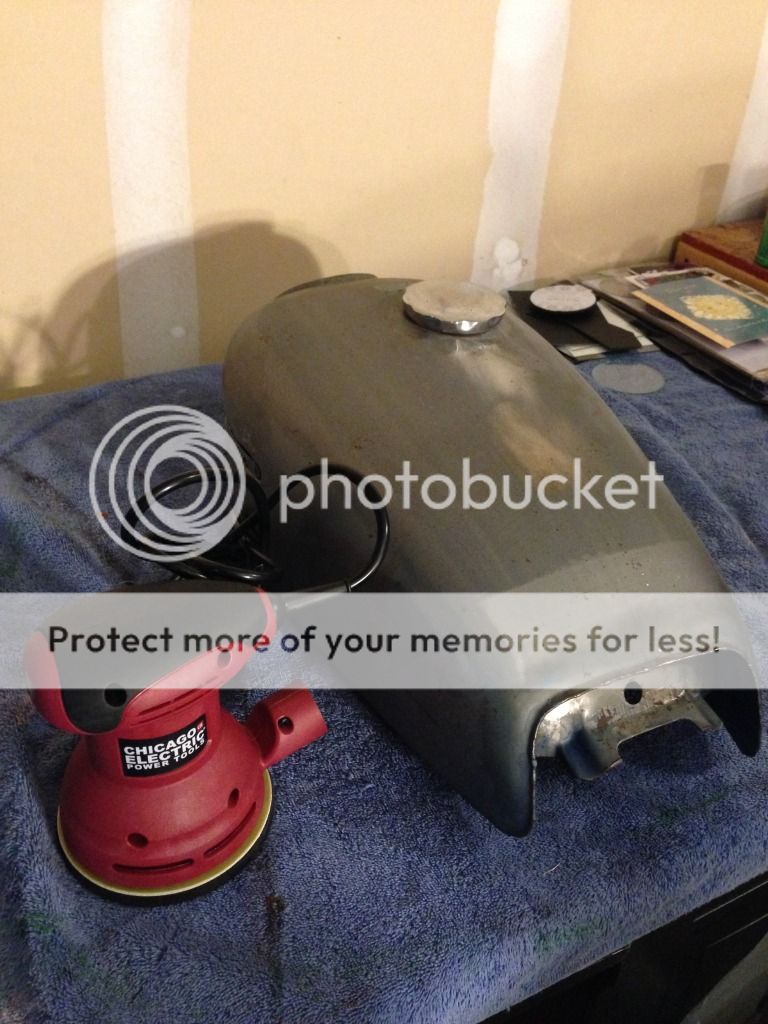
I have some pictures of the partially sanded tank I'll post here in a bit. I had to break down and buy an orbital sander. Holy cow I don't know why I didn't buy one of those sooner. I hand sanded for about 2 hrs, yelled and went immediately to HF. Within 20 minutes of getting home I had the entire tank done at 100 grit with all the rust spots gone.
Sent from my iPhone using Tapatalk
1sttimer
Over 1,000 Posts
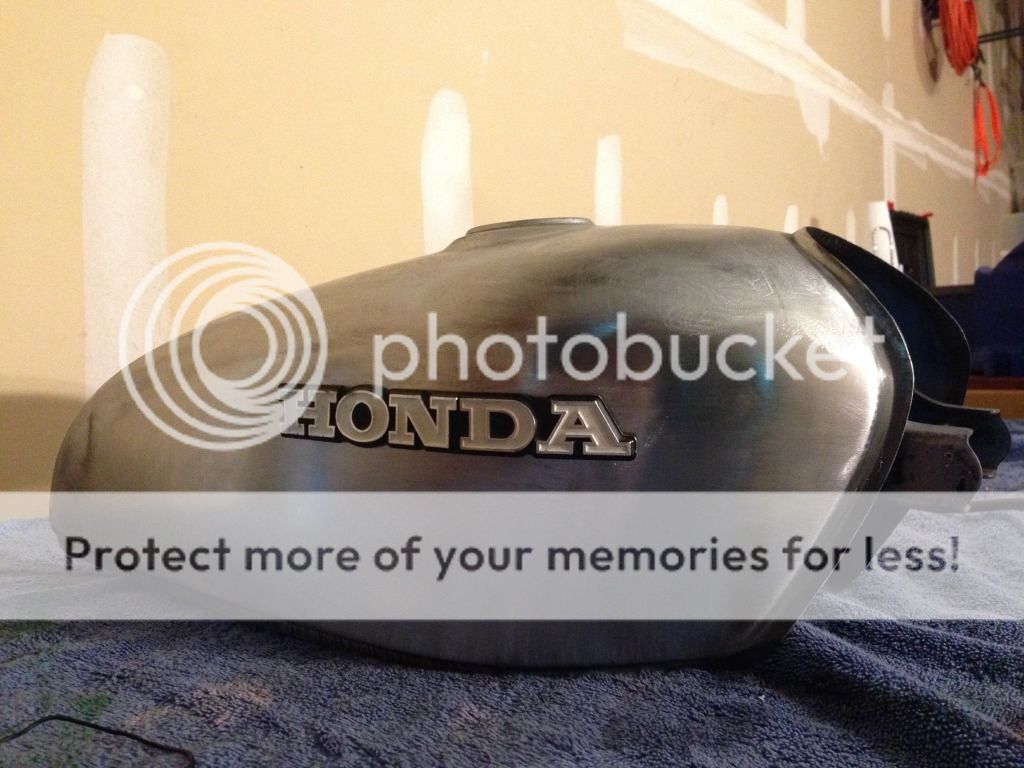
After I got my harbor freight sander I went at it for a little while. Every single rust spot came out and left a nice bare finish. I'm going to move from 100 grit to 150 then to 220. From there I'm going to hand sand 180, 220, 320 then 400 to get the grain lines I want.
Here's a mockup. I was going to go with new badges but these things look perfectly vintage on the tank. I think I'll keep them. Anyone know where I can get new clips for the badges?
Sent from my iPhone using Tapatalk
Here's a mockup. I was going to go with new badges but these things look perfectly vintage on the tank. I think I'll keep them. Anyone know where I can get new clips for the badges?
Sent from my iPhone using Tapatalk
1sttimer
Over 1,000 Posts
Time for an update...this weekend I pretty much spent time with my tank...I love the way it's turning out. Let me know what you think. First, I took it over to the old blasting cabinet and cleaned up the rust off of the bottom. My plan is to powder clear over it and I wanted to have a clean base to start with. I masked off the gas cap hole, the cross over line holes and the petcock holes. The bottom of the tank ended up looking like this:
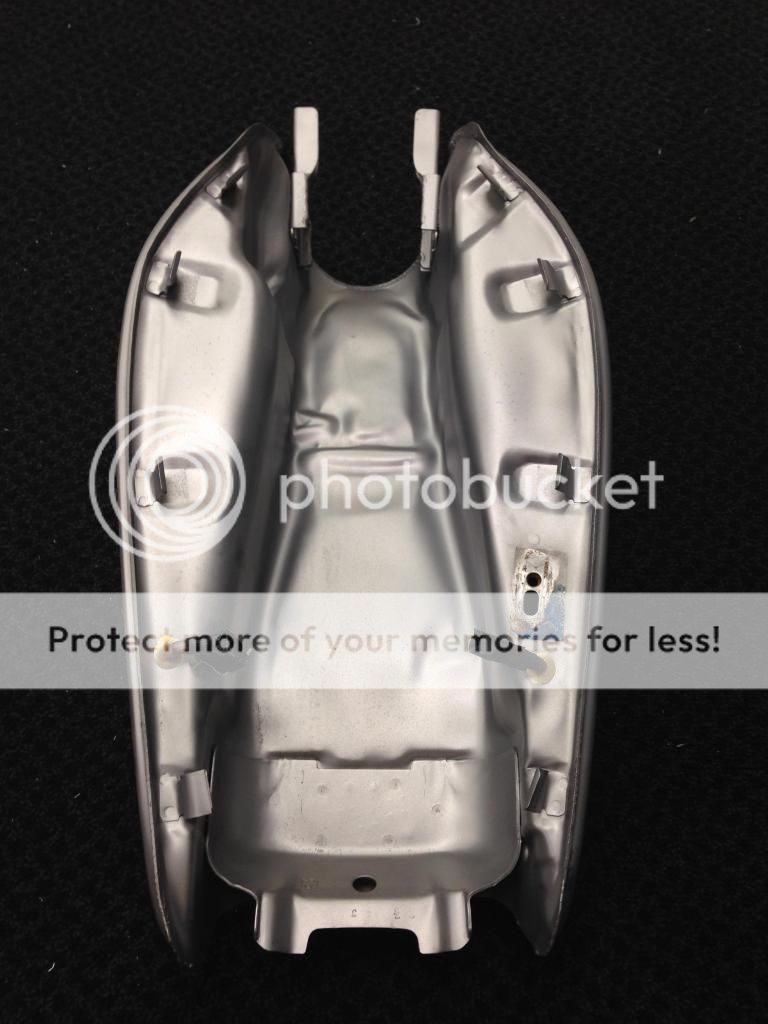
During the blasting period, I heard something rattling around inside the tank. For the most part I thought this tank was pretty clean on the inside...until this fell out...
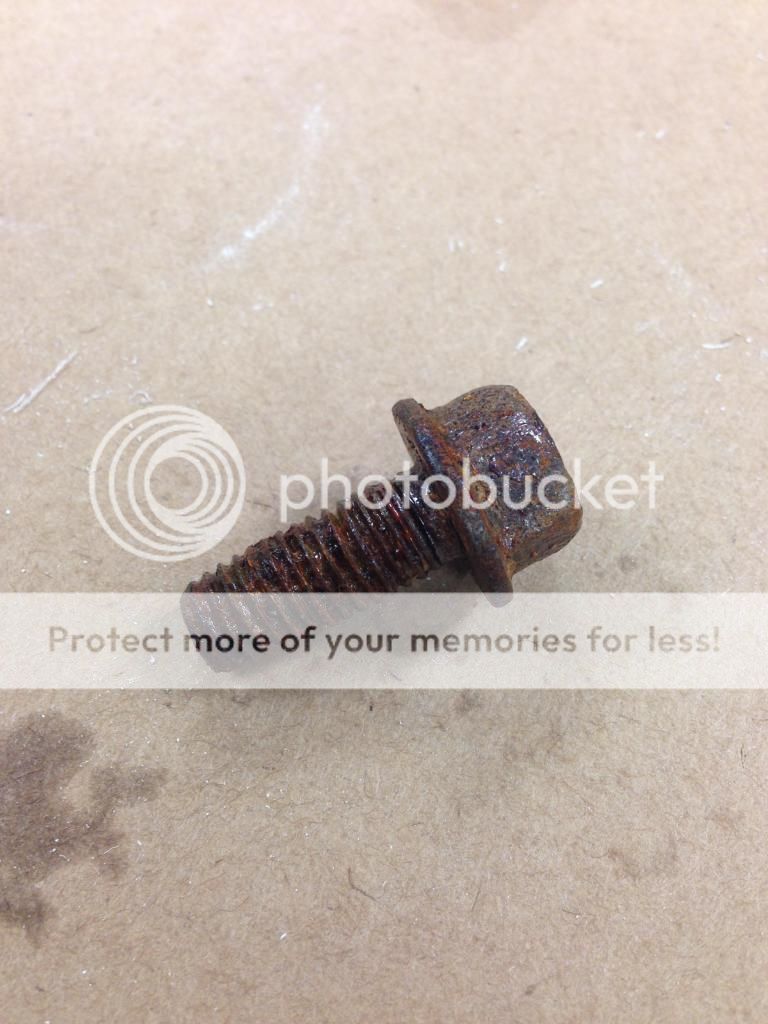
I then took the tank up the street to the car wash and pressure washed it inside and out to make sure I got all dust, grime and beads out and off of it. My masking job worked out very well.
When I got it home, I took the sander to it, starting from 100 grit and moving up to 220 grit. I found that the swirl marks didn't really go away at higher grits. They just move around and get a little more shallow.
I then took some 320 grit paper by hand and started sanding along the lines of the tank. This couldn't have been easier. I thought it was going to take some elbow grease to hand sand through the swirls left by the orbital sander, but 5 min later I had a perfect 320 grit grain.
I'm going to finish up the tank in 320 and then move up to 400 wet then 600 wet. After this point I'll decide whether to keep it here or move all the way to a high polish.
Here's where I ended up today. I'm going to try to get through 600 grit tomorrow night.
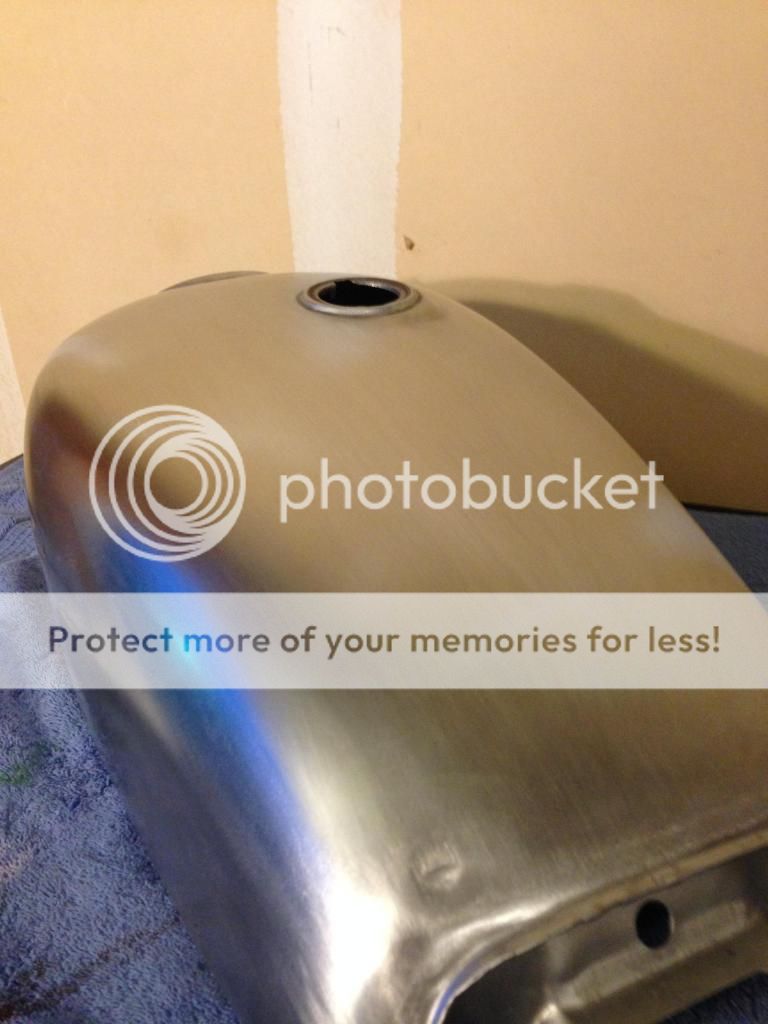
Cheers!
axeugene27
Over 1,000 Posts
you should do some paint accents on it before clear coat. this cb550 that has a bare tank with some painted swooshes around the badges looks so slick.
http://www.pipeburn.com/home/2010/4/6/cb550-cafe-racer.html
http://www.pipeburn.com/home/2010/4/6/cb550-cafe-racer.html


