pidjones
Over 1,000 Posts
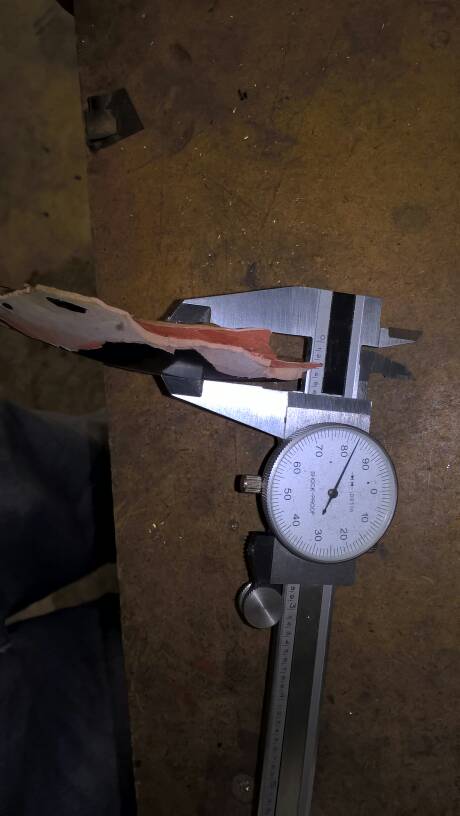
Pressed in.
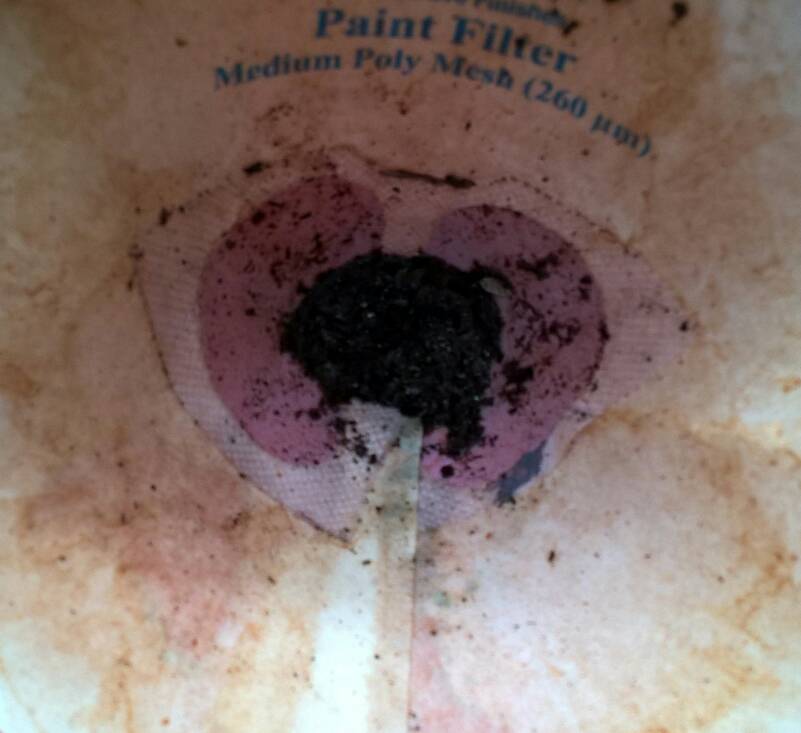
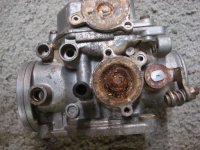
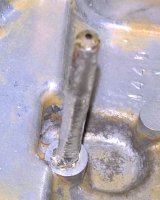
Today I was able to make a little more progress on the carbs. One at a time pulled the float bowl off each (no ruined screws!) and sprayed the bowls with carb cleaner, pulled the drain valves and opened overflow and drain on each, cleaned the valves. Pulled secondary main jet on each (each one plugged solid with lacquer) and softened the lacquer with carb cleaner then was able to work a .008" guitar string through and finally shoot cleaner through them. Loosened the needles with carb cleaner and gently, padded with rag and tongue depressor, pried each piston up to free the needles fully. Pretty gummy, but still a LOT easier than working through the damage caused by ethanol gas.
Looks like the accelerator pump diaphragm will need replaced, however. Just so stiff that it hangs up when pressed. I'm sure all rubber will need replaced also, and already have bowl o-rings and rubber plugs on order. Should have the other o-rings in my supplies.
Probably at a holding point for now. Tomorrow we are showing the GL1000 at a nearby street fair, and next week we go to Barber for the museum and vintage fest.