
We noticed you are blocking ads. DO THE TON only works with community supporters. Most are active members of the site with small businesses. Please consider disabling your ad blocking tool and checking out the businesses that help keep our site up and free.
You are using an out of date browser. It may not display this or other websites correctly.
You should upgrade or use an alternative browser.
You should upgrade or use an alternative browser.
Down under, an idiot and a 400F
- Thread starter neevo
- Start date
neevo
Over 1,000 Posts
teazer said:Bondo covers a lot of sins
http://pinkpossum.com/GT750/phattrakka2/p2Tanked.htm for the full story. It's not for the feint of heart.
Holy shit!! Spot on tutorial ready to go!
neevo
Over 1,000 Posts
teazer said:The only advice I can give up on welding is not to follow my example. Tack the parts in pace and get a pro to TIG weld it
How did you tack it in? I will have a crack with the TIG here at home and if I get into trouble will ask my buddy for help.

neevo
Over 1,000 Posts
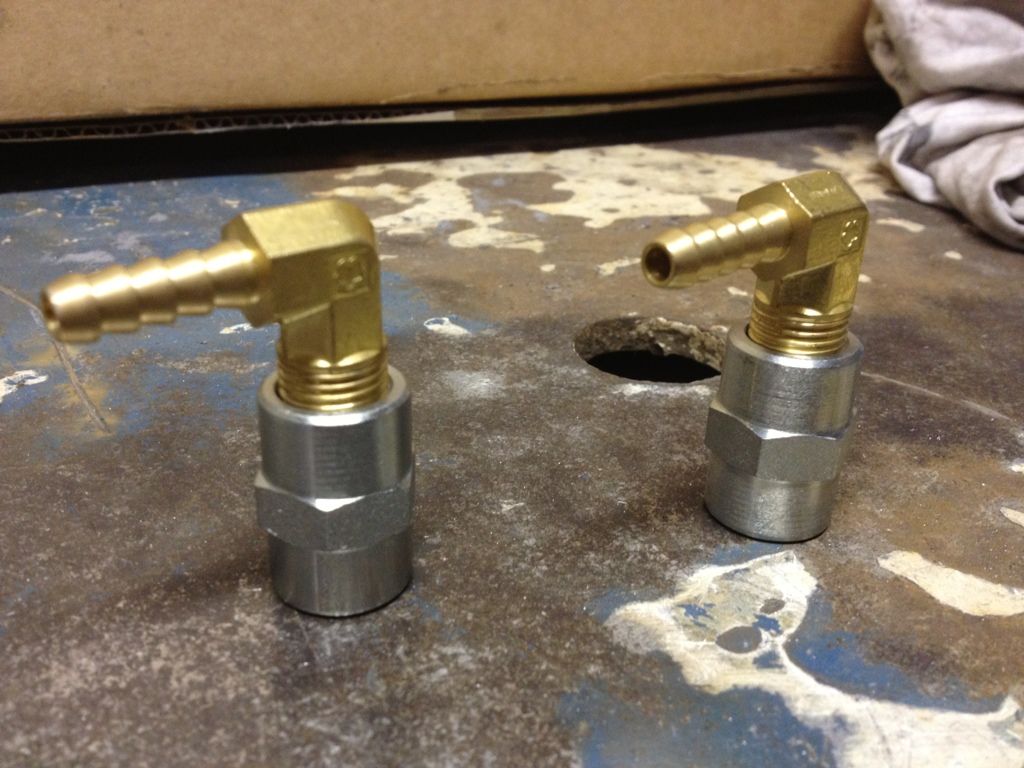
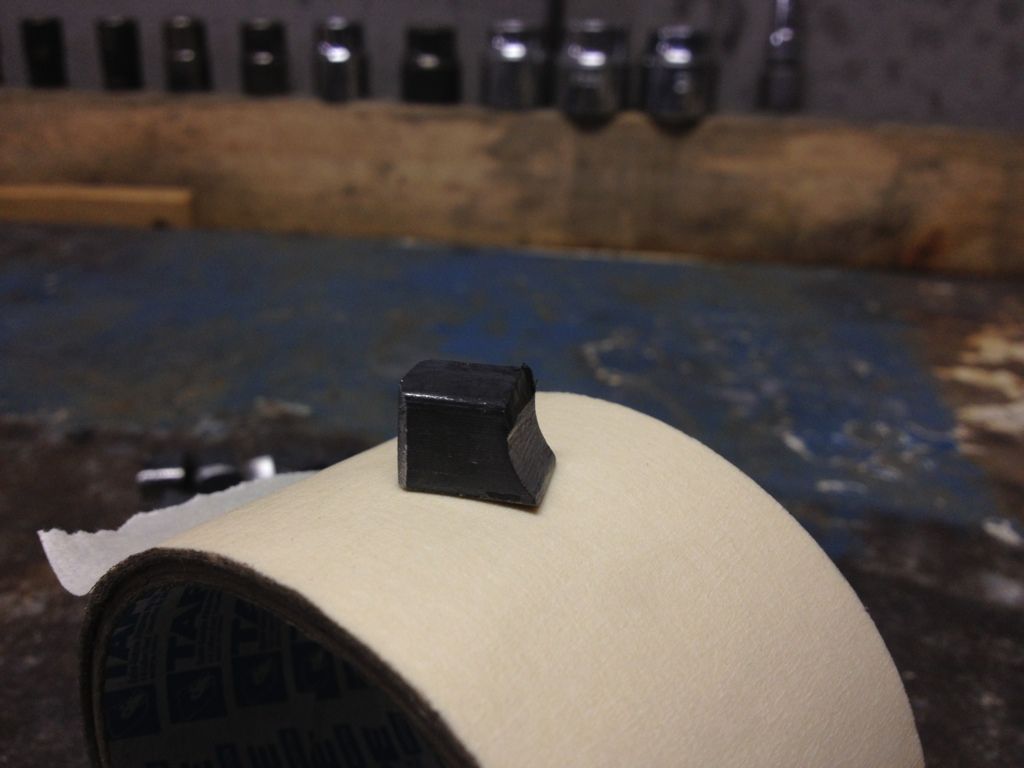
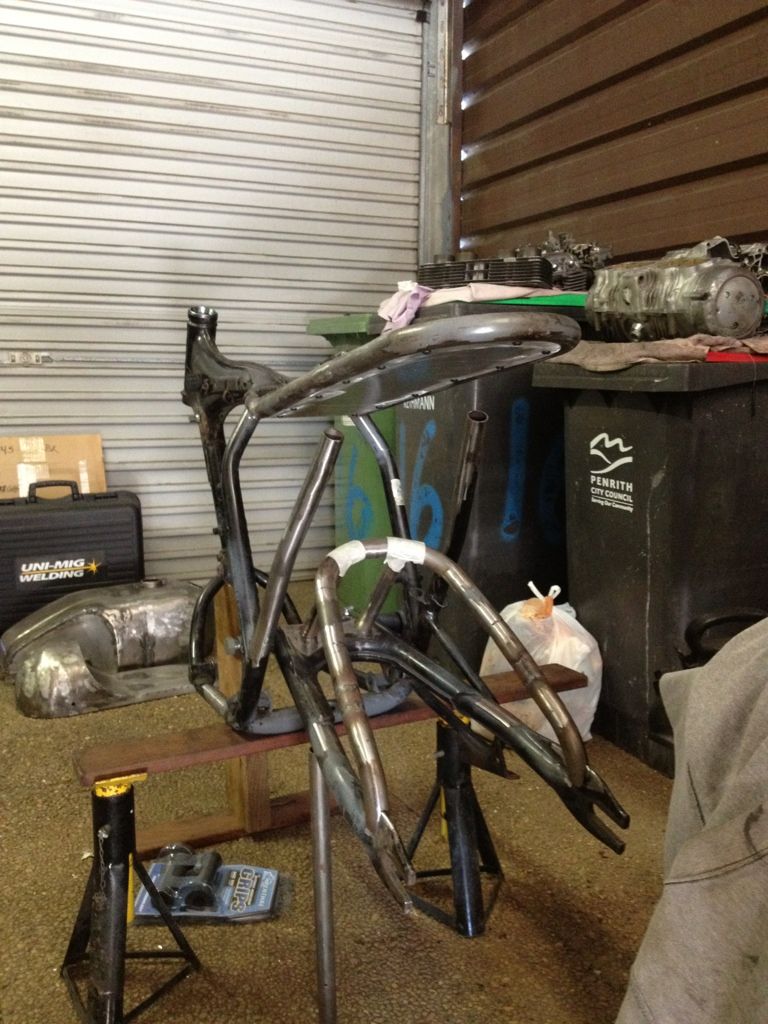
Went and bought a few materials yesterday, much cheaper buying new than picking bits off local fan shops (much to my surprise). Bought some steel collars for the fuel line mounts:
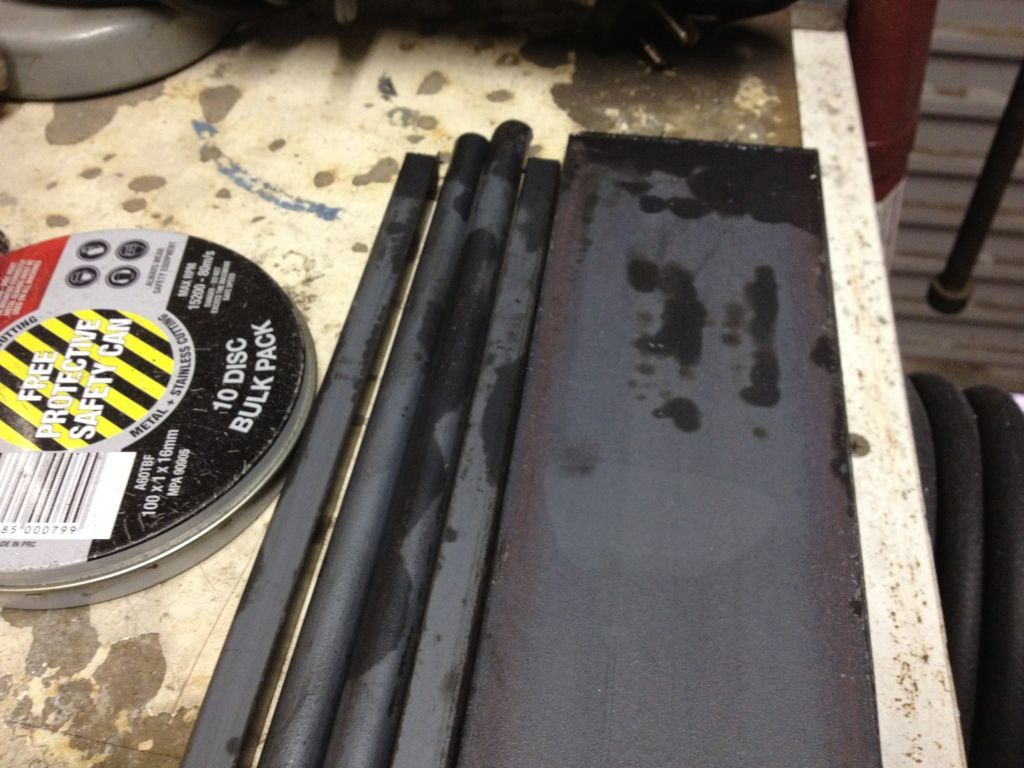
Also picked up some 12mm solid round (for damper mount), 10mm solid square (for subframe tray mounts) and 5mm x 75mm for shock mounts.
Cut, drilled and tapped a small piece of round stock for the damper mount:
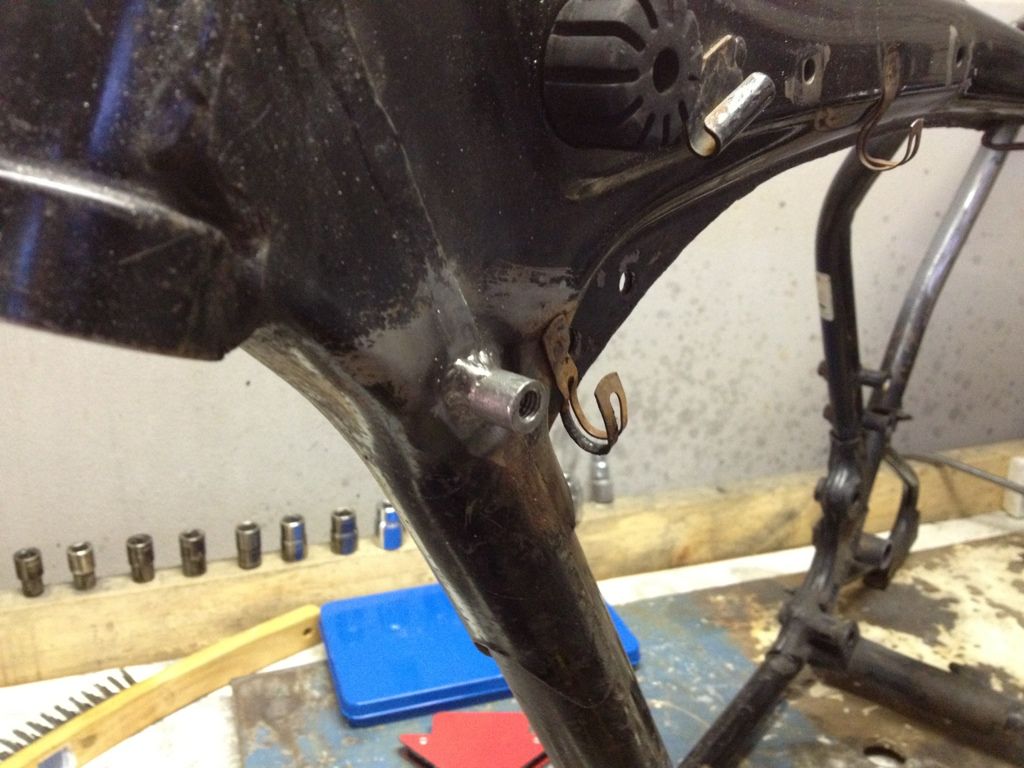
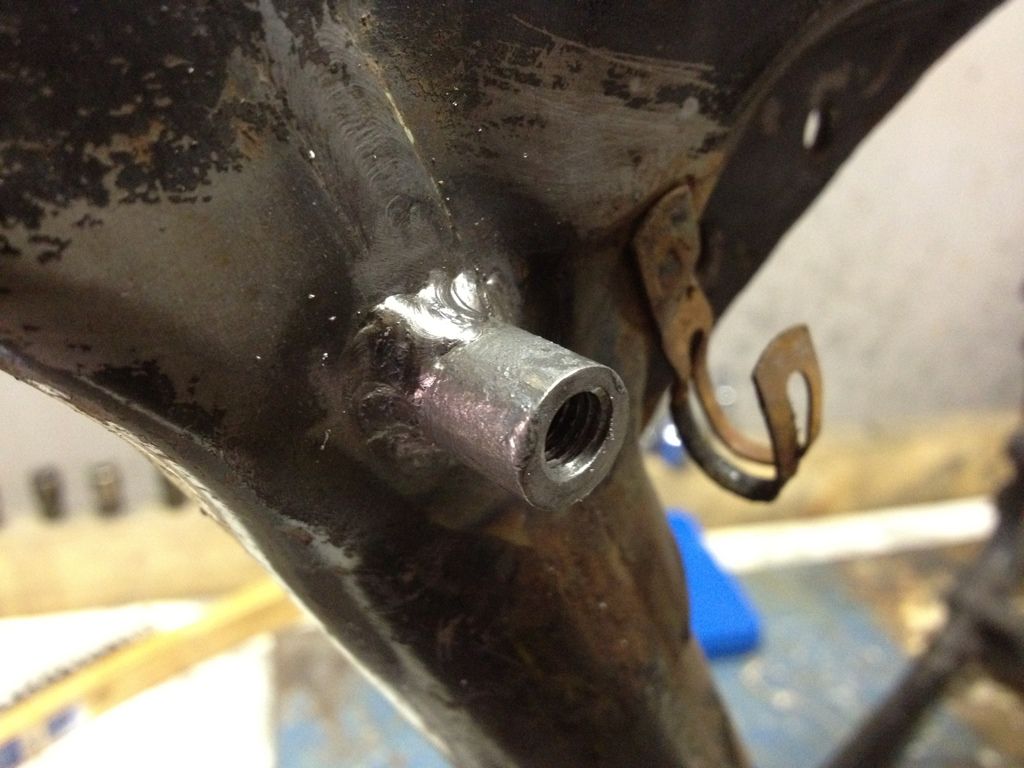
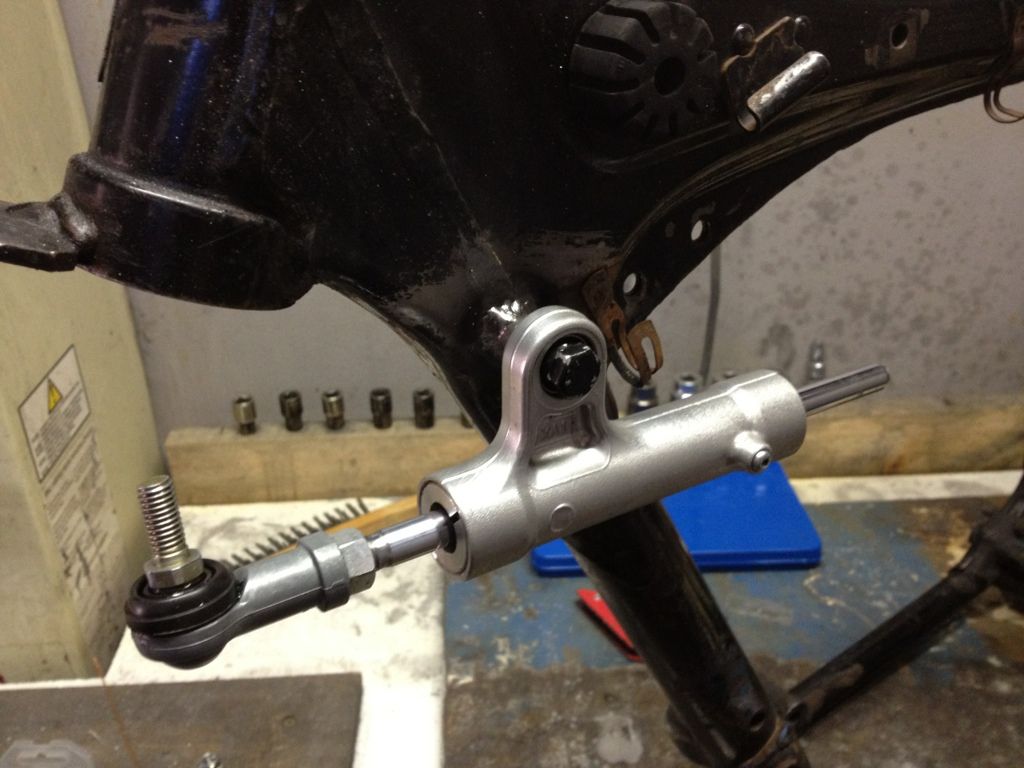
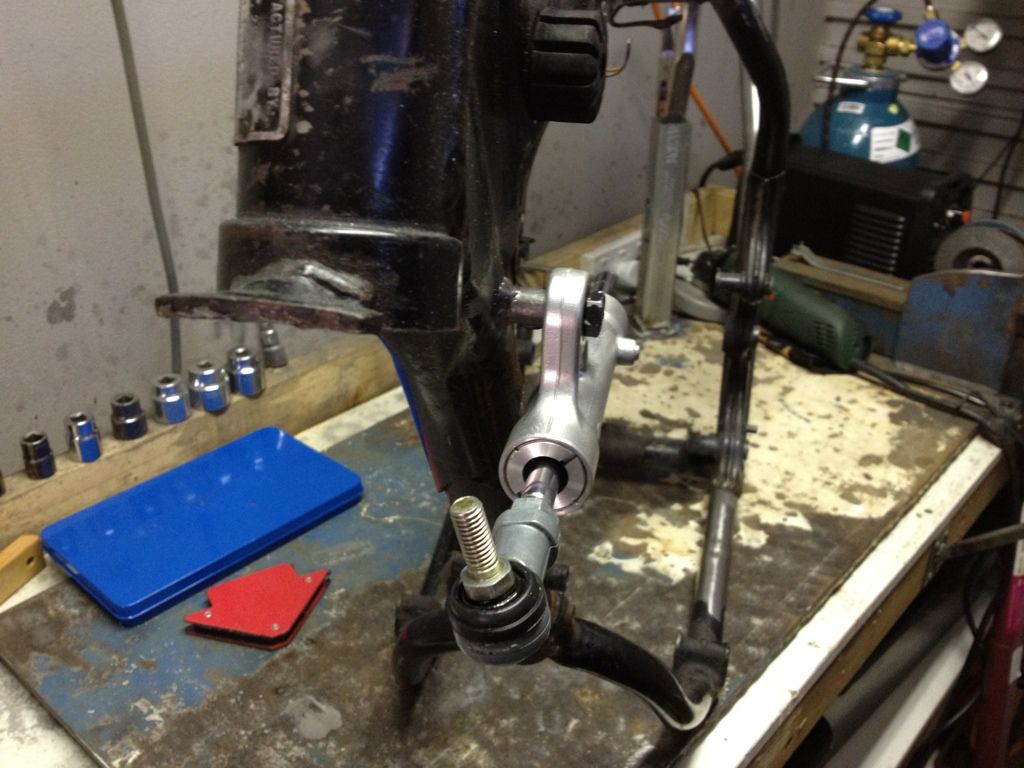
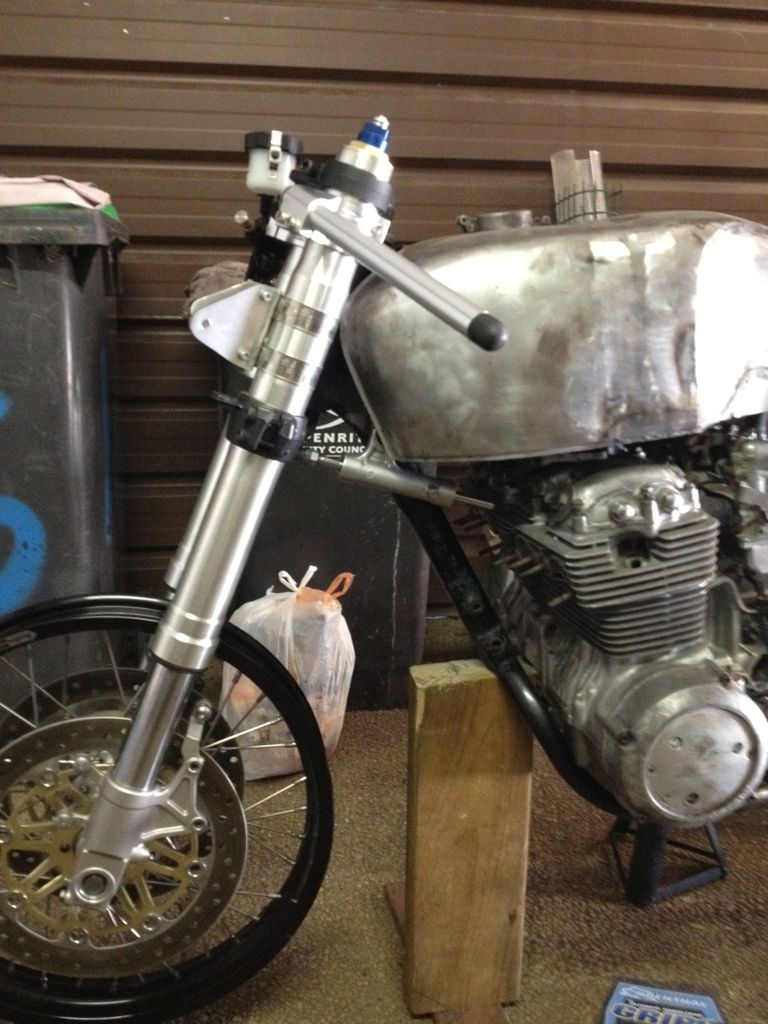
The damper will be slightly hidden under the leading edge of the tank. Will post pics when it's back together.
Working on cutting an shaping the subframe tray mounts now.
Also picked up some 12mm solid round (for damper mount), 10mm solid square (for subframe tray mounts) and 5mm x 75mm for shock mounts.
Cut, drilled and tapped a small piece of round stock for the damper mount:
The damper will be slightly hidden under the leading edge of the tank. Will post pics when it's back together.
Working on cutting an shaping the subframe tray mounts now.
andycafe
Northern Suburbs, Melbourne Victoria, Australia
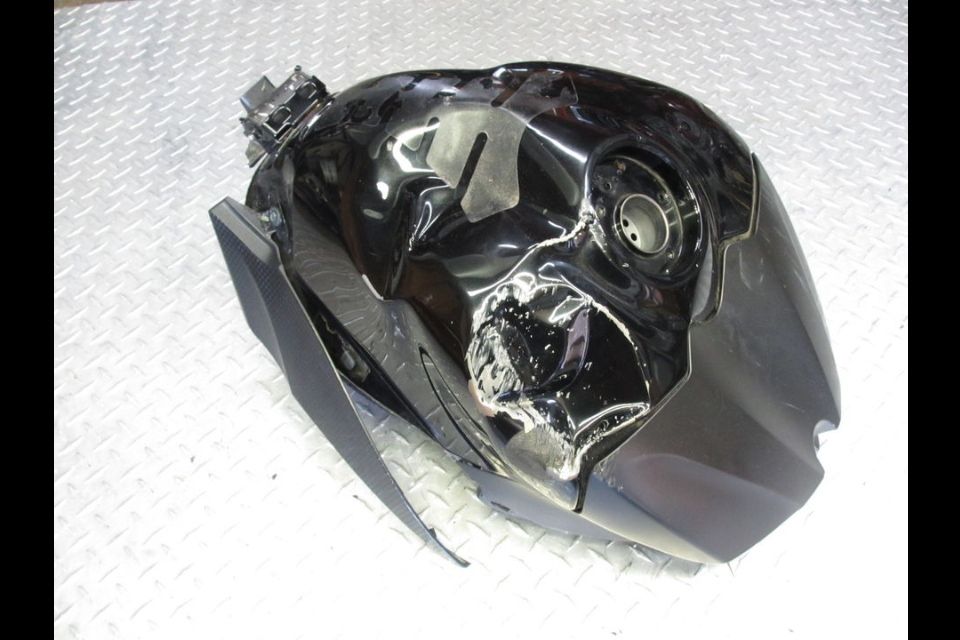
neevo said:Using the cap mount so I can put an R1 fuel cap on the 400.
Sorry, missed that one, just went back (pay attention andy) :-[
neevo
Over 1,000 Posts
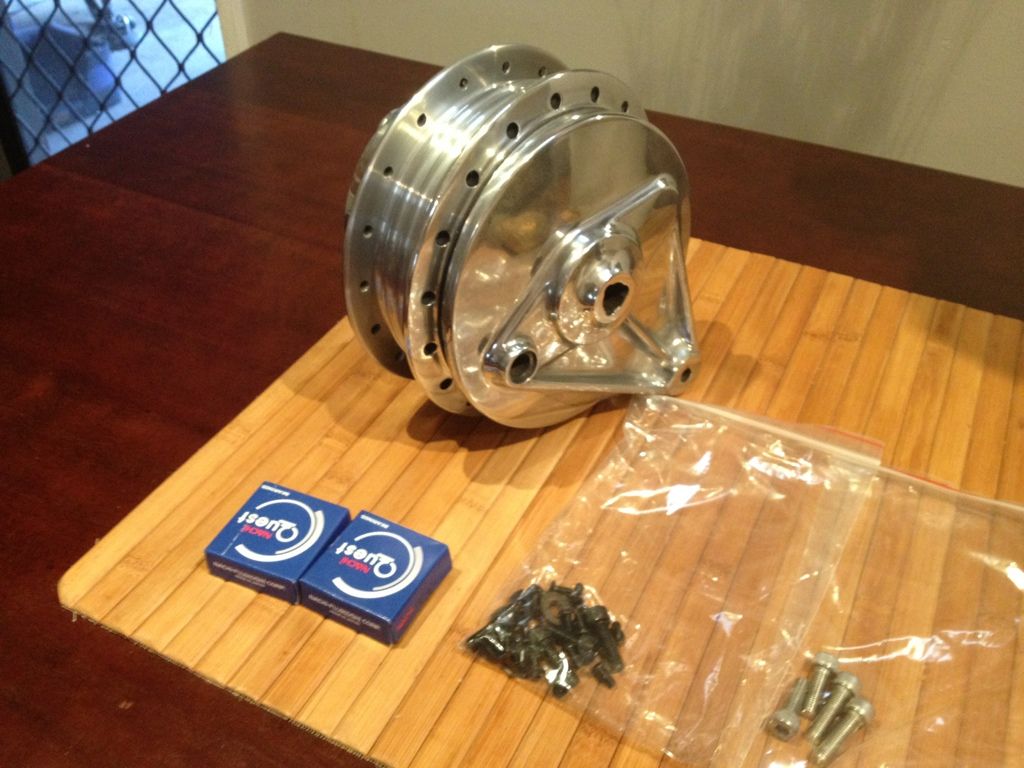
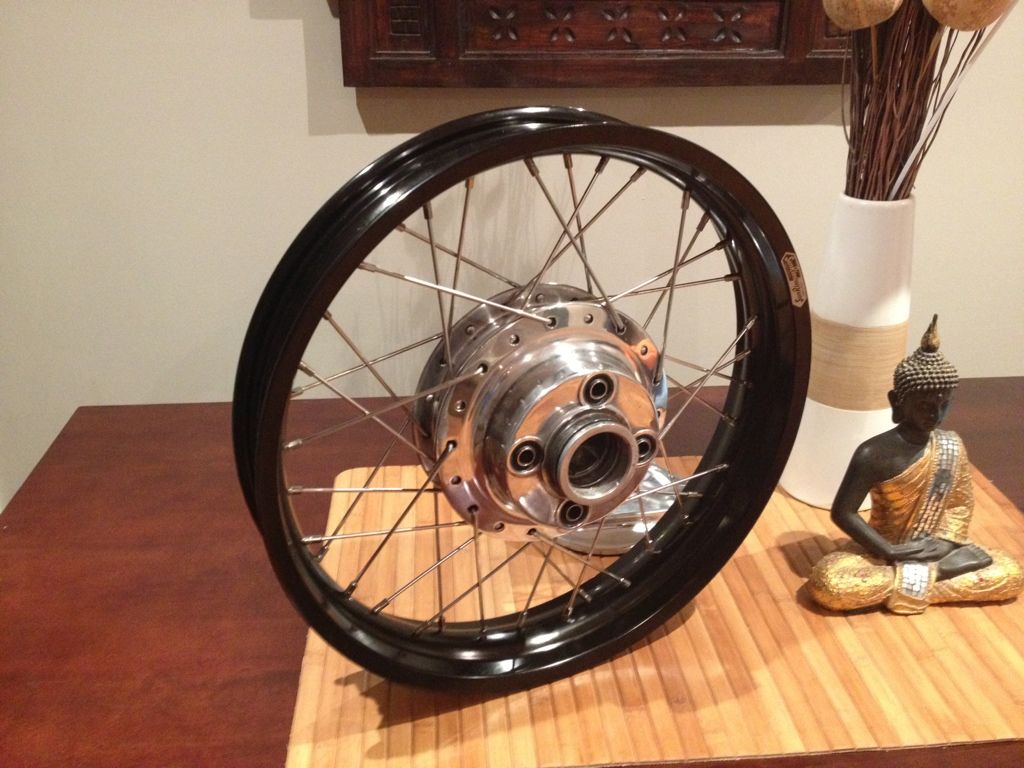
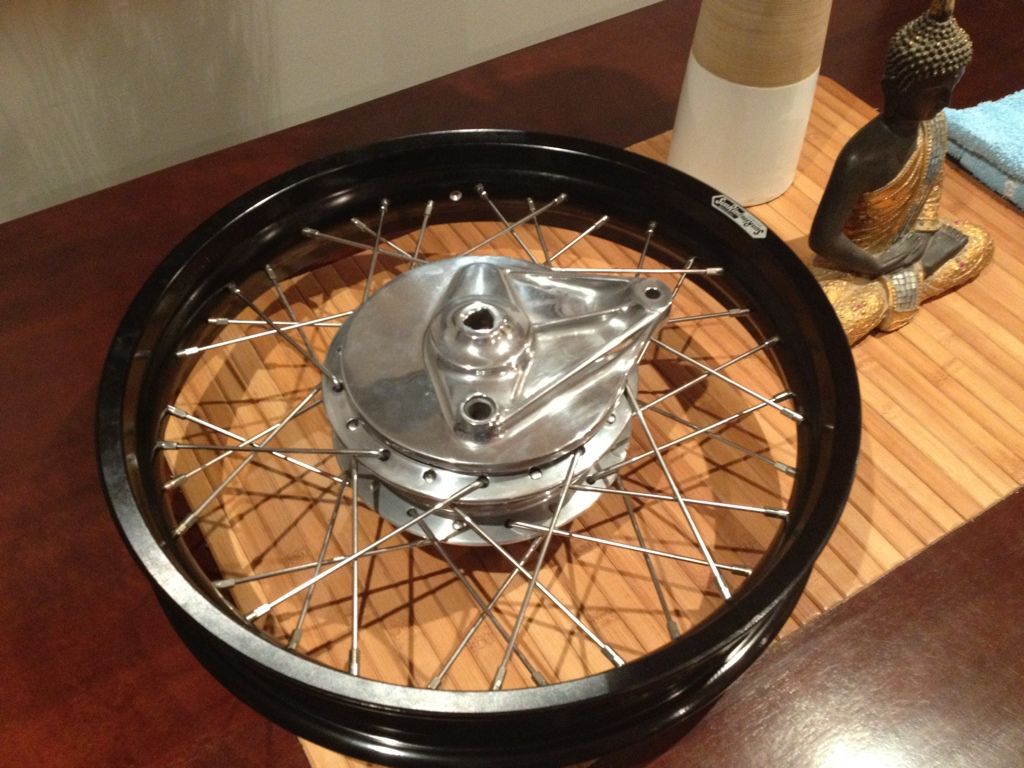
Picked up some goodies today (polished rear hub, rear wheel bearings, subframe tray bolts, hex head bolts for the calipers):
Got stuck into doing the subframe tray mounts. Cut some 10mm square solid stock into small sections with an angled curved section and rounded off ends:
Welded these around the subframe:
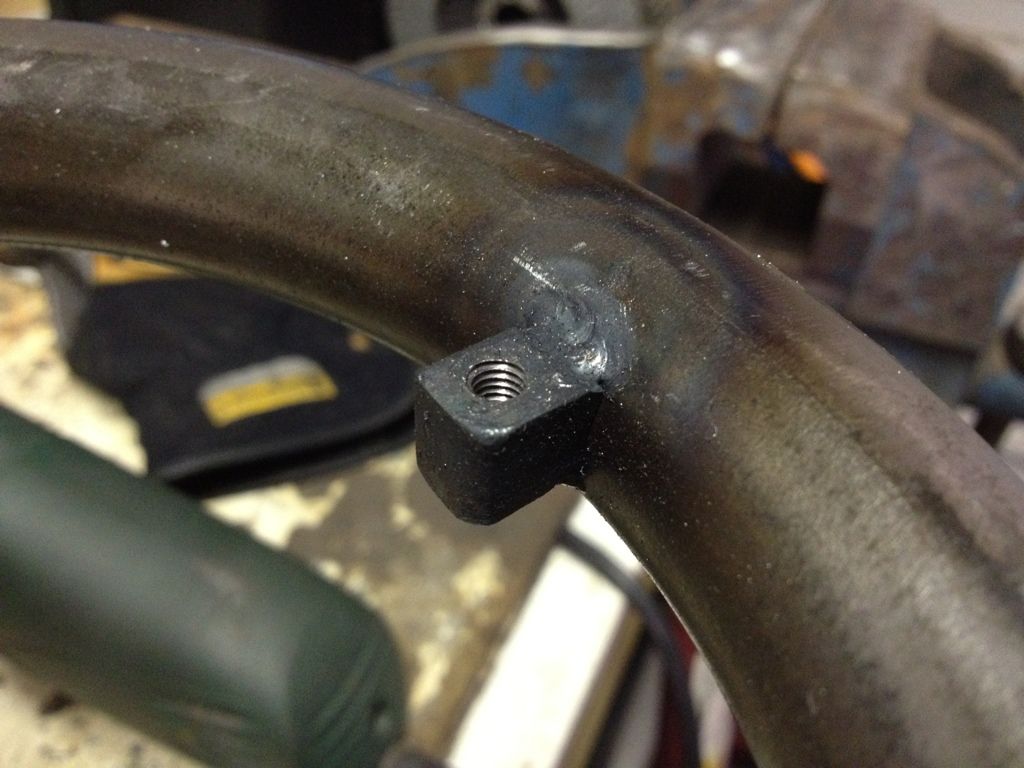
Then drilled and tapped them:
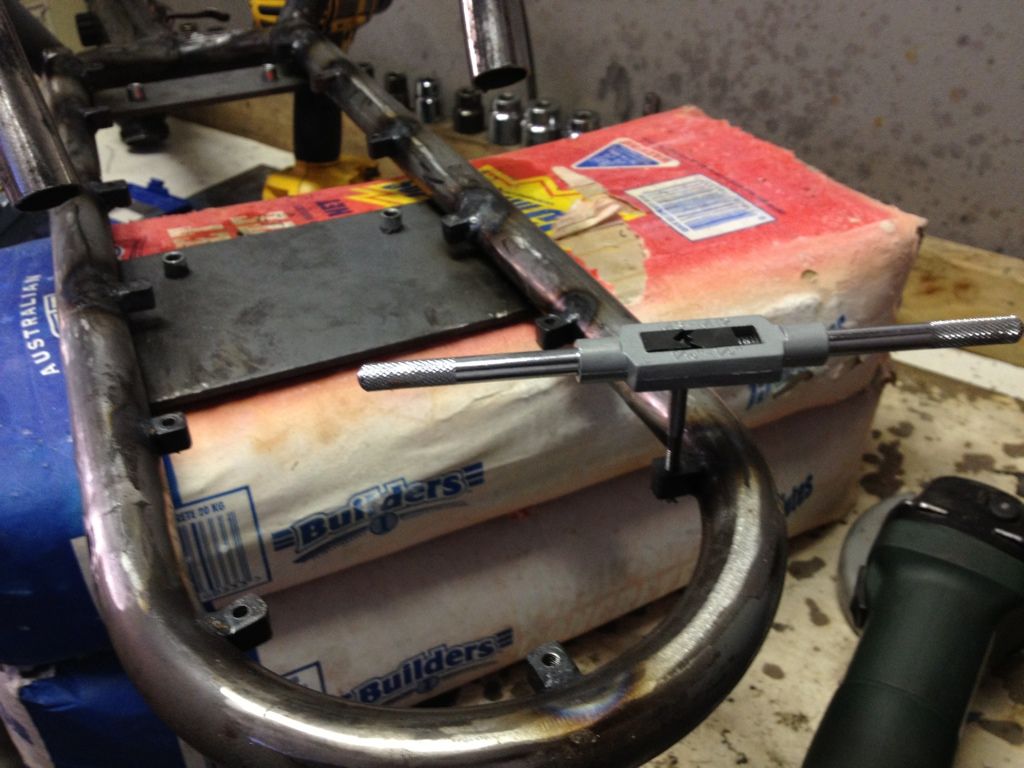
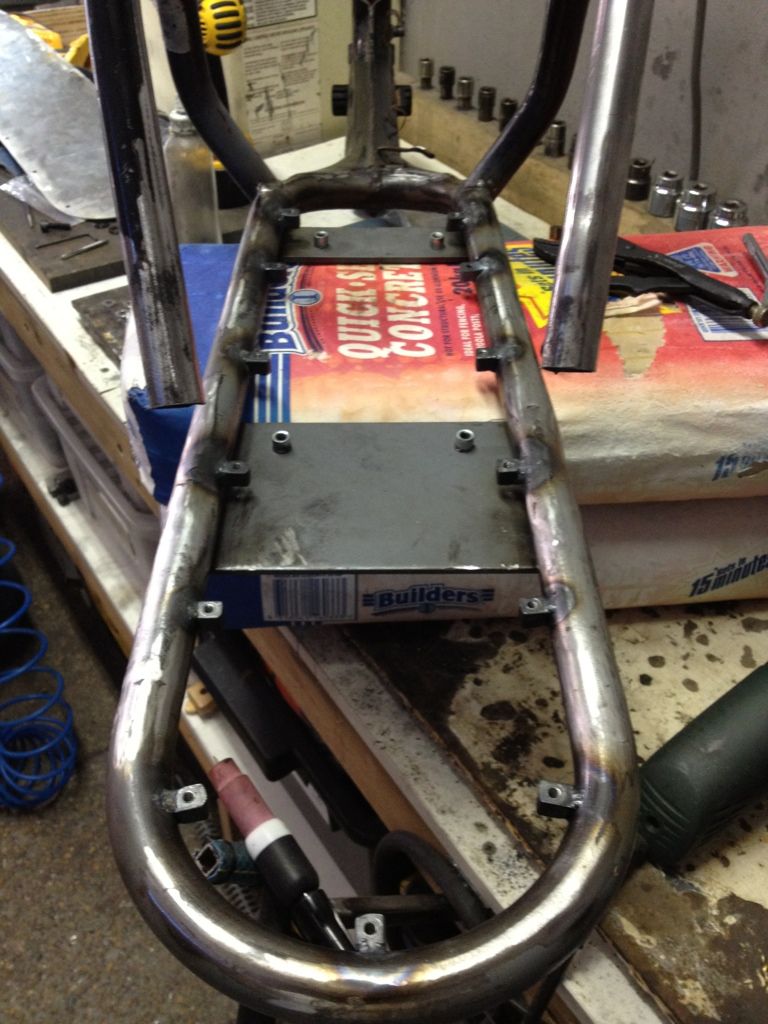
Tray mounted:
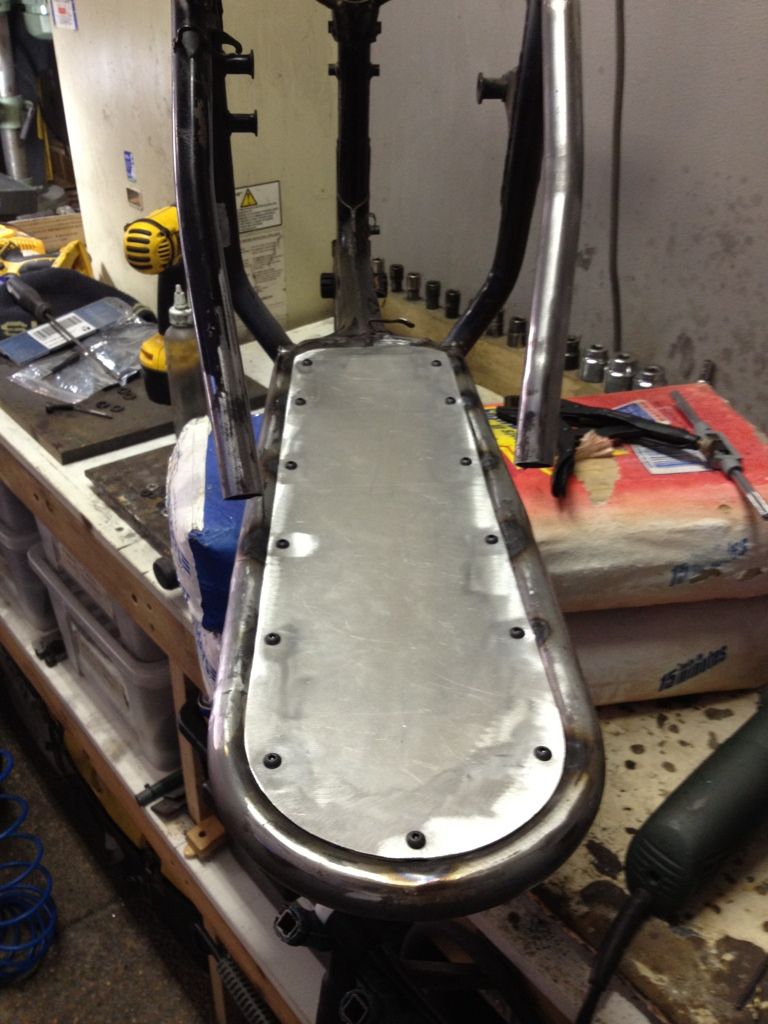
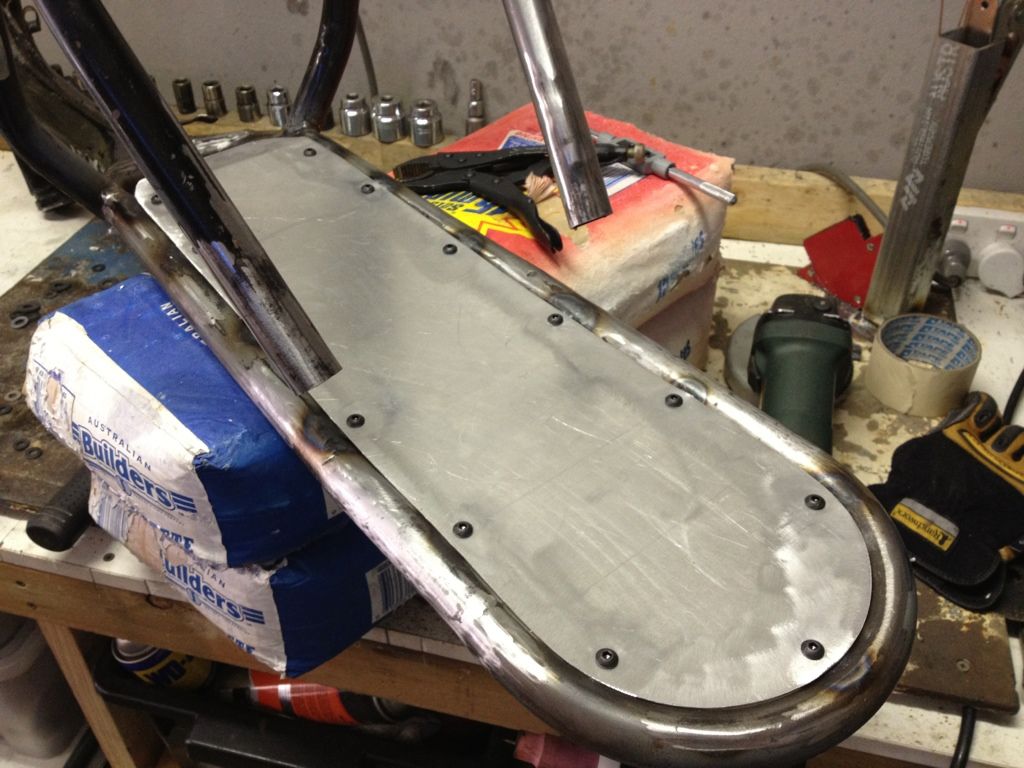
In the end it will be painted black so should blend in nicely:
Next up was fitting the damper, very pleased with how it fits although the 5w I put in it is waaaaaaaaay to light as the damper does bugger all. Looks tidy though:
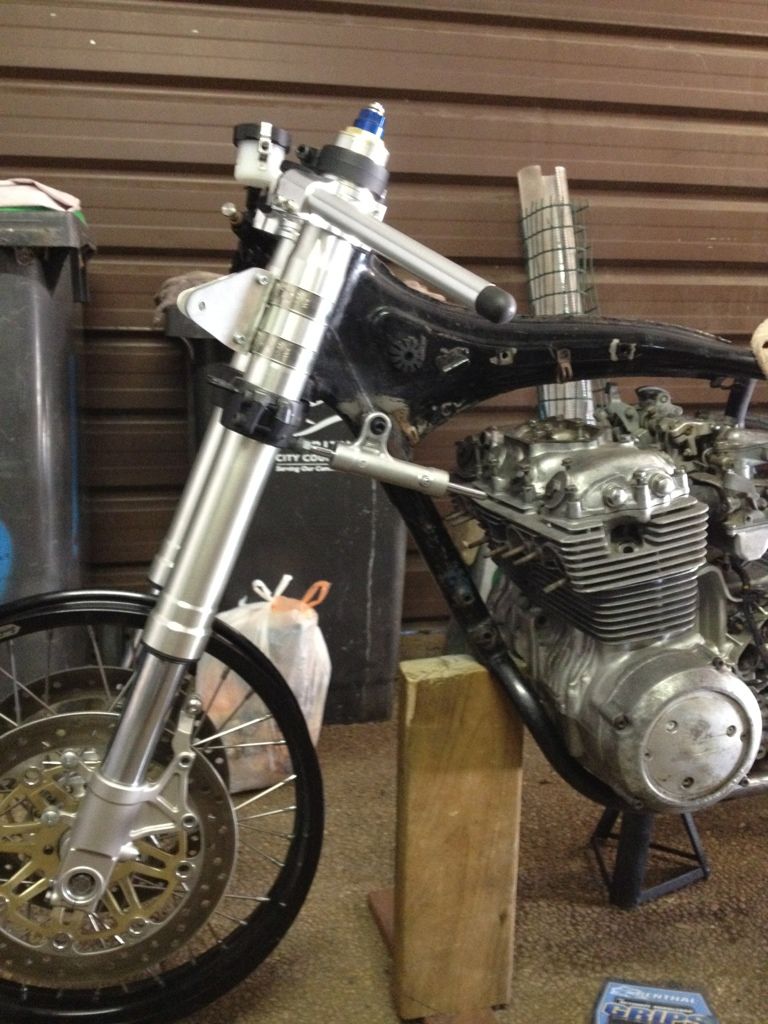
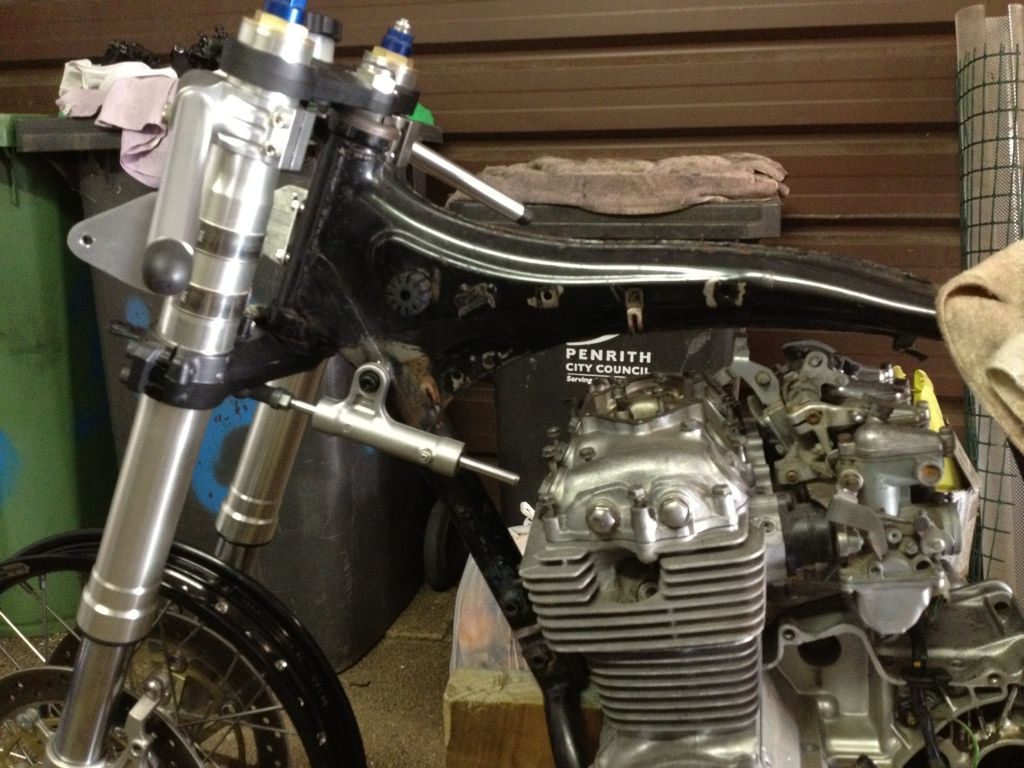
Next up is replacing the caliper bolts with hex heads, fitting a grip and lacing the rear wheel
Got stuck into doing the subframe tray mounts. Cut some 10mm square solid stock into small sections with an angled curved section and rounded off ends:
Welded these around the subframe:
Then drilled and tapped them:
Tray mounted:
In the end it will be painted black so should blend in nicely:
Next up was fitting the damper, very pleased with how it fits although the 5w I put in it is waaaaaaaaay to light as the damper does bugger all. Looks tidy though:
Next up is replacing the caliper bolts with hex heads, fitting a grip and lacing the rear wheel
stroker crazy
crazy as a fox
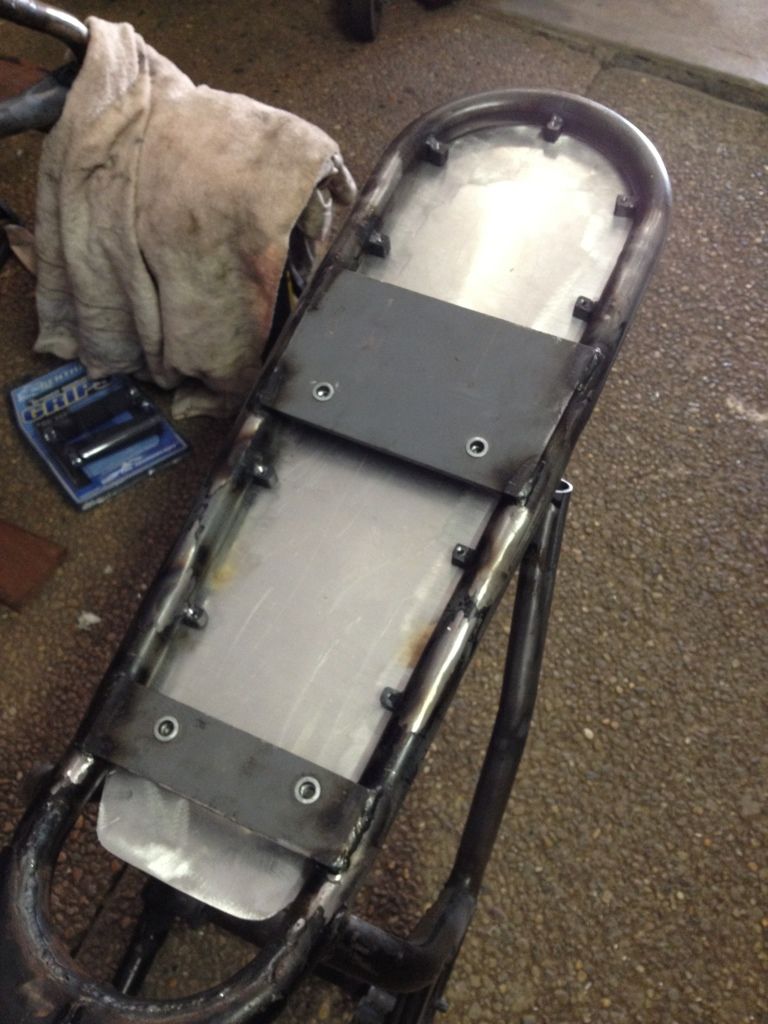
That tray is not going to move anytime soon!
Crazy
Crazy
neevo
Over 1,000 Posts
andycafe said:looks like a great start to your welding repetoire
Cheers Andy, went to a mates house the other day and got a master class, my welding control has come on a fair bit since then. Bit of a way to go to make them pretty but it's a good start.
neevo
Over 1,000 Posts
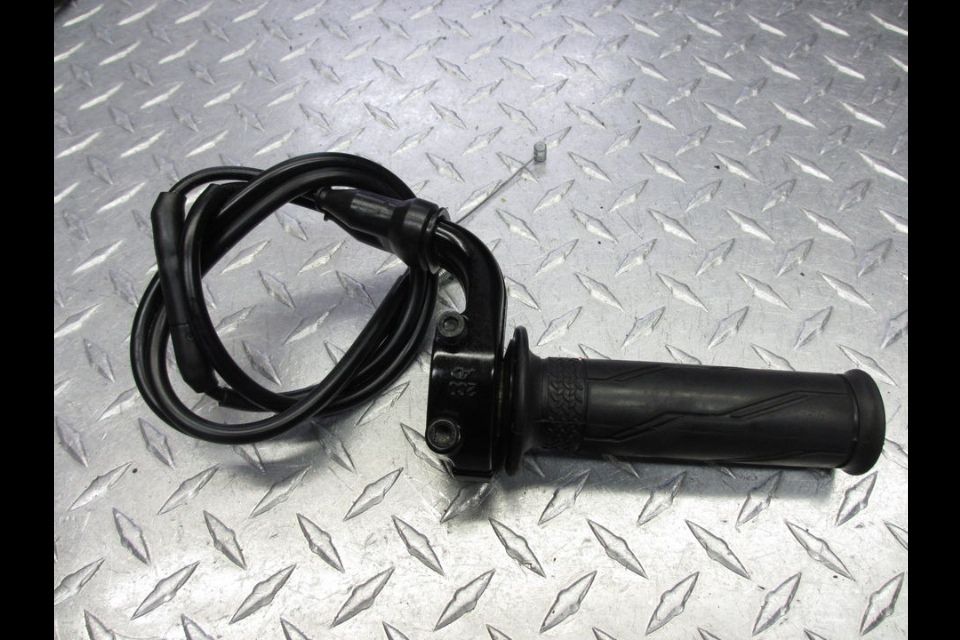
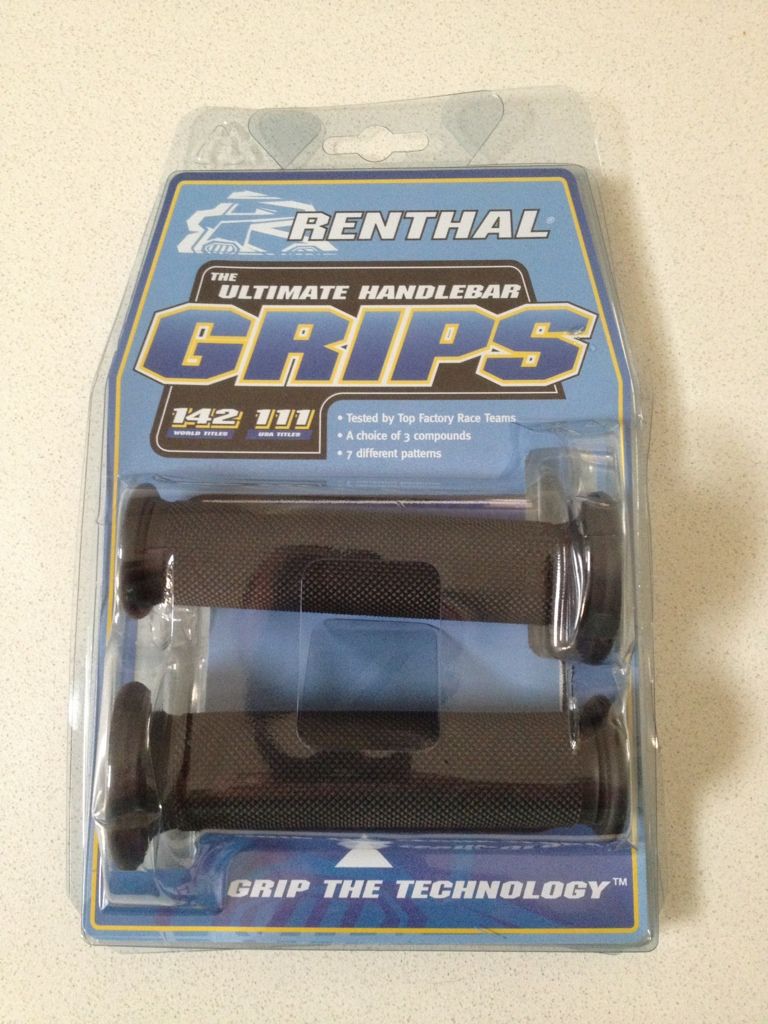
Grips! Put some electrical tape down (2 layers), petrol in the grip and slid it on quickly before it set:
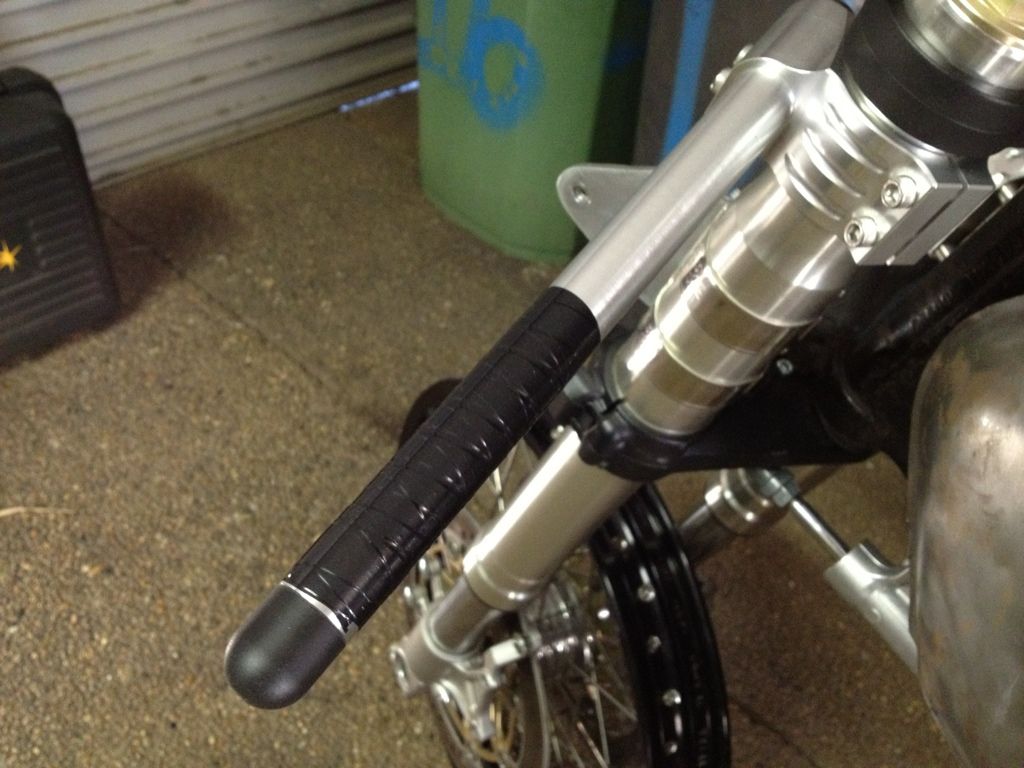
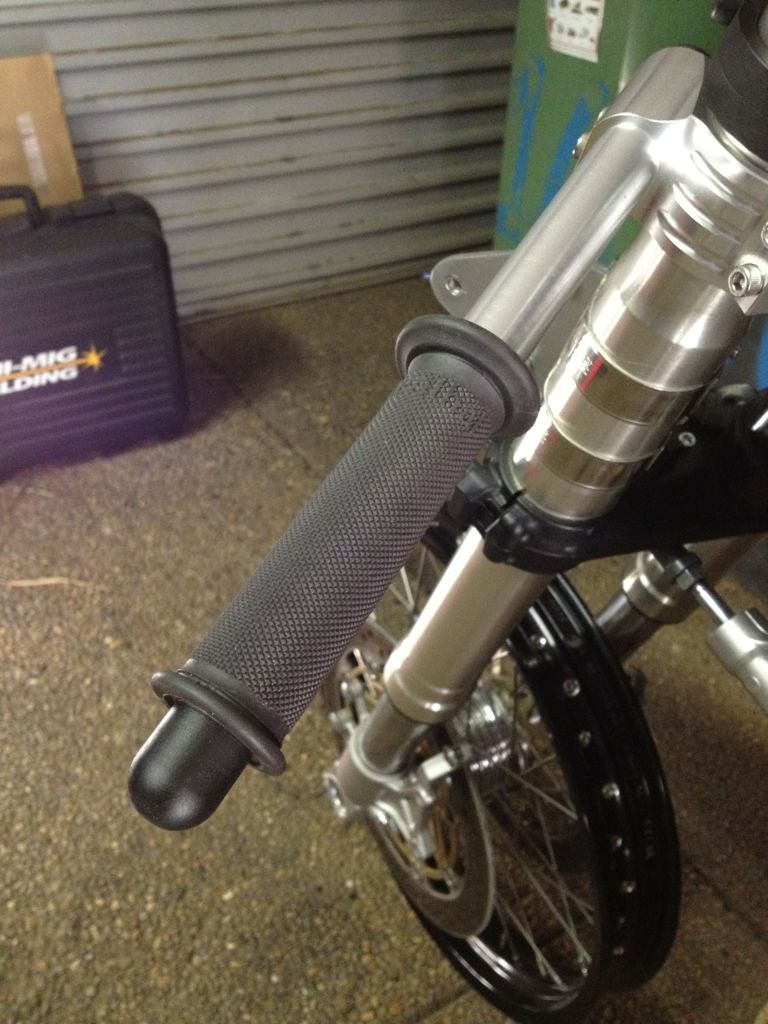
Will be wiring them on too for full peace of mind.
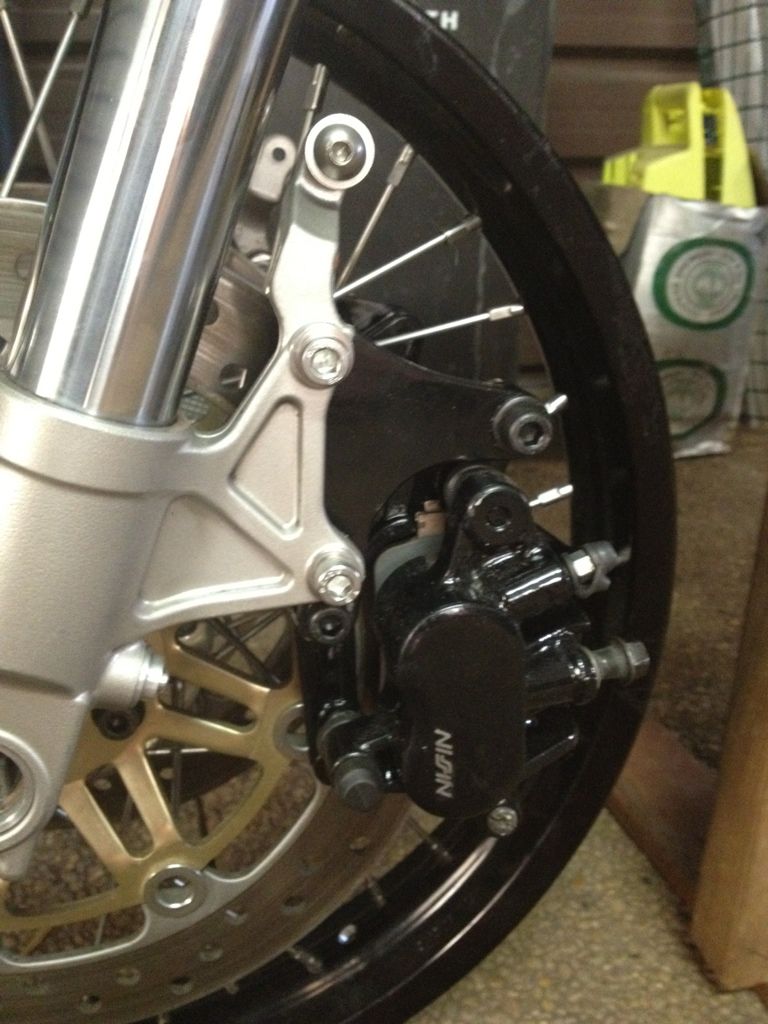
Also swapped the bolts on the calipers out for hex heads, much cleaner look:
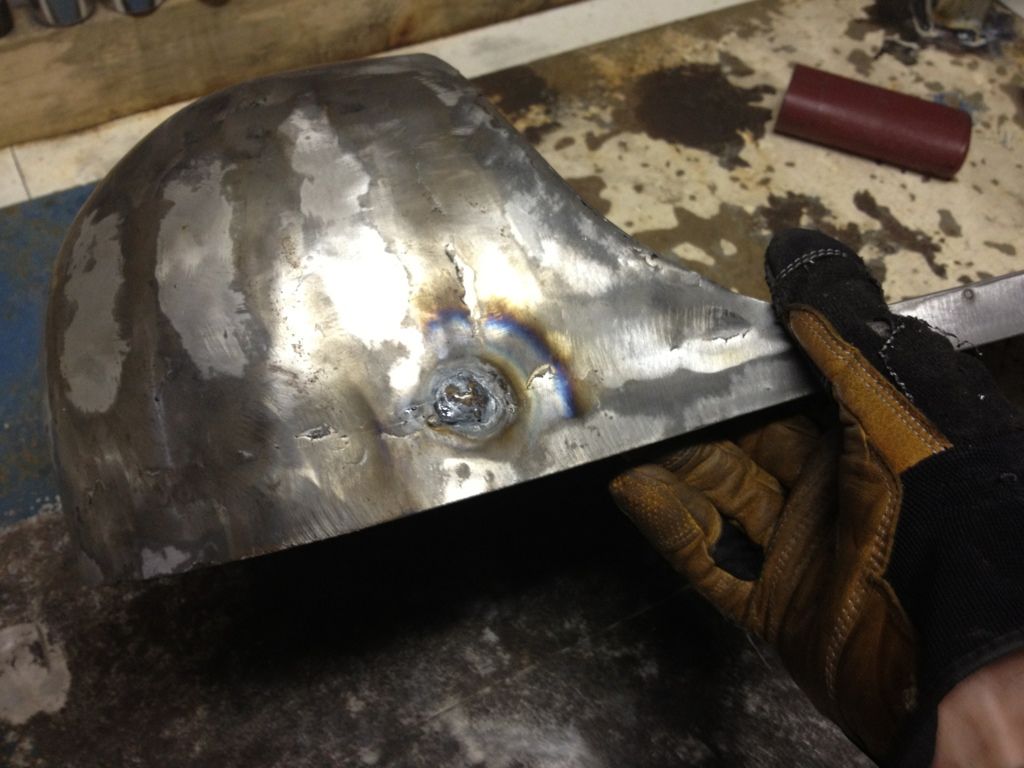
Welded up the indicator holes as they will now be mounted lower as they look stoopid where they are now:
Also got this bad mo-fo laced up:
Nearly a roller
Will be wiring them on too for full peace of mind.
Also swapped the bolts on the calipers out for hex heads, much cleaner look:
Welded up the indicator holes as they will now be mounted lower as they look stoopid where they are now:
Also got this bad mo-fo laced up:
Nearly a roller
neevo
Over 1,000 Posts
stroker crazy said:That tray is not going to move anytime soon!
Crazy
Shouldn't move
I was thinking aesthetics when I did it (button head spacing underneath to look nice) and ensure it didn't rattle. Think its good for both of those.
I did fark up the gap between the mount and the panel though, it's inconsistent and I will need to pad it out with some washers. Also thinking of putting some rubber strip around the panel too so it's neatly sealed against the frame.


