A little more time spent in the garage today during a bitterly cold and windy Sydney day. Now that the electrical system is all connected up I found I could move on to simpler things like nuts and bolts and easy shit like that. I' m slowly getting closer and closer to the first start and I can hardly contain my excitement. I find myself finding just one more thing I need to do to keep putting it off because I'm too nervous that it's not going to work and the whole project will turn into a big fizzer.
Anyway, here's a few more pictures of progress.
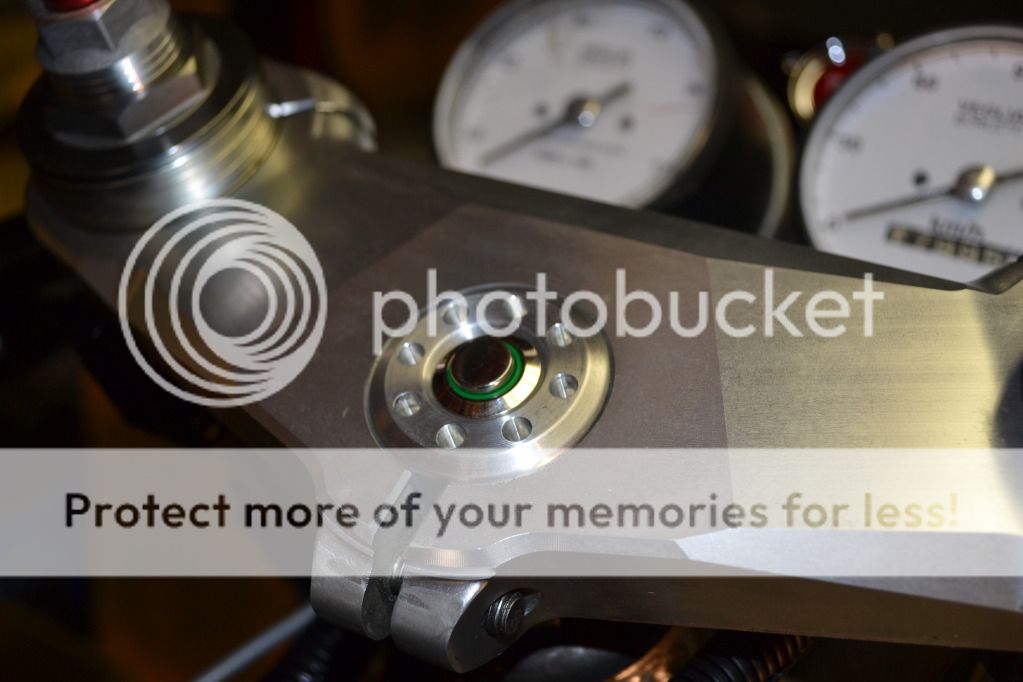
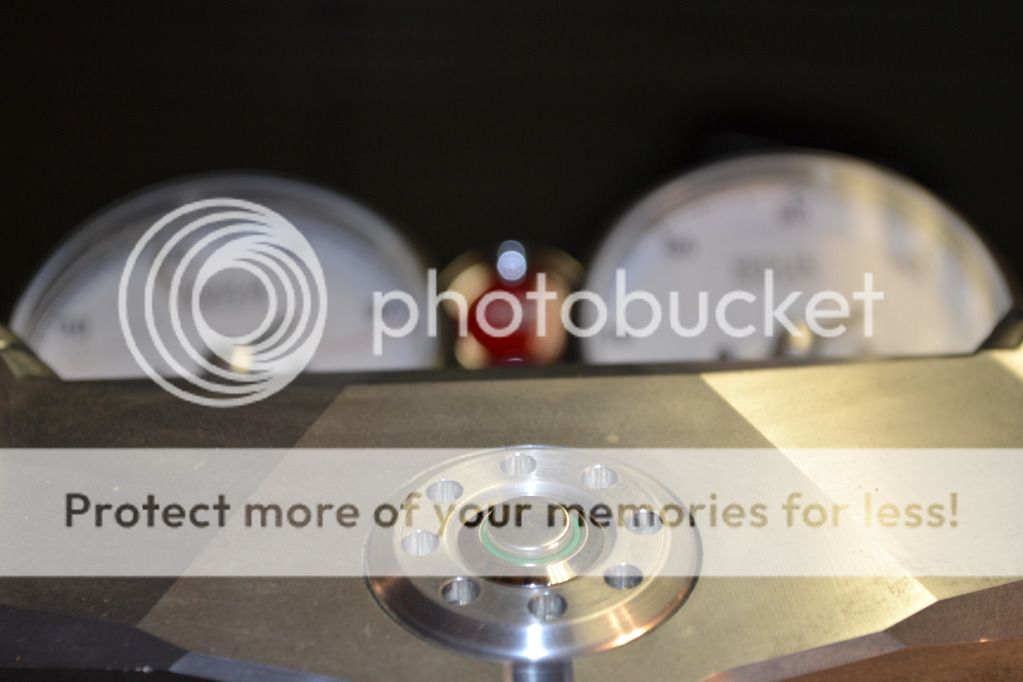
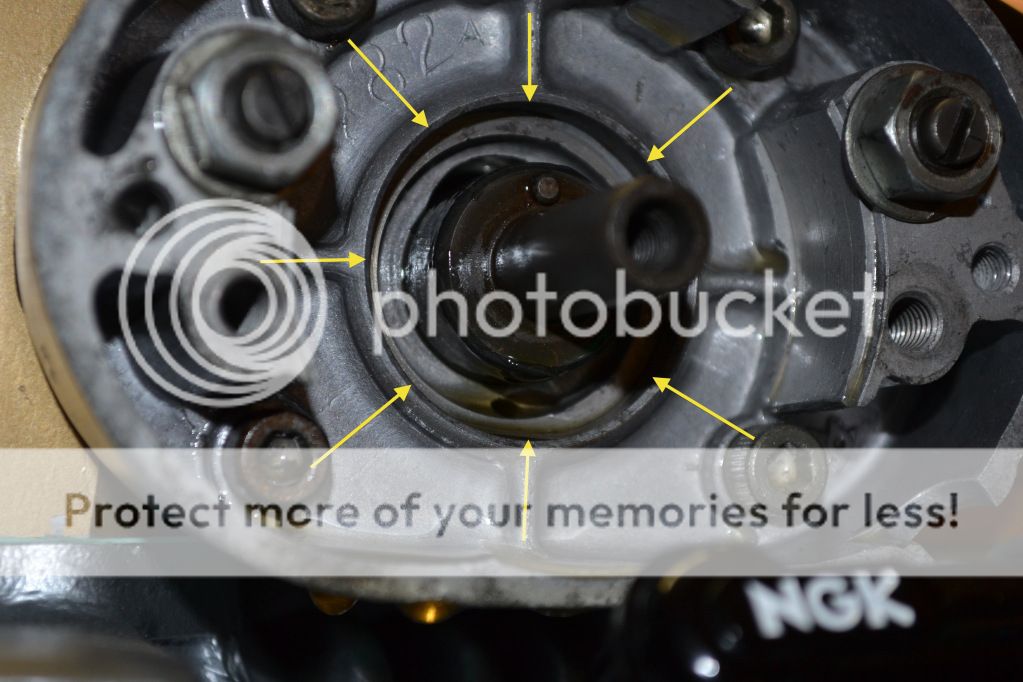
I put my headlight on/off switch into the top of my steering head nut. It turned out to be more complicated than I thought because you can't plug the wires into the switch and then screw the nut down because as you screw the nut down, the wires become twisted inside the stem. So i had to put a separate plug into the loom where the switch wires join it. I think it was worth all the extra hassle
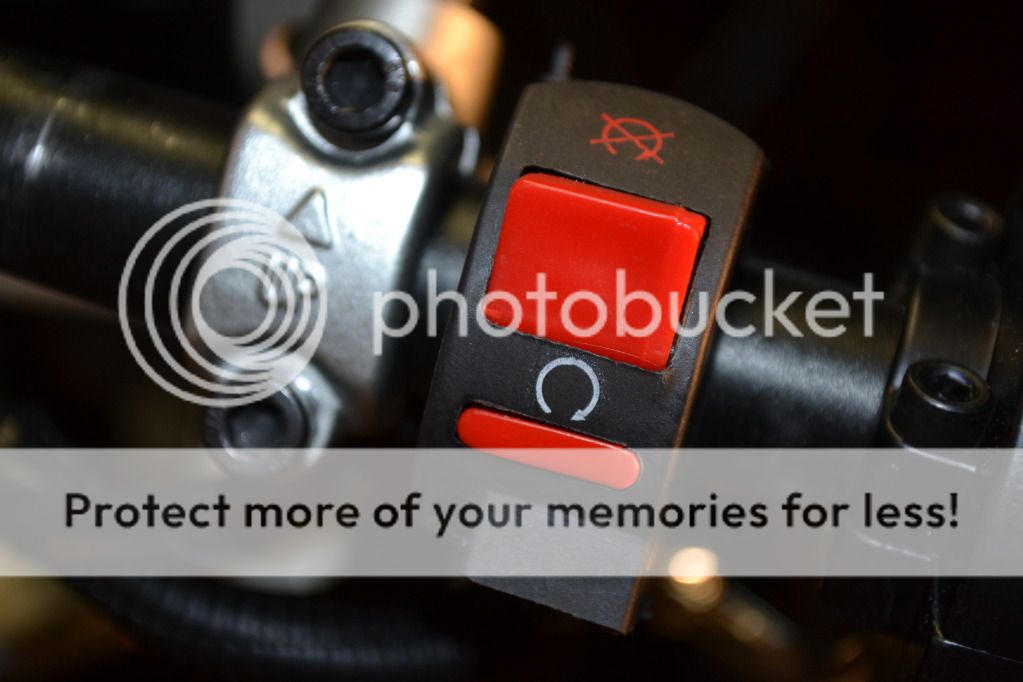
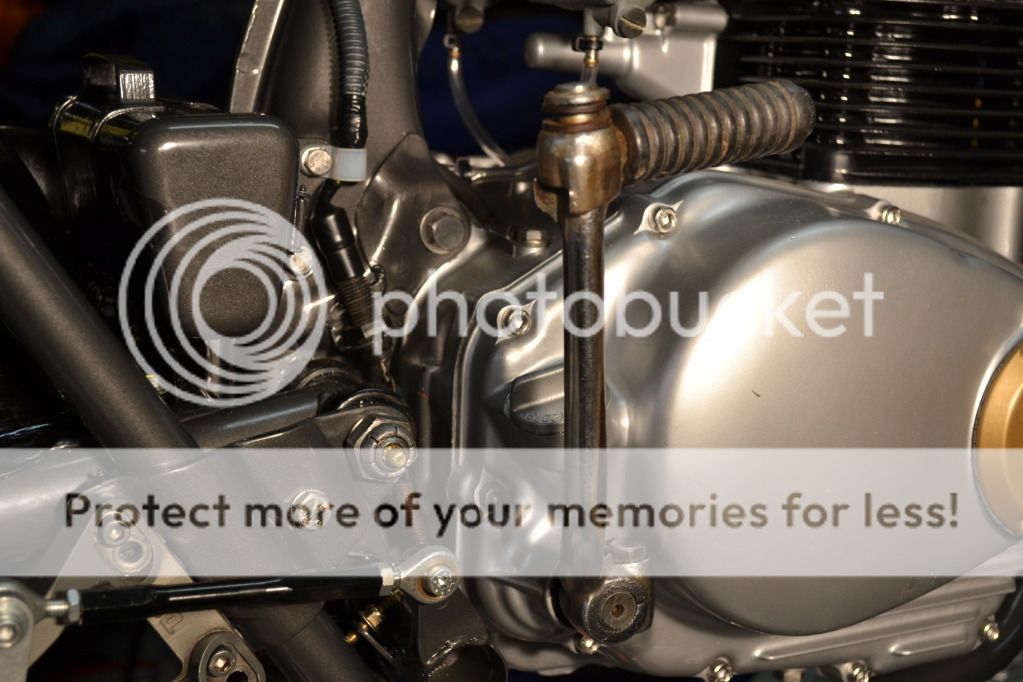
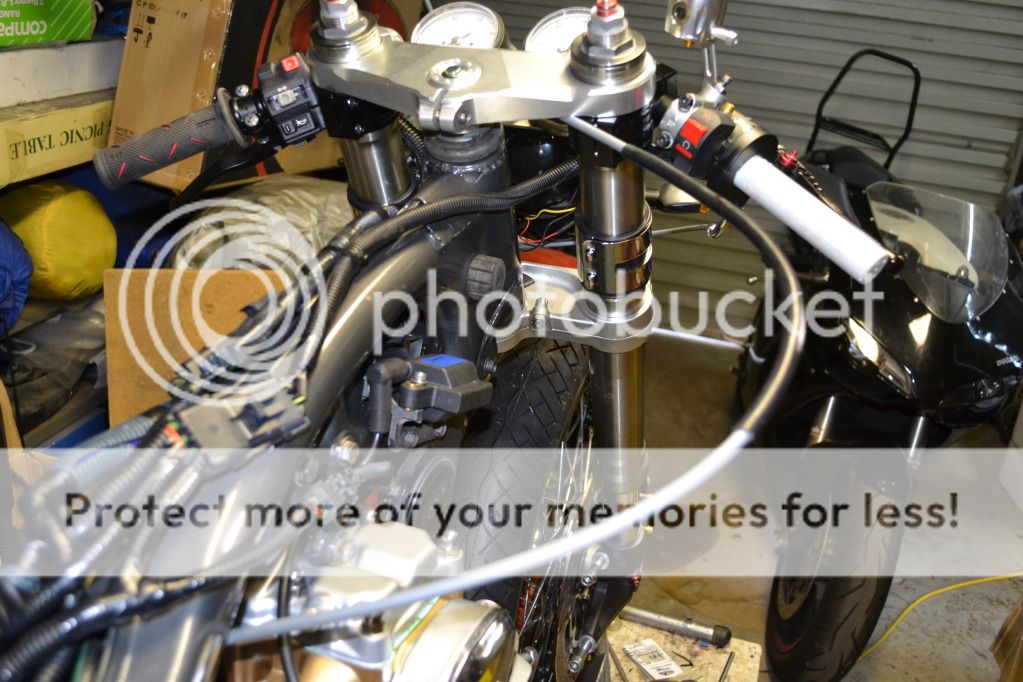
Having moved the starter button to the top of the headlight bucket I had no need for the button incorporated into the right hand switch block. So I cut it off leaving just the kill switch
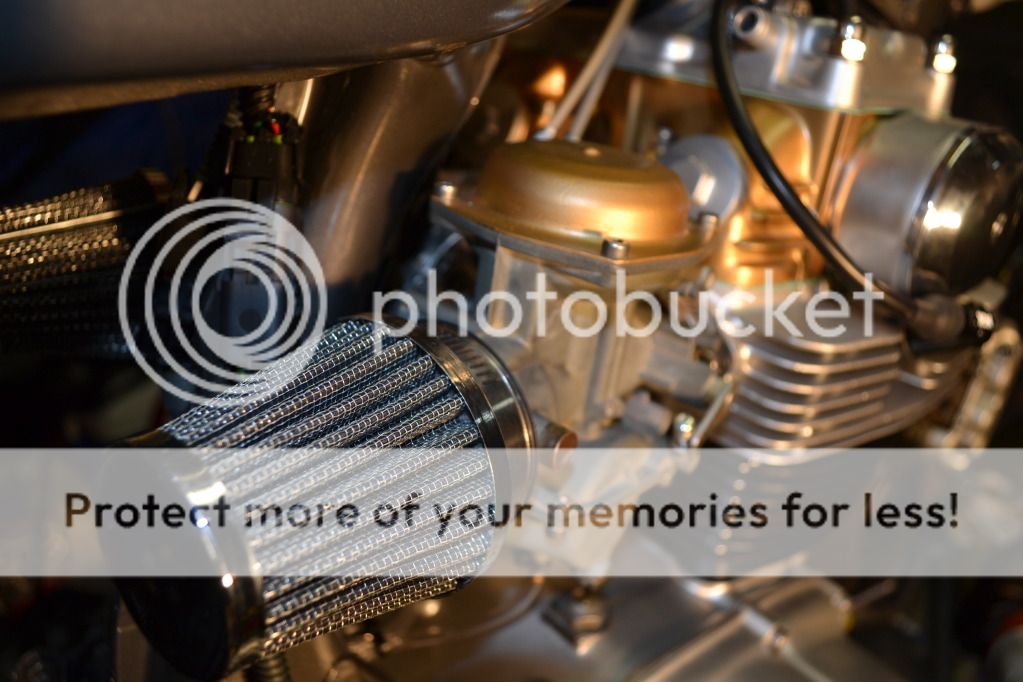
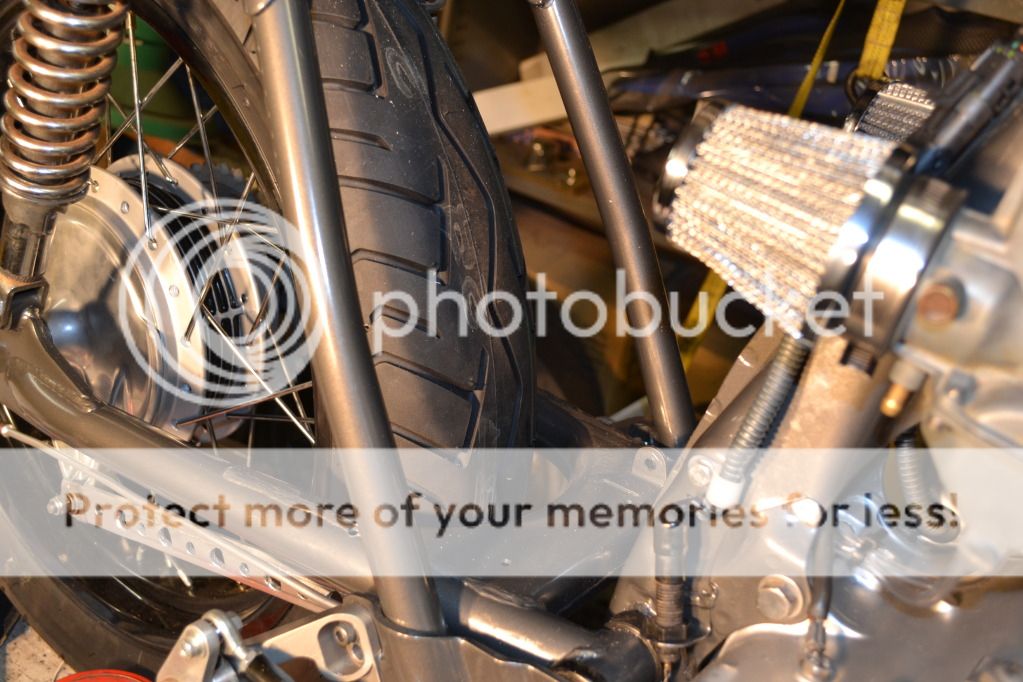
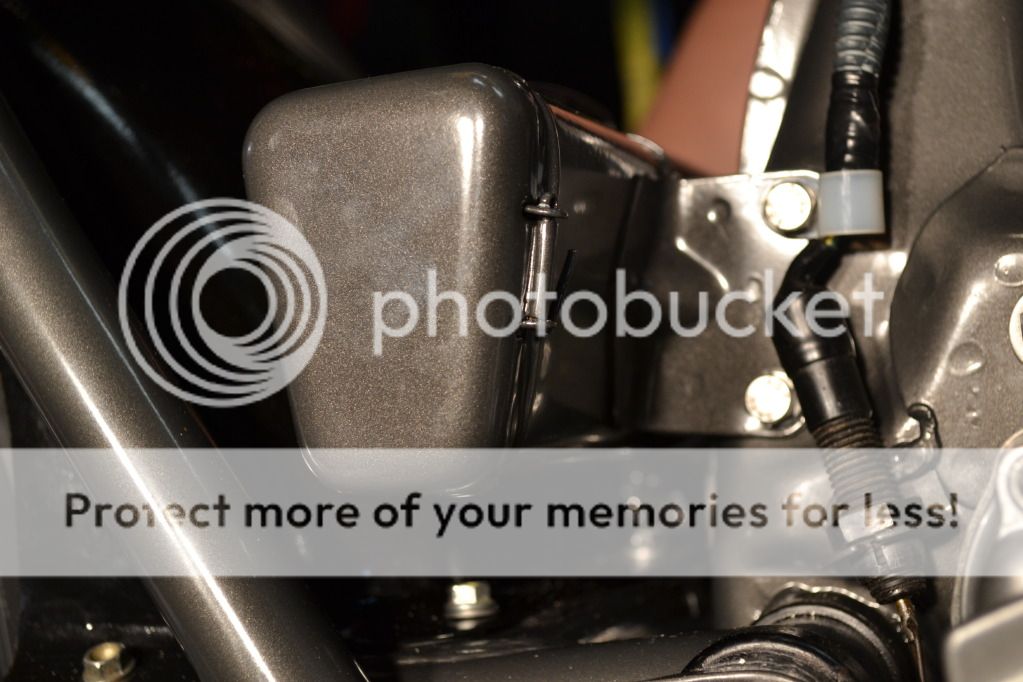
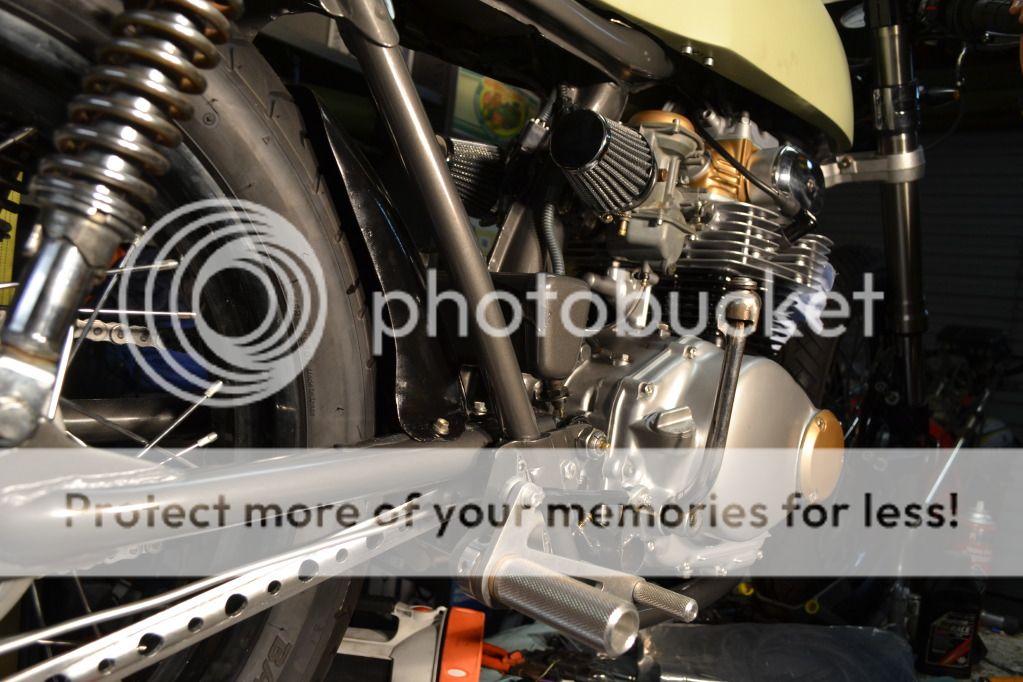
Cool air filters. Can't wait to try and tune the carbs...

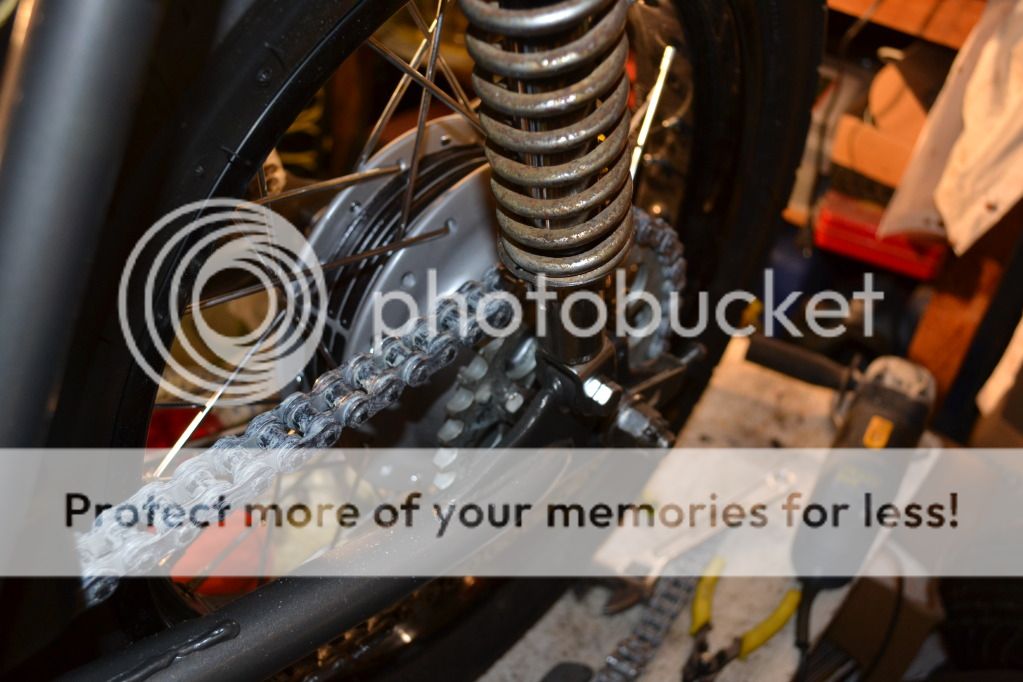
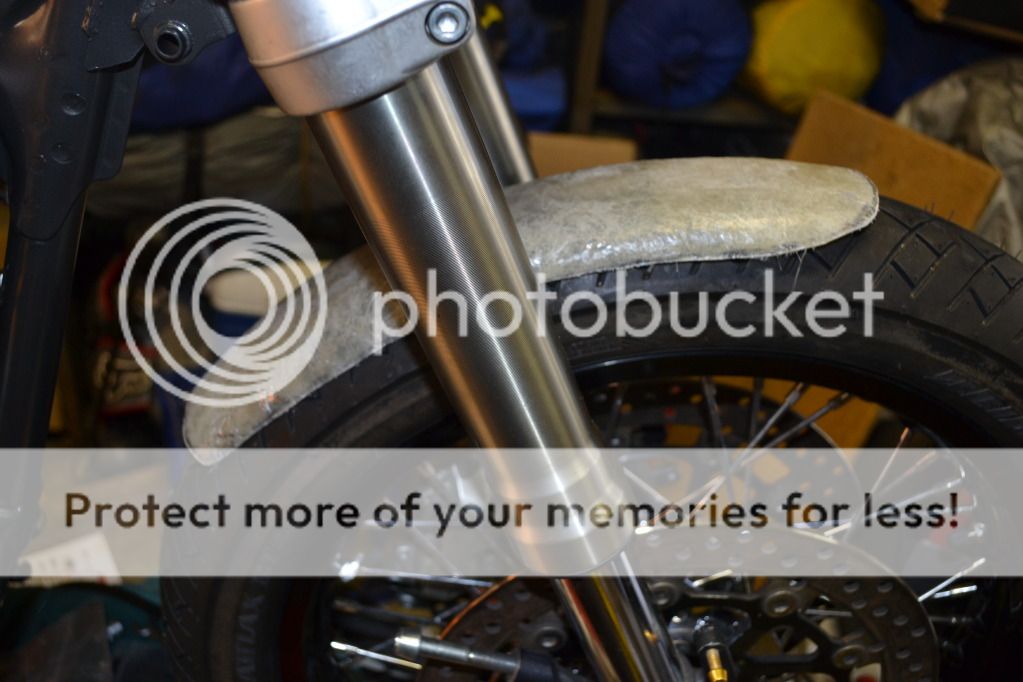
Very large empty space allowing the rear tyre to direct rain gravel and dog shit into the carburettors
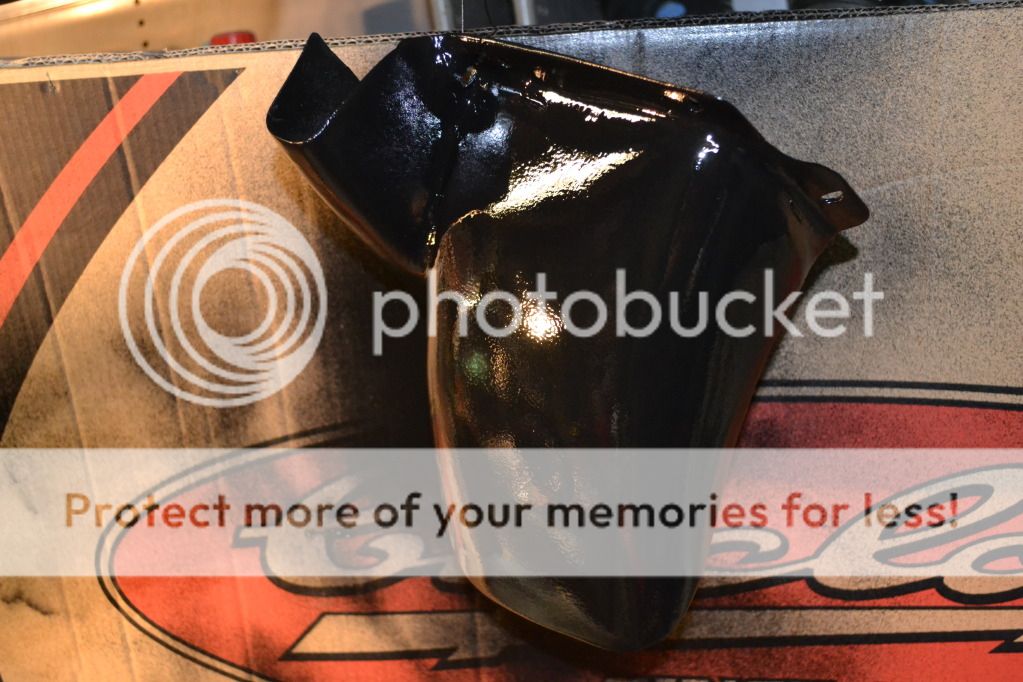
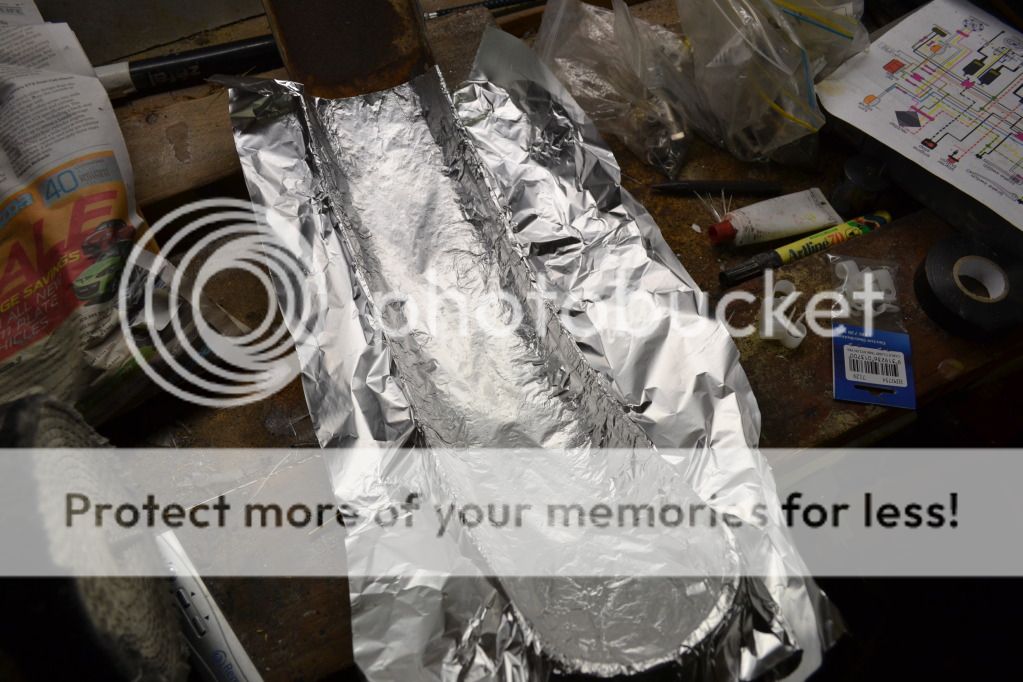
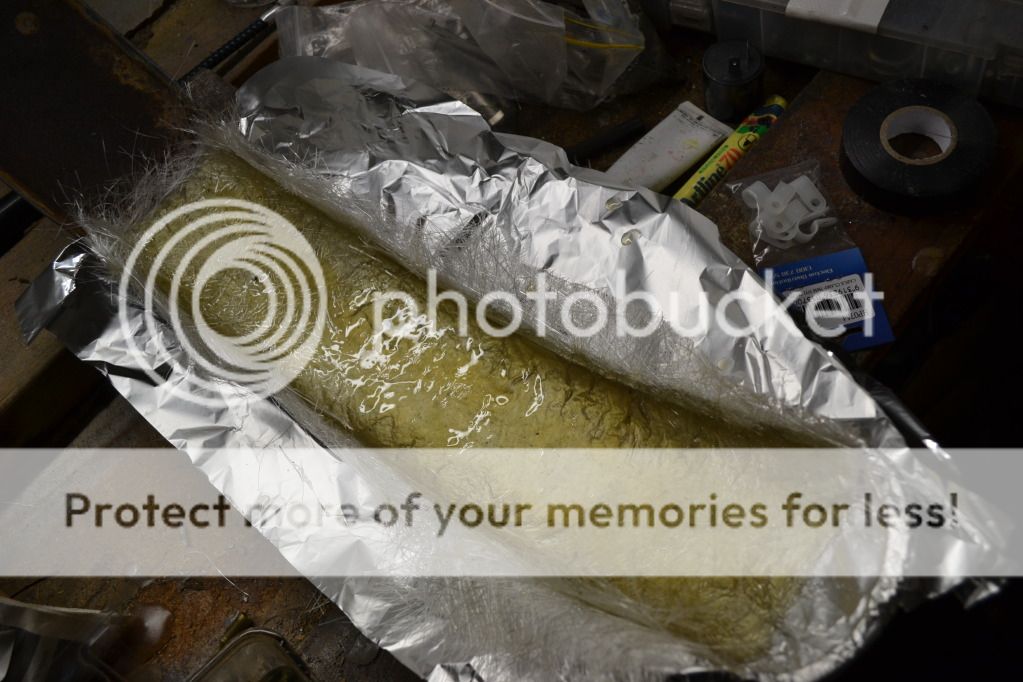
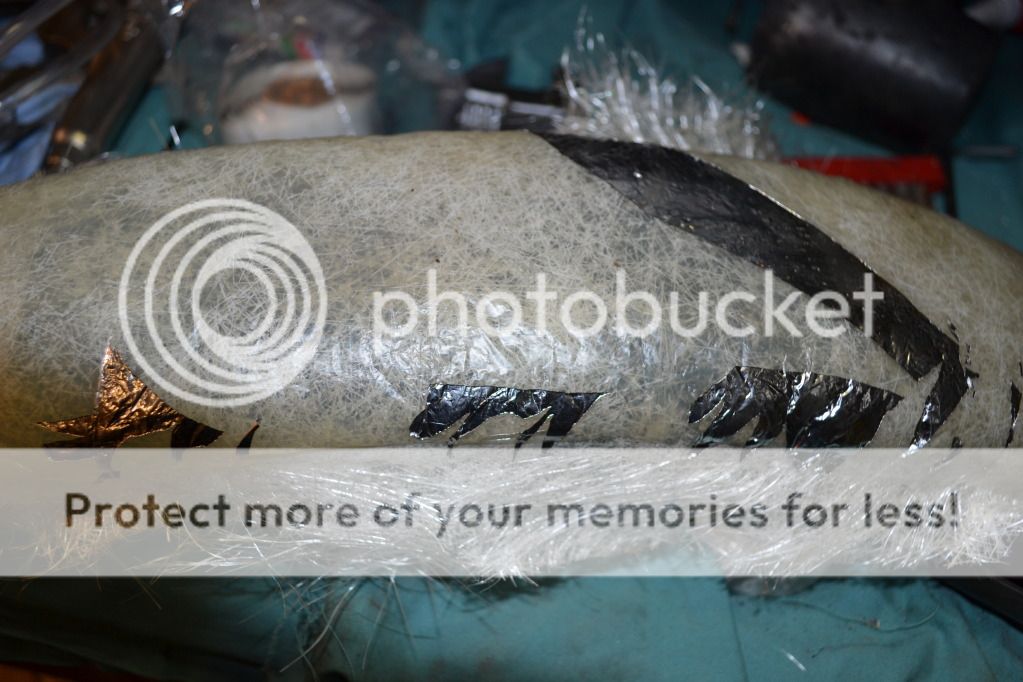
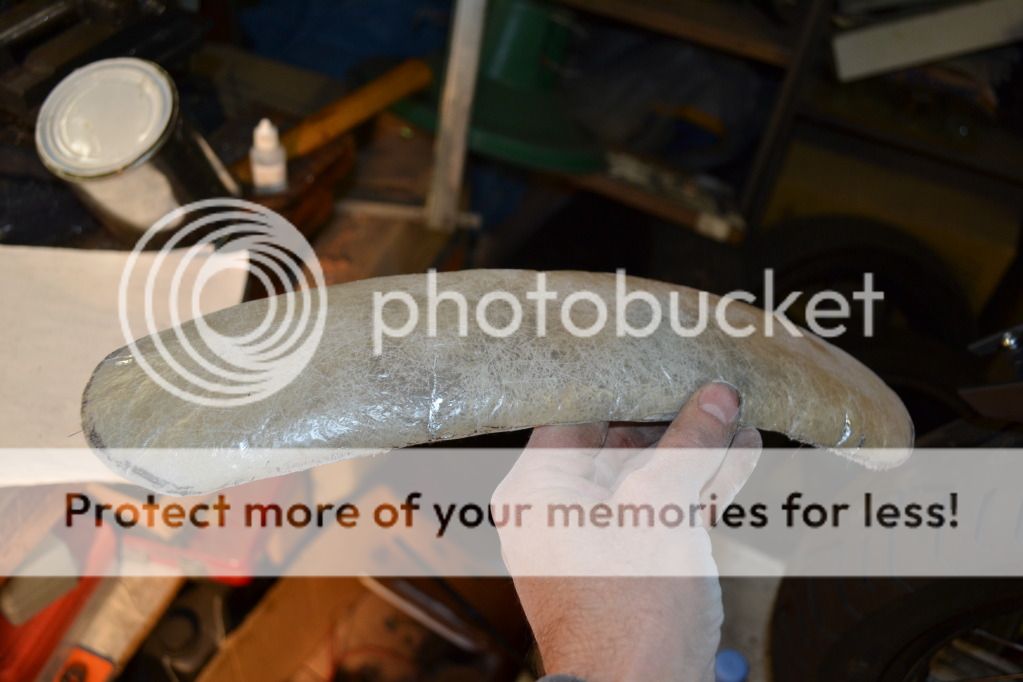
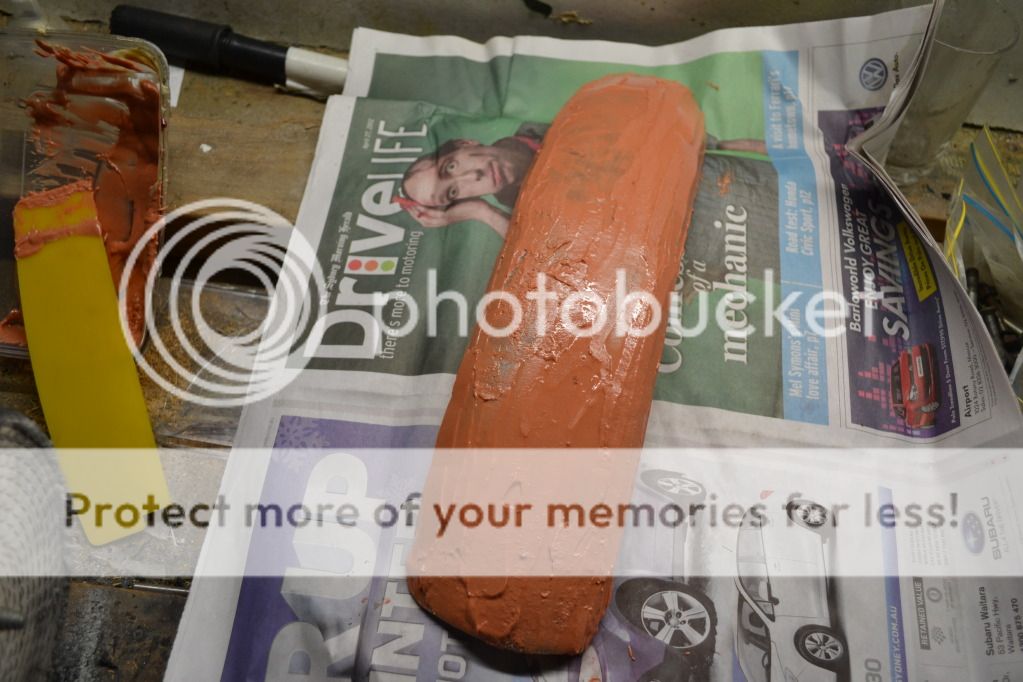
Solved by my home made rear hugger
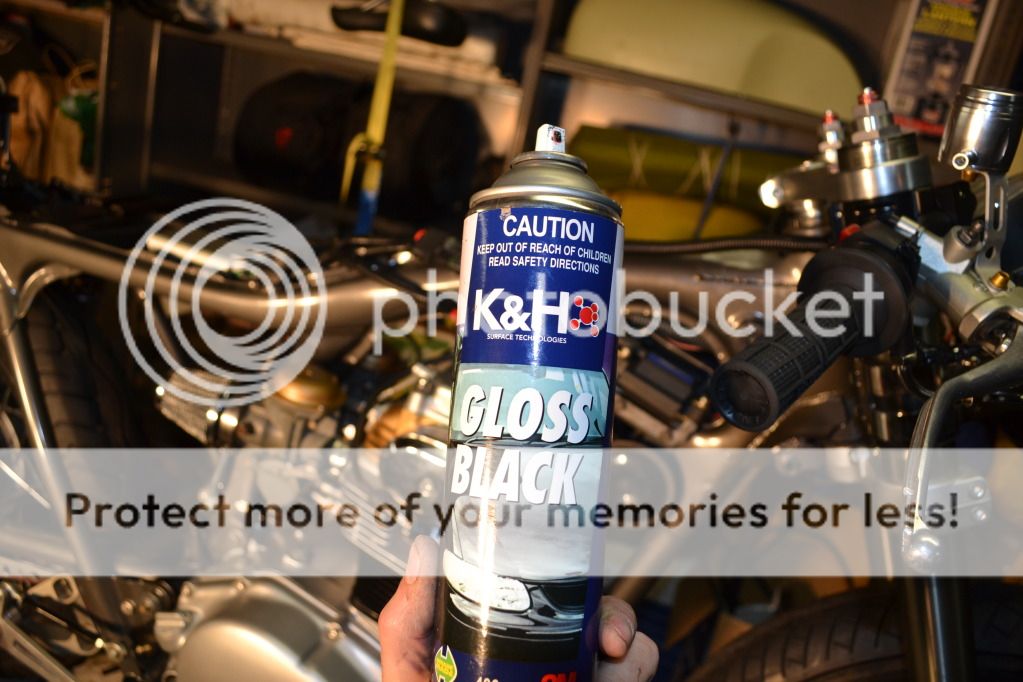
After being expertly coated with this superior quality polymer coating product
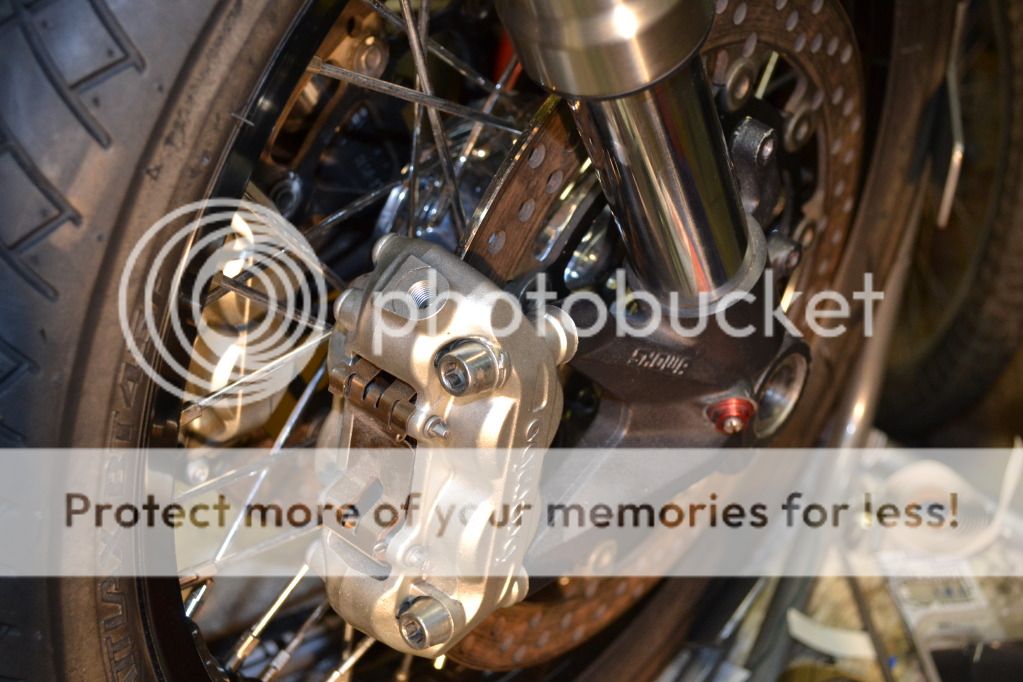
Front brakes installed but I've just now realised I don't have any banjo bolts to connect up the brake lines
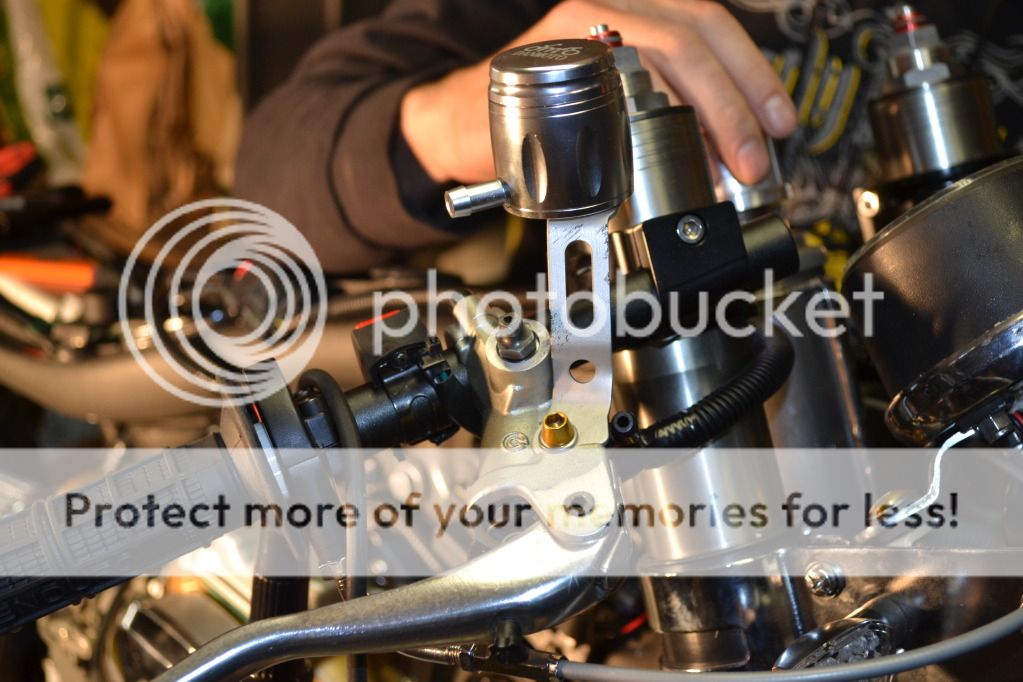
Brake fluid reservoir
Master cylinder
Calipers
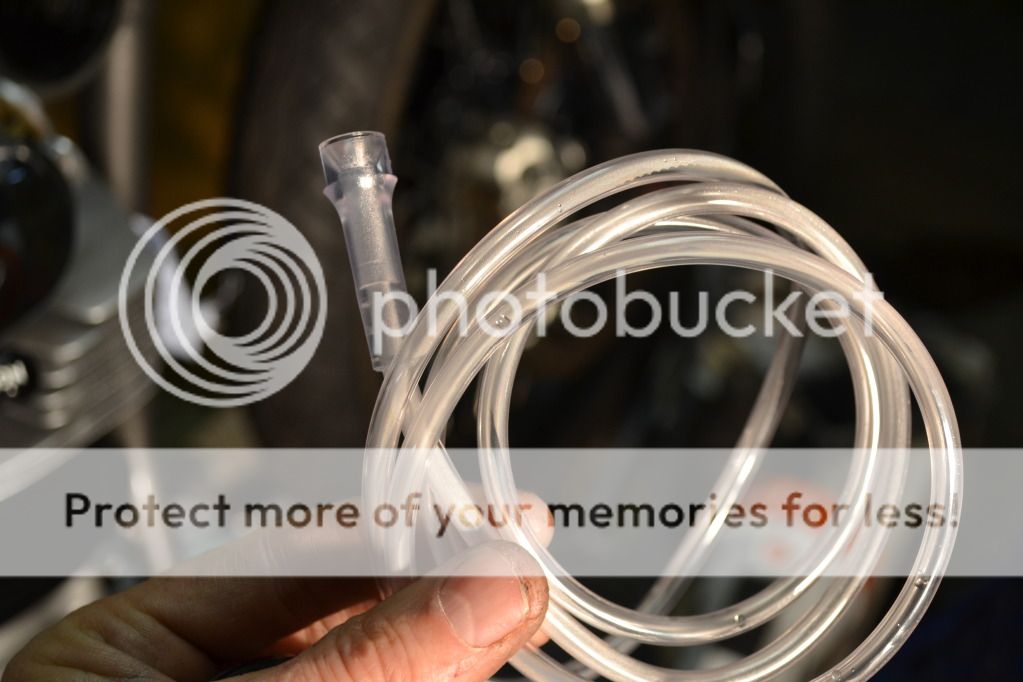
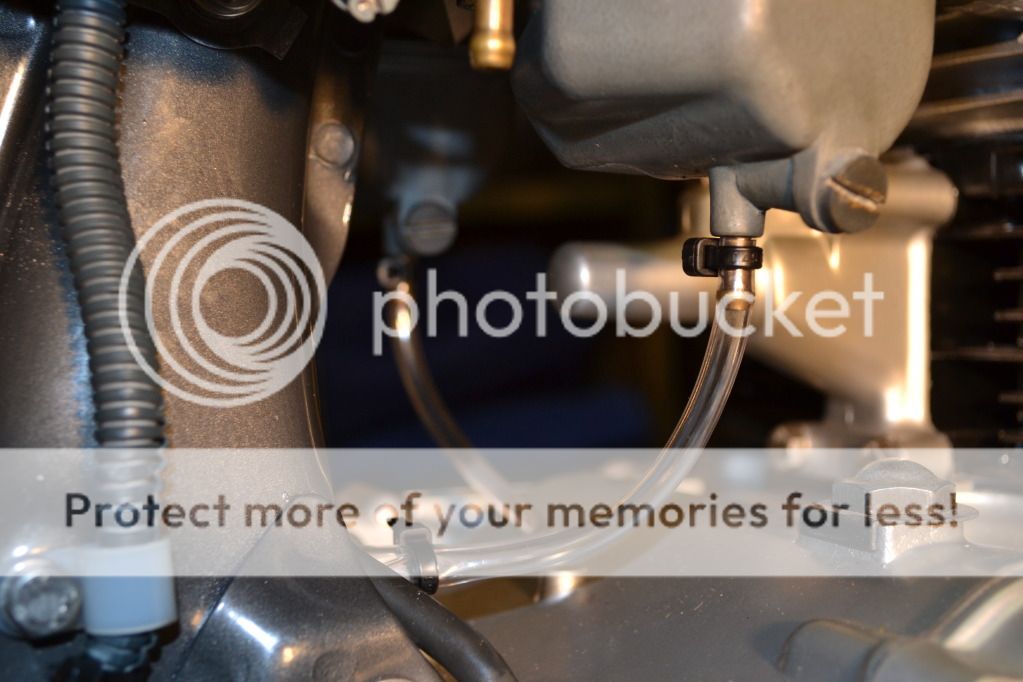
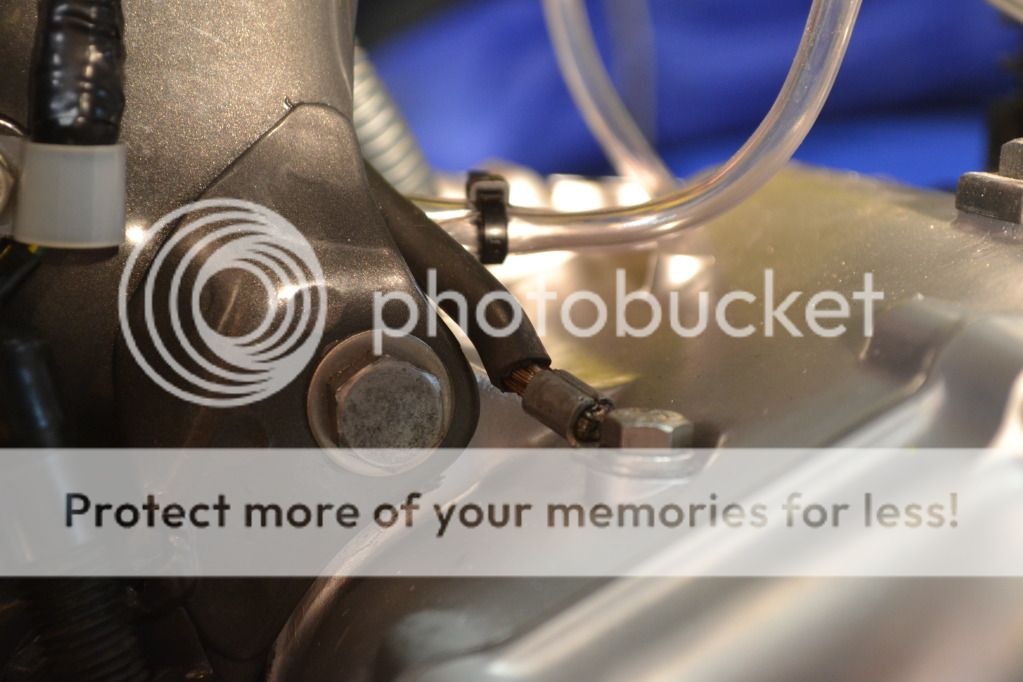
Decided to get creative and used some oxygen tubing for float bowl overflow
I've run into another little problem involving clearance of the speedo and tacho cables running behind the headlight bucket. Because I have shortened the headlight ears and brought the headlight bucket back towards the steering head there is very little to no room to run the cables which will run into the bucket about an inch below the cable attachment point
I can either raise the instruments and/or alter the angle they are mounted or drill holes in the bucket and run the cables through it.
Still to go:
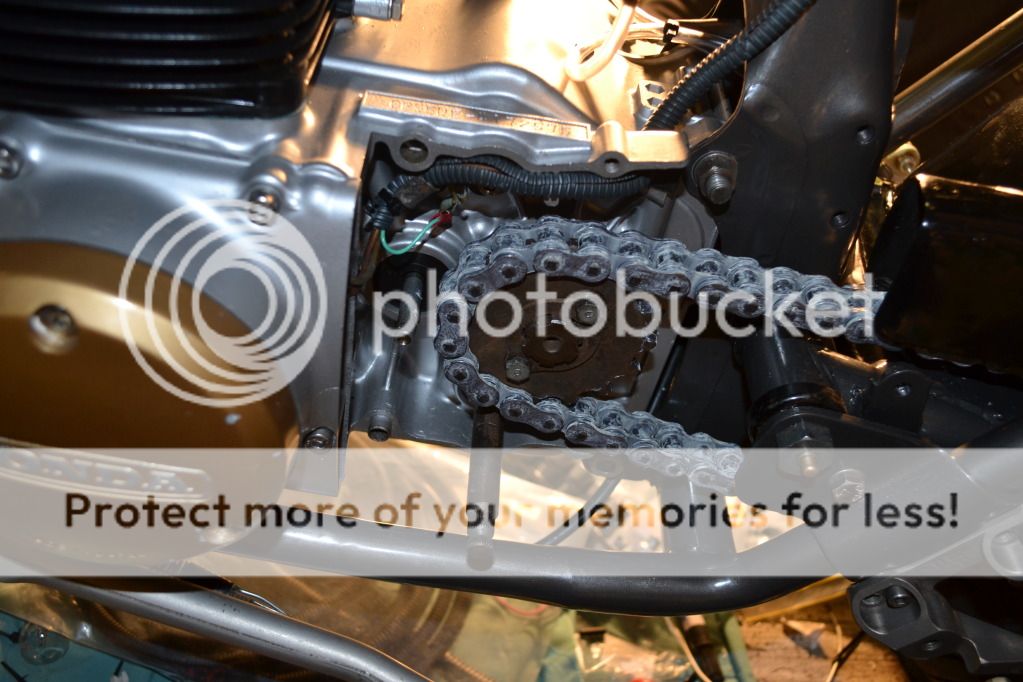
Mount the chain
Polish, clear coat and mount the hugger
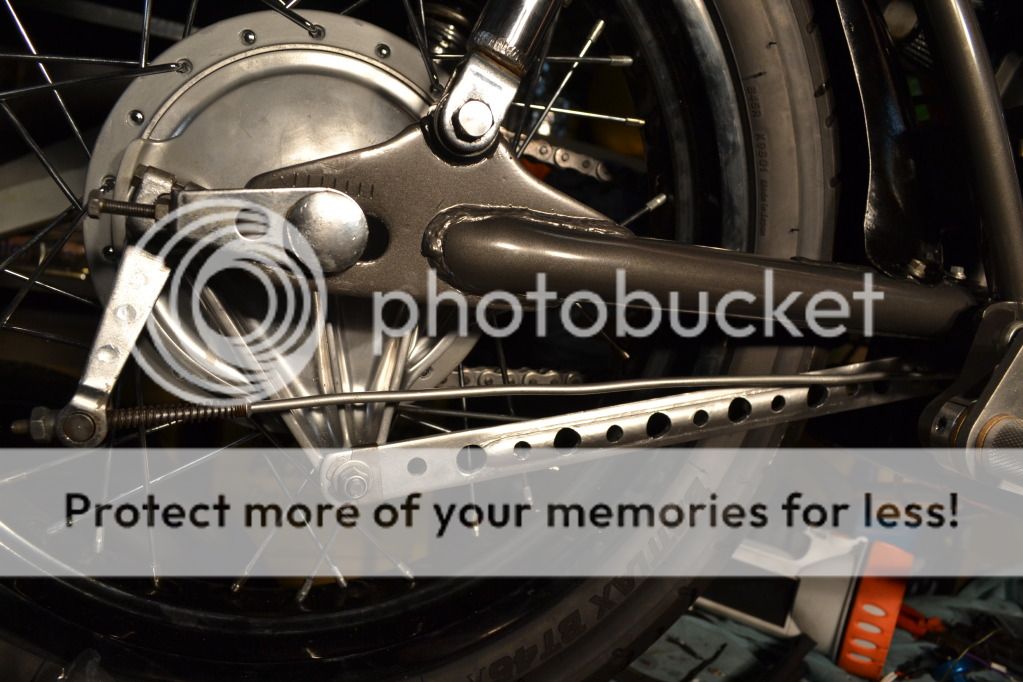
Do something clever with (or just mount) the sprocket cover/clutch pushrod mechanism
Do something about a front mudguard
Check that there is a spark
Check static timing
Run a wire via a relay to the engine start button light.
Get some banjo bolts and bleed the front brakes
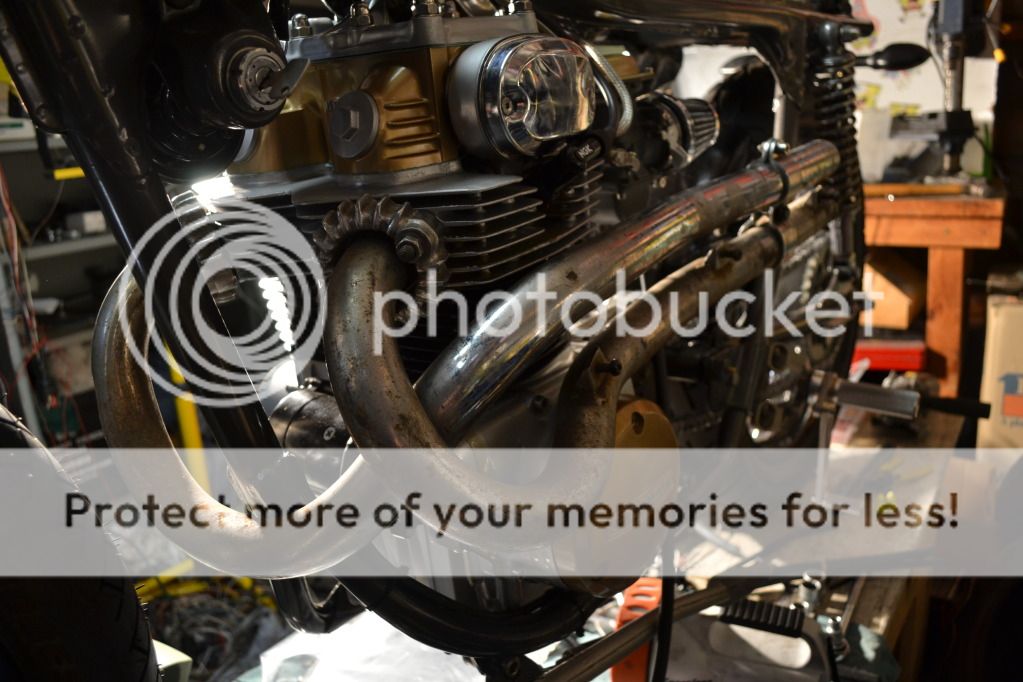
Mount the header pipes and work out what I'll do for a muffler
Decide on a colour scheme for the tank/seat and paint
That's all! Nearly done...