
We noticed you are blocking ads. DO THE TON only works with community supporters. Most are active members of the site with small businesses. Please consider disabling your ad blocking tool and checking out the businesses that help keep our site up and free.
You are using an out of date browser. It may not display this or other websites correctly.
You should upgrade or use an alternative browser.
You should upgrade or use an alternative browser.
1972 Honda CL350 First Time Build
- Thread starter Dalovva
- Start date
Dalovva
Been Around the Block
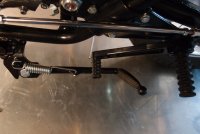
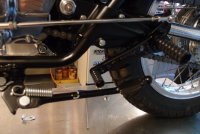
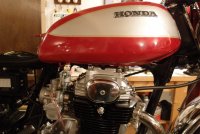
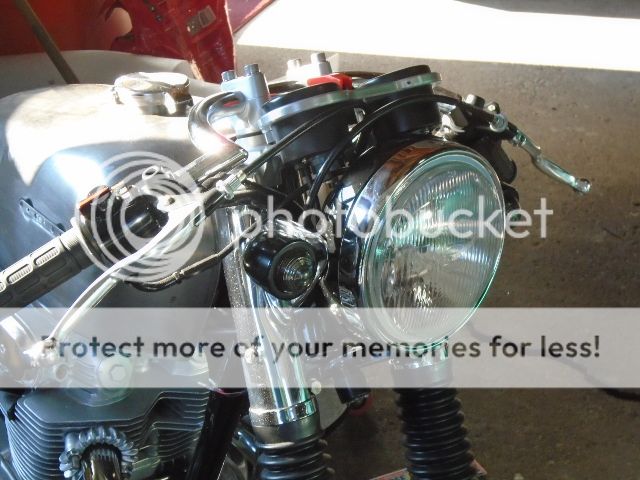
I had my engine soda blasted then primed and painted it.Zoltan said:The cowl looks great. When you sandblasted everything, did you put a clear coat over them? After sandblasting are they not as vulnerable to rusting? Seems any bit of moisture on the right place of my bike will create rust on these old metals. Debating painting vs. sandblasting my engine.
Zoltan
Brooklyn
SONIC. said:Aluminum.
Doesn't rust.
Aluminum.
Oxidizes.
And if enough moisture builds up on it there are oxidizing like marks - whether they be from solutes left behind from the moisture or not, I was curious in the process in which he kept his engine so clean.
Thanks though!
Zoltan
Brooklyn
Dalovva said:I had my engine soda blasted then primed and painted it.
cool, thanks, looks like the bare metal really.
Dalovva
Been Around the Block
Installed my radiantz 5.75 in led strip today. Its a 2 wire setup so I wired it with two diodes and one resistor so it would work as a tail light and a brake light. Here is a video.
https://www.youtube.com/watch?v=MTL9pOTurU0&feature=player_detailpage
https://www.youtube.com/watch?v=MTL9pOTurU0&feature=player_detailpage
King Browne
New Member
King Browne
New Member
That'll work; I'm just not into grinding and welding on my recently powder-coated frame. I was thinking maybe of a loose stand that is carried elsewhere on the bike and then inserted into a new fitting that would bolt onto the original bracket.
")


HerrDeacon
Over 1,000 Posts
Beautiful!
King Browne
New Member
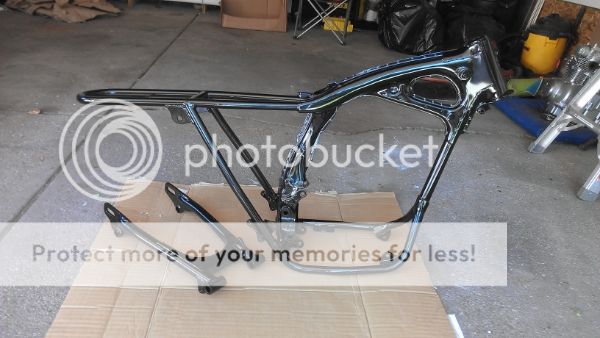
Very clean so far.
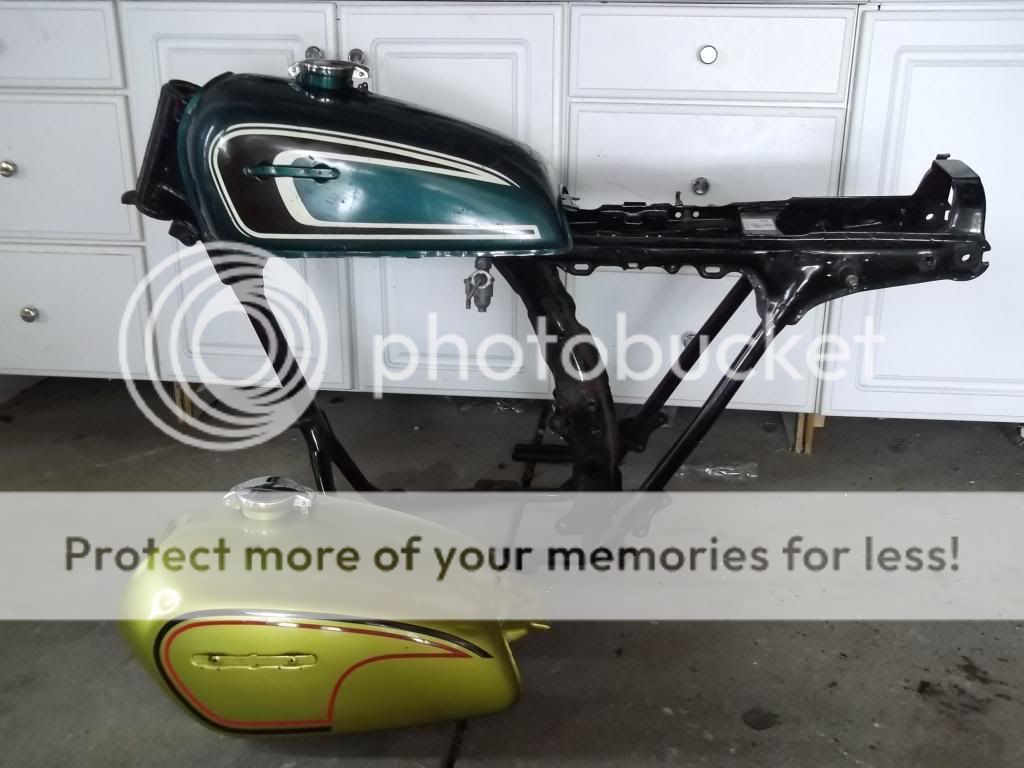
Your frame looks heavily modified missing gussets, tabs, etc.; did it start out as a CL350 frame? Also, I notice the bottom of your tank is level with the horizontal frame rails. I've tried to do this with mine as well (see picture), elevating it almost 2 inches; I think the downward tilt of the back of the stock CL tank spoils the lines of the bike.
Your frame looks heavily modified missing gussets, tabs, etc.; did it start out as a CL350 frame? Also, I notice the bottom of your tank is level with the horizontal frame rails. I've tried to do this with mine as well (see picture), elevating it almost 2 inches; I think the downward tilt of the back of the stock CL tank spoils the lines of the bike.
Attachments
King Browne
New Member
Just noticed that's not a CL tank! What is it?


timberwolffxdl
Been Around the Block
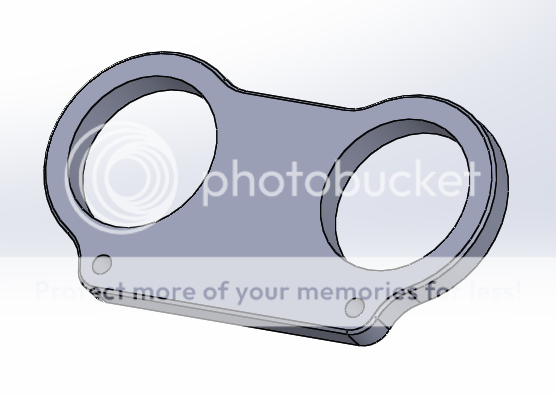
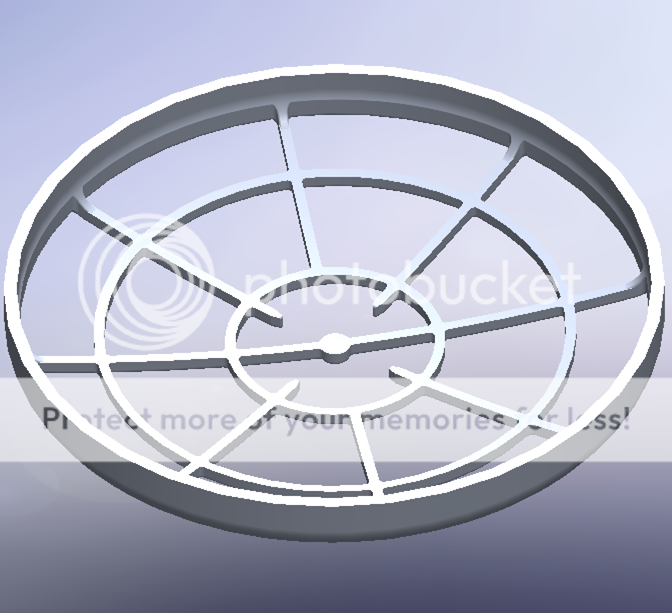
ah, you're a shapeways user too. I've utilized them for a few different projects in the past. Now I get marketing emails from them everyday... :-\
timberwolffxdl
Been Around the Block
I haven't used shapeways to make molded parts (didn't know they had that capability) but I've used them a lot for 3D printed parts.eyhonda said:We've used Shapeways too in our company. IIRC, I may have discovered them thru this forum. AFAIK, they make a 3D mold of your part based on a CAD and use the mold to spit out your new parts.
Another good company to keep in mind when customizing/building things is Big Blue Saw


