thrillseeker
Been Around the Block
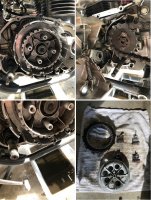
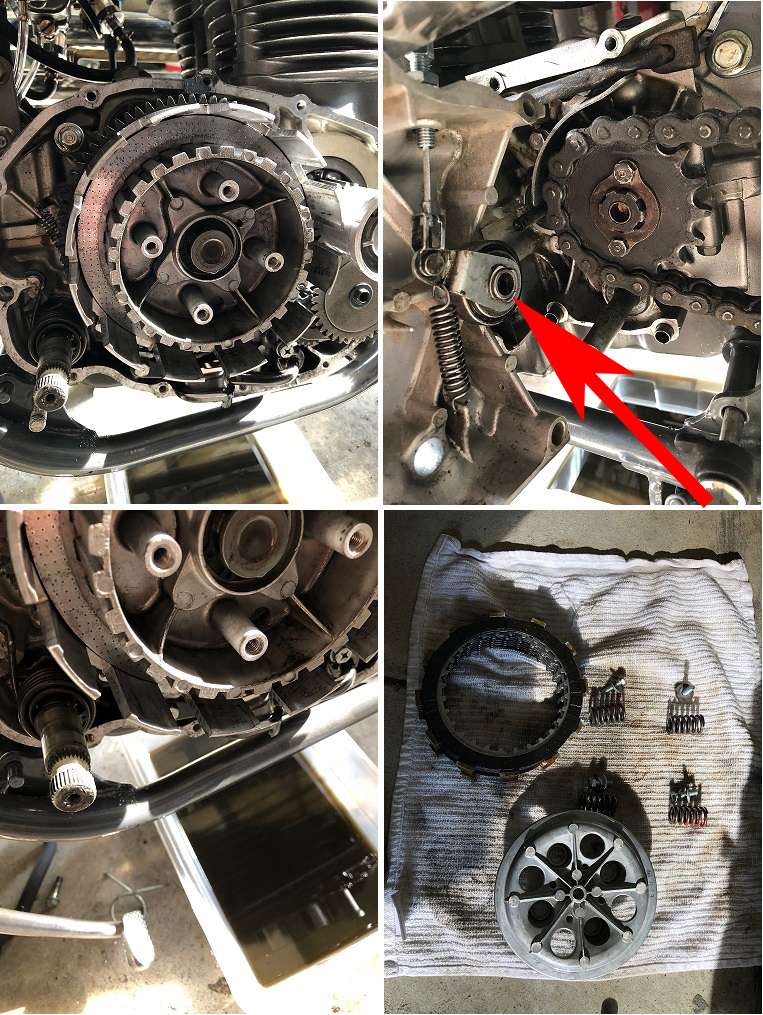
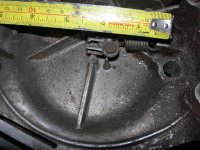
Make sure the clutch basket is put together properly. If one thing doesn't slide together in just the right way so all the notches fit together, it ends up giving the clutch discs just enough room so you don't get spring tension. Ask me how I know
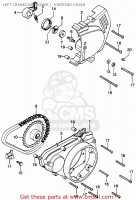
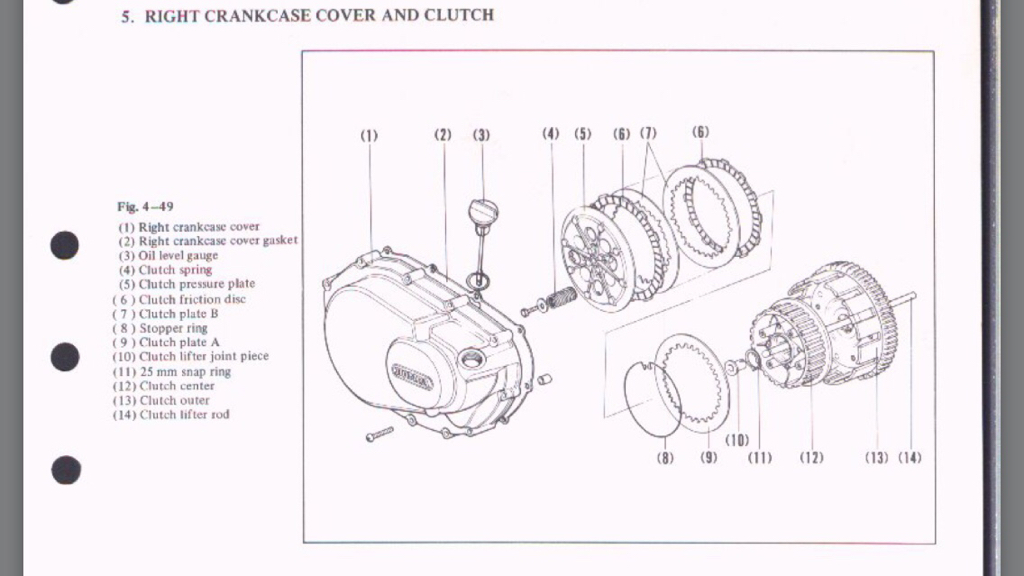
For reference from my manual:
Sent from my iPhone using Tapatalk
For reference from my manual:
Sent from my iPhone using Tapatalk