CB360 70's bratster

imjustanumber11

Active Member
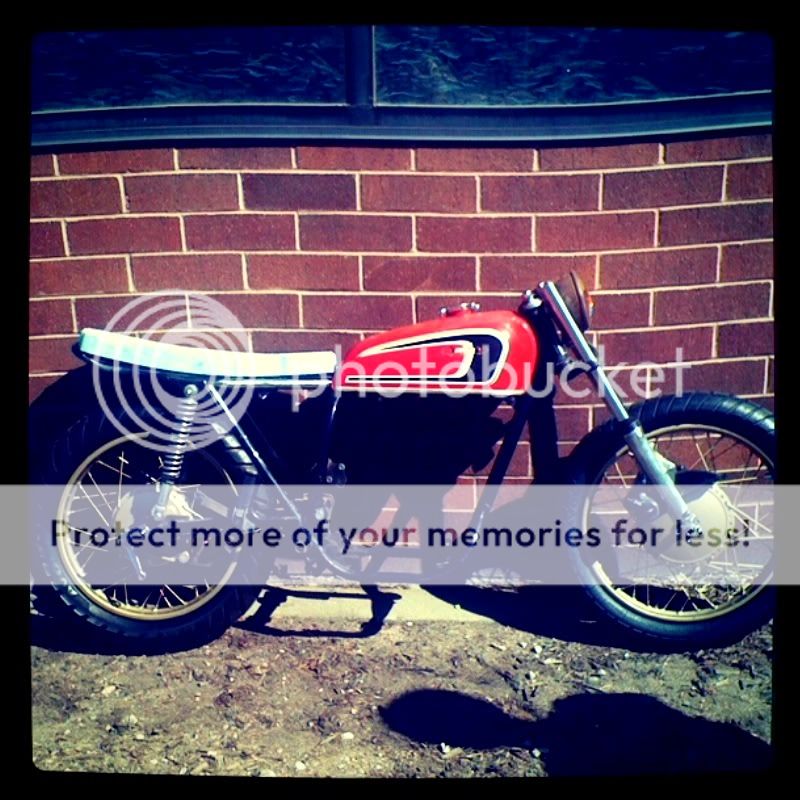
Welcome to my build my name is Hans and i am a student of industrial design and the motorcycle being built is a 1974 cb360, I purchased this bike for a lovely Benjamin and have owned it for over a year.
Unfortunately i don't have any photos of her prior to dis-assembly but she was just like every other old forgotten rusted cb360 you've seen before.
My goal is to create something that can not only be ridden everyday but can be an also benefit my portfolio. With this in mind everything is being done with my own bare hands, from grinding, sandblasting, powder coating, painting, upholstery and well you get the gist.
And so it begins...
IMG_0972.jpg

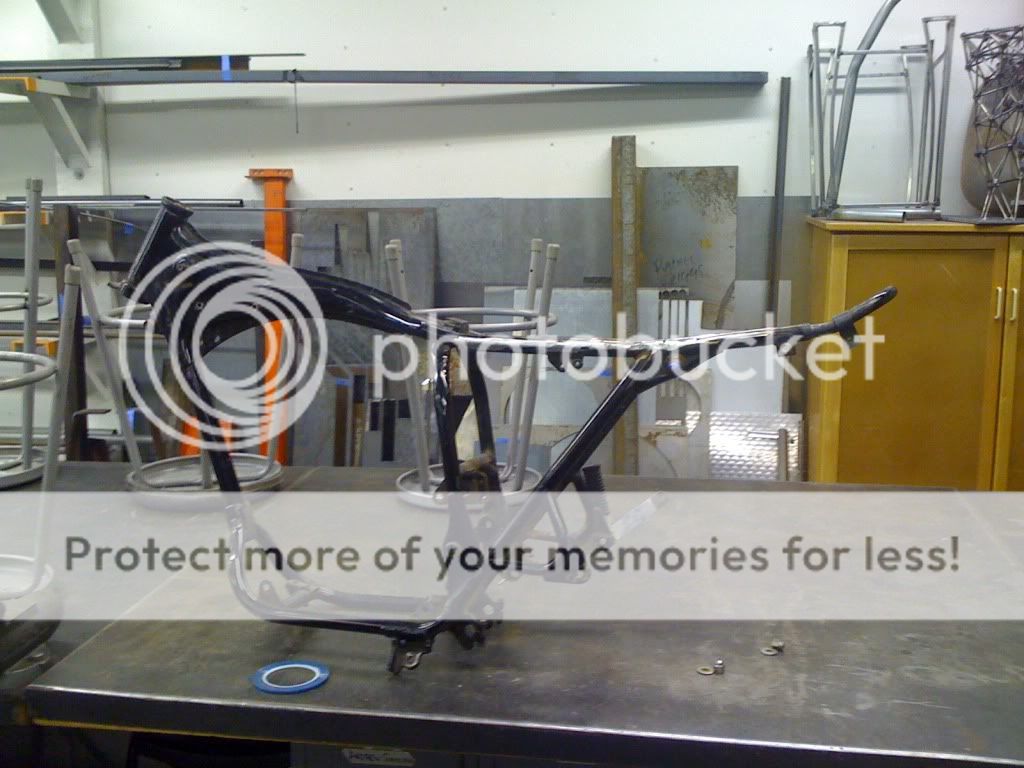
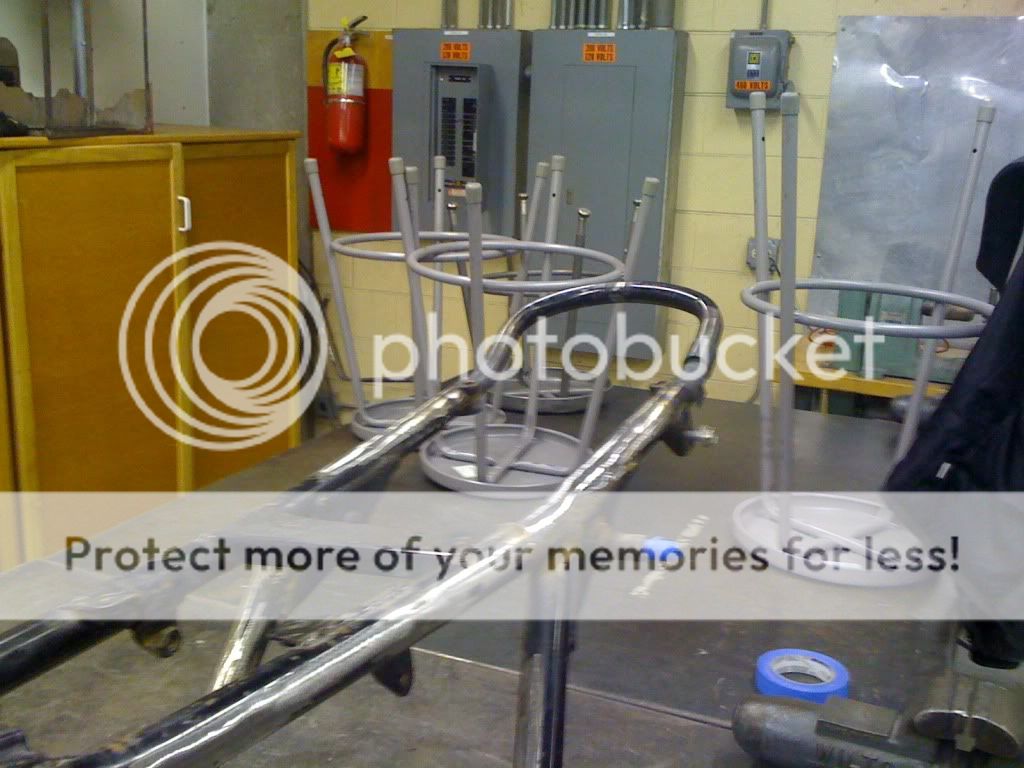
Here i am grinding down all the brackets that i wont be using..
IMG_0975.jpg

I have very limited time to be in the shop so alot of the small stuff is being done when i am at work.
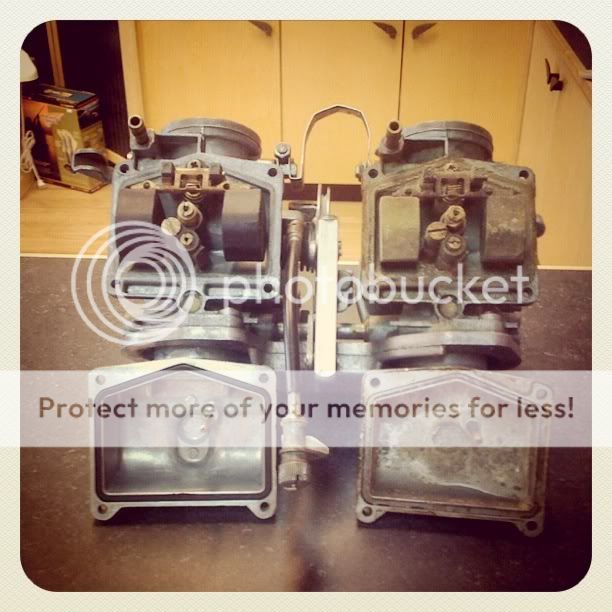
Here are the carb's one sparkly clean the other very disgusting.
IMG_0982.jpg

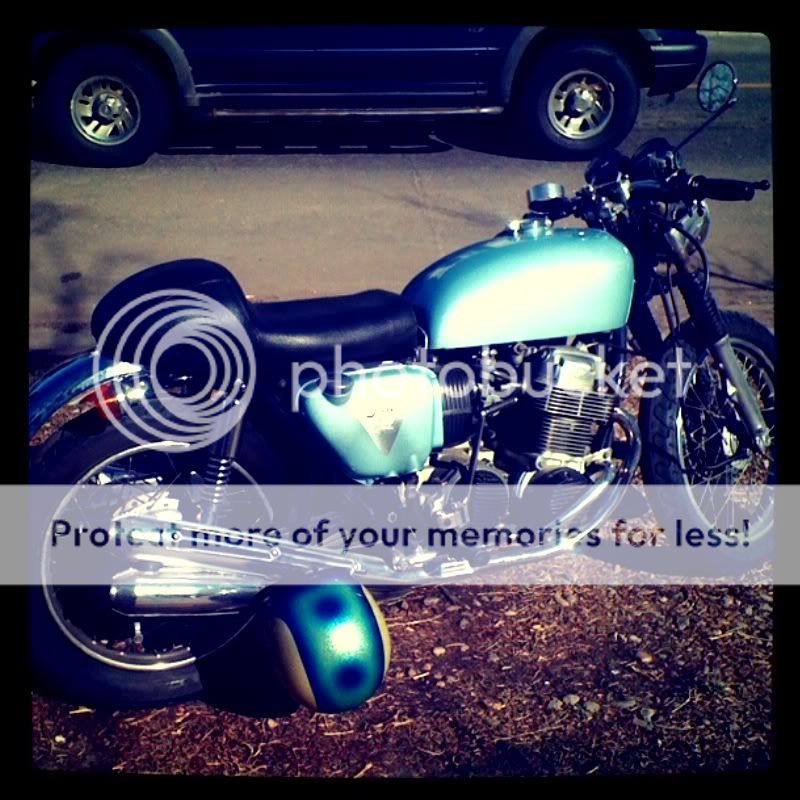
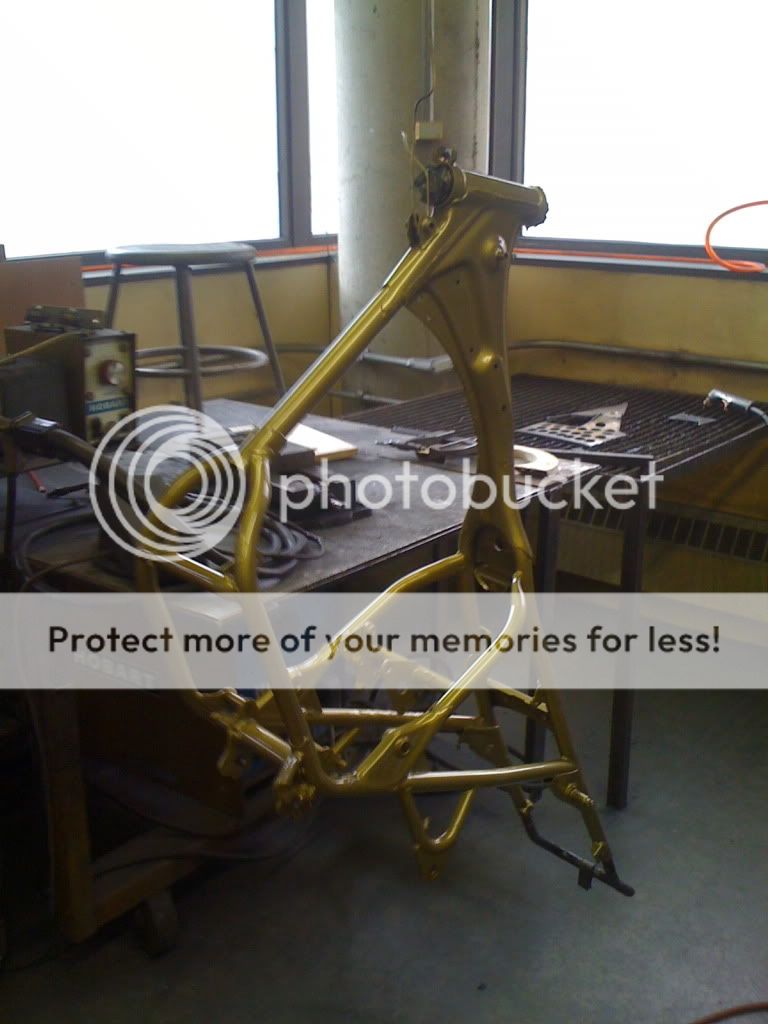
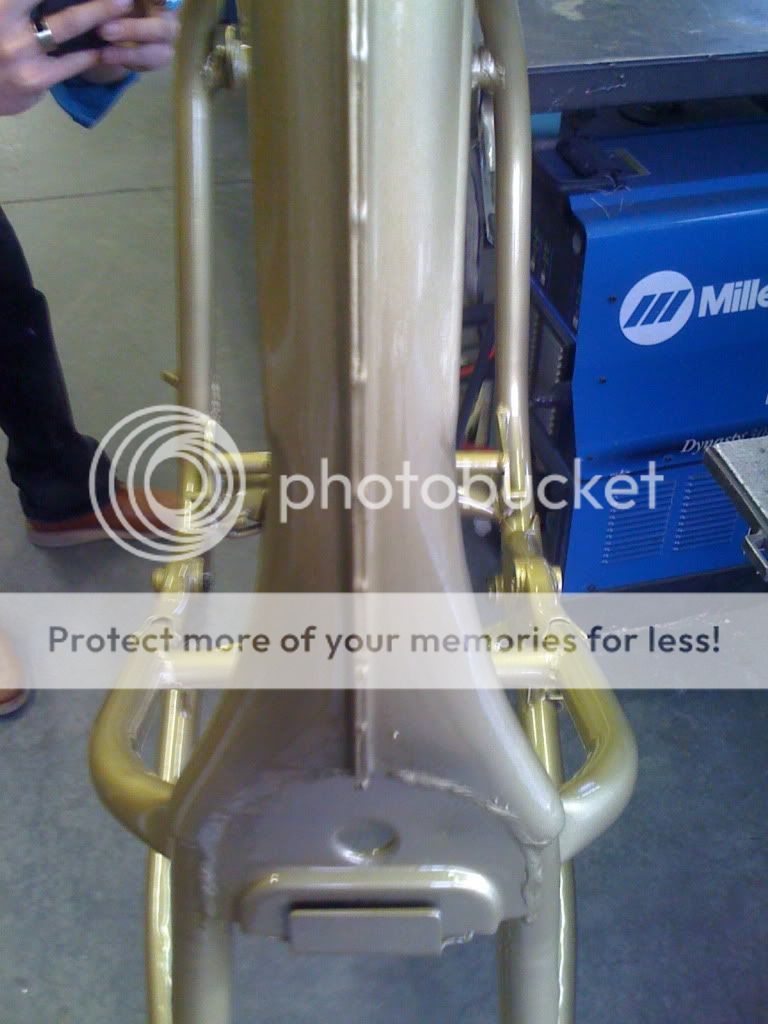
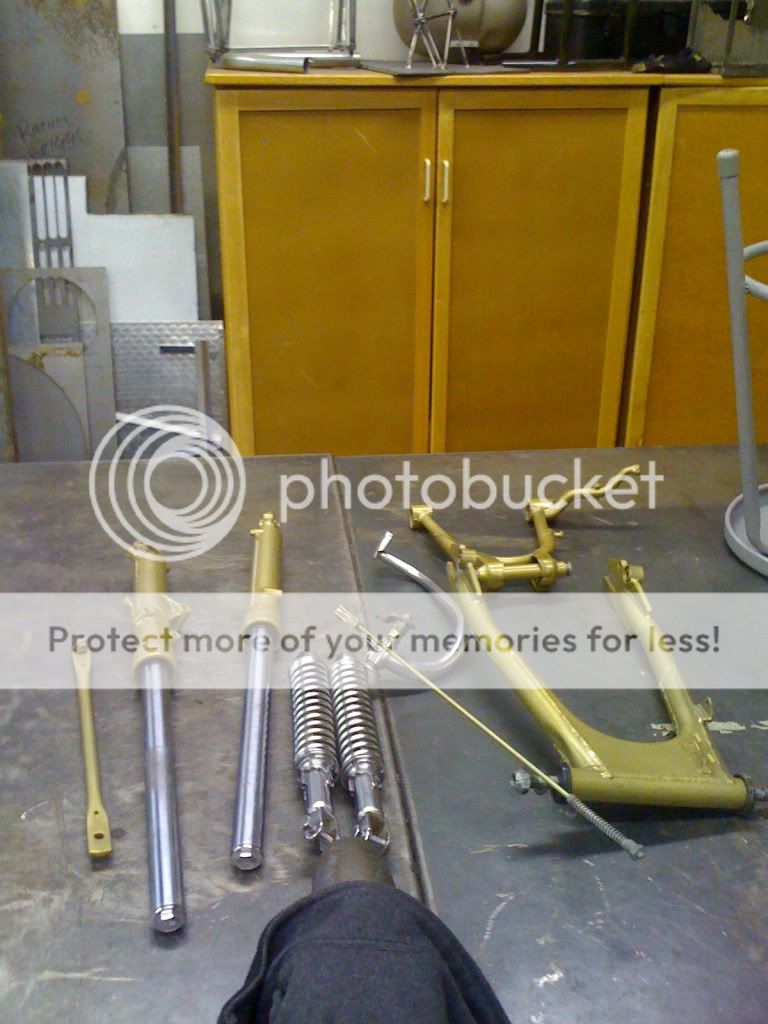
Here is the color i will being going with on the frame wheels and misc..
IMG_0986.jpg

Its a muted gold with a clear top coat very solid and looks even better in person.
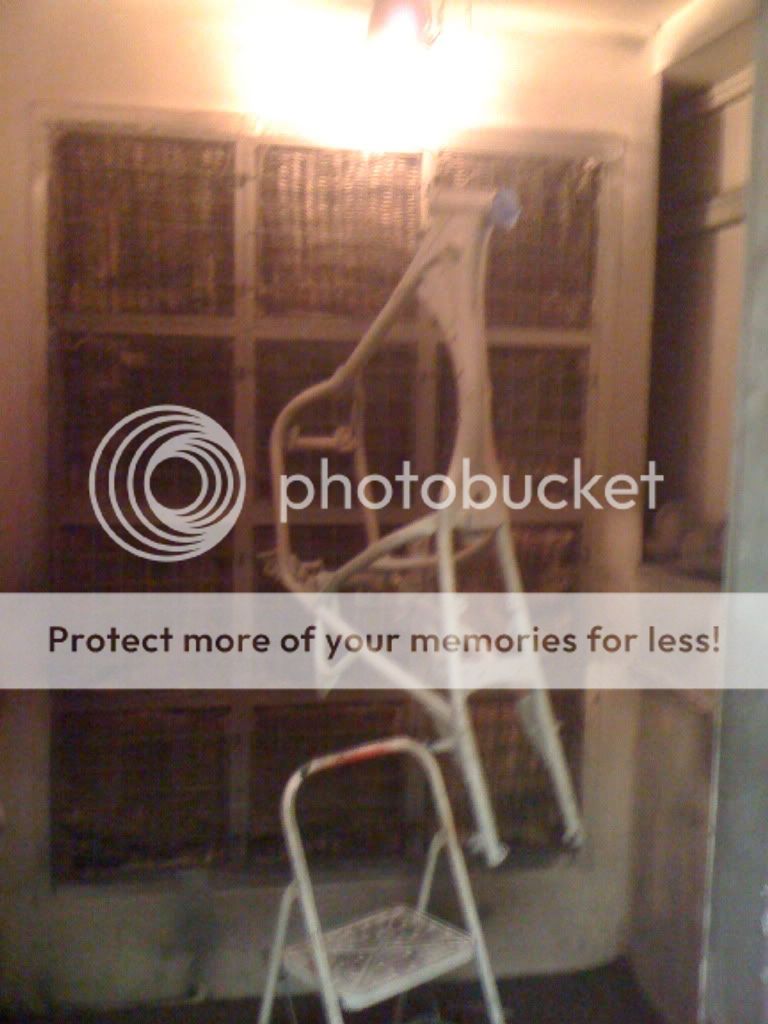
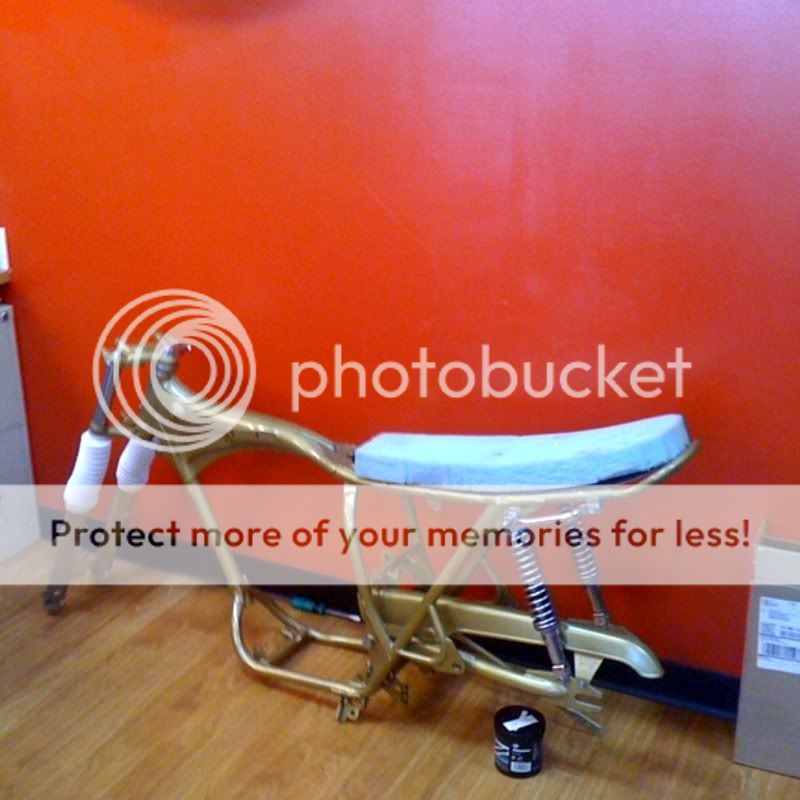
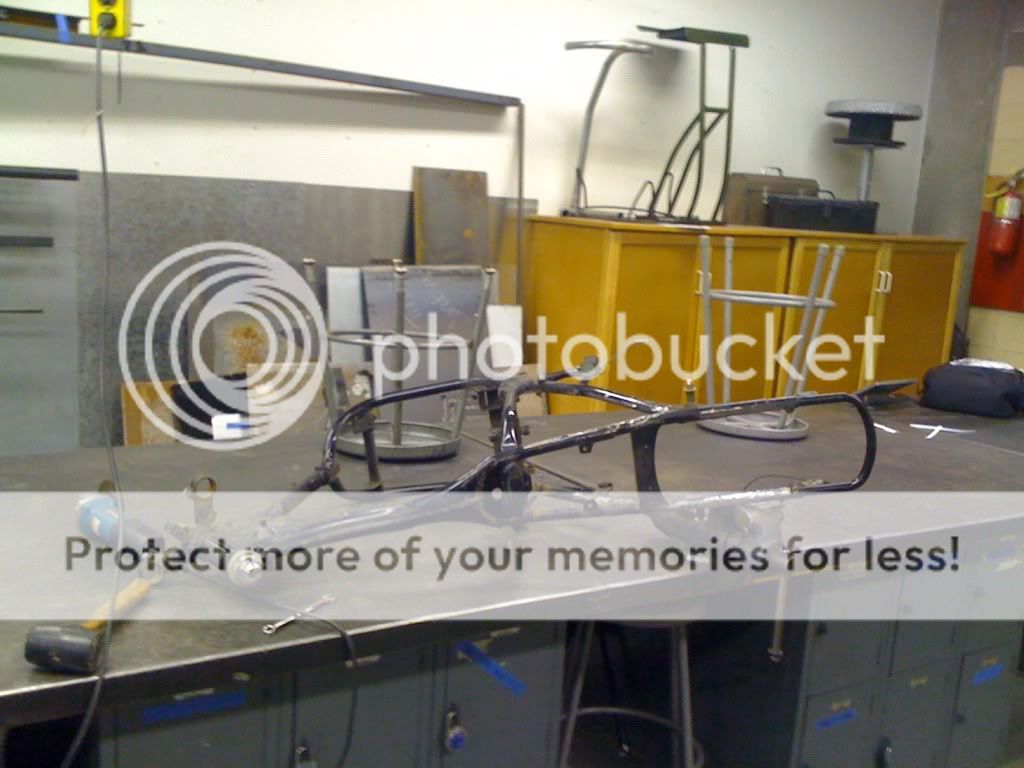
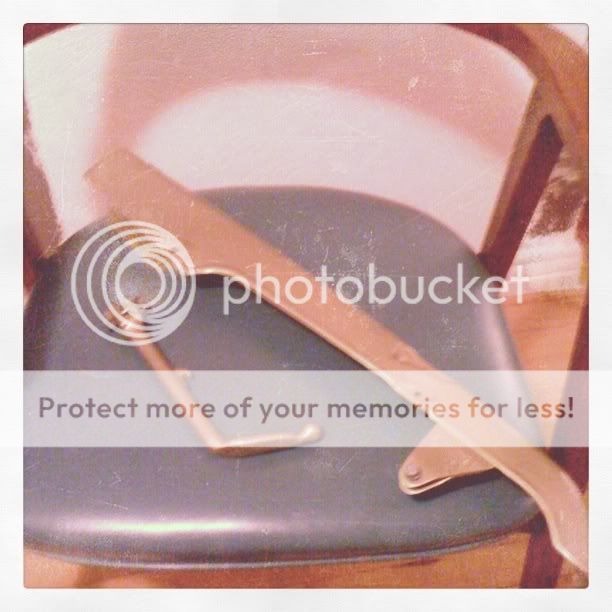
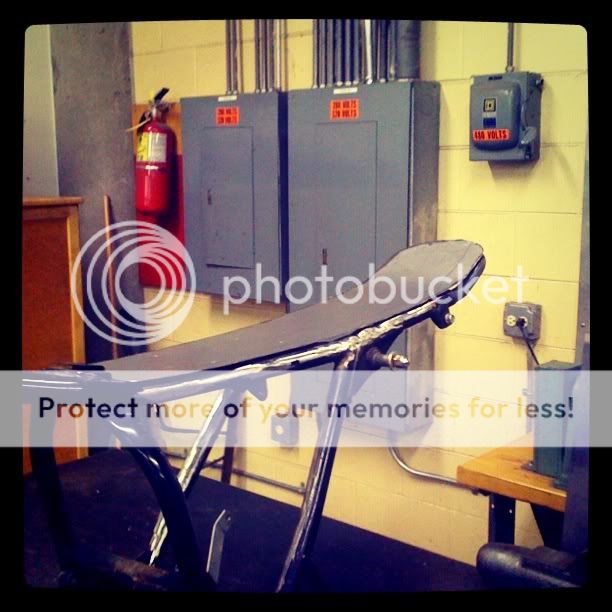
I also had a little time to bend the rear hoop and start cutting the seat pan out with the plasma cutter..
IMG_0988.jpg

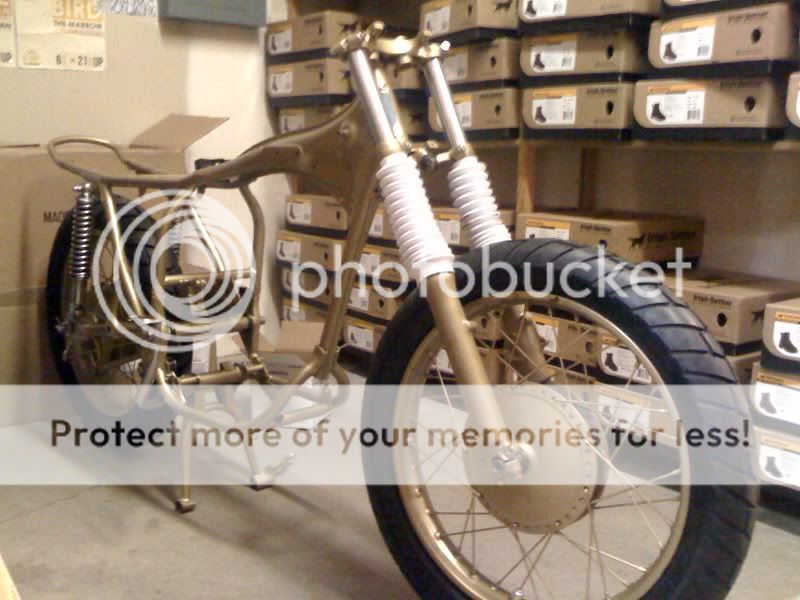
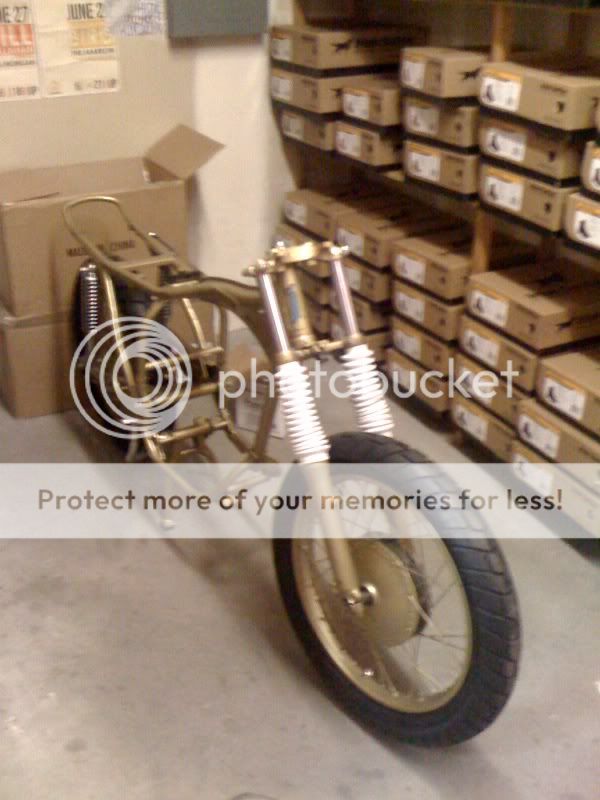
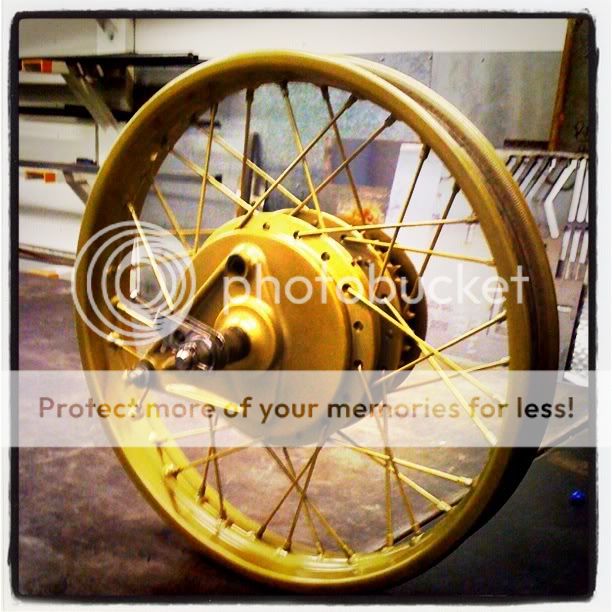
Here is the rear wheel after i powder coated it the muted gold..
IMG_0992.jpg

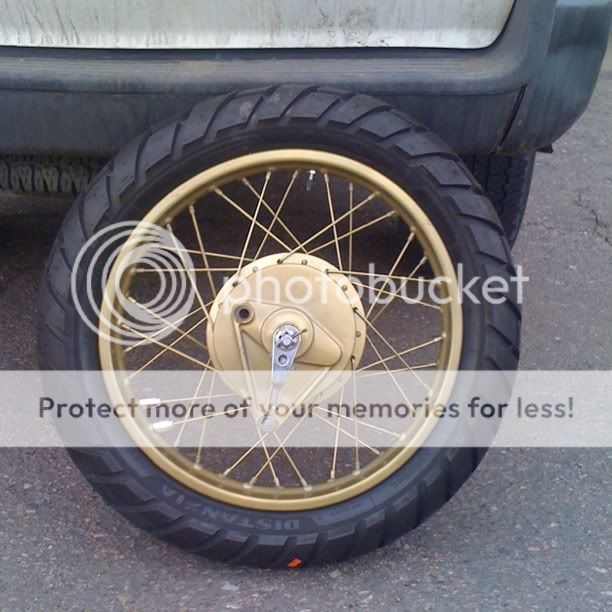
and now with the tire mounted.. i decided to go with stock size avon distanzias as it will fit my build well and they should perform well for what i am going to be using them for..
IMG_0993.jpg
'

I also have the front one done but i do not have a photo at this time..
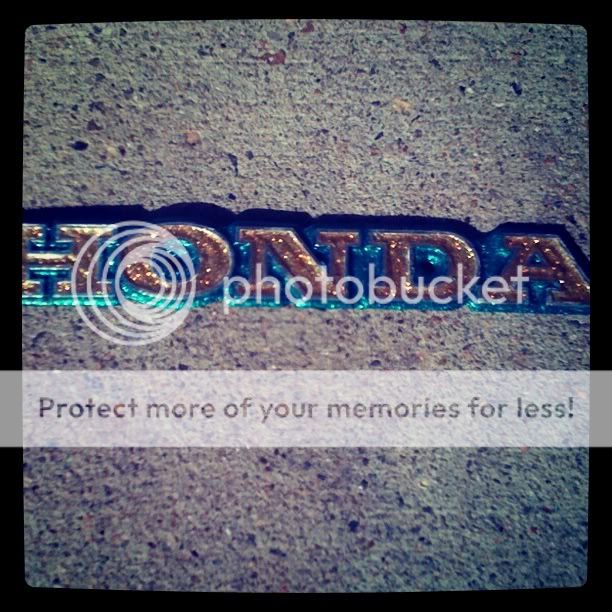
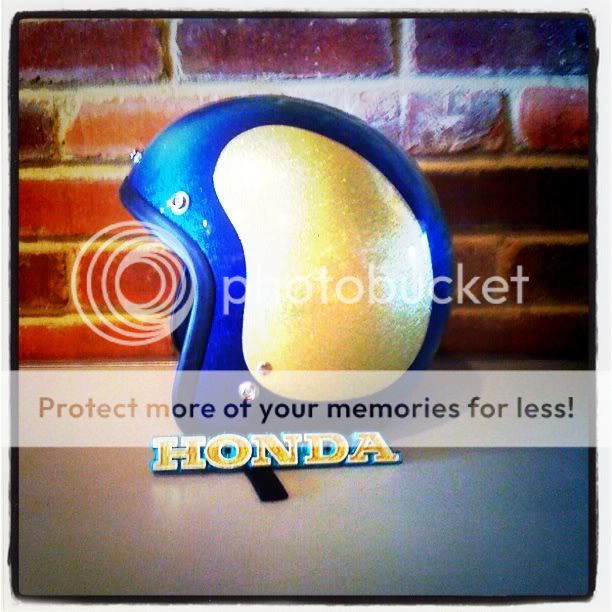
Ive also spent some time painting my crusty old honda emblems metallic gold and blue and found a nos shoei helmet to match!
IMG_1003.jpg

IMG_1004.jpg

Later this week i will be fabricating the rear fender and beginning the upholstery work.
 
Thanks man, I actually have everything for the build already purchased and in tubs in my shop right now, for the bars i will be using euro bars that are powder coated the same gold, for the lighting i am going to be doing a king bee amber light powder coated metallic white with gold ring. One of the three i will be using, i might be willing to sell one..
KGrHqRHJCQE85wrrDGBPQR1ePF2g60_58.jpg

There is also going to be a second light mounted to the right of the tank for added lighting
KGrHqVHJCcE9BfSBbnLBPQYNsc4g60_58.jpg

Ive spent the last 3 months hunting down alot of the parts that tickle my fancy..
The tailight is a original lukas unit powder coated gold to match. The seat cover is a metallic white vinyl that i am doing a diamond tuck job on and the tank will be painted metallic white and gold to match the rest of the bike..
Also to be included into the build is a sla battery with custom box, white fork boots, nos gran turismo white grips, gold throttle assembly, gold brake and clutch lever assembly and even more thats in the process but doesnt exist in photographs yet..
If i get some time to make some scans i will share my Ideations and othorgraphic drawings of the build..
 
I went to the shop tuesday and put everything together so that i could fab up the rear fender, I forgot to take pictures of the fender but i will next time im down there. Until then heres a photo of the mock up...
photoa.jpg

Looking alright but theres still plenty of work to be done!
 
Interesting... The two light idea is a bit much though. Especially for the sub par Honda charging system.
 
Yeah i was questioning that myself i was thinking of making it run off of a little 6v battery because its a 6 volt unit.. If all else fails i can turn it into a mega cool desk lamp..
 
Wow you really have a tough row to hoe. I got a gallon can of carb cleaner at advance auto. it comes w a basket inside. you just disassemble carbs toss everything in basket. put it in the can close lid. and leave em alone 24 hours. pull em, rinse em. repeat if necessary. It is amazing stuff. but be sure to run a piano wire or something through every single drilled hole. Then blow em out w compressed air. They are tiny and hard to see and there are several of em. the cleaner is not real cheap but worth every penny. crazypj found gunk in holes I had missed when he tuned my keihin 754s.
 
Thanks for the good advice man, I actually cleaned mine by taking apart the whole thing and boiling it in lemon juice on MY GRILL.. you wanna make sure its on the grill because of the smell.. then you do the same with water and then hit it with an air compressor.. since im doing a ground up build i bought all new hardware, jets, and seal's for my carbs.. its always nice to know other ways though!!
trek97 said:
Wow you really have a tough row to hoe. I got a gallon can of carb cleaner at advance auto. it comes w a basket inside. you just disassemble carbs toss everything in basket. put it in the can close lid. and leave em alone 24 hours. pull em, rinse em. repeat if necessary. It is amazing stuff. but be sure to run a piano wire or something through every single drilled hole. Then blow em out w compressed air. They are tiny and hard to see and there are several of em. the cleaner is not real cheap but worth every penny. crazypj found gunk in holes I had missed when he tuned my keihin 754s.
 
Very nice build so far - keep it up!

My 360 is just now coming alive, and have found that it will be a project always in motion...
 
This last week i managed to powdercoat my fork lowers, swing arm, and centerstand but i also managed to forget my phone. This coming week is my spring break so with all school projects set aside for the moment i will be really able to make some progress on this old girl.. Including sandblasting and powdercoating the frame.. which means mock up is only a bit away..Until then The 70 Degree colorado and my cb750 say Hi!
photo1.jpg
 
After a long day im happy to say the the frame is complete! I took 4 hours to sand blast it and powdercoat so i managed to save myself a pretty chunk of change and couldn't be happier with the outcome.
Here she sits getting prepped for sandblasting
IMG_1027.jpg

IMG_1028.jpg

Heres the Powdercoating booth and her sitting in the raw!
IMG_1030.jpg

Here she is after!! MMM Butterscotch
IMG_1031.jpg

IMG_1034.jpg

Now all the goodies i couldn't share last week!
IMG_1035.jpg


i should be able to finish up my seat and then mark out the tank for paint on wednesday!
 
Thanks guys! Ive spent today putting it together.. Im thinking i can drop the motor in within the next 2 weeks.. first it needs to be cleaned!
Until then heres her coming together!

3.jpg
 
Thanks Again guys! The enthusiasim is sparking some motivation!!
Thanks Yogi! one of those ebay finds that i had to have, there a little long though!
 
Back
Top Bottom