FRANKENHONDA II the 1982 DOHC CB 750F2 Build

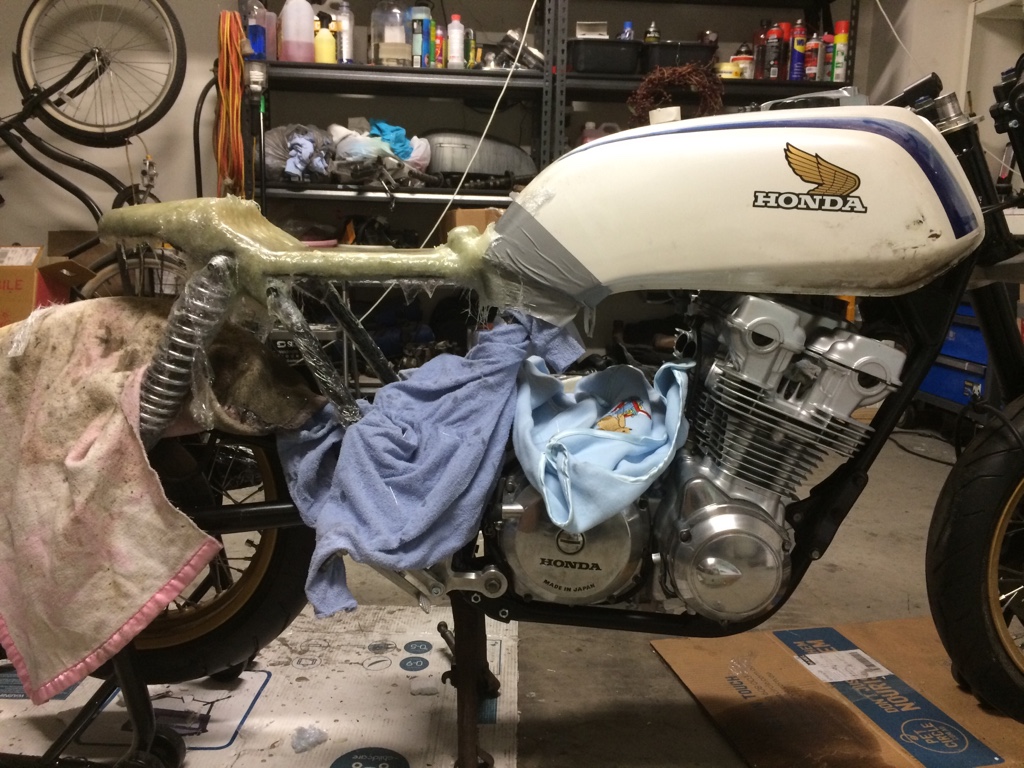
Ok so I decided to do the install of the engine by my lonesome...

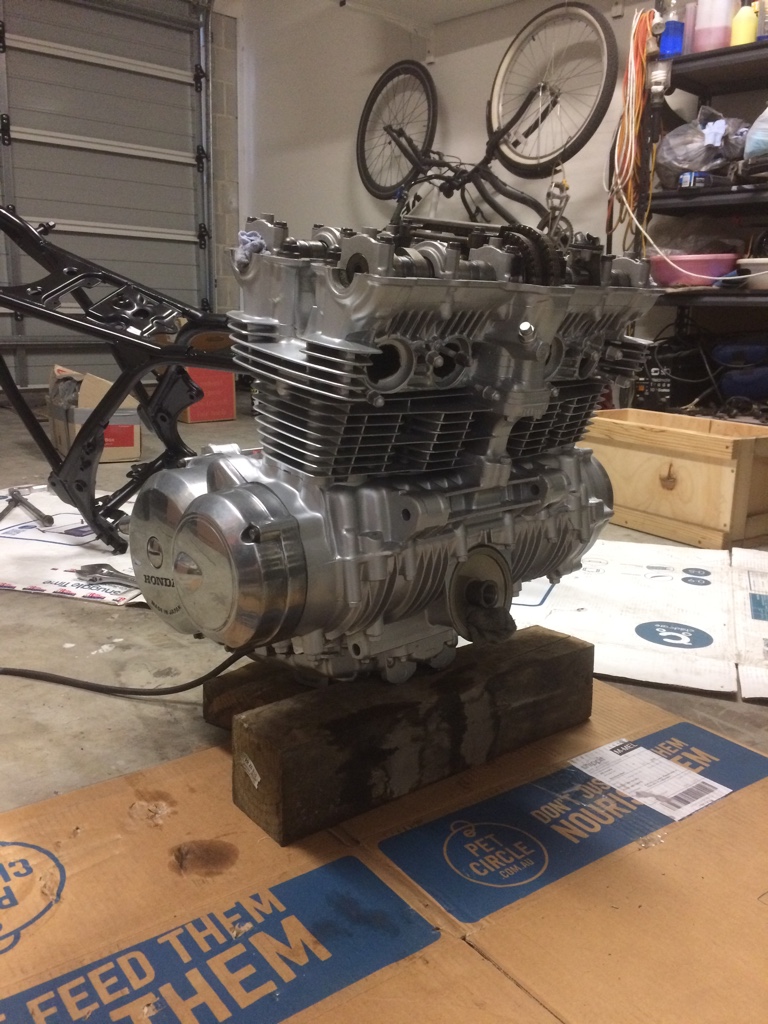
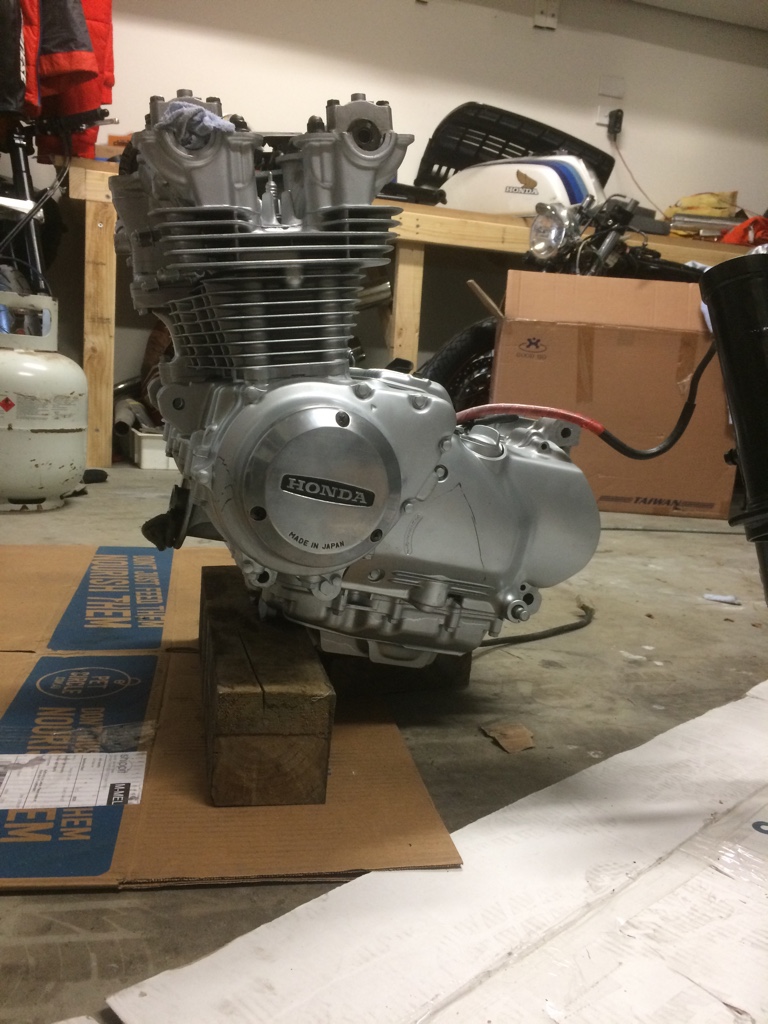
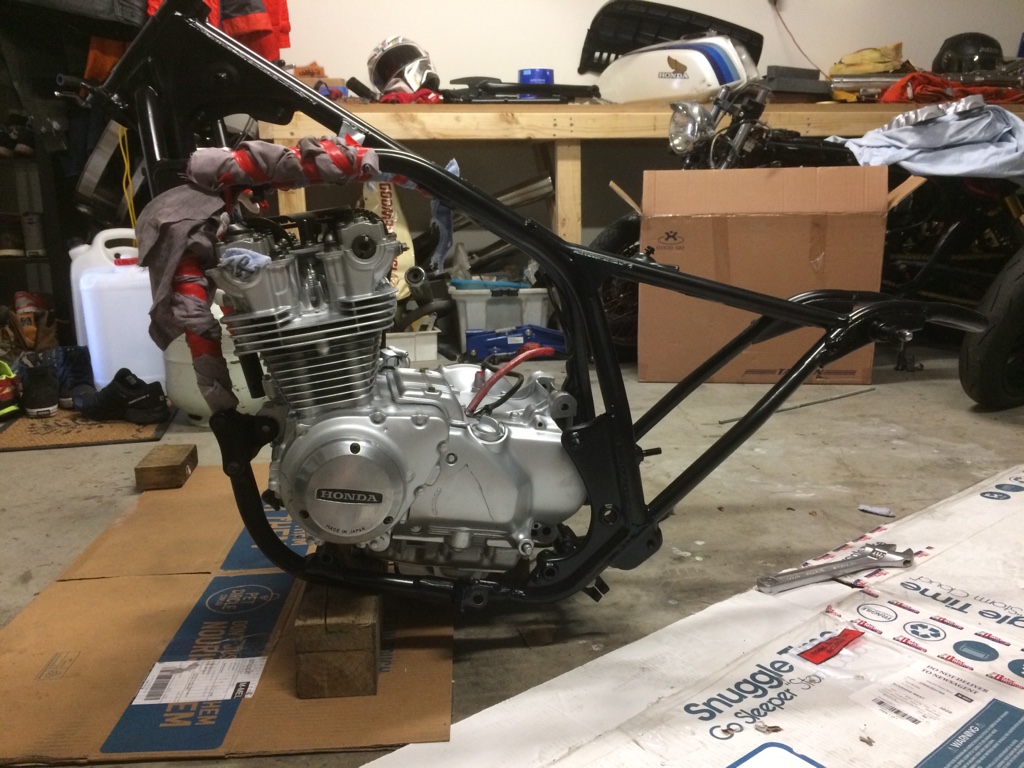
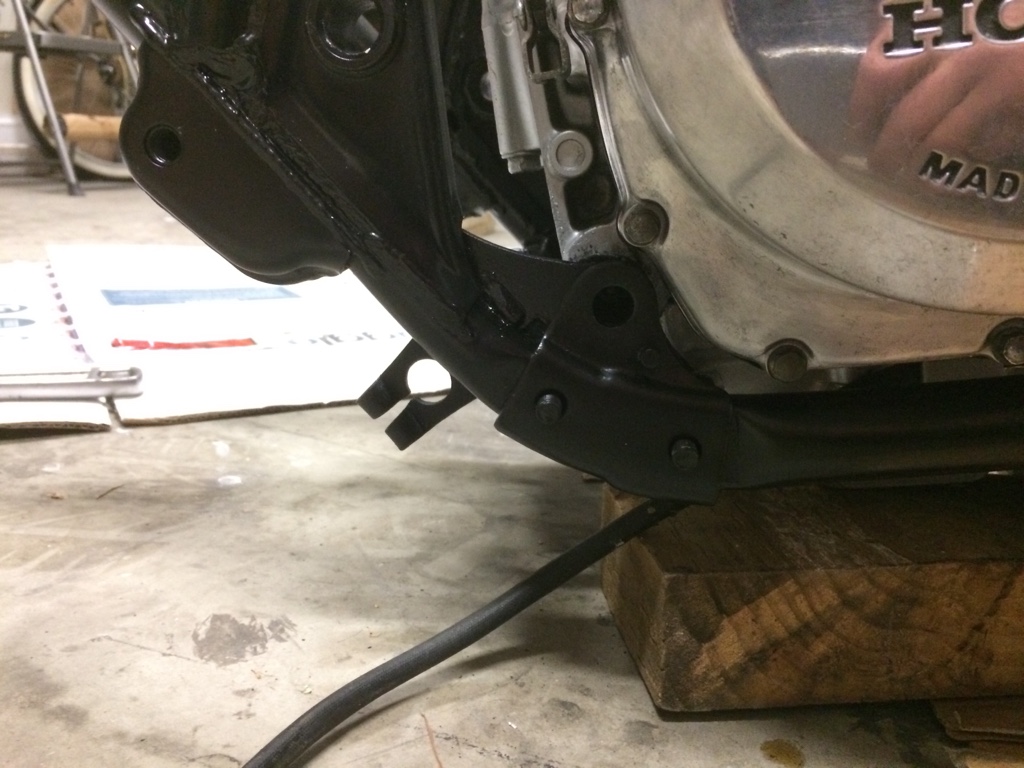
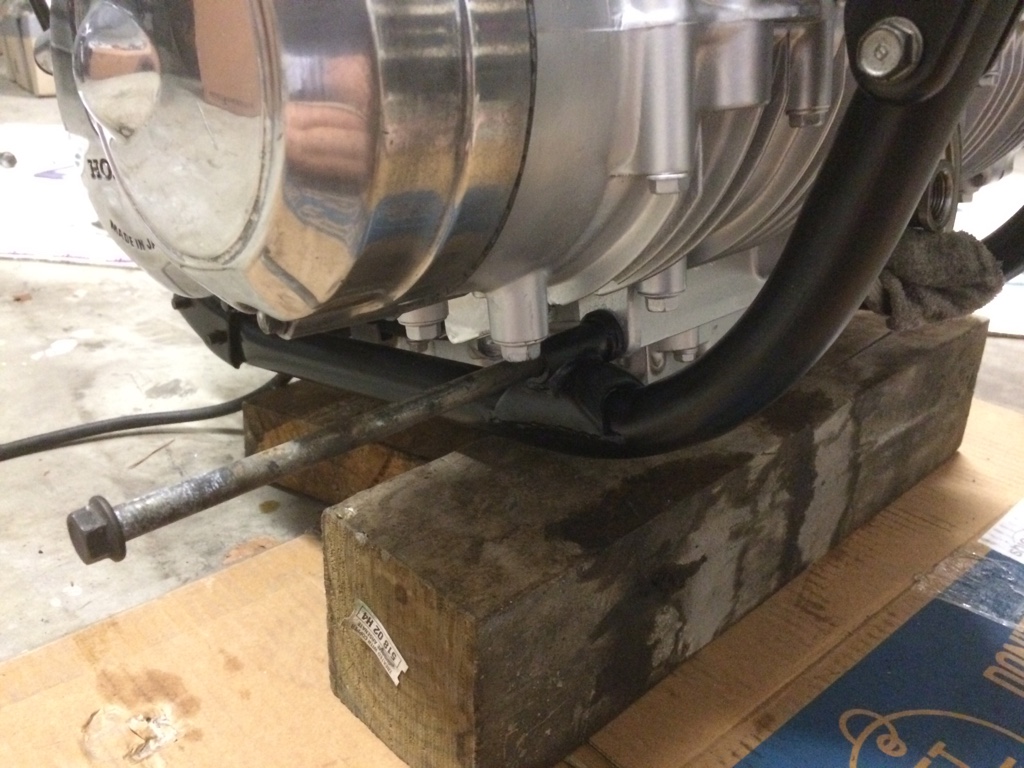
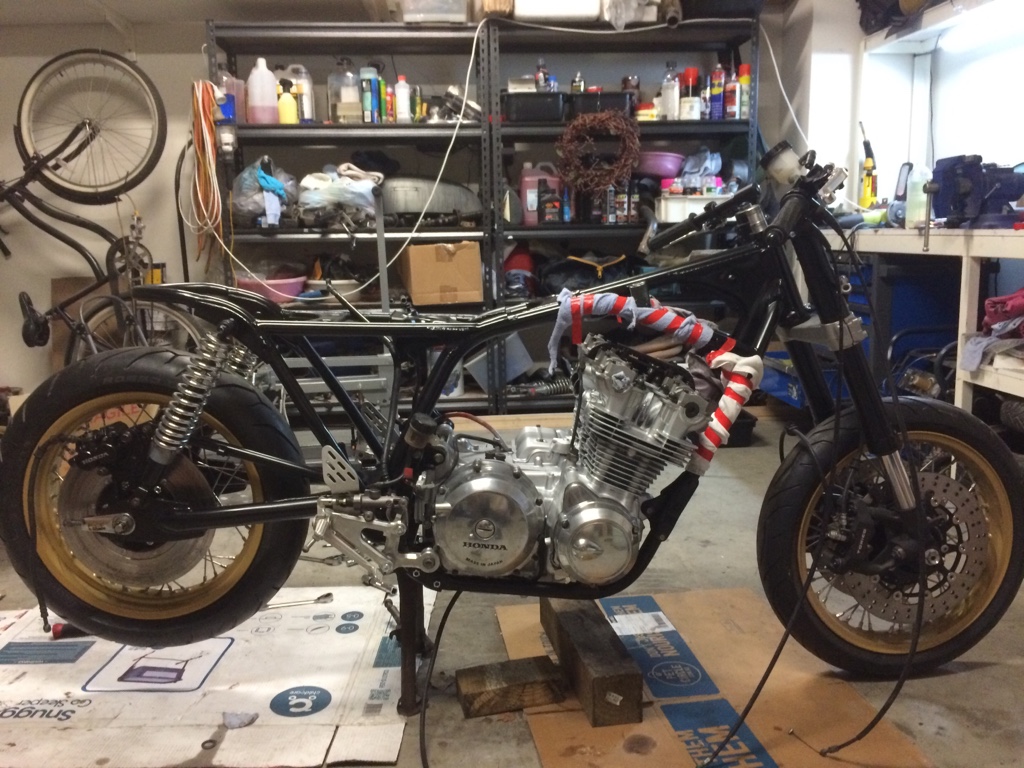
First I propped the engine up on some blocks of wood I had laying around in the shed
fe88406e7a0ad5125d4d120f935bbe7a.jpg
4334cb8435819de8f69c5ef3b9a8800b.jpg


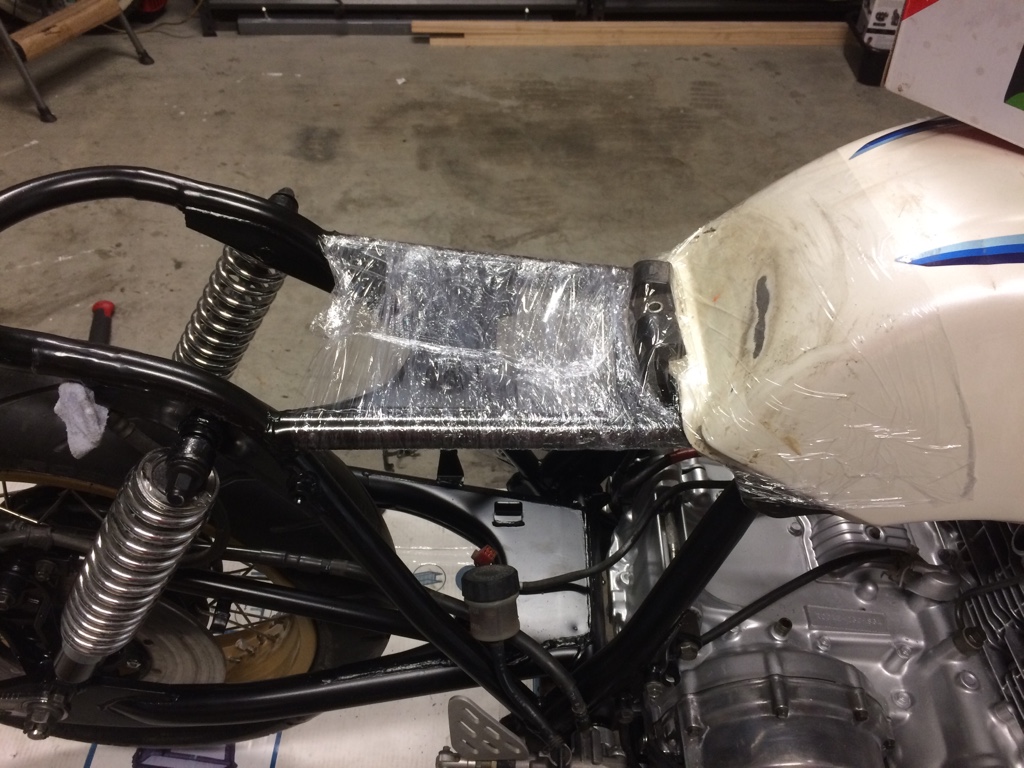
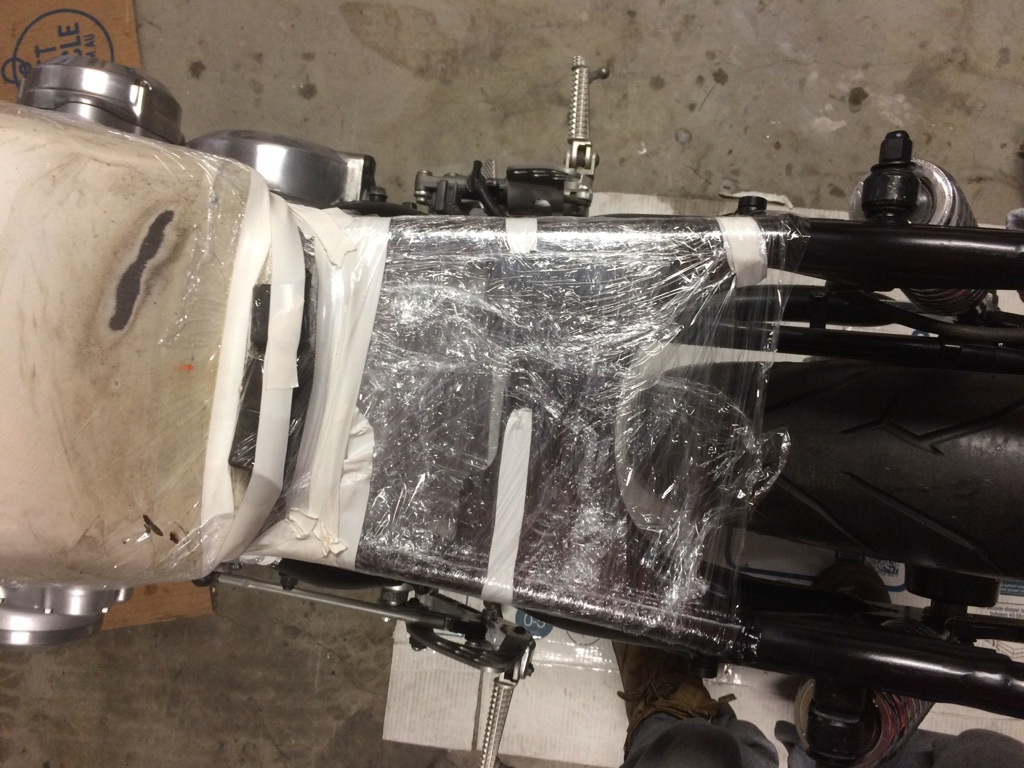
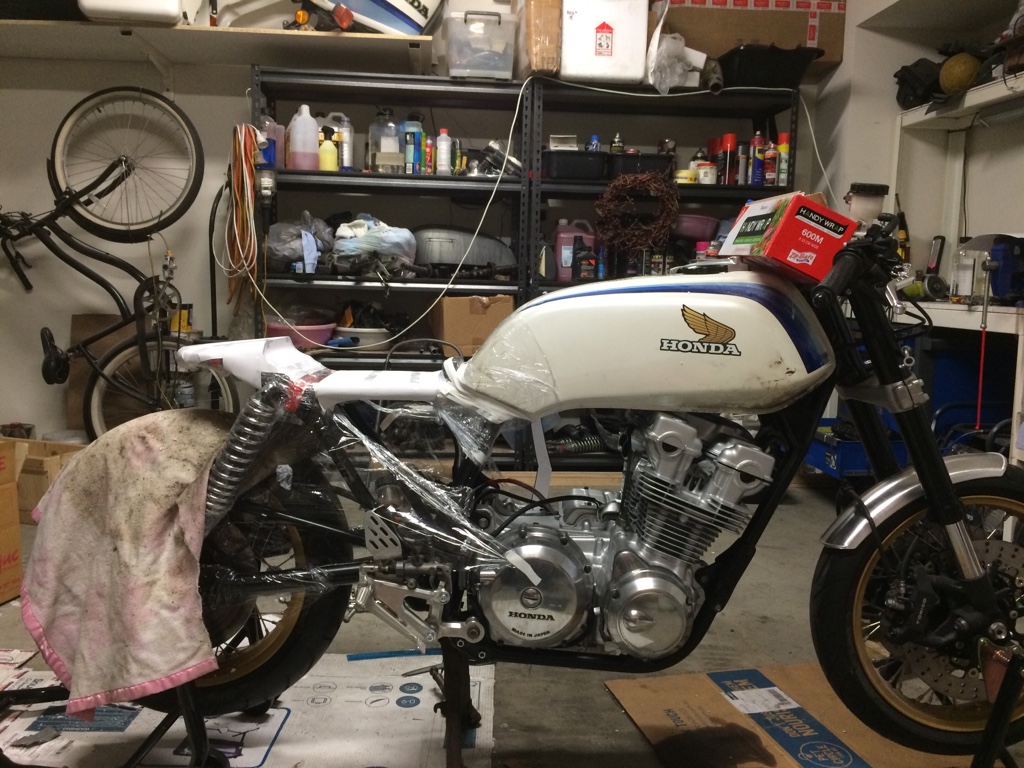
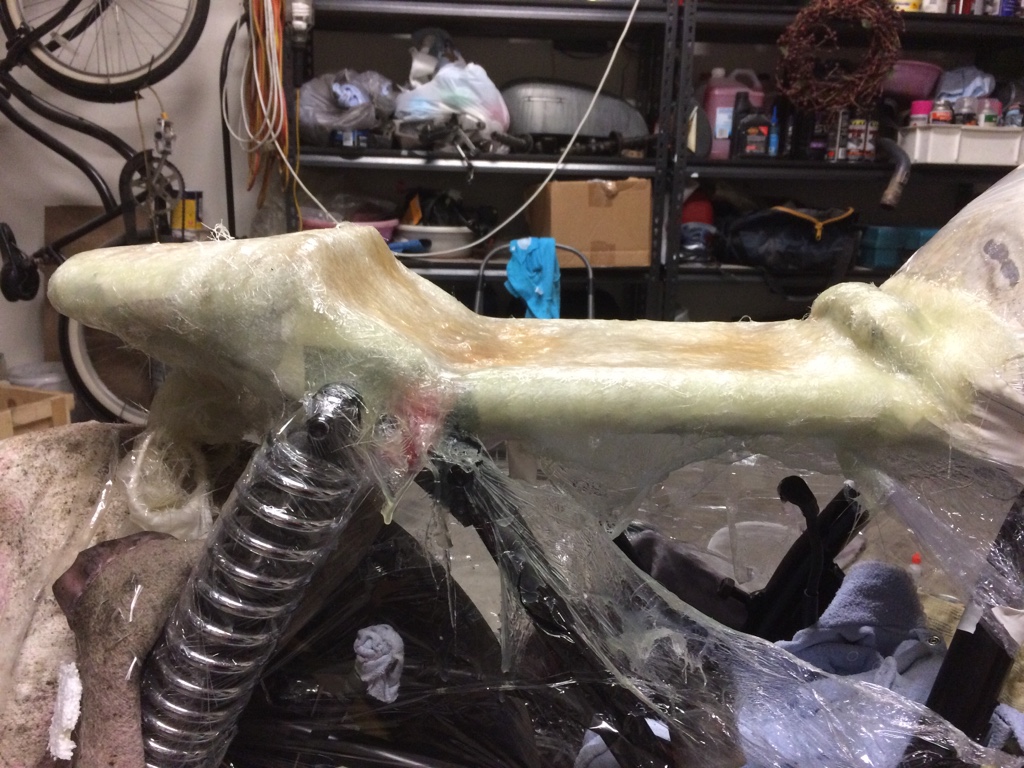
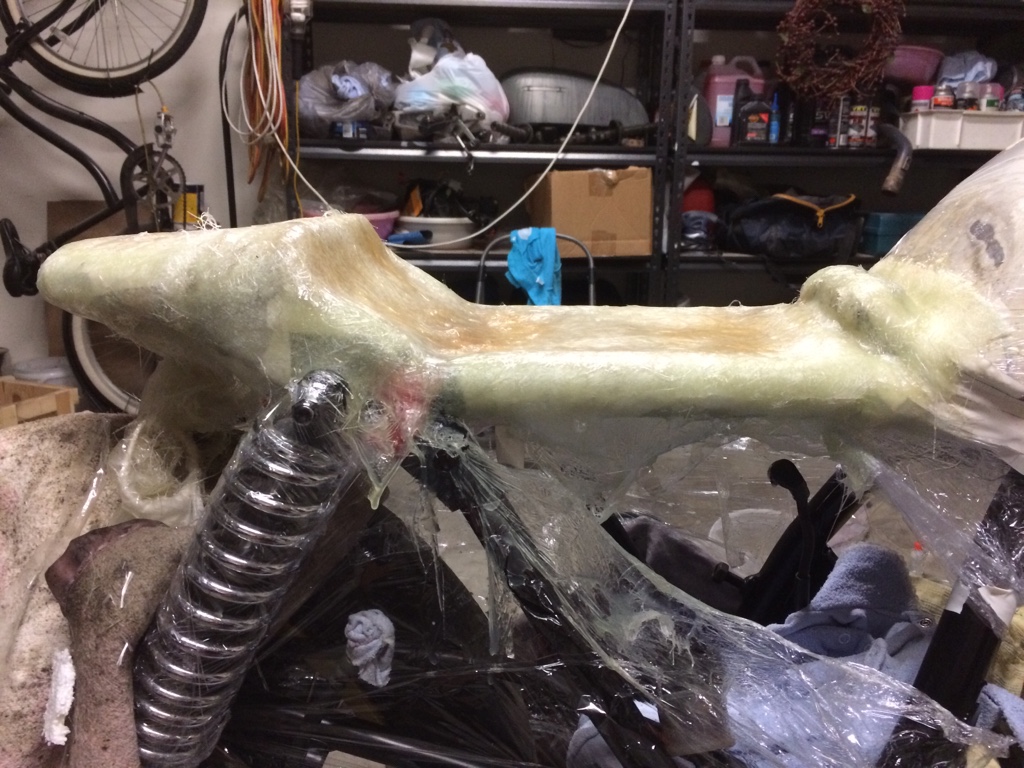
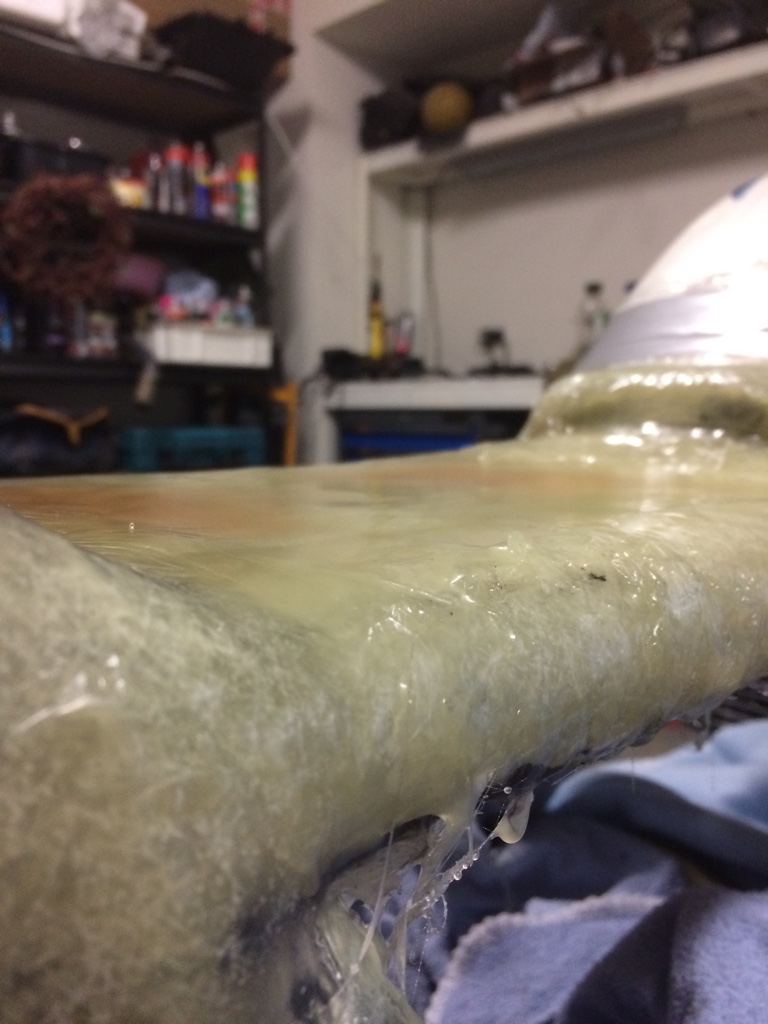
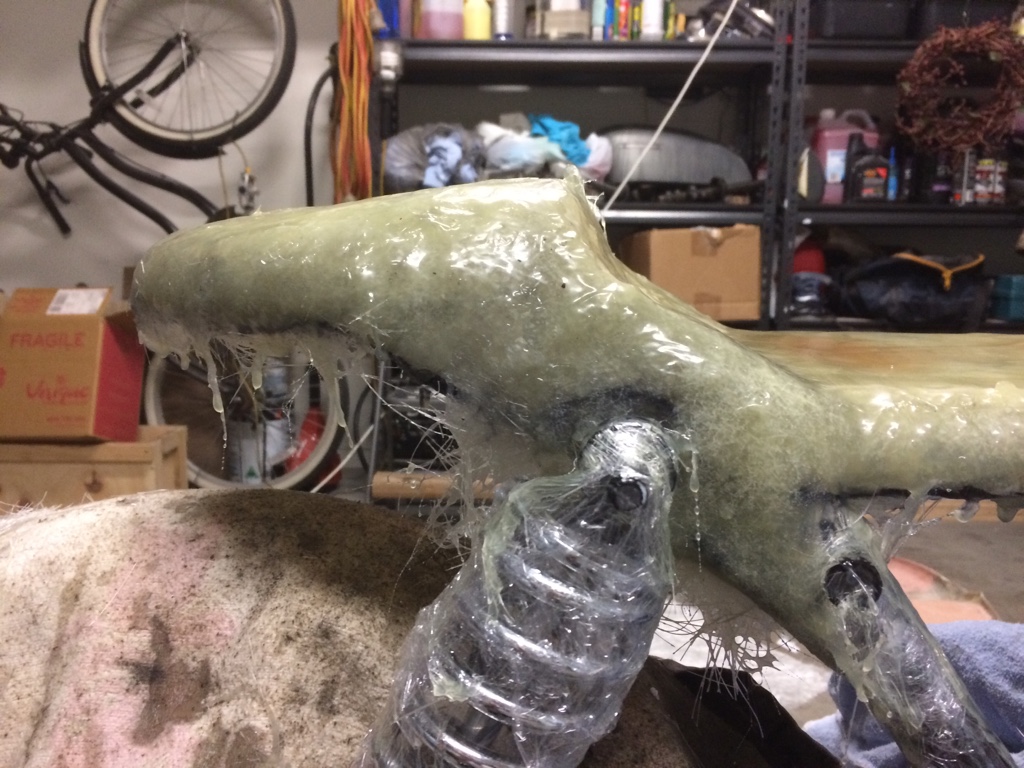
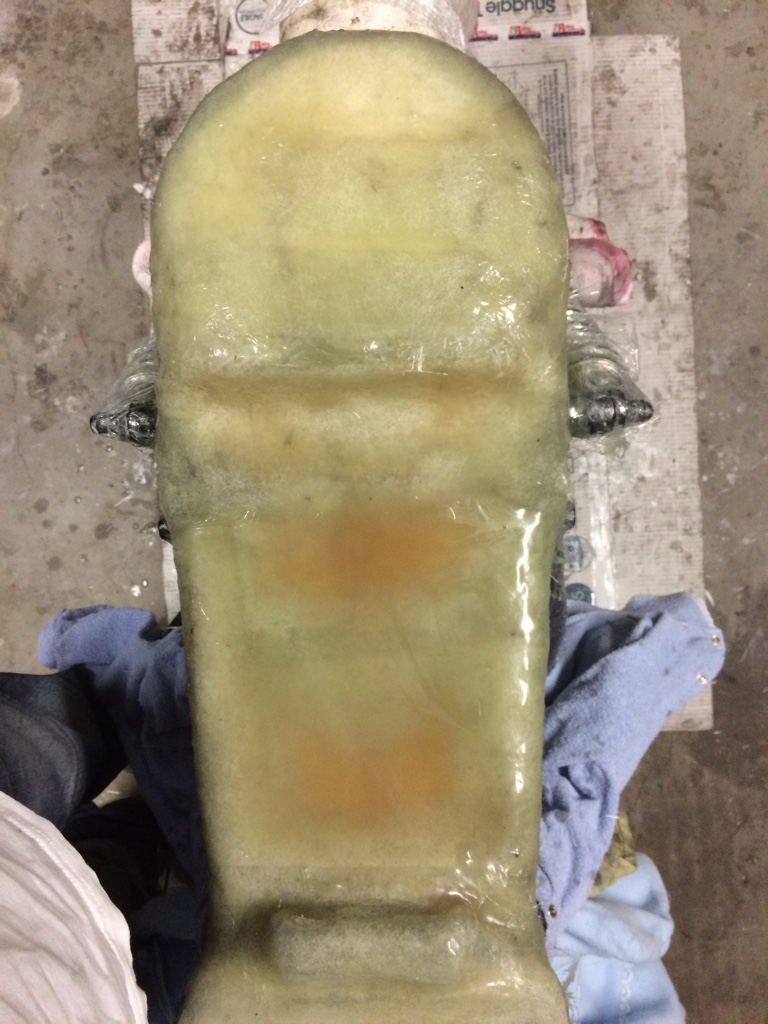
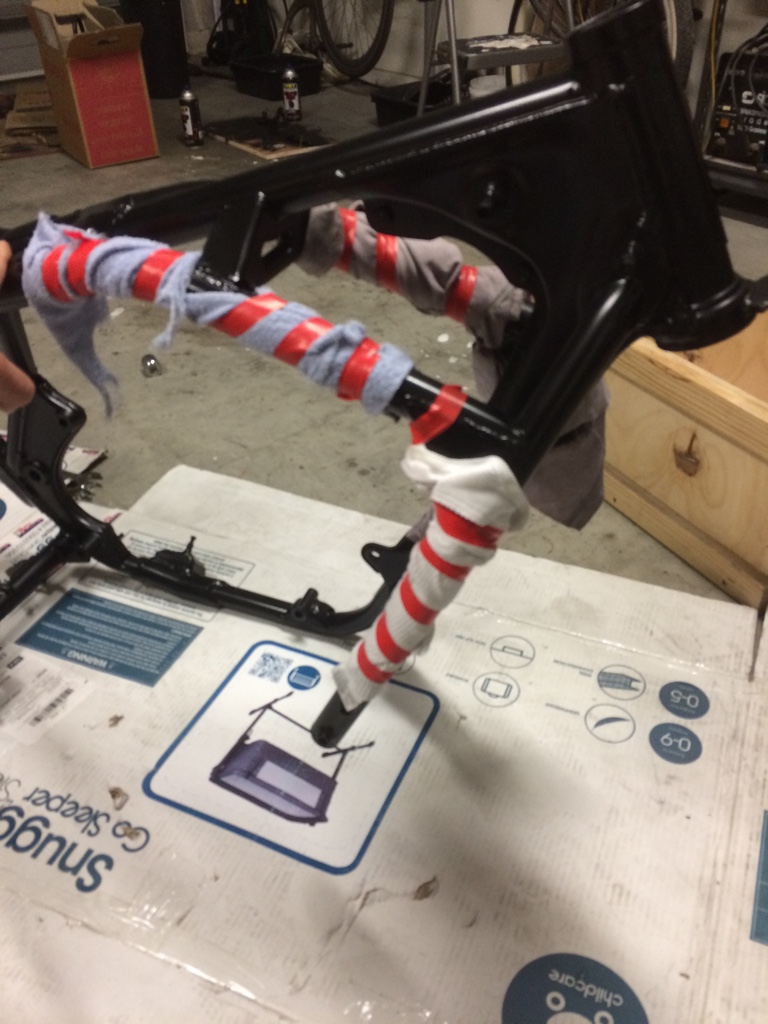
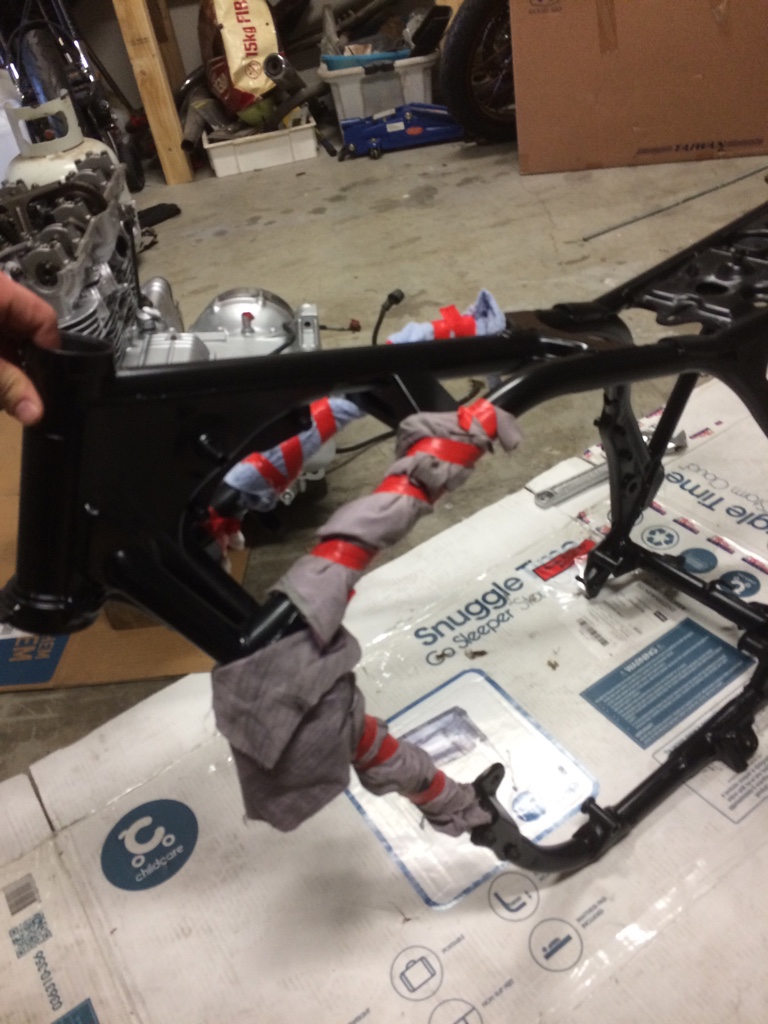
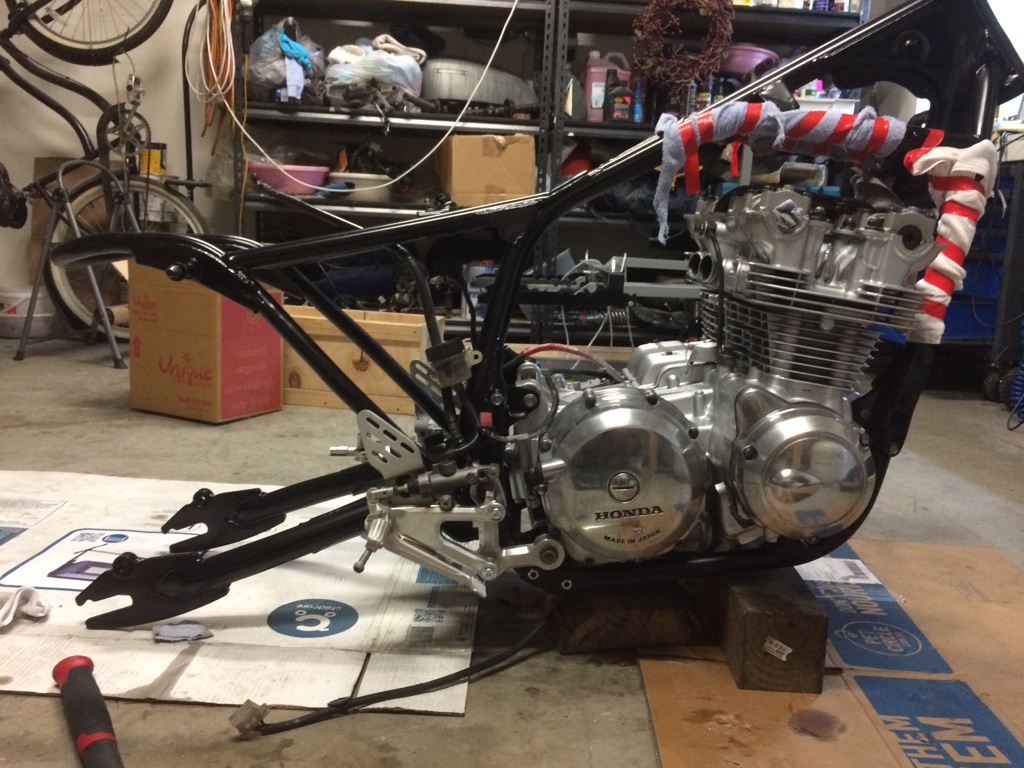
Next I wrapped some rags around the frame in anticipation of me bumping and scratching it

109458d0859a961259b06aba962554fb.jpg
5d967848d044d0c55da92f67fe22477c.jpg


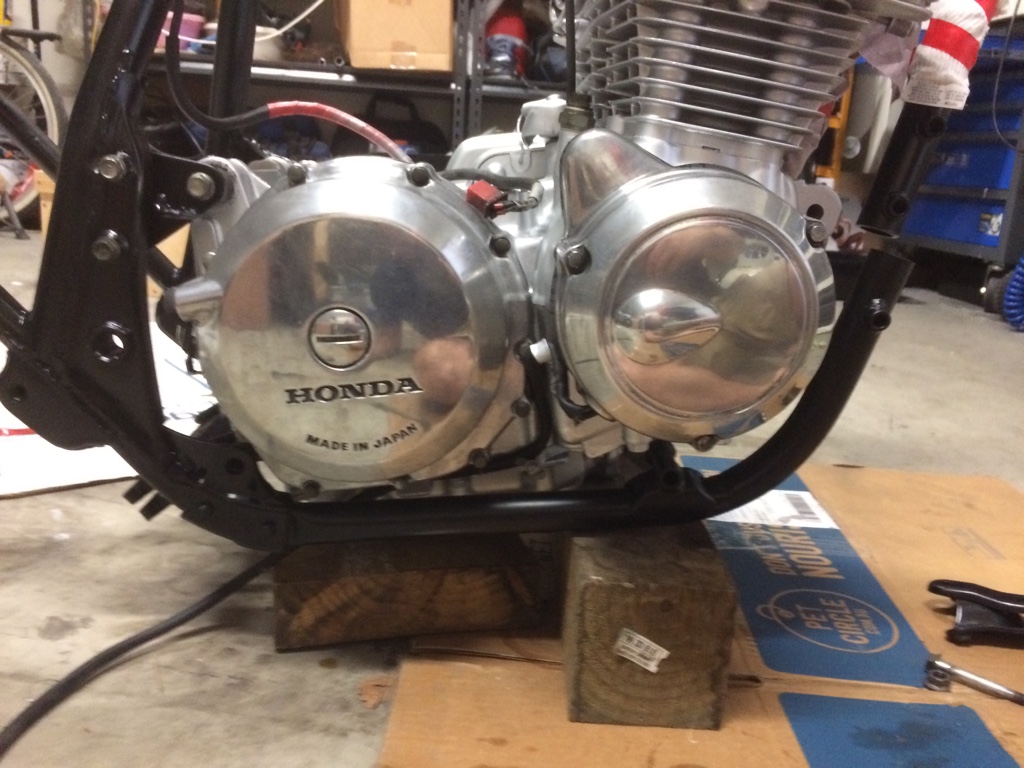
The next bit I was unable to photo as I had my hands full, basically what I did was place the frame next to the engine then I sat my ass down on the floor and slowly shimmied it into position

160f3ef4e1f98cca3729344baa2460a4.jpg
047da9bf65ec2774aa7c57d85b17e7f2.jpg


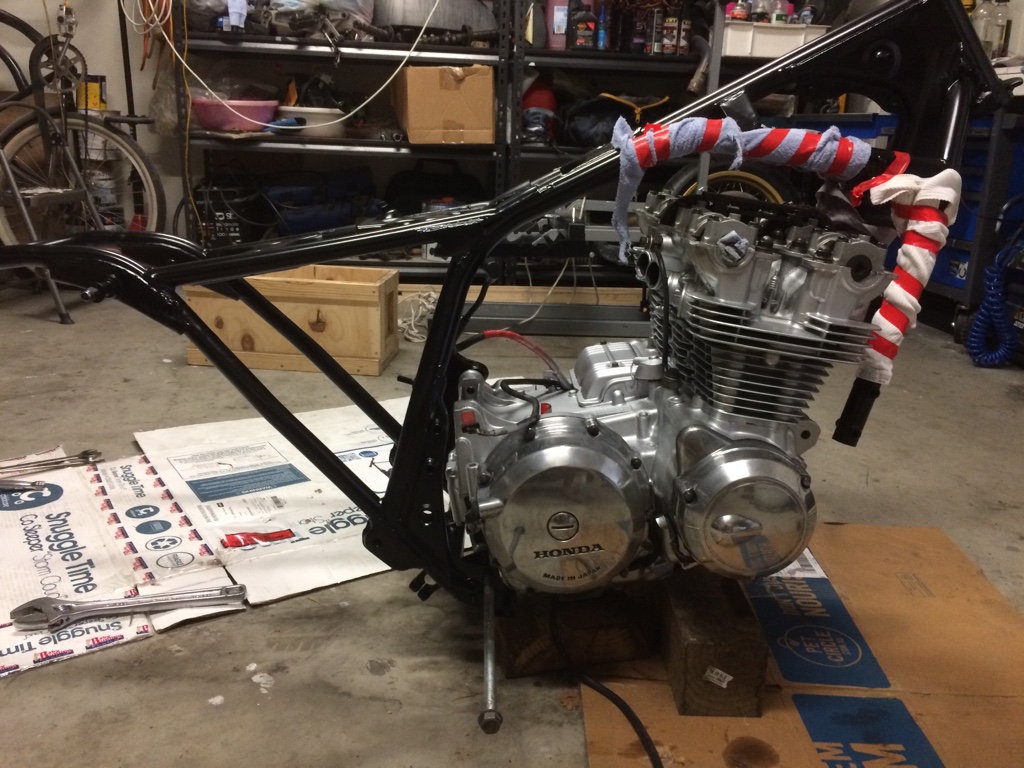
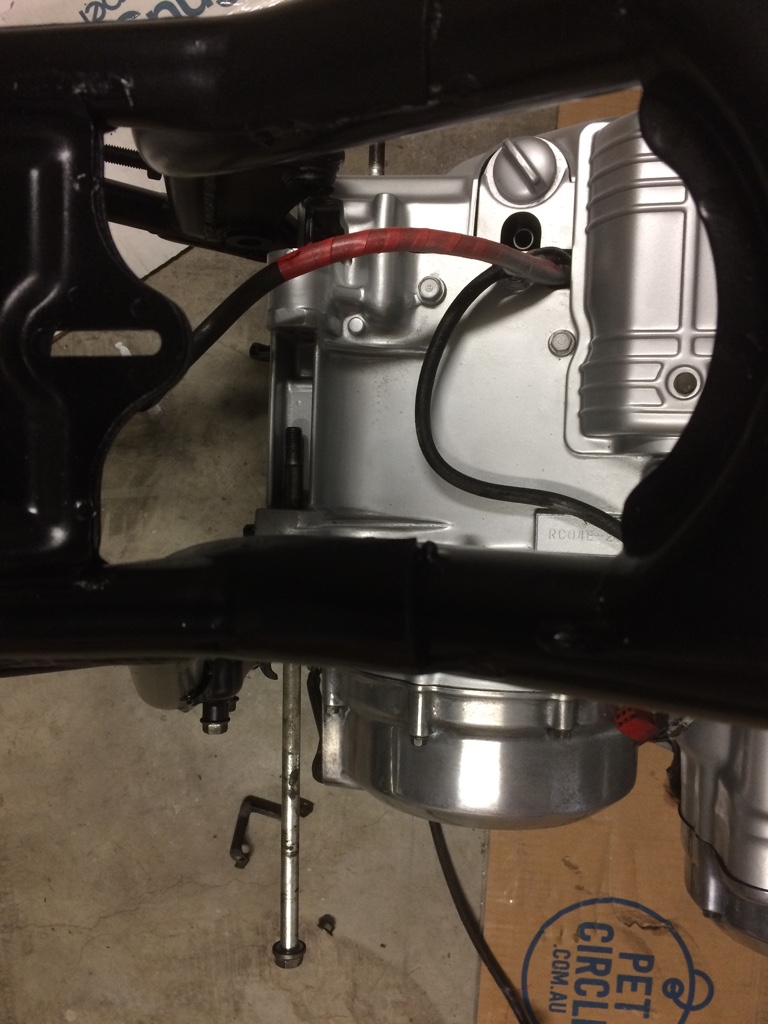
Then I went about tapping in all the engine mount bolts

5ea5c5765977ea2ab1d401958eb92964.jpg
bef952fd219ed785dbe8ba4d9c7c24e6.jpg
21a057a07527aef08c2e54492feb6ccf.jpg
c89026f65fa27325270ef65f92d4aa65.jpg


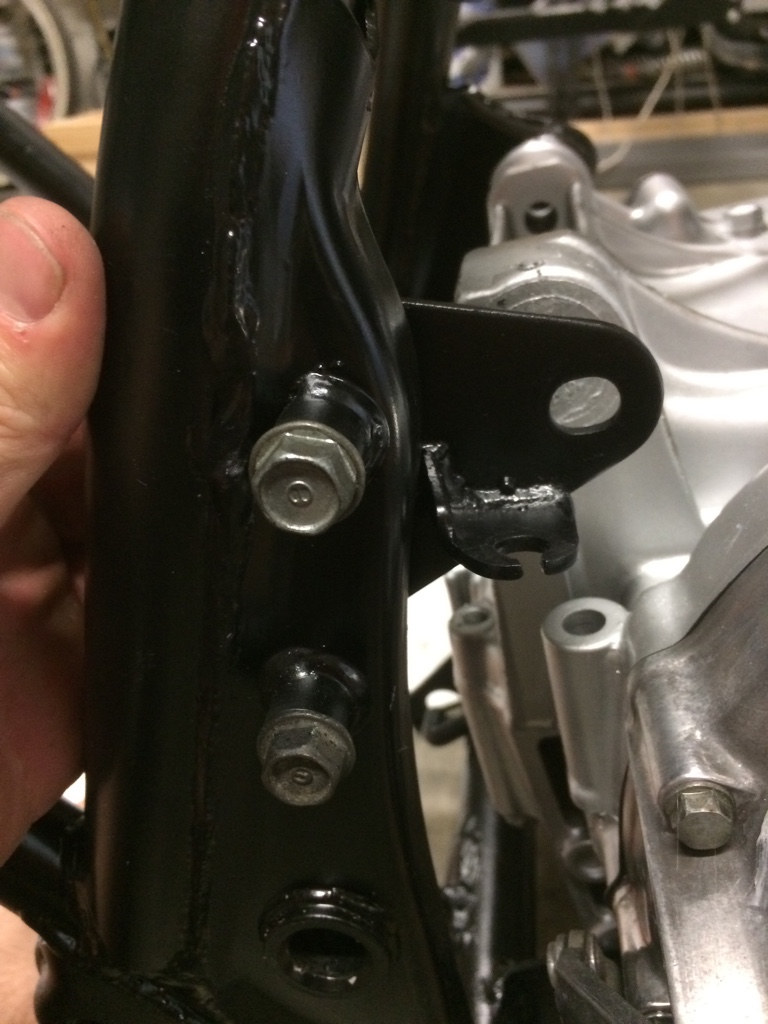
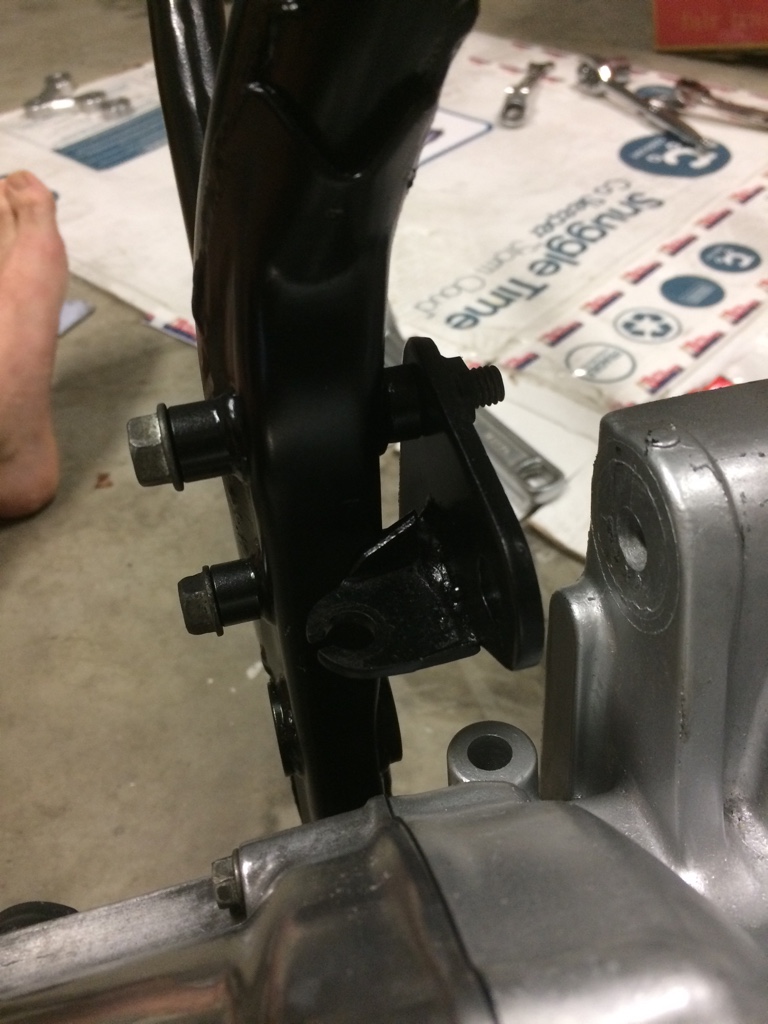
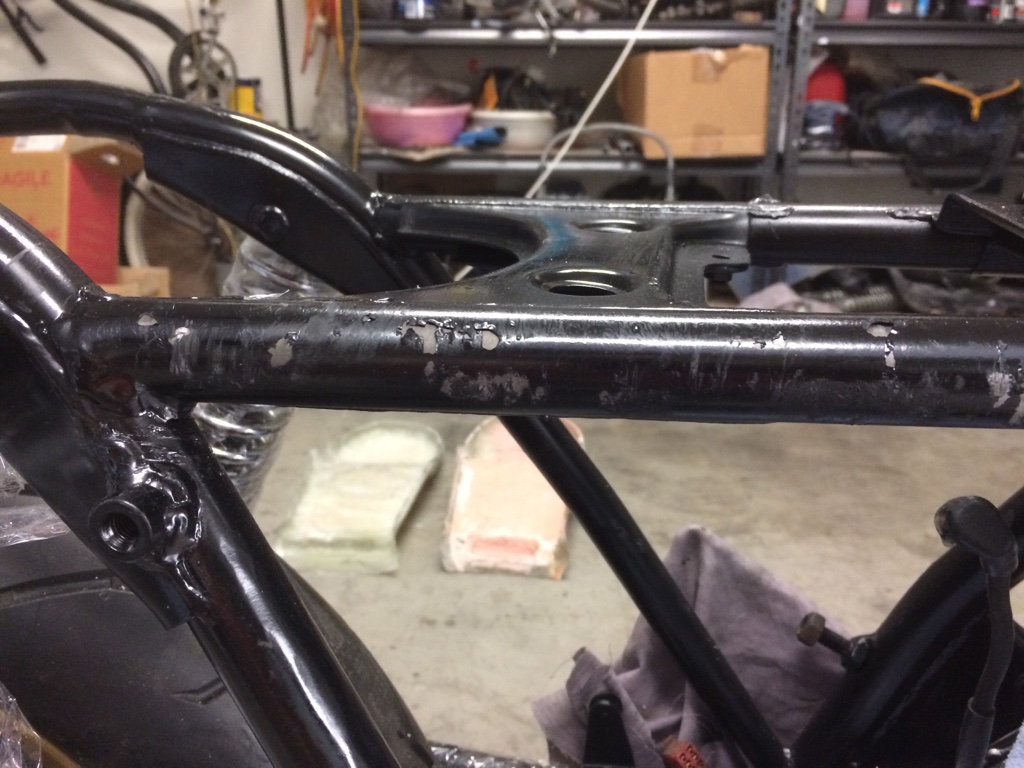
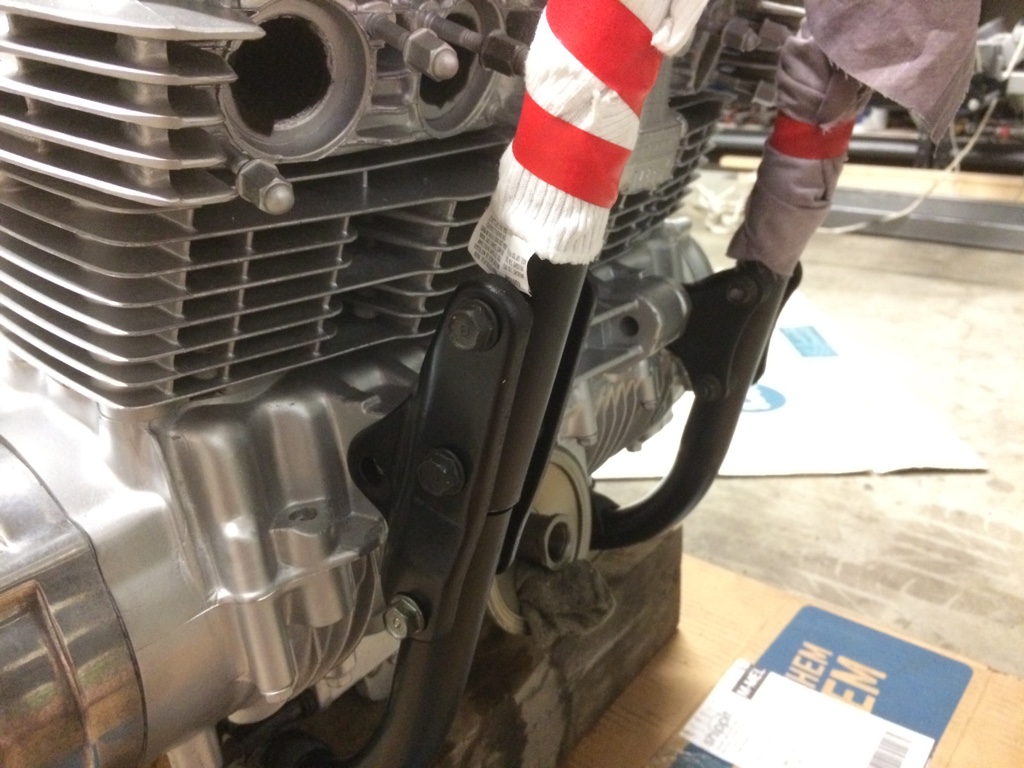
This was the top engine mount at the back

f7a01958b2babdad4f70145532069f40.jpg
8846a99e37d8867124dbc2f7514b9447.jpg


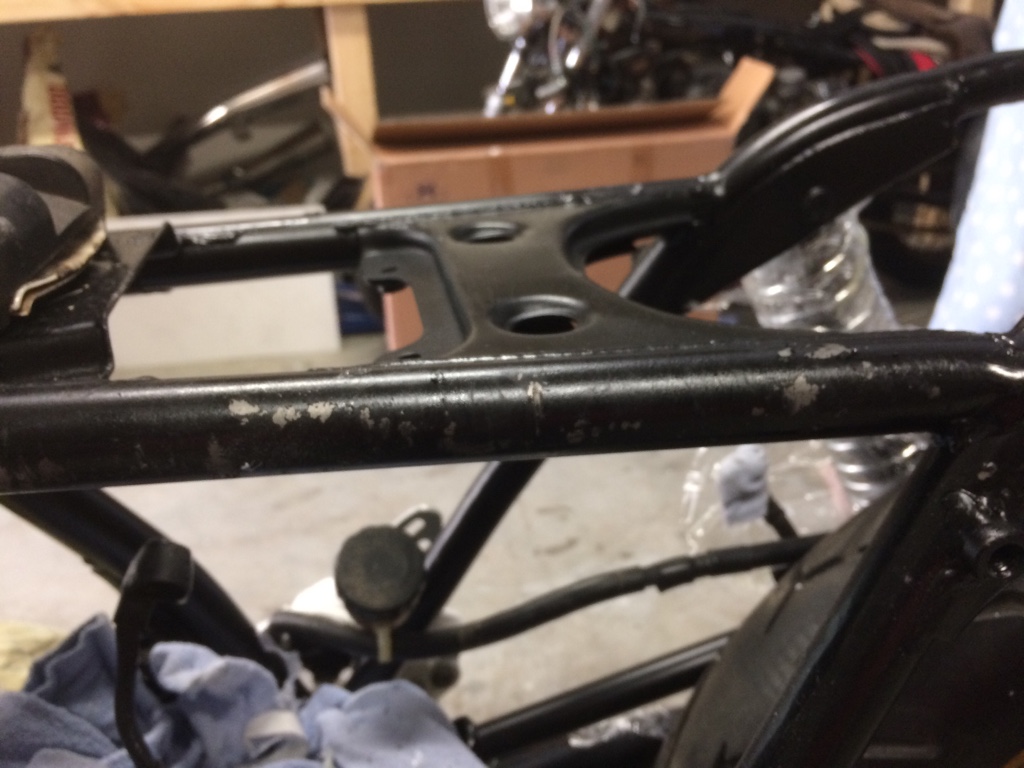
I then replaced the part of the frame that I had previously removed when taking out the engine

5c4274087f62a8d64978298a31838b82.jpg
e9c6b3c8c86558eff1e0071c6d61d49f.jpg


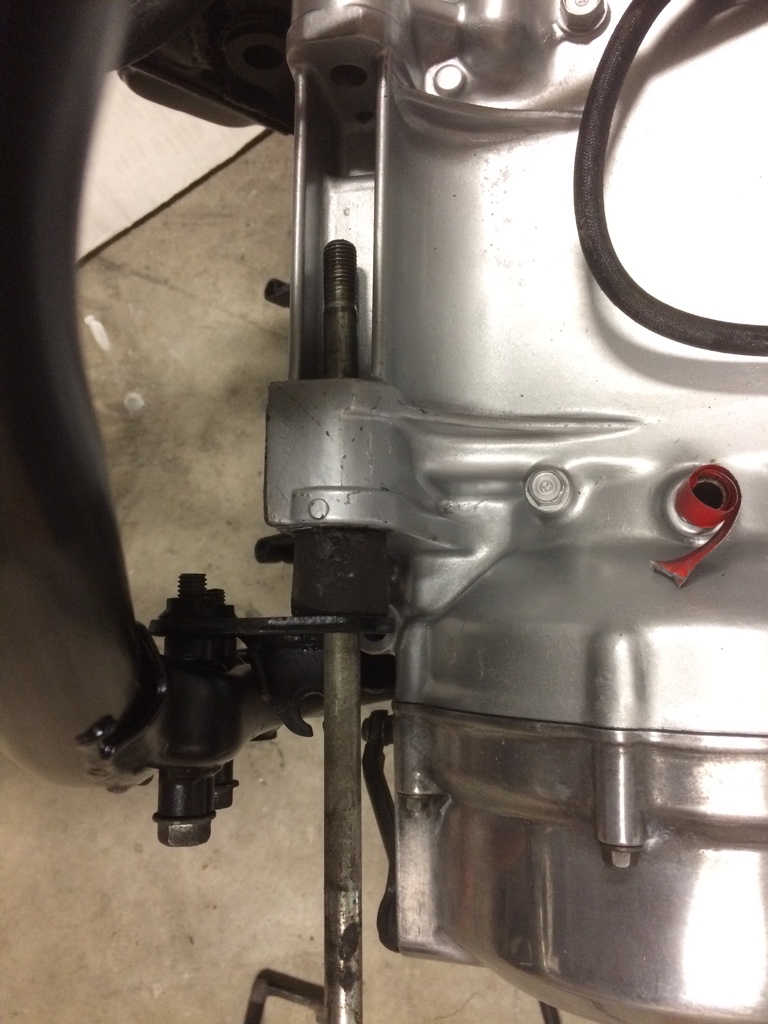
Then onto the front engine mounts

da0db1230aef84cbb5bbc14fa8a8b221.jpg
fd90f43c8fc029ca8a0bc5376d3e07bf.jpg

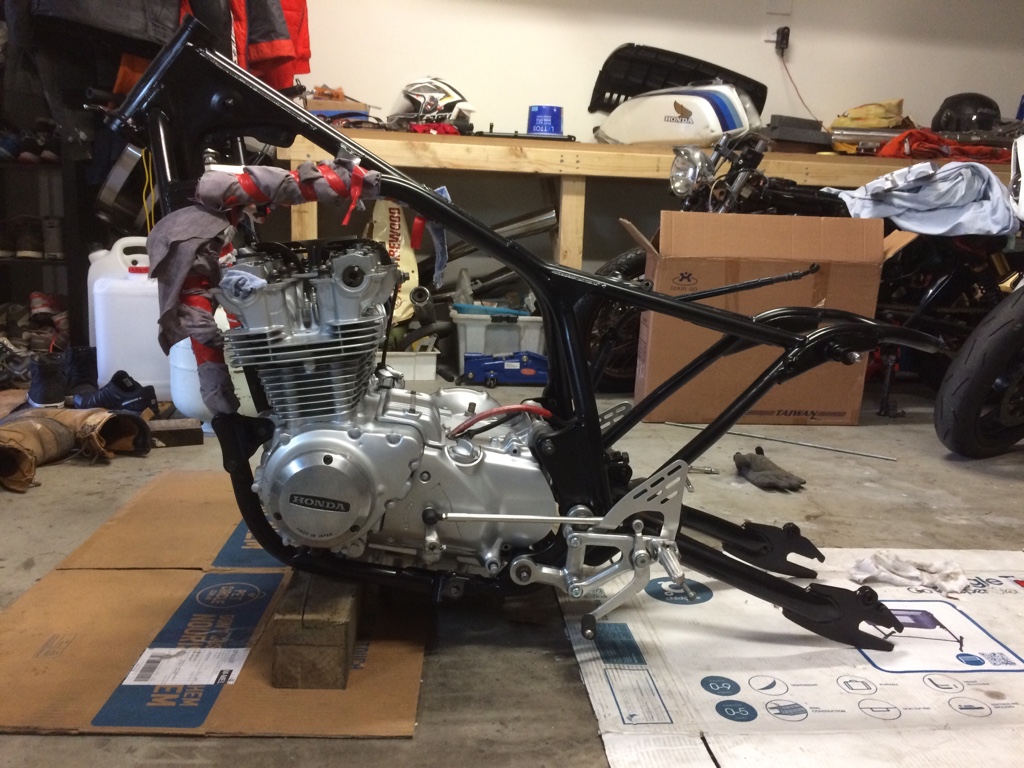
Rear sets and swing arm

7e05a7d16600cac2d4a275bce3895b98.jpg
379d6d63410ca9b96739e961915ee7d1.jpg


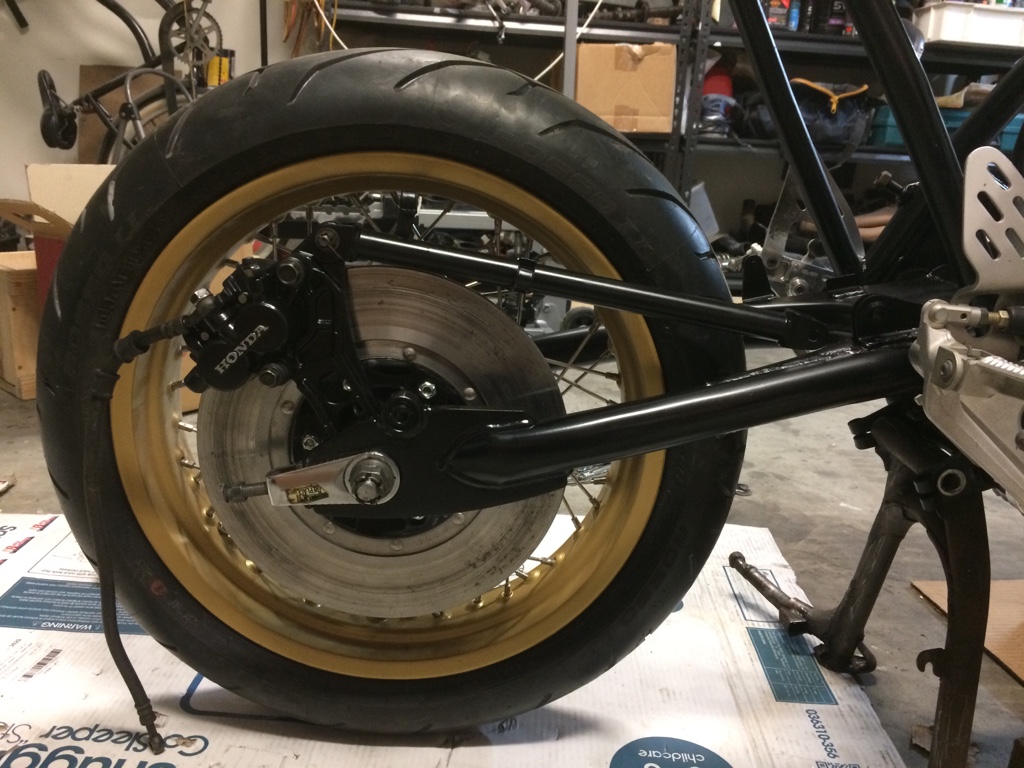
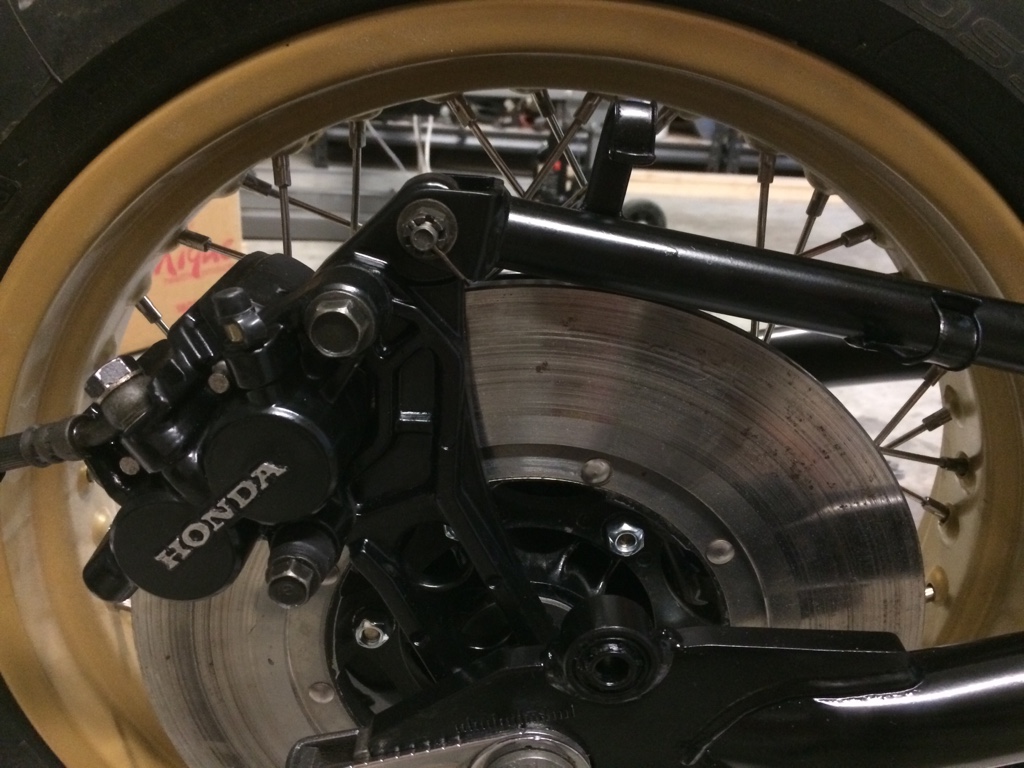
Rear wheel, caliper and brake support

57700cdb8b5b82418caabec8c148fd41.jpg


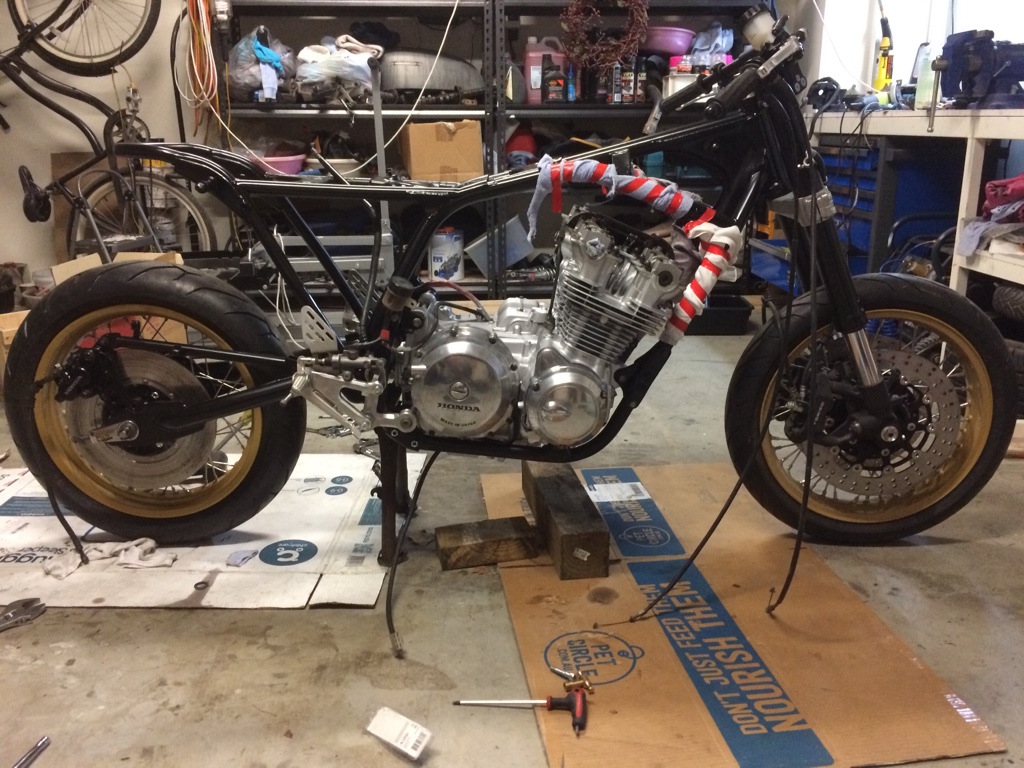
I put in the centre stand to make it easier to get the forks in

f24622b53d5747723b0c595d036fb715.jpg


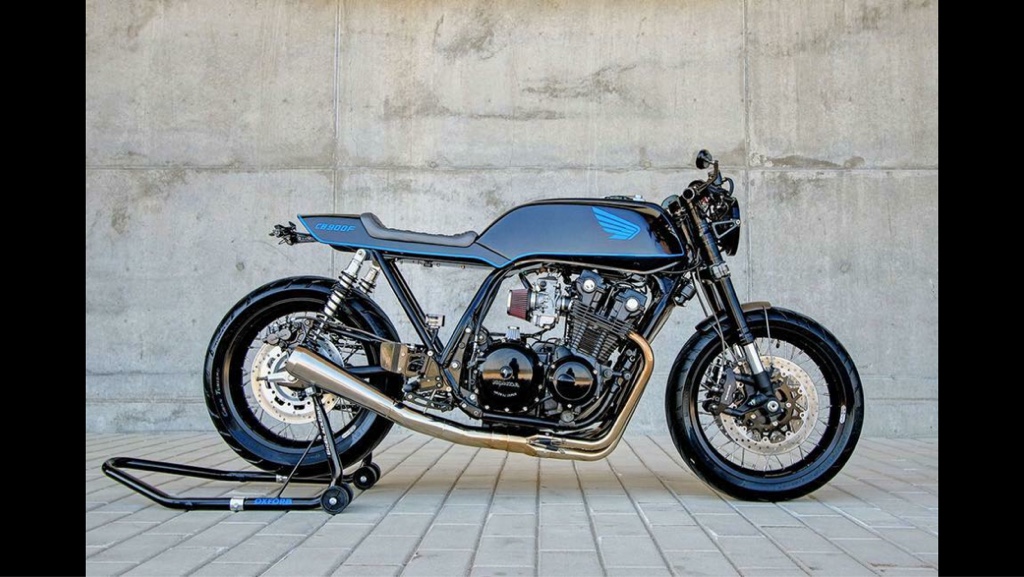
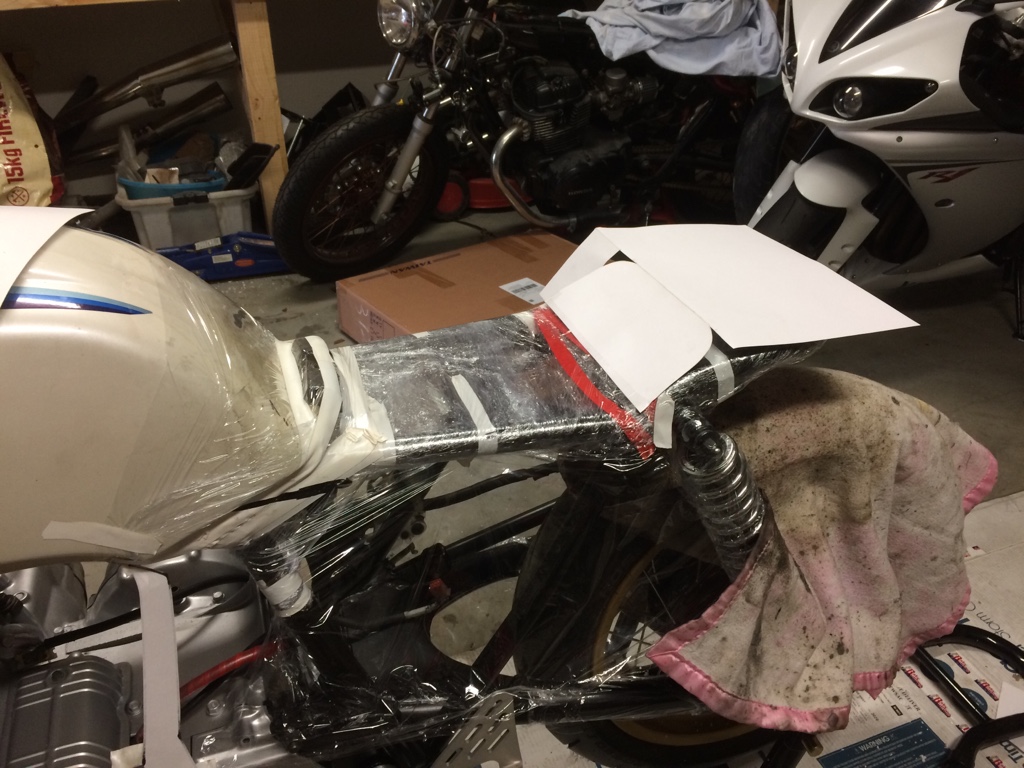
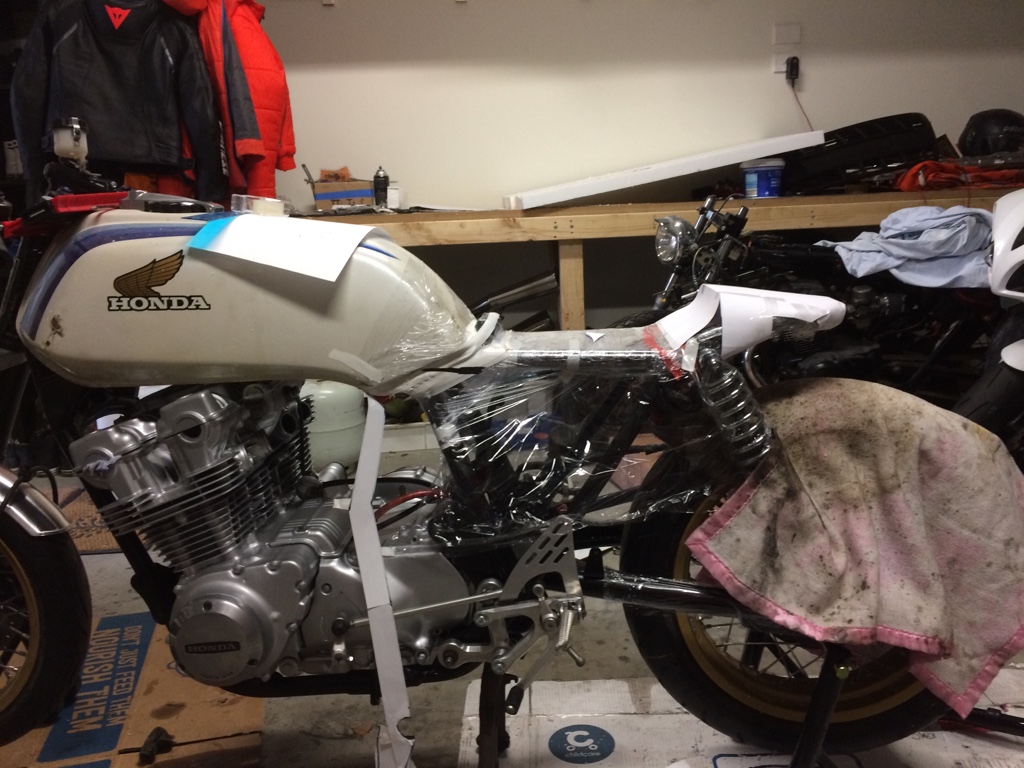
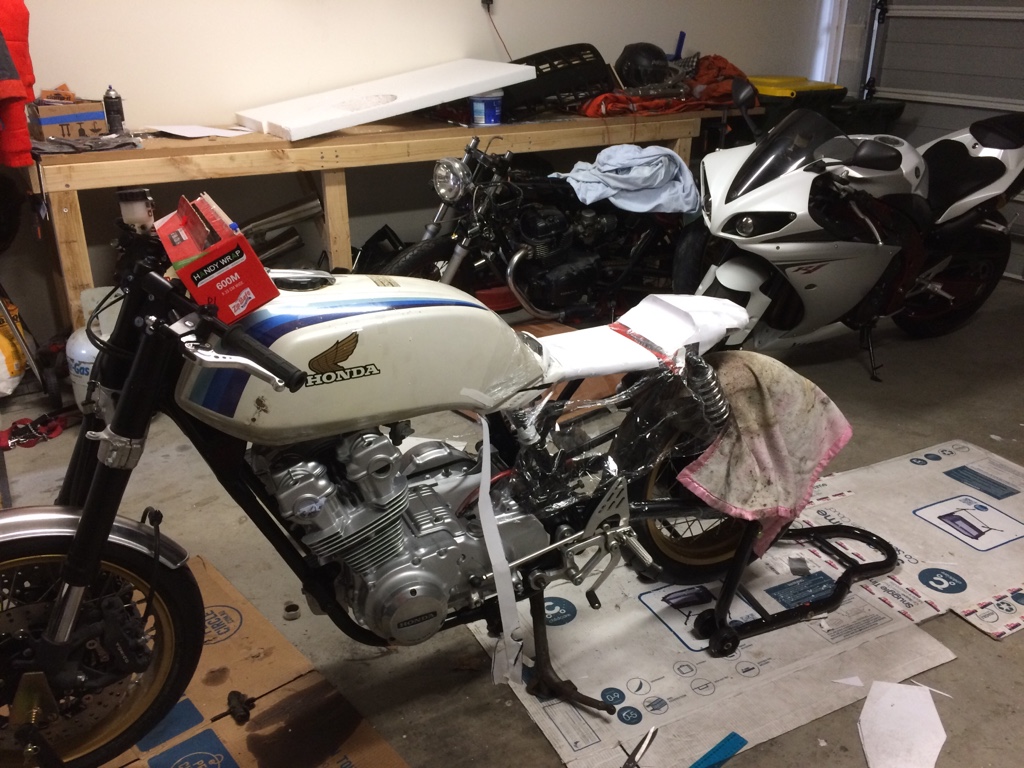
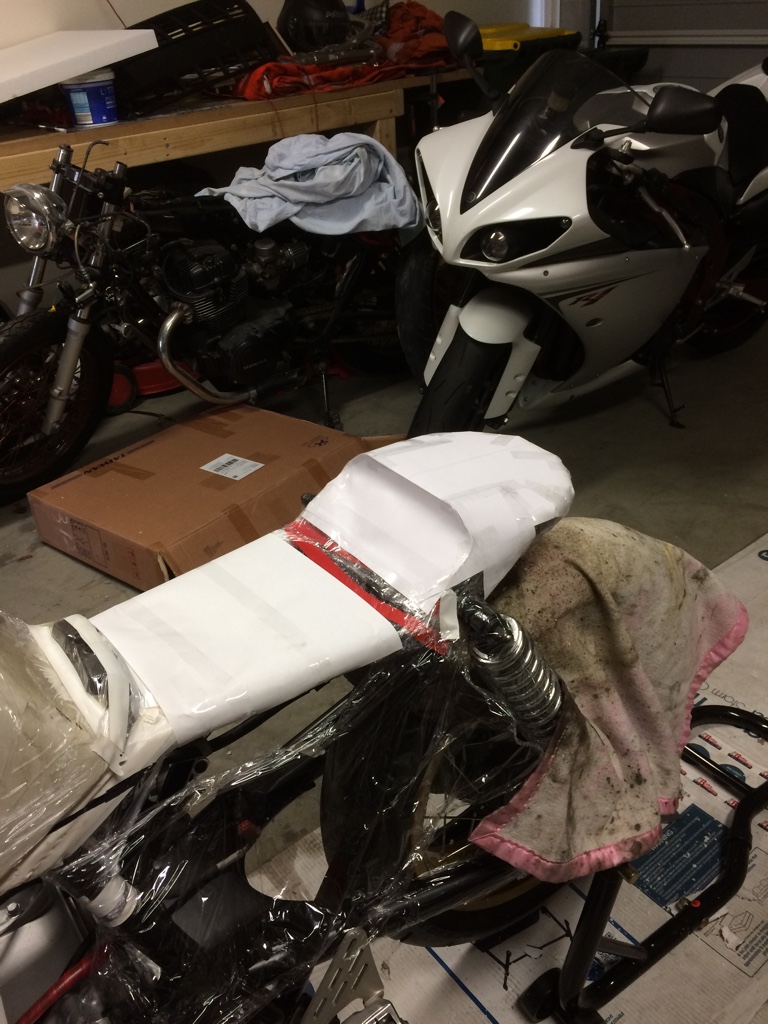
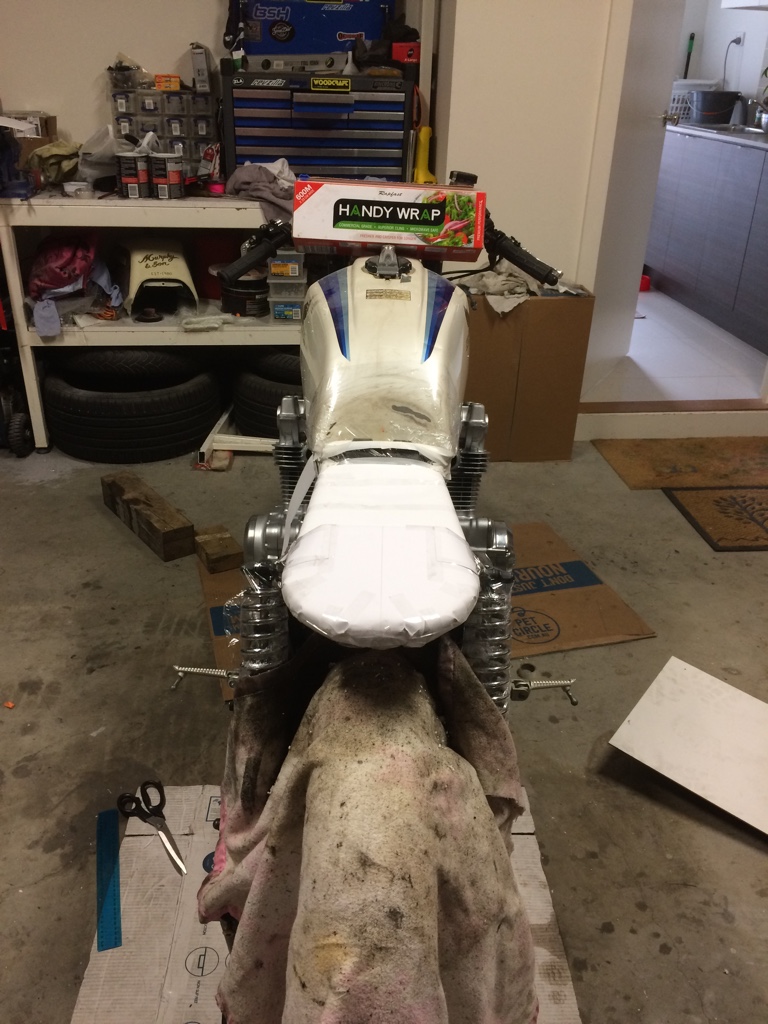
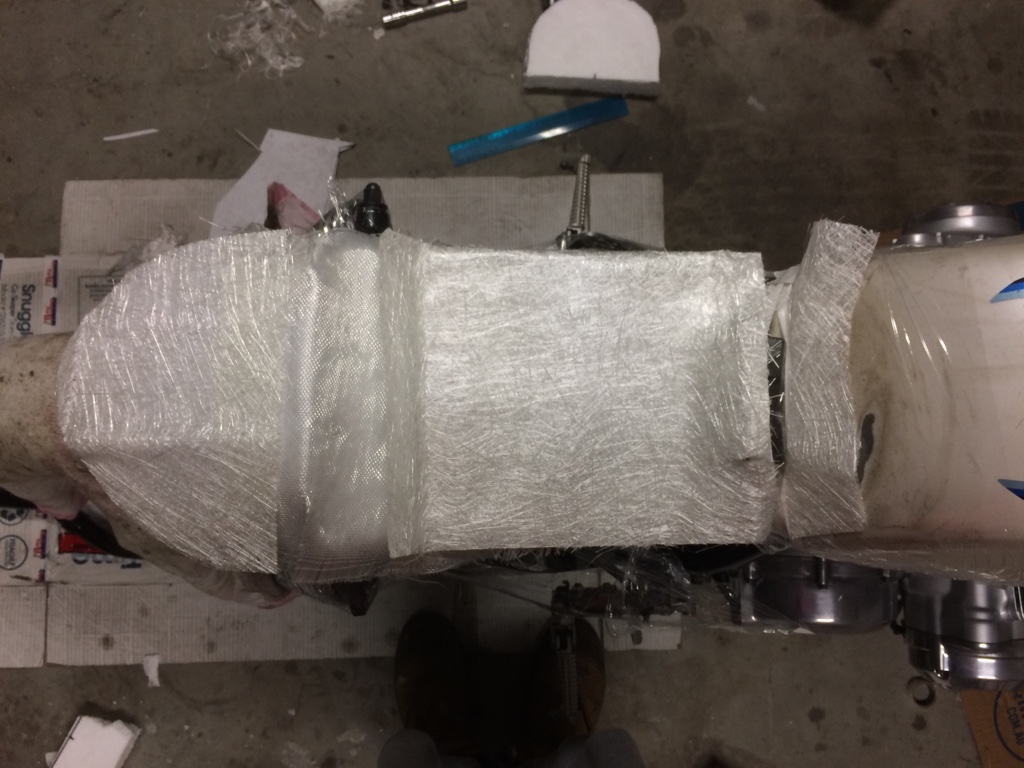
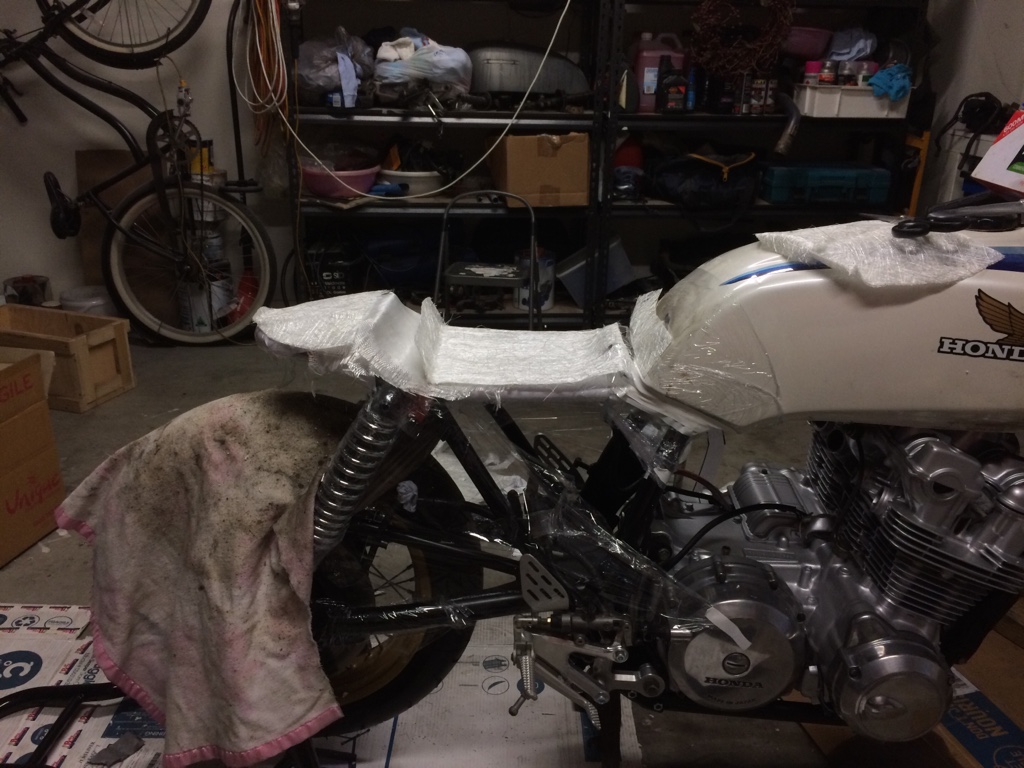
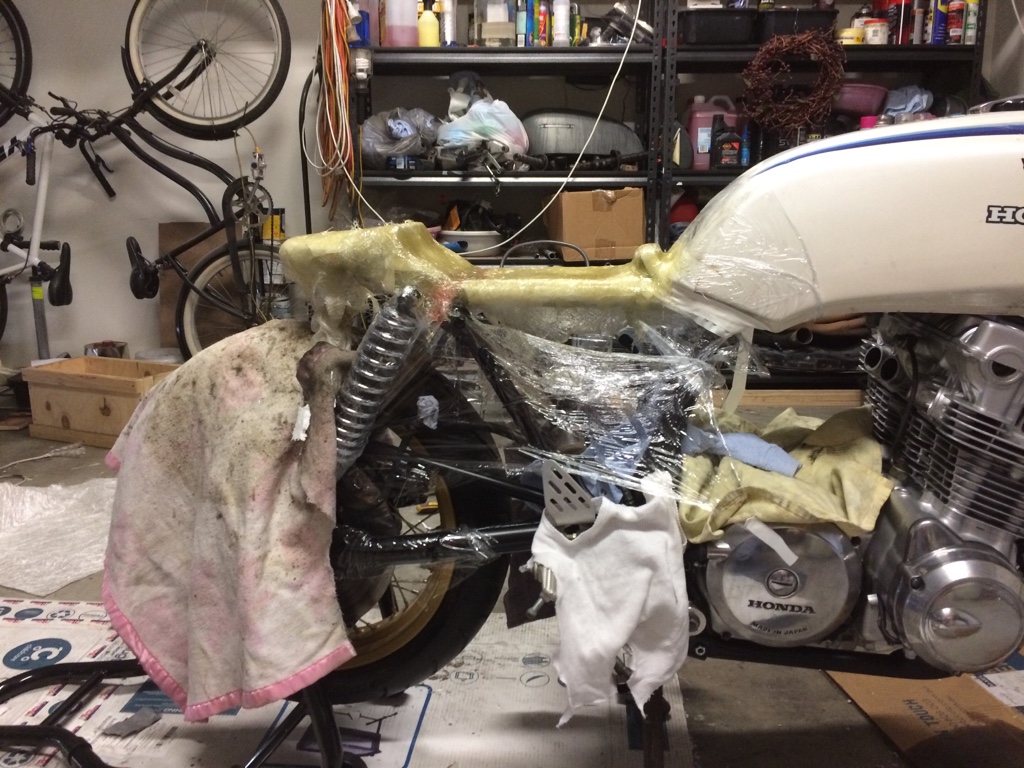
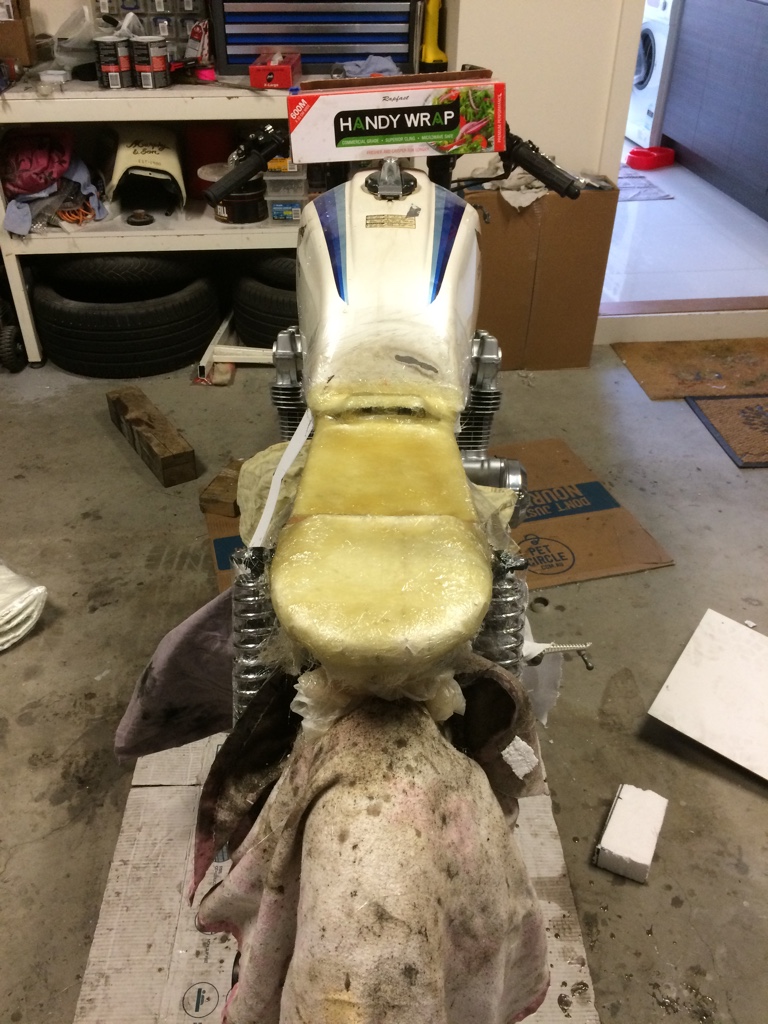
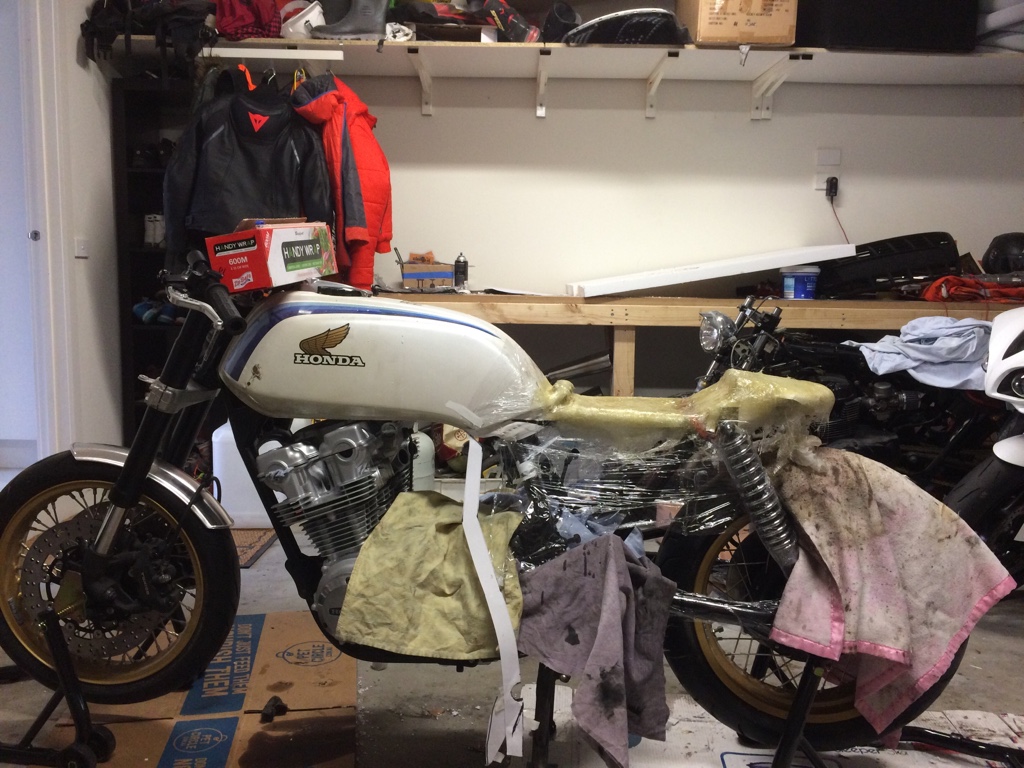
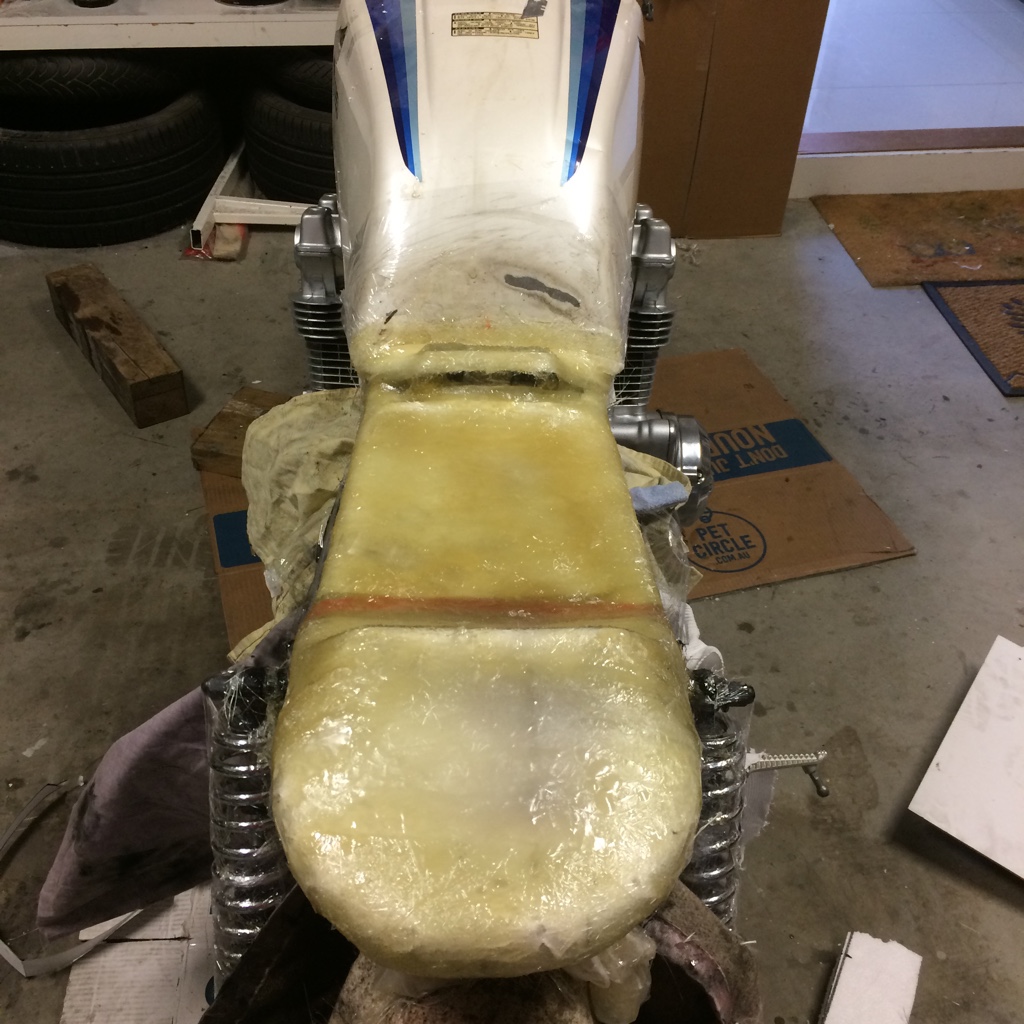
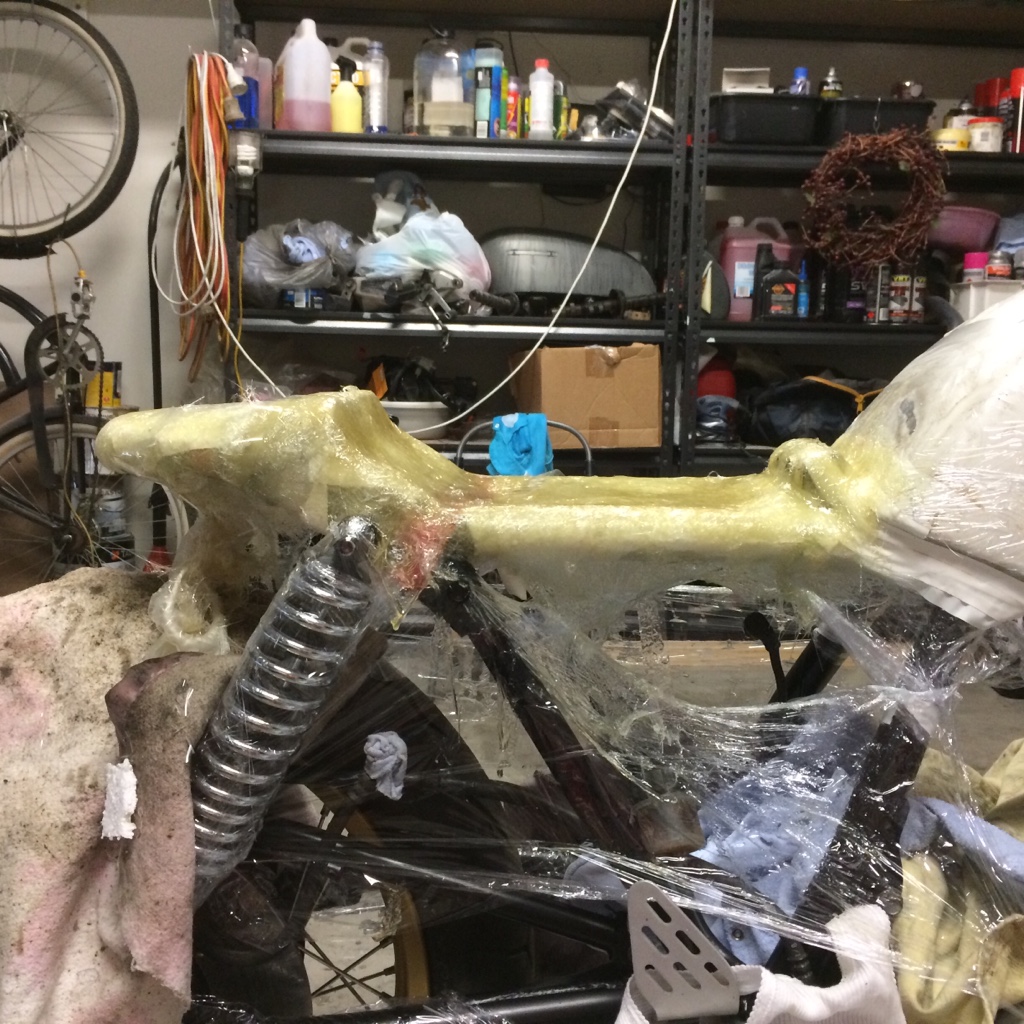
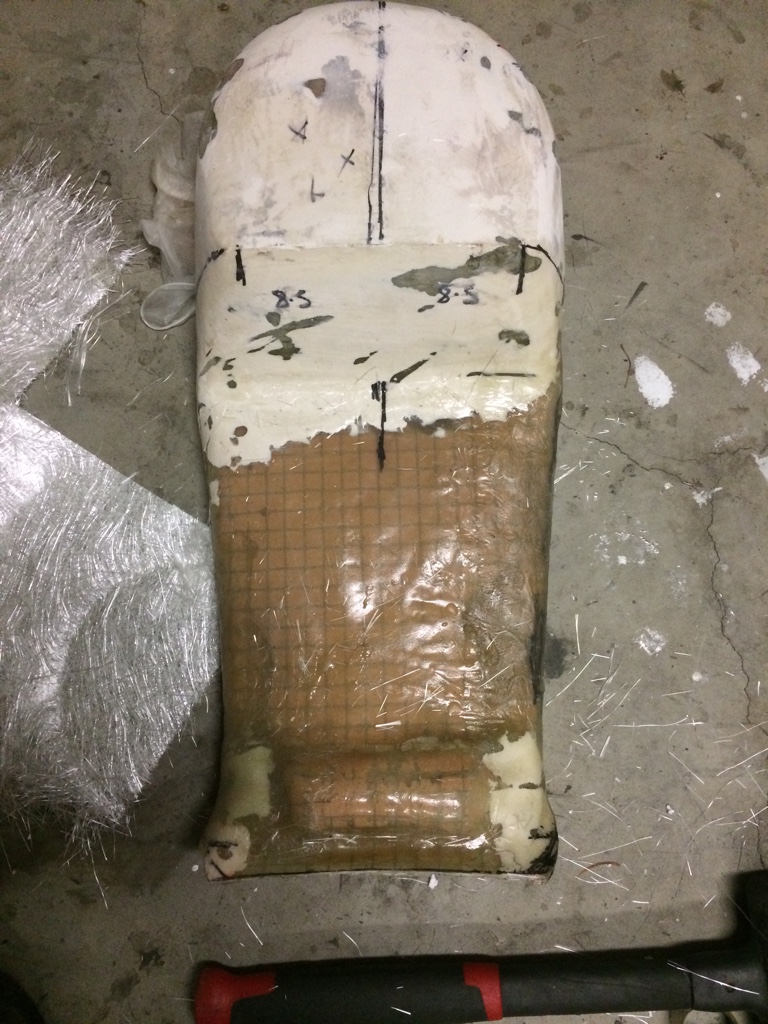
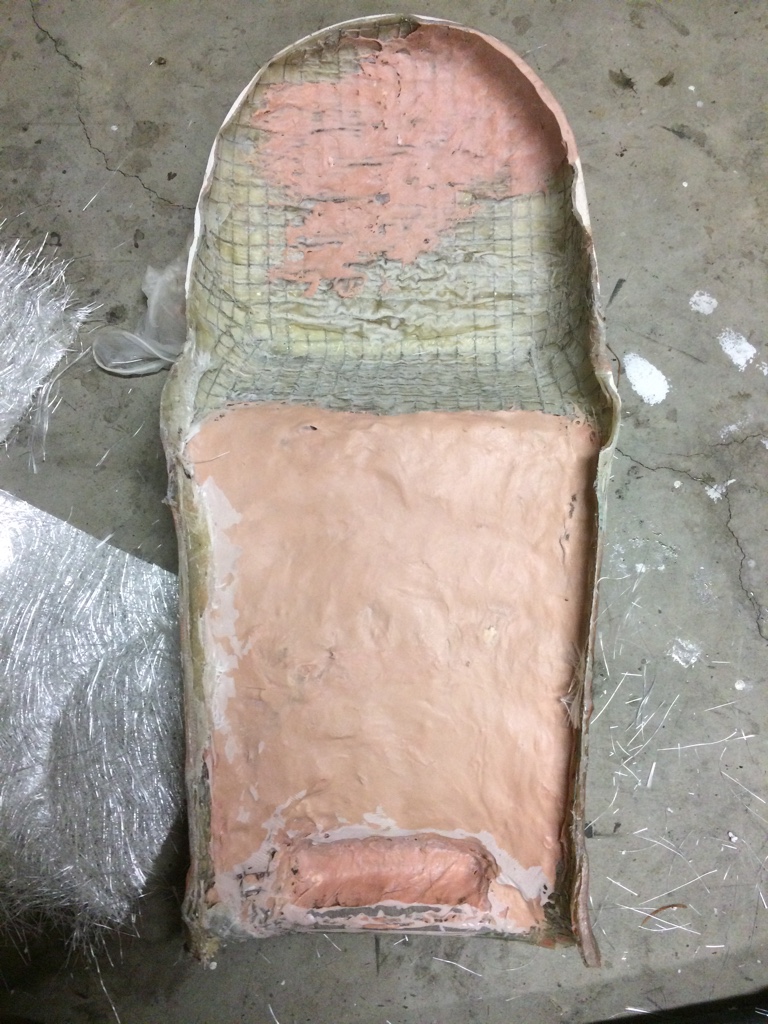
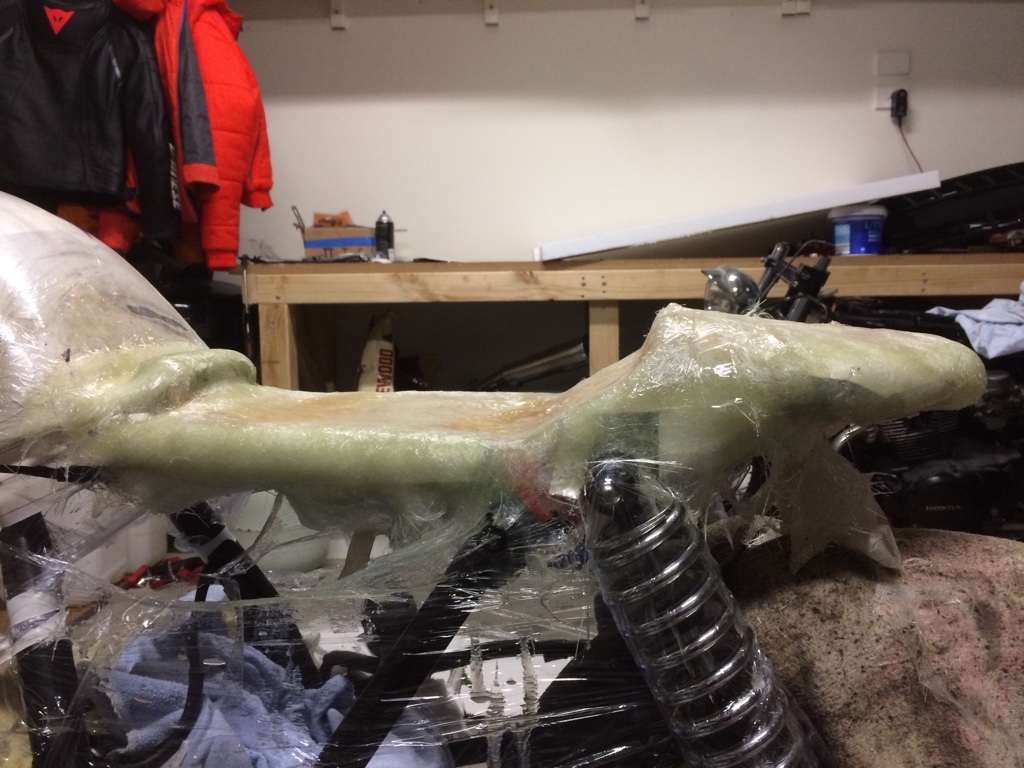
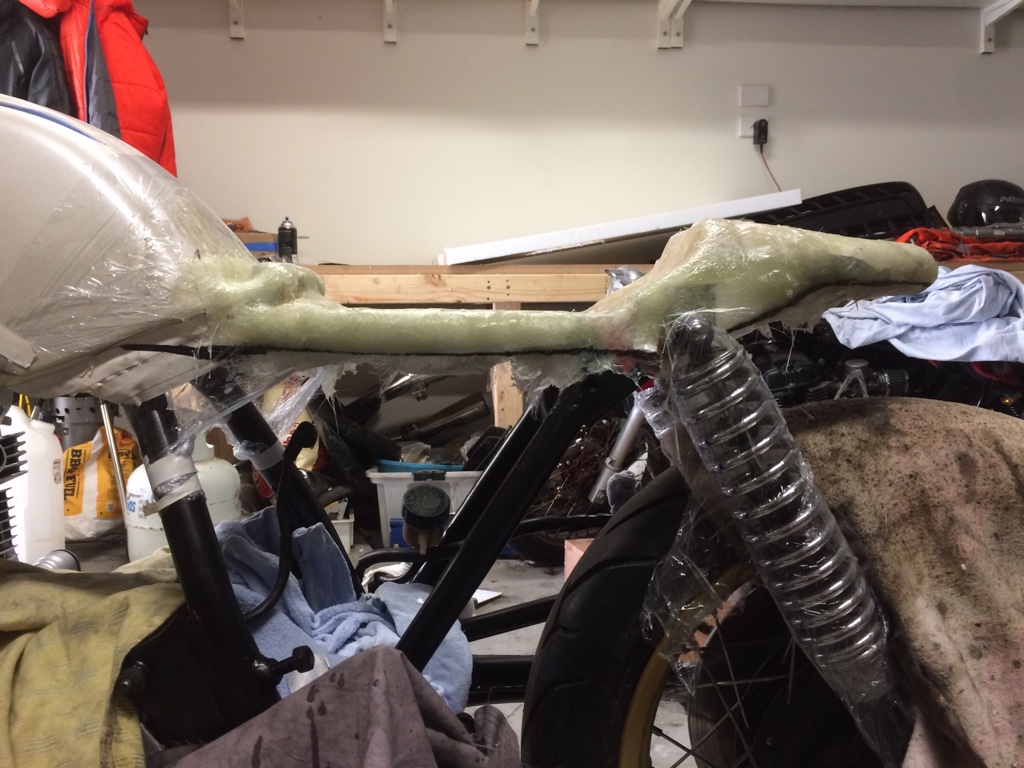
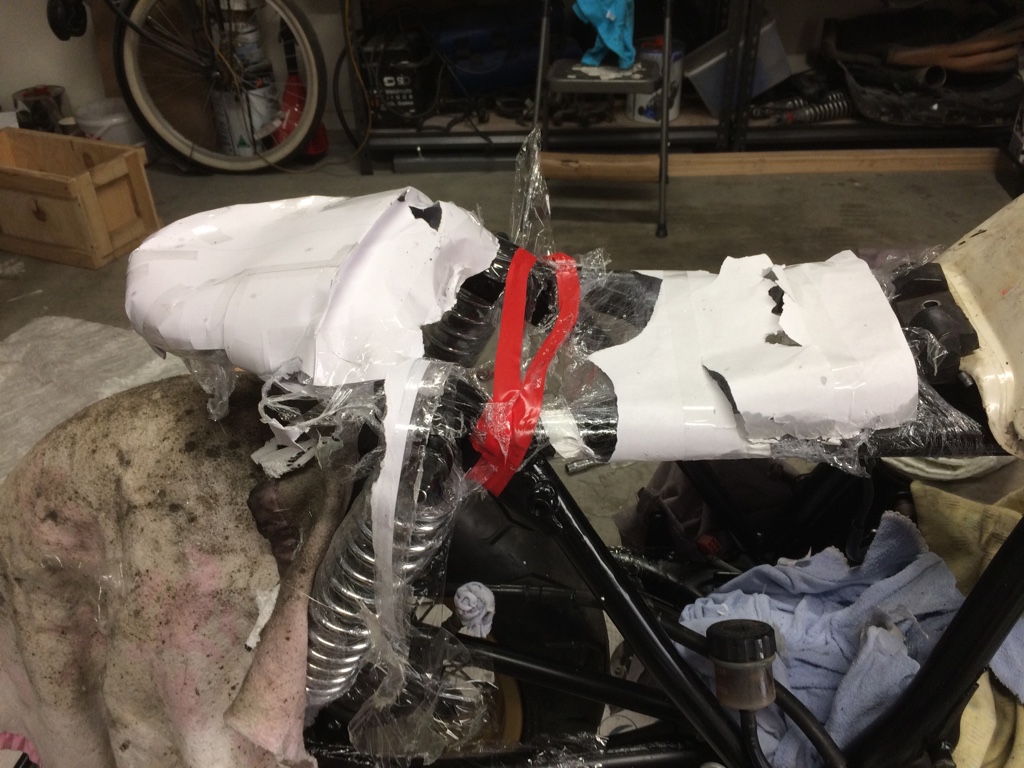
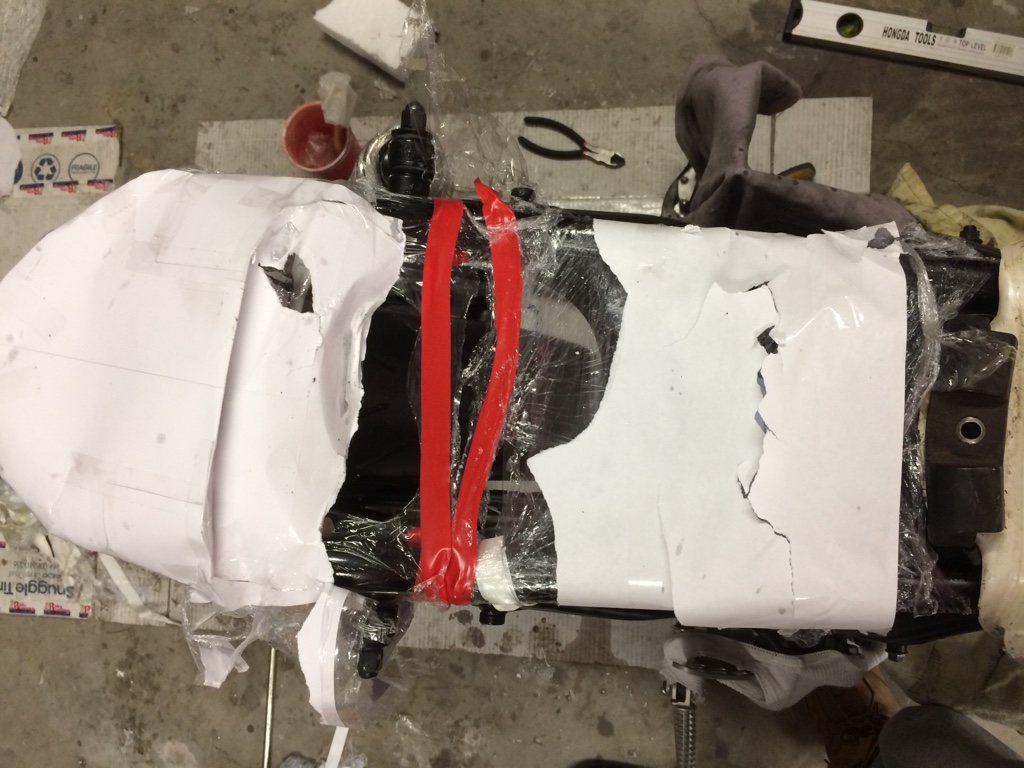
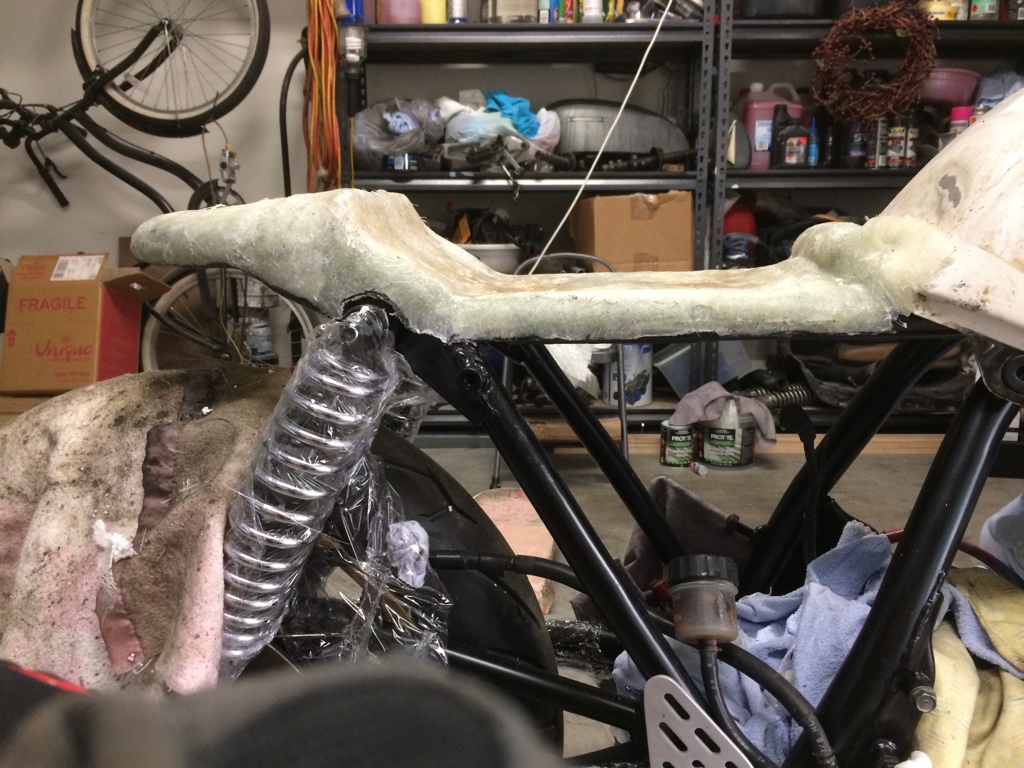
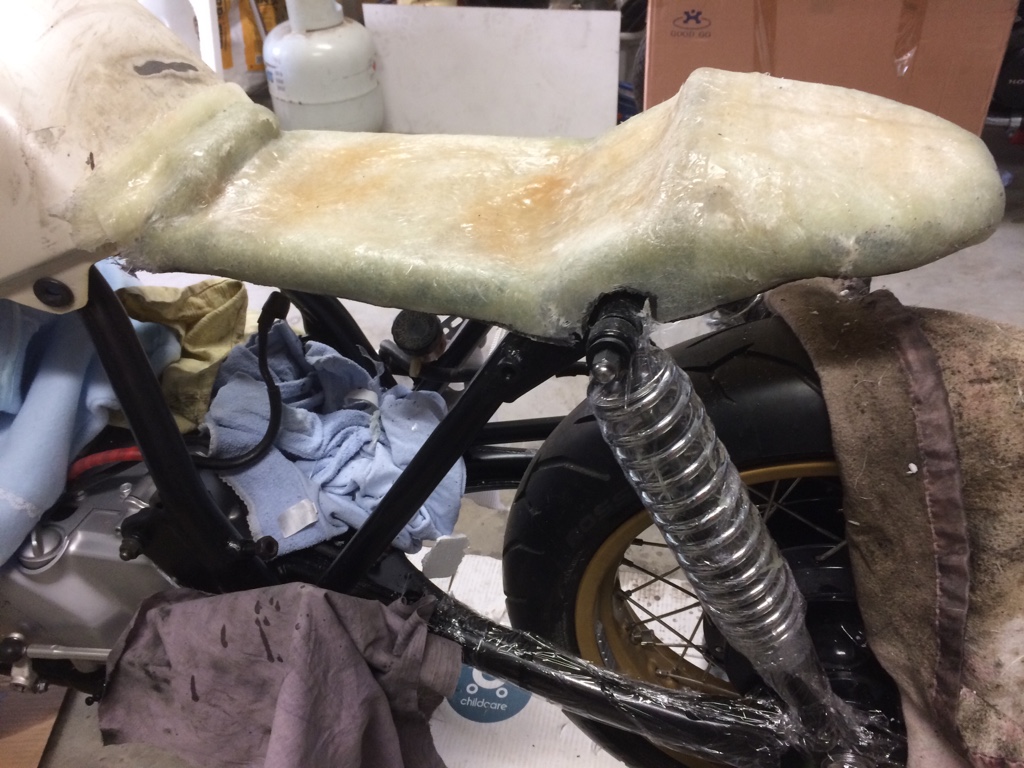
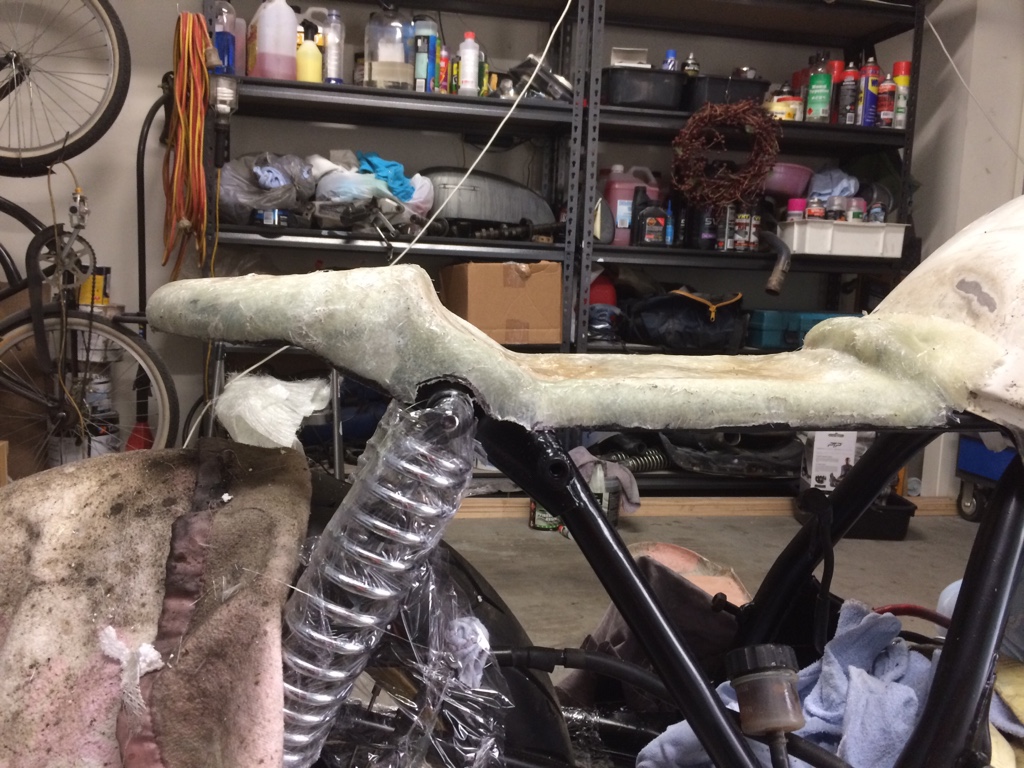
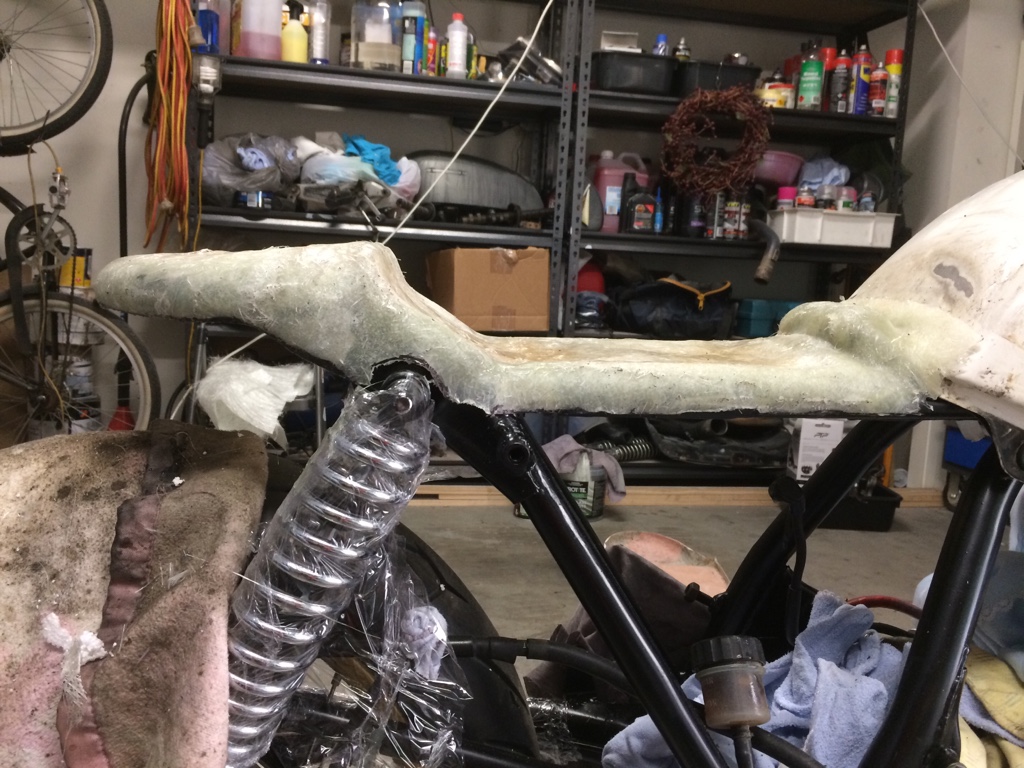
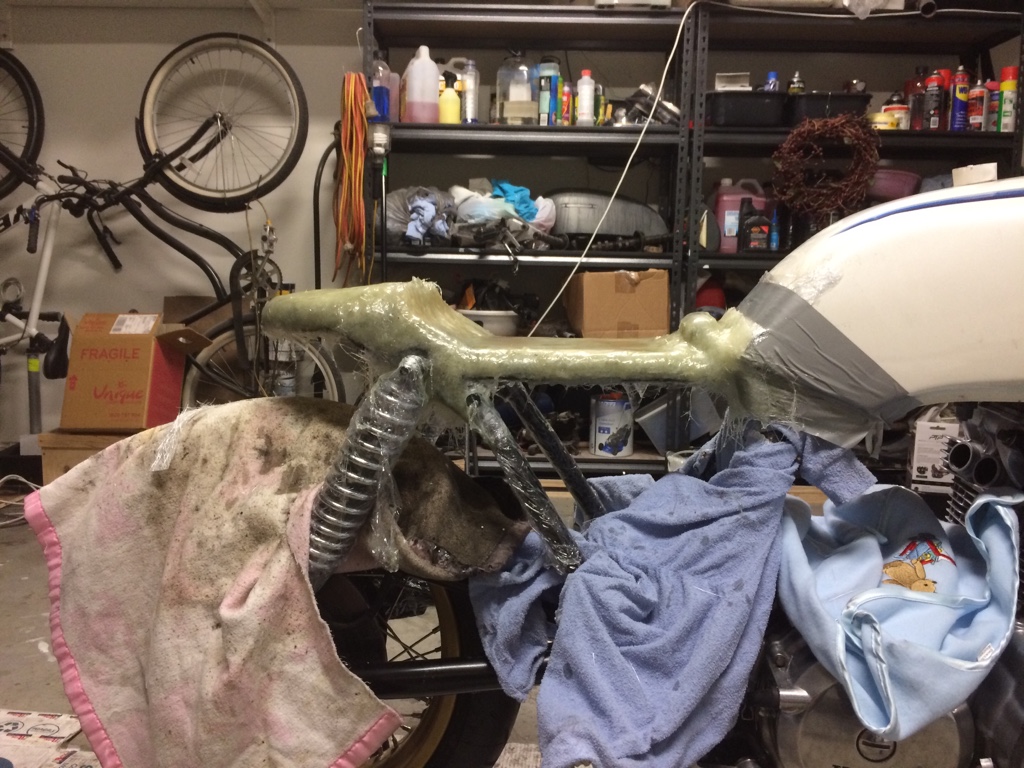
Then just for shits and giggles I put the tank and seat pan on

4d93816db214702042b2864def69d3f1.jpg


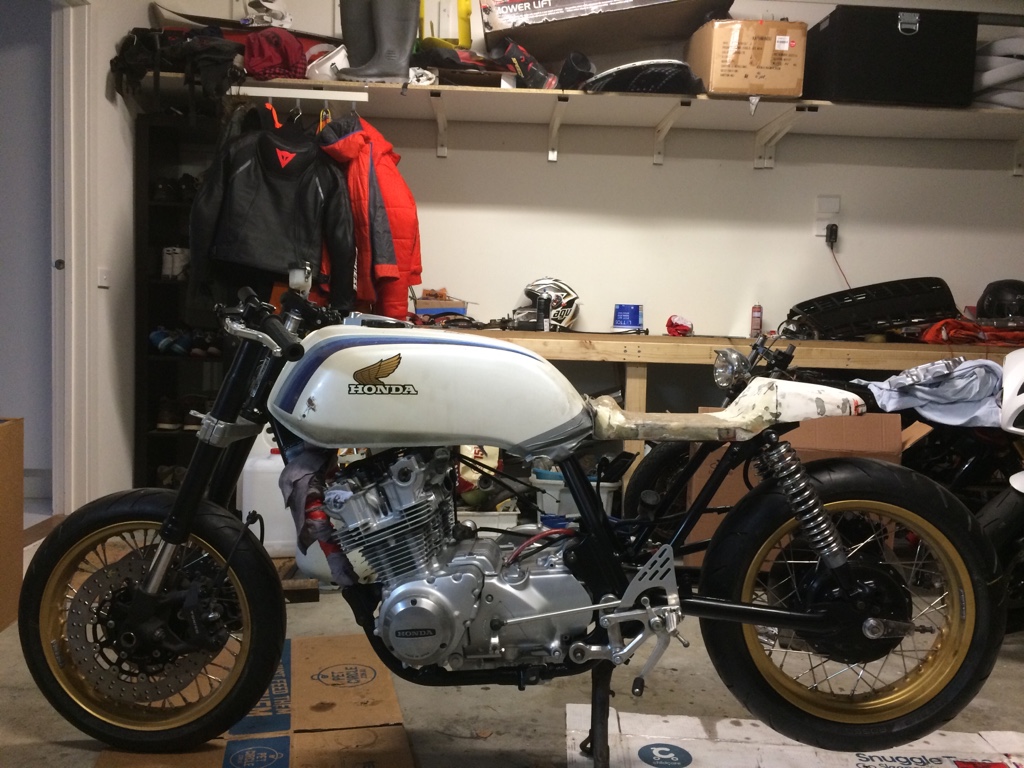
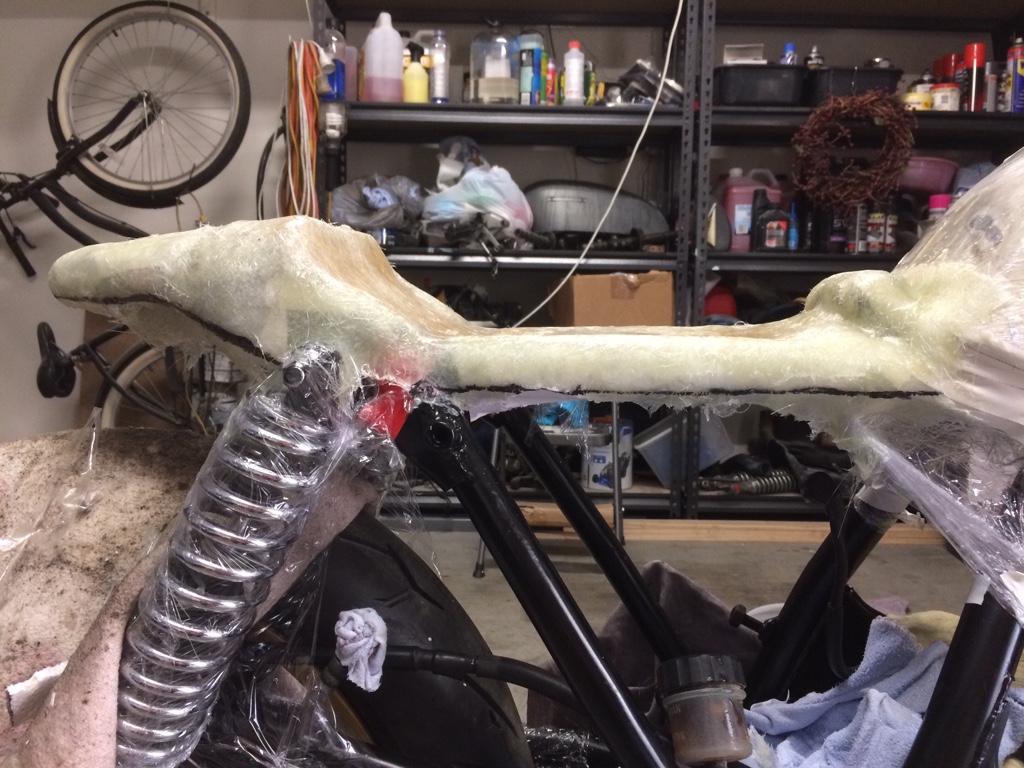
I’m not 100% on the seat pan, going to have to mull it over, also I still need a rear sprocket, the rear disc need to be drilled and all associated brake lines need to be made up... although brake lines will be some of the last things I do.

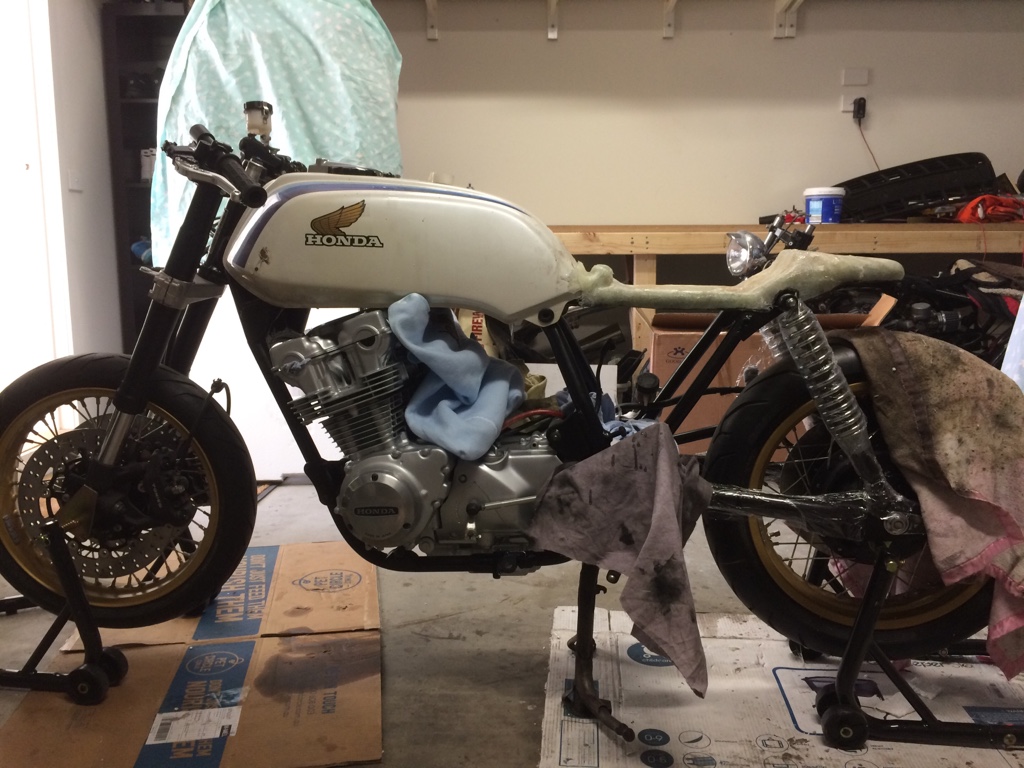
Tomorrow I will see how the carbs match up, then perhaps look at the front fairing and seat pan

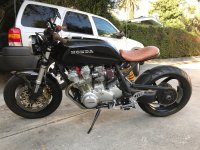
At least she rolls now


Sent from my iPhone using DO THE TON
 
My Gord, thats pretty! Nice work, man.
I really dig that seat pan
 
Cookie said:
My Gord, thats pretty! Nice work, man.
I really dig that seat pan


The rear of it I like but the part I would sit on just doesn’t gel with me for some reason

2a78e88a8177c7da7f781924d4740959.png


Someone flicked me this for inspiration it ties in beautifully with the tank, unfortunately my fibreglassing skills are at -100 amateurish on a good day


Sent from my iPhone using DO THE TON
 
Looking really good!!! You’re probably gonna have to relocate the kickstand. Hate to be the bearer of bad news but the bike looks dope!
 
Ok so today I thought I would try my hand at making the seat pan again...

Brace yourselves

bba21afcc35a73a2cab60c039db92473.jpg
51600f0e2b8119385ad7897f532de9da.jpg


So first for the glad wrap this is what I should have done the first time it pulls close to the contours of the frame and tank... instead of me putting mesh the first time, this was a fuck up as the fibreglassing didn’t form to the frame properly

8e86cdb141048400a847a22cf5dc6f58.jpg


Next I tried to make a template out of thin cardboard

10a2624029368c6bd5c1c218e17e34f4.jpg
4913bc7a5861632360b9da5ec3810e4a.jpg
ca62cc16d2d8c82eb59d99782efadda2.jpg
e8b315e2e3295dc1933ae6cacc6b9abb.jpg
4b978eb2b01e14c0f6ea805115aad3fb.jpg


Unfortunately in hindsight I didn’t glad wrap the frame enough I’ve already seen some spots where the resin made it onto the swing arm and subsequently wrecked the paint ... hopefully it’s only on the swing arm, I can deal with that fingers crossed it’s not on the frame.

0c625e696708efc355790cdfd92f655f.jpg
66c0d7ebf9c918f6b45a9ea710d5fa4b.jpg


Then I laid the fibreglassing matting in place and painted the resin on

3fd096754f320b314933f16d8941b776.jpg
59654c638e81843708282fc1159824a1.jpg
b67ec58a752a93adc3c65b04390cda88.jpg
4ba64d2560a8751e8dfb07ccd2a9d307.jpg
231852598f6b5b7ebfba8a77880d3894.jpg


Now to let it dry then inspect how close or far I am from where I want to be, hopefully it comes up a little better than my first attempt


Sent from my iPhone using DO THE TON
 
esmoojee said:
Looking really good!!! You’re probably gonna have to relocate the kickstand. Hate to be the bearer of bad news but the bike looks dope!

What makes you say I’ll have to relocate the kick stand ? The new rear sets ? :/ hmmm more modifications


Sent from my iPhone using DO THE TON
 
Looks really good assembled! I liked the seat you had, but fingers crossed the second one turns out the way you want. As for kickstand I guess rearsets could interfere? or height could be wrong with the changed angles?


Sent from my iPhone using DO THE TON
 
Yea she looked good from afar but was far from good

e0f1046872aaf43926249d3938170915.jpg
c6a32e019f591d8a04c9842b031d6a8a.jpg


Because of the mesh I had to use big so it would sit properly

f4f434694f5a7e943f54fd735f879d1a.jpg

3ab421cc324e9ee9e9a5b6cf5b5acc2c.jpg
f1af86e8b6830b3f803dde2214f1b518.jpg
2b98484835fcb93f07a320489a07bfb3.jpg
443c35112ee69c3d107cc9d49ff59e4d.jpg
de04ad6883e58fa74a341c5083d8ae91.jpg


New one is a slightly more refined version of the first not too different as I really liked the shape of the original just not the finish


Sent from my iPhone using DO THE TON
 
esmoojee said:
Yea, I think they may be in the way. I had to move mine.

Have you got any photos of how and where you moved your kick stand, I’d be interested to see how those before me dealt with this issue... to be honest it hadn’t even crossed my mind until you guys brought it up.

I had noticed the angle of the kick stand changed because the bike is now lower but i didn’t even contemplate the fact it might not return to the correct place... :/

I’ll try to sort this seat pan before tackling that issue, one thing at a time otherwise I’ll become overwhelmed.


Sent from my iPhone using DO THE TON
 
Ok so the resin dried

5552463964b72fd3bff506554430a0a2.jpg

11ee4120107d9c98a921966f343ac15b.jpg


So I grabbed a marker and drew the lines I wanted to cut

1c647d86f6d460dac8fc4fced673f021.jpg
7367ae912f4e143471205014545ee9ea.jpg


I removed the seat pan and original mould ..
4badc9281f929d63110dd806c09f3e7a.jpg
999e46ea1918d20d8494eff339b5560b.jpg


Unfortunately my glad wrapping wasn’t as effective as I would have liked it to be...rookie error to be fixed once fibreglassing is complete...

6d66c192346aa63f7487c274979cdf02.jpg
here is the new and old side by side for comparison, no one would have known the difference in quality except me, unfortunately that would have done my head in.

d9aeb1497f9a15d2eae13428c249b9cd.jpg
6742aa7fc218e26341758f52f9e3b69f.jpg
63d0a4dbabf4c163037c0dfadd365baf.jpg
ecd39a44a4404a167288ed8c1ebe934e.jpg
9e88c704a36aea3e11d43e0e8e90a024.jpg
dc243959e08d7bb619ca22679b515911.jpg


That’s how she sits now... there are a few spots that need to be built up and smoothed out.... so now I’ll wrap the frame up again and hit it round two, this time the plan is to get it as close to plum before just finishing it with bog as opposed to the bulk amount I used on the original


Sent from my iPhone using DO THE TON
 
Here you go. I got a tc bros and had it welded further forward close to the front engine mount.
 

Attachments

  • IMG_0224.JPG
    IMG_0224.JPG
    1.1 MB · Views: 259
i can almost see your damper set up, there are a few guys with CB750s on the forum Im on here and we are all scratching our heads on how exactly to mount that.

I looked at mounting it on the steering stop but when i turn the froks it looks like they will contact the damper.
 
So the finish on the seat pan was really rough and textured.

So what I did was just mix the resin and pour it on without Abby additional fibreglass matting

I’ll wait to see how it turns out, currently in hospital waiting room baby day today ... watch this space


Sent from my iPhone using DO THE TON
 
If you want it smooth you have to finish it the way you want and make a mold from the plug, then make your final product from your mold. Or add a bunch of material to it and finish it . It will probably be heavy though if you go that route.

And good luck at the hospital !!
 
First issue is with that chop mat. That stuff isn't meant for smooth finished applications. What you should use is 6oz biaxial cloth common for boatbuilding applications. I used 5-6 layers on the seat on my 360.

You have the right idea of using resin to smooth, however straight epoxy is not ideal to shape to a final form. West System makes a featherlight additive for their epoxy which is a powder you mix in that essentially turns it into a epoxy based version of bondo. This is the stuff you want to use to build up on the exterior, then sand down to get your final, smooth form.

6oz mat
9298493359e661b579fb40c710f15ee8.jpg


Seat after initial glass layup, finished off with a coat of epoxy w/featherlight additive.
c3e55141e8823dc3fa4d5da548385171.jpg


After a few coats of featherlight and lots of sanding
9eb83d966c99f9cb295c7f605e9e9506.jpg


I should note that with 5-6 layers of mat and quite a bit of epoxy filler, this seat pan only weighs about 3-4 lbs.
 
Ok so still at the hospital but had to do a run home so stuck my head in to check out my handy work
72df6b4ee169e16b32e6cad973121425.jpg
06b4a77eb9dde3978b900ed626bfe786.jpg


The seat pan came up really nice, the resin seemed to self level


3d3292d28ae843e0b922fffa4f1a8251.jpg
c2491574997dcceddc81b7169854e150.jpg
3ada47a8e7823685e5f4b9a2b188599e.jpg


But I think your right I’m going to need the fibreglass cloth over the rear section so it finishes nicely.

efcb15d1a25d810805ab066015572db2.jpg


I’m just not sure if this transition to the tank works nicely or I need to tie it on some how, to tie it on will be very challenging I believe

I need a pros eye to nail it


Sent from my iPhone using DO THE TON
 
There is also stuff called quick fair that is used in marine applications for finishing. It's Like the west systems stuff but easier to use.


Sent from my iPhone using DO THE TON
 
Back
Top Bottom