cb250nproject
If you can make it better do so
Righto
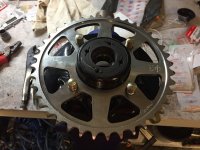
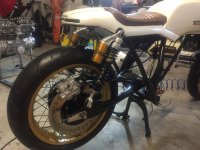
So last time when I was installing the rear disc I had an issue that the studs were too short. At the time I was unable to source the originals from anywhere, that was until just before I flew out for work last time. This is when I placed my order for the rear sprocket studs and nuts and also the studs for the rear disc
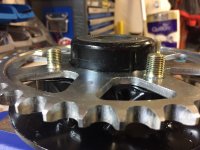
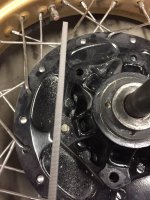
So after a littler perseverance I got the sprocket studs to all seat in properly. Then I turned my attention to the disc studs.
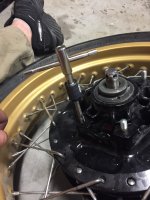
Unfortunately I had to remove the old ones first which was a bit of a pain in the ass. In my sleep deprived state, I was unable to work an easier solution out other than use pliers and vice grips to get them out.
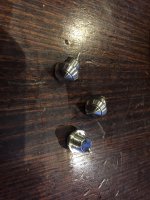
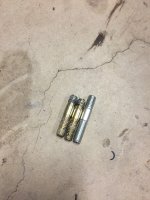
When I lay the proper studs side by side With the old ones you can see just how short I was. If you thought I was unimpressed with the length you should have heard what she said.
Anyway I slowly got them all out, I even had to get the file out to square off two sides on one of the stubborn studs so I could use a small shifter to unscrew it.
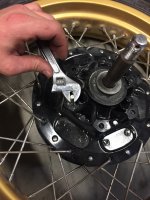
I ended up running a tap down the threads which made a whole world of difference when reinstalling the new studs then I just nipped the nuts down.
Do you guys use loctite on these ? Or if I do them to the correct torque they’re good?
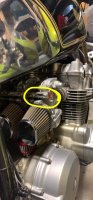
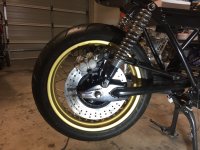
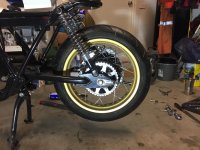
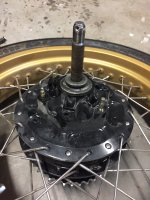
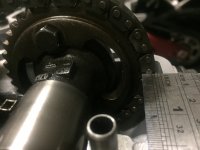
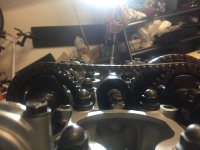
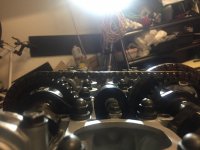
So after reinstalling the rear wheel back on I then thought I’d turn my attention to the camshafts.
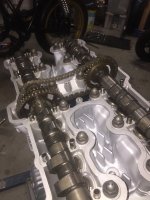
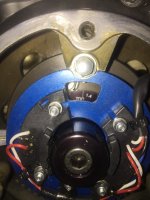
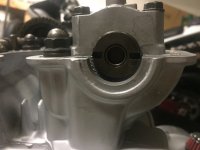
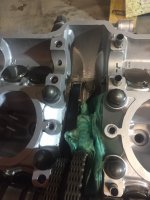
So first I remover the rotor stator cover, then the timing cover so I could tell when I was at TDC 1.4. I grabbed the intake and exhaust cams then out them in place.
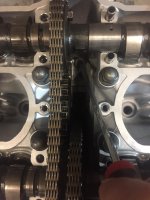
I thought I’d turn my old friend YouTube for a little guidance as to how many journals I should have installed (turns out A and E for the exhaust).... it was at this point I lost consciousness on the couch I believe the red eye flight last night finally caught up to me.
Now that I’me more coherent I think I’ll spend the rest of the evening researching how to make sure the cams and timing are right and also how to install the M switch for my ignition.
Sent from my iPhone using DO THE TON
So last time when I was installing the rear disc I had an issue that the studs were too short. At the time I was unable to source the originals from anywhere, that was until just before I flew out for work last time. This is when I placed my order for the rear sprocket studs and nuts and also the studs for the rear disc
So after a littler perseverance I got the sprocket studs to all seat in properly. Then I turned my attention to the disc studs.
Unfortunately I had to remove the old ones first which was a bit of a pain in the ass. In my sleep deprived state, I was unable to work an easier solution out other than use pliers and vice grips to get them out.
When I lay the proper studs side by side With the old ones you can see just how short I was. If you thought I was unimpressed with the length you should have heard what she said.
Anyway I slowly got them all out, I even had to get the file out to square off two sides on one of the stubborn studs so I could use a small shifter to unscrew it.
I ended up running a tap down the threads which made a whole world of difference when reinstalling the new studs then I just nipped the nuts down.
Do you guys use loctite on these ? Or if I do them to the correct torque they’re good?
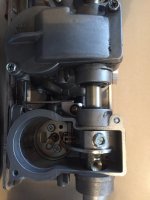
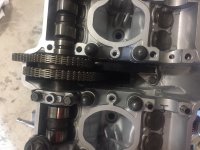
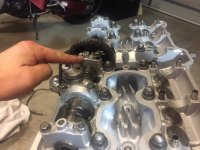
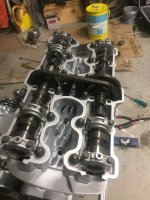
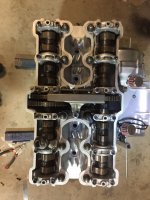
So after reinstalling the rear wheel back on I then thought I’d turn my attention to the camshafts.
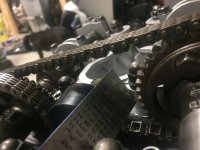
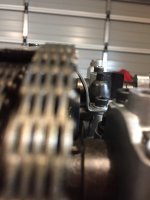
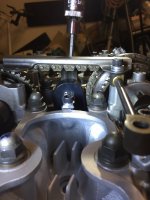
So first I remover the rotor stator cover, then the timing cover so I could tell when I was at TDC 1.4. I grabbed the intake and exhaust cams then out them in place.
I thought I’d turn my old friend YouTube for a little guidance as to how many journals I should have installed (turns out A and E for the exhaust).... it was at this point I lost consciousness on the couch I believe the red eye flight last night finally caught up to me.
Now that I’me more coherent I think I’ll spend the rest of the evening researching how to make sure the cams and timing are right and also how to install the M switch for my ignition.
Sent from my iPhone using DO THE TON
Attachments
-
 IMG_6458.JPG1.7 MB · Views: 197
 -
 IMG_6485.JPG1.6 MB · Views: 200
 -
 IMG_6484.JPG1.8 MB · Views: 200
 -
 IMG_6482.JPG1.6 MB · Views: 204
 -
 IMG_6480.JPG1.7 MB · Views: 195
 -
 IMG_6478.JPG1.7 MB · Views: 199
 -
 IMG_6475.JPG1.4 MB · Views: 201
 -
 IMG_6474.JPG1.5 MB · Views: 195
 -
 IMG_6465.JPG1.6 MB · Views: 192
 -
 IMG_6463.JPG1.7 MB · Views: 199
 -
 IMG_6461.JPG1.6 MB · Views: 196
 -
 IMG_6460.JPG1.6 MB · Views: 196
 -
 IMG_6459.JPG1.6 MB · Views: 189
")
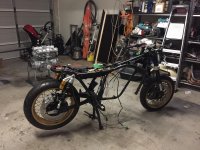
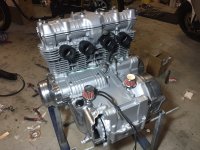
 . Then I will need to reinstall the sump and sump pump and give everything a torque up to spec then I think we are nearly ready to put this engine into the frame


 ... I shouldn’t be surprised they got super hot when I was trying to solder on the wires. To be honest my poor soldering skills are only part of the reason it failed. The design and switches could have allowed for a little more room for the wires. I sourced some more switches exactly the same $3 a pop
  I ordered extra in anticipation of the same thing happening.