neevo
Over 1,000 Posts
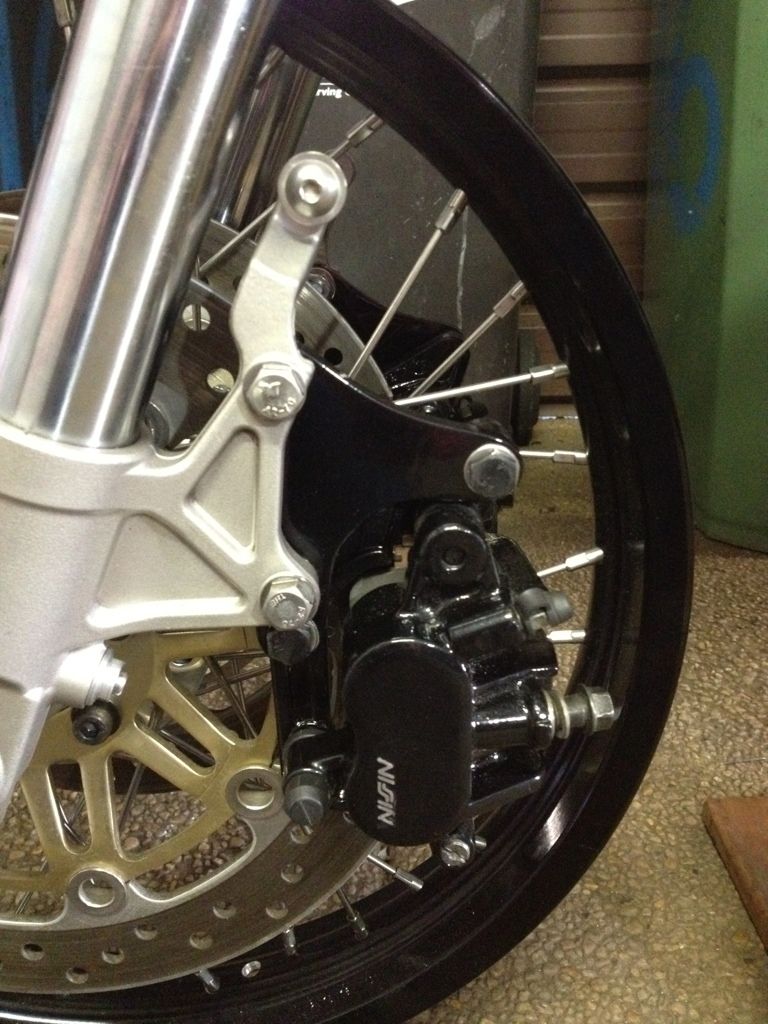
Cooked the caliper carriers in the house oven this morning. Mrs didn't bat an eyelid, luckily it didn't smoke or anything.
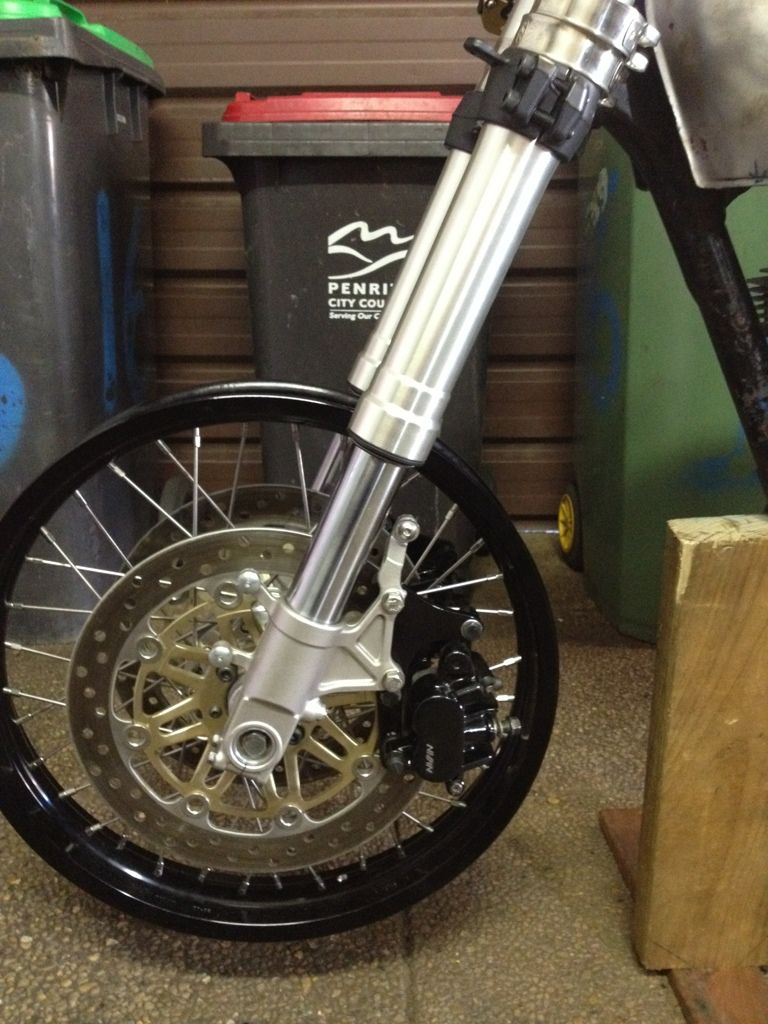
Mounted them up on the bike with some anti seize and used SS washers to get the correct offset. They are rock solid so think this will be more than enough to maintain feel:
Also here is the first effort at brushing the headlight brackets. Doing it by hand is tough, I need a bench belt sander!
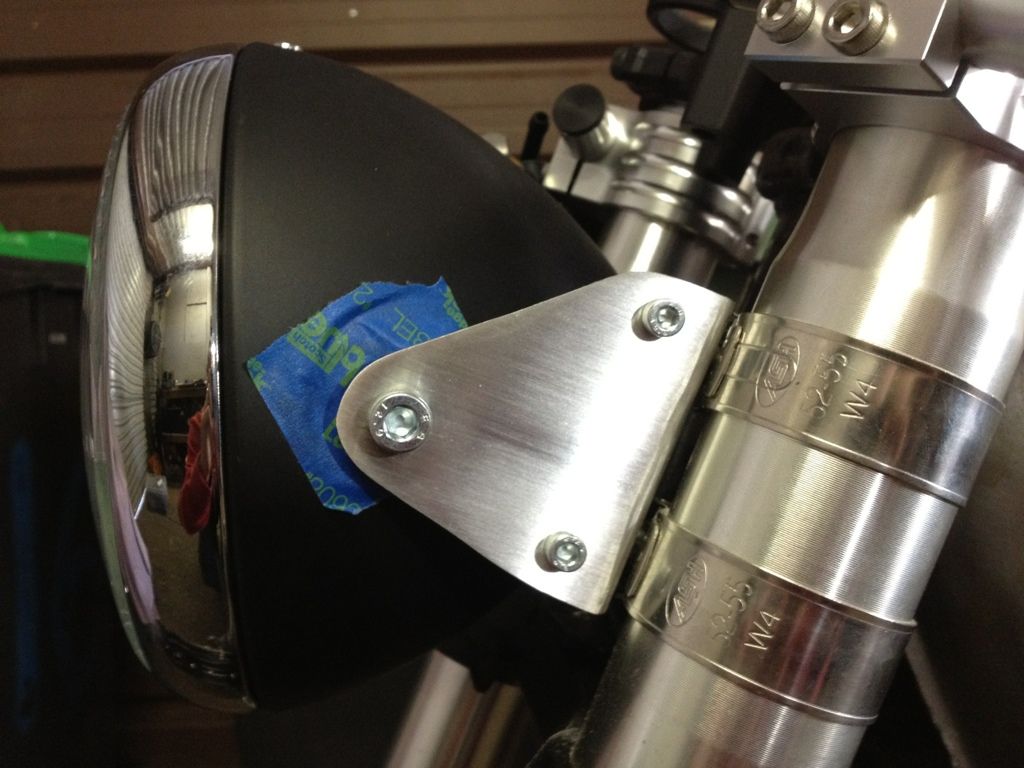
Would I need to paint clear over them afterwards to maintain the finish?
Mounted them up on the bike with some anti seize and used SS washers to get the correct offset. They are rock solid so think this will be more than enough to maintain feel:
Also here is the first effort at brushing the headlight brackets. Doing it by hand is tough, I need a bench belt sander!
Would I need to paint clear over them afterwards to maintain the finish?
")