We noticed you are blocking ads. DO THE TON only works with community supporters. Most are active members of the site with small businesses. Please consider disabling your ad blocking tool and checking out the businesses that help keep our site up and free.
You are using an out of date browser. It may not display this or other websites correctly.
You should upgrade or use an alternative browser.
You should upgrade or use an alternative browser.
Cm400/450 overdue project
- Thread starter JGHiggins1
- Start date
JGHiggins1
Been Around the Block
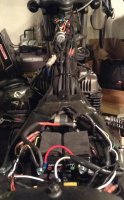
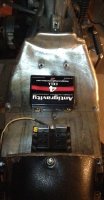
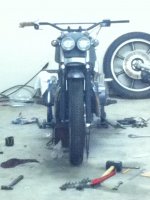
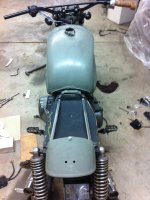
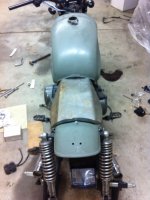
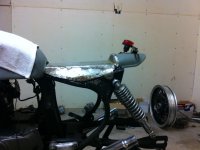
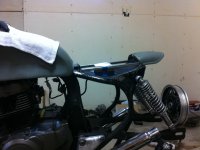
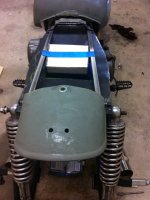
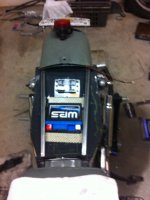
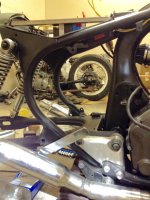
I spent some time in the shop the last couple of days. I made up an electrics pan and worked up a seat pan. I'm not sure how/where I'm going to mount the battery but I will cross that bridge when the battery geta here. I'm still working on routing the wiring I have a pretty good map laid out but again the final wire up will happen when the battery gets here.
Attachments
JGHiggins1
Been Around the Block
Thanks trek.
JGHiggins1
Been Around the Block
JGHiggins1
Been Around the Block

JGHiggins1
Been Around the Block
JGHiggins1
Been Around the Block
So it has been a quite a while between now and my last post. I have been working on a couple of other projects and had kind of put this one on the back burner.
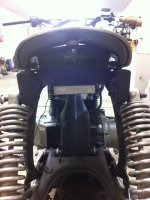
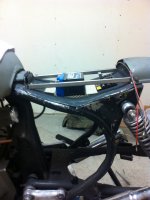
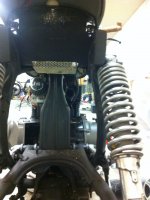
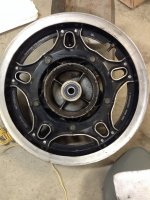
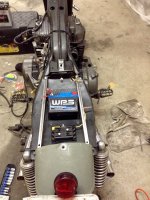
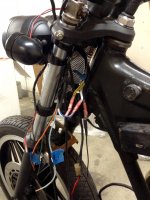
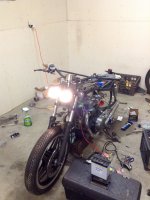
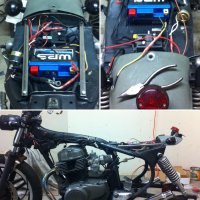
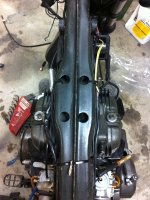
Today I got back around to it and started dropping in some wire. I have started mounting all the components. Put the Reg/rec where it can get plenty of air and got the front light wired into the hand switch. I Also put some new bearings in the rear wheel.
Today I got back around to it and started dropping in some wire. I have started mounting all the components. Put the Reg/rec where it can get plenty of air and got the front light wired into the hand switch. I Also put some new bearings in the rear wheel.
Attachments
JGHiggins1
Been Around the Block
JGHiggins1
Been Around the Block
JGHiggins1
Been Around the Block
JGHiggins1
Been Around the Block
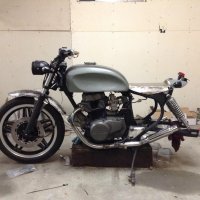
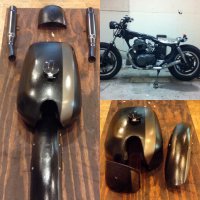
The fenders were done in a textured black. The tank needs another coat of clear and wet sanding. It was in the low 30's when I sprayed the tank so I think this may have impacted how the clear coat went down.
JGHiggins1
Been Around the Block
dualero
Been Around the Block
Good job on the bike man! Looking good!JGHiggins1 said:That's a problem! Ordered a replacement tonight.
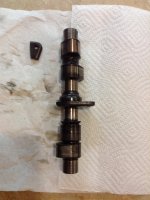
I'm wondering how did you notice that the camshaft was broken there? Any major damages?
Hope it shows up in no time, so you have her running again.
Cheers!
JGHiggins1
Been Around the Block
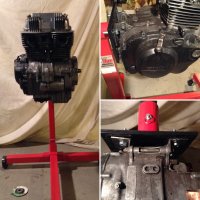
Thanks dualero. I noticed when the engine stopped during my initial fire up and carb adjusting. One of the bolts on the cam sprocket had sheared and the other bolt stripped and slung out. Luckily the one that stripped and worked out was still lined up and holding the timing sprocket to the camshaft. So the pistons did not slam into the valves. Everything turns freely and I'm keeping my figures crossed.
JGHiggins1
Been Around the Block
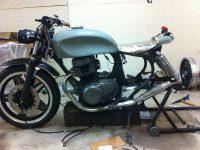
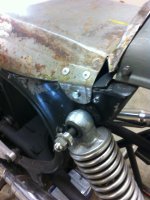
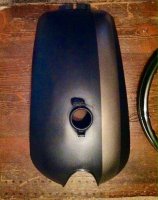
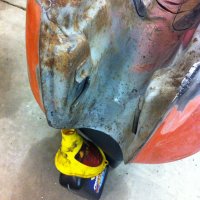
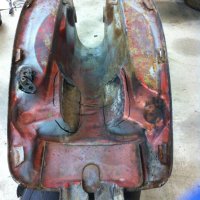
I have had some questions about the tank for this project so I took a couple of pics from one I'm working currently. The tank is off an older (76ish?) CB750. I widened the tunnel to fit the backbone of the cm. I marked the area I widened with black sharpie. I also had to shorten the mounting tabs on the bike and tank.
Attachments

JGHiggins1
Been Around the Block
The new camshaft arrived the other day and I got it put in and everything reassembled. By some miraculous event the pistions did not smash my valves. So all in all I will call it a win.
JGHiggins1
Been Around the Block
JGHiggins1
Been Around the Block
Stator gave out. So this project is on the shelf until I pick up another. If anyone has one they would be willing to part with let me know.
JGHiggins1
Been Around the Block
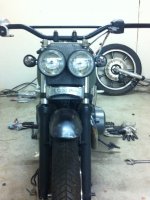
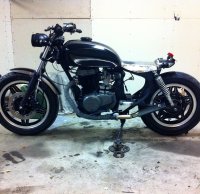
It has been a long time from my last post. I moved last year and that slowed things down. This project is almost complete at this point just need to wire the kill switch ant the electrics will be done. Still need to cover the seat and tune the carbs. I also need to replace fork seals (got carried away with the ratchet straps when I transported it).