Kwashi
New Member
Hi Guys
My Name is Mike,
I am an Honours Engineering student in South Africa
I am new to the Cafe scene but I have been on MX bikes for the past few years...
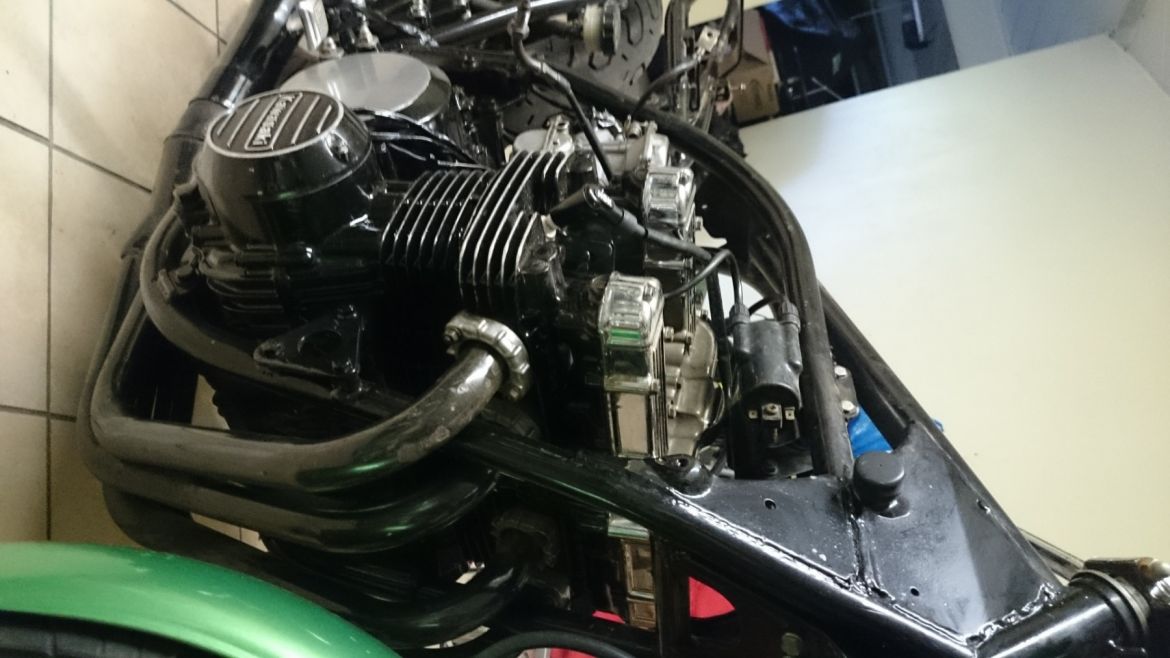
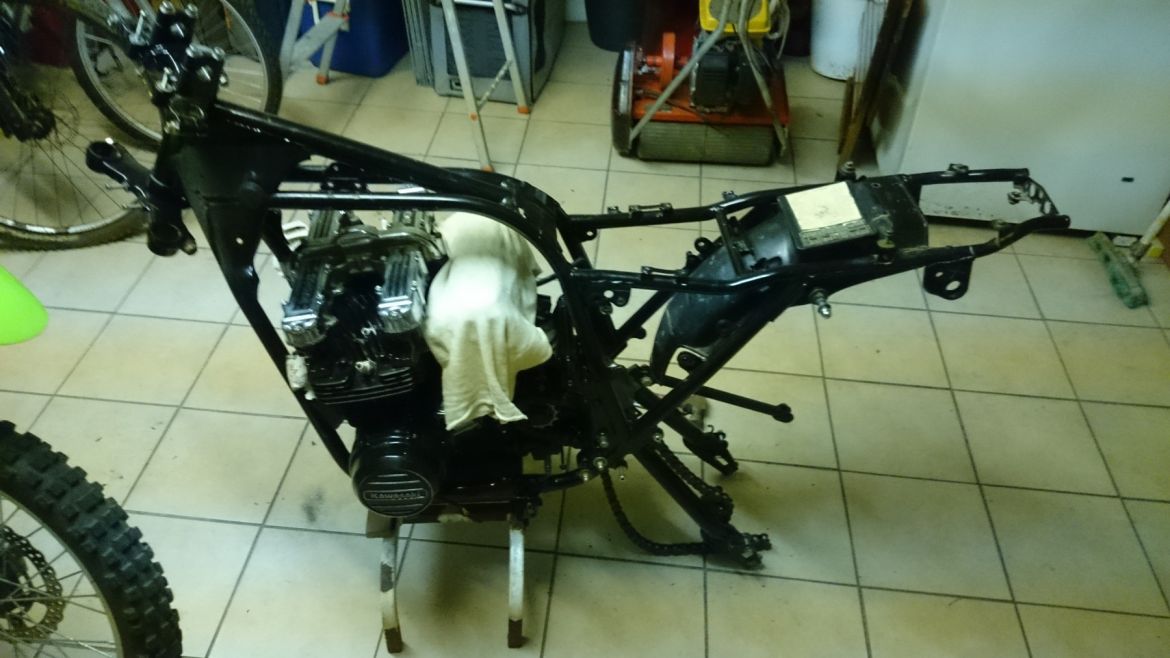
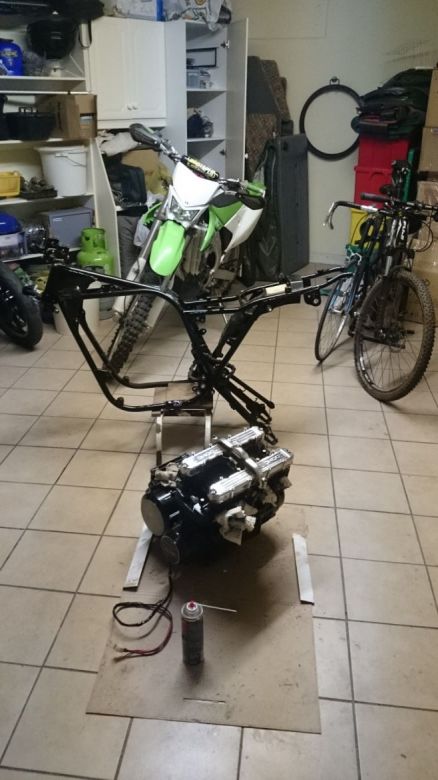
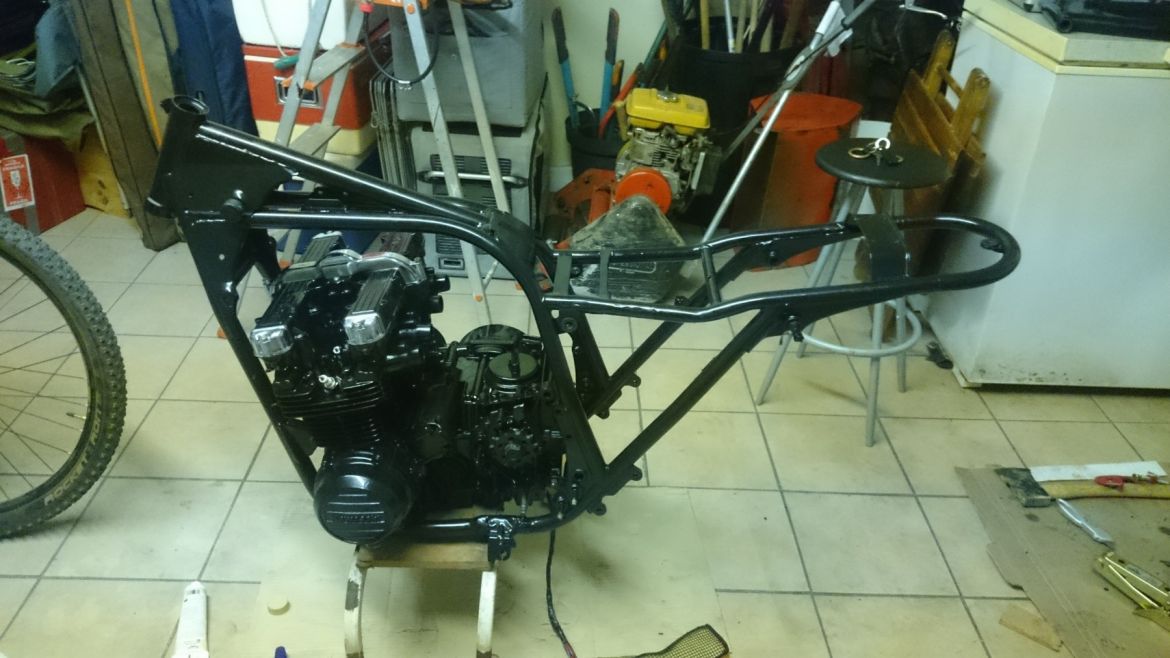
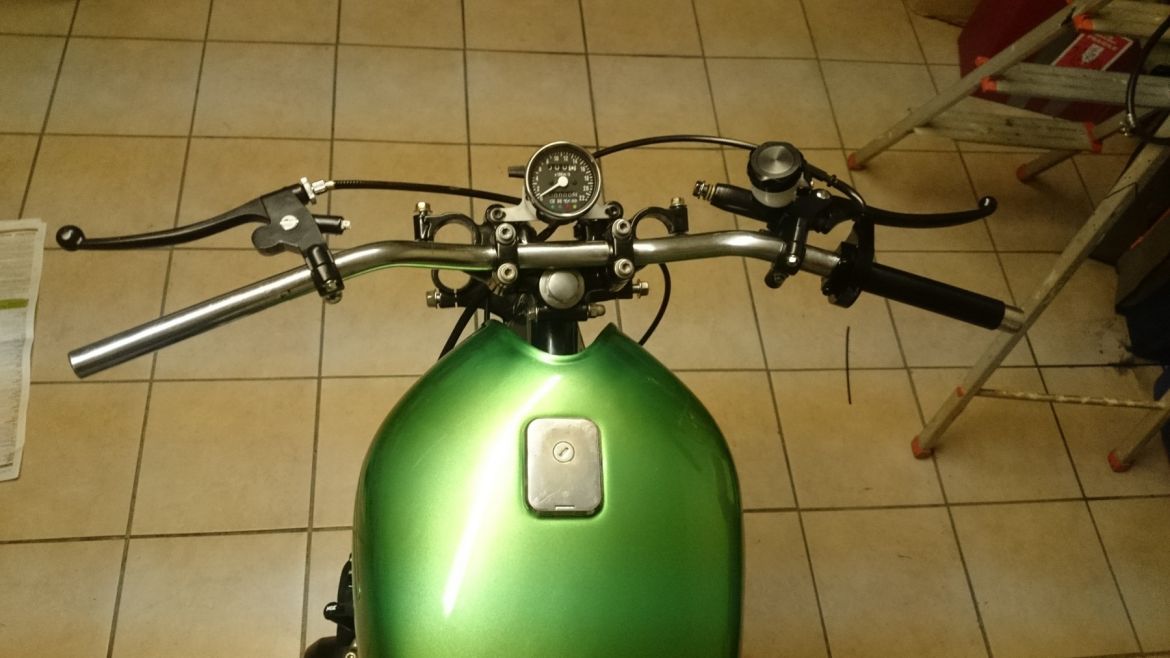
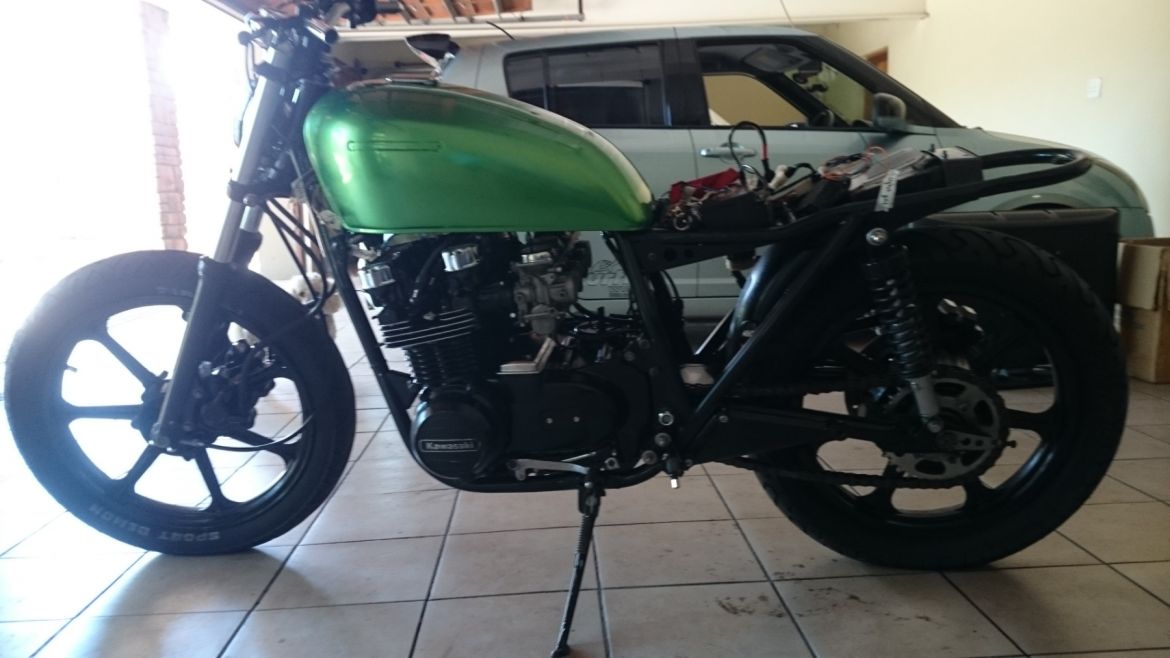
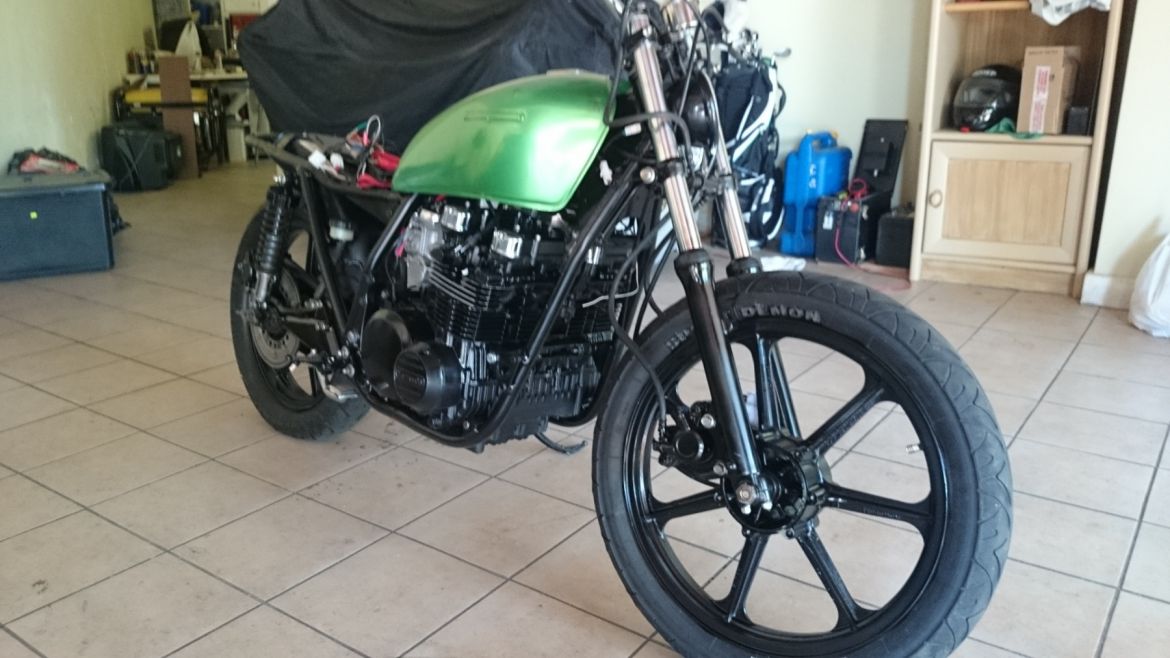
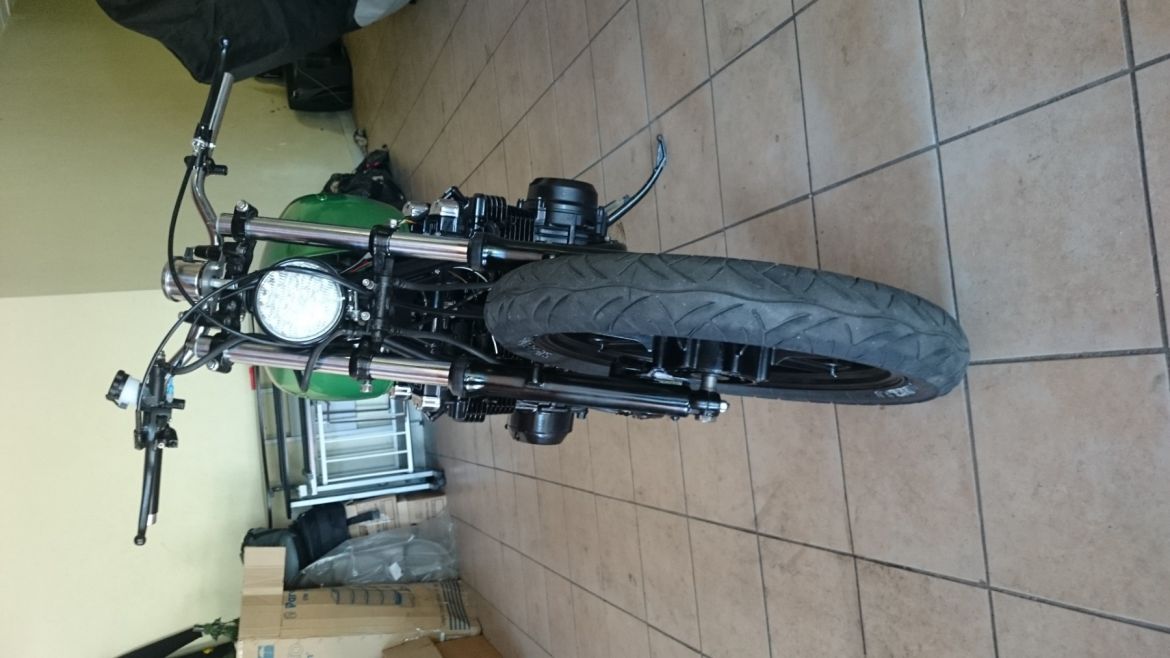
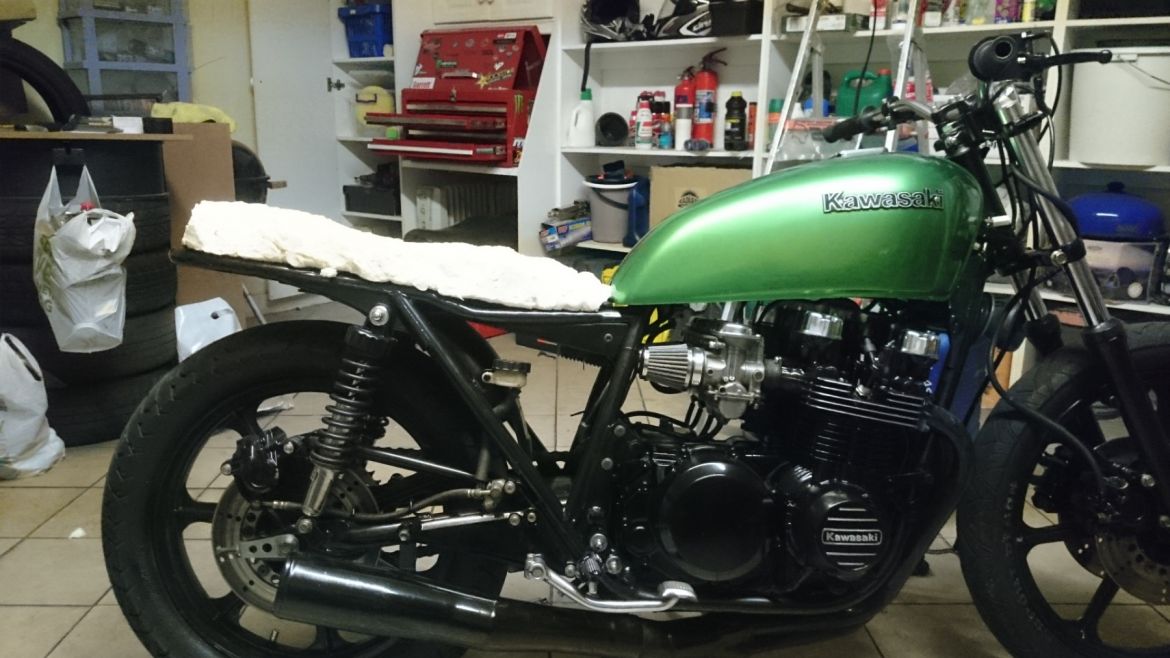
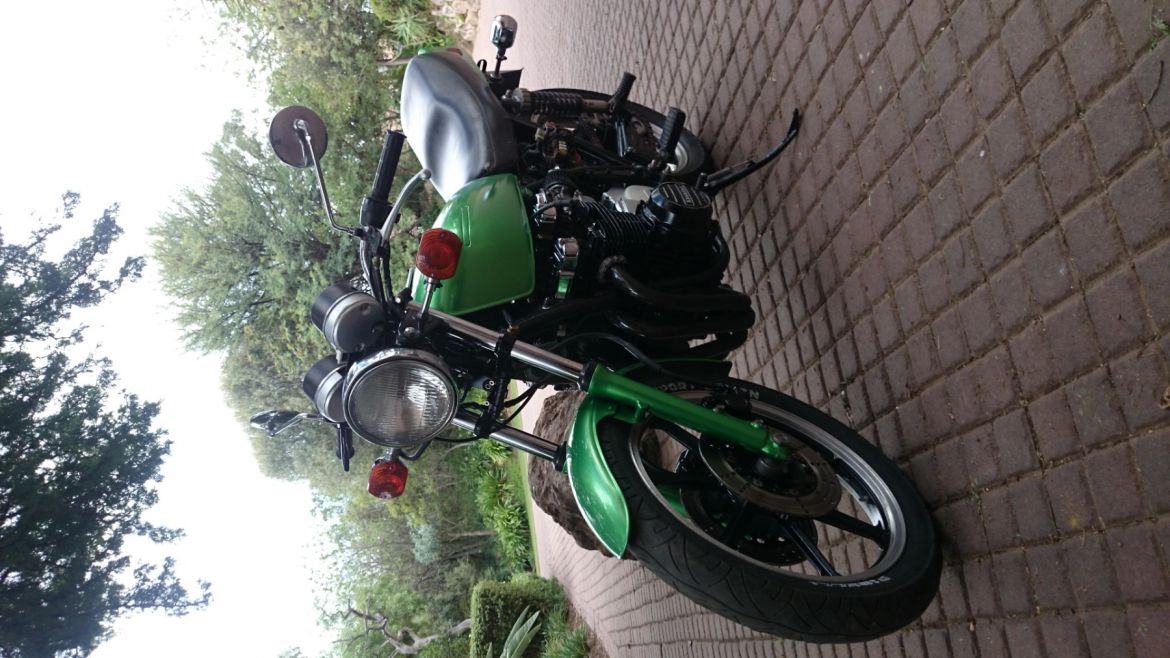
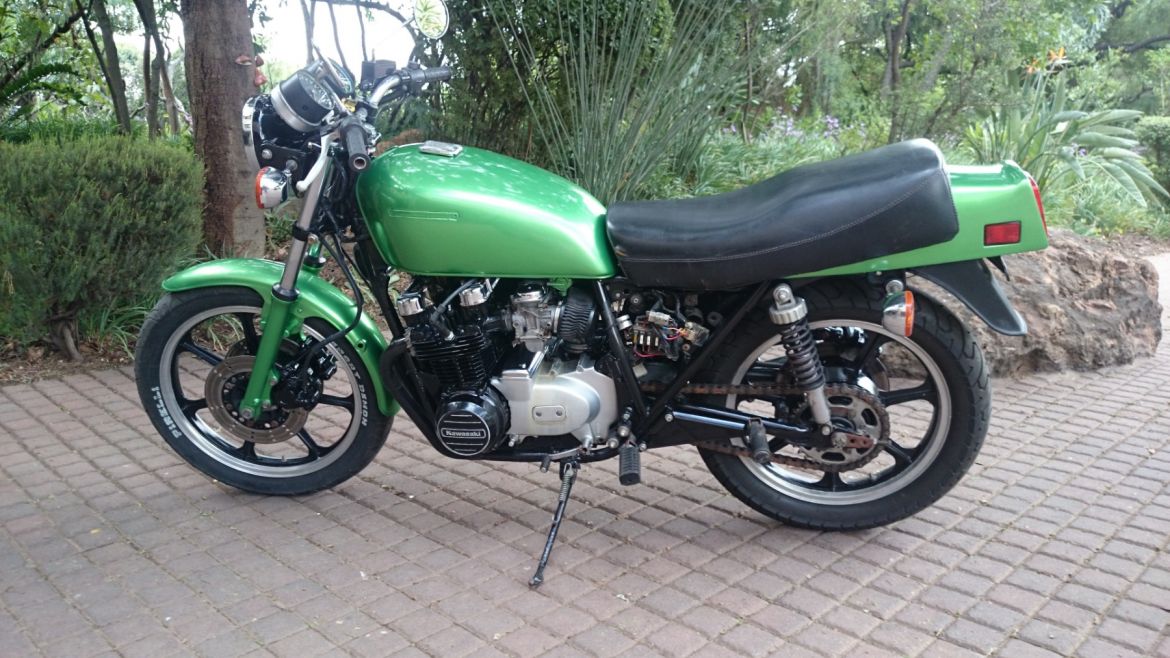
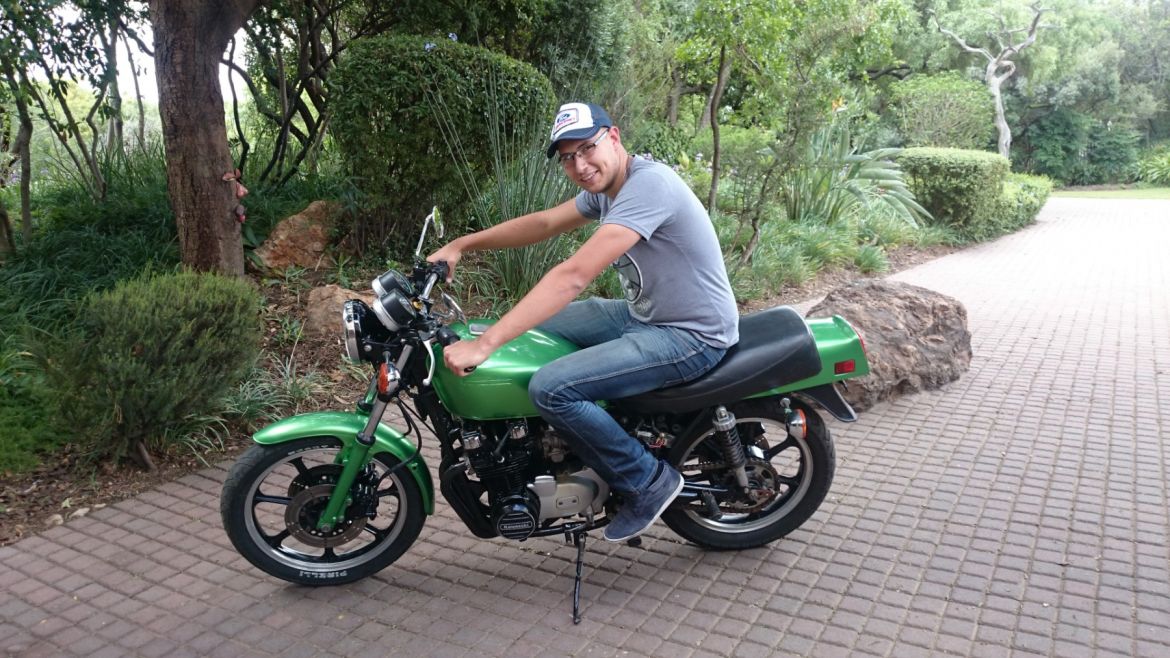
This weekend I bough my first road bike, a 1980 KZ750E
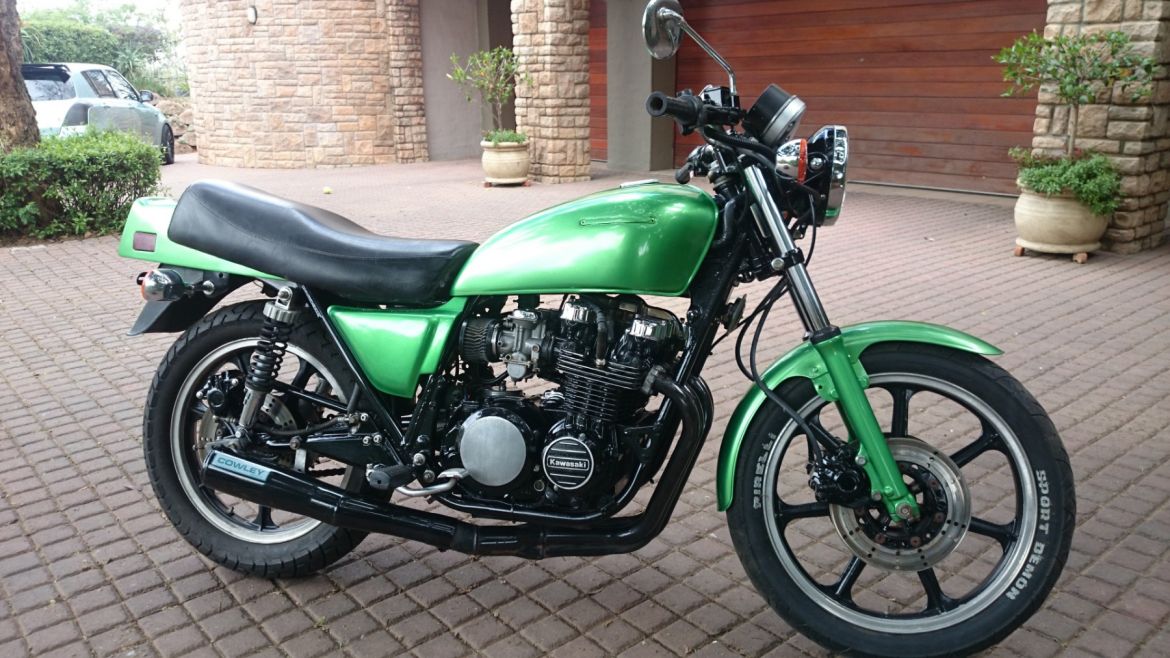
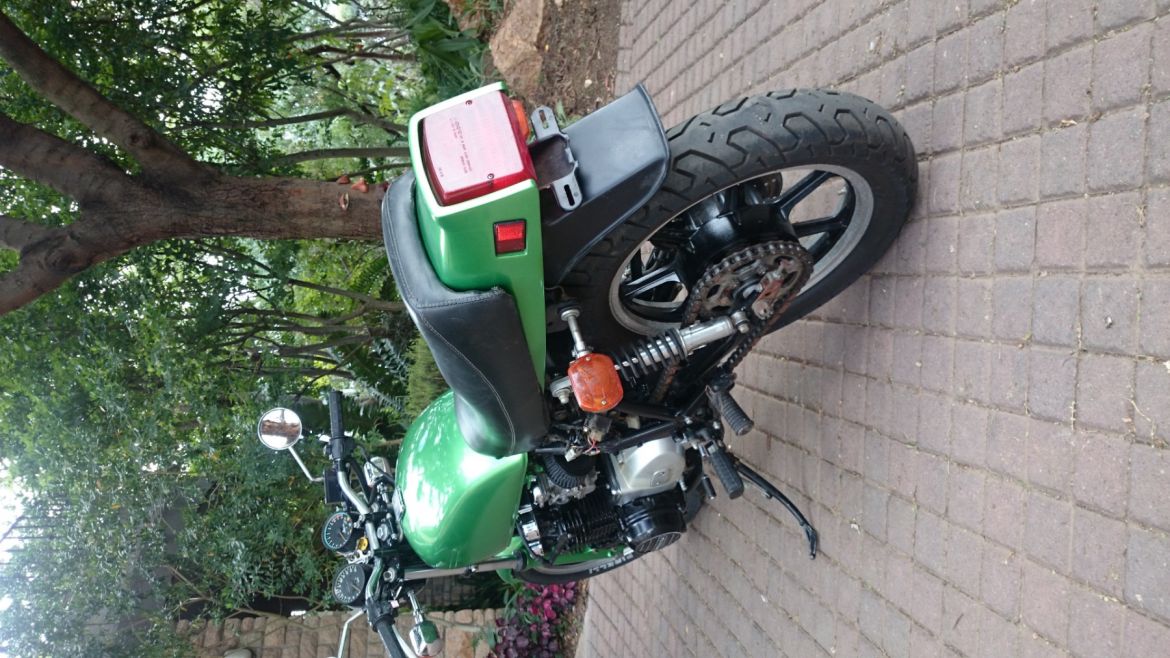
I paid R10 000 for it (US$950) and it runs decently
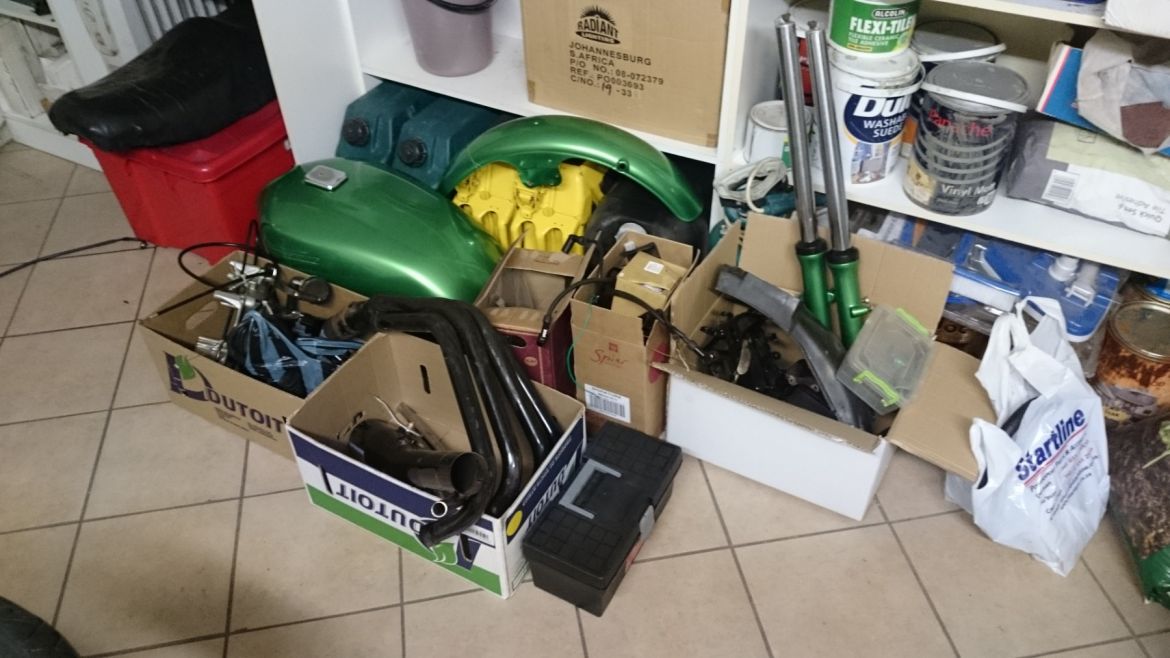
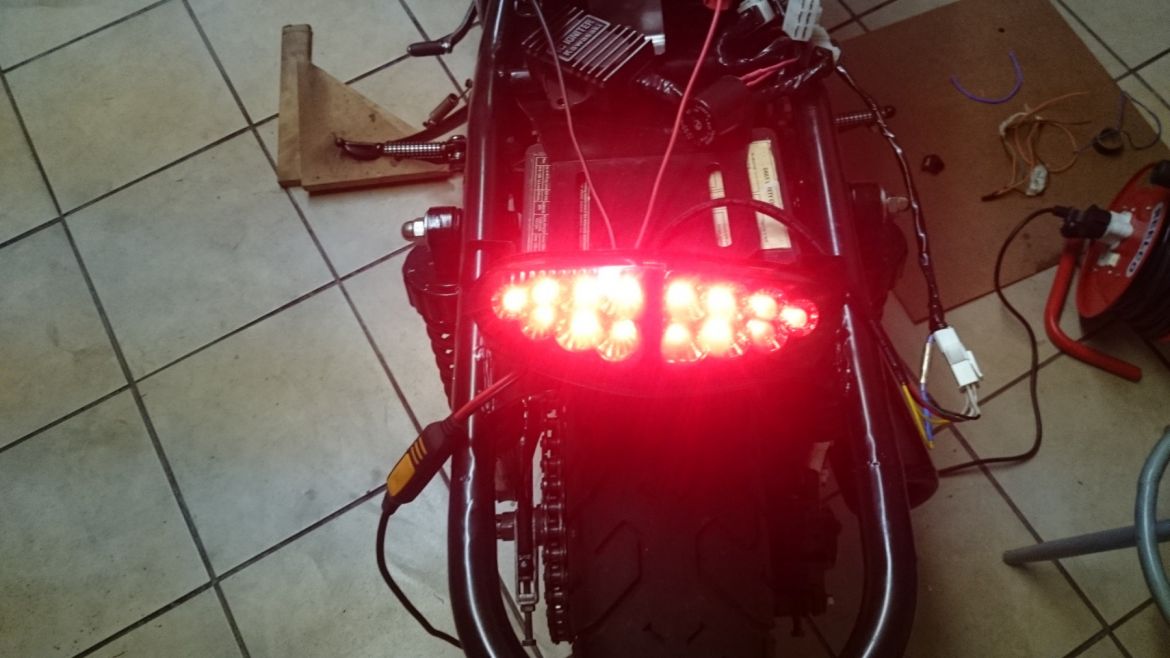
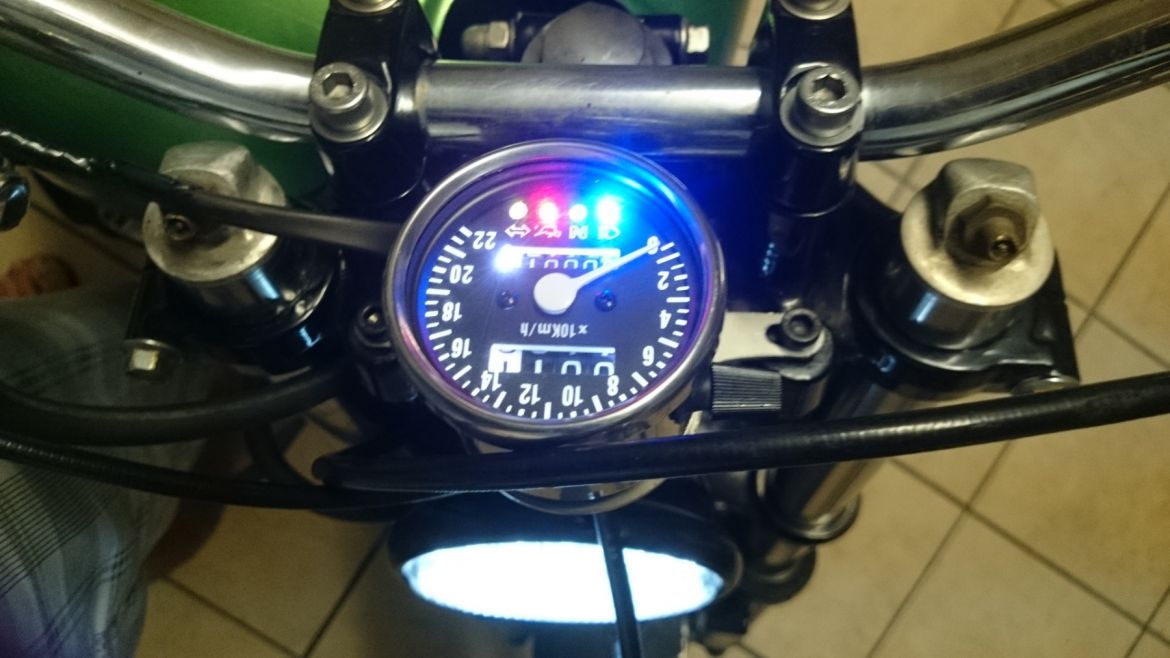
The front brakes are shot and the speedo/tacho dont work
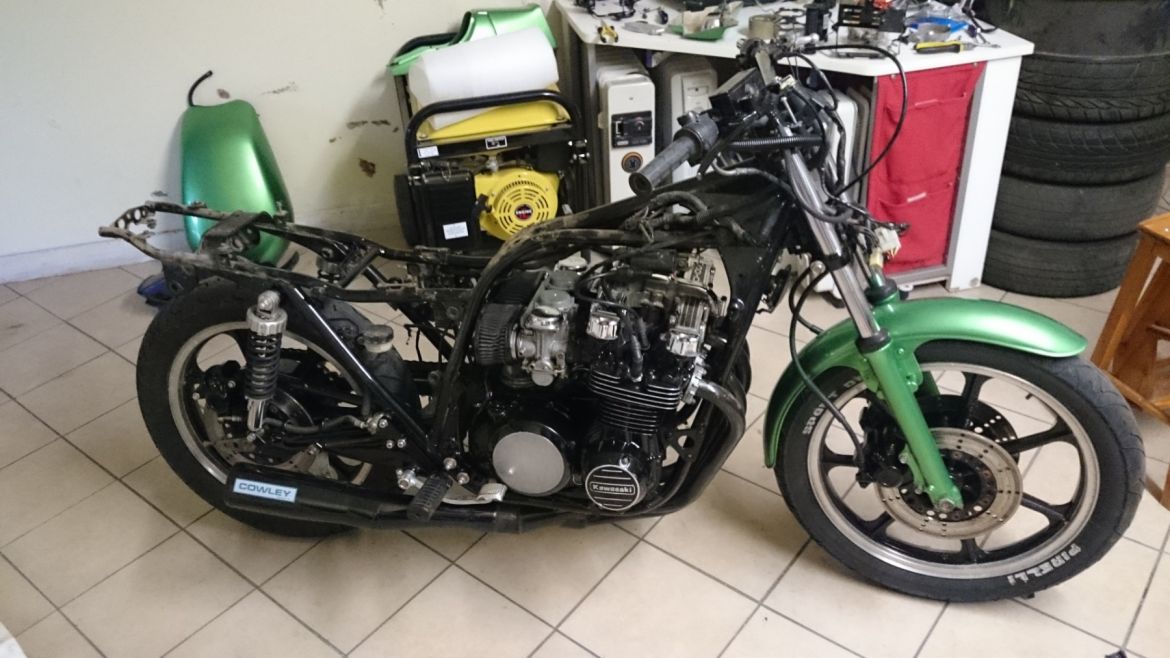
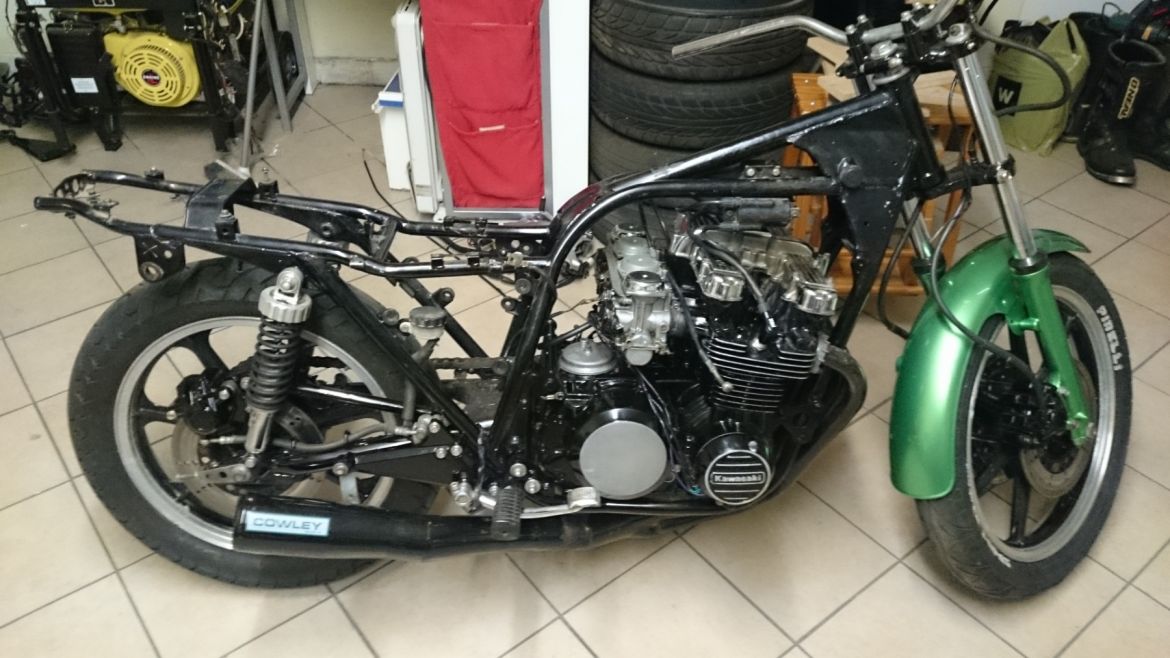
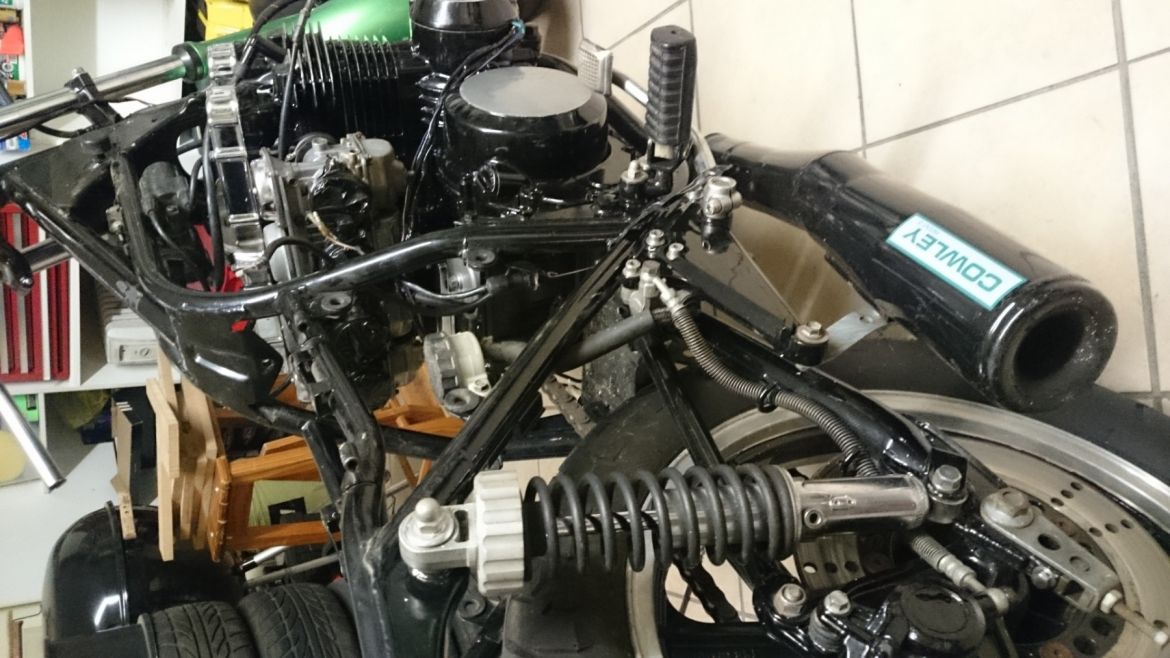
The bike is fitted with a porformance Cowley 4-1 exhaust which may prove too loud for me...
I think this bike is a great lil starter project for me to learn the ropes... Im well accomplished with the normal shed builder tasks so I am not too worried about the overhall
The carb balance and any Gearbox issues will go to a specialist tho...
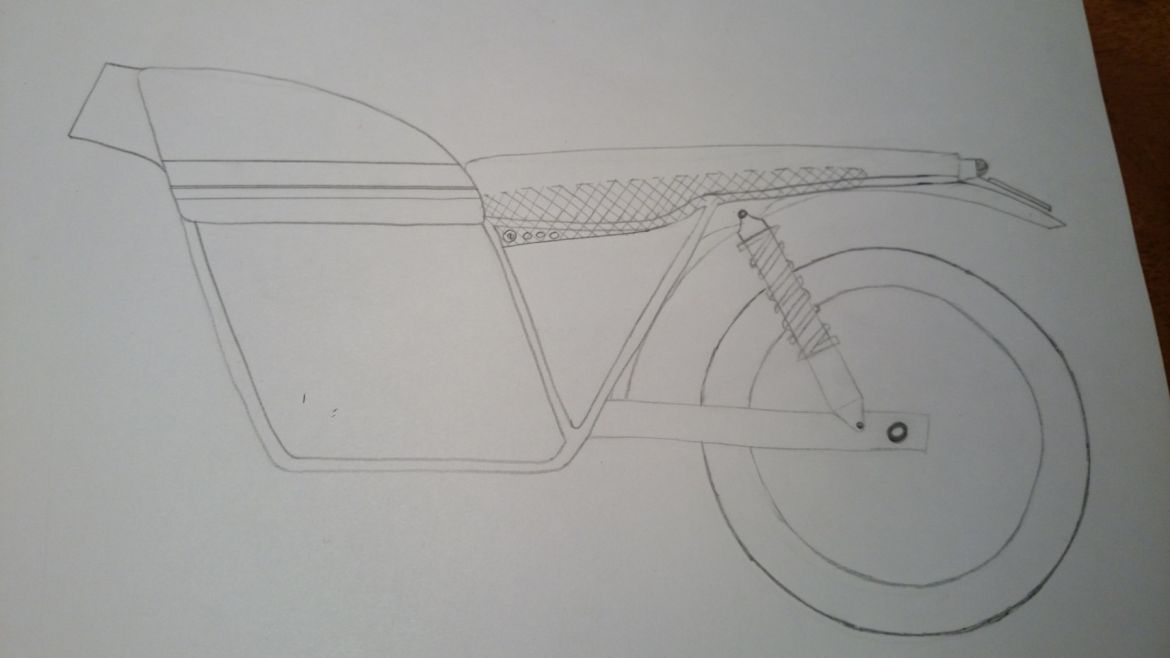
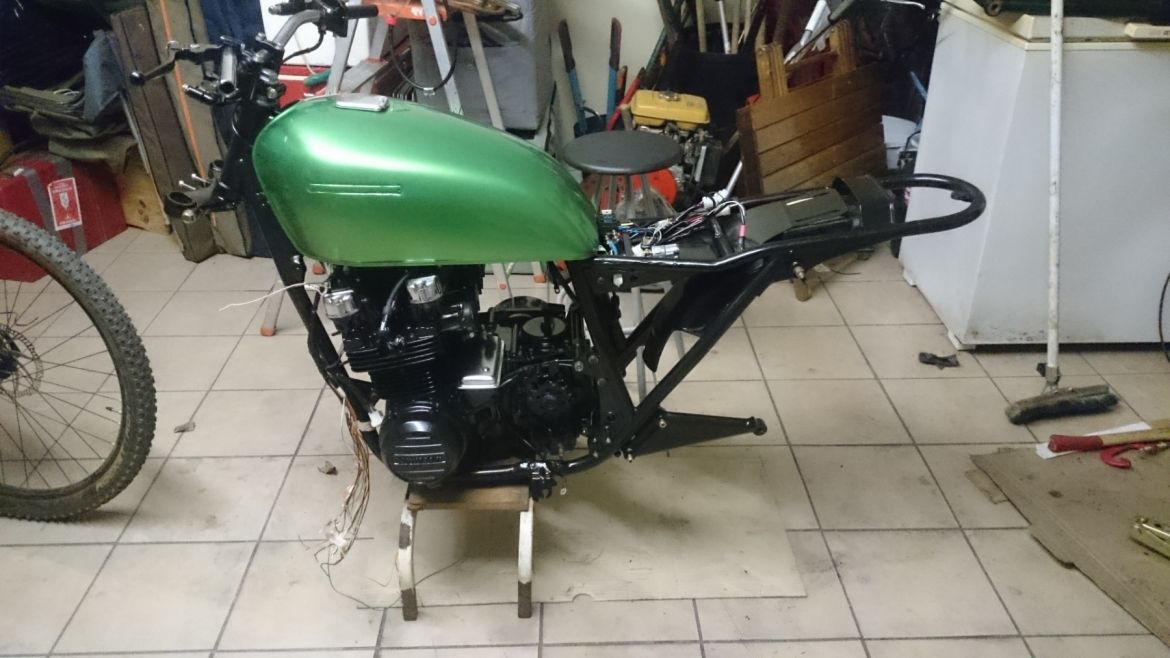
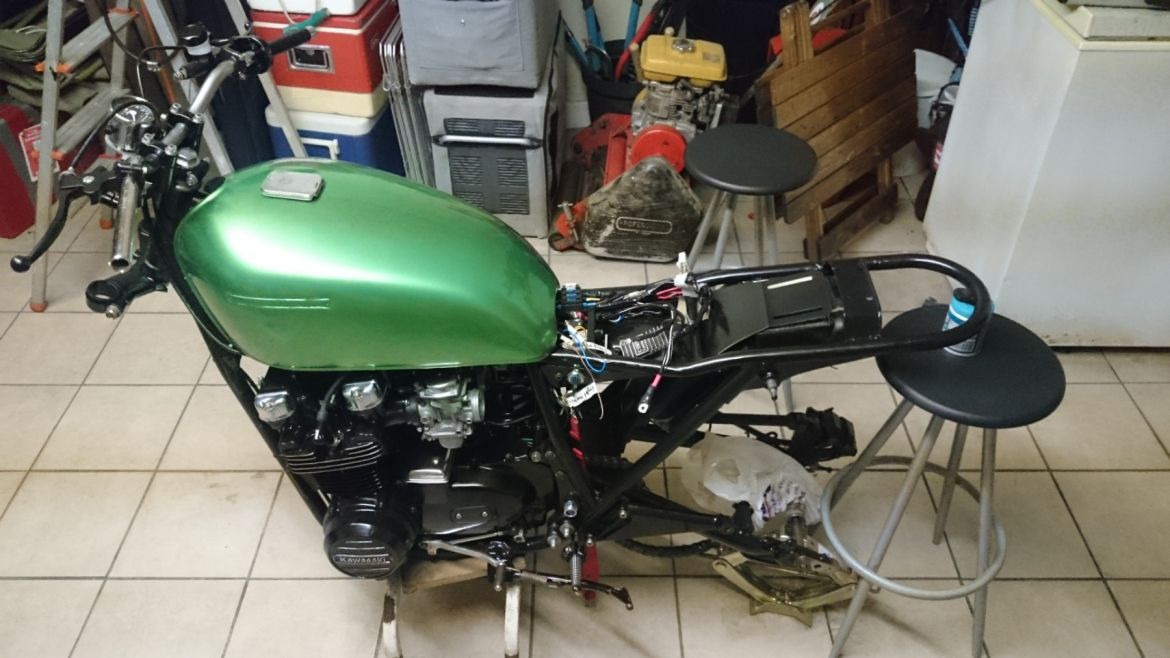
By plan is to build a Brat style bike with low riser bars (purely because I am 6 foot 7 so I dont like being couped up...)
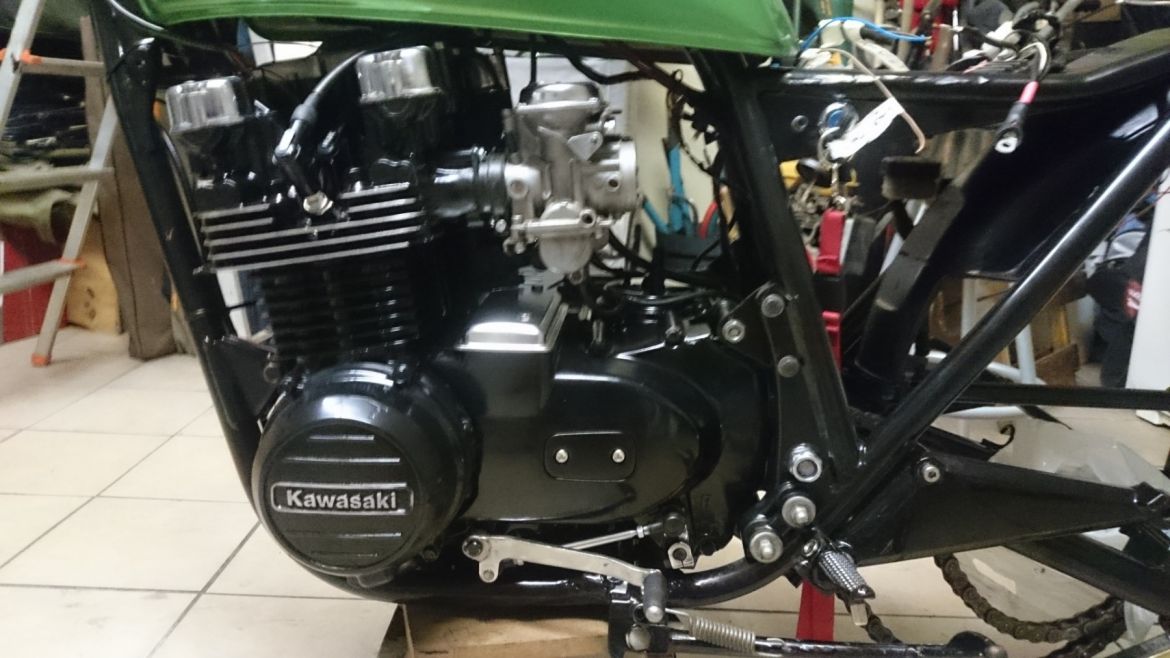
I will stick to black and white as my main colours, bringing in some Kawa Green here and there...
I am going to follow the following process order:
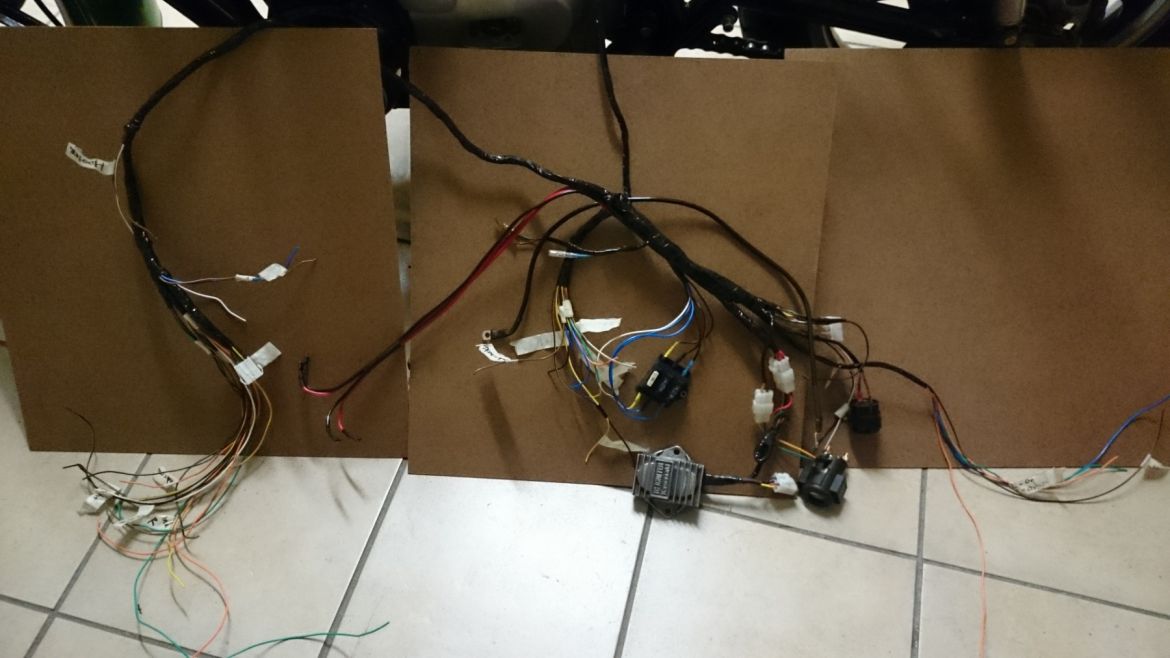
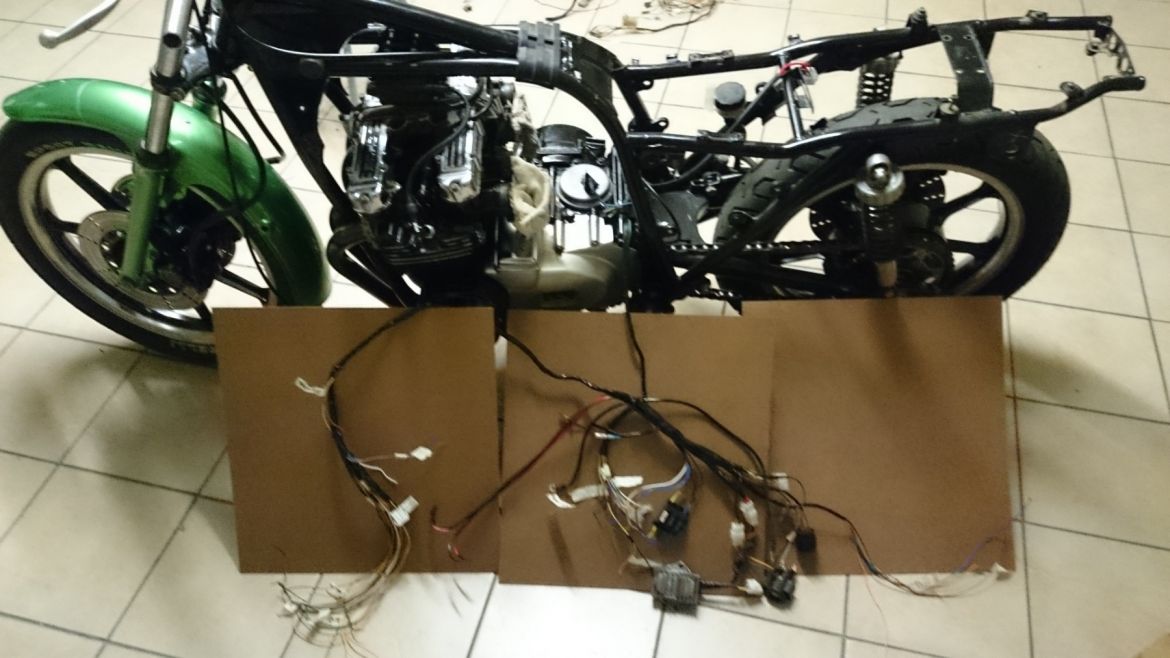
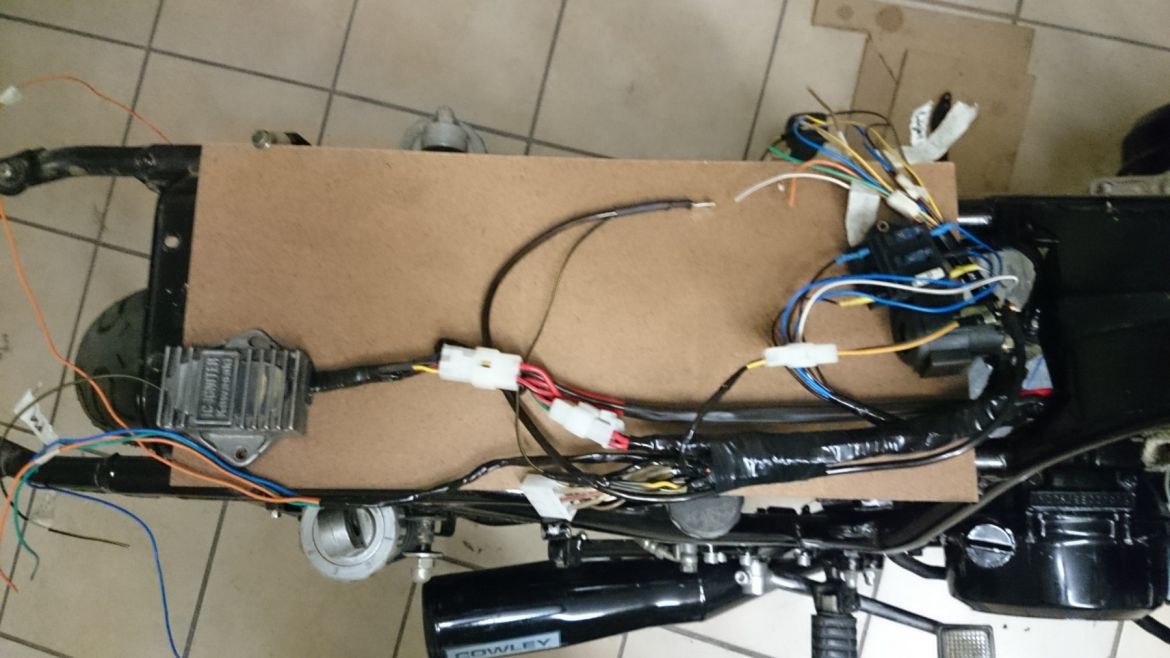
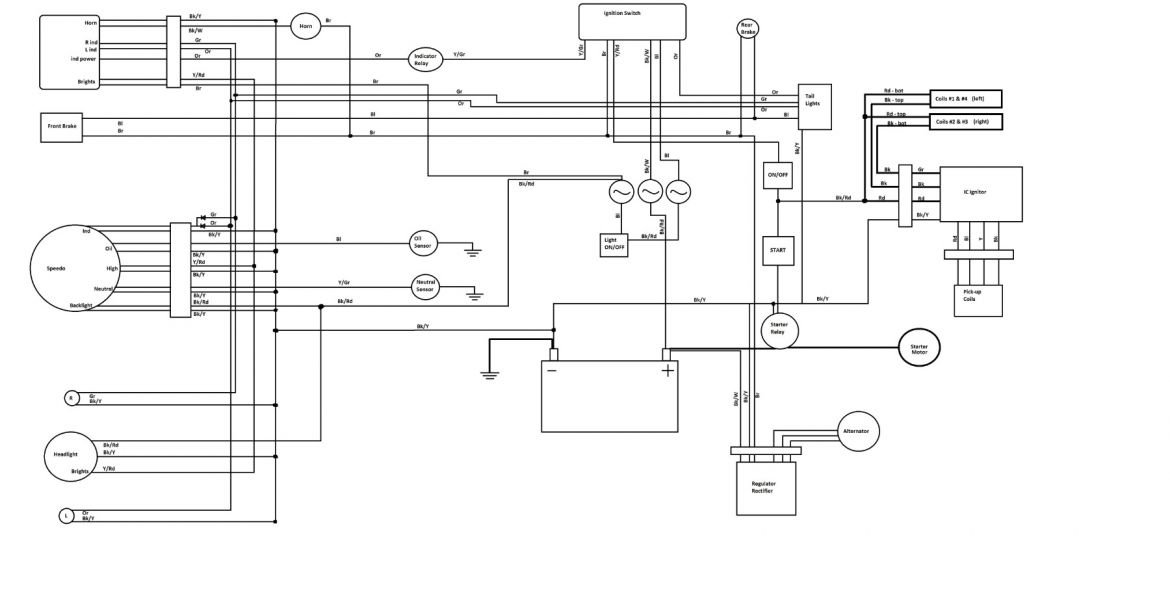
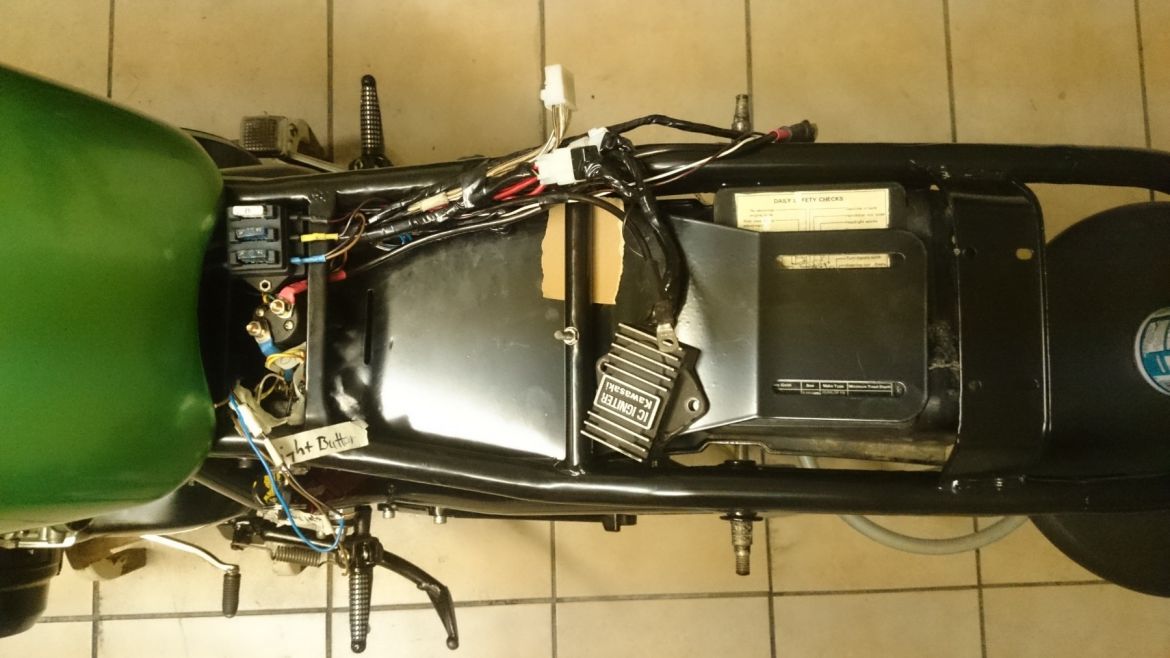
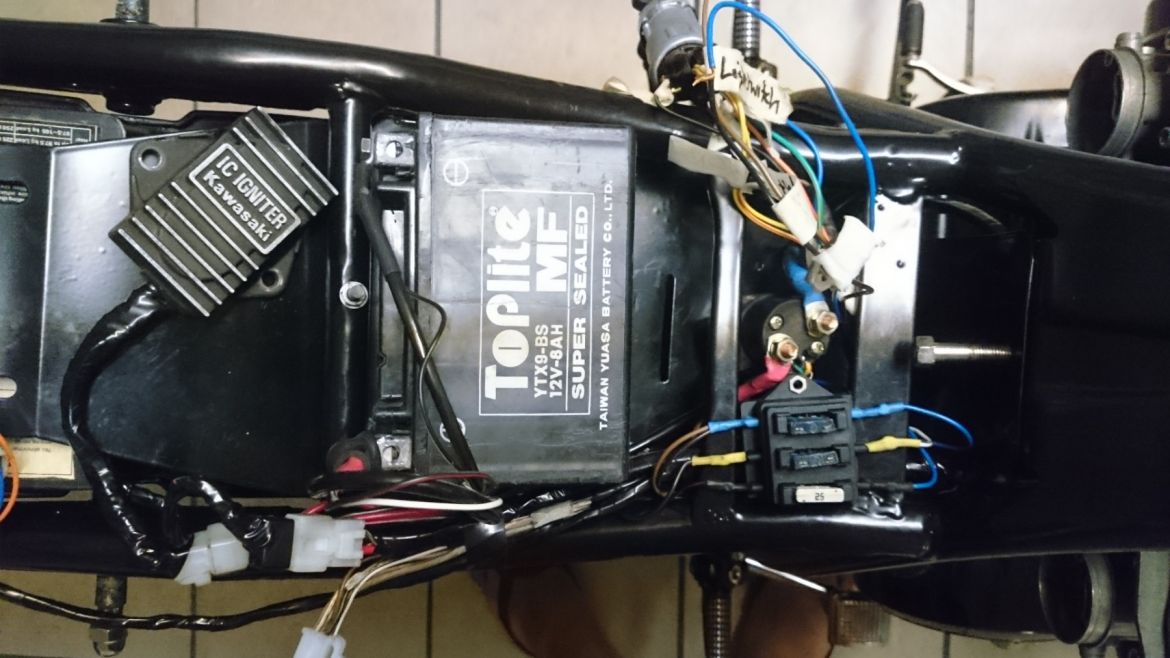
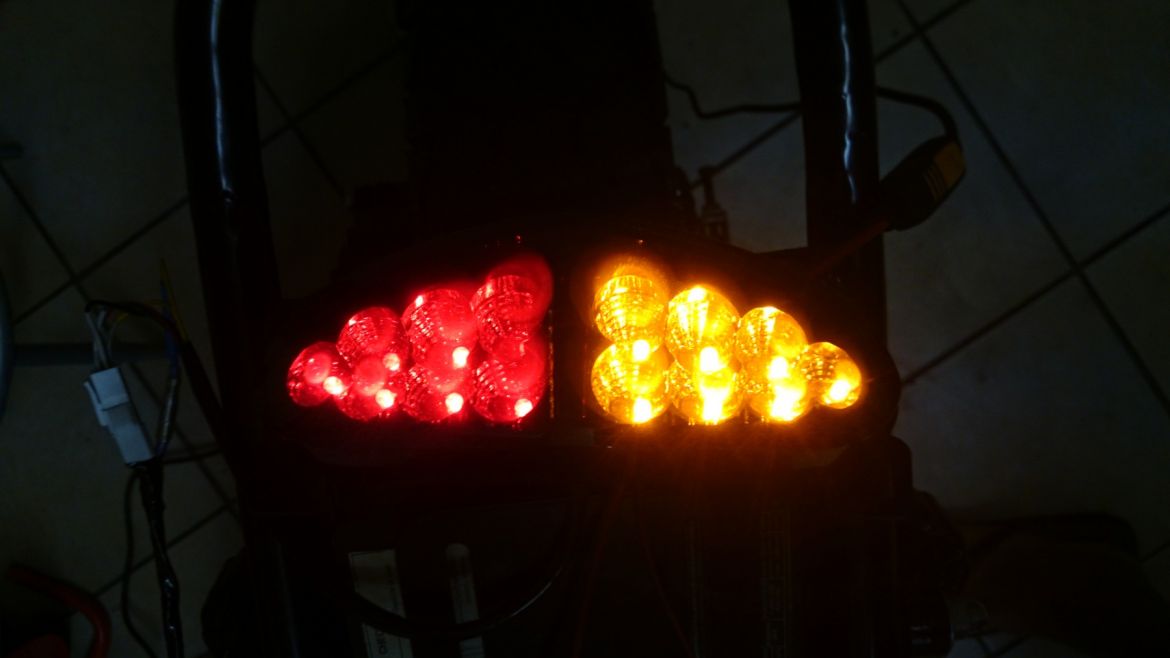
1- get the wiring all sorted out and looking clean (Including relocating the electrical components and battery)
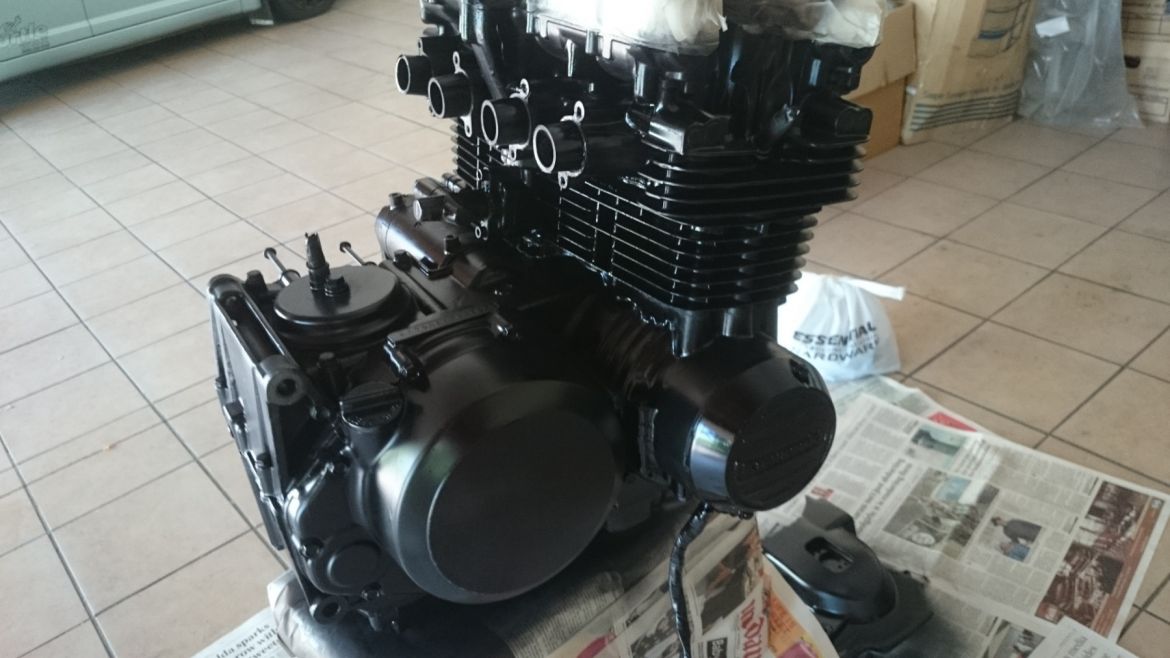
2- get the engine running decently (mostly starting first time etc)
3- Fix the brakes
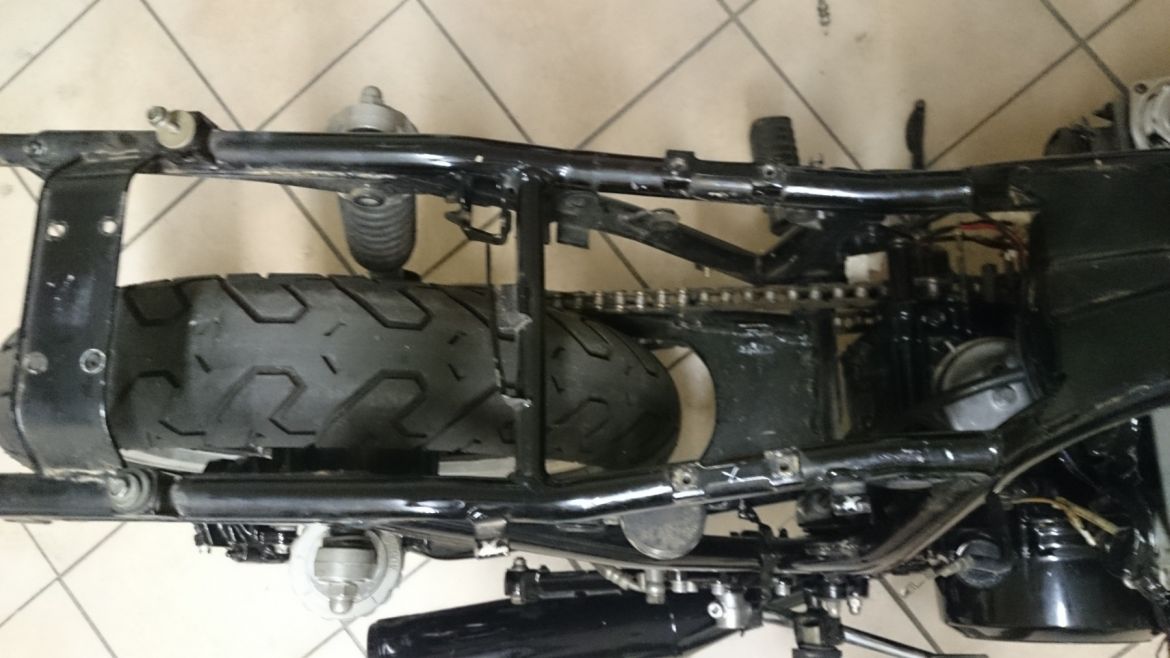
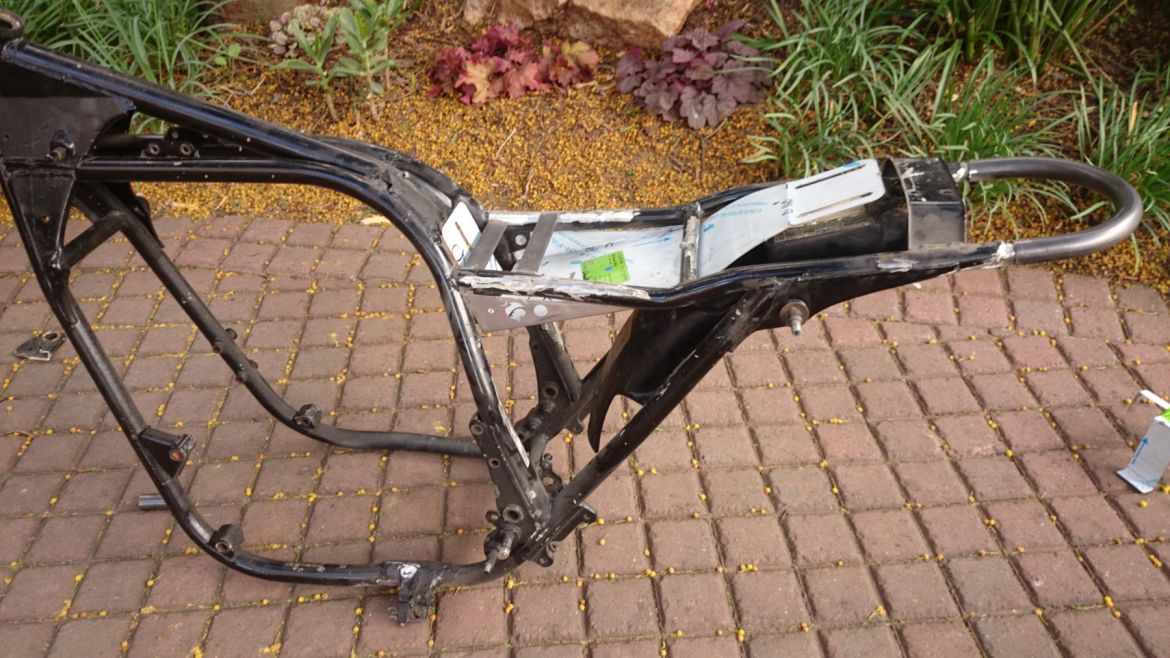
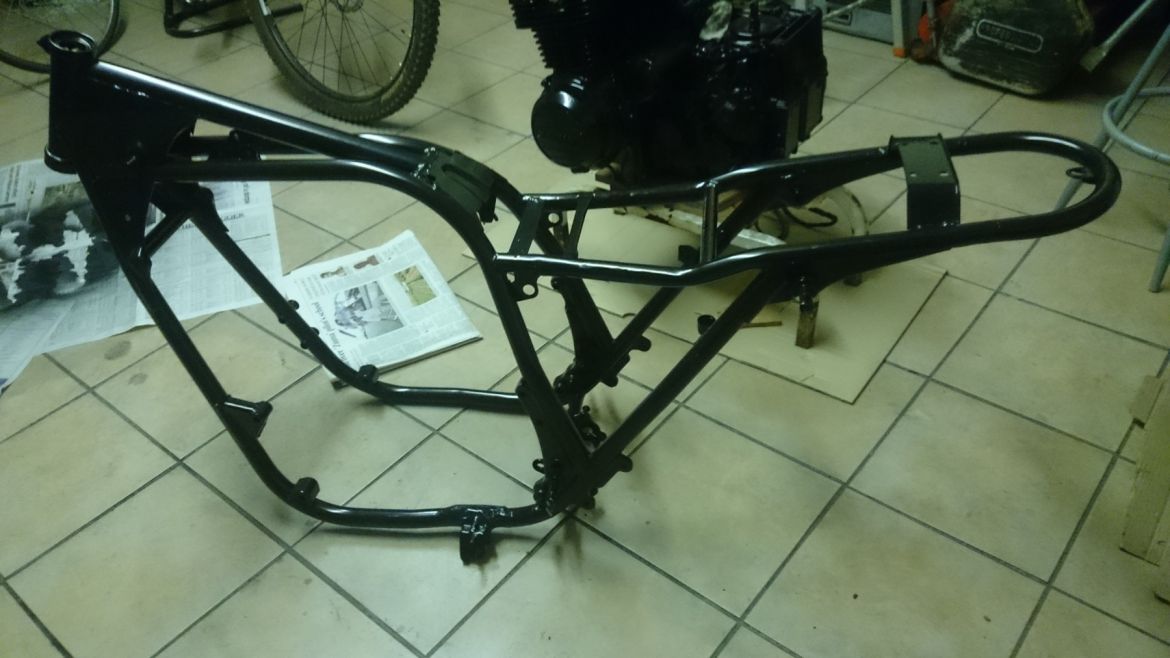
4- Complete strip down
5- Remove all the add ons and unneeded frame tabs
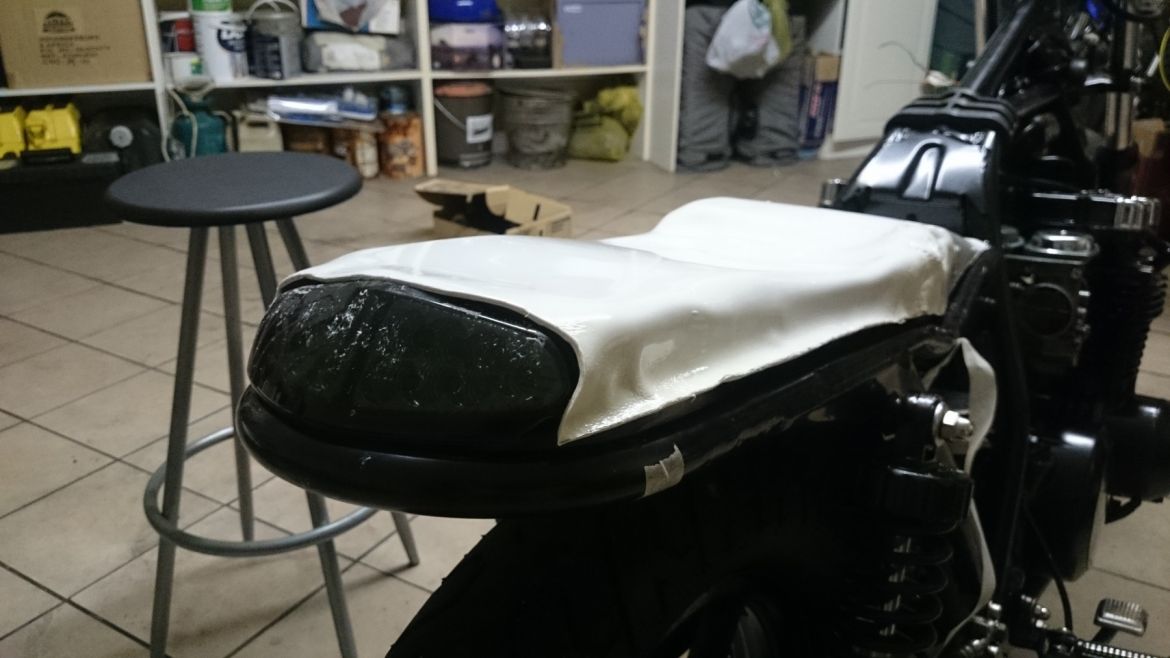
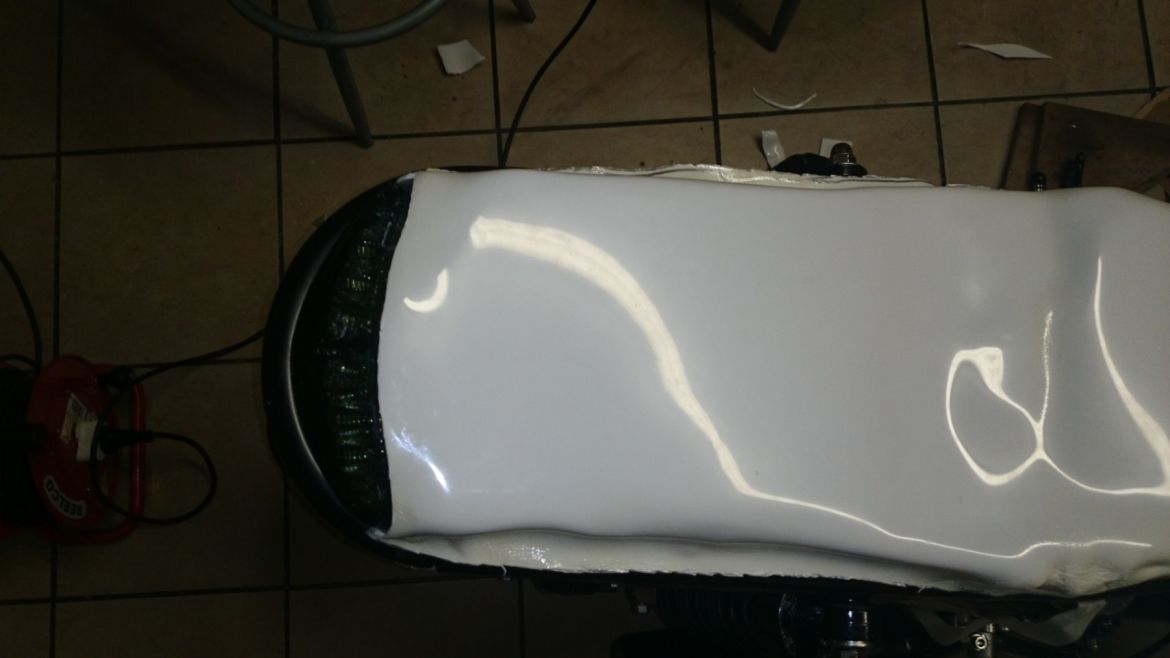
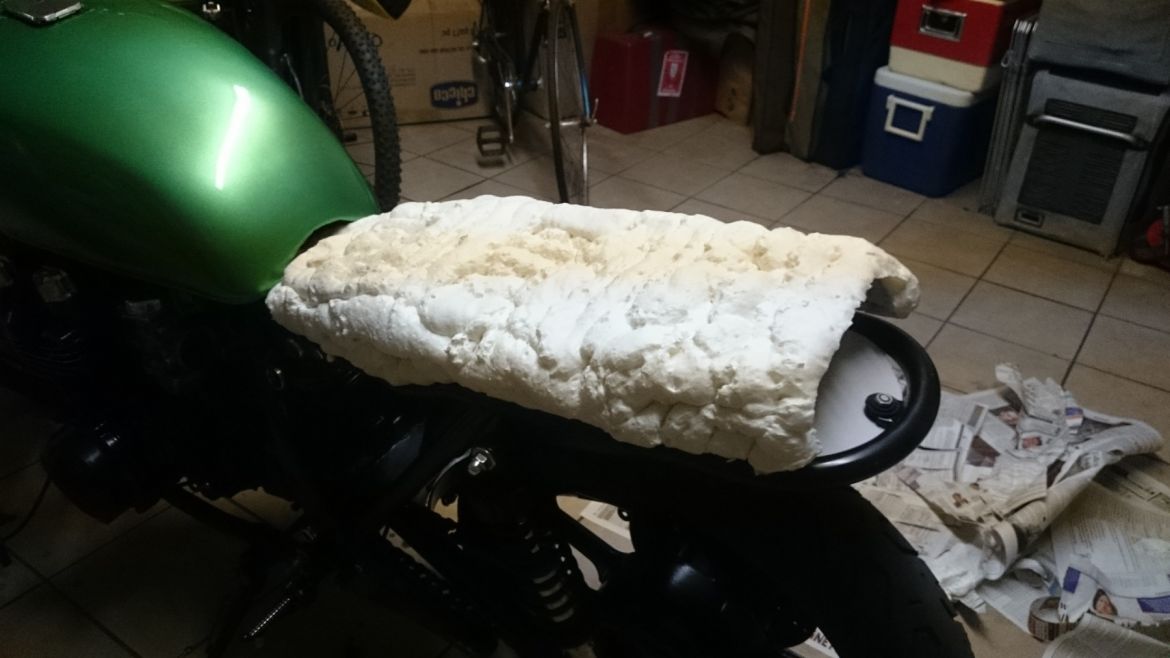
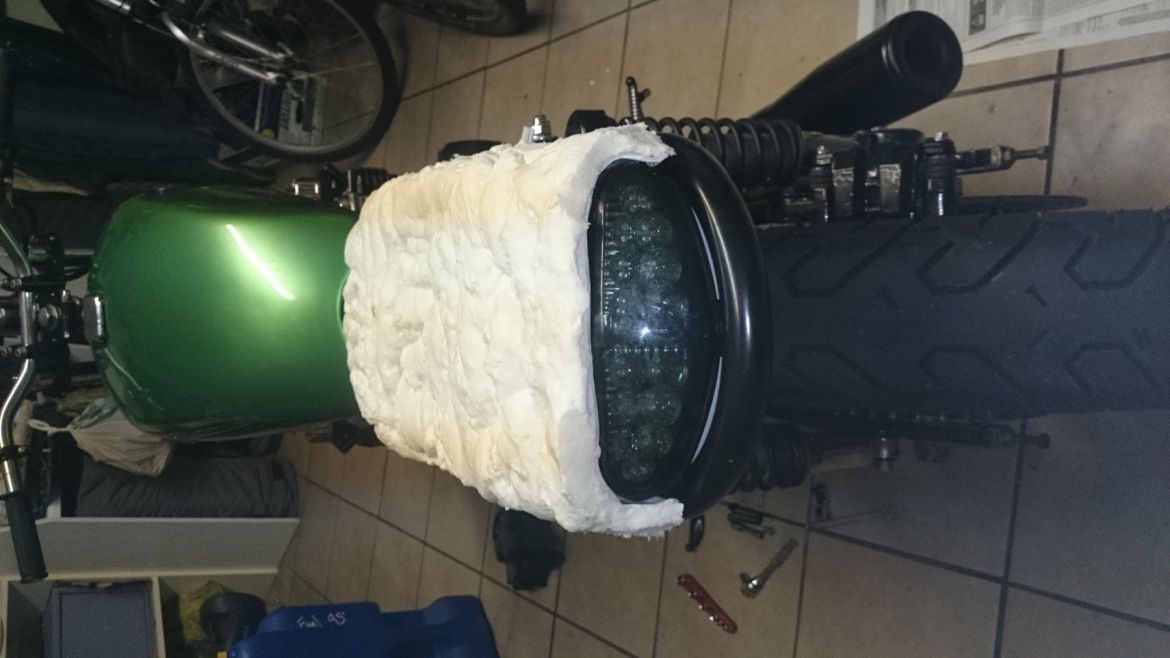
6- Mould a seat pan and fit a rear curved pipe for the tail section
7- Work on the front and rear mudguards
8- Paint EVERYTHING!!! hahaha
9- Buy add ons and lil trick bits
10- Rebuild the engine
11- Refit everything
12- Final tuning
Let me know if you have any ideas or advice about my work plan.
Regards
Mike
My Name is Mike,
I am an Honours Engineering student in South Africa
I am new to the Cafe scene but I have been on MX bikes for the past few years...
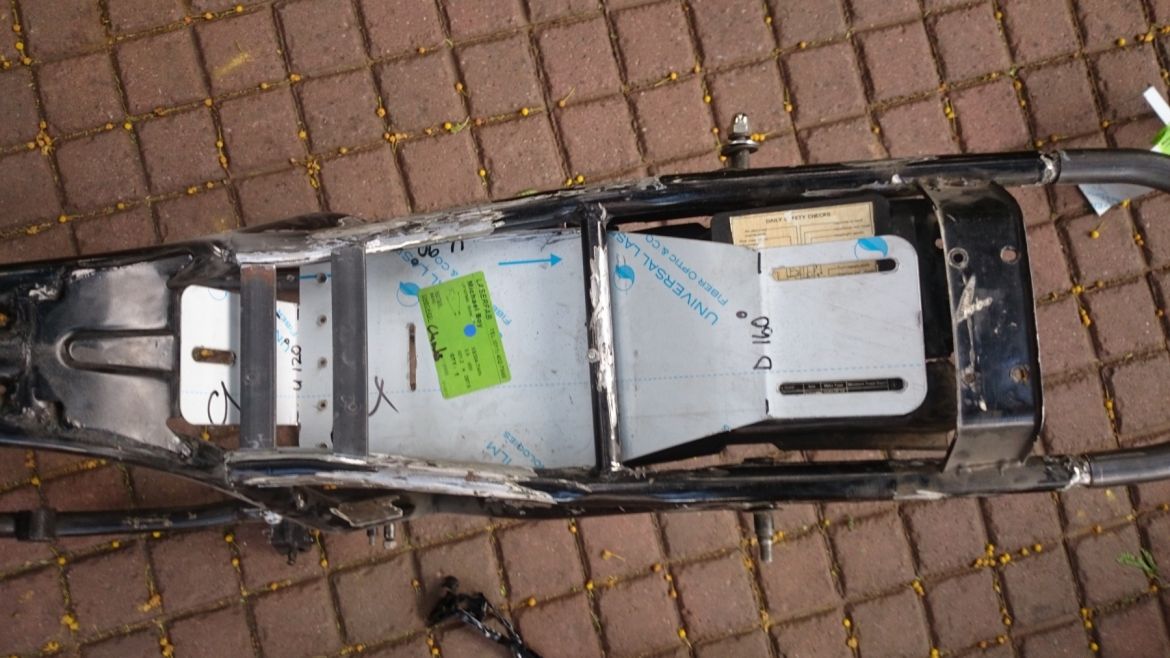
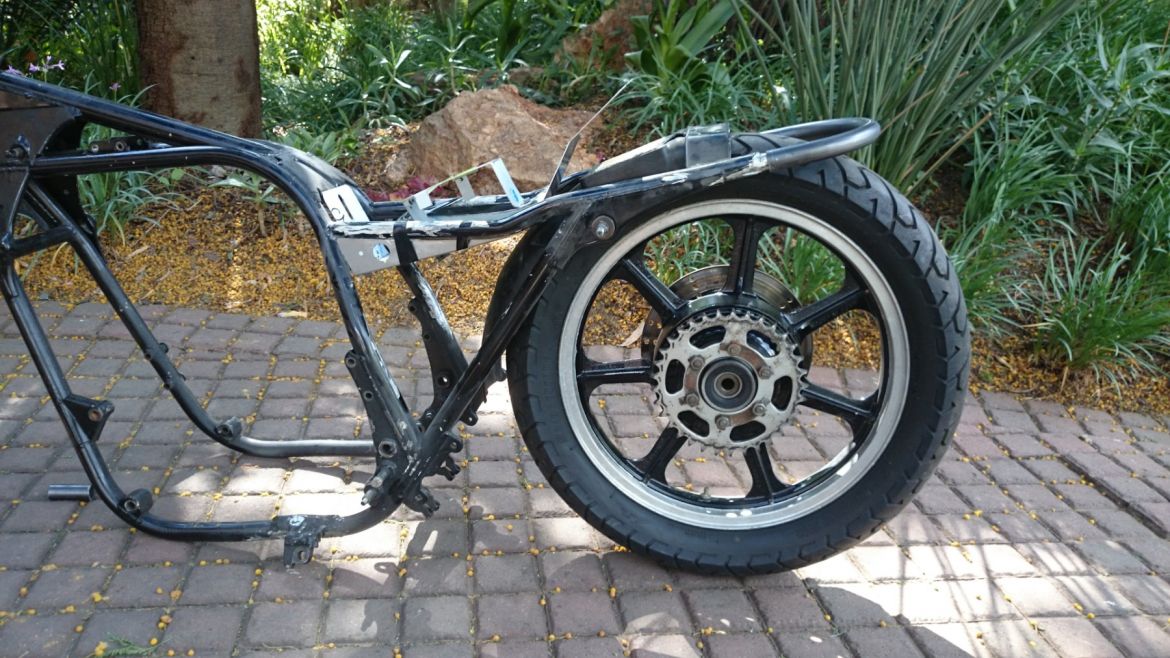
This weekend I bough my first road bike, a 1980 KZ750E
I paid R10 000 for it (US$950) and it runs decently
The front brakes are shot and the speedo/tacho dont work
The bike is fitted with a porformance Cowley 4-1 exhaust which may prove too loud for me...
I think this bike is a great lil starter project for me to learn the ropes... Im well accomplished with the normal shed builder tasks so I am not too worried about the overhall
The carb balance and any Gearbox issues will go to a specialist tho...
By plan is to build a Brat style bike with low riser bars (purely because I am 6 foot 7 so I dont like being couped up...)
I will stick to black and white as my main colours, bringing in some Kawa Green here and there...
I am going to follow the following process order:
1- get the wiring all sorted out and looking clean (Including relocating the electrical components and battery)
2- get the engine running decently (mostly starting first time etc)
3- Fix the brakes
4- Complete strip down
5- Remove all the add ons and unneeded frame tabs
6- Mould a seat pan and fit a rear curved pipe for the tail section
7- Work on the front and rear mudguards
8- Paint EVERYTHING!!! hahaha
9- Buy add ons and lil trick bits
10- Rebuild the engine
11- Refit everything
12- Final tuning
Let me know if you have any ideas or advice about my work plan.
Regards
Mike