"Patina" The 1973 CB175 Cafe Racer

axeugene27 said:
you should do some paint accents on it before clear coat. this cb550 that has a bare tank with some painted swooshes around the badges looks so slick.
http://www.pipeburn.com/home/2010/4/6/cb550-cafe-racer.html

I really like that a lot. The only thing is that I have a dent right where the badge is. No matter which way you cut it I would have to paint over a dent. I suppose you could bondo that one dent.

I was going to clear the whole thing and leave the dents to keep its "personality"...and it's cheaper. I think I'm going to go this route then do something like that for a longer solution.


Sent from my iPhone using Tapatalk
 
it's all about what look you are after the raw look is cool It looks good with a leather strap down the center of the tank like utility or something.
 
Yeah how does that work btw? Is that just simply glued on or something? I would totally do that when I get the seat upholstered.


Sent from my iPhone using Tapatalk
 
Tonight's update...took the tank from 320 grit up to 1500. I was going to take the buffing wheel to it but I liked the grain left in the steel. There's a couple spots where the DA dug in a little deep but over all it turned out well. I sprayed it down with WD-40 until I can get it shipped for coating.

null_zps481756bd.jpg


null_zpsdbf7b06f.jpg


Sent from my iPhone using Tapatalk
 
Does anyone know where I can find a downloadable manual for the 175? I guess that's a clymers manual? Or Haynes manual?

Thanks!


Sent from my iPhone using Tapatalk
 
I'm loving every step of this build! I rarely read an entire thread but I sure did with this one! Keep up the great work I look forward to more updates.
 
Zoopants, thanks man! That means a lot considering I'm learning as I go.

I'll have some updates soon. I've just been painting some odds and ends (engine brackets) and gathering hardware. By this coming weekend I should have the engine back in the frame. Unfortunately I don't have my rear shocks yet so I can't have a roller for another few weeks until I make a large purchase from Dime City Cycles.

I've also been working with Matt (Sonreir) on getting my wiring needs straightened out.

Also, I took my wheels to get trued and tires mounted and two of the spokes snapped!! I didn't even know that could happen. So I have 2 more coming from Buchanans that should wrap that part up.

After that it's wiring with one of Matts custom harnesses and an electronic ignition.

Thanks for watching! Sorry the posts have been so lacking lately.


Sent from my iPhone using Tapatalk
 
OK, another quick little update. I couldn't resist putting in a large order to DCC with free shipping this weekend. Here's what I picked up:

OE Style CB/CL Clutch & Drum Brake Lever Set
5-3/4" Old School "Side Mount" Bates Headlight - (Chrome)
Universal Electronic Frame Mounted Brake Switch
All Black Eye to Clevis Shock Absorbers - (365mm/14.50")
Lightweight Gloss Black "Dimpled" Headlight Brackets - (29-35mm)
ProGrip 717 Pro Street Gel Grips - (All Grey)

I'm a little concerned about the shocks being too high. I like a slanted forward aggressive stance but I'm worried that the chain will rub the swingarm if there is too sharp of a downward angle on the swingarm. We'll find out when they get here.

Also, I have just about every electrical component collected to send to Sonreir to make the wiring harness. I just have to buy the electronic ignition. I was going to do that this weekend but we REALLY needed a mattress so we bought one of those instead for now until next paycheck or so.

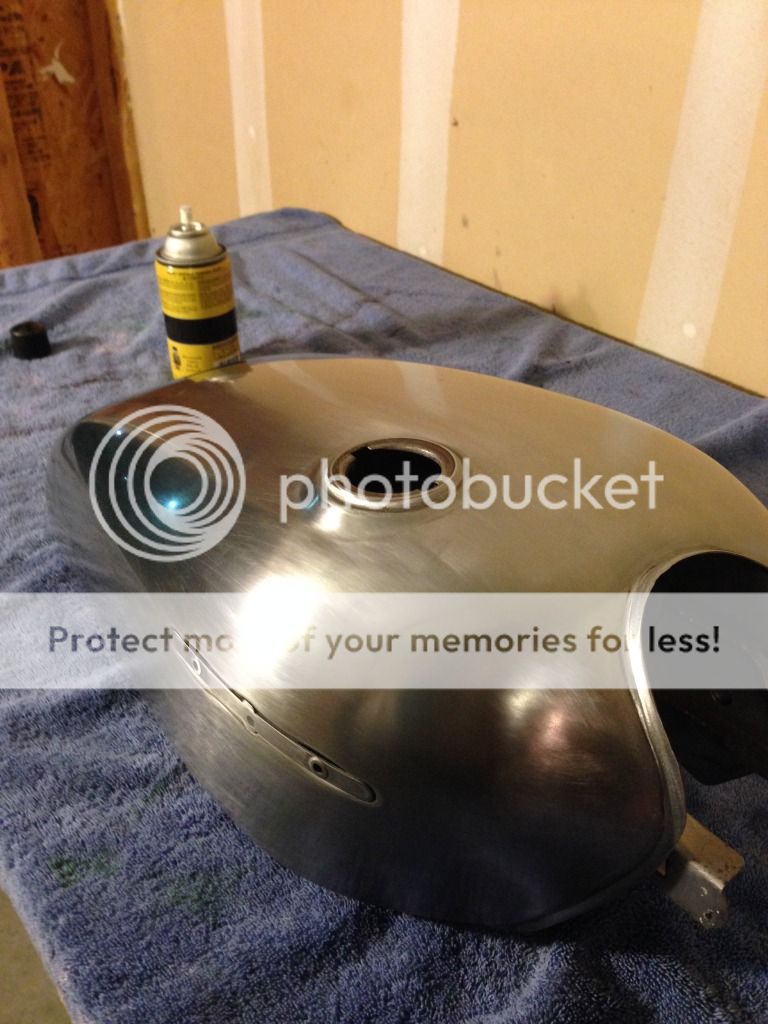
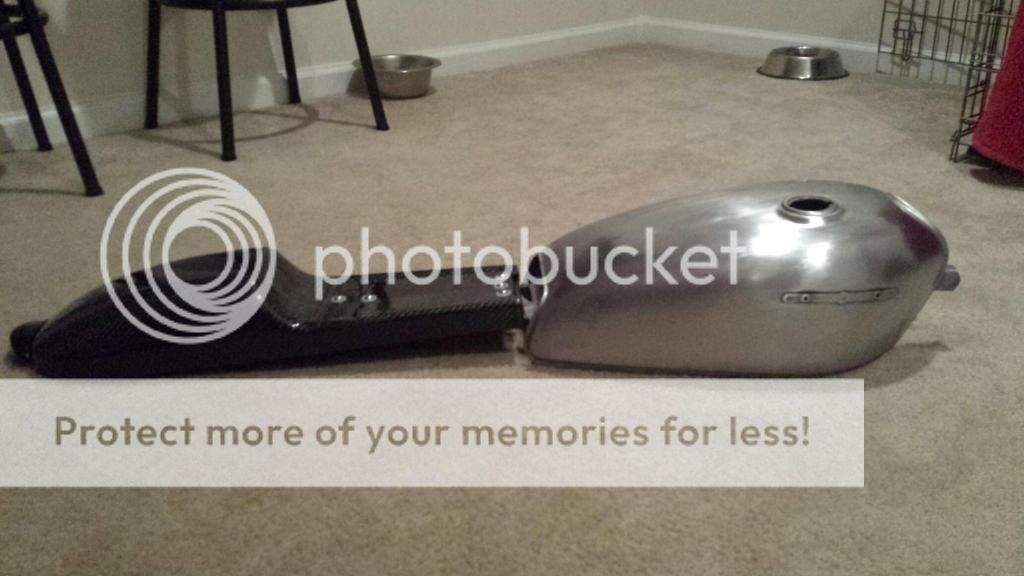
Also, my frame is at a local powder coater getting blasted and shot gloss black to match the rims and such. The tank was sent down to Marc in Georgia after I sanded it to my level of satisfaction. He masked it off and coated it in clear powder to protect it.

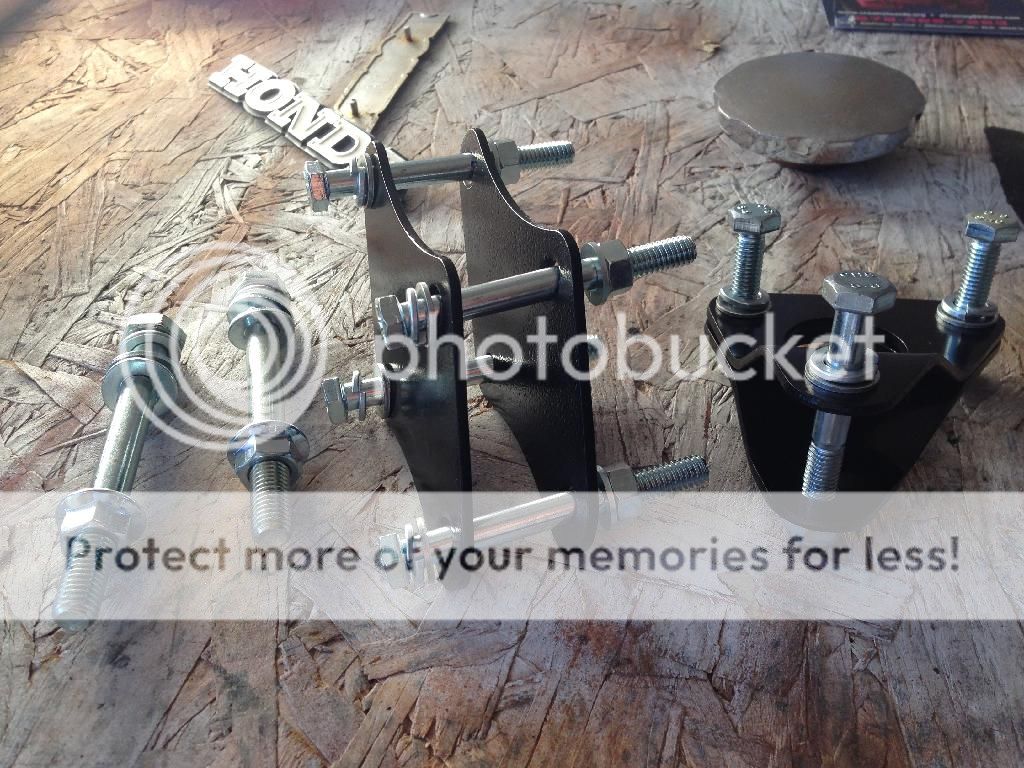
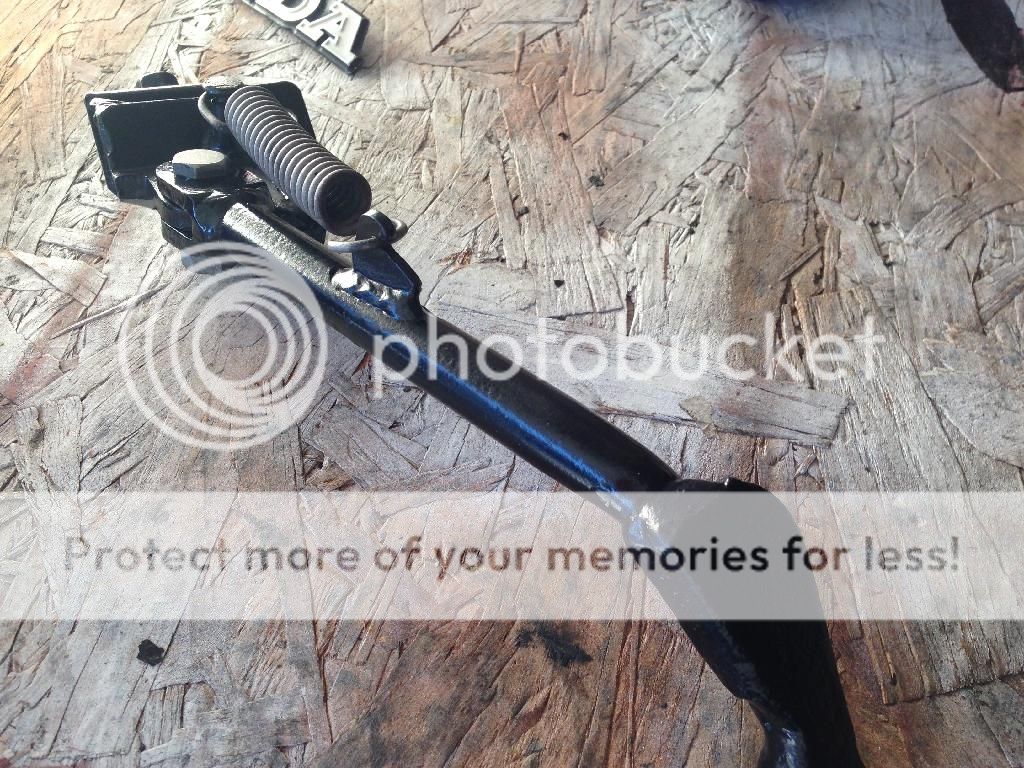
Other than that I've just been collecting new bolts and nuts for the frame mounts and painting odds and ends. It's tough to lay down some good rattlecan paint with it getting colder outside.


And also, I believe someone wanted to know how I attached my seat, not to mention threads seems to pop up often asking how to do just that. So here goes. There's three main components: the hinge, the rubber frame mounted stops and the clevis pin to hold it down.

Here's a shot of the hinge bolted to the down tube (which isn't a tube at all) and the rubber stops that the seat actually rests on:


And here's a shot of the tab that is bolted to the seat that extends vertically from the underside and laps over the stock cross member between the frame rails. A hole was drilled in each so that a clevis pin could fit through:


And here's the same shot with the clevis pin installed to hold the seat down:

 
Alright, so I'm expecting a crap ton of stuff to show up in the mail this week, plus just got news my frame is done at the powder coater and my wheels are done being trued and having tires mounted:


Also, I didn't like the old dust seals on my forks, so I found these things for dirt and street bikes that keeps crap out of your fork seals. Has anyone ever used these with good results? They basically slide over your fork stanchions and zip tie to the fork lowers to keep them in place. They have different sizes for different forks, even inverted.

http://www.sealsavers.com/street-products/

 
Montag said:
Amazing job so far, man!

Thank you sir! As my alias implies, this is my first time around. I'm kinda bummed I didn't start out with a bigger CC bike but it'll last me for hopefully a year before I get the itch again.


Sent from my iPhone using Tapatalk
 
DoTheTodd said:
Those wheels turned out really well. They look great with the tires mounted.

I thought so too! Thank you! I'm about to go pick up the frame to make this thing a roller.


Sent from my iPhone using Tapatalk
 
Back
Top Bottom