
We noticed you are blocking ads. DO THE TON only works with community supporters. Most are active members of the site with small businesses. Please consider disabling your ad blocking tool and checking out the businesses that help keep our site up and free.
You are using an out of date browser. It may not display this or other websites correctly.
You should upgrade or use an alternative browser.
You should upgrade or use an alternative browser.
Another CB360 Build Oz Style
- Thread starter Chronic
- Start date
Chronic
Active Member
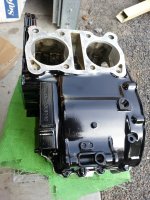
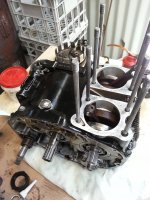
hey guys trying to get motivated today to clean up all the cases, mod them alittle, mask and paint.
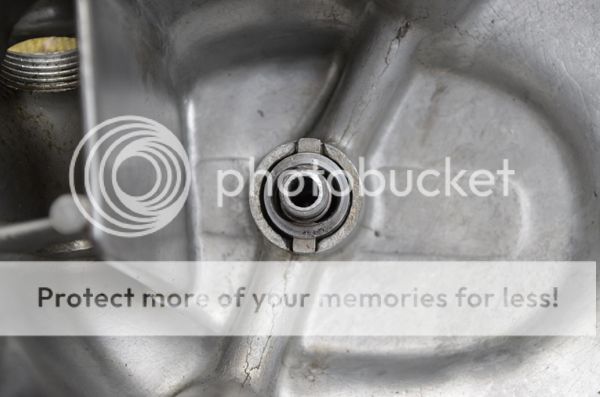
first thing i went to do was drill out the oil holes in the top of the crank case. i found that the holes are already at 5/64 which is bigger then the 1/16 i have read to drill them to. i cant see it being a problem
first thing i went to do was drill out the oil holes in the top of the crank case. i found that the holes are already at 5/64 which is bigger then the 1/16 i have read to drill them to. i cant see it being a problem
Did you port the orifice in the clutch cover? Also, was the oil pickup switched to the CJ pickup? You can see if it's had some of the recalls fixed by looking for punches on the engine vin. With a broken chunk of the pre-recall tensioner, I'd be surprised.
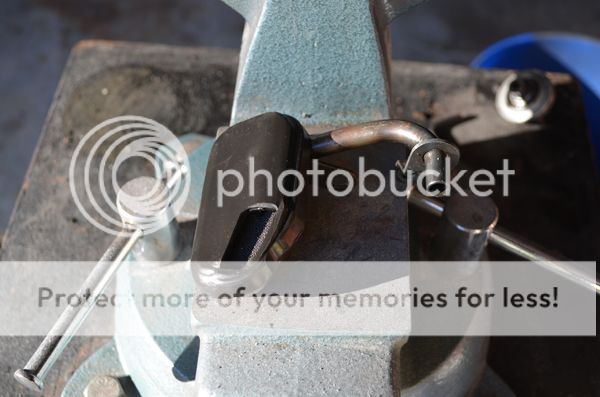
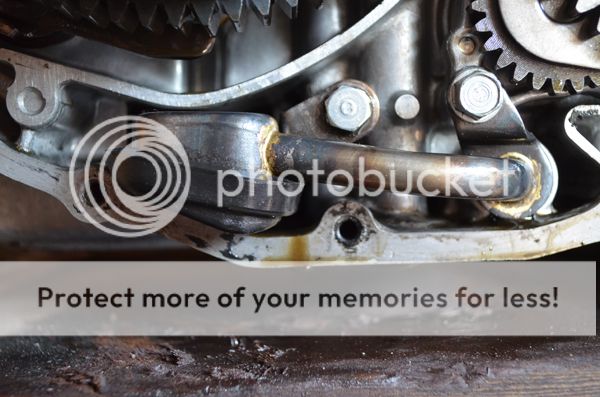
Opening up the orifice in the cover will help get the oil into the tubes to the top end. I just carved mine out with a burr bit.
The CJ pickup helps get more oil from the sump, especially on the side stand.
The CJ pickup helps get more oil from the sump, especially on the side stand.

")
Chronic
Active Member
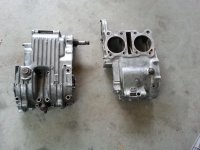
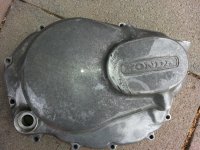
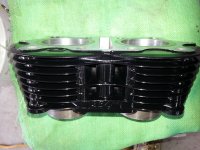
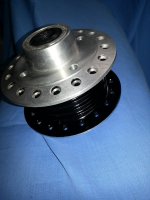
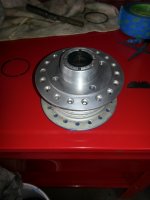
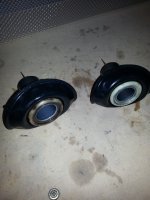
Few more parts cleaned & painted.
Was going to be polishing the side covers but the clutch side has a fair bit of marking on it. going to try and find the most chrome looking paint i can get and hope it works
Was going to be polishing the side covers but the clutch side has a fair bit of marking on it. going to try and find the most chrome looking paint i can get and hope it works
Attachments
Chronic
Active Member
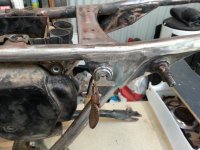
hey guys been abit lazy and havnt posted in awhile. i have been slowly working on the 360 before i powder coat the frame im trying to set the bike up with all the right tabs removed or added.
where does everyone mount their ignition? has anyone mounted it just below the tank near the head stem?
will post some pics of the work i have done later
where does everyone mount their ignition? has anyone mounted it just below the tank near the head stem?
will post some pics of the work i have done later
Stock location is below the tank just behind the head stem on the left side. Thats where mine is.
Chronic
Active Member
deviant said:Stock location is below the tank just behind the head stem on the left side. Thats where mine is.
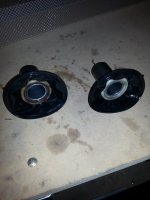
mine had a shitty tin plate mount to the handlebar mounts
Chronic
Active Member
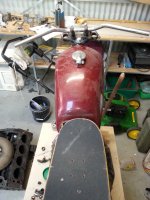
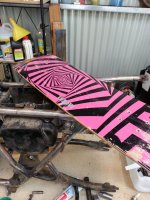
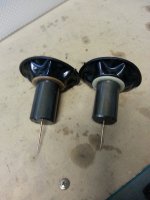
i haven't done alot really just found some other bars for it. found a sick as skateboard for my seat base and set up my new ignition switch.
Attachments
High On Octane
Ton Up or Shut Up
Is that an old school Vision board from the 90's?


