1981 XS650 Project Something or other (going cafe-ish)

Re: 1981 XS650 Project Something or other

Did a little fabricating this weekend. My goal is to build a bike that I want, but is also a little different. I want to do that, but I also want the things I do to look good, and be subtle, enhance the look of the bike, not take away from it because it looks totally out of place or over the top. I want people to look at the bike and think, damn, that looks good, then take time to notice the little design cues or small bits of fab work they didn't see the first time.

I've seen things done to side engine covers, speed holes and cut outs, things done to the alternator cover, and always liked the look so I wanted to do something to my cover. This is what I came up with..

0420141555a_zpsf0c680c6.jpg


0420141554a_zpsba929353.jpg


0420141555b_zps33151c4f.jpg


I had some thin perforated metal that I cut bigger than the opening, placed on the cutout, traced the opening, then bent the sheet with pliers, cut and re-bent a couple of tabs and Bob's your uncle

0420141556a_zpscceba406.jpg


I bent the tabs so the piece would sit a little proud in the cutout

0420141556b_zps0f670647.jpg


0420141558_zpsc0a790bd.jpg


0420141558a_zpsc9f97104.jpg


This was the initial trial run, I tried a couple of different things to get the plate to fit and look the way I wanted. I was finally able to get it down after a couple of messes but the fit wasn't quite right, I'm a bit of a perfectionist, so I'll be doing it again. At least now I'm comfortable with the process and know how the metal bends. The side covers will be powder coated "super chrome" with a matte finish, same as the head cover and tappet covers on the motor, not sure what color I'll do the perf'd metal pieces, probably a contrasting color. Opinions are always welcome!!
 
Re: 1981 XS650 Project Something or other

Got the rims and hubs back from powder coat, they were done in a cream white with a matte finish.

Laced up the front wheel to see how it looks, I'm happy with them

0422141722a_zps3be4dec5.jpg


0422141722b_zps7bc96103.jpg


0422141722_zps817de8f1.jpg


0422141823_zpse358c128.jpg


0422141912a_zpsd3d1910f.jpg
 
Re: 1981 XS650 Project Something or other

Hello everybody. Finished lacing the rear wheel tonight, tomorrow I'll put the bearings in and take the wheels to get the tires mounted and trued.

0424141757_zpsa0fe67d9.jpg


Also was able to get the seat frame mocked up out of some round bar. The angles aren't perfect, but it got close enough to give me a good idea of the shape and length.

0424141910_zps34f946f1.jpg


Then I tacked a piece of 1 inch where I want the seat frame to attach to the backbone and tacked the round bar to that.

0424141931a_zpsc760c1ab.jpg


Added blue tape to help the visual

0424141938a_zpsc3bd9772.jpg


0424141939_zps1ee46bdb.jpg


0424141940_zpsd9a78b99.jpg


0424141940b_zpsec61dc10.jpg


Tomorrow I'll fine tune the angle and mock up the support pieces. I'm picking up my steal order and the front end powder coated pieces too so I can get cranking this weekend!
 
Re: 1981 XS650 Project Something or other

It's amazing how weekends can fill up with family and yard work. I did manage to get a few hours in the garage to cut and tack the seat, I also dropped wheels off to get trued and the tires mounted.

IMG_20140427_172010_zps0e607a08.jpg


IMG_20140427_172031_zps3a0fedd9.jpg


0427141718_zpsc407d1ef.jpg
 
Re: 1981 XS650 Project Something or other

All my weekend plans were scrubbed due to the beautiful spring pacific northwest weather we're having, rain, so I got some good garage time in.
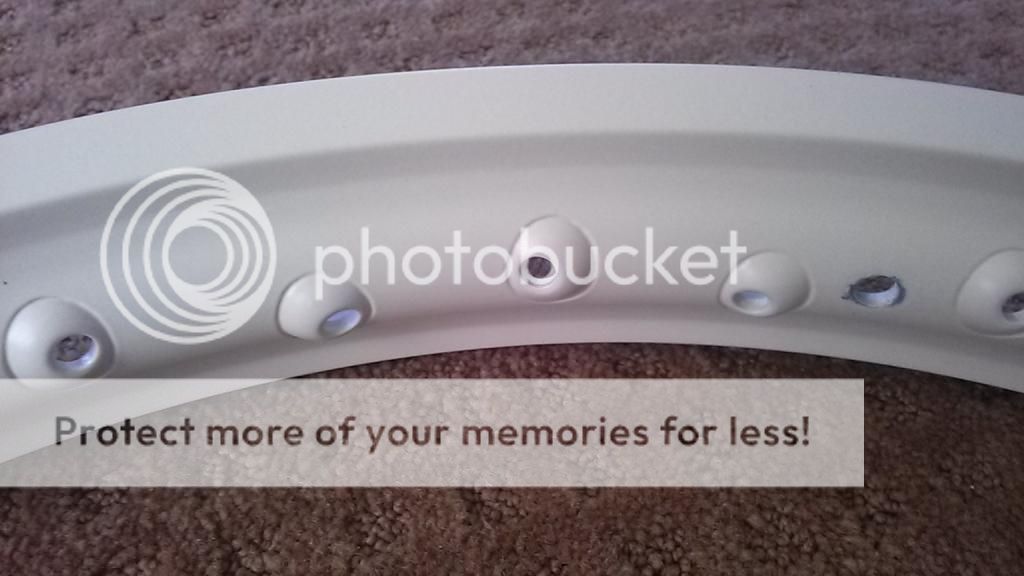
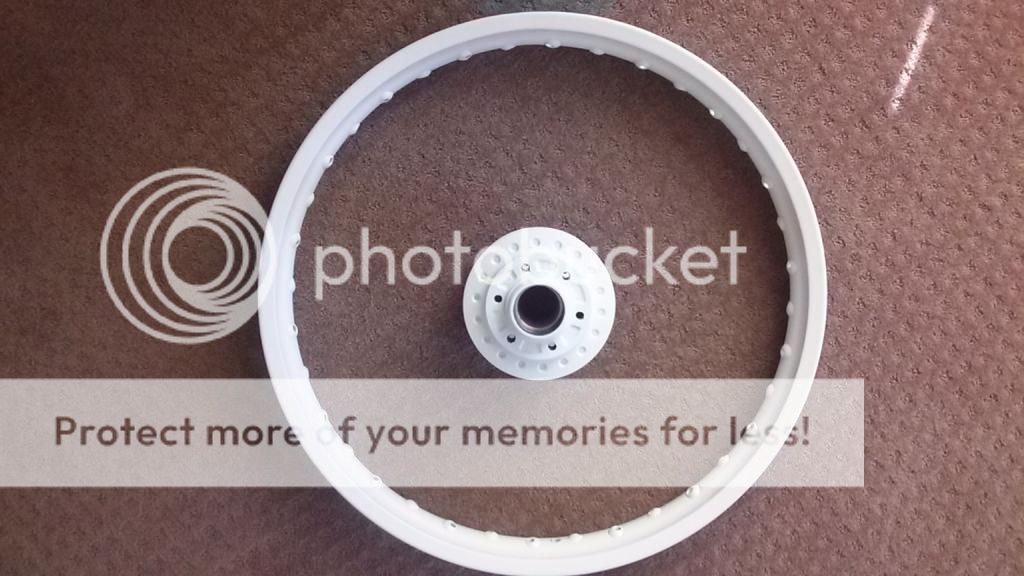
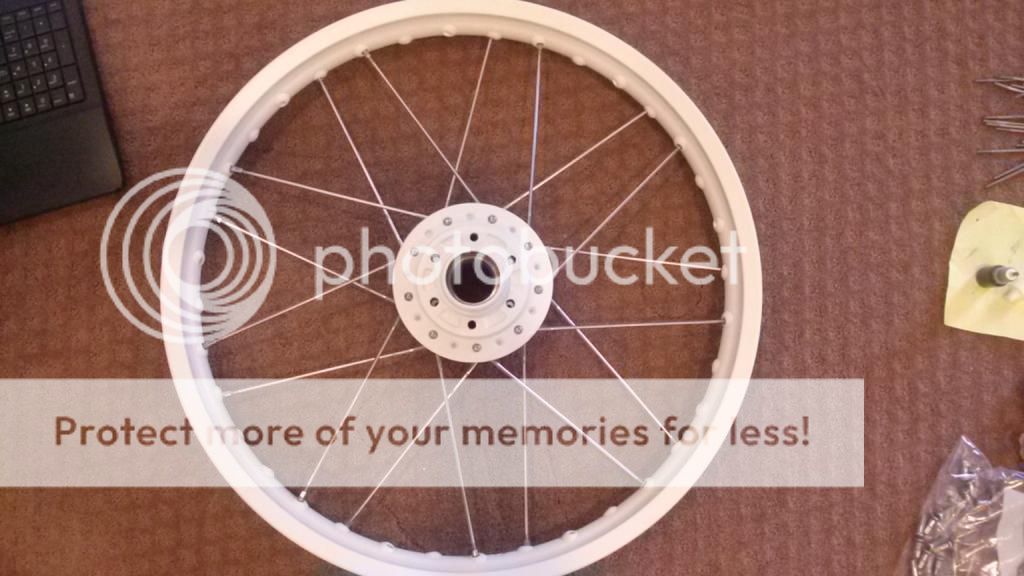
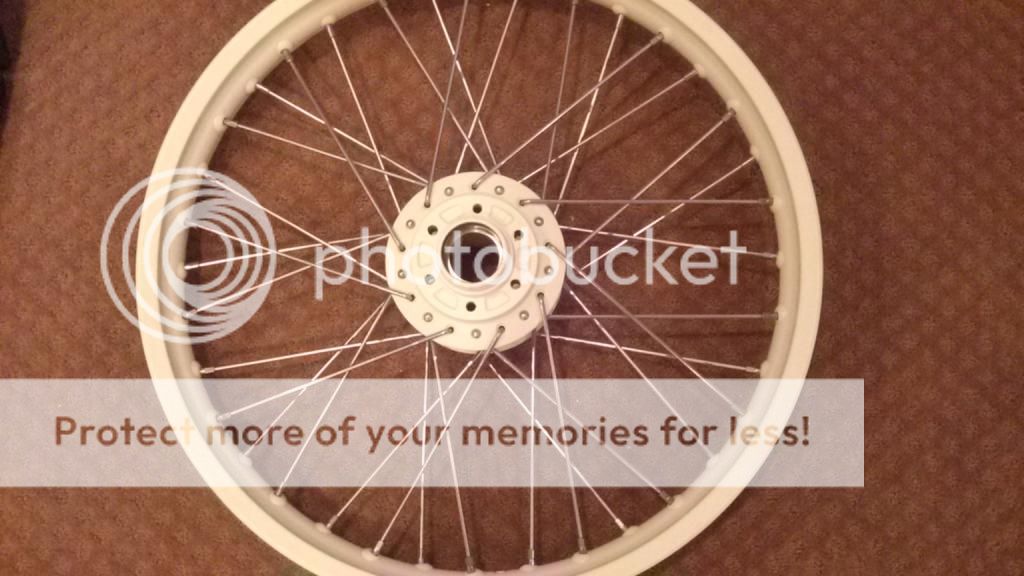
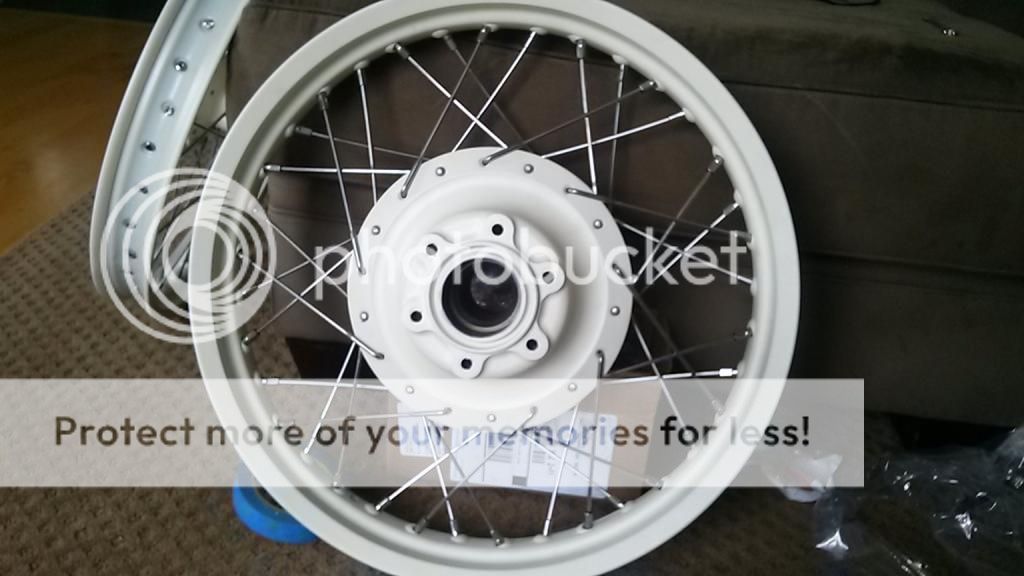
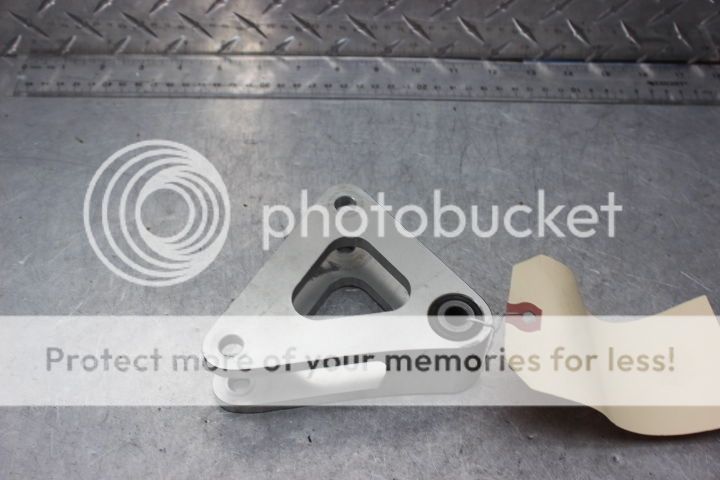
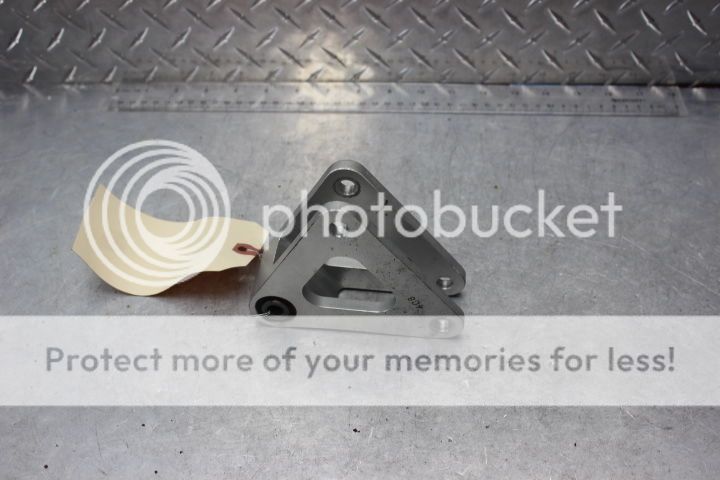
I finally got the rest of my parts from the powder coater after having my "small" job pushed aside for bigger rush jobs, and having them re-do several parts that looked like shit. I will be finding a new powder coater.

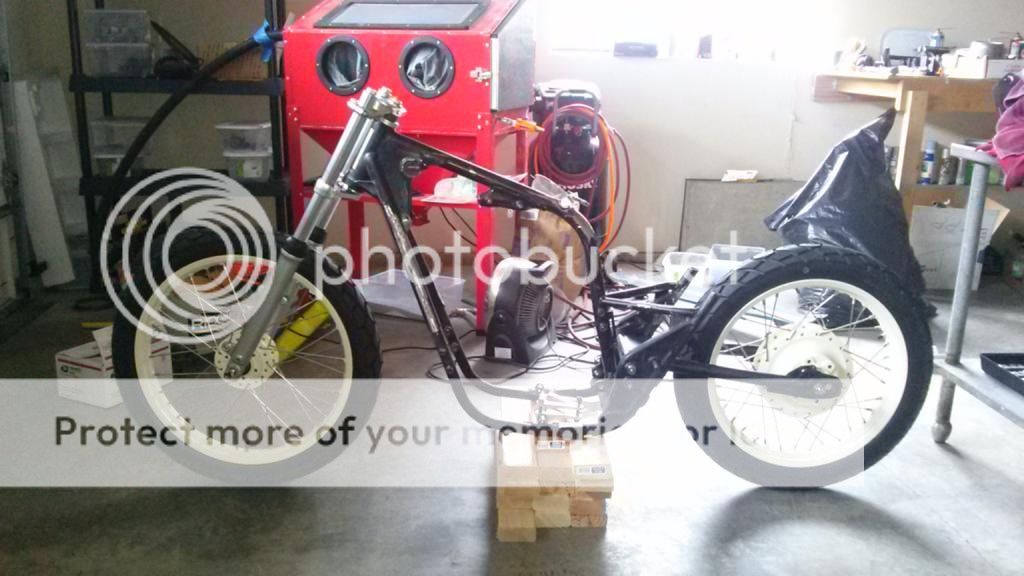
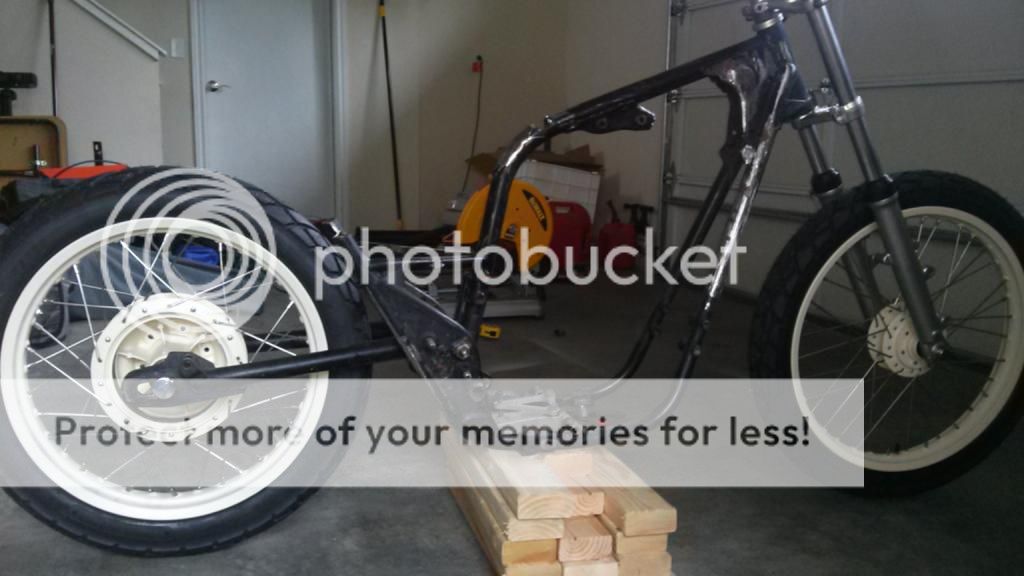
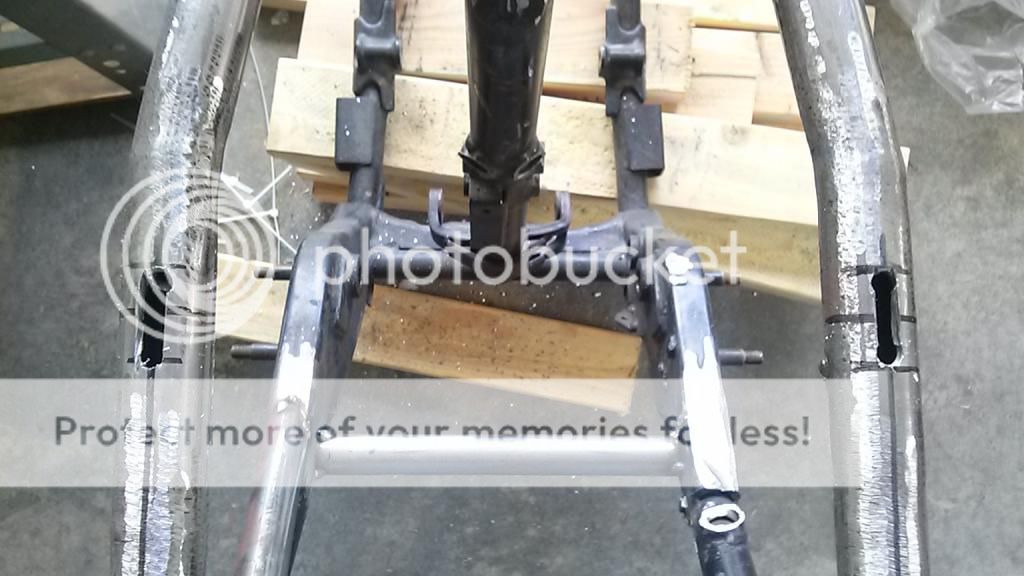
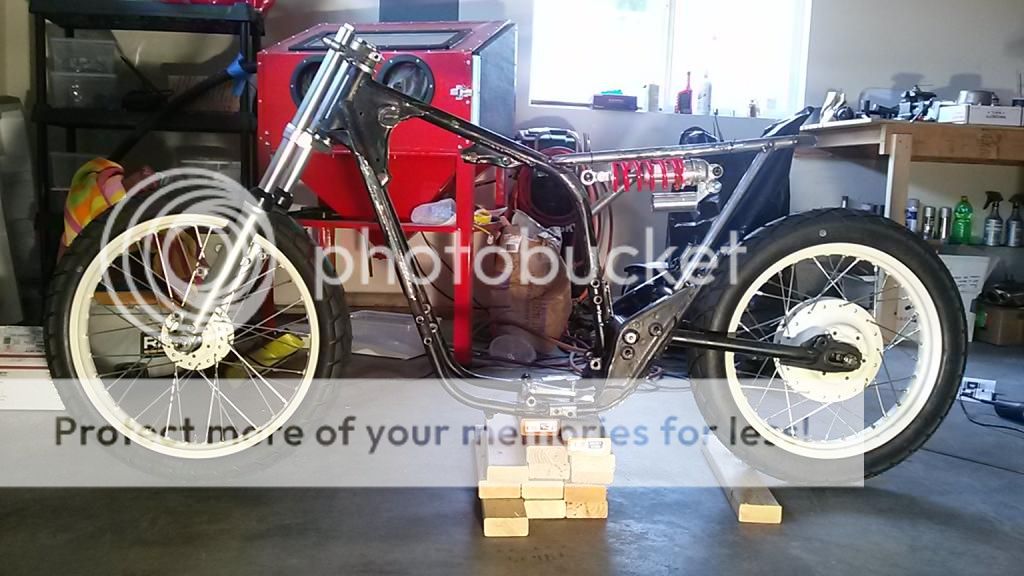
Put the shocks back together, got them in the triples and threw the wheels on for mock up

0503141551_zps74b7a267.jpg


0503141553_zps5c9aed30.jpg


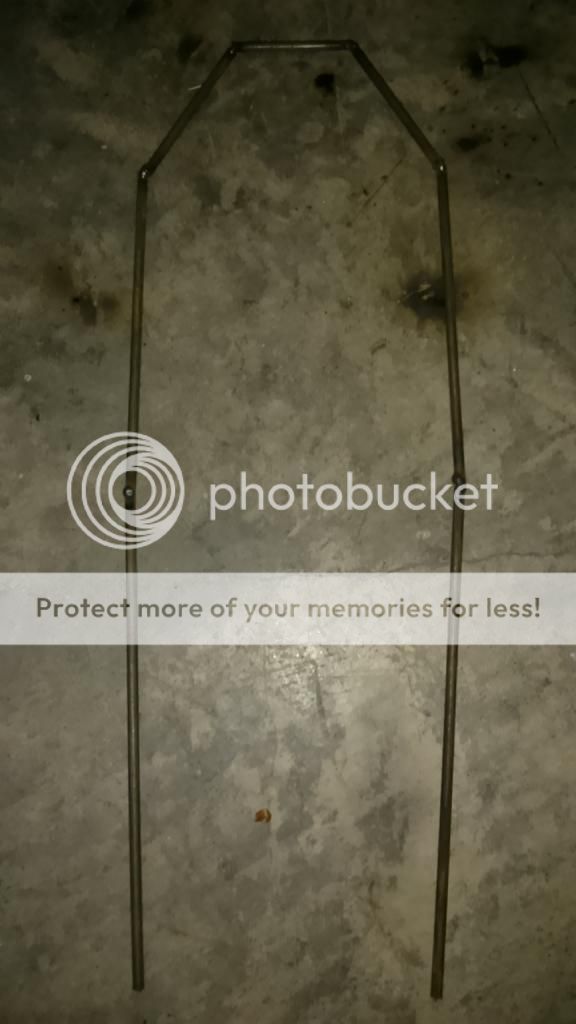
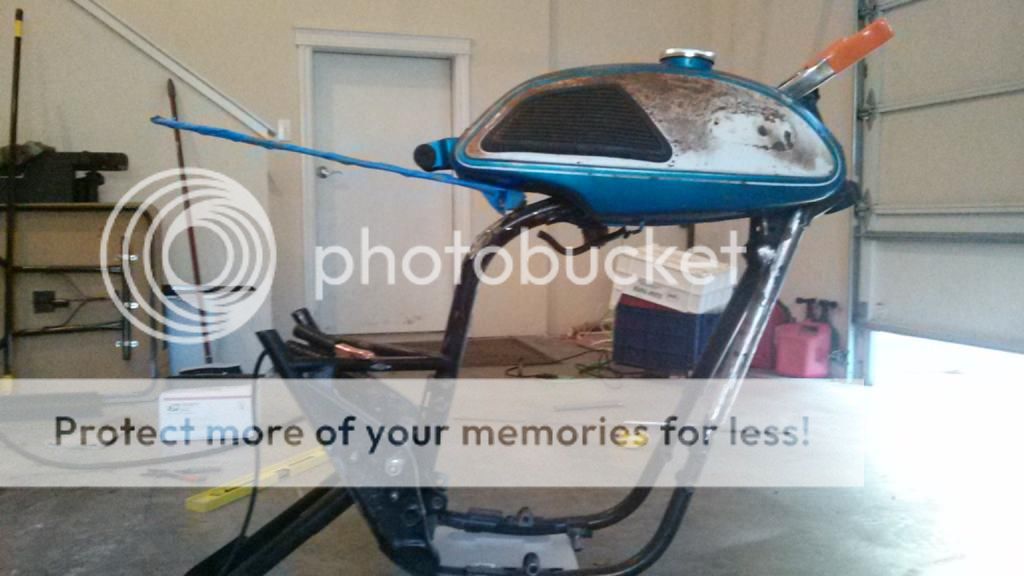
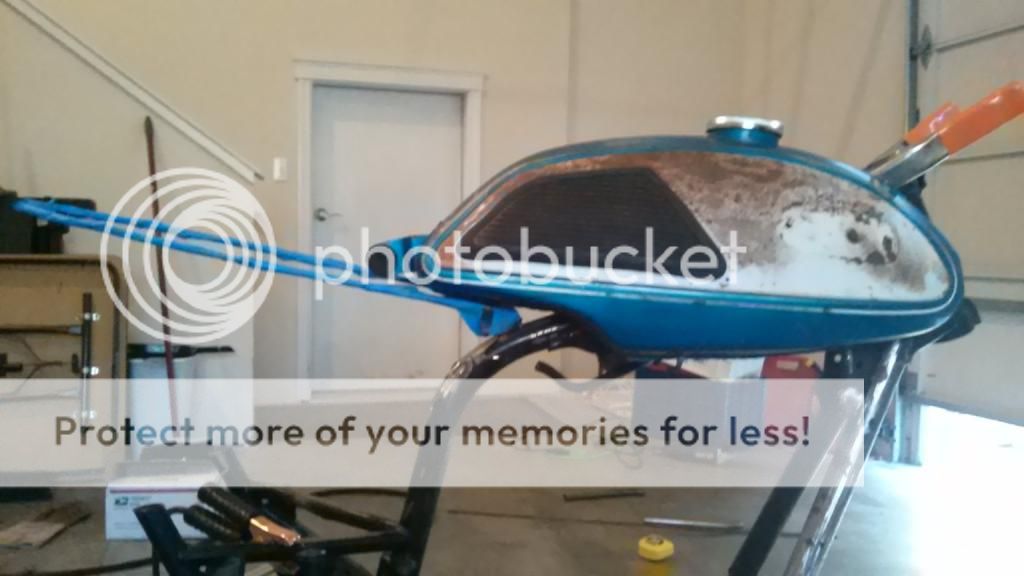
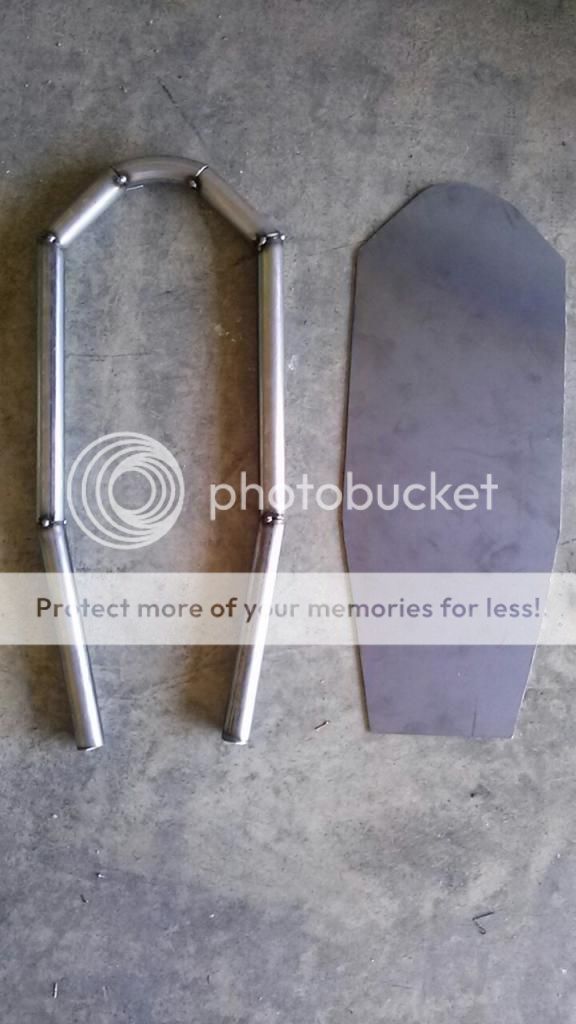
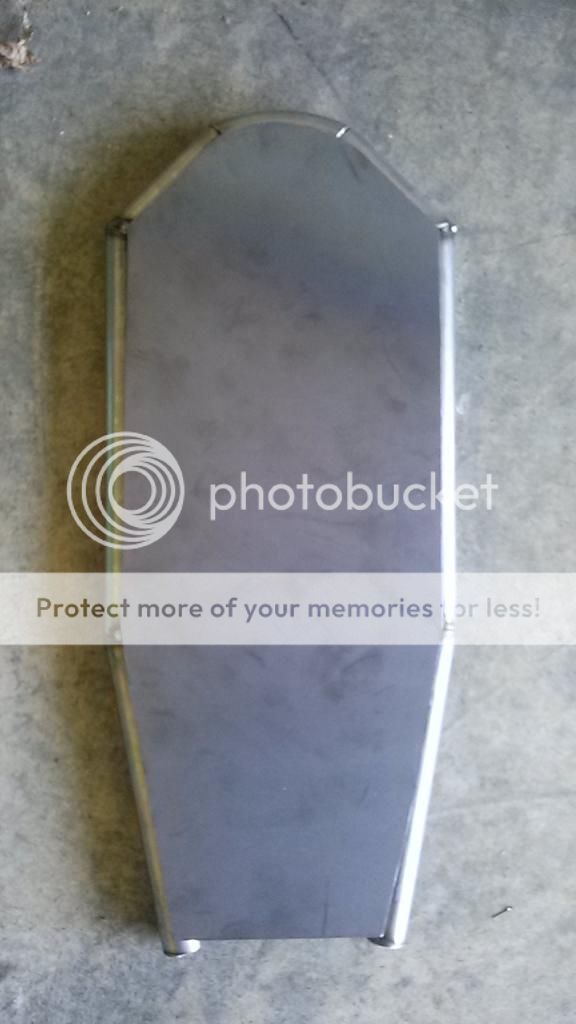
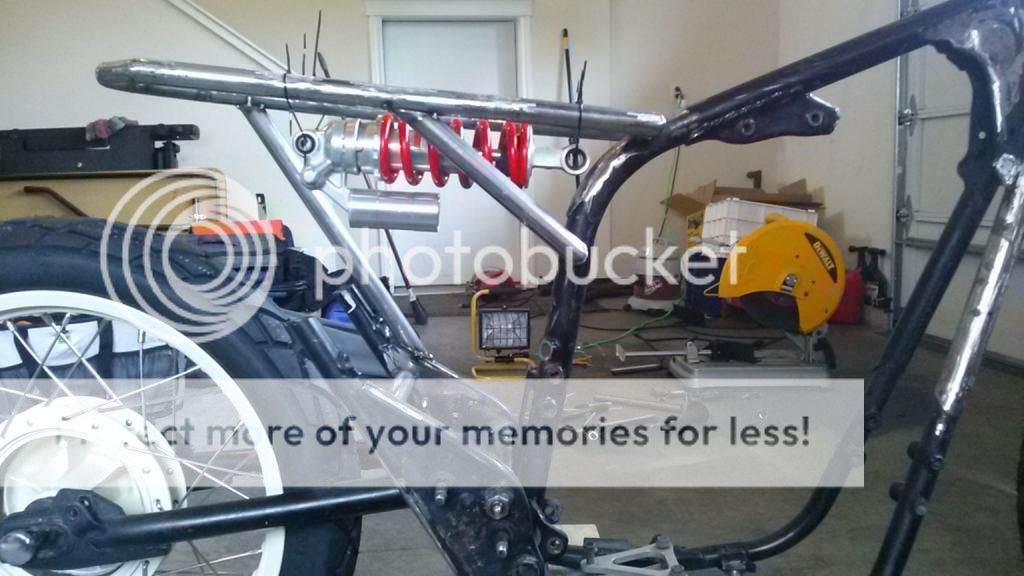
Finished welding up the seat frame and tacked it on the frame. I ended up lengthening it 4 inches, just didn't look right before. There will be gussets added between the front forward corners of the seat frame and the back bone and a plate added to the inside front for strength and gas tank mounting.

0504141027_zps1e128917.jpg


0504141028_zps6b62280d.jpg


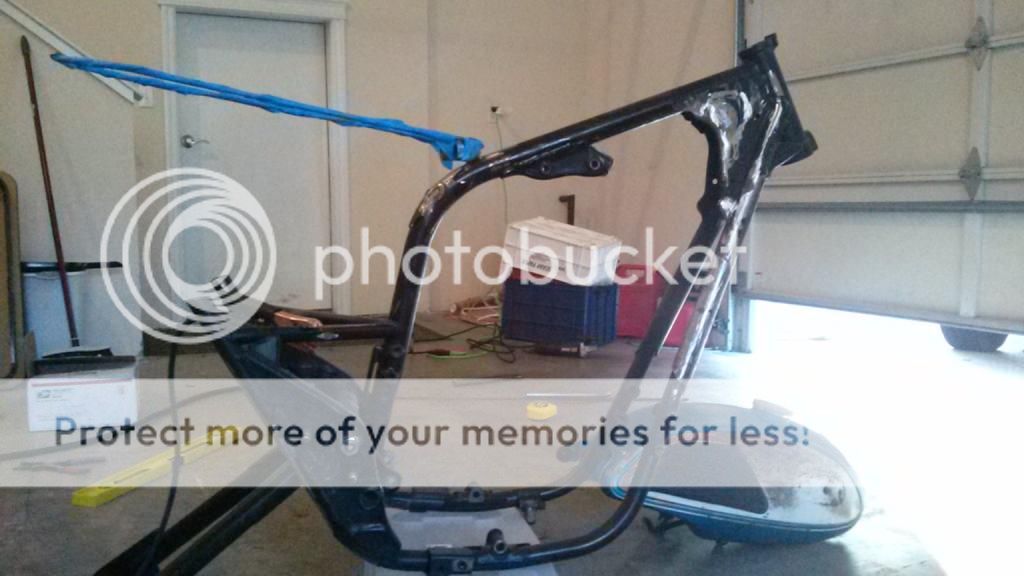
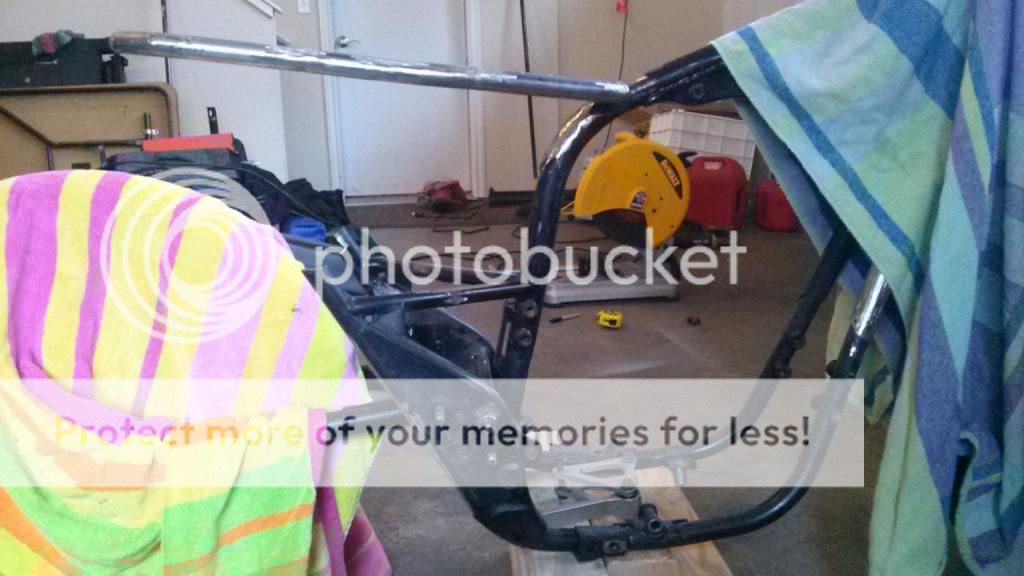
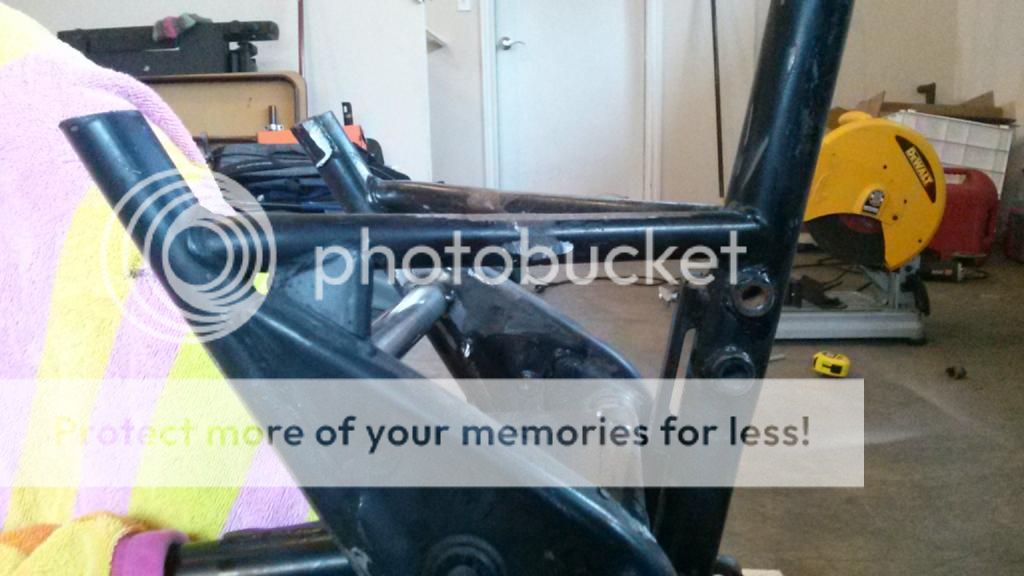
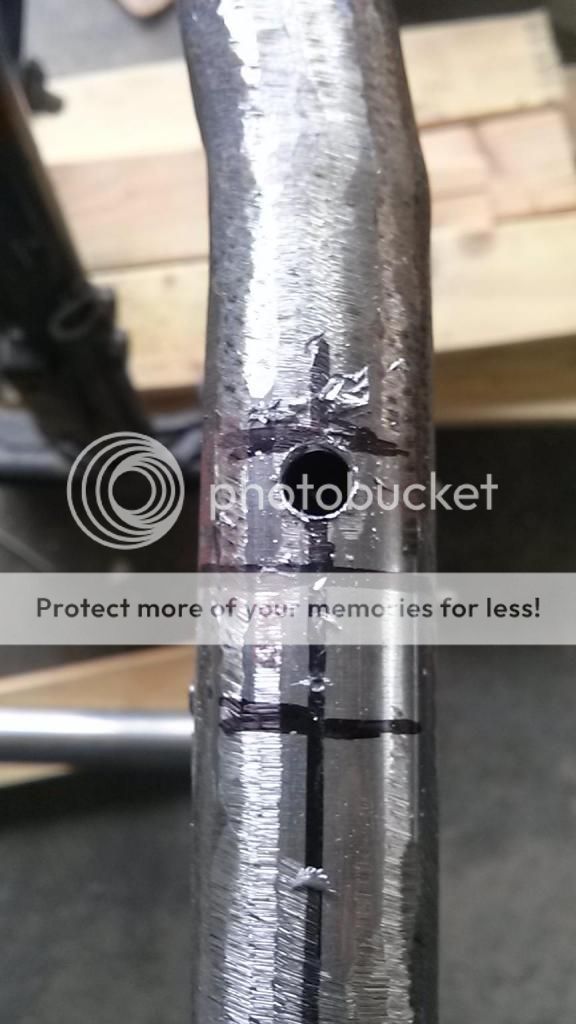
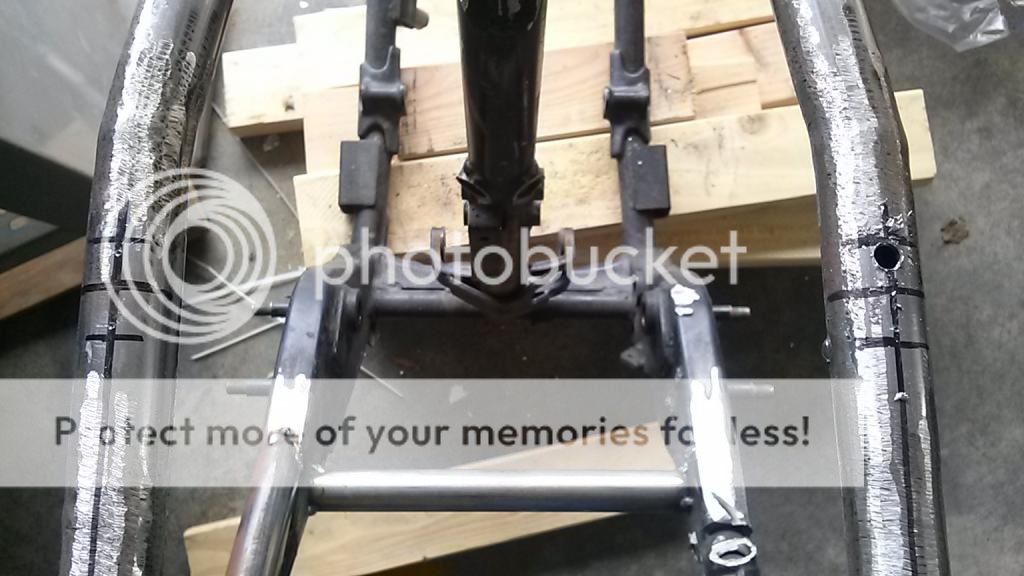
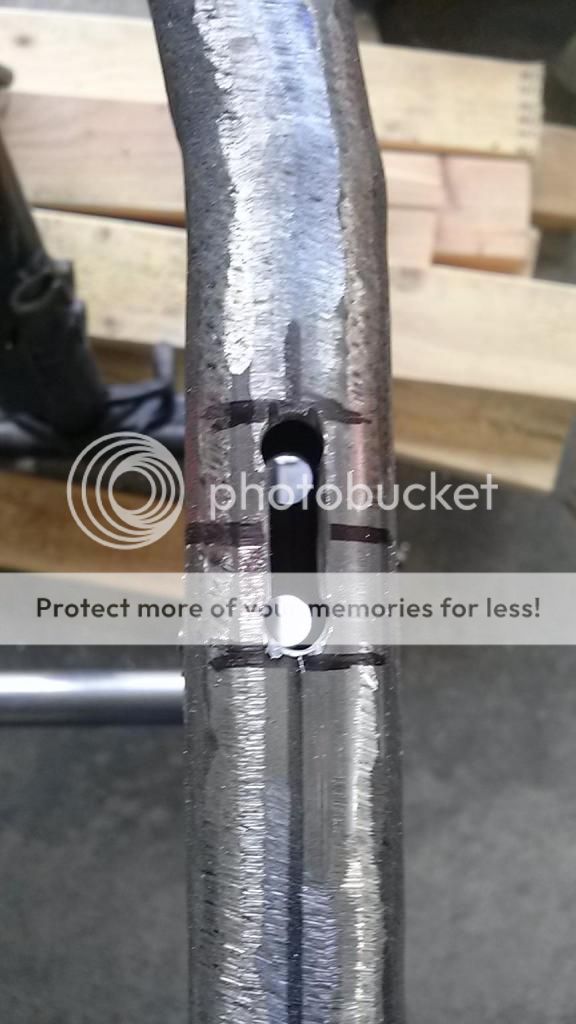
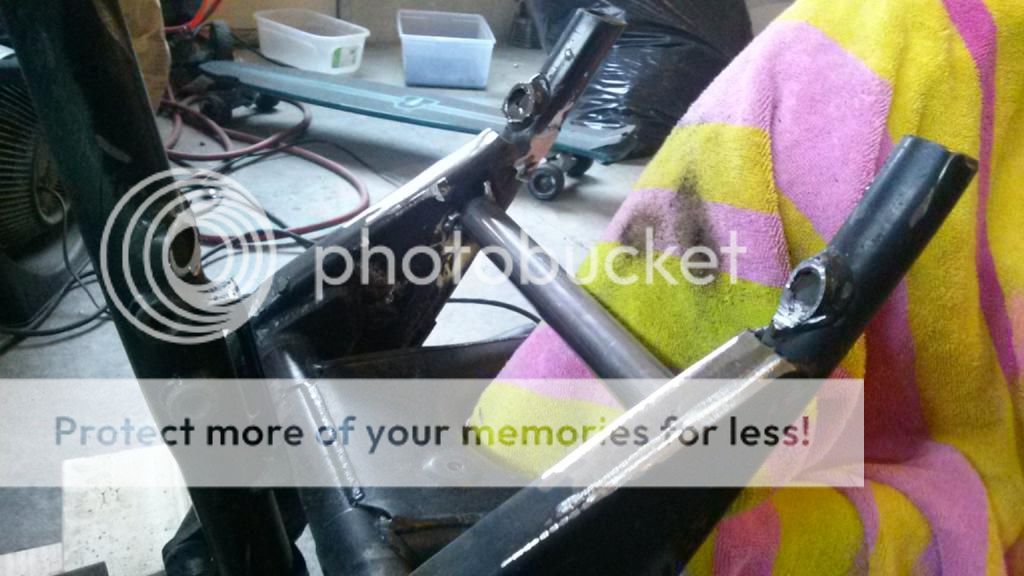
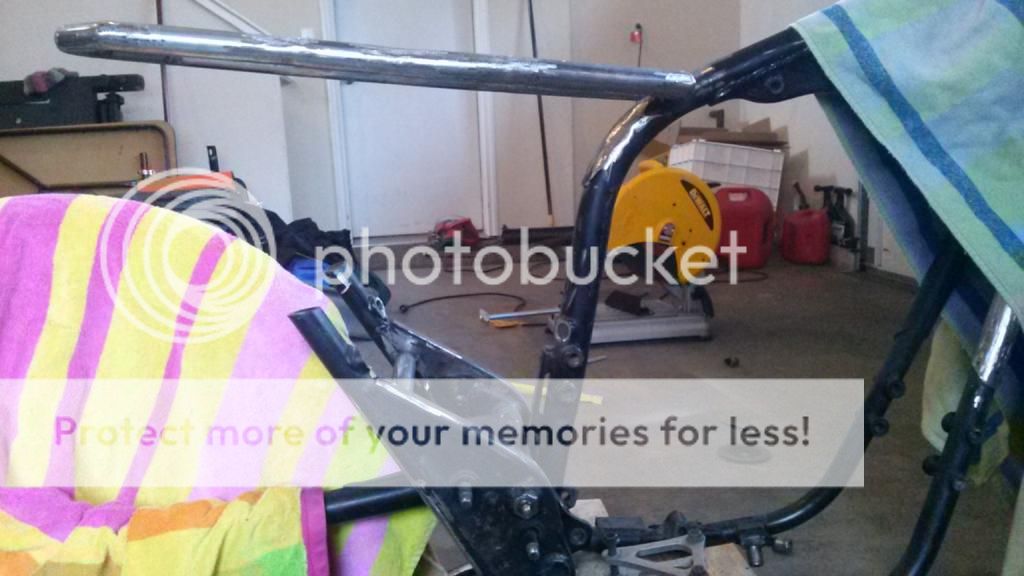
I wanted to open up the middle of the frame, so I tacked a temporary brace in so nothing would move around, and whacked off the two small horizontal pieces. The two little vertical stubs will be cut flush with the top of the plate
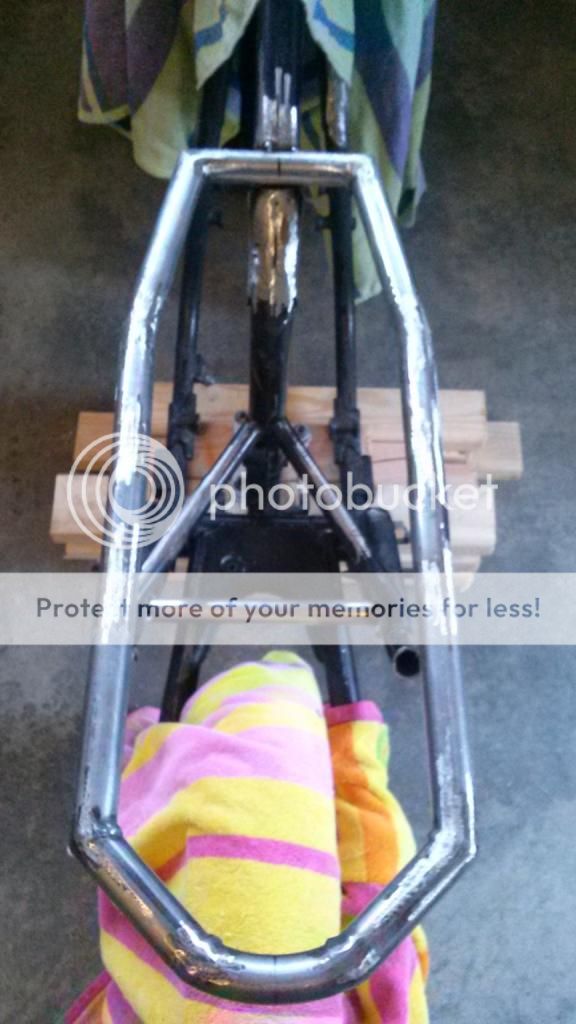
BEFORE

0504141028c_zpsa6d70372.jpg


AFTER

0504141041_zps7520c237.jpg


0504141047a_zps467dbc7c.jpg


0504141055a_zps75bf7479.jpg


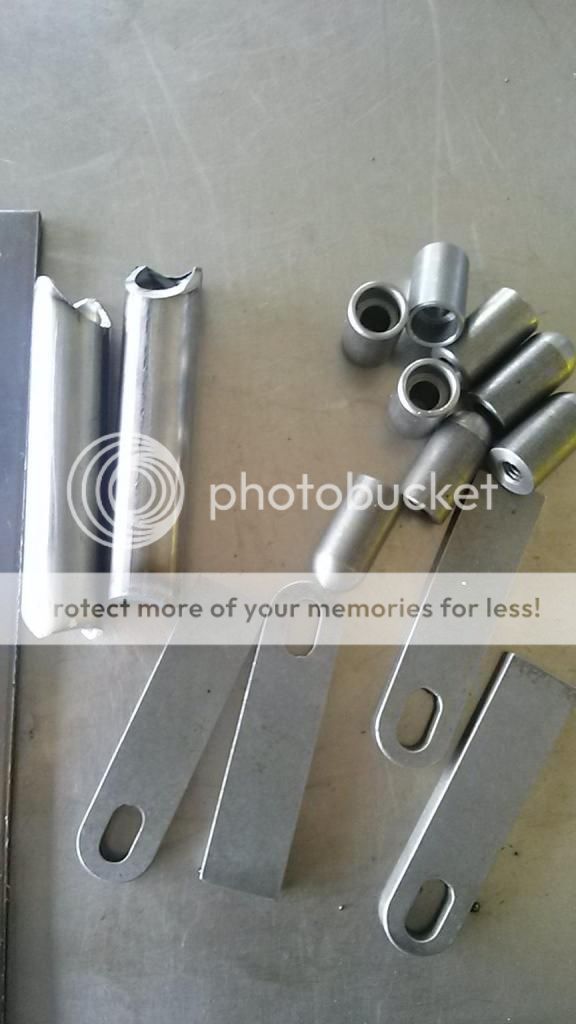
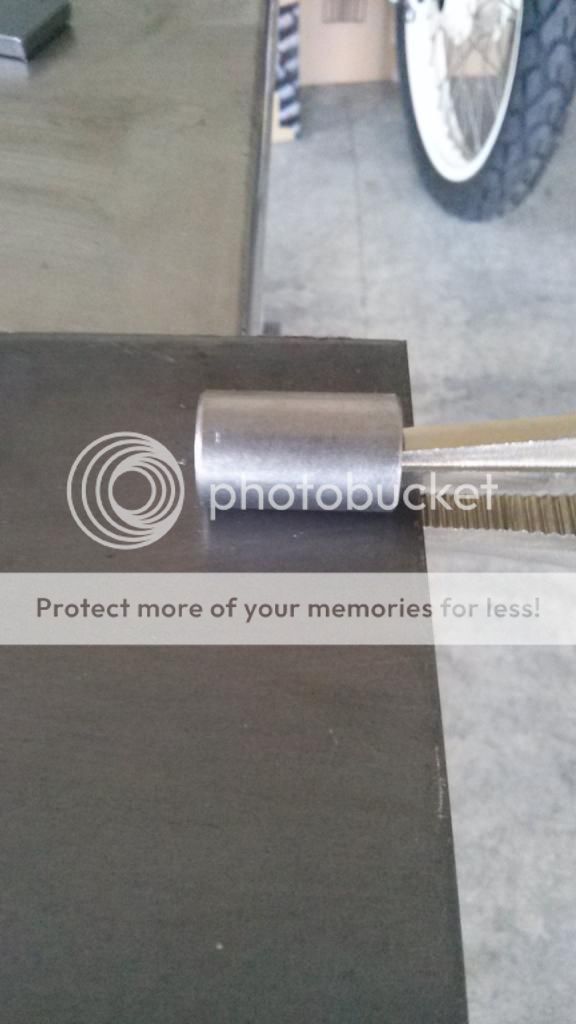
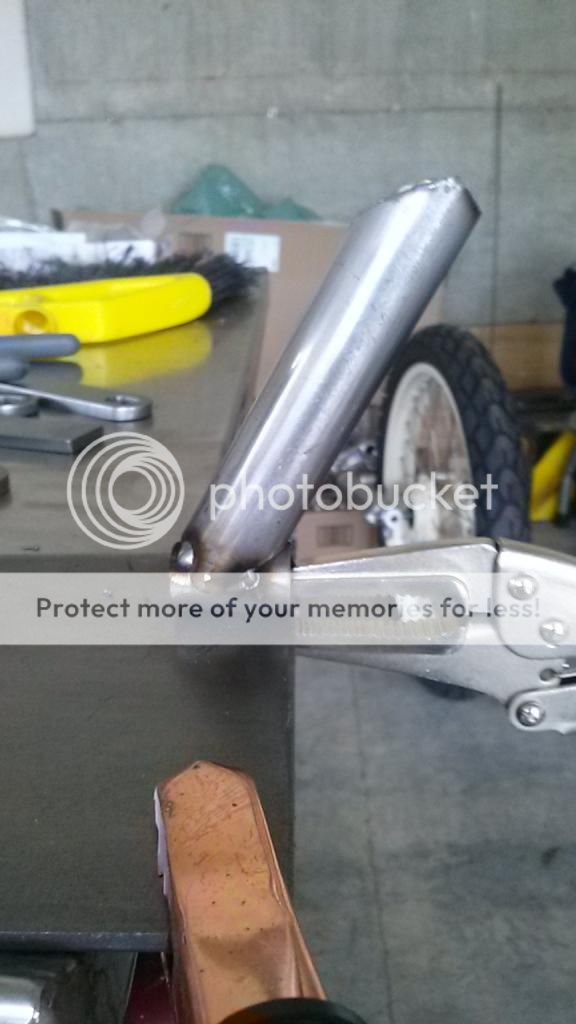
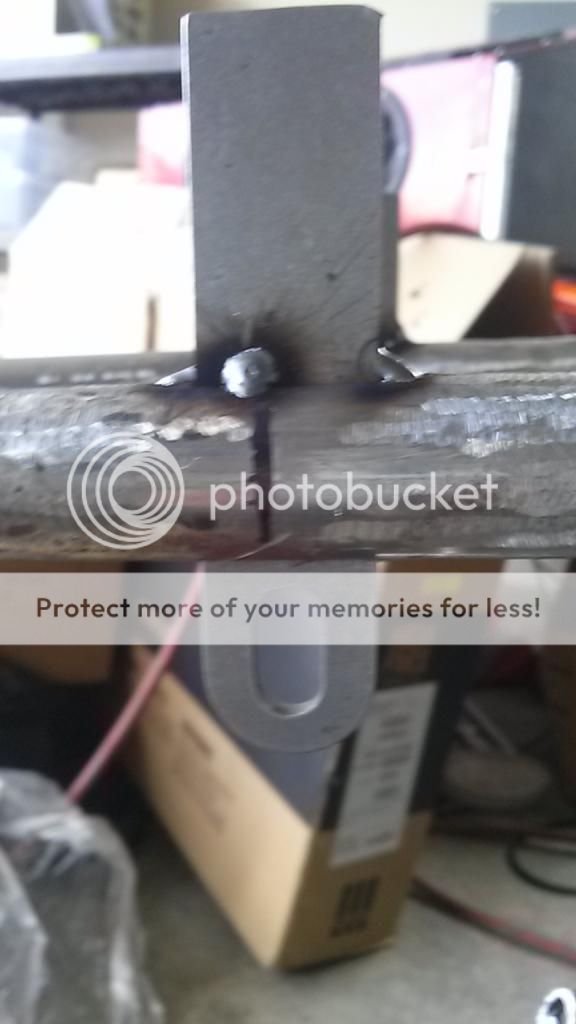
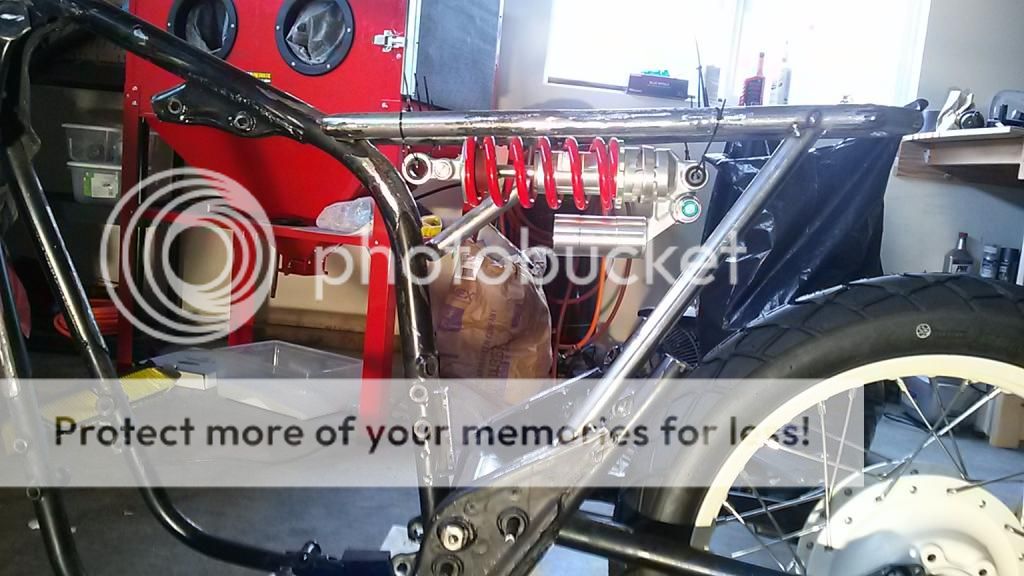
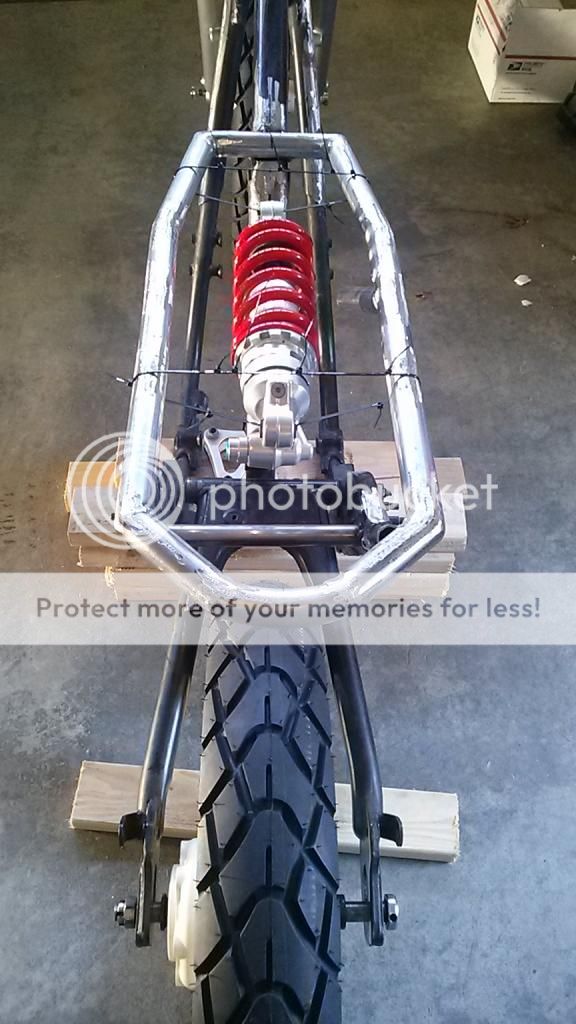
I then proceeded to make the seat frame support and mock up the location for the shock. As you can see, I will be running a horizontally mounted, push rod actuated shock. I've been doing quite a bit of research on the feasibility and the proper way to set up the shock as far as bellcrank arm lengths, size and angle to keep the ratio of pushrod movement to shock travel correct. I haven't seen many of this type of set up used on motorcycles, but I love the way it looks and if can get it set up and working properly, it'll be pretty awesome. That's what building a custom bike is all about, trying to find something new, but at the same time I will not sacrifice safety and functionality for looks. If I can't get it to work I'll go to a more traditional mono shock set up...but I have to try. The bellcrank will be cut out of 1/4 inch plate and will rotate on a heim joint mounted into the frame. The push rod will attach to the swing arm and be adjustable for length with heim joints at both ends.

0504141623a_zps86513155.jpg


0504141624_zps9777549c.jpg


0504141625_zpse1301208.jpg


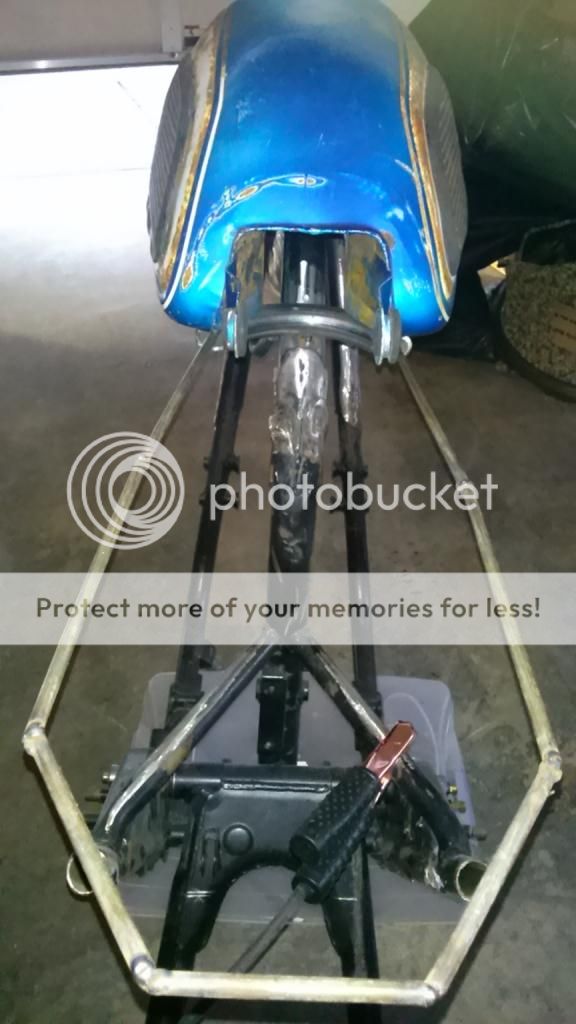
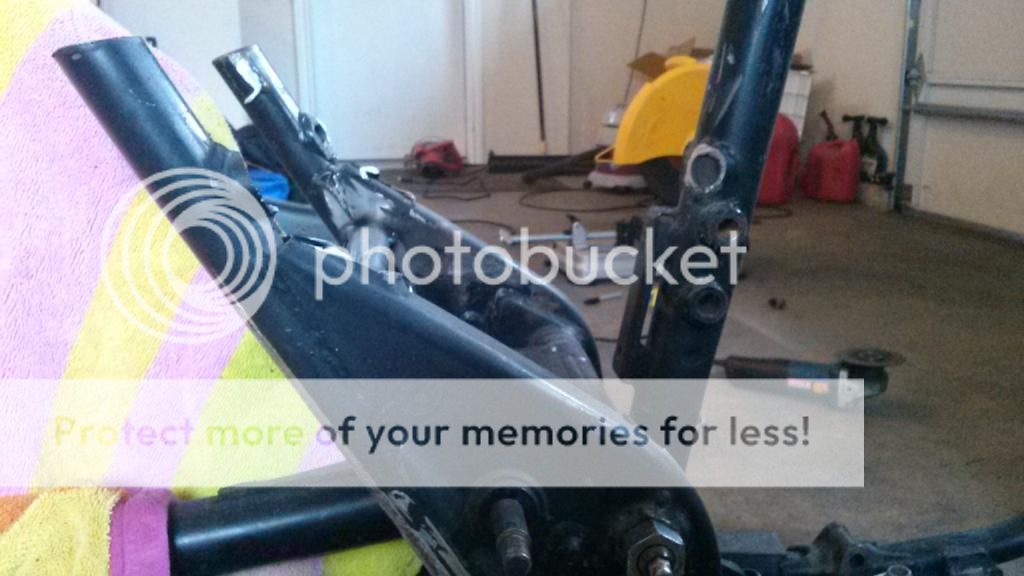
I tacked up a more forward seat support to see how it would look. I think I like it better than the rear support. Opinions welcome

0504141625b_zps7d8e2155.jpg


0504141624_zps9777549c.jpg
 
Re: 1981 XS650 Project Something or other

Going with the second option seat support, IMO, would make the frame be more open at the back allowing to see the shock's actuator linkage, if that's what you're after

DH900sl
 
Re: 1981 XS650 Project Something or other

this is going to be interesting
ideally you want a rising rate on a curve steepening coming into full travel
 
Re: 1981 XS650 Project Something or other

xb33bsa said:
this is going to be interesting
ideally you want a rising rate on a curve steepening coming into full travel

:eek: :eek: Is that a question or a statement??
 
Re: 1981 XS650 Project Something or other

xb33bsa said:
statement

Gotcha, the beauty with a pushrod suspension is can adjust how the shock reacts or compresses during its travel by changing the length of the bell crank arms. For the most part the arms are the same length and have a pivot position of 90 degrees. You change the length of the arms and the angle of the pivot to affect the compression rate of the shock, you can also change the ratio in which the two moving points, pushrod and shock, will react. You can set it up so the shock will compress a great deal with only minimal movement of the pushrod by having one arm of the bellcrank longer than the other. If you make sure that the line from pushrod attachment point to rocker axis to shock attachment point is 90 degrees and is all in one plane, this will give you a linear ratio. By making the angle less than 90 degree you can create a rising rate motion ratio. I've been doing a lot of reading on the subject, I'm not really this smart
 
Re: 1981 XS650 Project Something or other

Any chance you're upgrading the ignition to aftermarket stuff? And if so... Would you sell me the pick-up coil from the stock ignition?
 
Re: 1981 XS650 Project Something or other

VonYinzer said:
Any chance you're upgrading the ignition to aftermarket stuff? And if so... Would you sell me the pick-up coil from the stock ignition?

Sorry Von, the stock ignition is living another life in my buddies bike
 
Re: 1981 XS650 Project Something or other

I've been enjoying the great weather we've finally been getting and working on getting the rear suspension sorted out on paper and in my brain. Originally I was going to fab up a bellcrank, but I discovered one off of a 07-08 R1 would work great. What I liked most about it was that it has a captured needle bearing at the pivot point. It was also a nice beefy piece of machined aluminum, and best of all, it was 20 bucks. I went through several designs and drawings for the mounting of the shock, I actually had some brackets fab'd out of 1/4 inch plate but I couldn't stand the way they looked, just too big and clunky. Came up with my final design using tubing, sourced the parts, last ones were delivered yesterday and I'm ready to get going again. No family at home this weekend, so it's me, the band saw, welder and the bike...I'm excited :D
 
Re: 1981 XS650 Project Something or other

This is the bellcrank I found, came from a 2008 Yamaha R1. I needed the bellcrank to provide a linear (straight line) motion so I wouldn't have any up and down movement of the shock as it compresses. The design and mounting location I finally settled on provides me with around 2 inches of linear compression of the shock, which is just about perfect as my shock has 1.75 inches of travel.

bellcrank_zps6384c280.jpg


bellcrank2_zps5097dc11.jpg


Hope everyone enjoys there weekend, I'll be posting pics and updates soon
 
Re: 1981 XS650 Project Something or other

Well, last weekend ended up turning to complete shit with no fabrication getting done. My band saw took a dump on me and the most important parts from Bung King were sent to the wrong address. So this past week I ordered the part to fix my band saw and waited for my Bung King order to show up. Saturday roles around and finally the Bung order shows up and I was able to get a couple hours in the garage on Fathers day. I'm making it so the whole shock/bellcrank mount will be removable from the rear subframe

Here are the parts from Bung King, countersunk bungs, threaded bullet bungs and some 1/4 inch thick brackets

0615141029b_zps33221e4e.jpg


0615141029_zps1468b0a5.jpg


This is the countersunk bung, there will be one on each side of the bellcrank attached to a piece of 1 inch .120 wall tubing

0615141044a_zps0456b593.jpg


0615141057_zpsf57b1287.jpg


I then slotted the seat rails for the brackets and tacked the front two in place

0615141320_zpsa0d5e250.jpg


0615141320a_zps6f2ae5df.jpg


0615141331_zpsd7839fb8.jpg


0615141331a_zps34717ee1.jpg


0615141414_zps4935042d.jpg
 
Re: 1981 XS650 Project Something or other

if the bell crank is mounted to the seat tubes you will need to beef them up to negate flexing with the very high directional loads they are now involved with
triangulation with extra tubes would be a good start
 
Re: 1981 XS650 Project Something or other

xb33bsa said:
if the bell crank is mounted to the seat tubes you will need to beef them up to negate flexing with the very high directional loads they are now involved with
triangulation with extra tubes would be a good start

Thanks for the input xb, that is part of the total plan. I'm trying to make the whole rear subframe as stiff and safe as possible. As I get further along and add tubing and plate as bracing if you still see a problem area please let me know
 
Back
Top Bottom