Follow along with the video below to see how to install our site as a web app on your home screen.
Note: This feature currently requires accessing the site using the built-in Safari browser.
We noticed you are blocking ads. DO THE TON only works with community supporters. Most are active members of the site with small businesses. Please consider disabling your ad blocking tool and checking out the businesses that help keep our site up and free.
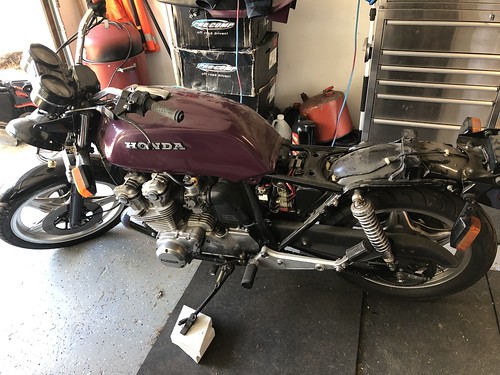
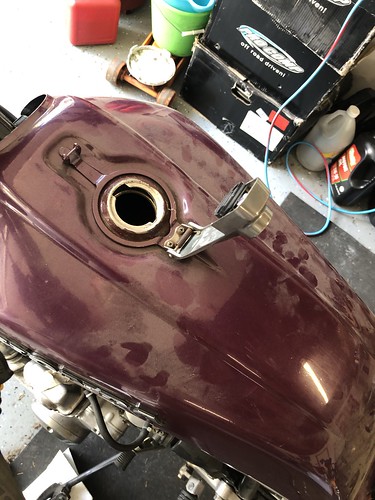
Spent a long time on here (and CB750c.com since my ideal bike was DOHC Honda) checking out the projects while actively looking for a bike that I liked, at a price I thought was good. It finally happened. Recently purchased a 1979 Honda CB750f. Only ~17,000 miles on the odometer. Very clean and runs. Have always done my own maintenance on my cars but looking forward to getting more engine knowledge/work as this project goes on.
Here's the bike. The purple will be gone away with ASAP.
Ended up getting this bike a VW dealership. The previous owner had traded it in with 3 other cars. So, the FSM came with it. Along with a note with recommend maintenance and other tips. (Which I feel are pretty self explanatory but nice none the less.)
-First issue is my front brakes are semi-seized, I can push the bike but it's a workout. Going to pop those open and drain them and most likely rebuild them.
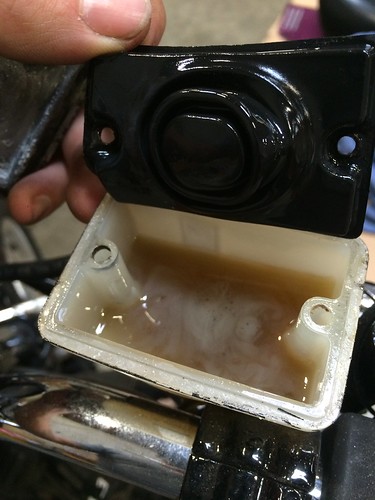
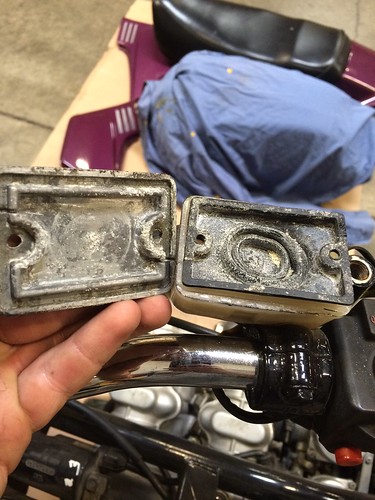
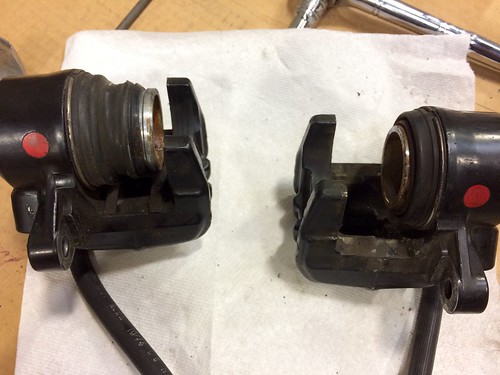
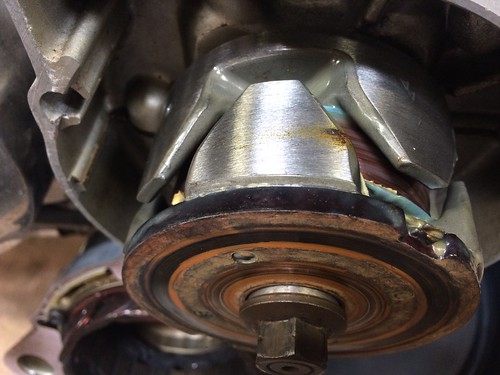
Not much time for the project right now, been getting ready for the annual camping trip to Detroit Lake, OR. But I broke into the front brakes just a little bit to see why they're locking up. Here's what I found:
That's actually an incredible bike. If all those notes are true, I wouldn't mess with that thing at all but to get all the safety issues rectified. I personally don't like purple either, but man, I will shed a tear if you start tearing that bike apart.
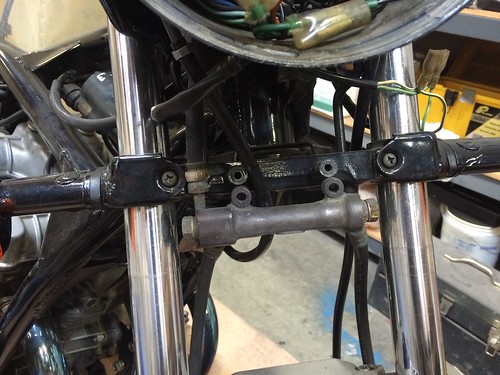
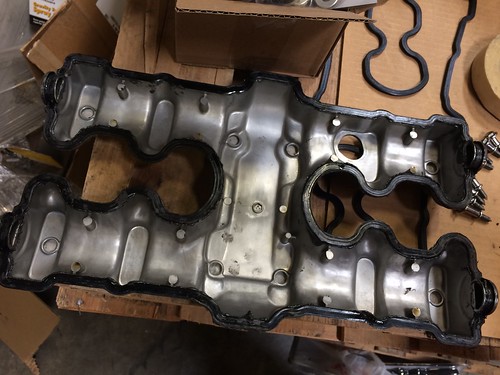
Got the front calipers pulled off. Seems that the right front caliper was the one that was seizing. Just waiting on my rebuild kits from Georgefix http://www.ebay.com/usr/georgefix. Also, ordered up a valve cover gasket and bolt grommets so I can knock out my valve clearances soon.
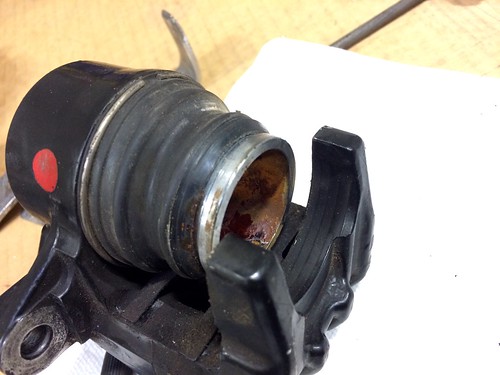
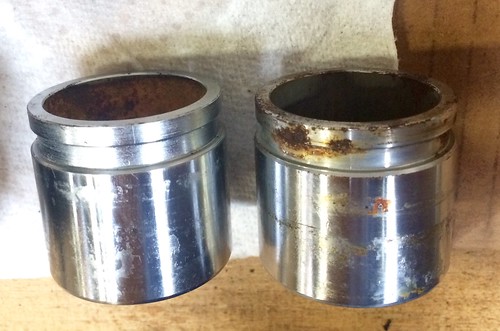
Hoping I can just clean these up and don't run into issues having to replace the calipers. Didn't order replacement pistons either. Wanted to see what the current ones looked like first. There's alway a budget ;D
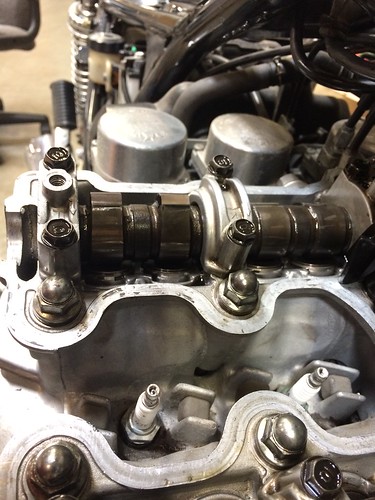
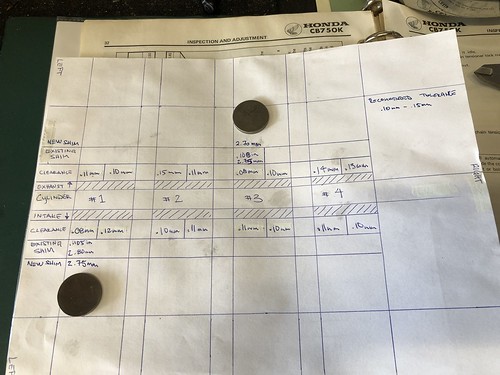
What do you guys think? The guys over at www.cb750c.com recommend .004" to .006" (~.010mm - 0.15). At first I was worried about the 0.15 and 0.14mm exhaust clearances. But, with their specs I should be loosening the 0.08mm clearances.
Untitled by CT, on Flickr Untitled by CT, on Flickr Untitled by CT, on Flickr
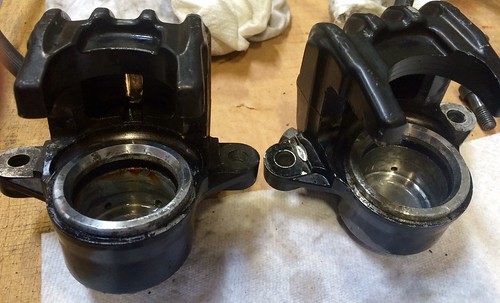
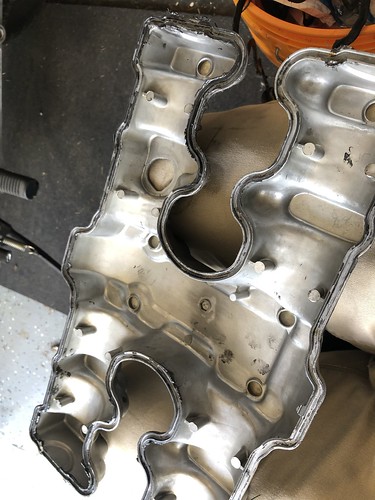
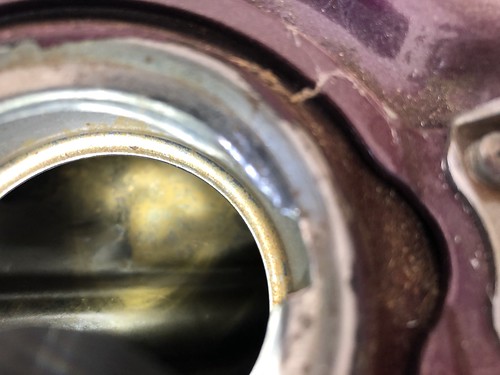
-Looks like the PO used some RTV. That's a no-no
Untitled by CT, on Flickr
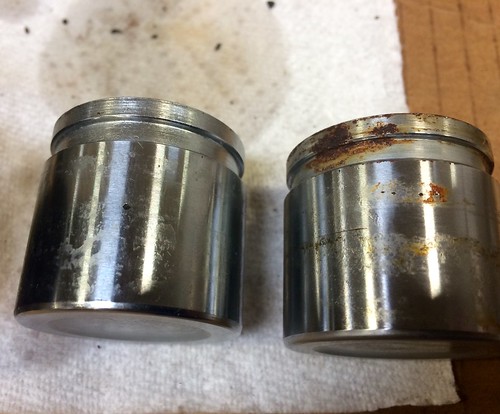
-Looks used as it should, but not to bad IMO. Anything I should be doing to this as far as cleaning?
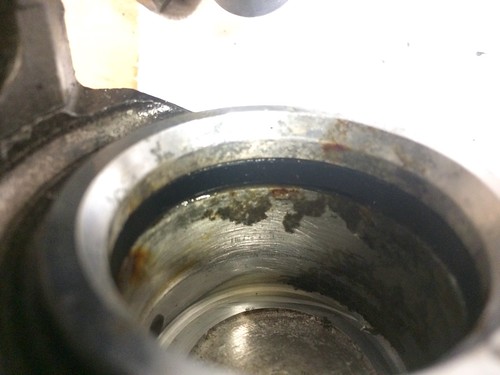
As long as your Pistons don't have any pitting you're good to reuse them. You can "hone" the inside of the caliper by hand with some scotch brite pad just to clean up any oxidation. Most important thing is to pull out the rubber seal and clean the hell out of the channel that it sits in. Get some dentist tools and clean the upper and lower corners really good. Depending on the shape of those seals you may be able to reuse, but they should be available for short money on eBay for genuine NOS. I had issues with aftermarket rubber being too tight. That piece is what allows the piston to return to its resting position when you release the brake lever - it basically "twists" outwards as the piston is pushed out, and when released it pulls the piston back with it to release pressure on the pad. If there's any junk behind the seal it will create too much pressure and the piston will not be able to return correctly. Pay special attention to the side that was seized.
When installing, coat the rubber seal with brake fluid and press the piston in. There should be a bit of resistance, but you shouldn't have to force it in.
I've been following most your builds and saw where you had an issue with the seals. I got my rebuild kits, and the pistons look good after a lil scotch bright. Already dental tooled the seal grooves. Will be putting them back together once I get the valve shims buttoned up.
If you're planning on taking the cams out then get a flat punch and whack the cam cap bolts a couple of times before you try and loosen them or you'll be buying Helicoils.
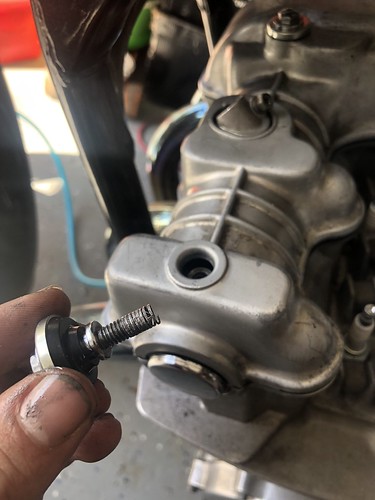
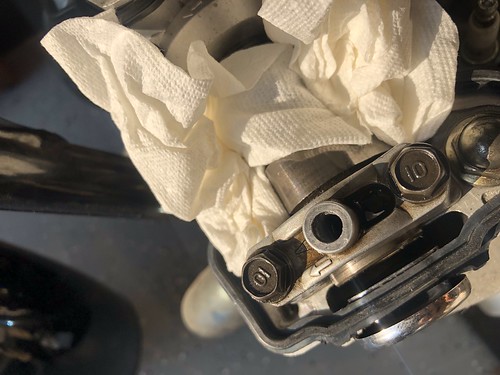
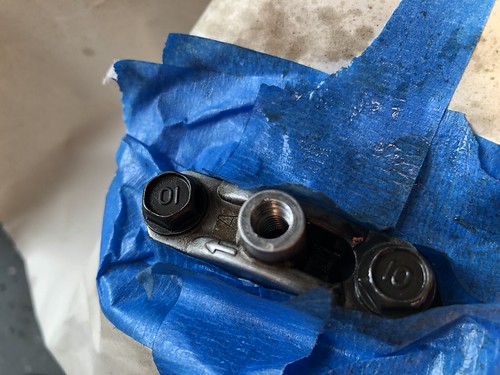
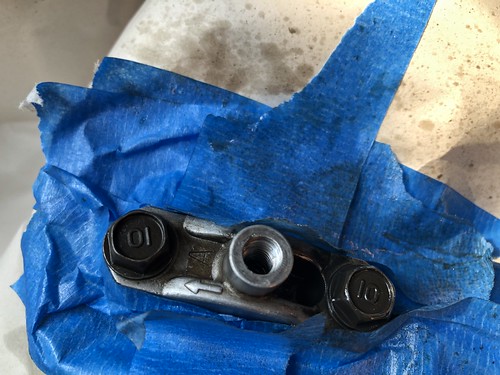
Finally getting back to the project cause I just want to ride!! Got the new shims in then this happened.. About to go get a E-Z Lok kit for M6x1.0 for the cam cover bolt that stripped its hole.
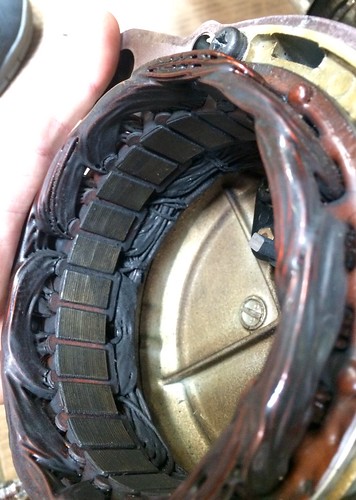
In the meantime going to get a new standard lead acid battery since my died while its been sitting the last two years. Also, lost my original key but luckily had a spare.
Tank doesn't look too bad inside, wondering if I should be doing one of the tank coatings or just do a gas rinse a couple times.
Going to change oil and plugs and get this baby running while there is still some sun!
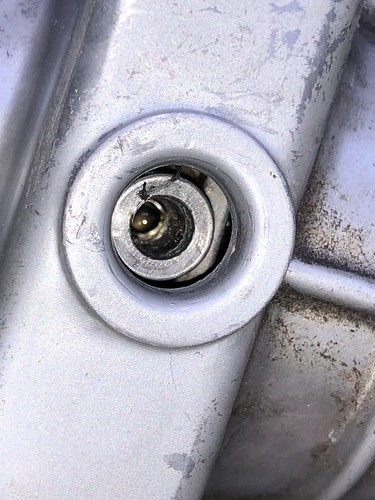
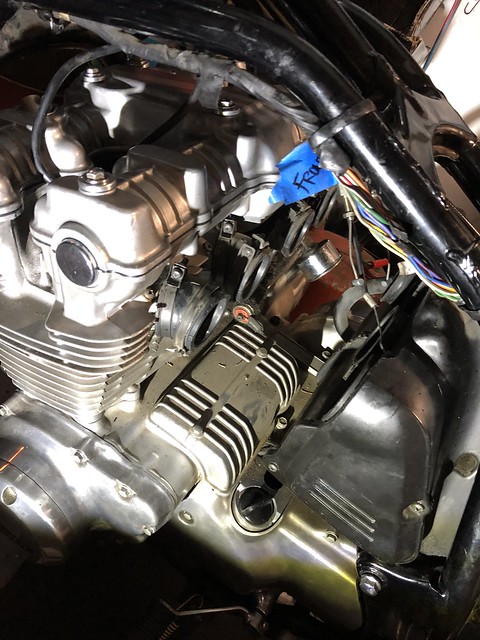
Got the EX-Coil into the Cam cover hole of the cam holder. Also got anew battery installed and she fired and ran.
Next is to go through the carbs as she doesn't run without full choke.
Untitled by CT, on Flickr
Prepping to drill out old threads.
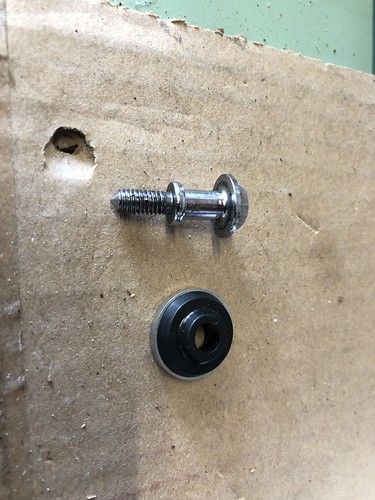
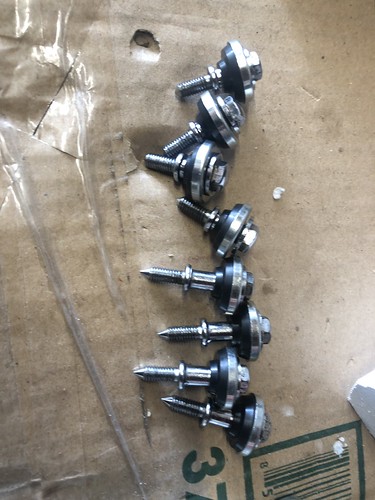
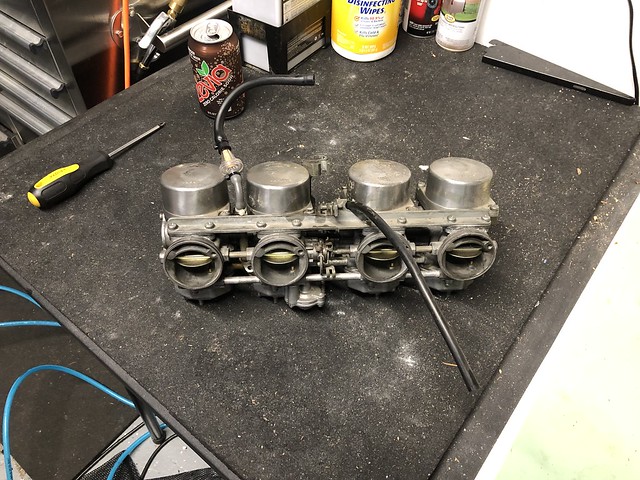
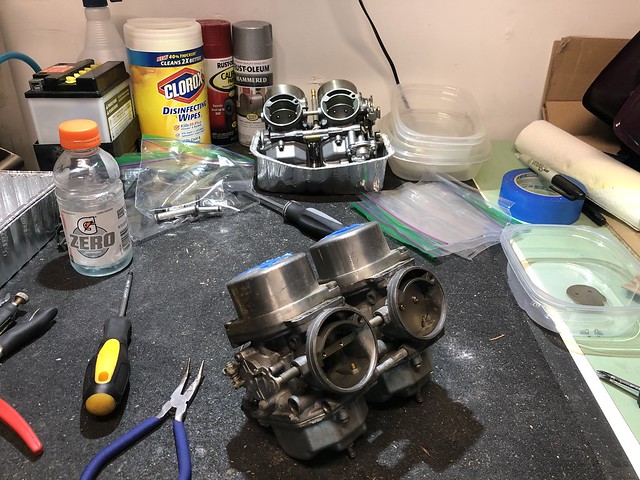
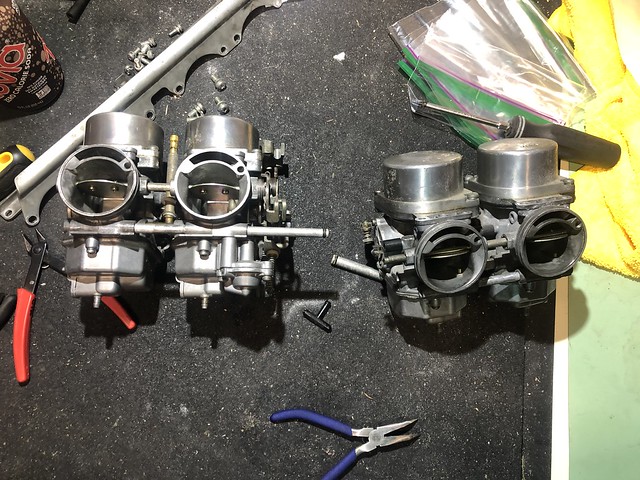
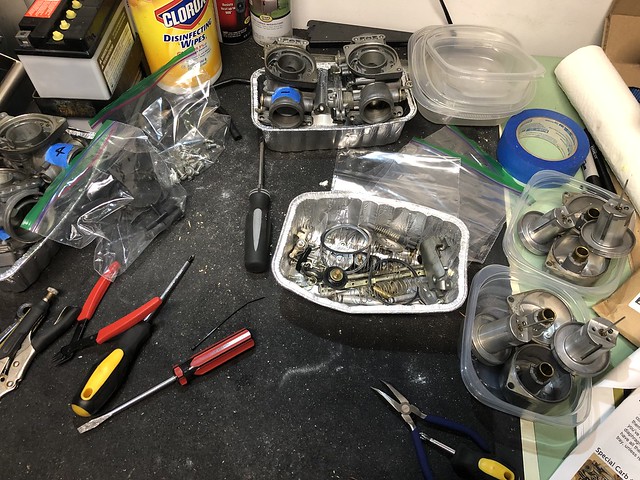
Got the carbs out and now tearing them apart. Ordered new rubber for them, also ordered all new Allen head bolts so I can get rid of the stock Philips head screws. Will get some parts cleaner and start soaking all of these parts.
Got the carbs out and now tearing them apart. Ordered new rubber for them, also ordered all new Allen head bolts so I can get rid of the stock Philips head screws. Will get some parts cleaner and start soaking all of these parts.
They are not Philips head. They are JIS. Get a #2 and #3 JIS screwdriver (I just use JIS hex bits) and you won't be stripping the heads.
And while you have the float bowls off, fill each with 91% isopropyl alcohol to check for overflow tube leaks.
This site uses cookies to help personalise content, tailor your experience and to keep you logged in if you register.
By continuing to use this site, you are consenting to our use of cookies.

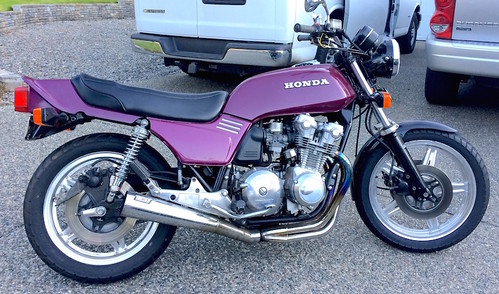
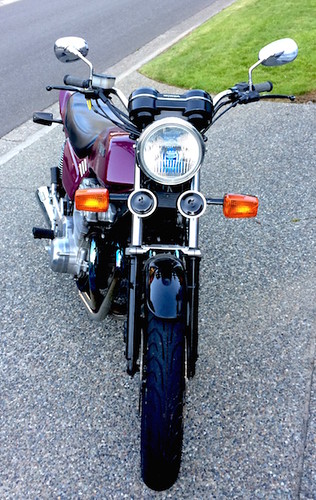 Photo Jun 28, 8 25 31 PM by CT A, on Flickr
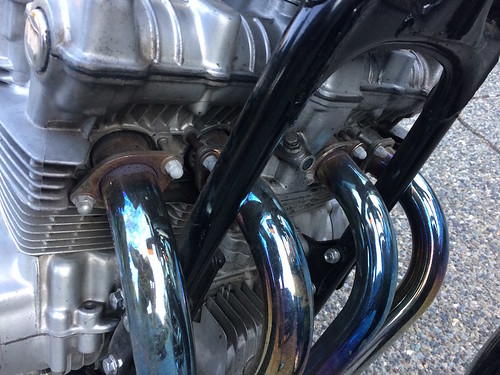 Photo Jun 28, 8 25 51 PM by CT A, on Flickr
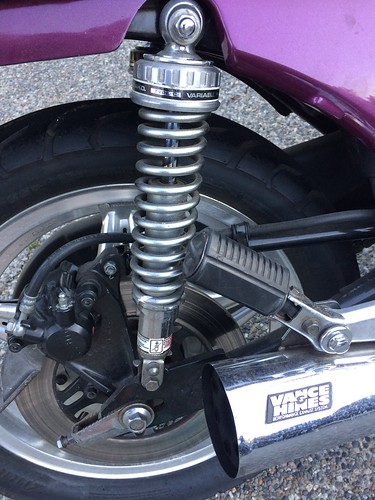 Photo Jun 28, 8 26 21 PM by CT A, on Flickr
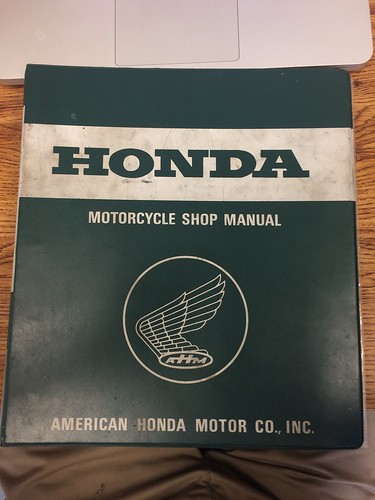 Photo Jul 07, 3 20 06 PM by CT A, on Flickr
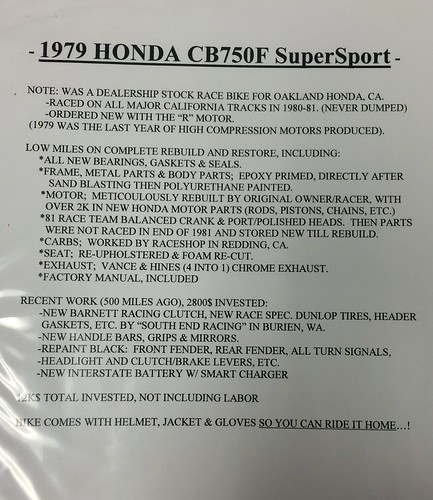 Photo Jul 07, 3 20 21 PM by CT A, on Flickr
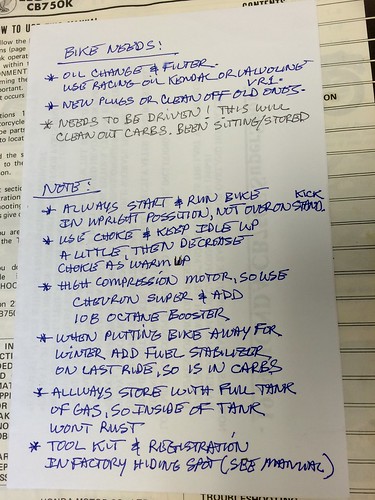 Photo Jul 07, 3 20 42 PM by CT A, on Flickr