
We noticed you are blocking ads. DO THE TON only works with community supporters. Most are active members of the site with small businesses. Please consider disabling your ad blocking tool and checking out the businesses that help keep our site up and free.
You are using an out of date browser. It may not display this or other websites correctly.
You should upgrade or use an alternative browser.
You should upgrade or use an alternative browser.
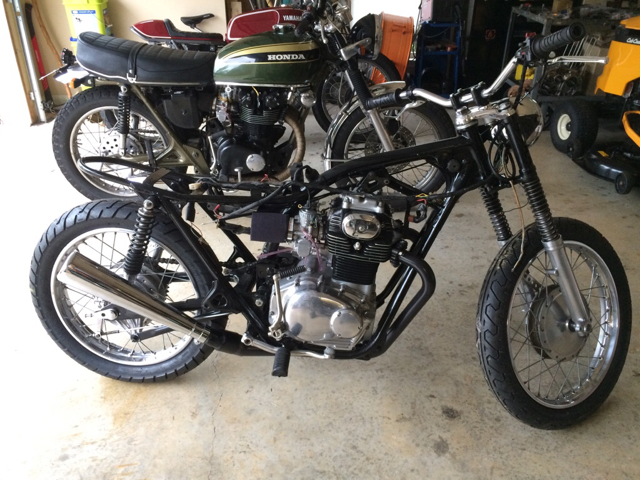
1971 SL350 Father & Son Project
- Thread starter xulf13
- Start date


Nice details. Takes time when doing it this way but you'll be able to work on it without getting your hands dirty.
Sent from my SAMSUNG-SM-G920A using DO THE TON mobile app
Sent from my SAMSUNG-SM-G920A using DO THE TON mobile app
xulf13
West of Tennessee
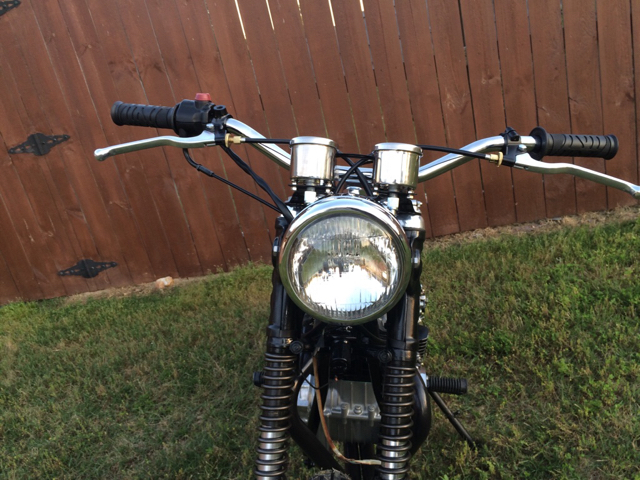
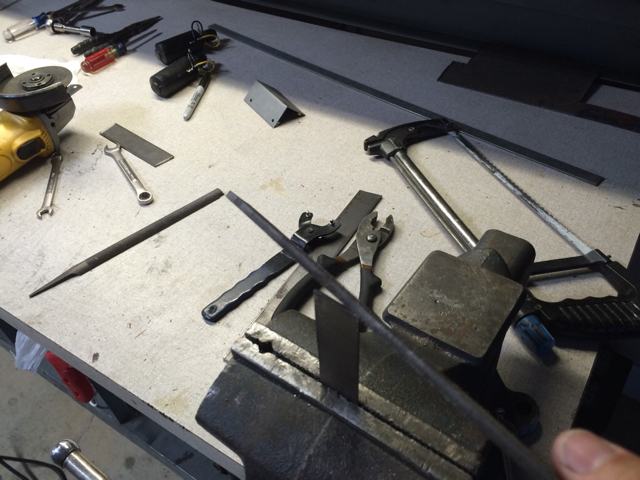
Thanks Cory. The work comes in waves, as time permits... Spent sometime sorting, painting and installing the foot rests, the rear brake pedal, levers brackets etc right after our 465 mile ride over the Ozarks. Then just yesterday I installed the head lamp. I'll try to get all the ignition stuff wired and set up this weekend. I got a few more brackets to build and some little welding to do. Still need the seat and the tank. I want to get this bike running before the end of the month.

Sent from my iPhone using Tapatalk
Sent from my iPhone using Tapatalk
JustinLonghorn
No Purple Hearts, No Blue Ribbons
Looking good, man.
xulf13
West of Tennessee
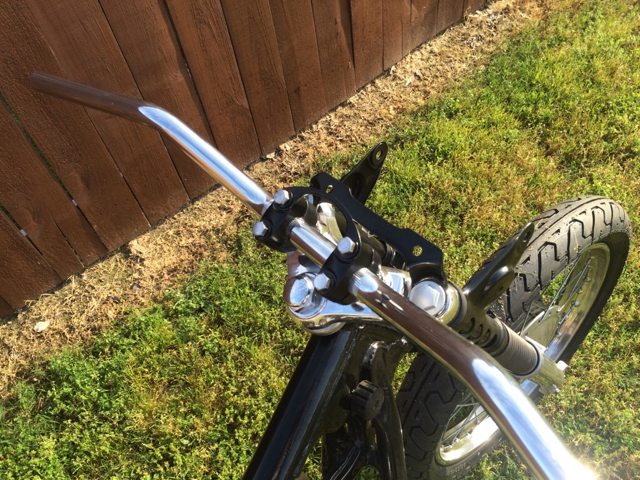
Thanks Justin. I ran into a small snag yesterday and realized I will have to make a custom gage bracket so that the cables are not kinked from being to close to the head lamp. I'll try to get that sorted over the weekend. You going to Barber this year?JustinLonghorn said:Looking good, man.
JustinLonghorn
No Purple Hearts, No Blue Ribbons
Yep.
Looking good sir. And the stocker behind it too 

xulf13
West of Tennessee
Thank you much. Though the CB450 is not quite stock anymoreadventurco said:Looking good sir. And the stocker behind it too

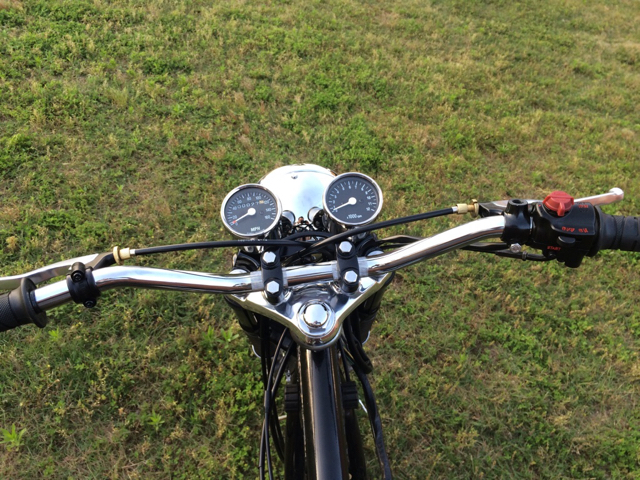
Got the gauges in today. Had to fab and weld on to the old bracket to get the gauges in today. Hoping to get the bike running by next weekend.

xulf13
West of Tennessee
Just when everything was going so good and while I was working on the wiring, I noticed the shifter was stuck and would not budge. After some help from fellow members Kanticoy and Clem, I was able to figure out that the aftermarket shifter fork did not clear the clutch cover fully and was causing the shifter to be stuck in place once I had put the cover on... This will get resolved with a little grinding of the shift fork.
Now I have to clean the old gasket, trace and make a new one... Then back to the electrics...
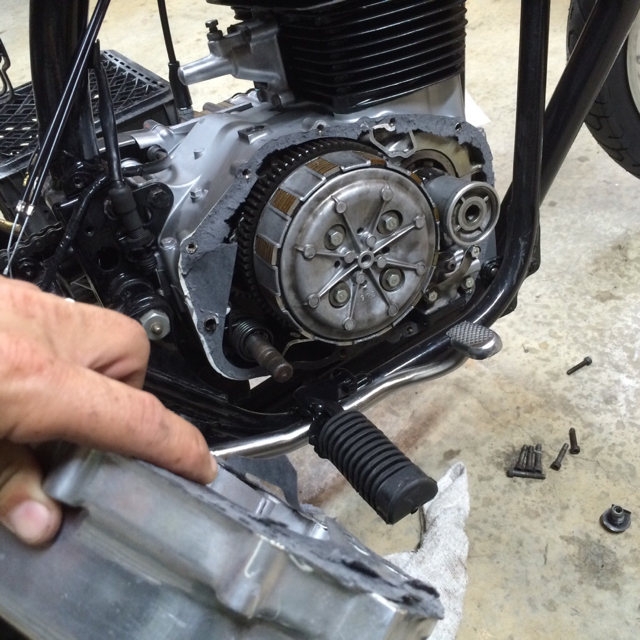
This part of the shifter fork was catching on the clutch cover..

Sent from my iPhone using Tapatalk
Now I have to clean the old gasket, trace and make a new one... Then back to the electrics...
This part of the shifter fork was catching on the clutch cover..
Sent from my iPhone using Tapatalk
Did Kiley tell you about Indian Head shellac? It really helps seal it up, plus when you need to remove the cover the gasket won't stick and you'll be able to reuse it more.
Fa$tFreddy100
New Member
I love this thread for 2 reasons. 1. I have children of my own and love to get involved in projects with em. 2. I know what it is to just not have enough time in life to finish doing the things you love. lol. good luck guys.
Never heard of the shellac, sounds interesting. I started coating with grease lately.
Sent from my SAMSUNG-SM-G920A using DO THE TON mobile app
Sent from my SAMSUNG-SM-G920A using DO THE TON mobile app
xulf13
West of Tennessee
deviant said:Did Kiley tell you about Indian Head shellac? It really helps seal it up, plus when you need to remove the cover the gasket won't stick and you'll be able to reuse it more.
I have used Shellac before, (Not the indian head brand though), but I never had to reopen something I used Shellac on to find out that it would help with the gasket removal/ not getting stuck.
Good to know and thanks for the tip.
I used yamabond on this cover ( I know over kill) and I know I'm going to spend a good while getting all this stuff off now.
xulf13
West of Tennessee
Fa$tFreddy100 said:I love this thread for 2 reasons. 1. I have children of my own and love to get involved in projects with em. 2. I know what it is to just not have enough time in life to finish doing the things you love. lol. good luck guys.
Thanks Fa$tFreddy. I'm glad you can relate. It's a little harder getting my teenager son now as involved, but he does help out a lot. Priorities change with time and you can't beat yourself over the head when a project is not finished when you expected to.
xulf13
West of Tennessee
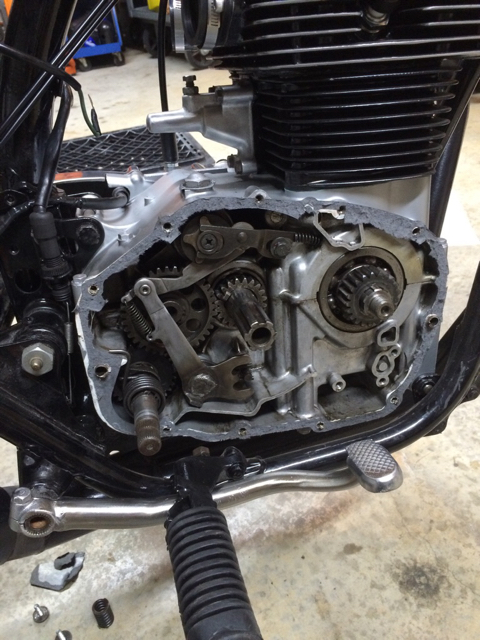
Got the shifter fork out, did a little grinding to clear the clutch cover.. All is clear and it shifts beautifully.

Making a gasket...

Use a little grease to trace the pattern


Some pencil touch up

Cut with exacto knife

Tomorrow is back to the wiring and getting this thing running.
Sent from my iPhone using Tapatalk
Making a gasket...
Use a little grease to trace the pattern
Some pencil touch up
Cut with exacto knife
Tomorrow is back to the wiring and getting this thing running.
Sent from my iPhone using Tapatalk
MississippiNative
Nobody puts a bike away because it stops being fun
This is a well done project. I'm looking forward to the finished product!
Sent from my iPhone using DO THE TON
Sent from my iPhone using DO THE TON


xulf13 said:Cut with exacto knife
I like that technique. Where'd you source the gasket material from?
Sent from my iPhone using DO THE TON
xulf13
West of Tennessee
adventurco said:I like that technique. Where'd you source the gasket material from?
Thanks, I got this gasket paper at O'Reilly's auto parts store, but I'm sure Advanced Auto or Autozone, Napa carry it also. I usually have a roll of two types of gasket material. Whenever I buy a kit. I usually trace the gasket and make my own and keep the OEM gasket for templates. In this case I didn't have a template so I just traced the cover.
Sent from my iPhone using DO THE TON


