Follow along with the video below to see how to install our site as a web app on your home screen.
Note: This feature currently requires accessing the site using the built-in Safari browser.
We noticed you are blocking ads. DO THE TON only works with community supporters. Most are active members of the site with small businesses. Please consider disabling your ad blocking tool and checking out the businesses that help keep our site up and free.
Since my "tinker" time and budget are about to increase dramatically in a couple of weeks I figured I'd throw my project on here. I have been reading on the forum for months and did a quick intro. thread when I signed up. http://www.dotheton.com/forum/index.php?topic=23496.msg249981#msg249981
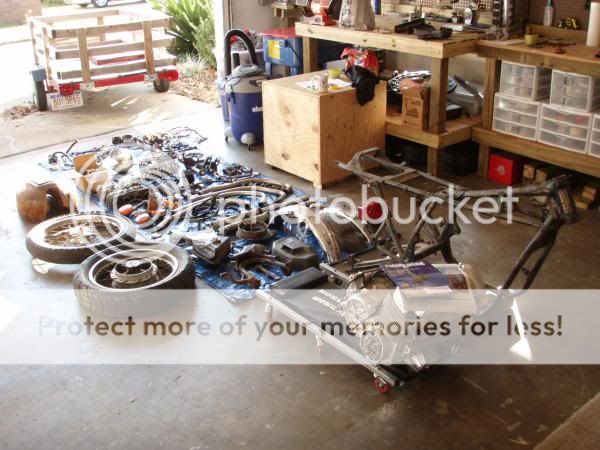
So to keep it short, here is how I picked the bike up.... basically for free.
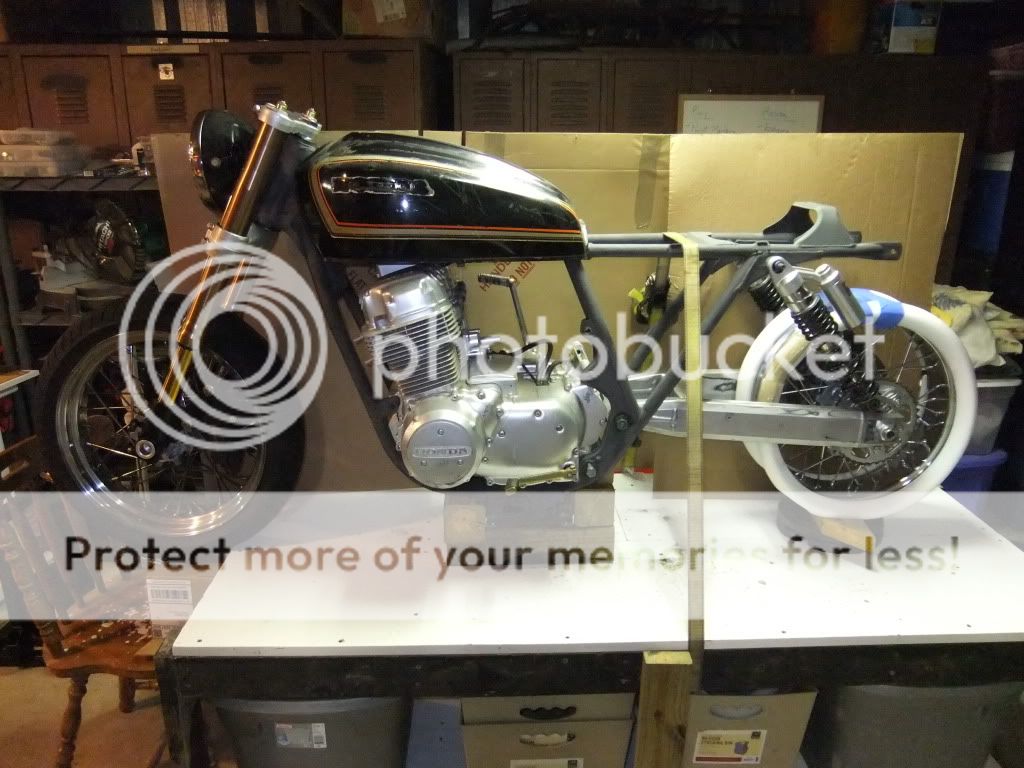
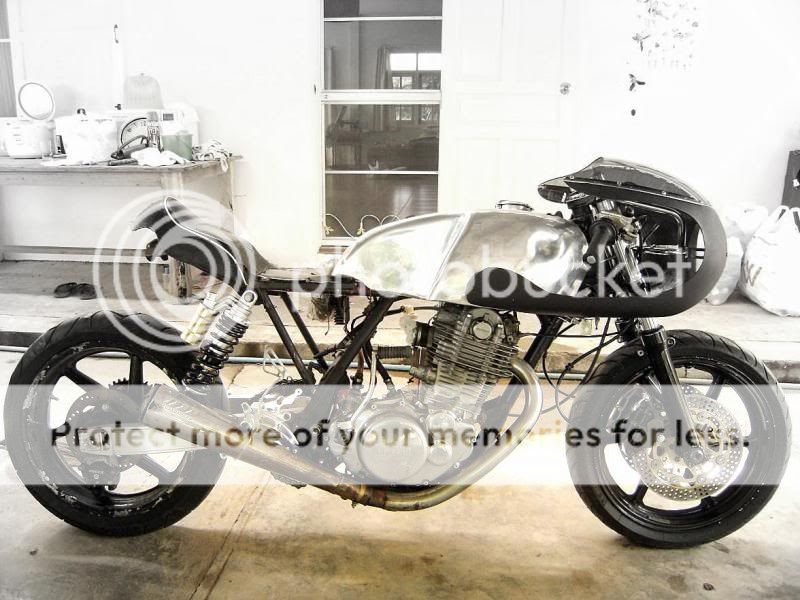
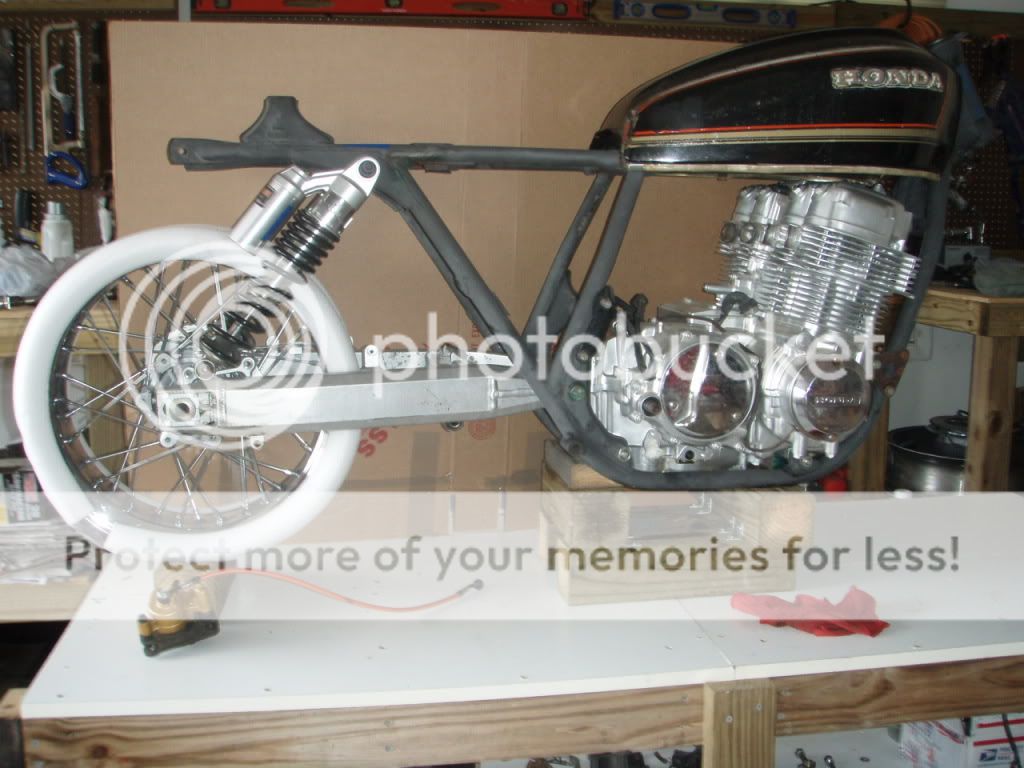
And here is how it sits now.
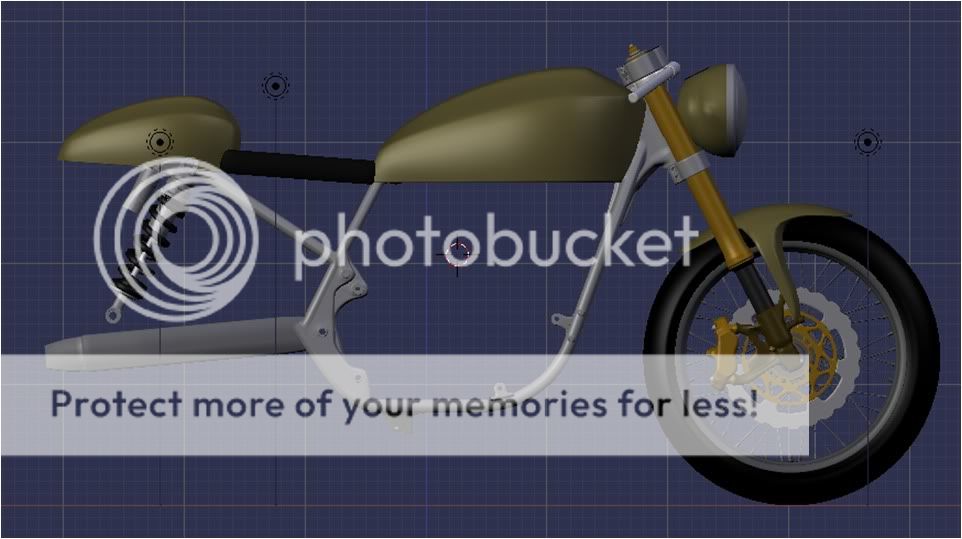
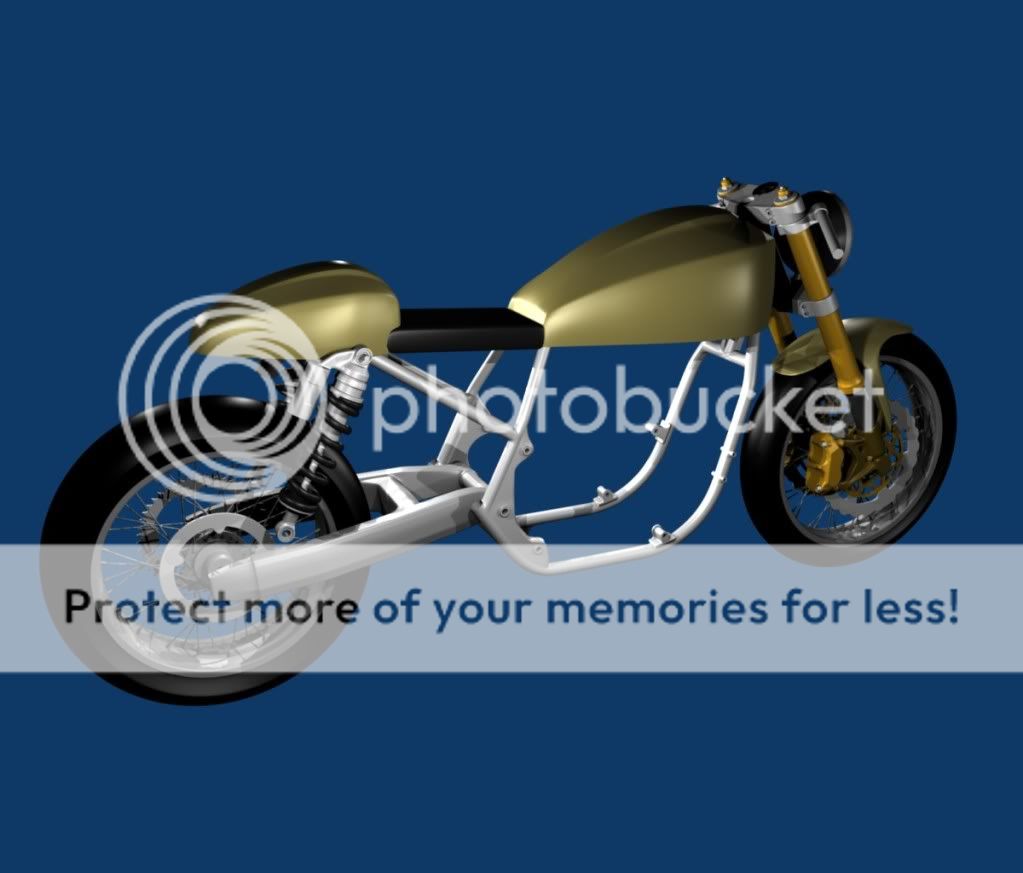
And here is a very rough draft of where it should be going.
I've held off on doing too much because I needed to sort out a title issue. Now that the paperwork is finally on the way (thanks to Diesel450) I will start working on it more. I didn't see much point in doing too much until I knew I could eventually ride it. Well let's see where this goes.
How accurate is the CAD model of the frame? I made one too, but I based it off the drawings available in my shop old shop manual. Would you be willing to share?
How accurate is the CAD model of the frame? I made one too, but I based it off the drawings available in my shop old shop manual. Would you be willing to share?
I'll give you whatever I have but I am not a CAD expert by any stretch of the imagination. It is drawn in Blender, which I downloaded for free and learned only the absolute basics by working through some tutorials. I have the stock frame drawn up in a separate file and it is pretty close because I drew it while having the frame sitting next to the computer, measuring as I went. The tubes are the correct O.D. but have no wall thickness because I draw this stuff just to check aesthetics and to give me a heads up on fitment issues. Send me a message with an email address and I can send it your way if you like.
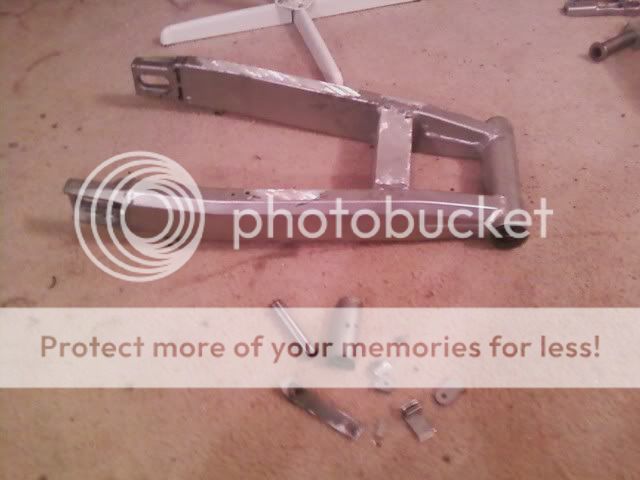
Kind of a lame update but I carefully trimmed the extraneous brackets off of the swingarm in preparation for fitment. Probably took longer than it should of but I haven't played with aluminum in a while and was weary of it softness. Sorry for the terrible pic quality but the old telephono is all I have for a camera for now. I then sat down and started figuring out what to do for the swingarm pivot. The width is going to be easy but deciding on the route to account for pivot bolt diameter might get interesting. I see a frame jig in my future which was going to happen anyways. Just playing around I weighed the ZZR swingarm and the stock CB750 unit to see if I was heading in the right direction. The trimmed ZZR currently sits at 8.5 lbs. with pivot bearings installed, the CB750 arm weighs 10 lbs.
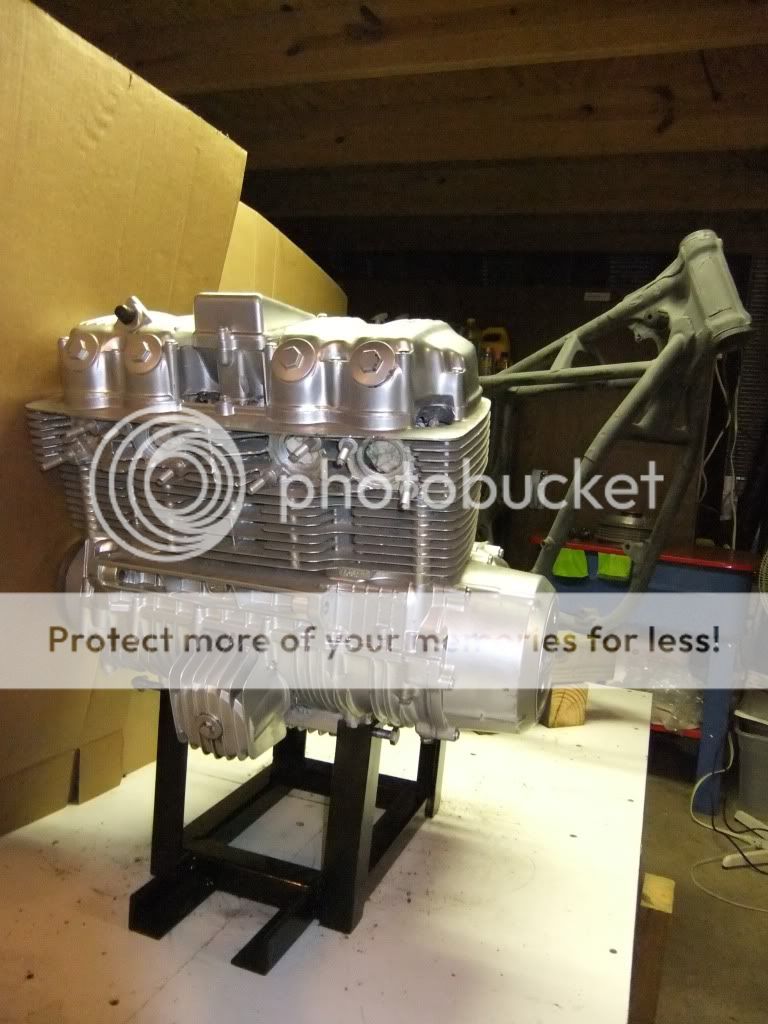
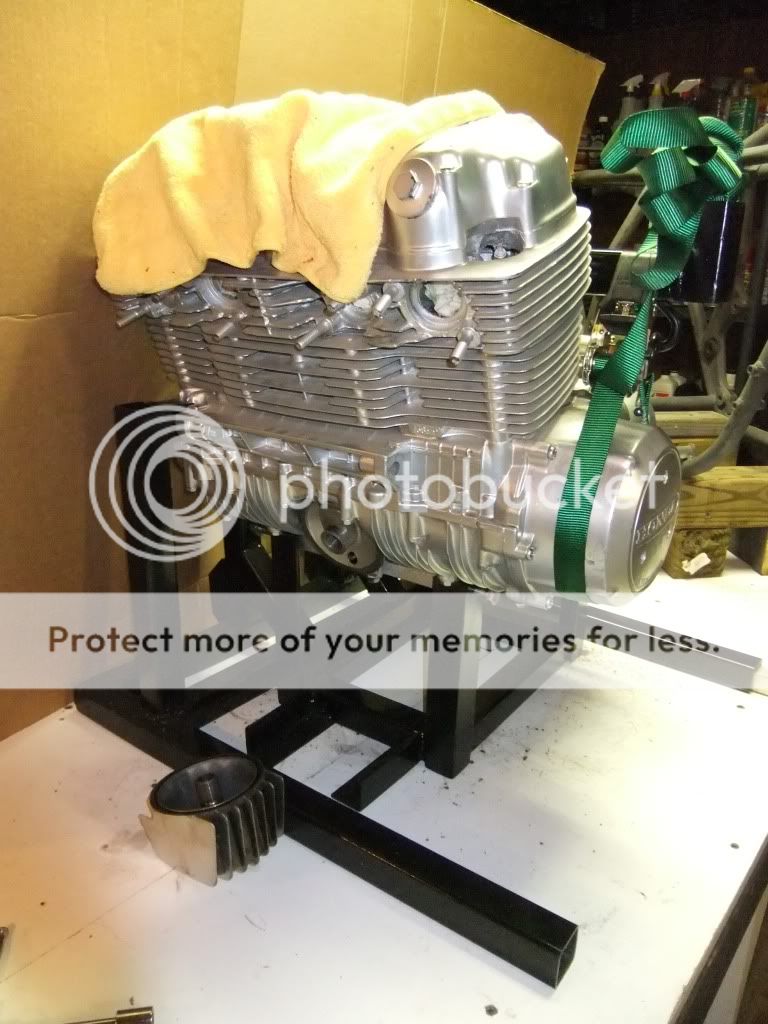
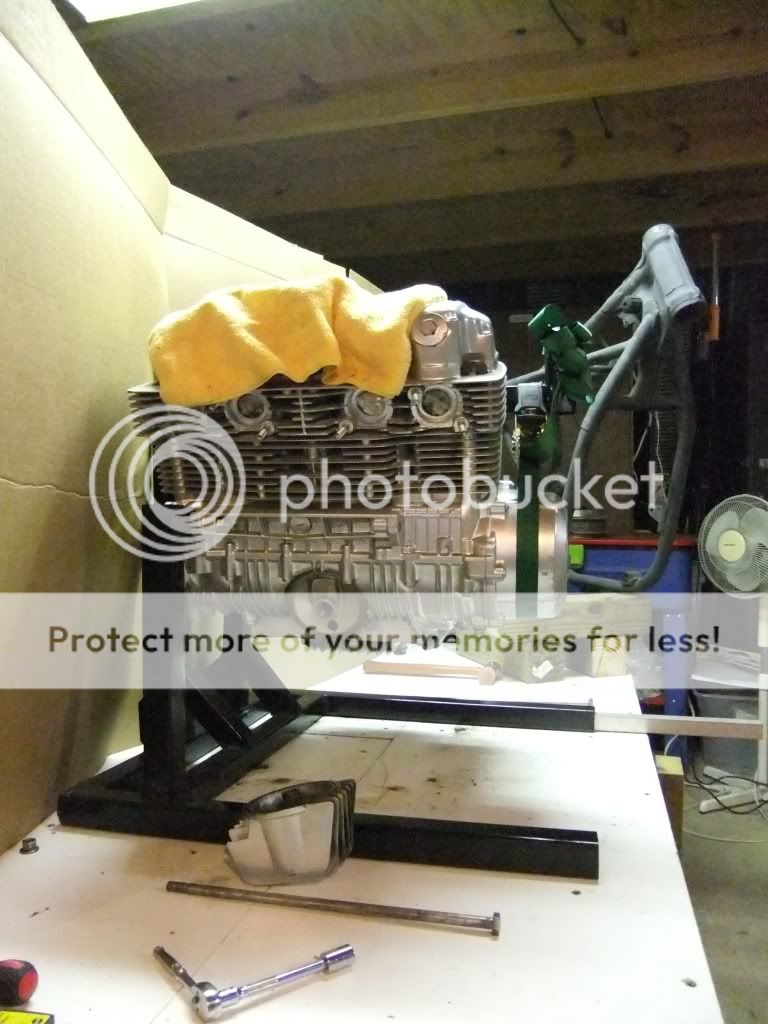
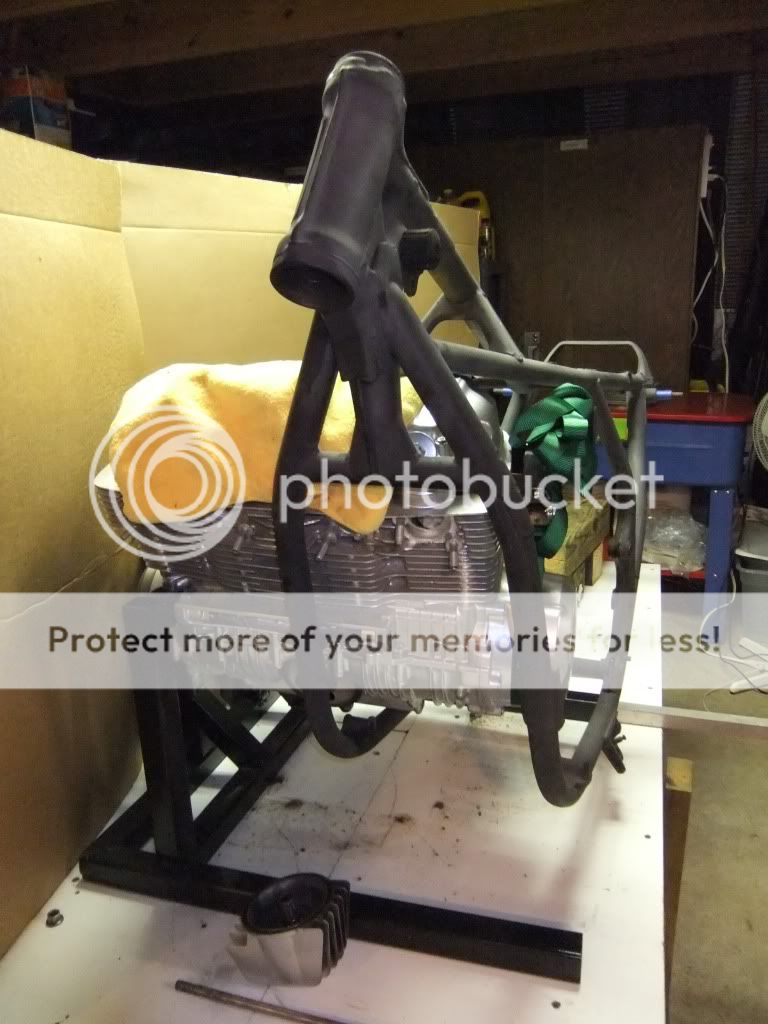
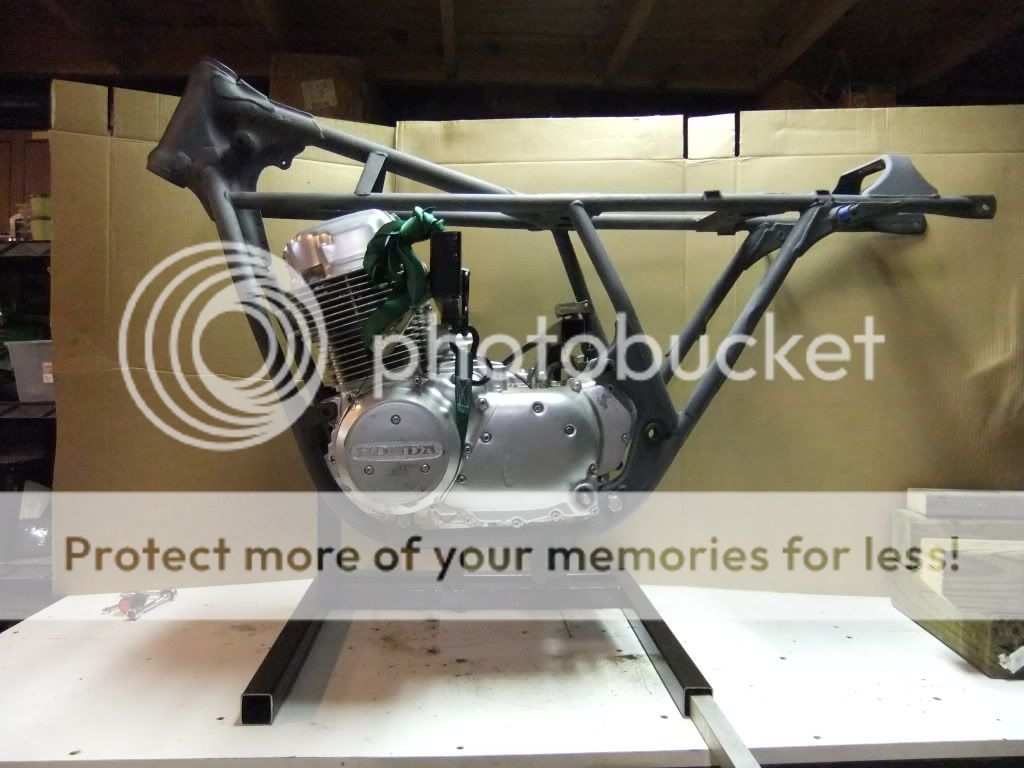
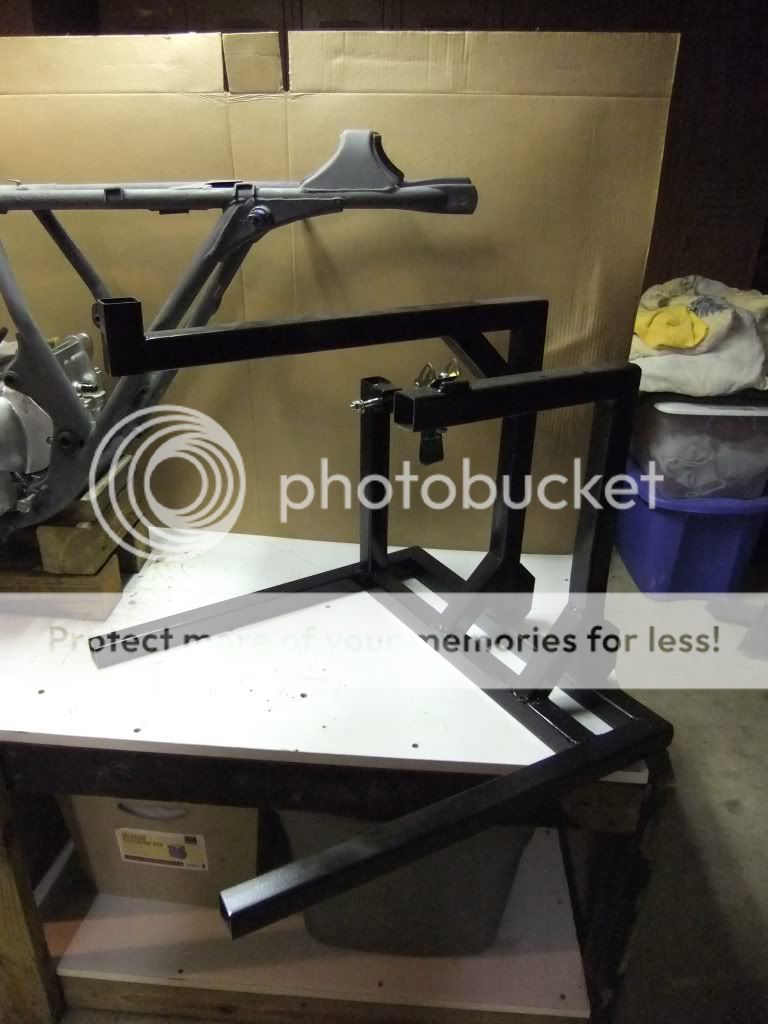
I apologize for the long time period between updates but as we all know sometimes life just gets in the way. I have got some things done, parts purchased, and hours of research logged. I knew I would be doing a bunch of frame/engine mockups due to the amount of suspension and frame mods I envision, so first on my list was a couple of stands. One just holds the engine for the eventual overhaul and the other I am actually kind of proud of because it allows me to take the frame on/off the engine without moving the engine. I know the tried and true method is to lay the bike on its side, which I have done, but being a one man show I wasn’t looking forward to the constant hernia threat over and over again. It gave me an excuse to ruin some metal and do some arc welding. Enough blabbing, I’ll let the pics do the talking. With the stands I was able to go from engine on its stand to the final mockup picture in about 20 minutes without lifting anything heavier than the frame.
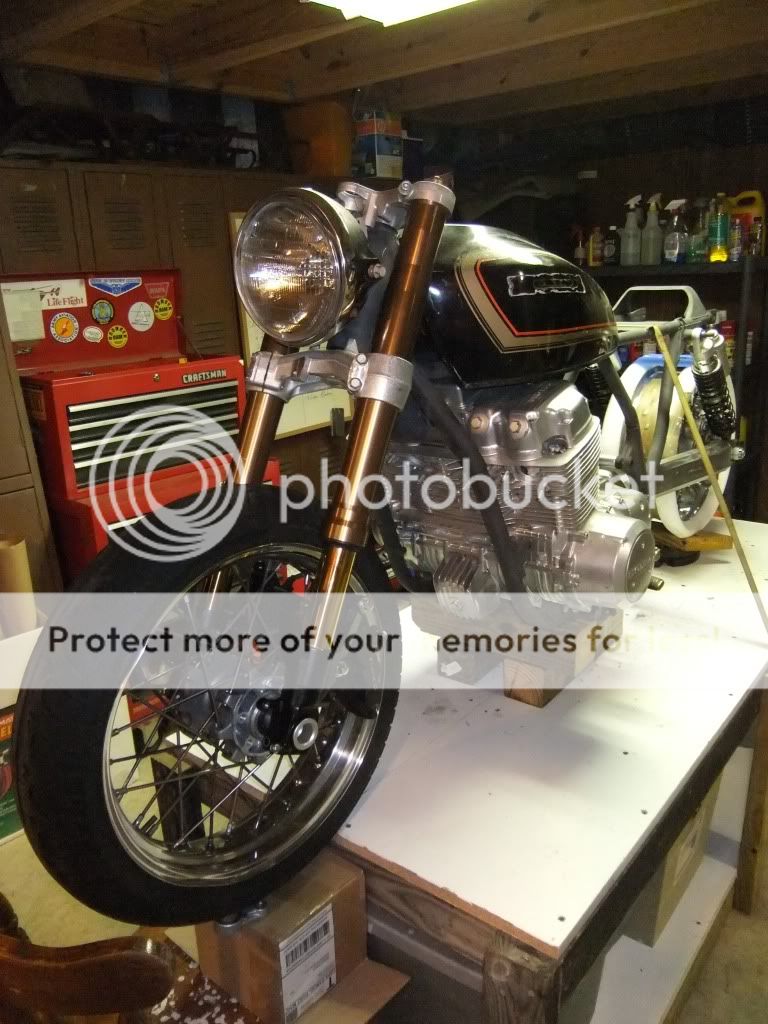
So anyway, this mockup was not just for the sake of staring at it. I am mainly concentrating on fork and swingarm fitment right now. Luckily most of the stuff I found today I was anticipating thanks to all the information available from other builds I have read on the worldwide web. I have two front ends I am trying, the first (not pictured) was a '04 ZX-10R setup with radial mount brakes versus the Haybausa setup (pictured). The Suzuki setup will be easier in the long run. The axle diameter and caliper spacing for rotor diameter are a direct fit for the Ducati Sport Classic front wheel. I will have to clearance the 6-pot tokicos bit to clear the spoked wheel. This also gave me a chance to look at what kind of rotor offset/spacer setup will be needed.
Bearings are available to use the Suzuki stem but I will probably need to get another stem turned that is just a tad longer. I have to get the bearings in to make sure. Onto the rear of the bike, a quick lineup shows an offset sprocket will take care of the chain run, and thankfully due the wide tire chopper market, those are available. Shock clearance will be manageable with the final mounts. The perspective in the pic below is off, the front sprocket obviously needs to come outboard.
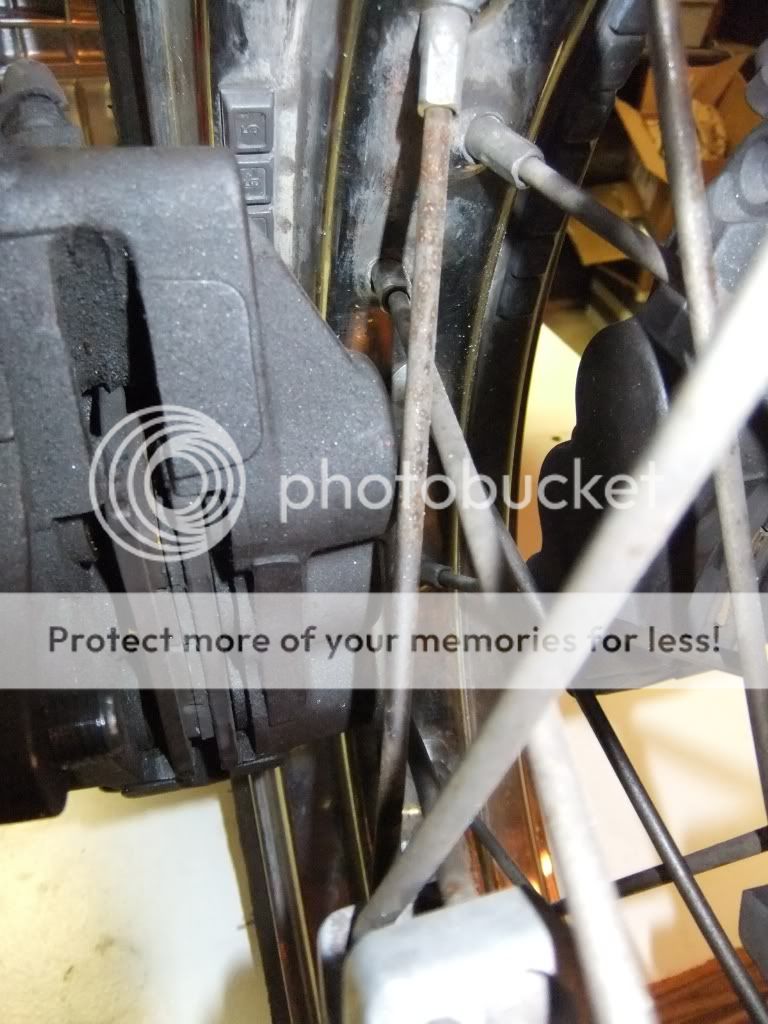
I will not be able to use the stock Sport Classic rear caliper mount due to interference with the right side shock mounting. I have already discovered a different Ducati setup that moves an upgrade 2-pot piston caliper to the 12 o'clock position. The "racebike" lower mounting position could be figured out as well.
Thank you, I hope it comes together. I was staring harder at the ZZR swingarm today and after messing with it for months I discovered it will not work without mods I can probably avoid with a different arm. It appeared to be symmetrical but is off by enough that dual shocks would be a stretch without really altering the pivot. After some research I found a couple of cheap replacement options with better pivot widths as a bonus. I also started drawing up some spacers to get machined for the front wheel and some front rotors are on their way to finalize rotor spacing and caliper clearancing.
Im really digging that motor stand that lets the frame be handled too. Also being the only set of hands on my 750, it got heavy a lot! I don't suppose you have a set of prints or dimensions for that youd want to share or sell? Id love to build one myself. Bike looks great too, got me itching to start my next one!
Im really digging that motor stand that lets the frame be handled too. Also being the only set of hands on my 750, it got heavy a lot! I don't suppose you have a set of prints or dimensions for that youd want to share or sell? Id love to build one myself. Bike looks great too, got me itching to start my next one!
Give me a bit to take some decent pictures and overlay them with some measurements for you. Just understand I am not an engineer and this was more of a welding project than anything......at least you can get a good laugh at the weld quality and all the warping and burn-through, hehe. I actually had to use a torch to straighten a couple sections after I warped the hell out of it.
Thanks man. And fyi, I am an engineer and carded toolmaker and my welding SUCKS!!! So no worries there. It just never occurred to me before to think of a engine stand like yours, but will sefinetly come in handy this winter when I take mine back down for maintenance and for the fresh 77 carcass I just saved from craigslist.
B) Had found myself wondering about a similar engine support/stand as you have constructed. Great execution. the only basic difference I envisioned is a little taller and on wheels so that there would be no lifting of anything. Adjust the height of the frame sitting on the Cheapo Motorcycle Stand to accept the engine and roll it in then lift the frame a little to drop the engine in and boom done.
Definately subscribed to your thread to compliment you by stealing ideas !
By the way count me in on the pics & dimensions of your stand if you put something together.
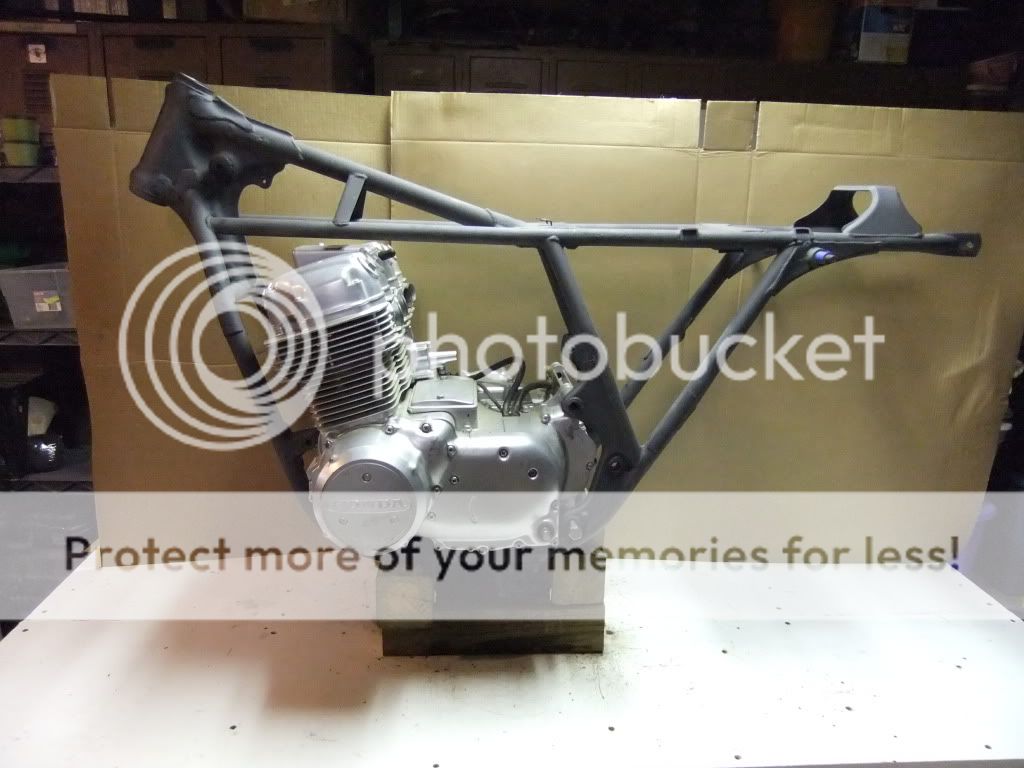
Alright, Gentleman, I had an excuse to go put the engine back in the frame tonight so I snapped some pictures and took some quick measurements. I will start a separate thread for the "Install" stand specs tomorrow and link it in here as well.
Joey, good to hear from you. I will send you a message at that address, I am still dying to see your shop and the goings-on there.
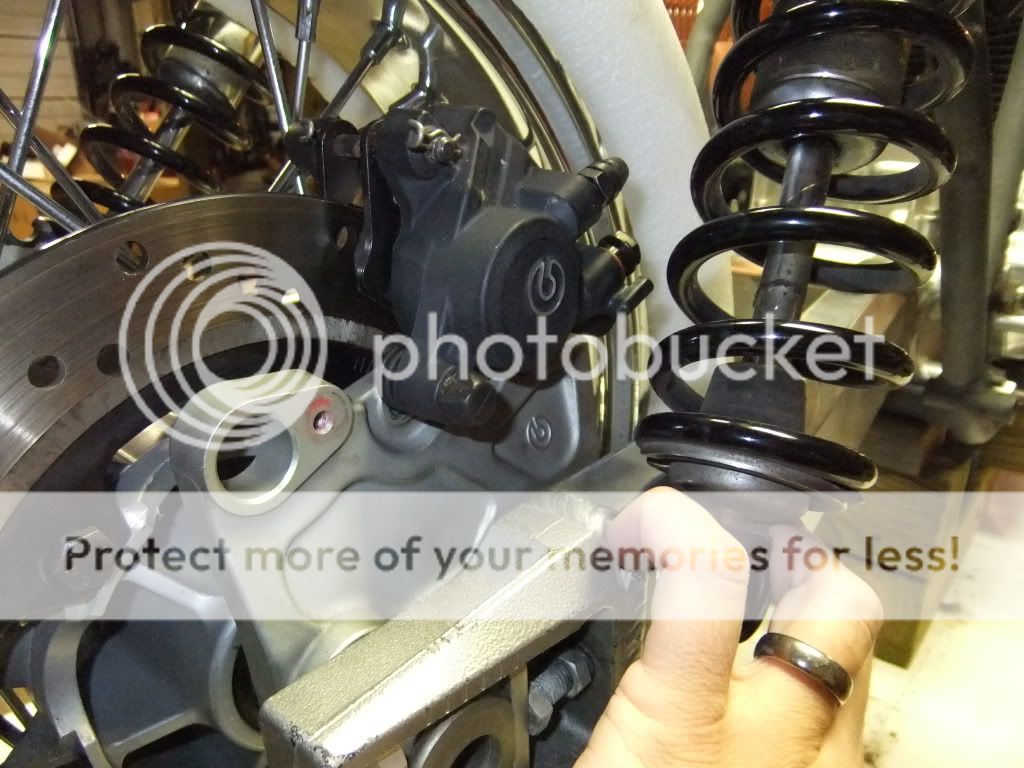
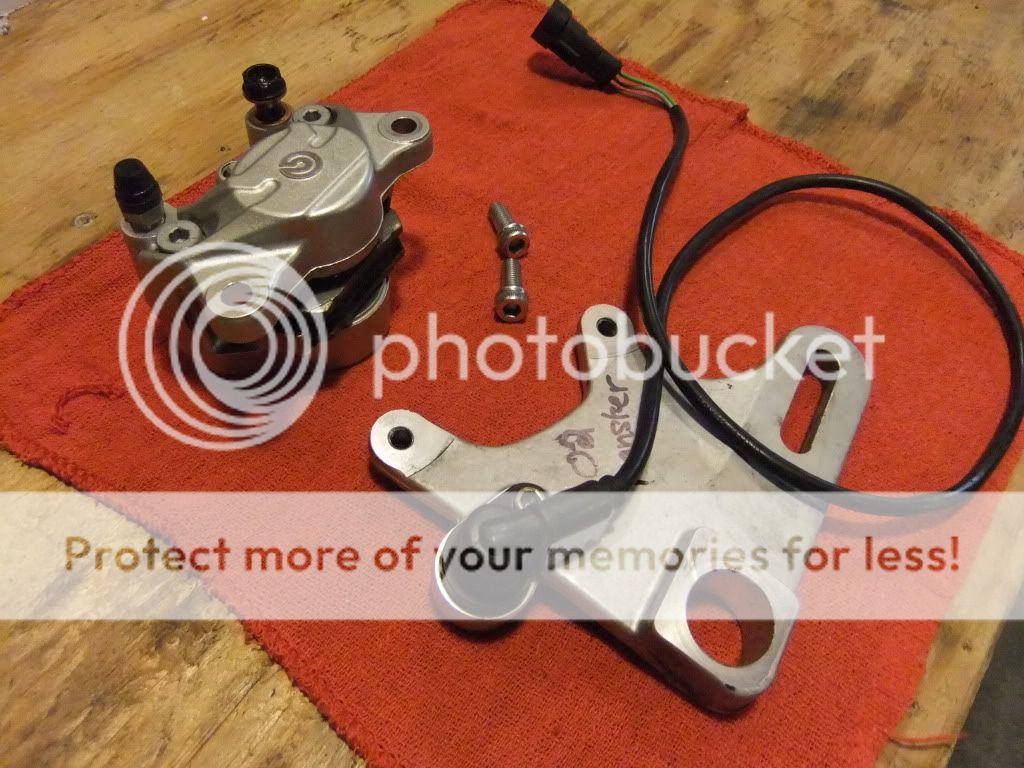
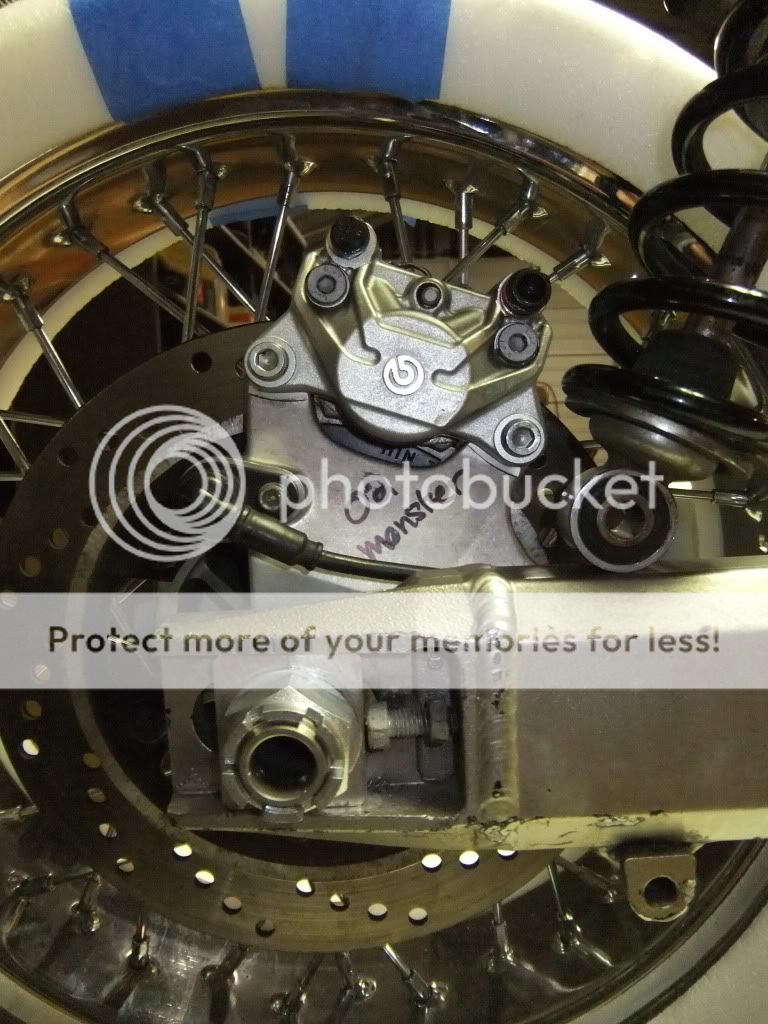
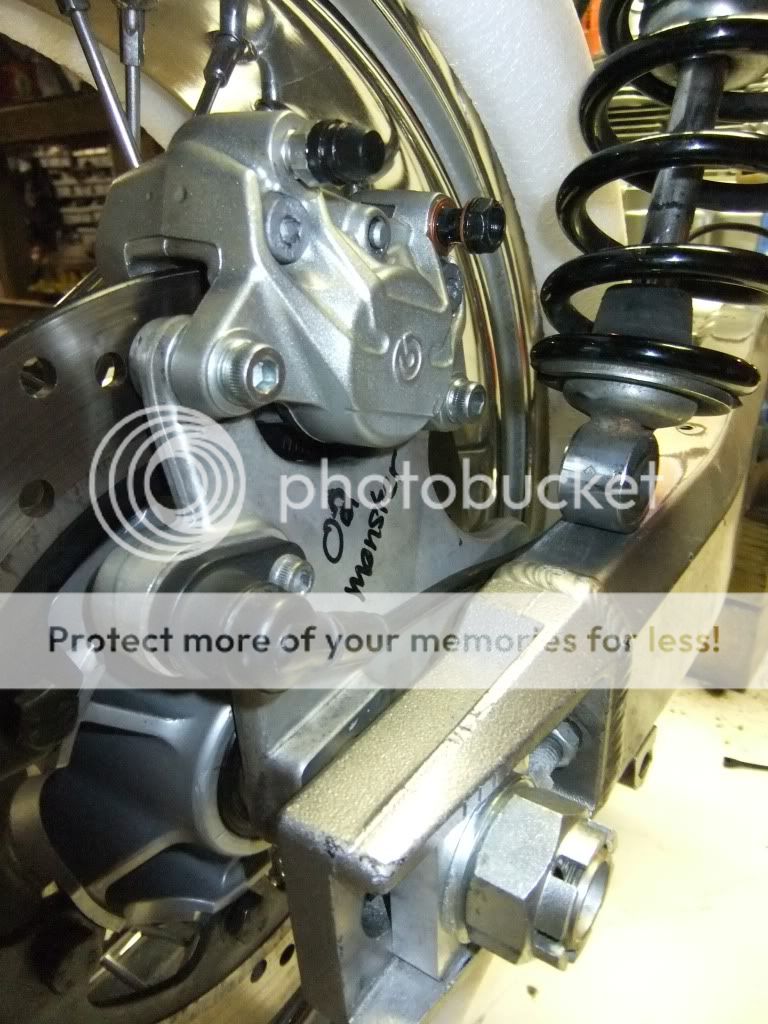
So I mentioned a possible fix to the rear brake caliper/shock interference a few posts up and those parts showed up this week so I mocked it up real quick tonight. Got a real good price on a 2-pot Ducati stock Brembo and Monster bracket which moves everything more vertical on the wheel. It is a function upgrade over the 1-pot I was going to use, it is in much better shape, allows alot of room for shock placement, looks really sharp in that silver color, and the bracket came with the speedo pickup that has a good chance to mate up with the planned gauge. Won another swingarm (early 90's GSXR 1100) on eBay I will try when it gets here. I was turned onto it by some research into the GS/Katana world which got my attention because they are twin shock guys.
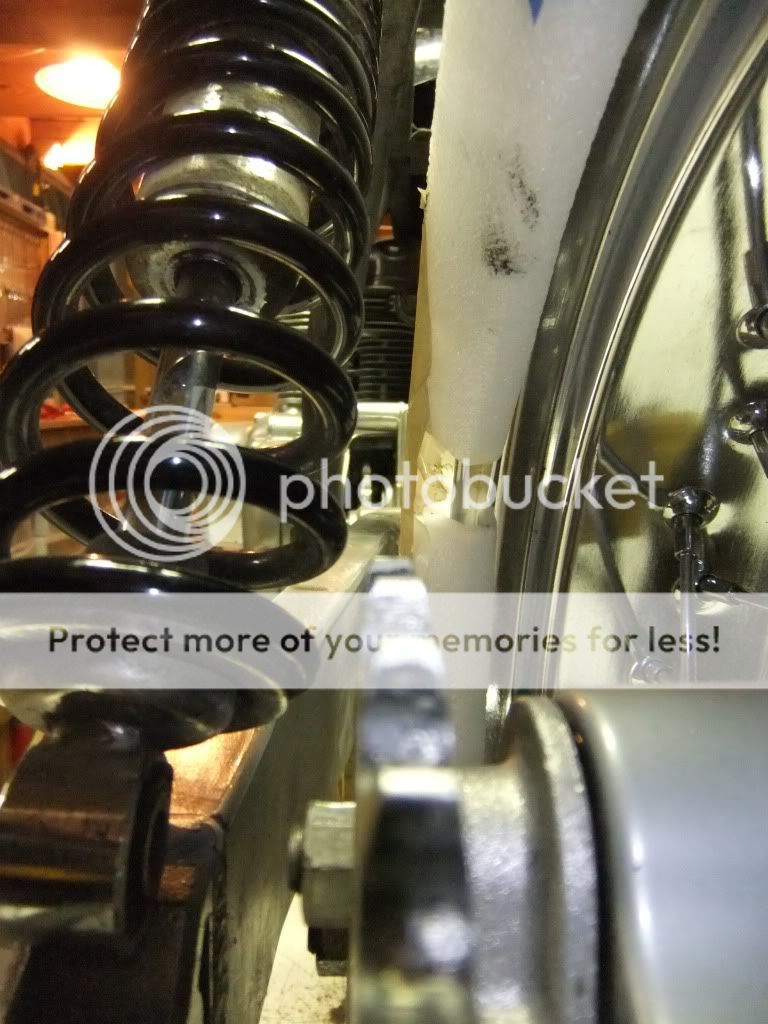
You might want to check out the SR500 on this site, notice the rear spring and both parts of the frame both slant at the same angle. I think this gives it a more aggressive racing look. Plus I think it might help you out when you put a tire on that rear rim, it looks like you might run into some clearance issues.
http://www.perthstreetbikes.com/forum/f14/cafe-racers-thread-44173/index268.html
This is gonna be sweet. I would be very interested on the pics and details for that motor stand/remover also, awsome idea...perfect practice welding project!
You might want to check out the SR500 on this site, notice the rear spring and both parts of the frame both slant at the same angle. I think this gives it a more aggressive racing look. Plus I think it might help you out when you put a tire on that rear rim, it looks like you might run into some clearance issues.
http://www.perthstreetbikes.com/forum/f14/cafe-racers-thread-44173/index268.html
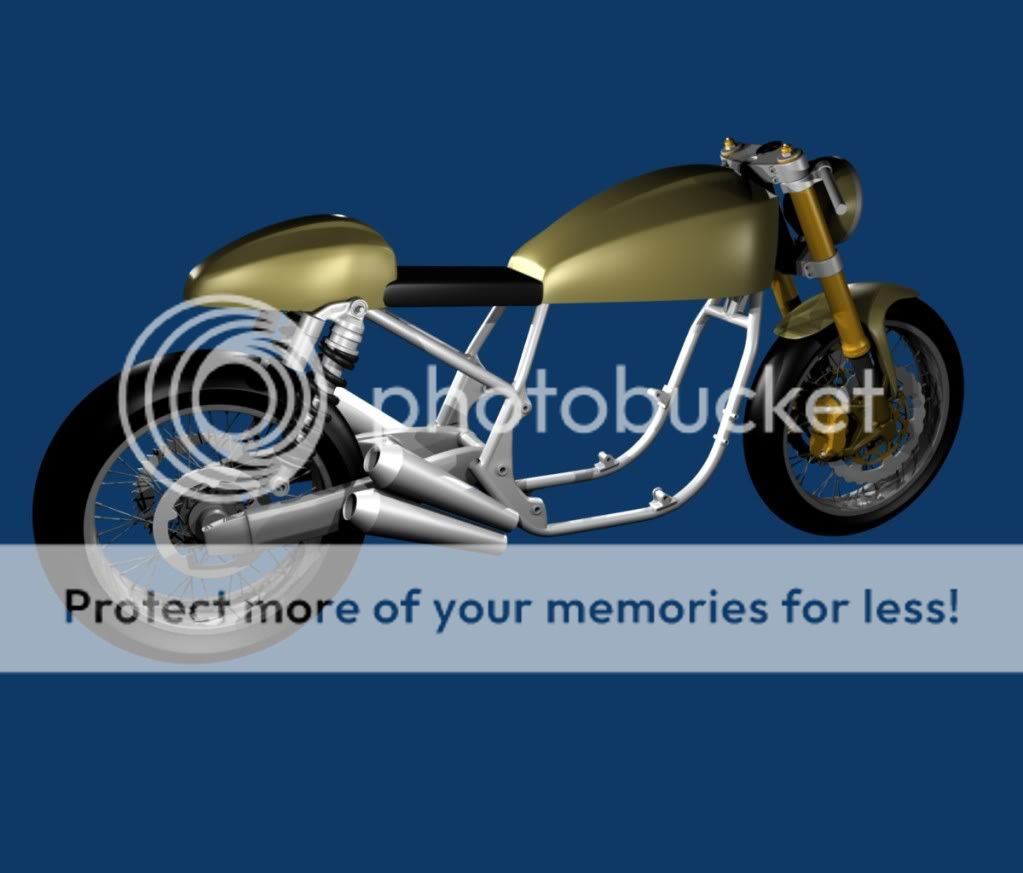
I appreciate the heads up. The CBR suspension upgrade obviously presents the same challenges I'm coming accross. Aligning the shock angle with the rear down tubes of the CB750 was something I had already addressed in my drawings of the bike as seen below in this diagram where I dropped some of the other parts to get that visual. I actually slapped a magnetic protractor on the frame to draw the shocks accurately. It is about 67 to 68 degrees from the horizontal for some trivial info. As you said it it will look pretty good and should put the shocks at a decent working angle depending how far out on the swingarm they end up.
As far as tire clearance I am pretty confident there. The entire subframe is being redone so that gives me alot of leeway for the final product but currently they clear easily with just the mockup. The only variable I haven't played with there is chain alignment, which is kind of a big one.
Since everybody likes pictures here is a rendering I did the other day that sold me on a 4 into 4 exhaust. It is a nice tribute to the original bike and has always been my favorite congifuration on an inline 4.
This site uses cookies to help personalise content, tailor your experience and to keep you logged in if you register.
By continuing to use this site, you are consenting to our use of cookies.

")