My '81 CB650C project. Codename: What the hell have I gotten myself into?

UltraV

New Member
Well this is the first place I have found some 650C builds going on and they have given me some breakthrough moments in planning. Was really hitting some mental roadblocks with how I was going to convert what was more or less a cruiser model into the sport bike that these things really can be.

So I will pay it forward and maybe help someone else with their mind farts.
 
These are pics from when I first picked it up and got home.


More news, pictures and info as it comes along.....
 
that is the same color as my wifes cb650 if you ever take the rear grab rail off and want to sell it please

let me know or if you take off the three remaining stock mufflers i would also like to buy them


Did you buy that in Michigan? I was just looking at a bike like that on craigslist a couple days ago and before I could call he said it was sold lol beauty bike!


Brake time. decided to clean and paint the calipers and replace pads. This of course lead to seeing the funkyness on them. Pistons look OK. There's a bit of pitting/corrosion at the very front end but no leakage and they move freely so I think they are a go. The slide bolt boots however are fried. Need to call the dealer today and get some ordered. In the mean time, off to the parts washer for degunking we go.
 
Well, so I decided what the heck! Caliper rebuild. New seals and boots. New stainless pistons, speedbleeders and new EBC pads. Fresh paint and ready to go. Or, er... stop....

 
So, knew I had to replace the fork seals. When draining the old oil I noticed how awfully nasty it looked. I then noticed a slight clicky noise when shaking the one fork so I decided to completely break them down, clean, inspect and repair where necessary. Ended up replacing the bushings in the one "noisy" fork and now all is well. Here's the fun.

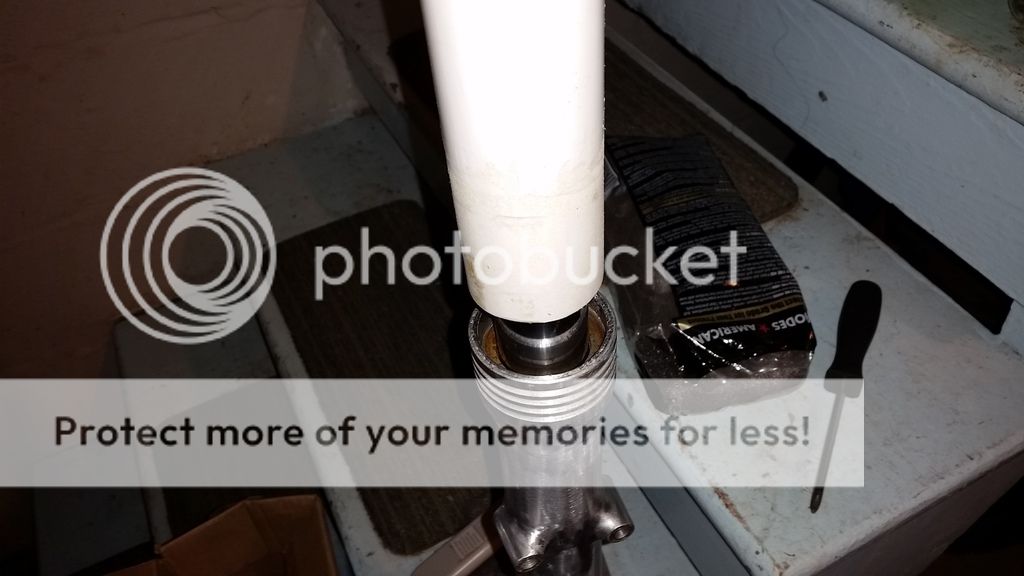
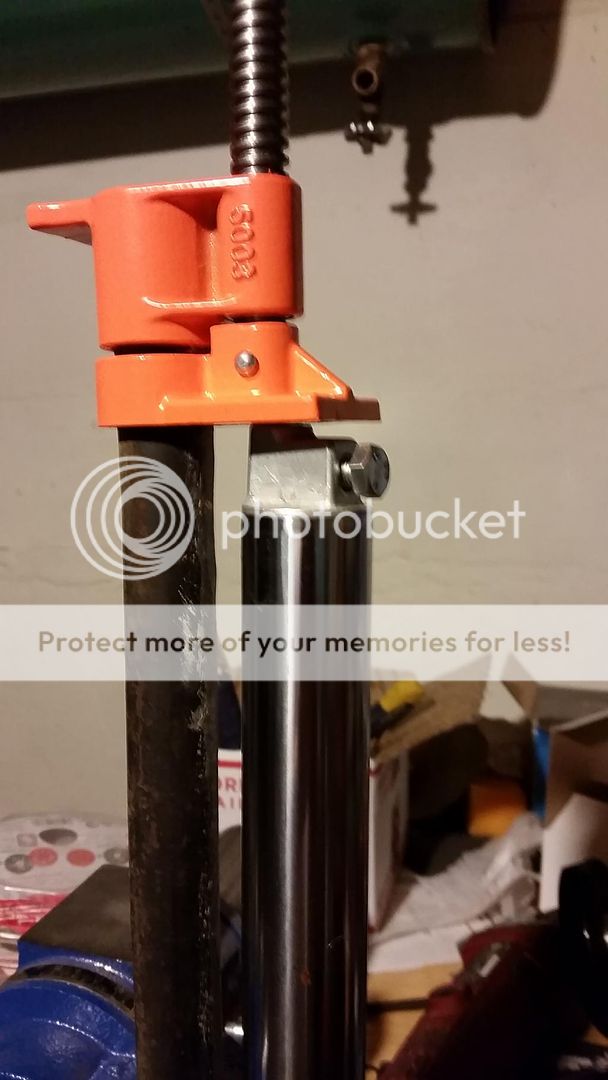
The trick to these forks is to remove the top caps, drain all of the fluid and remove the springs. Then you fill the tubes completely with ATF to the threads on the top. Mind you, please make sure that you extend the tubes all of the way before filling. If you don't do that, you get nowhere in the next step. Put the top cap on the tube and plug the air tube hole with a bolt. Remove the dust cap, the snap ring under that and the washer under that, exposing the seal.

Place the fork into a bar clamp as shown and compress. This will raise the seal right up out of it's seat.


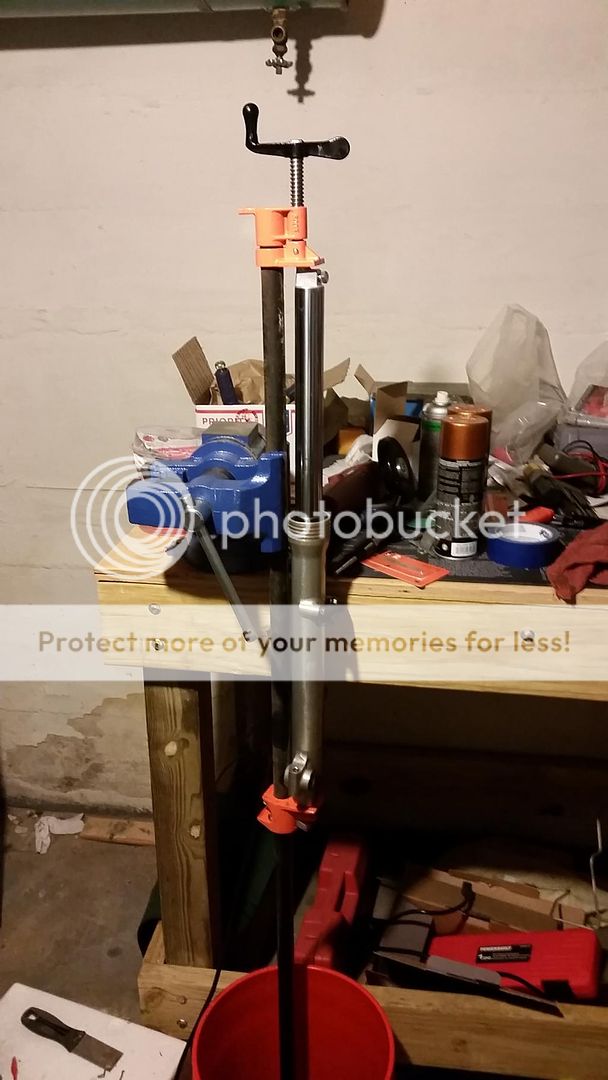
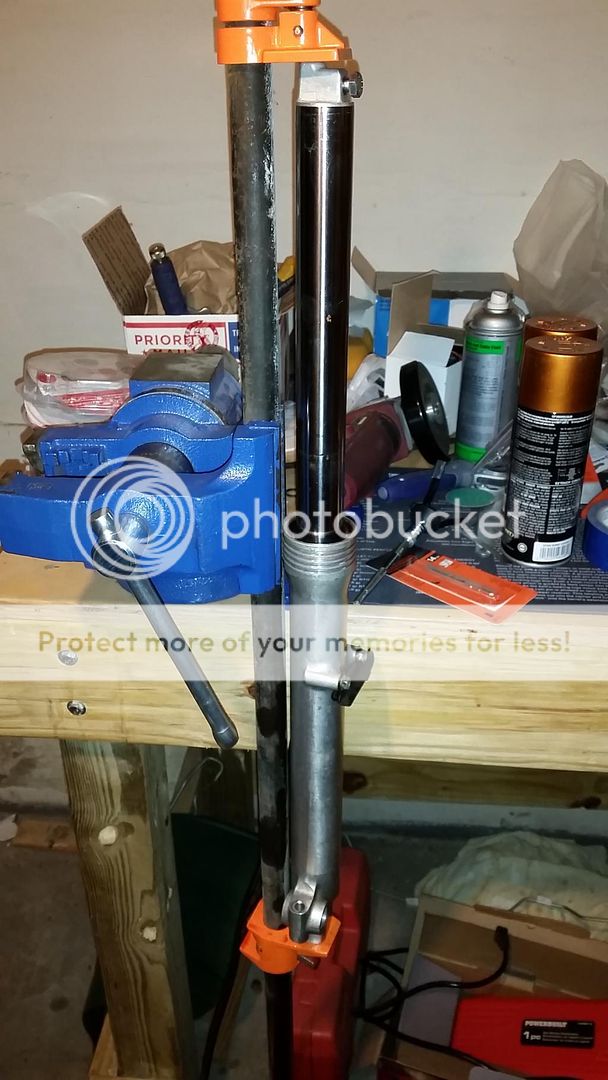
The seal will raise up to the point where all of the fluid will ooze out from around it. This is why I had everything suspended above a bucket.


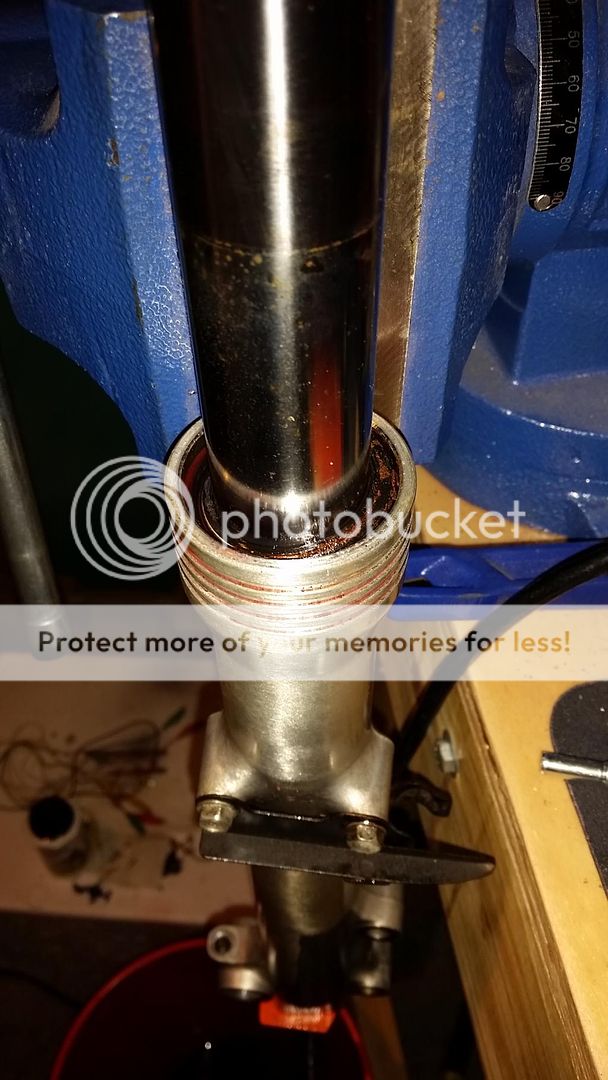
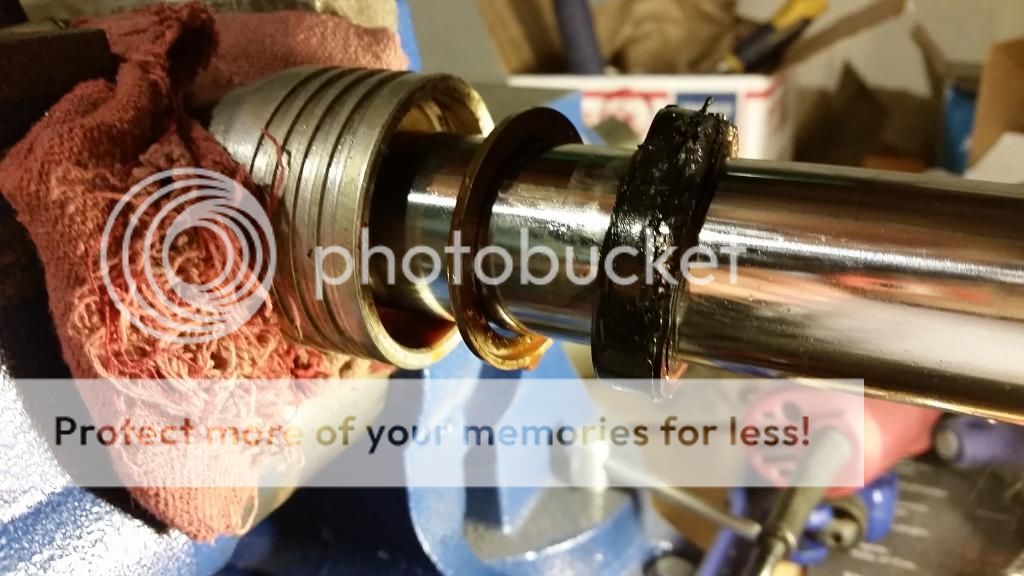
This is where some fun starts. You can get a thin bladed flat head down next to the seal and start gently prying out in alternating positions. Once you get a full side of the seal exposed, beat the screw driver into the side of the seal like it owes you money. Once you have it in there good you can use this leverage along with another flat blade to work around the edges to walk the seal out.


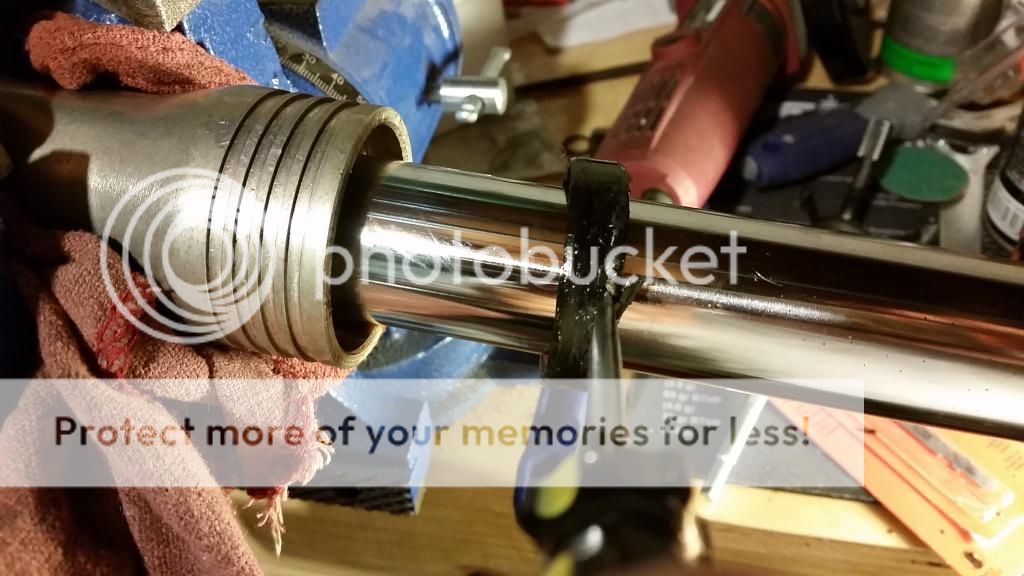
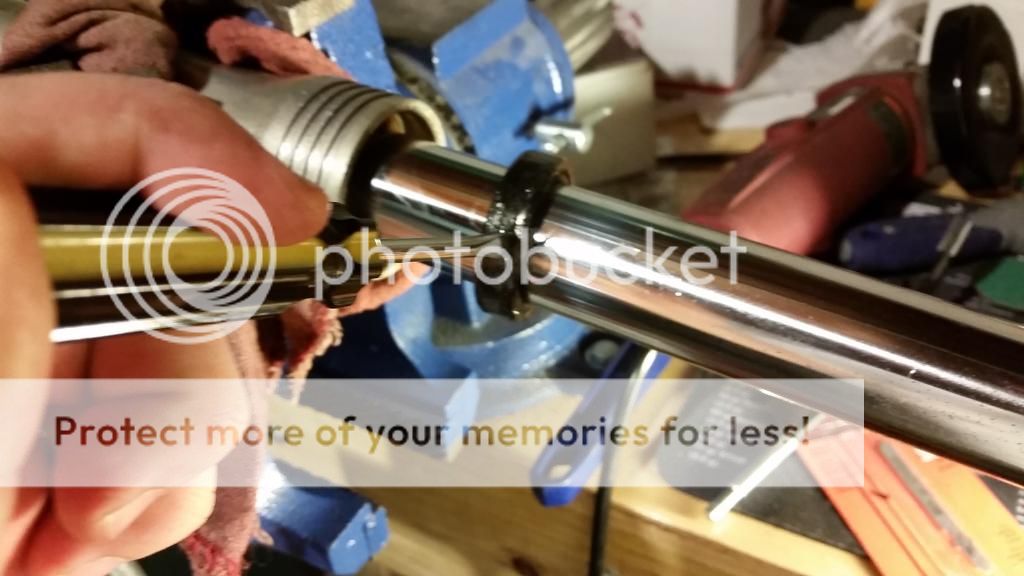
Once you have that free, remove it and the backup ring below it.


Drain everything again and remove the allen head bolt in the bottom of the fork. An impact gun may be required on lowest setting. Once you have the bolt out you can remove the center rod by using a gentle slide hammer action. You can then turn the inner tube upside down and tap it on the floor with something padded as to not mess it up. This will slide the piston out of the rod. Clean everything out with brake clean.

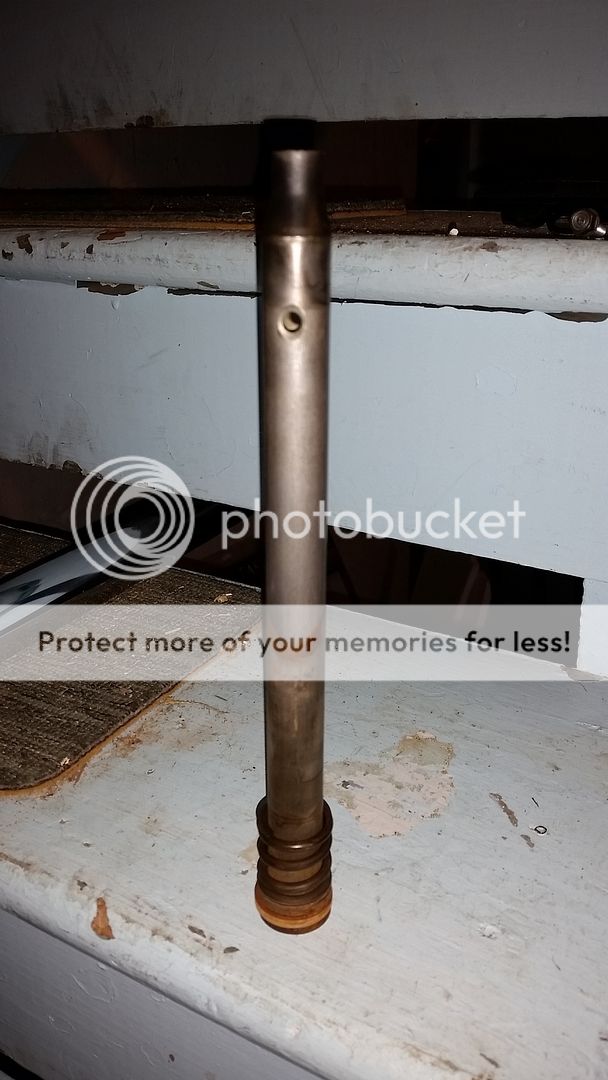
This is the inner piston assembly with ring and rebound spring.


Once you put the piston back into the inner tube it will come out only so far before the rebound spring catches.


Push the piston back in flush at the bottom. Notice the new lower bushing installed.


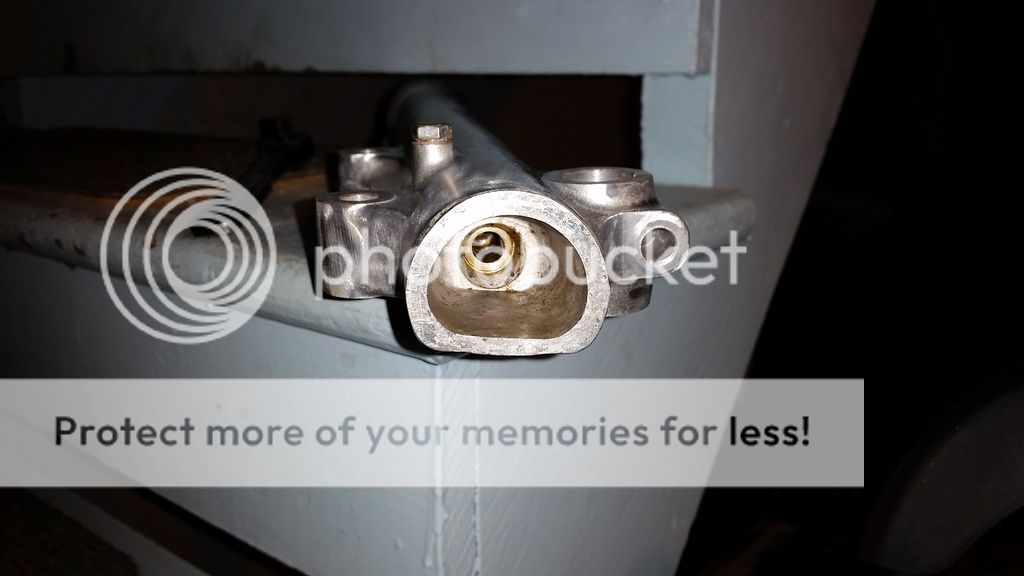
Place the inner tub back down into the bottom outer fork tube. The narrowed end of that piston is threaded and lines up with the hole in the bottom of the tube.


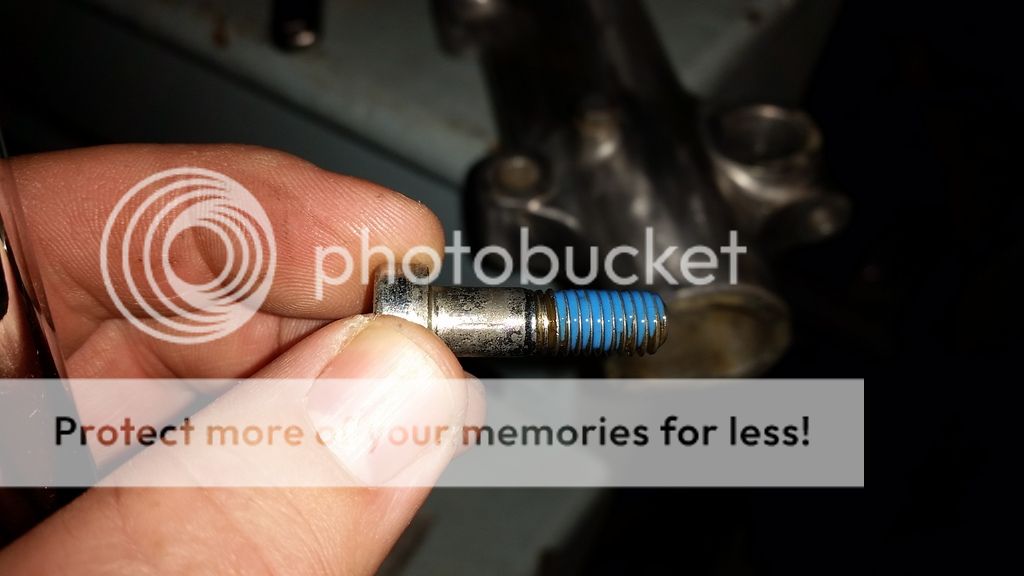
Replace the bolt with loc-tite and torque to specs.


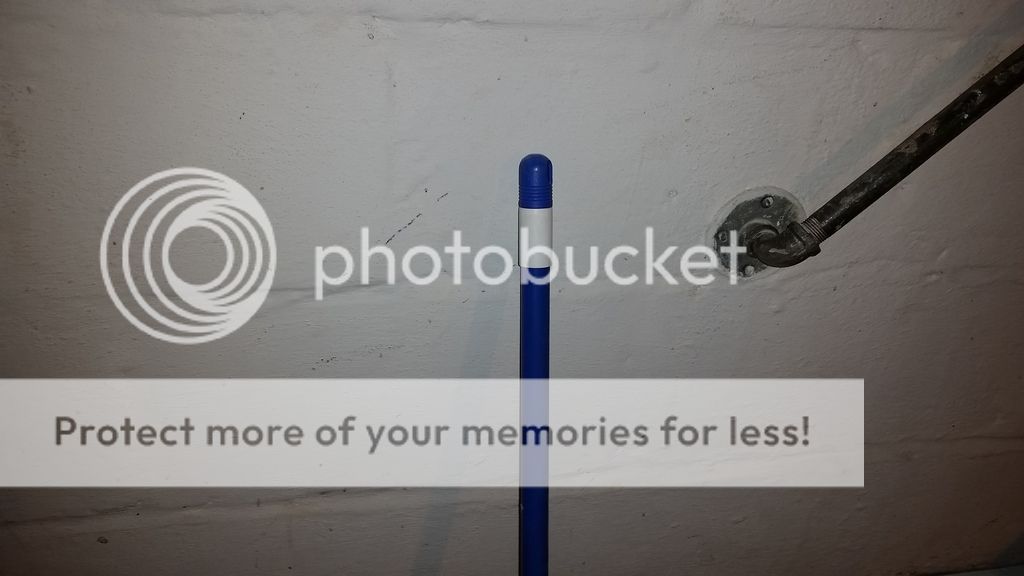
In order to keep everything from spinning when torquing the bolt I turned the tube upside down and inserted this broom handle into it. Pressed down in order to hold everything inside by pressure while using the ratchet.


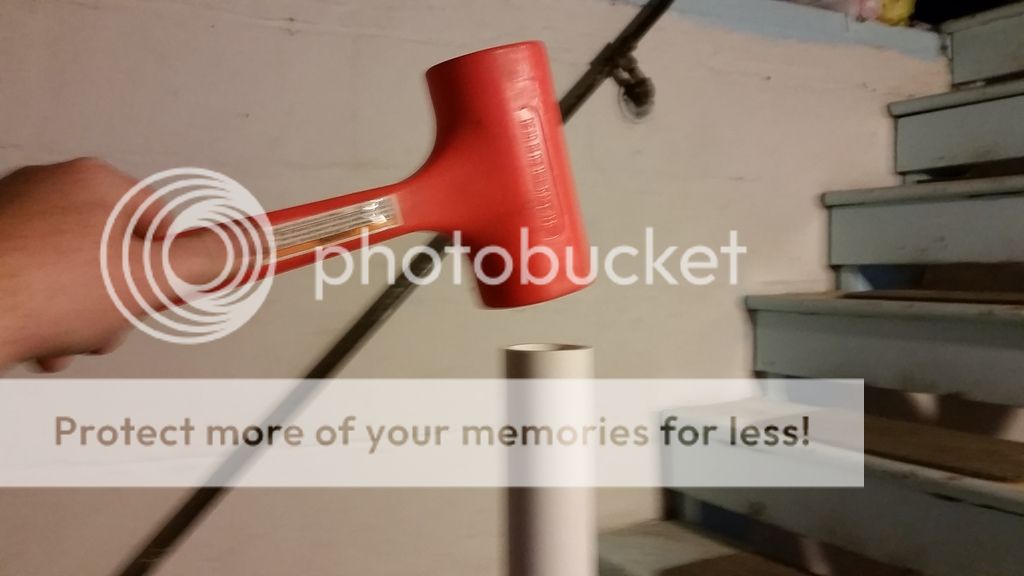
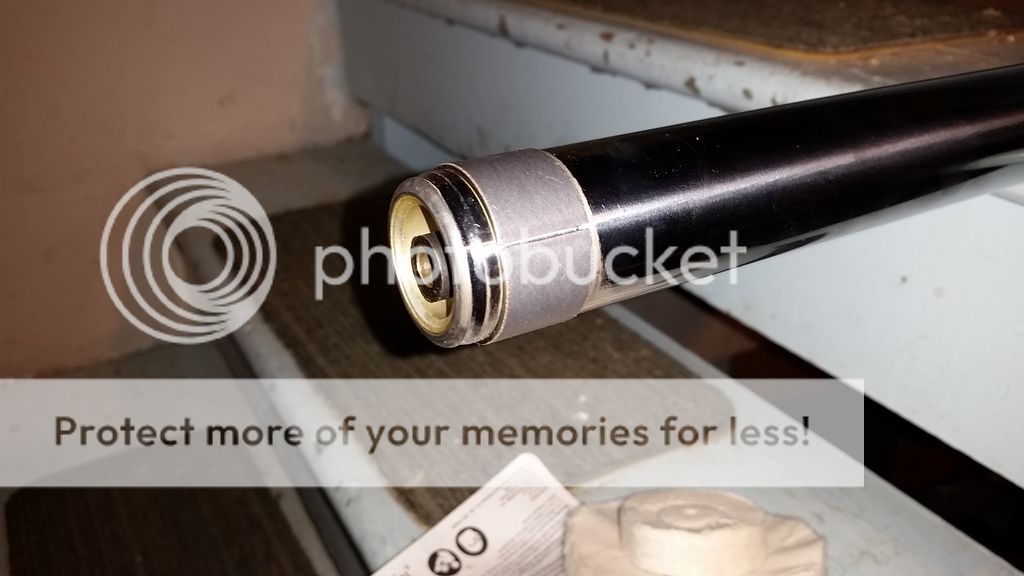
Reinsert the top bushing, back-up ring, seal, washer, snap ring and dust seal. Seat the bushing and the seal individually using a PVC pipe sanded slightly to fit the area and a dead blow hammer.


UltraV said:
Seat the bushing and the seal individually using a PVC pipe sanded slightly to fit the area and a dead blow hammer.

I just got this same tip today on thumper talk for a Yamaha YZ80. I love internet.
 
Yeah, I was wondering at first about seating the bushing since the ID of the PVC was to big for it and then it clicked in my brain to use the back up ring on top of the bushing and lightly tap it into position before driving the seal in on top of that.
 
where is your oil lock piece part number 10 here

http://www.partzilla.com/parts/search/Honda/Motorcycle/1981/CB650+A/CB650+FRONT+FORK+81-82/parts.html
 
cxman said:
where is your oil lock piece part number 10 here

http://www.partzilla.com/parts/search/Honda/Motorcycle/1981/CB650+A/CB650+FRONT+FORK+81-82/parts.html

That diagram is for a 650 Standard not a C but the same piece is in the C front fork. It's pressed into the bottom of the inner cylinder. You can see it in picture #10 of the fork post. It's the gold colored piece that you can see in the bottom of the cylinder.


Ditched the giant 80's indicator pod and wired up some LED indicators in the fuse cover. Also changed the fuse panel over from glass to ATC blade fuses.

Got a bunch of things mounted to the handlebars before having the DUH moment that I need to make shorter clutch and throttle cables now, so that's next.
 
Rear wheel mounted back up and new Hagon shocks.


New Mac 4 into 1 exhaust mocked up.


Cut fender and new rear lighting array installed.

 
Back
Top Bottom