Saturdays Wrench
Been Around the Block
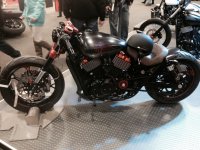
Hey Dude.. Everything looking good so far. +1 on the clearance of the tire for the seat. Good on your for being resourceful with what you're working with. I'll check back on this for sure! Good guys at Town Moto, one of my fav shops in Toronto.
Good luck with everything.
Good luck with everything.
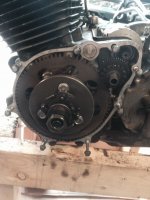

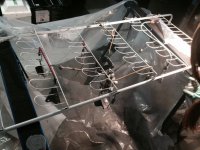
![Photo_2[1].jpg](/data/attachments/57/57998-2bade8fcc1d0ff67398081298156d829.jpg)
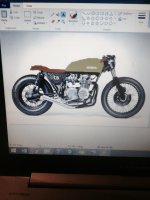
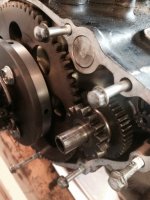
![Photo_3[1].jpg](/data/attachments/57/57997-5c87a6d9f84a91b120d16eb755d19c88.jpg)
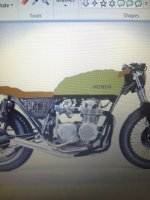
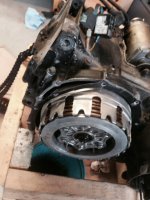
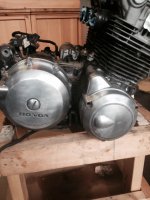
![Photo_1[1].jpg](/data/attachments/57/57996-0055479ded9076ea39b11820f6c0bae4.jpg)
")