Follow along with the video below to see how to install our site as a web app on your home screen.
Note: This feature currently requires accessing the site using the built-in Safari browser.
We noticed you are blocking ads. DO THE TON only works with community supporters. Most are active members of the site with small businesses. Please consider disabling your ad blocking tool and checking out the businesses that help keep our site up and free.
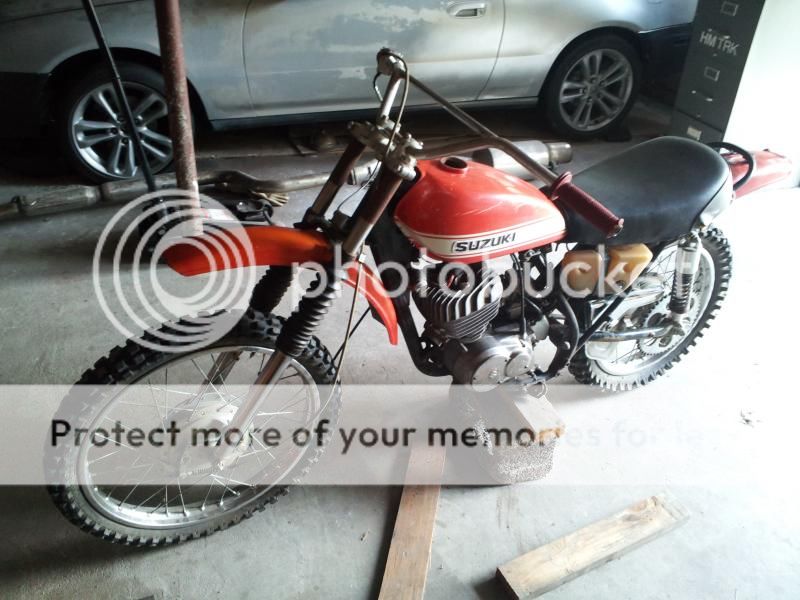
I bought this bike ~ a year ago. I had a project house and a house for sale at the time and work and life that ate my time and money. I have sold the first house and most projects at the " project house are winding down to collecting for big projects and little projects. no I have a little more time and a little more money I can start getting this thing rolling. I picked the TS for $100, and it looked all of $100, it was missing lots of parts, ie shift lever, controls, gas cap and the list goes on.
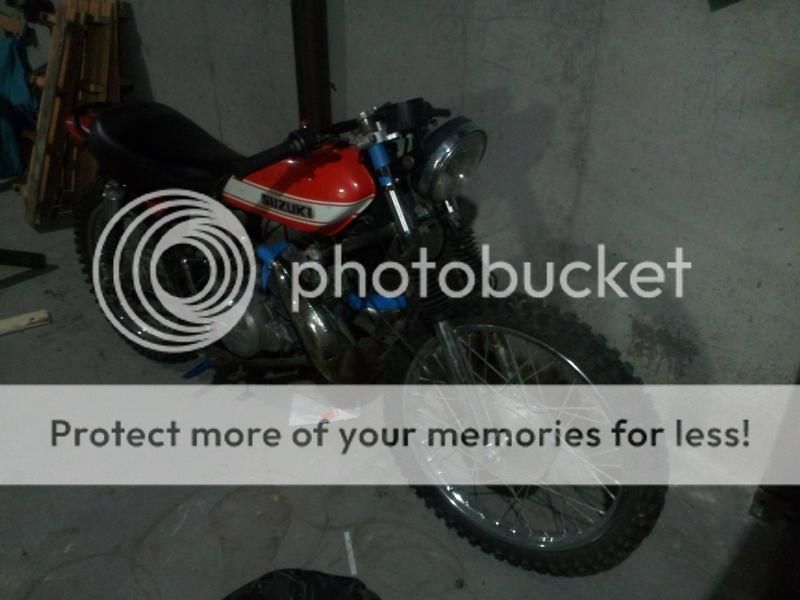
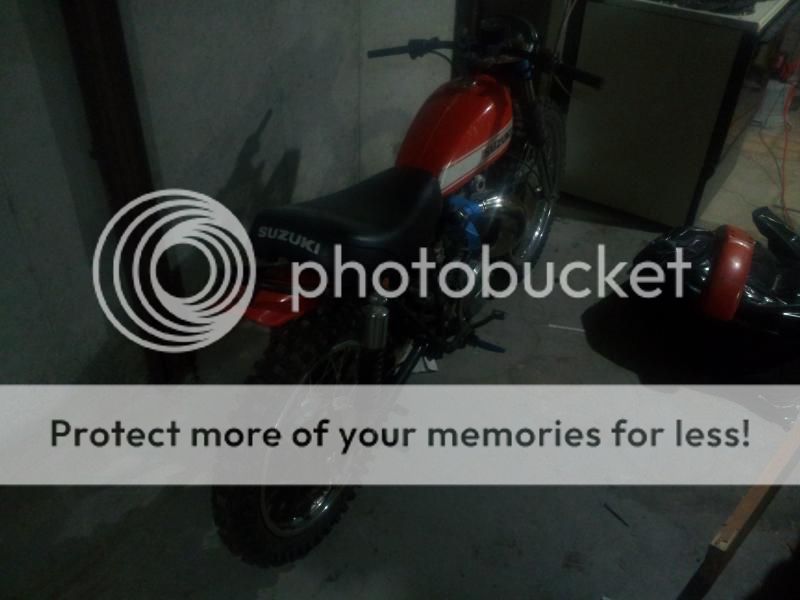
I have accumulated a few parts and kinda mocked up what I want it to look like when complete
Still not 100% sure if I want to do the expansion chamber or use the stock exhaust for it yet.
1. get the bike stripped down
2. Clean and repaint tank and rear fender
3. sort controls (integrate free 71 cb350 controls to TS plug in)
4. redo seat
5. rebuild engine
6. swap carb (received 2mm bigger from friend)
7. buy lots of stuff
8. spend lots of time fixing stuff
9. ride
I have been creeping on here for a while and I have followed your build, I may go with a unifilter and stock exhaust I have one for a 74 but, I'll need the 74 head to use it, since they changed heads and exhaust around.
Little more progress, removed all Tabs and pieces that are not going to be used.
After detabbing the frame I felt a bit ambitious and decided to start tearing into the engine
I am a bit mixed on what I found, spark plugs are new, piston looks new??? and cylinder looks ok, and the head looks like something exploded in it.
not sure what is up with the piston, but not too sure of it. what do you guys think?
Then when trying to take the oil line behind the carb this happened
So not a whole lot going on since I wisely decided to do a bathroom remodel before Thanksgiving. That said, some work did get done recently, and I must say as a mechanical engineer, some of my best work. Tools are expensive it was late and I felt like rigging something so I got the pesky nut off using wood. Sure, not the correct way but, hey it worked and the wife didn't notice I was making it for the bike.
nice tooling just be sure and wear at least safety glasses when using brittle drill bits like that ;D
the piston scoring like that on the intake side is from ingesting dirt/sand whatever :'(
Whole motor is getting torn apart and new bearings and other wear items will be replaced. I might go ahead and buy a head that will work with the exhaust I have and bore it. A more suitable tool will be fabricated before putting engine back together. And I always wear safety glasses when doing things where I think things good go bad quickly.
So did a little more work while waiting for my friend to come over to powdercoat his 4 wheeler wheels. While waiting I powdercoated the gas cap.
When taking the bike apart I noticed the driverside foot peg had 2 of the 3 bolts in it and one side welded, so I thought, great it was stripped, after grinding off the mount I found a broke bolt.
After 5 minutes drilling a hole, the easy out did just that.
I got a few more things cleaned up hopefully I can get them to the blastic cabinet and get them cleaneded up then powdercoat.
And paint colors have been picked, silver on left will be the tank, headlight, and rear fender. Right is a gunmetal that will be the frame, fork bottoms, rims, hubs.
Worked on the tailight mount the other day. The tailight is a stainless sauce cup that will have a printed insert with an led setup for 6V. After I mocked the piece with some thin sheet metal, I printed the test piece or two, final version will be ABS and black.
I'm having a hell of a time getting the stupid magneto off, anyone got a good suggestion? And no there is no thread for some puller.
I ordered in the steering bearings and swingarm bushings, I need to order in the material for making new fork pistons. Hopefully before too long it will be a roller.
it can help to use heat an acetylen toch works best just quickly and intensaly concentrating heat between 2 rivets
are you really reefing on the wrench ? then give it a sharp rap with a hammer directly on the end of the puller bolt and even better if you partialy pick the engine up with the puller bolt so it is hanging like, then give it a rap tighten bolt and repeat
you need better thicker warshers on the 3 bolts as well, the washer distortion there is an issue
and never have your face close to that lashup i have seen them jump off with a lot of force enough to knock you out
I added some thicker washers, heated the hell into it and I wrenched on it pretty well using a breaker bar, still to no avail. I gave up for now, i'll give it a whirl when I get the motor tore apart more and use the press. Time was spent insted removing the swingarm bushings. Trying to get access to the large media blaster at one of the coaches schools on the robotics team I mentor to clean up the frame and swing arm.
Its like pulling a tractor out of the mud man... pull hard and it sucks harder... loosen it all up re-torque it down to maybe 80flbs and grab a 2lb hammer be careful and give the end of that pusher rod a good solid rap nice and straight on... one or two should do it with some heat right at the shaft man.
This site uses cookies to help personalise content, tailor your experience and to keep you logged in if you register.
By continuing to use this site, you are consenting to our use of cookies.


 [/UR
[/UR


