Hello!
I've been a fan of Do The Ton for a while now and spend most of my time at work reading the threads on here (shh, don't tell my boss). I figured that since I had a project of my own under way, it might be fun to bring it here for you guys to see. I'll give a little self introduction first, though.
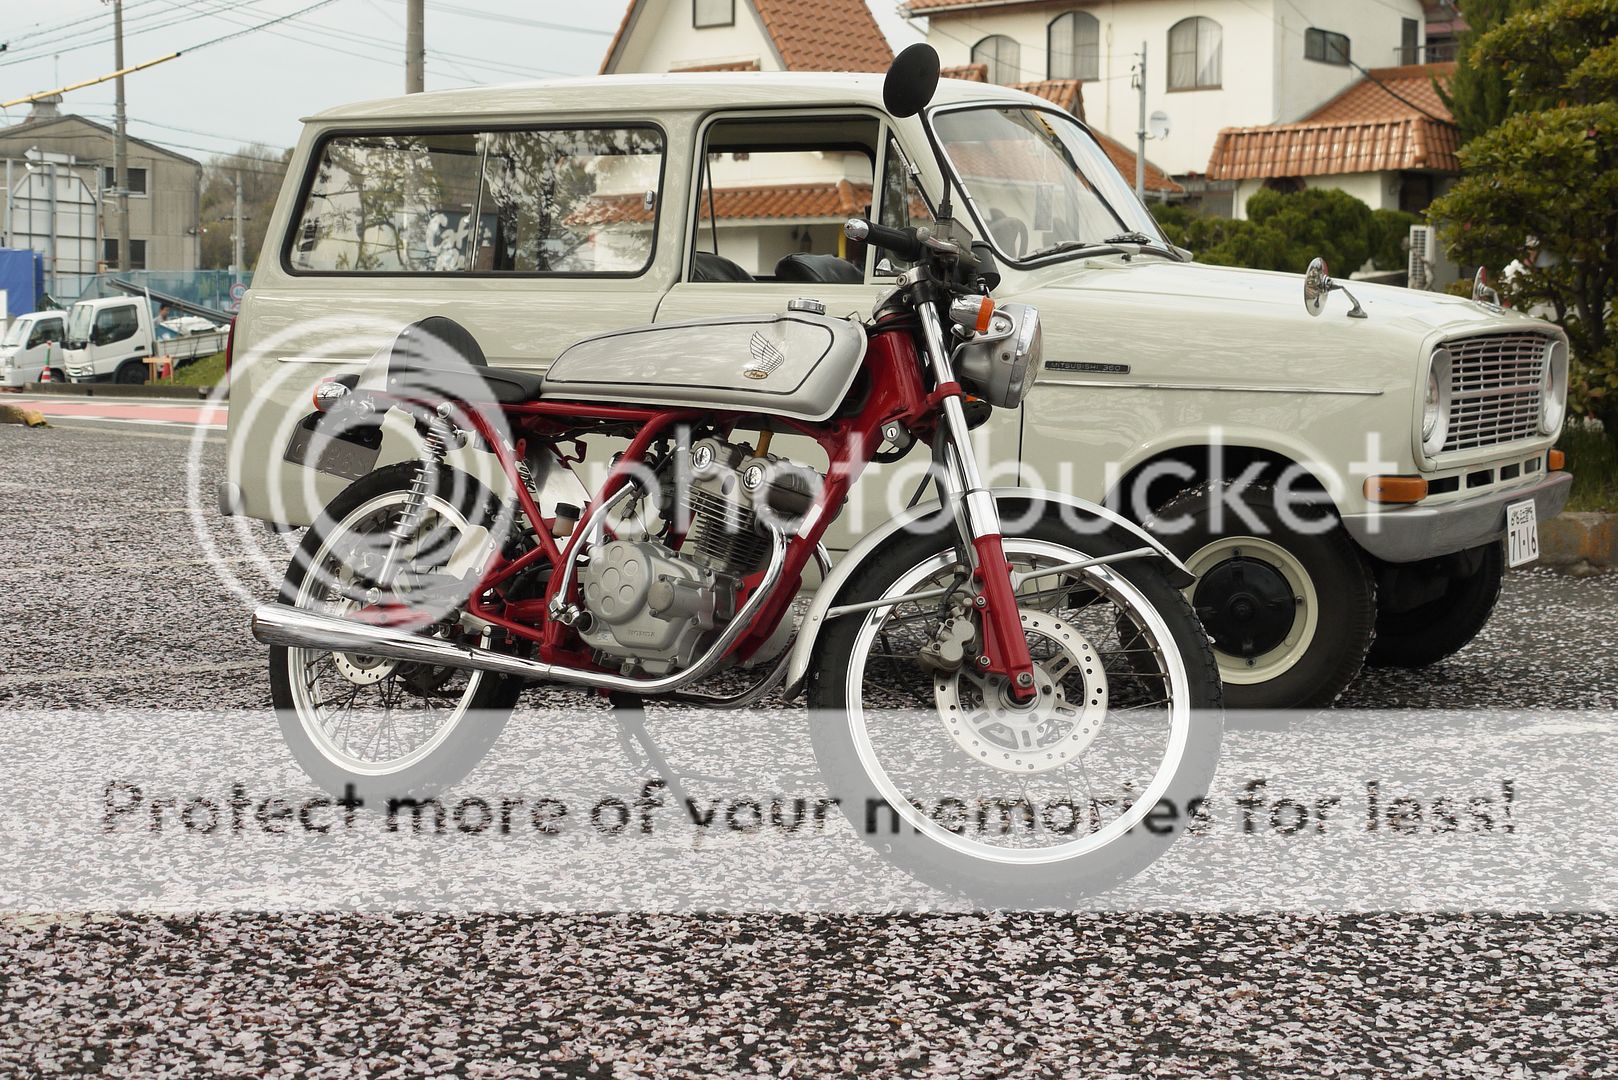
My name's Dave and I'm actually a huge classic Japanese car aficionado. I currently own five cars (1967 Mitsubishi 360, 1971 Fairlady Z, 1973 Isuzu Bellet, 1988 300ZX SS, 1991 March Super Turbo). I tend to fall in love with the more rustier ones and slowly coerce them back to life. I'm working on swapping the Super Turbo for something older as well as getting another classic in my garage sometime early next year. If you'd like to see more about the cars, feel free to check them out here:
https://sites.google.com/site/nakazoto/home
Alright, on to my project! I've been working on this project for a little under a year now and have been updating it on JapaneseNostalgicCar.com. So these posts are copy pastes of the posts there to bring everything up to the present time!
Thank you guys for looking and here goes!
========
Apr 05, 2012
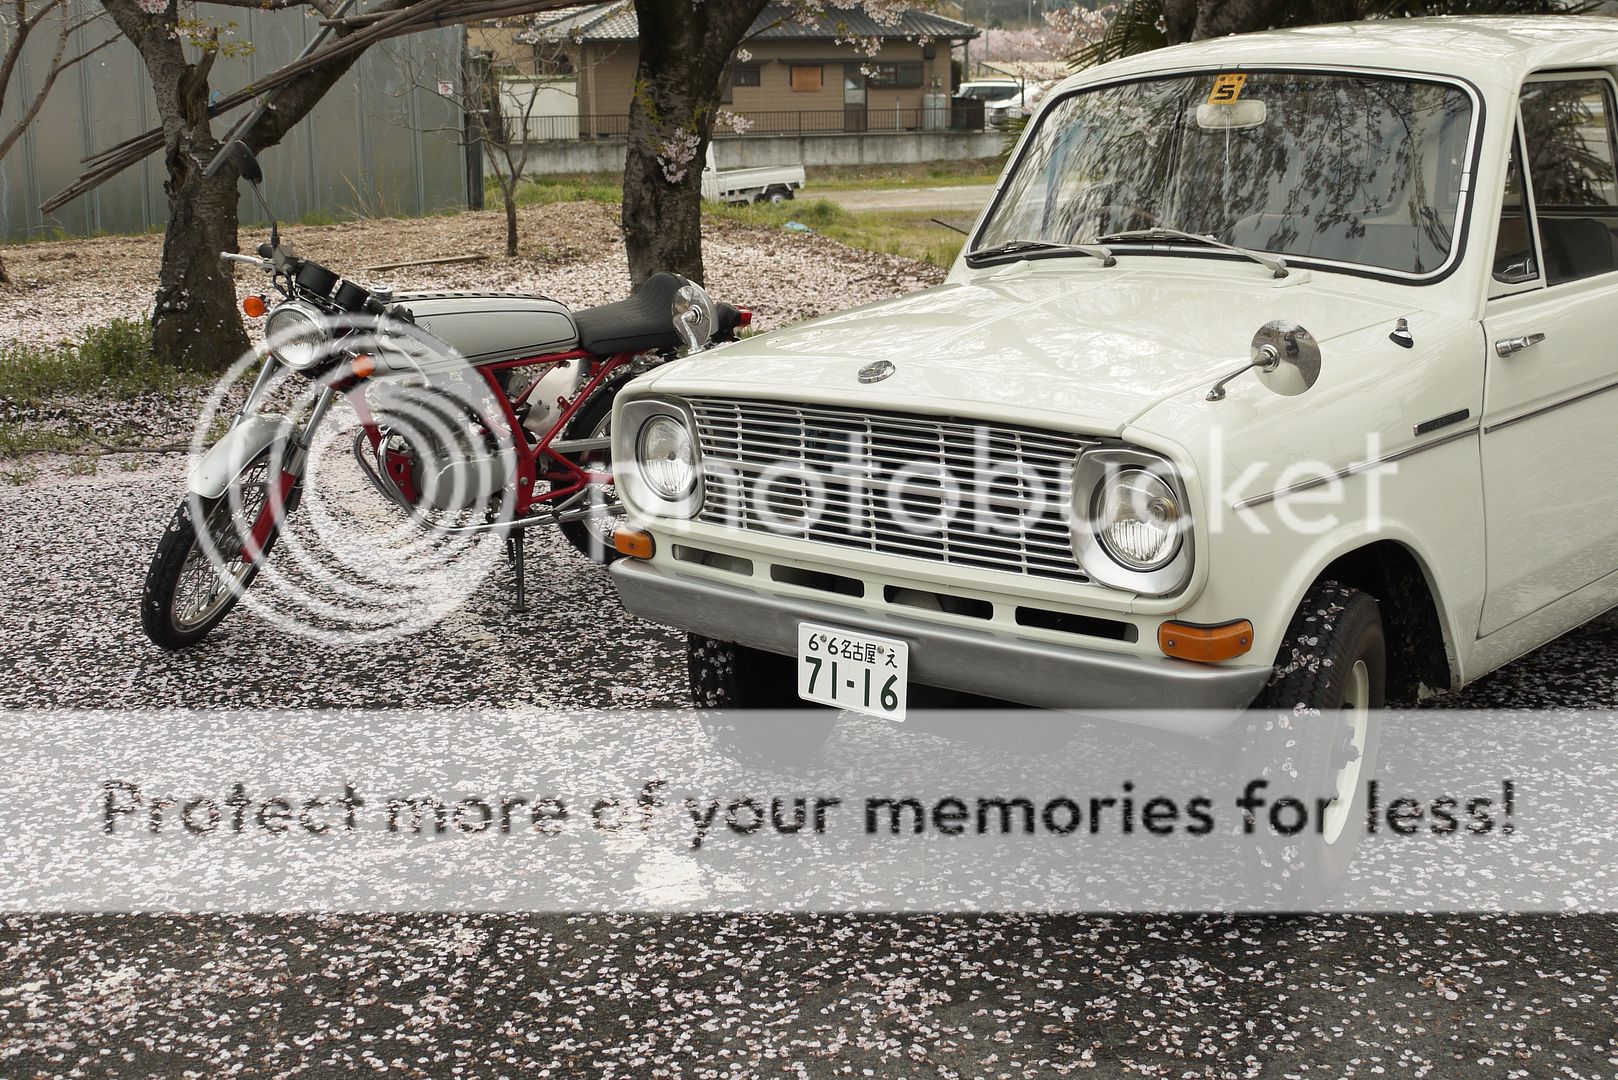
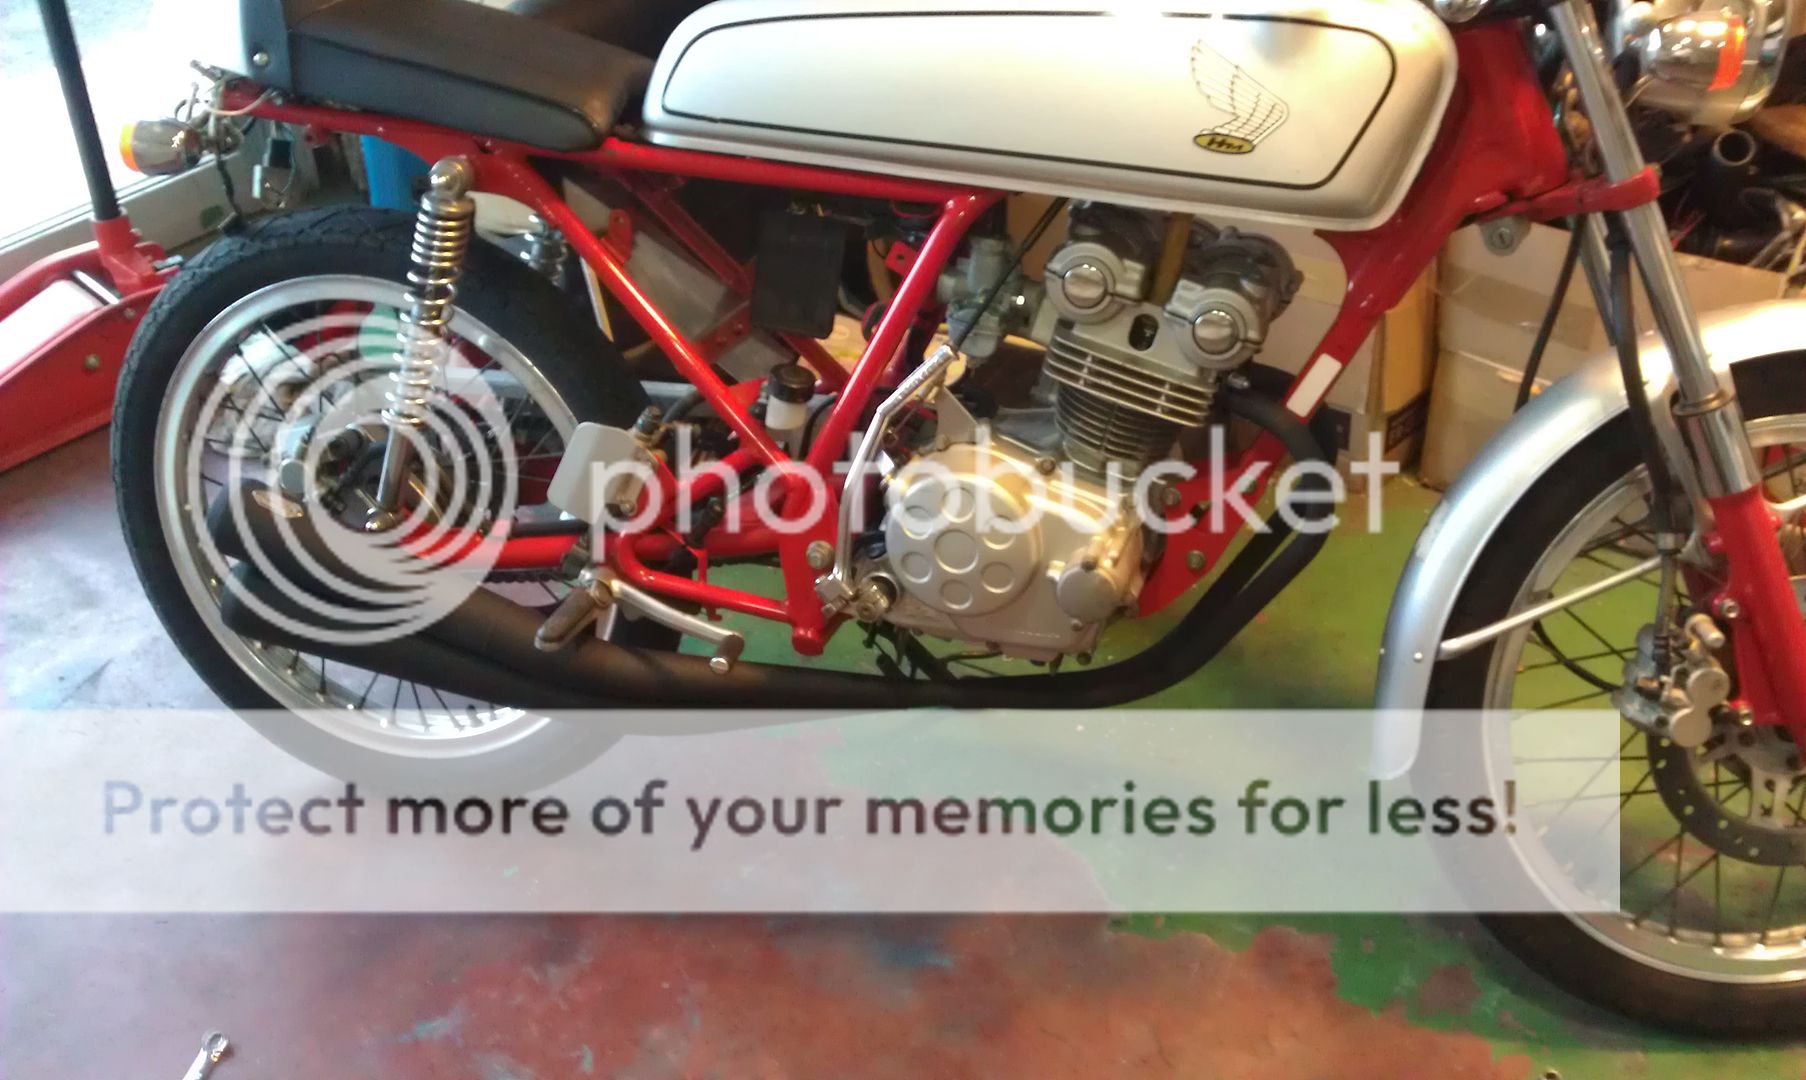
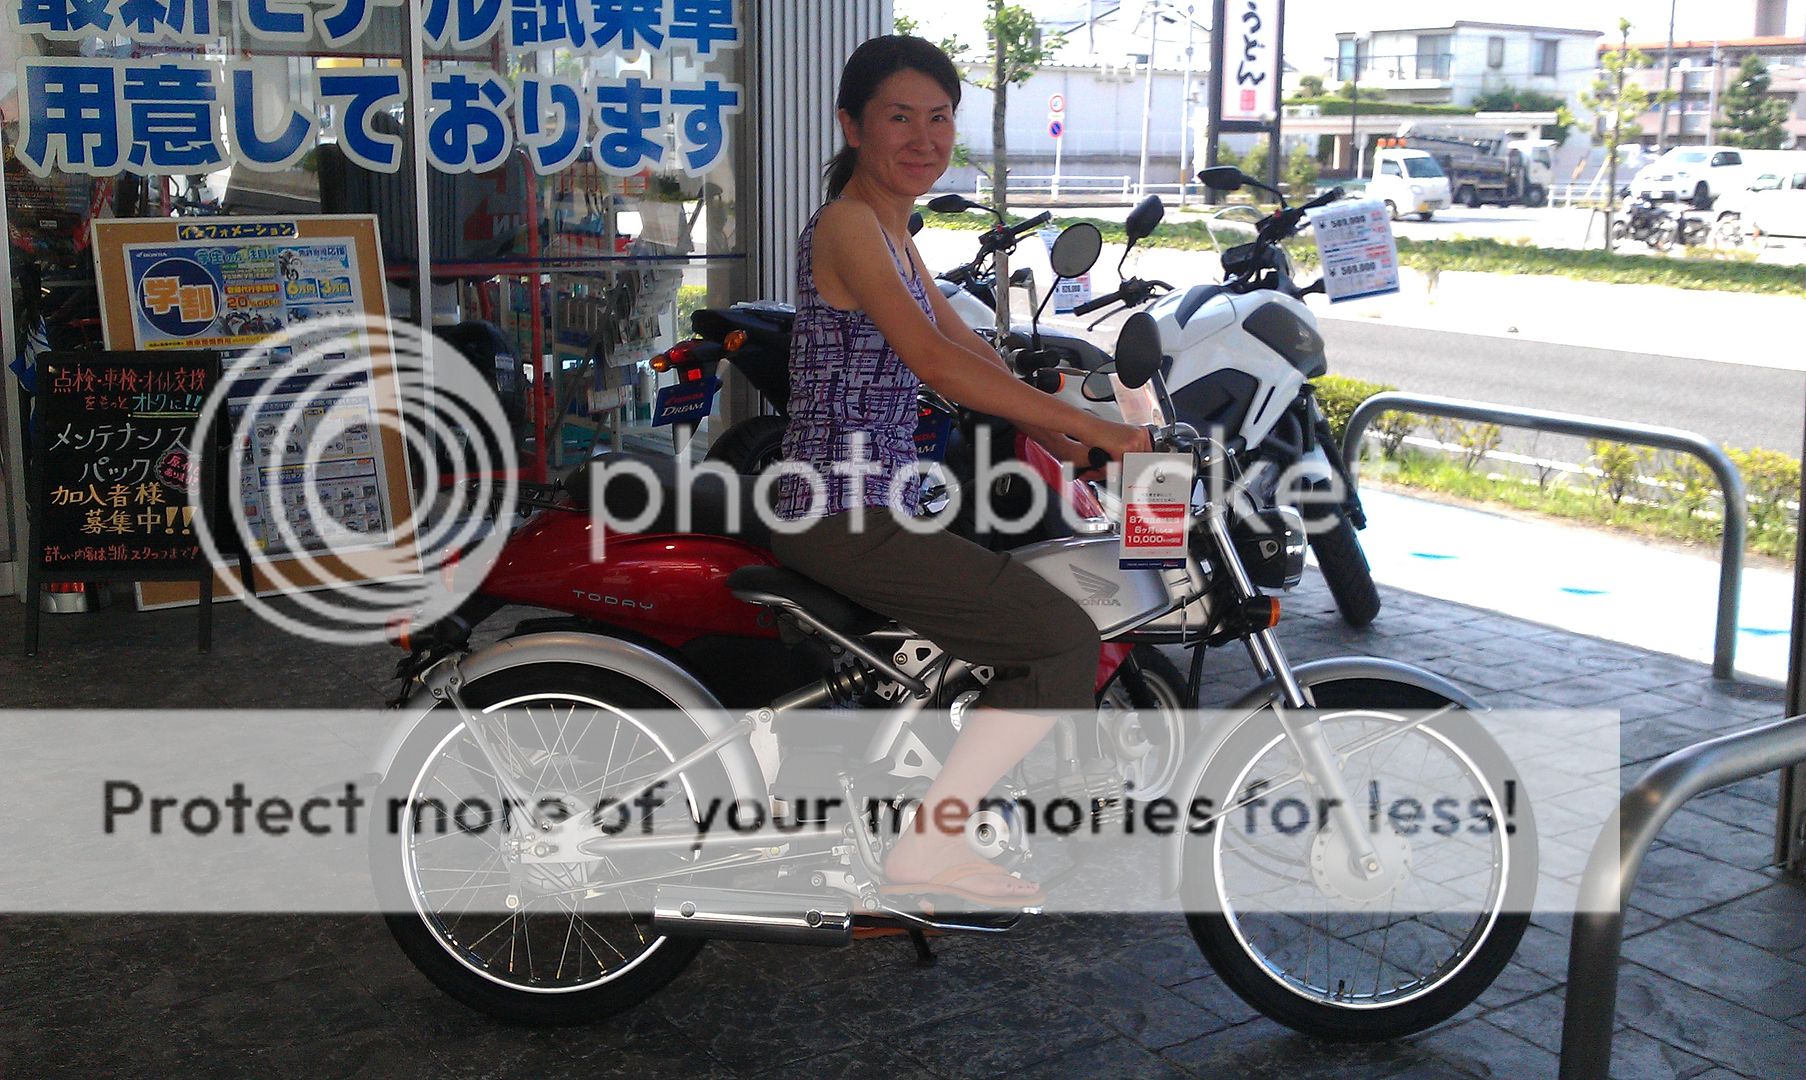
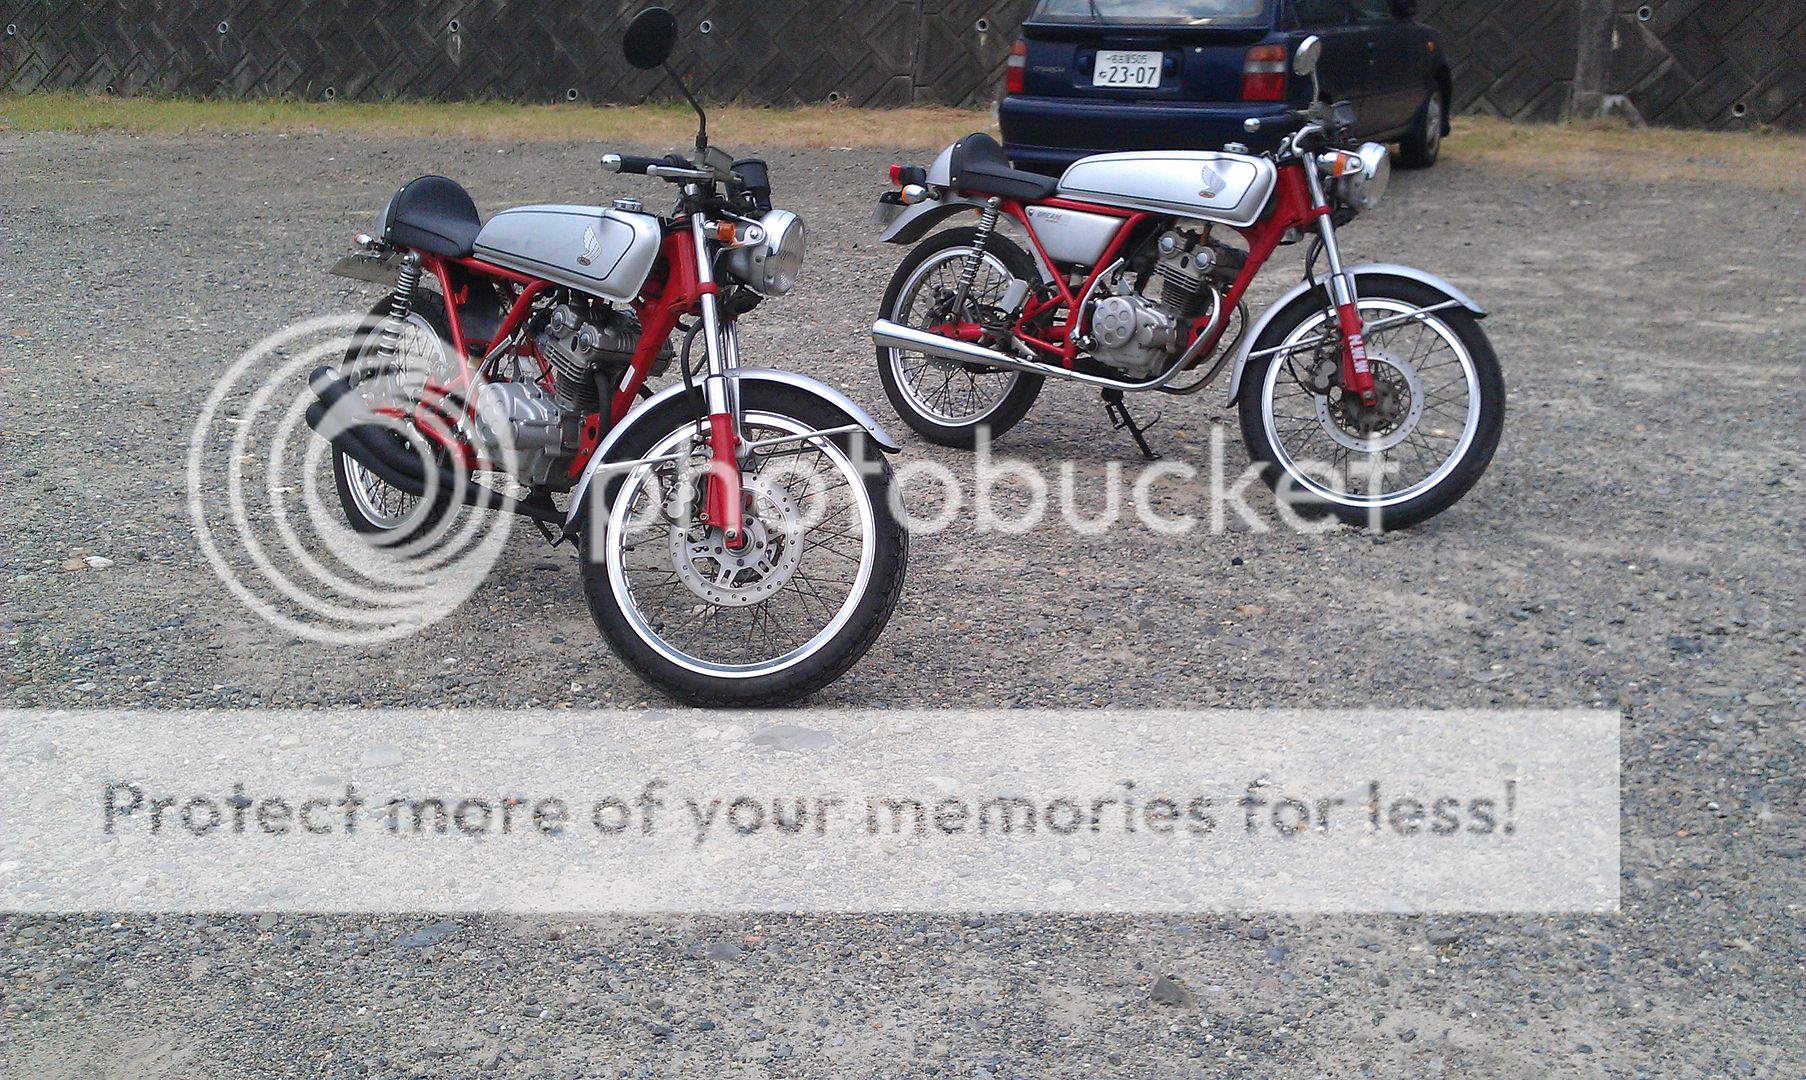
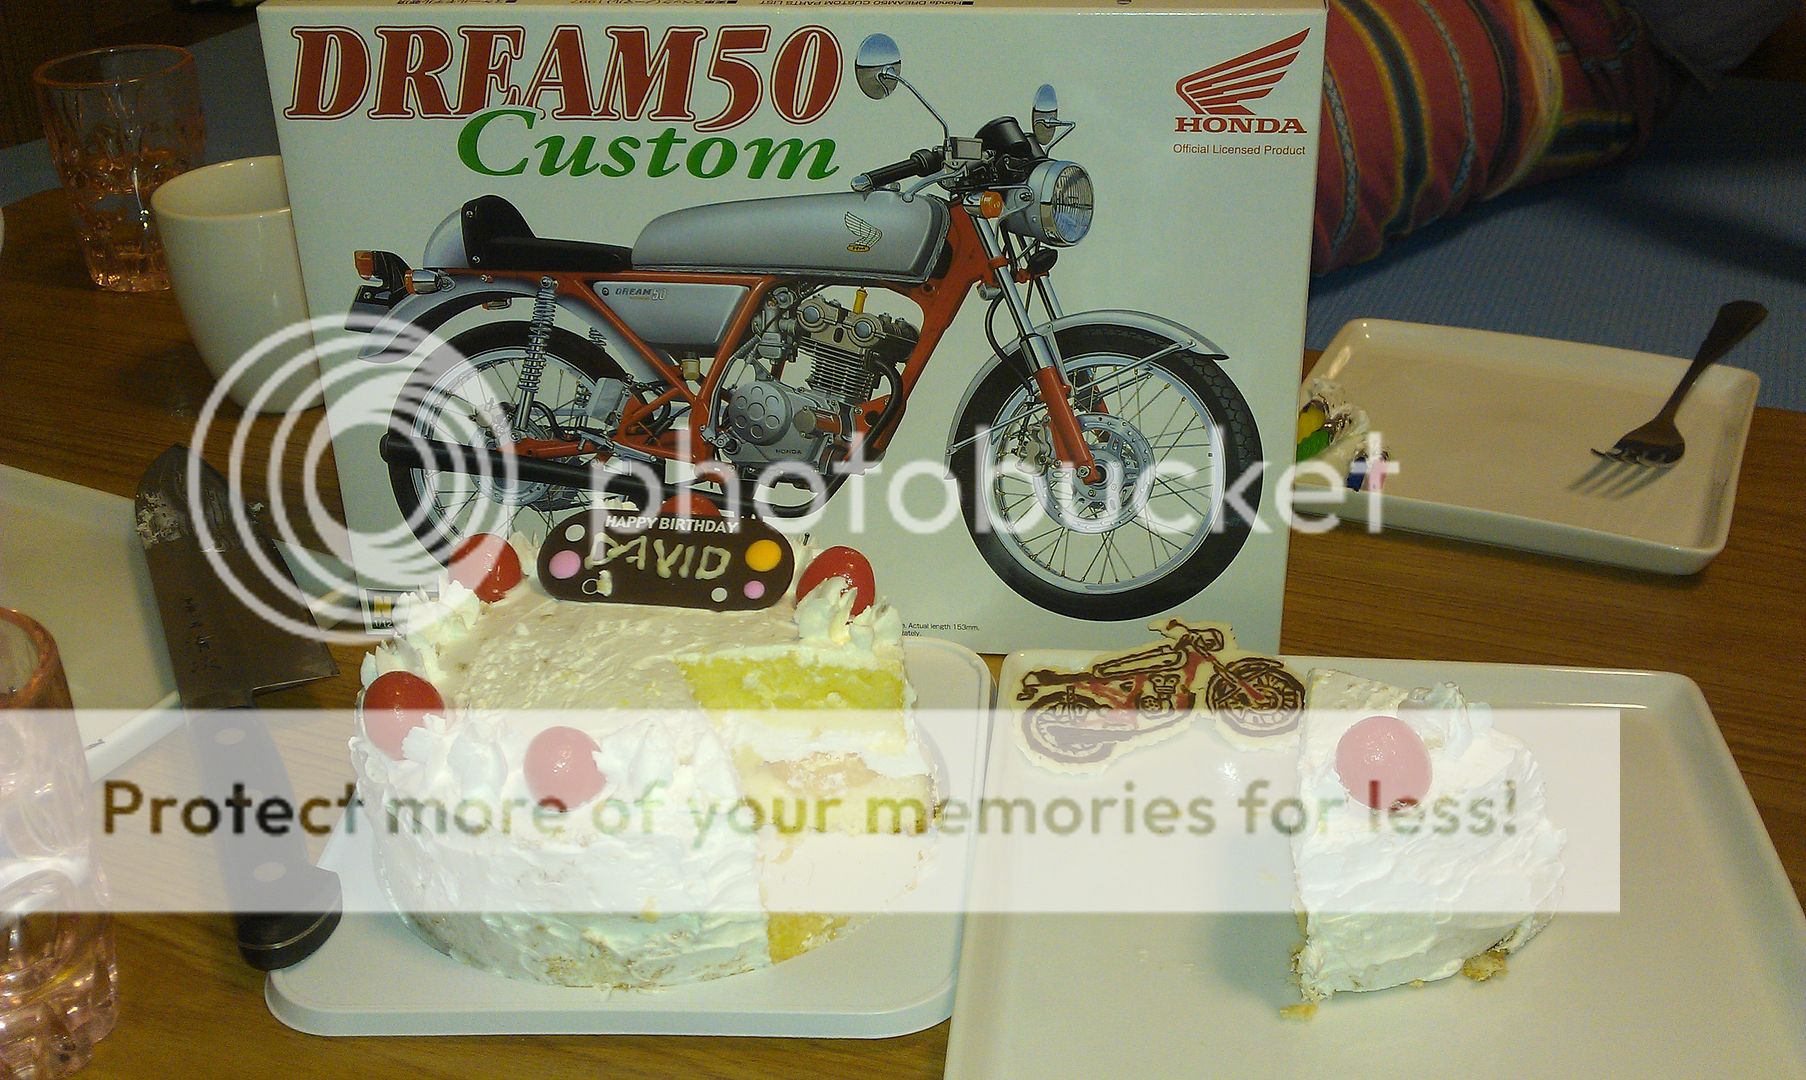
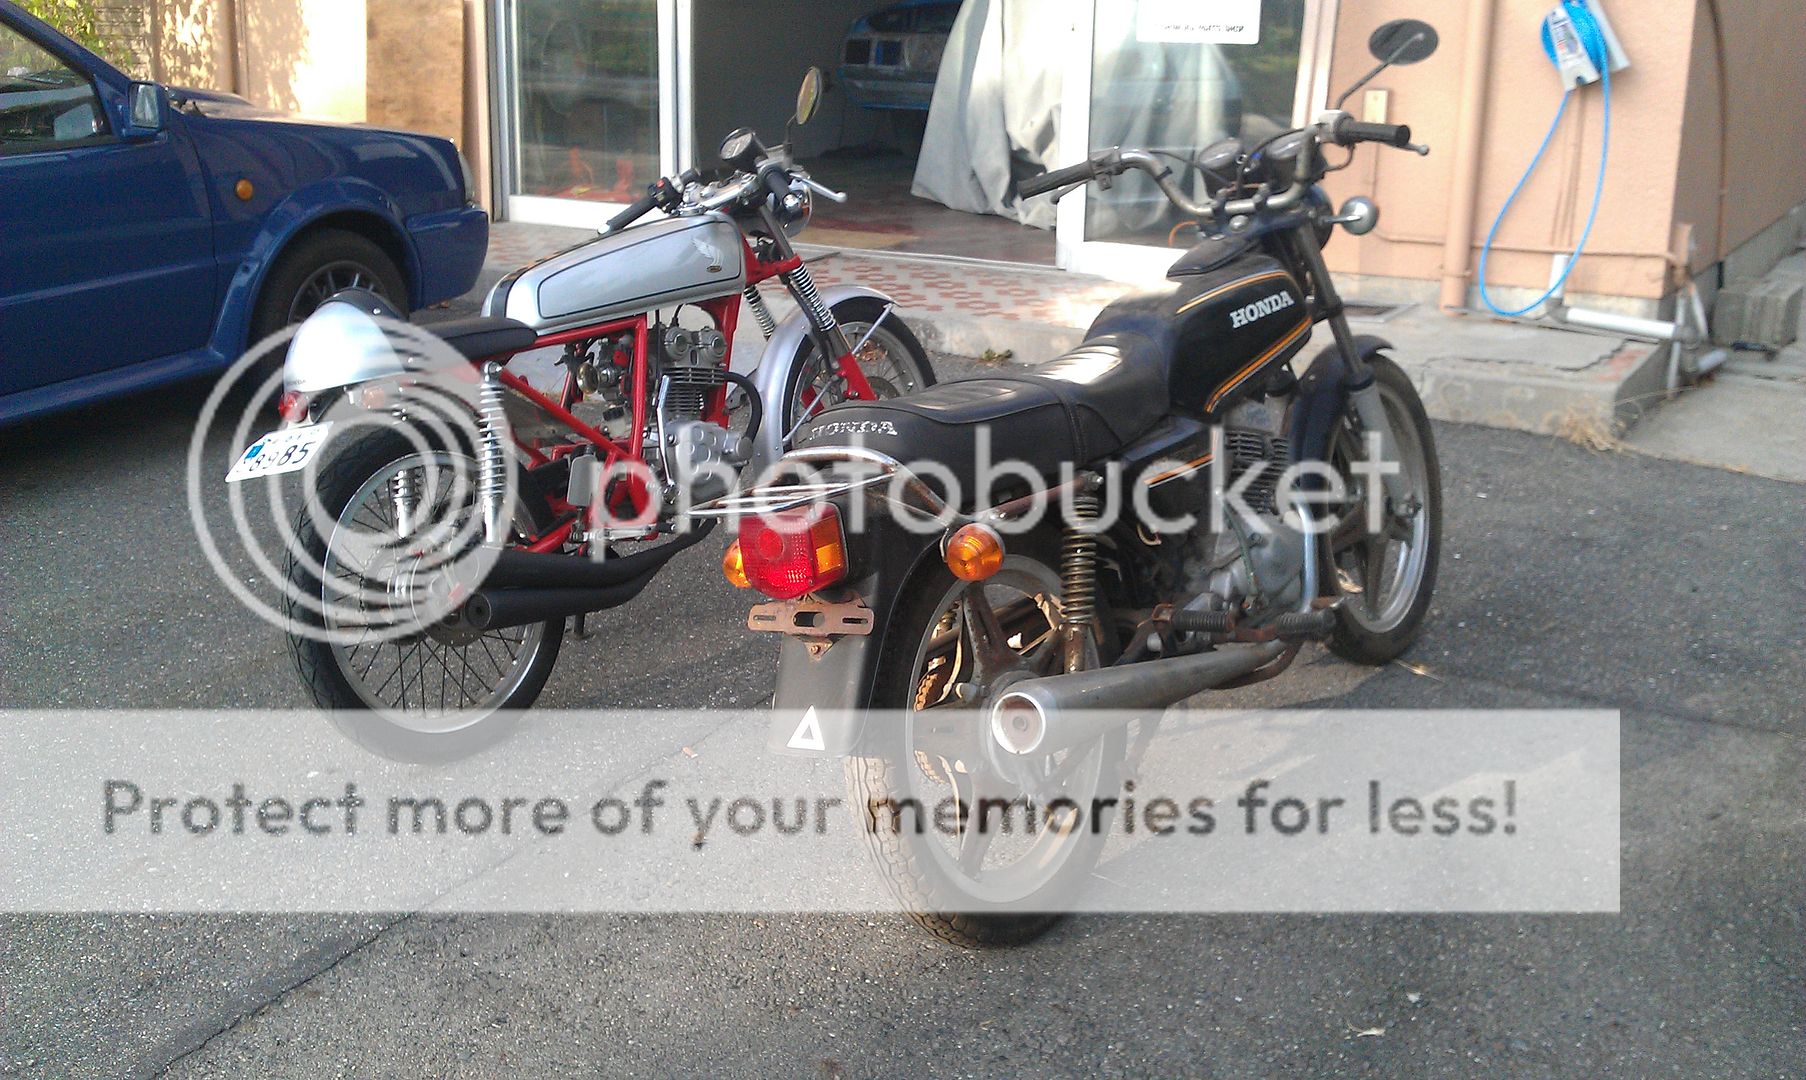
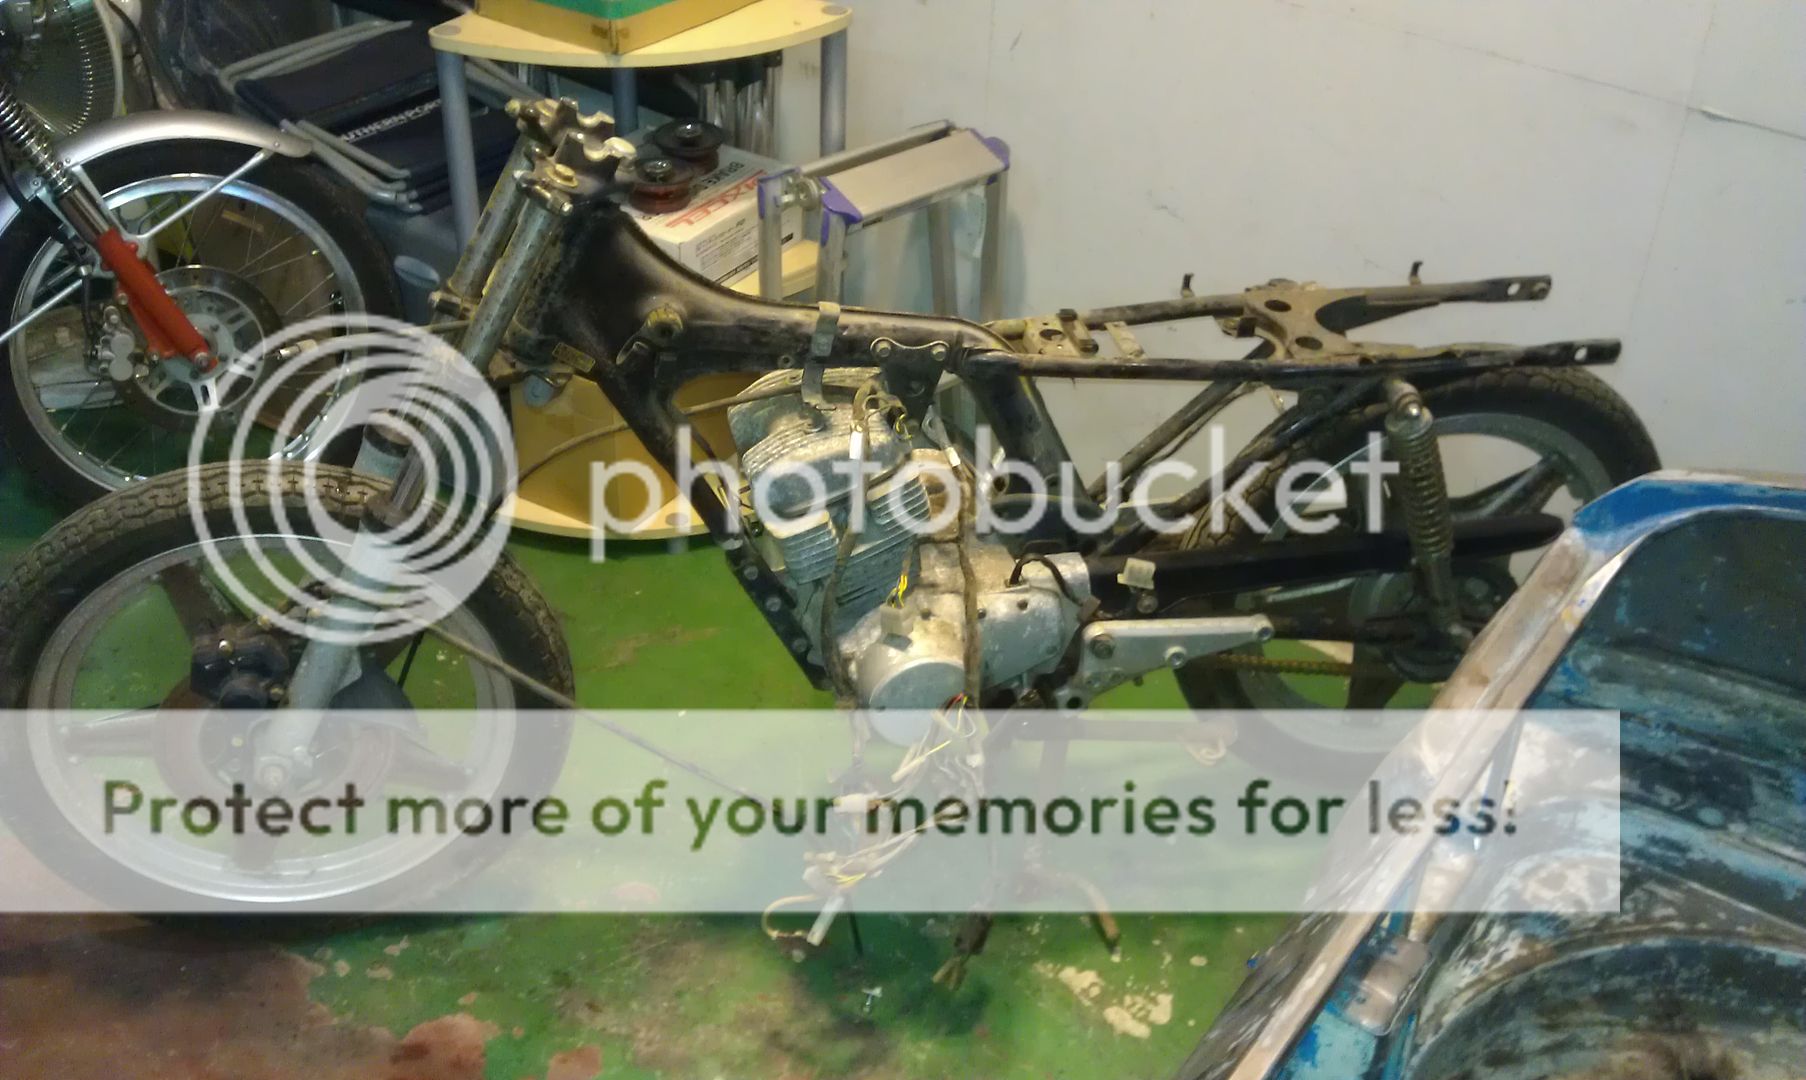
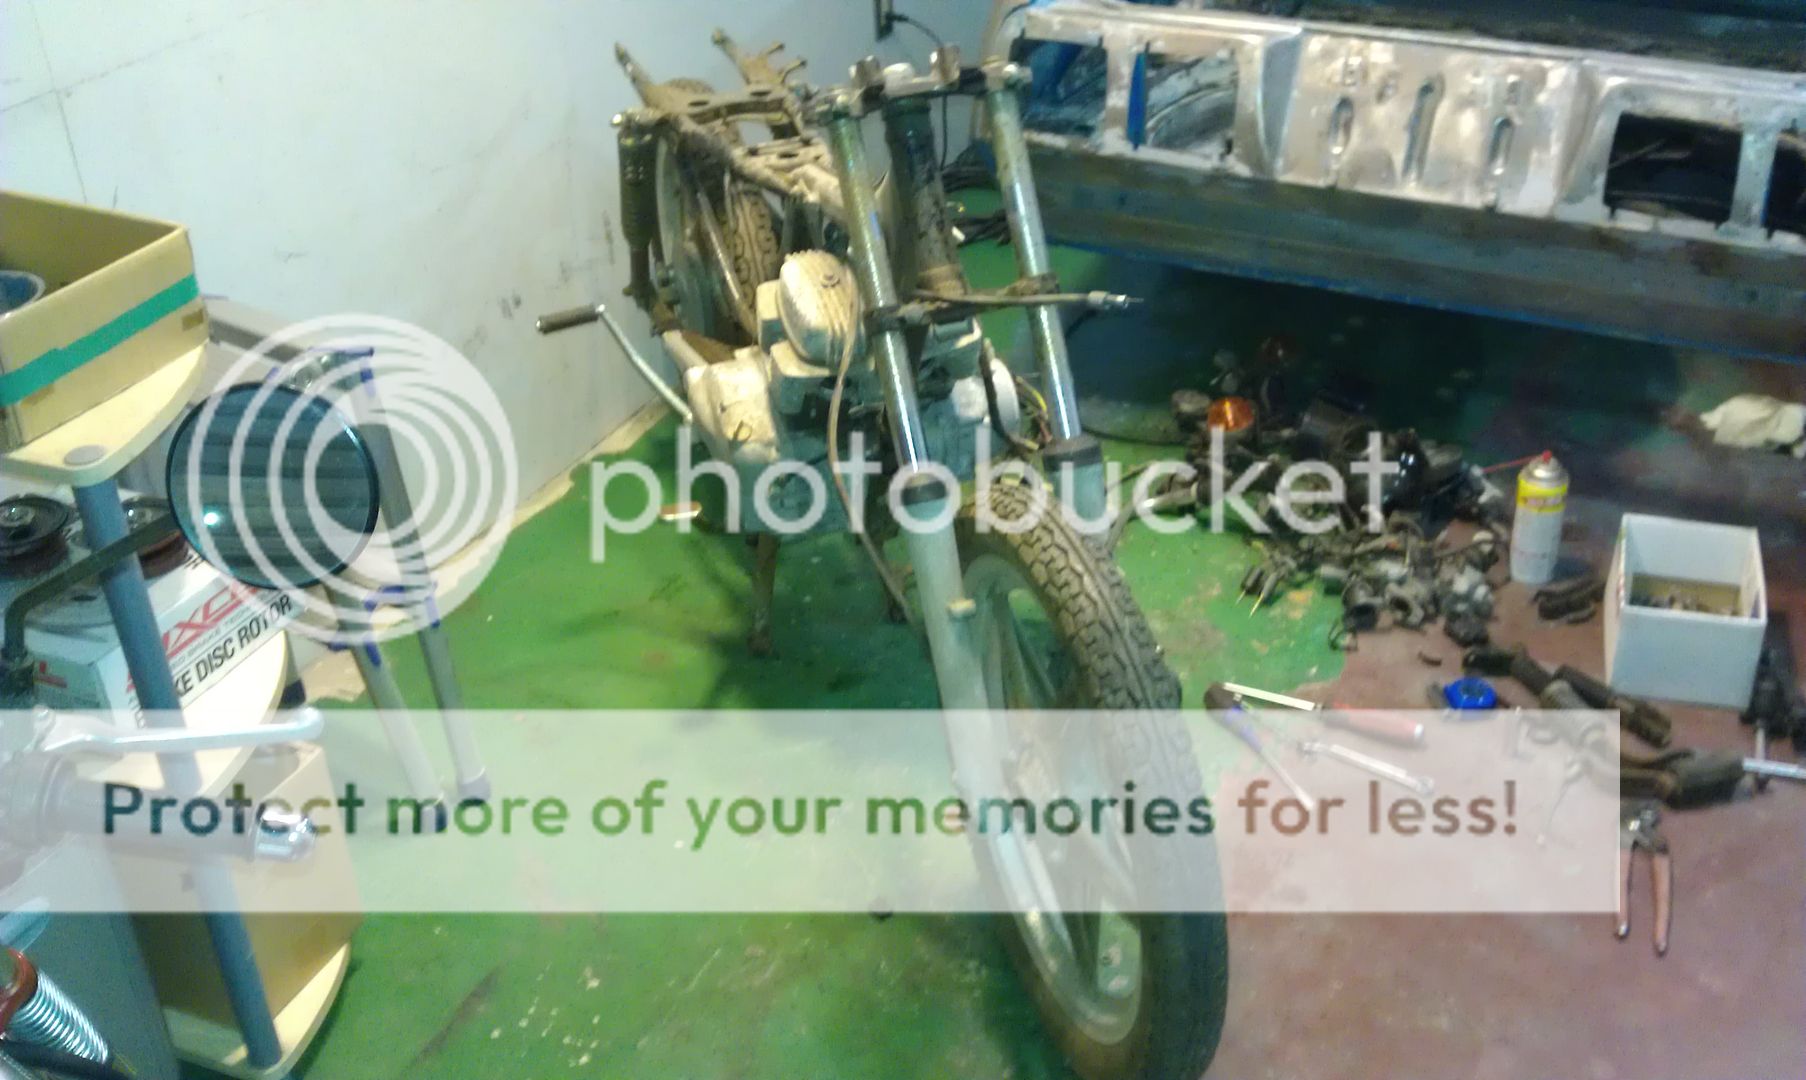
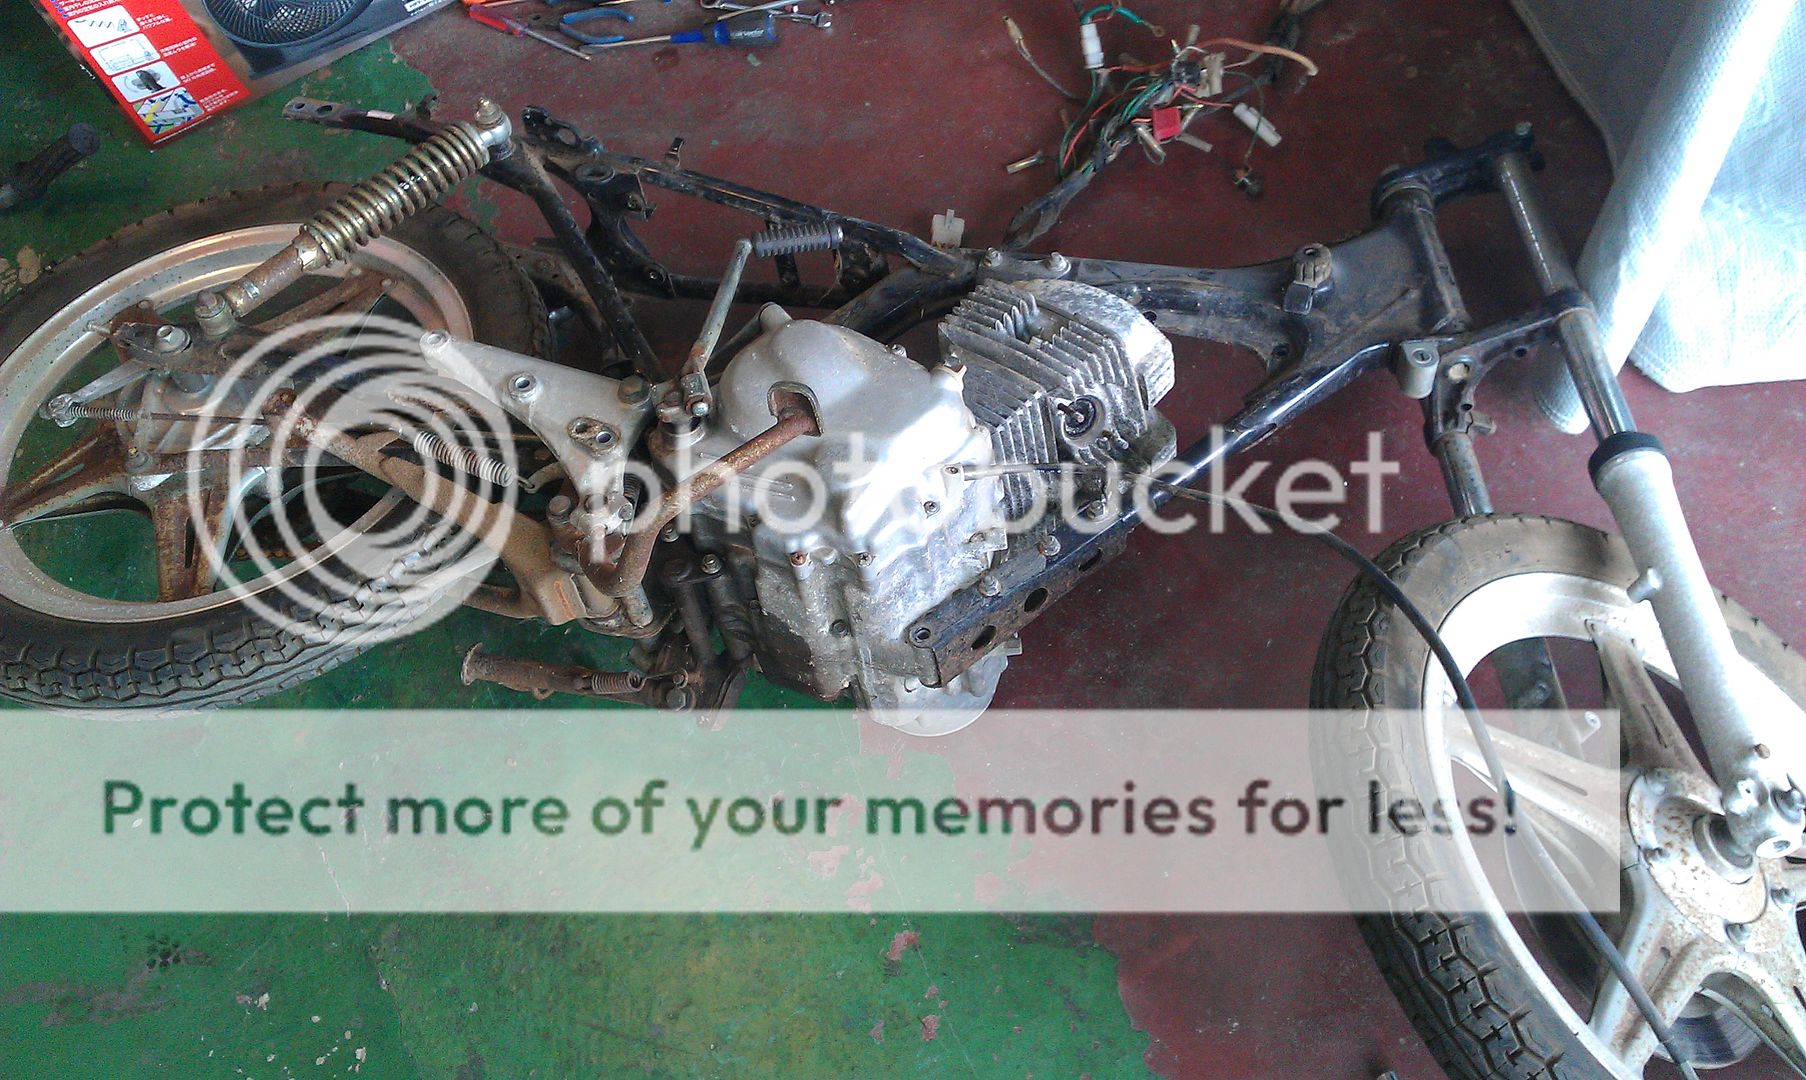
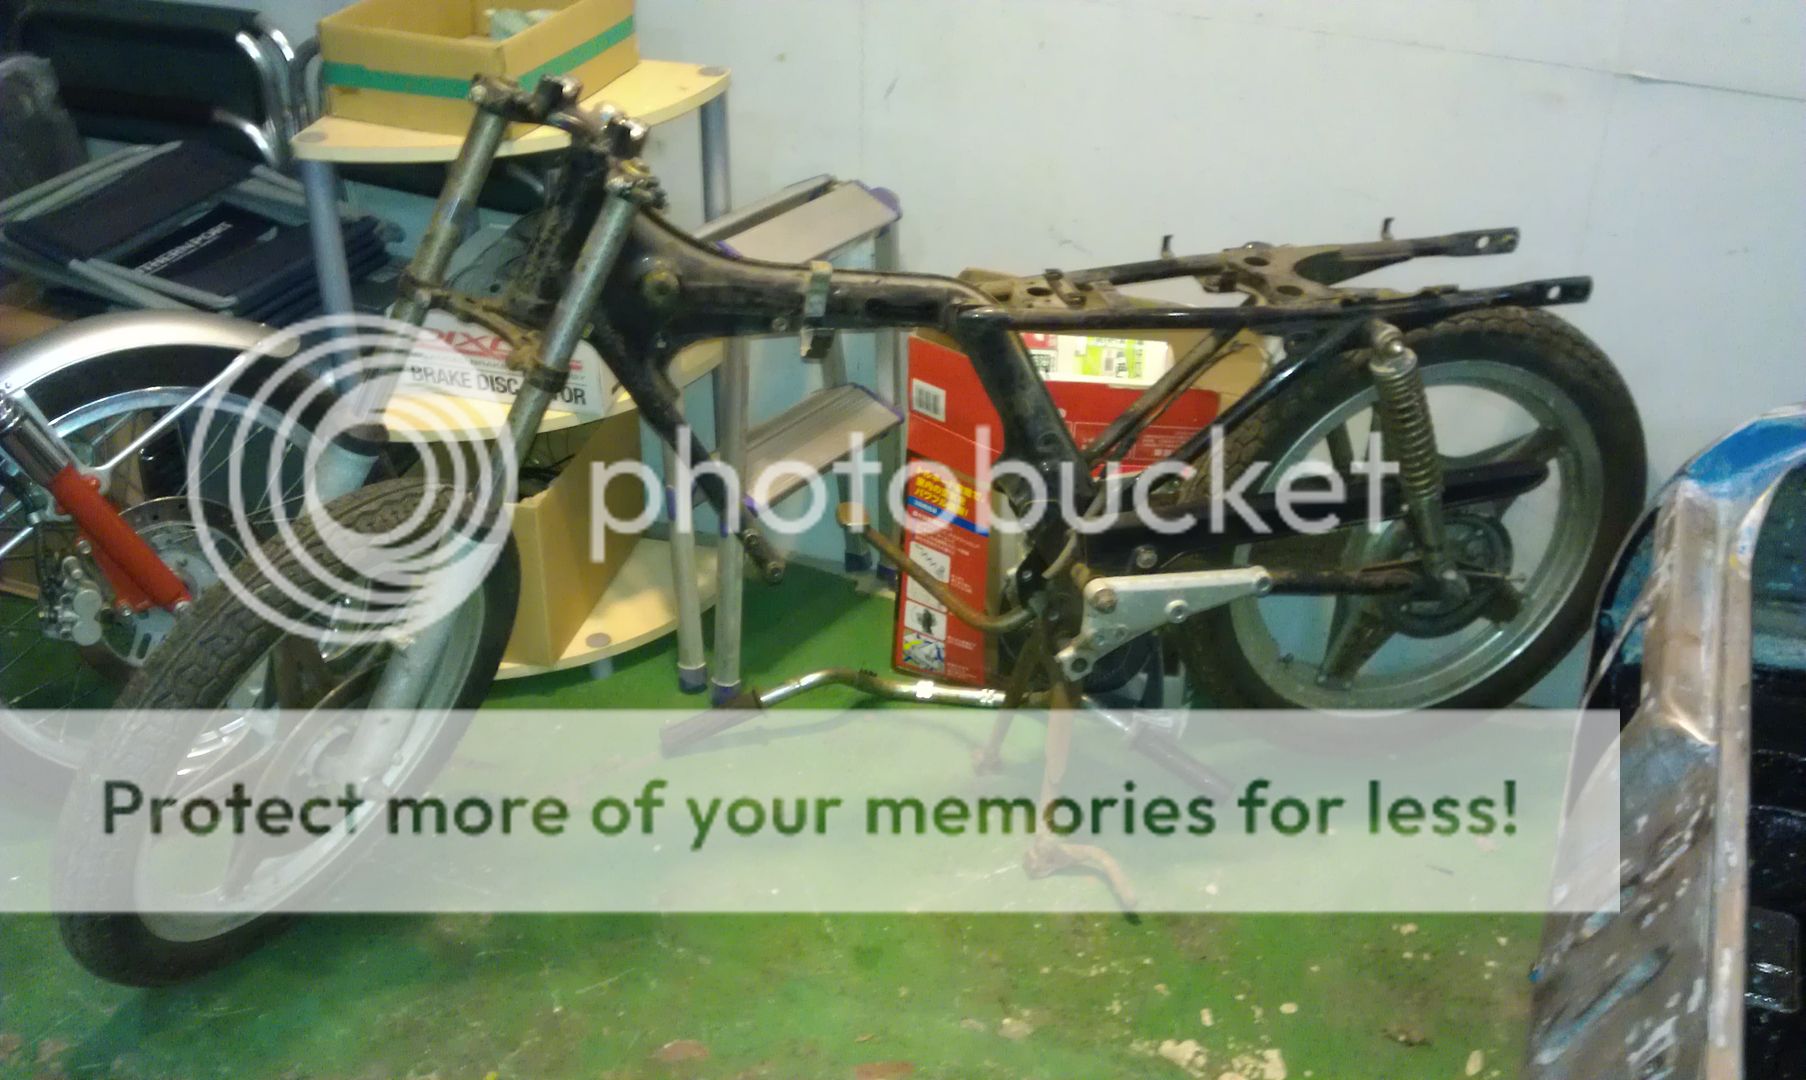
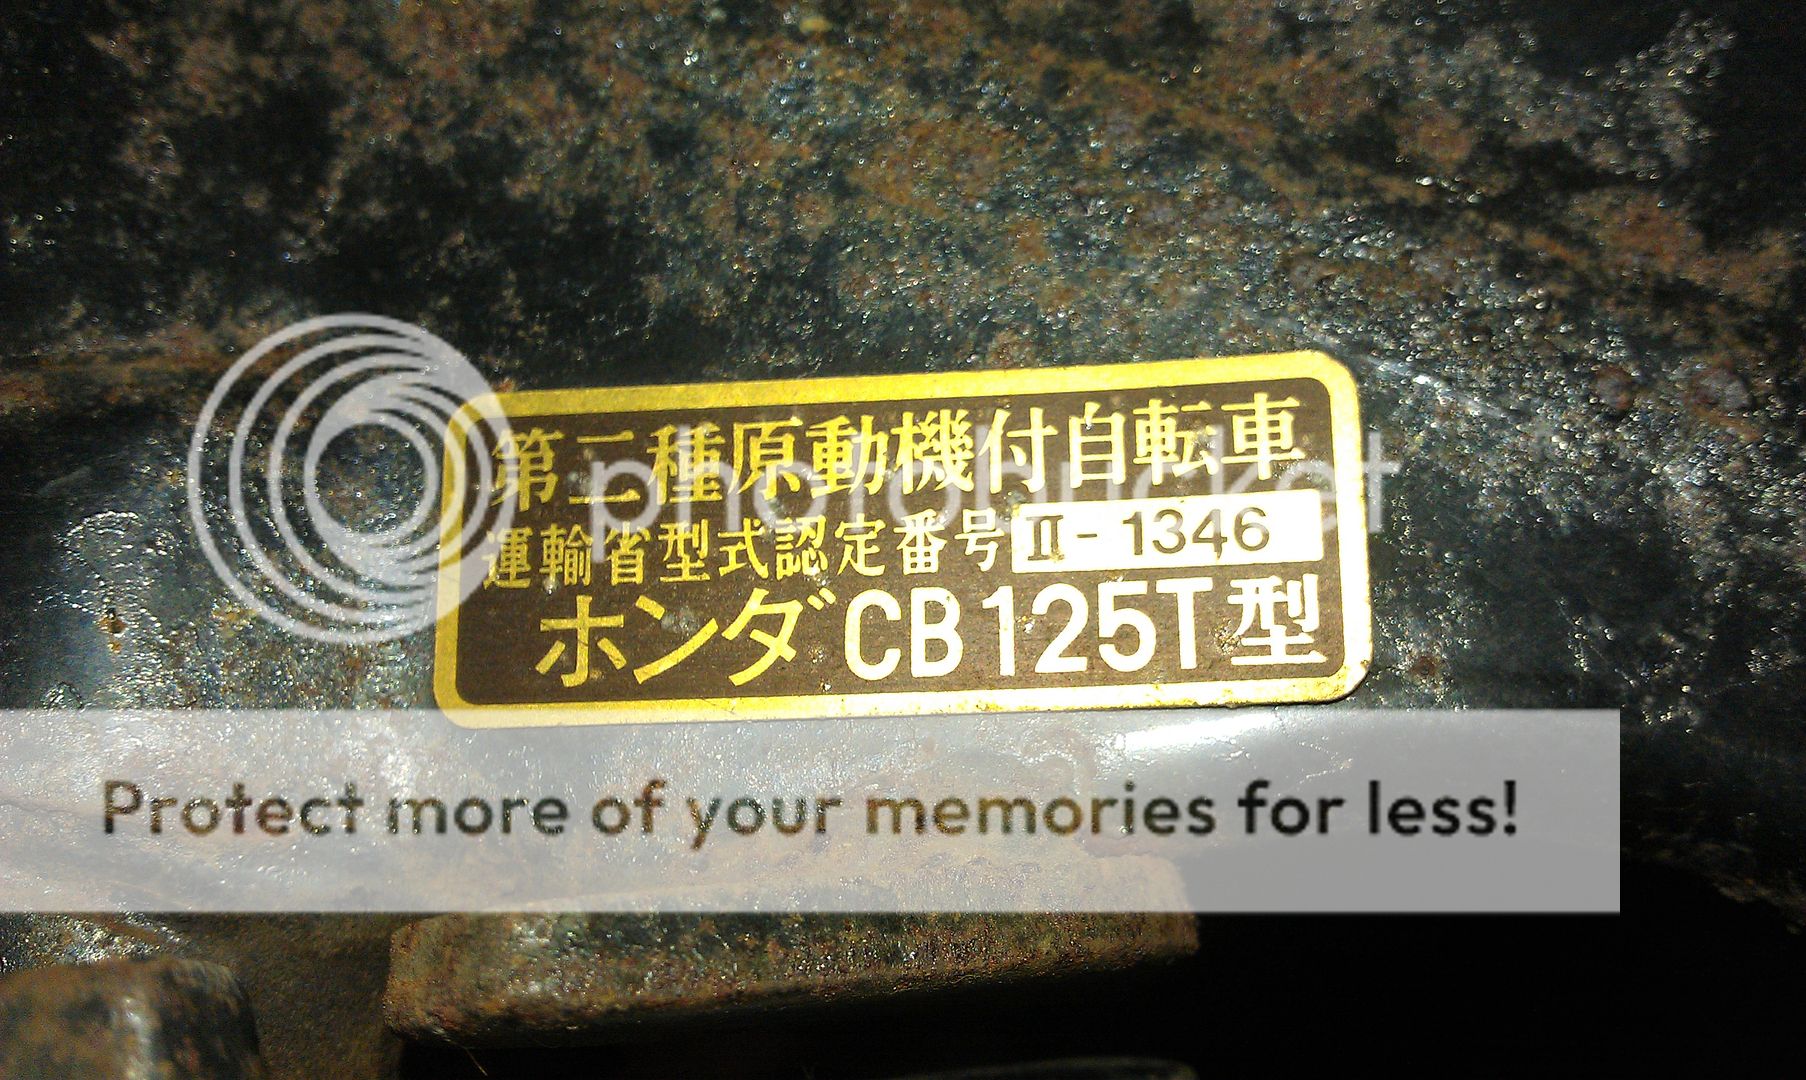
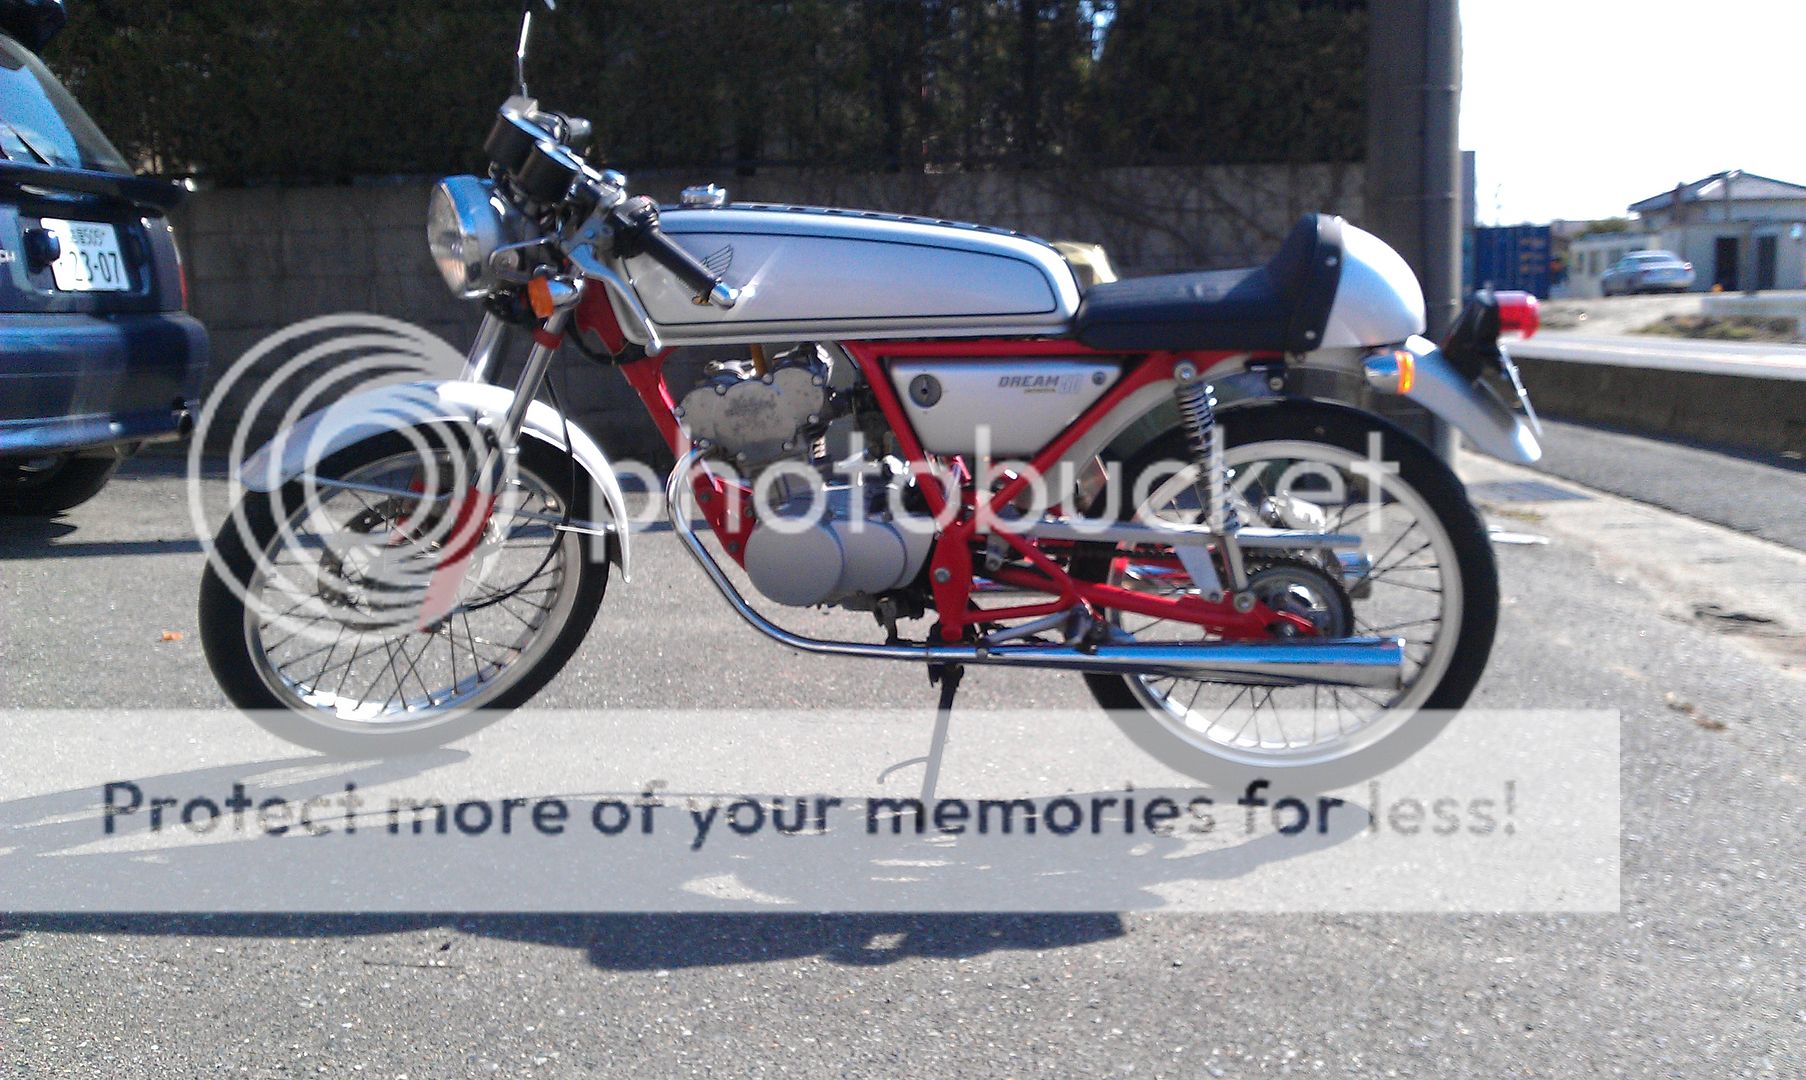
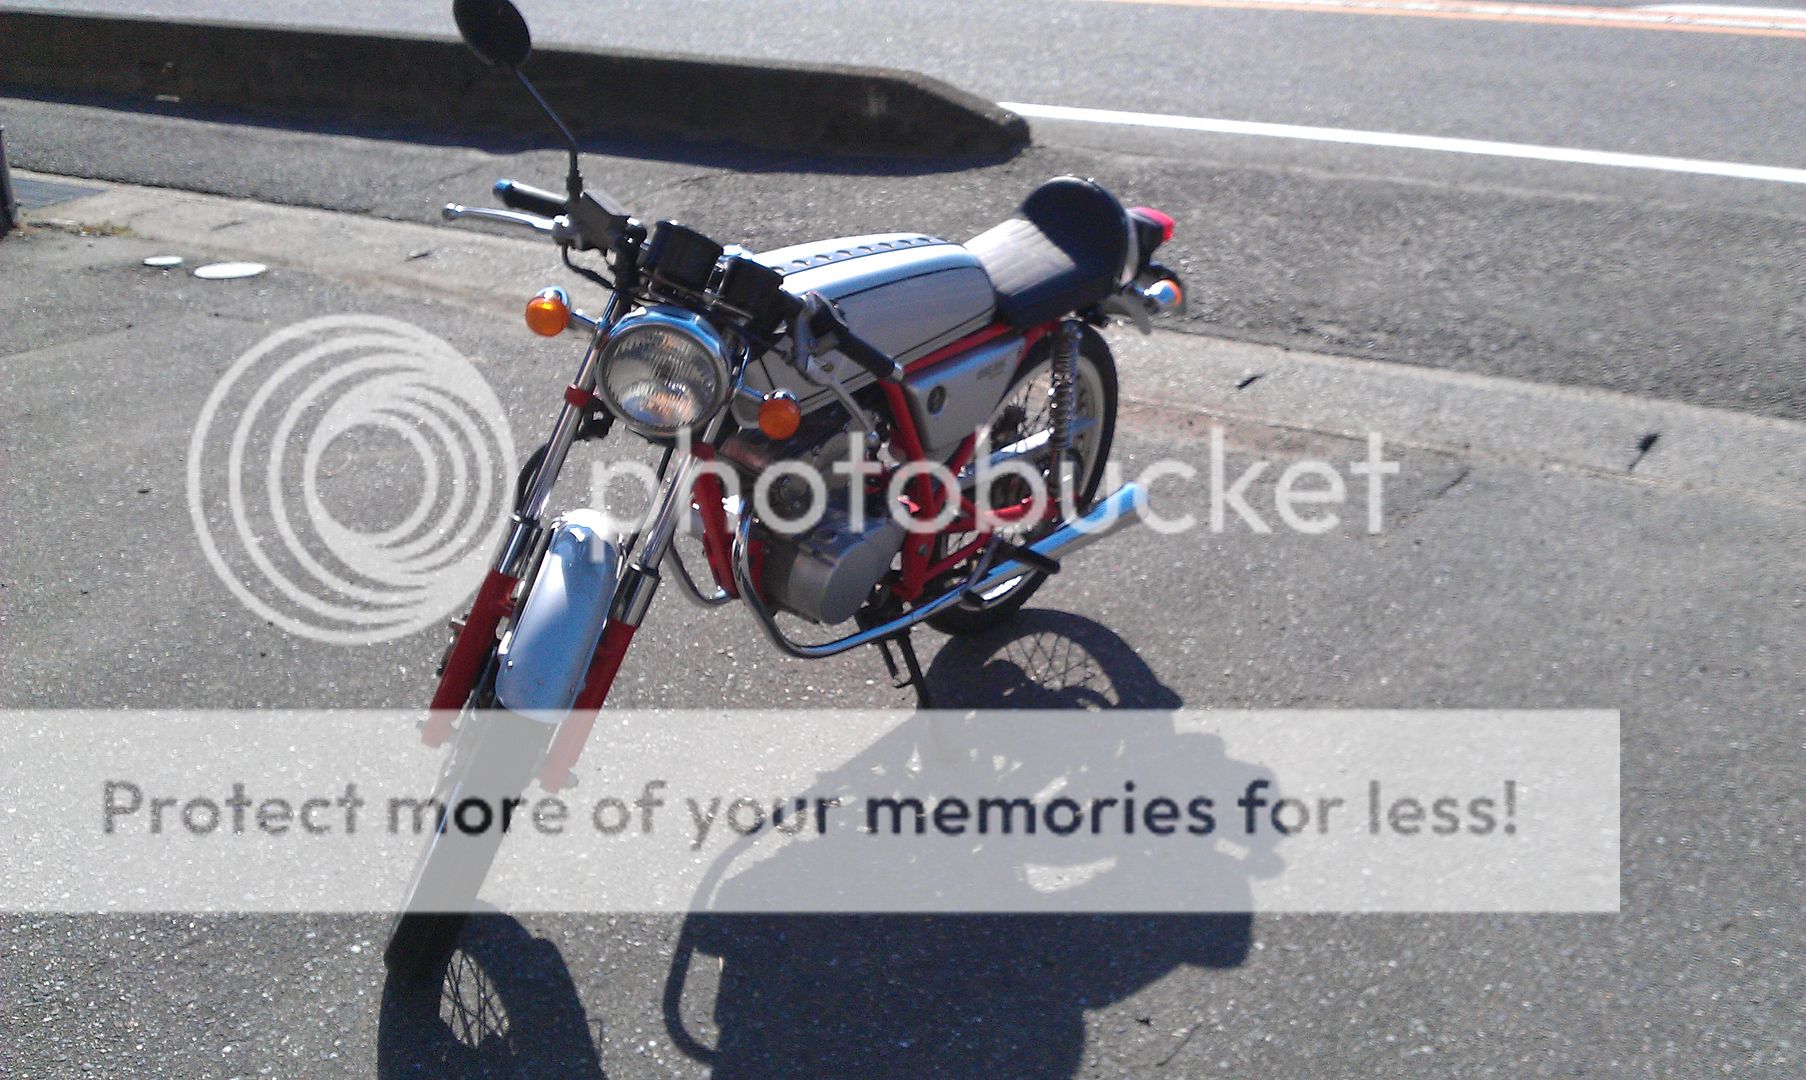
So, I've always wanted an old cafe racer bike and I also needed a learners bike to help me get my sea legs back for the proper motorcycle test. As such, I've been keeping my eye on the Dream 50 for quite some time. Unfortunately, they are indeed pricey. I was waffling between getting this or trading my March in and getting an R31 Skyline. I was leaning very heavily towards the Skyline, but all the offers on trade in value for my March were frankly insulting (I had one place offer to give me 500 bucks for a 40,000 mile, twin charged, piece of rally history!). So I said, this has got to be a sign, decided to keep the March and pulled the trigger on this bad boy! It needs some work as it was indeed the cheapest one I could find for sale. But, I picked it up in Okazaki and rode it all the way back to my place, a 40 minute ride! Biggest problem I had along the way was that my hands went numb!
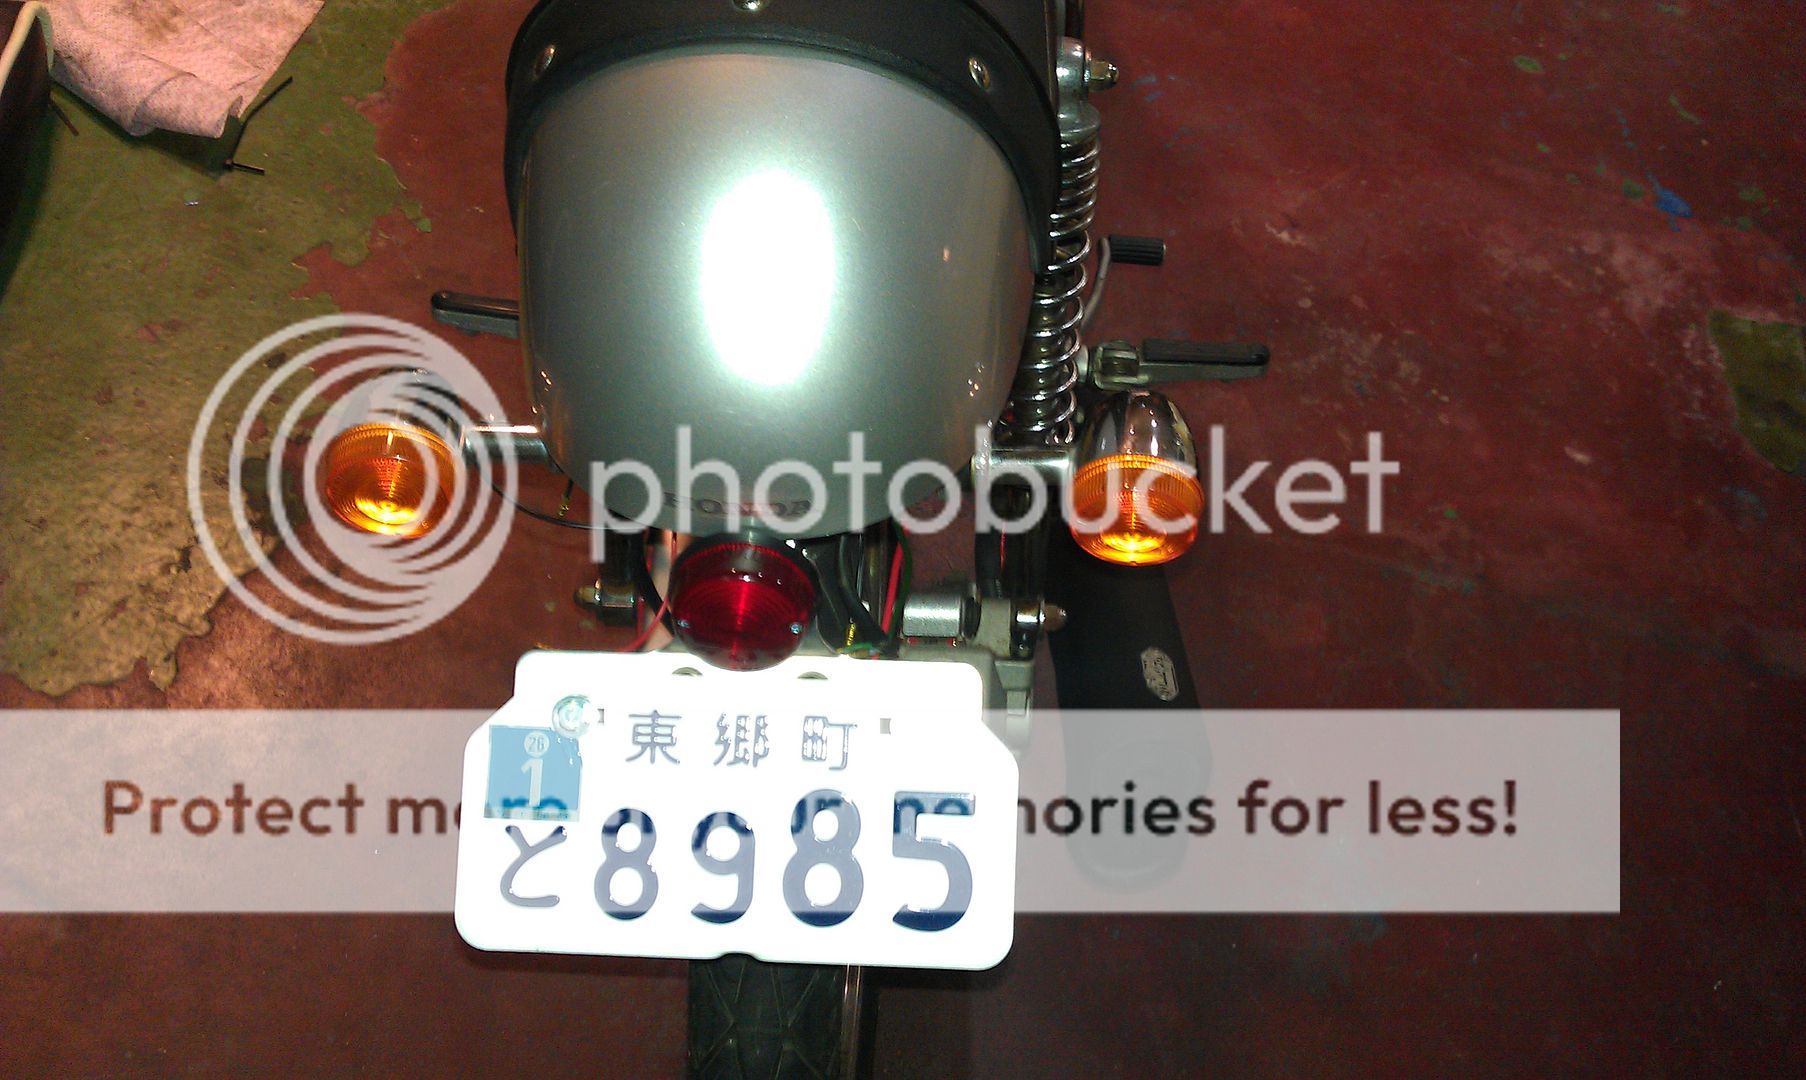
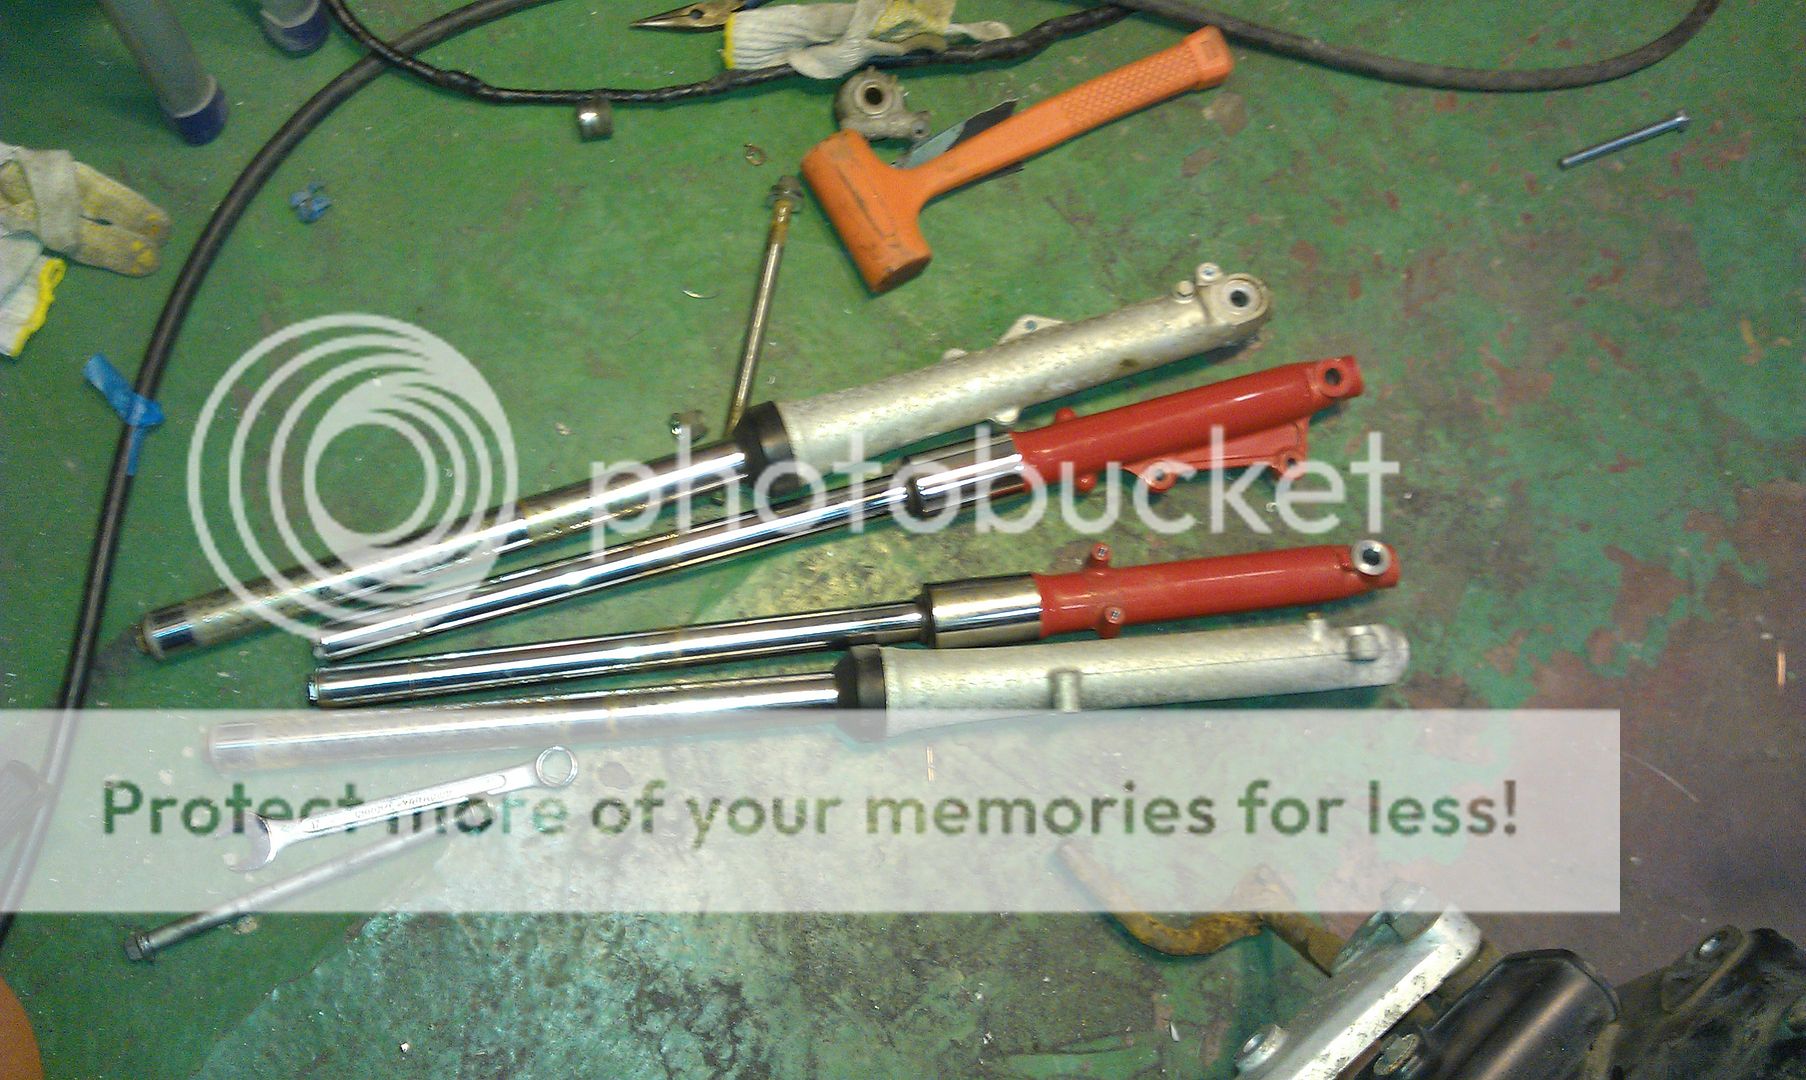
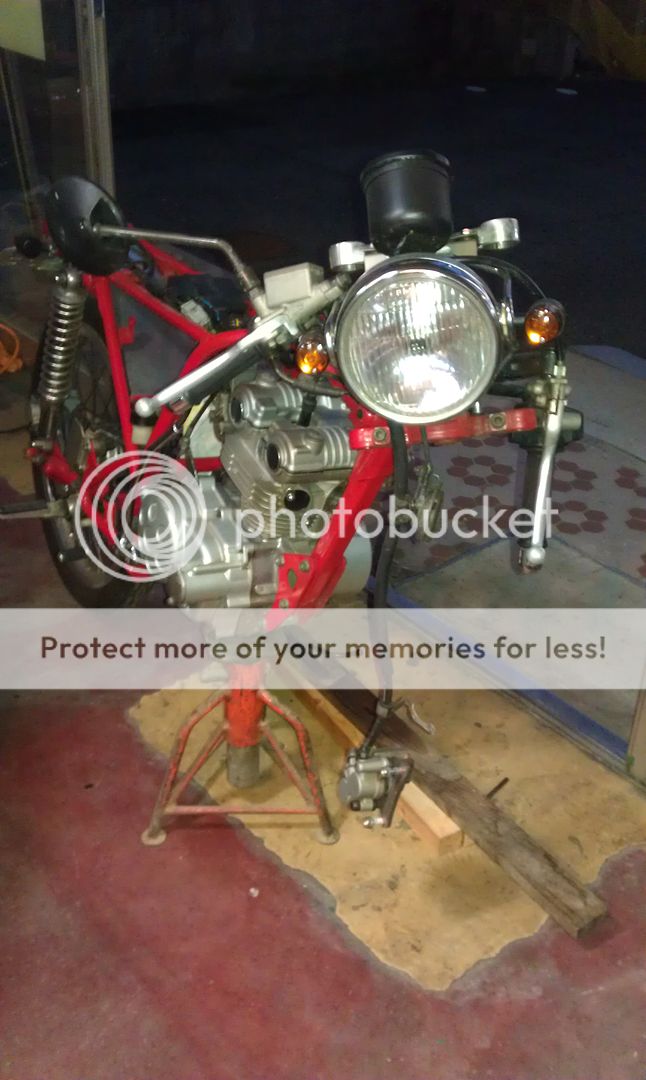
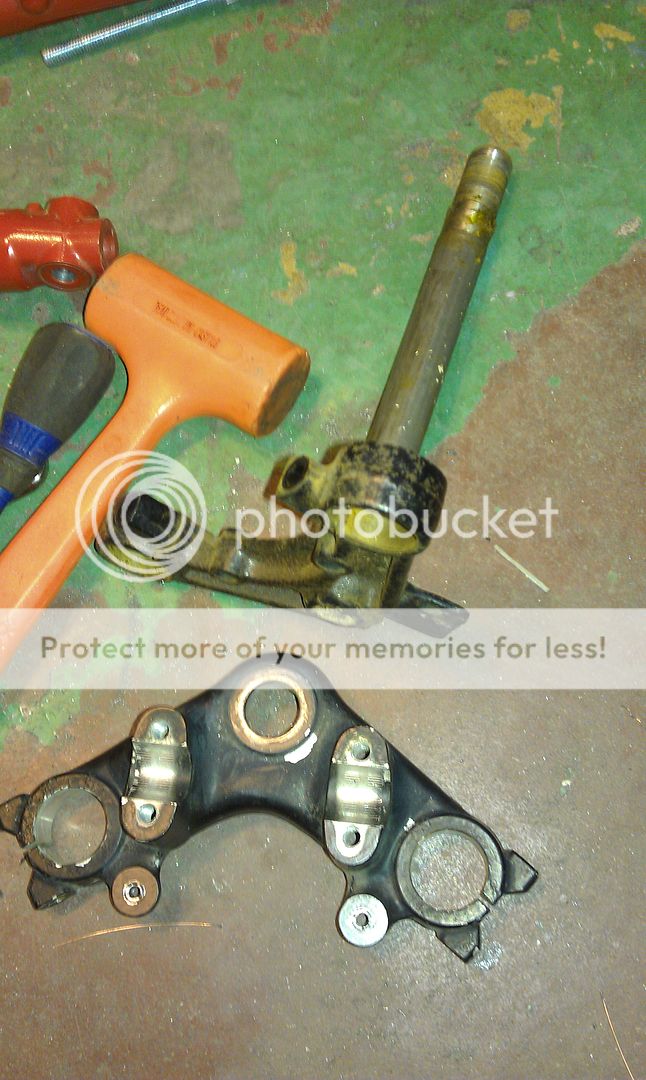
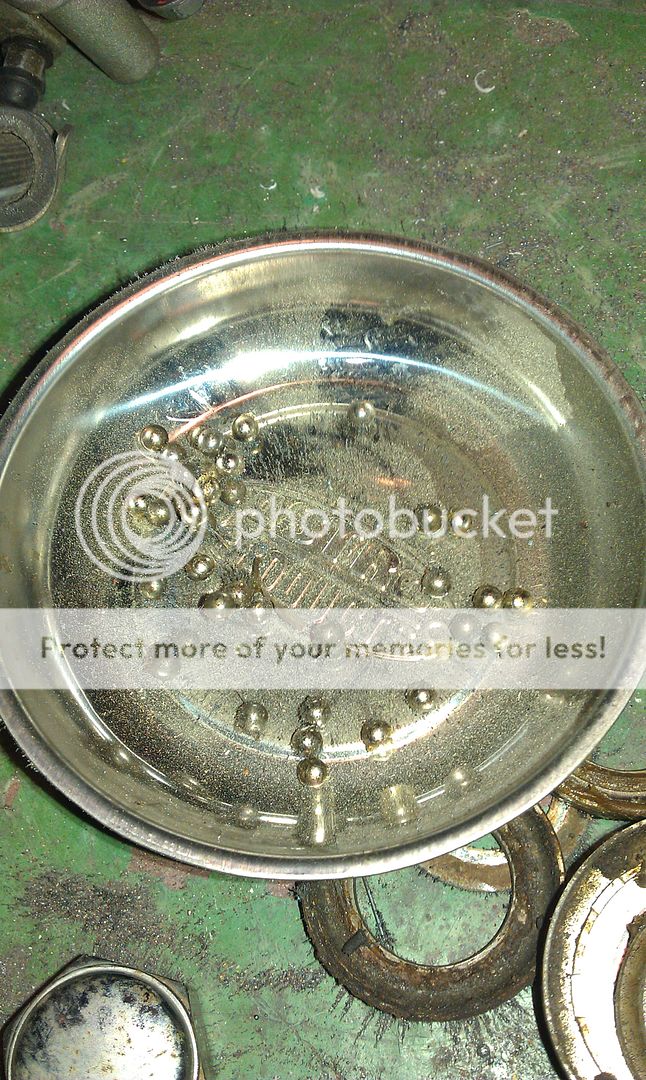
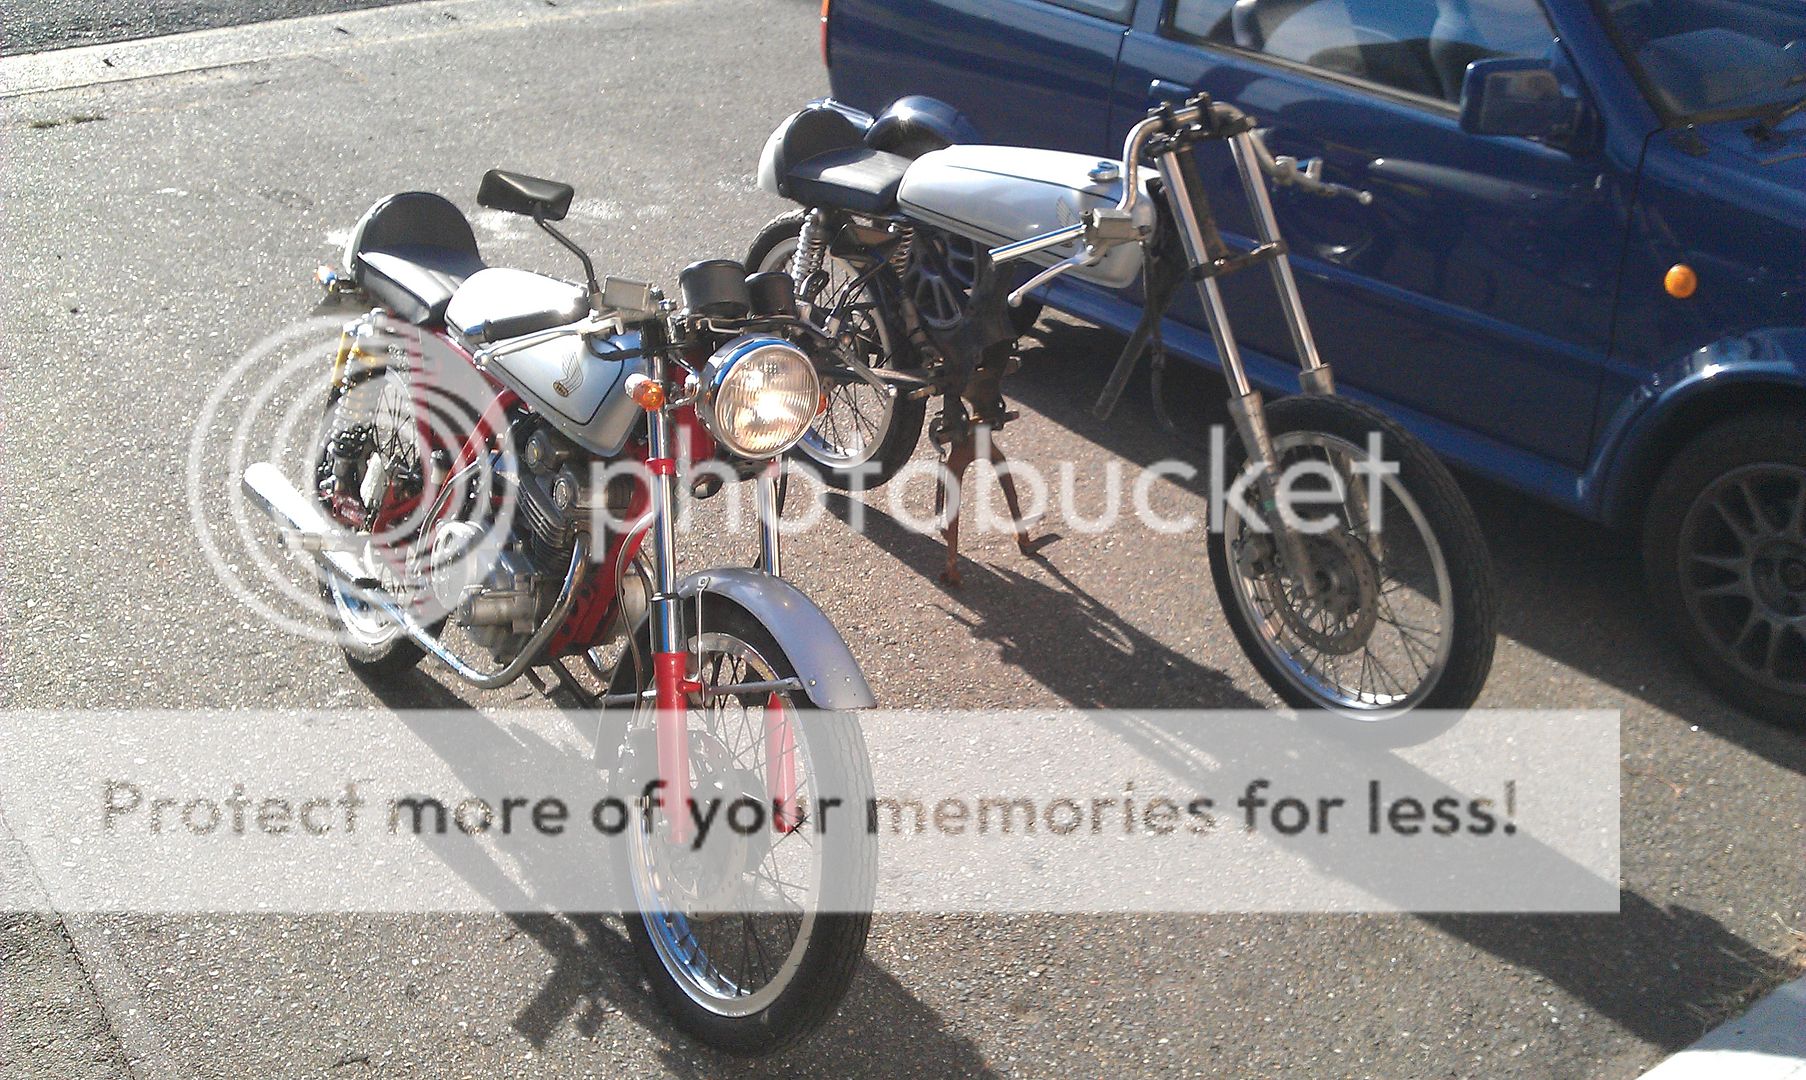
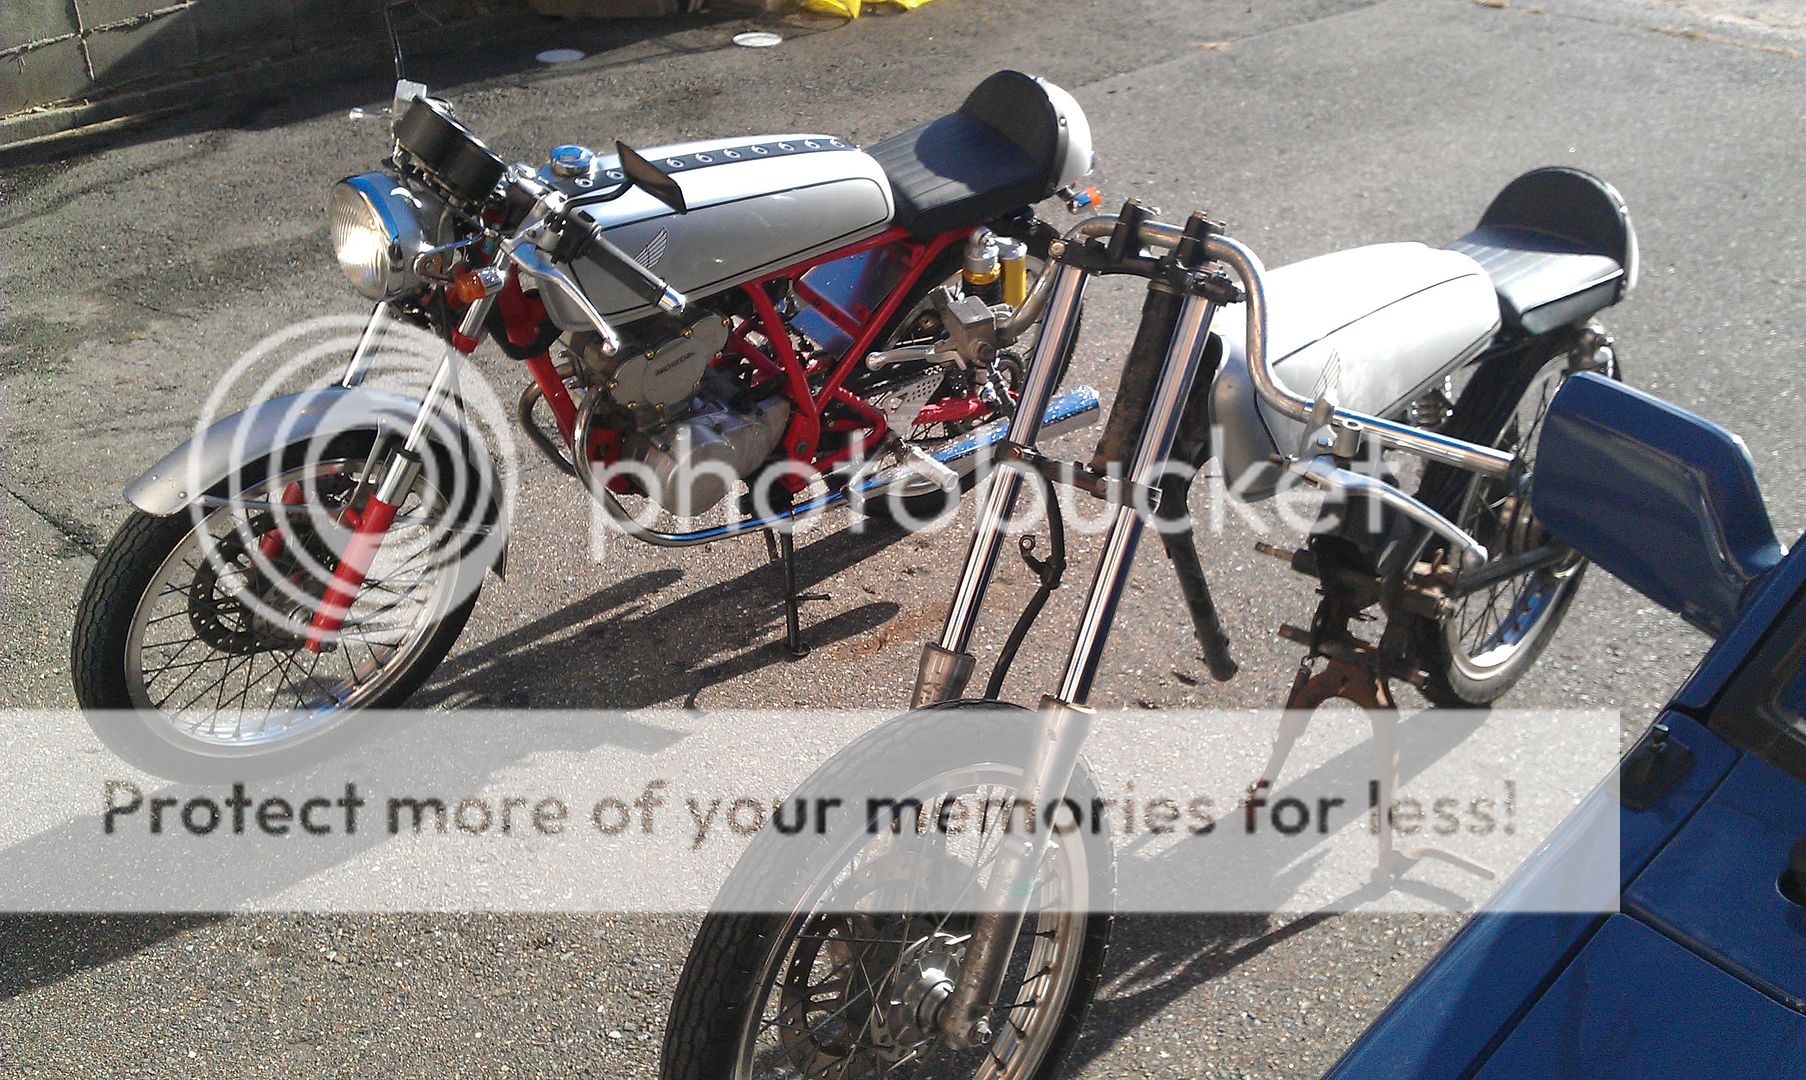
Alright, enough gabbing, on with the pictures!
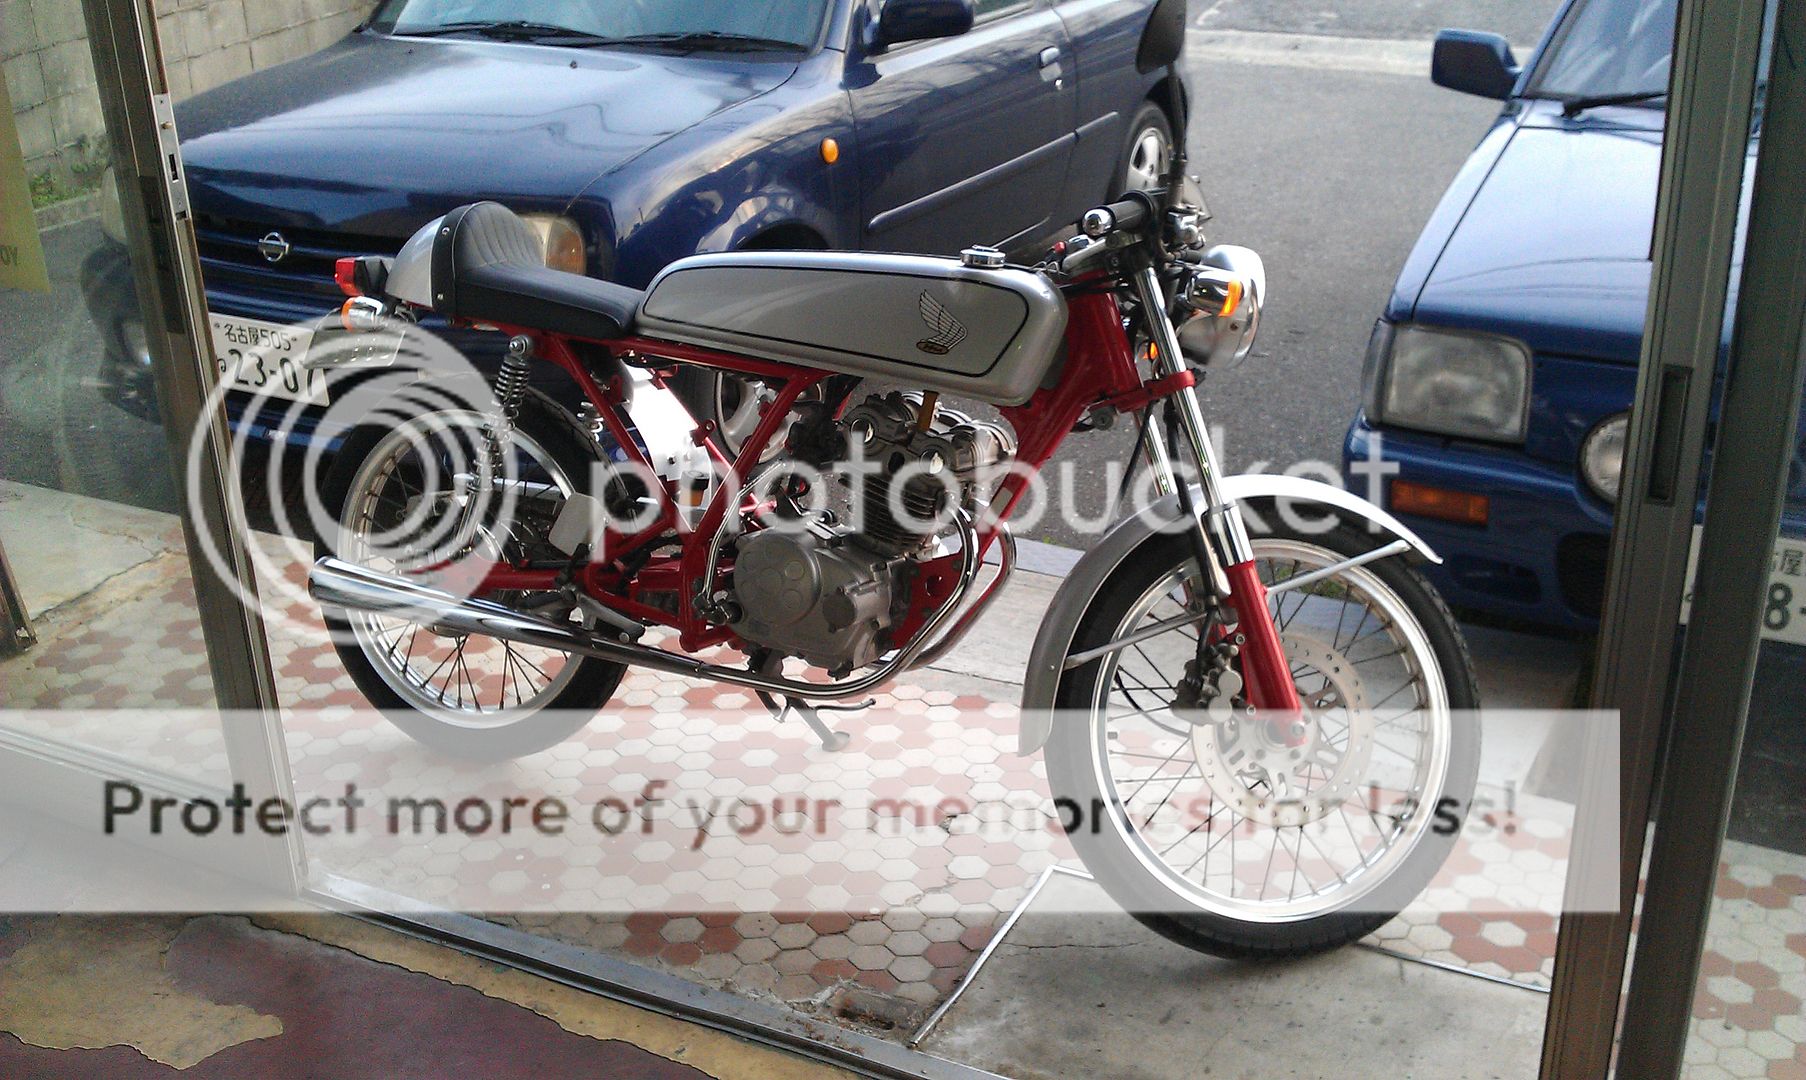
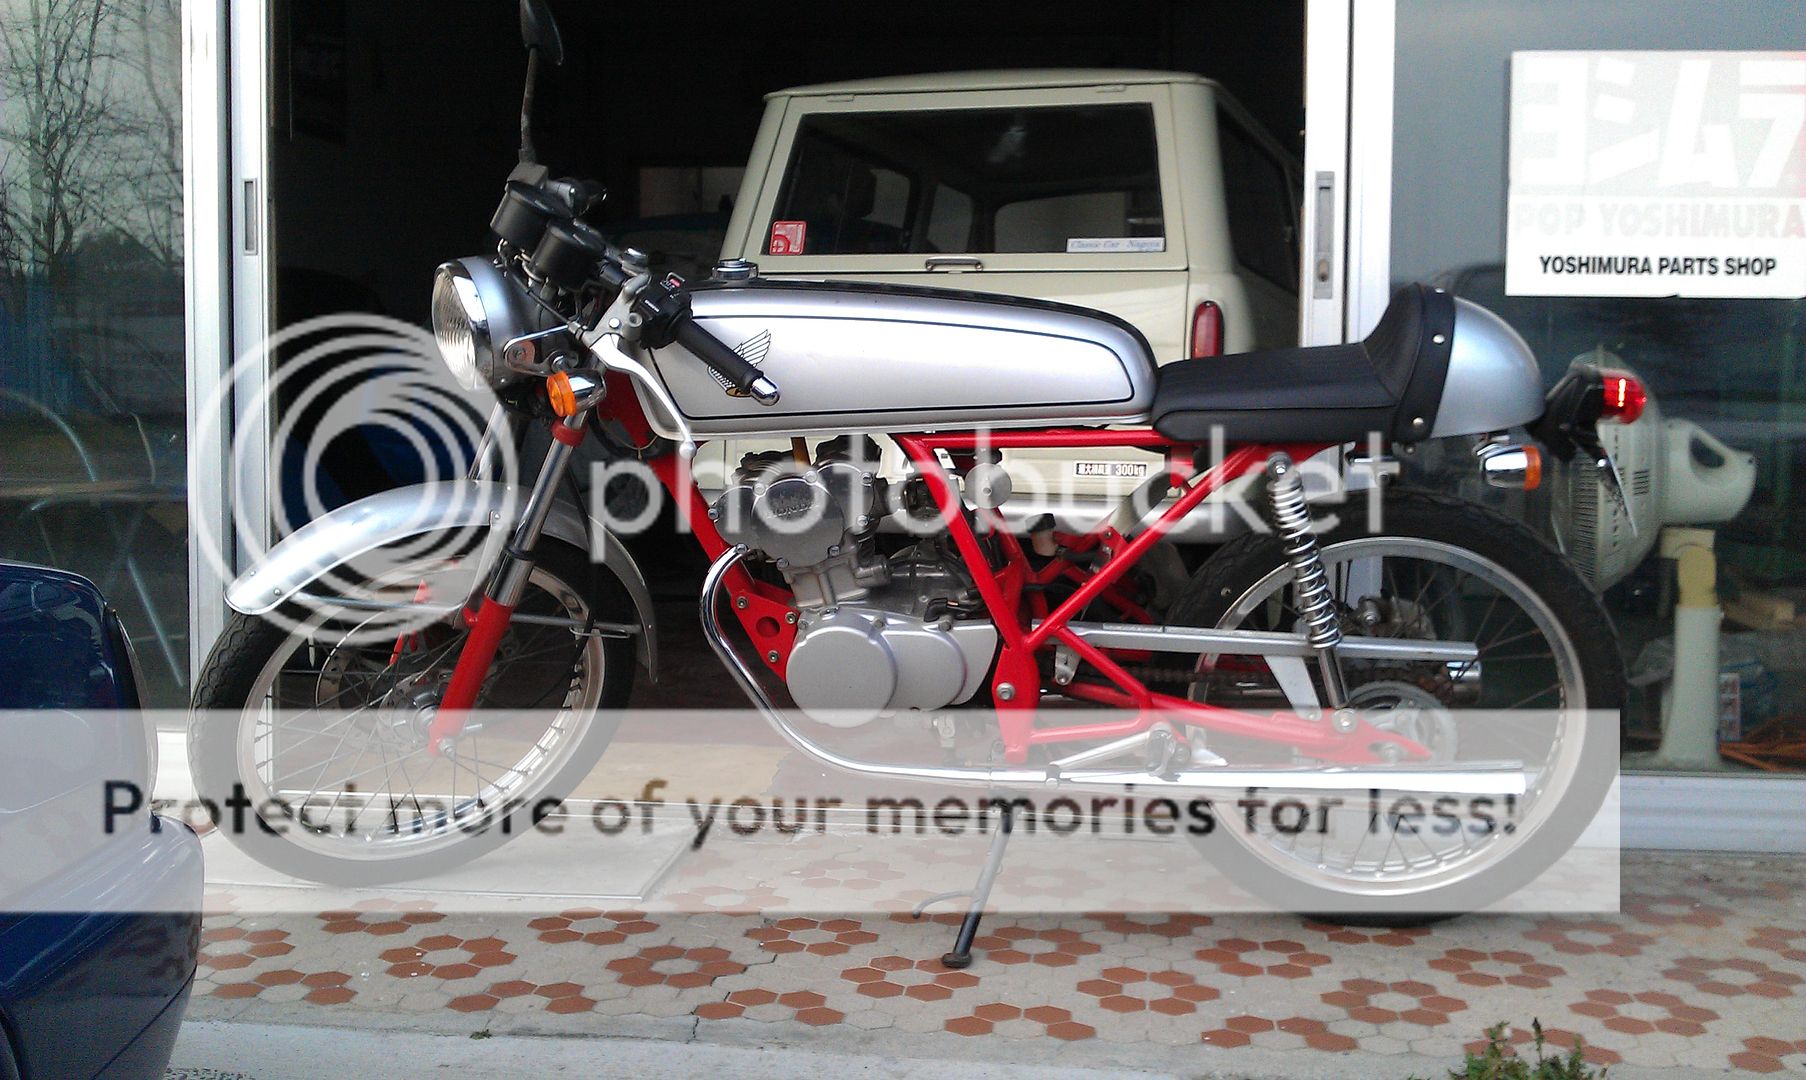
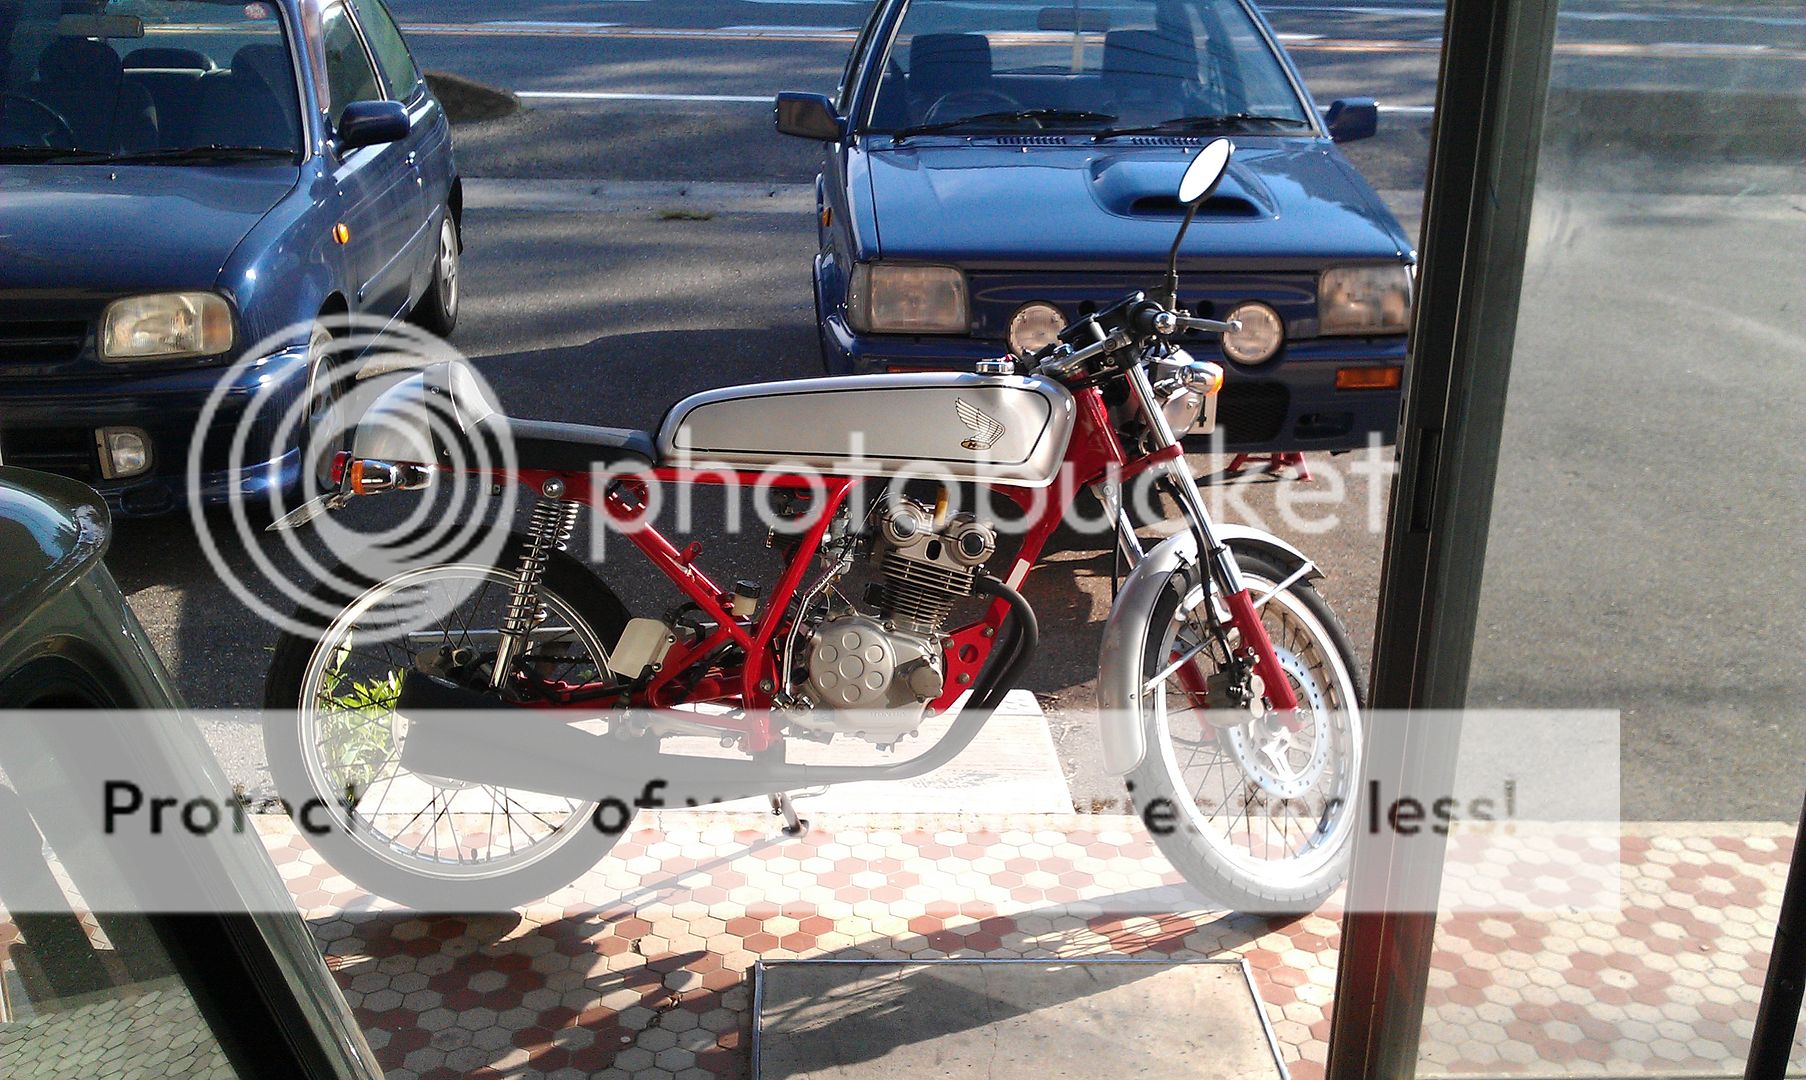
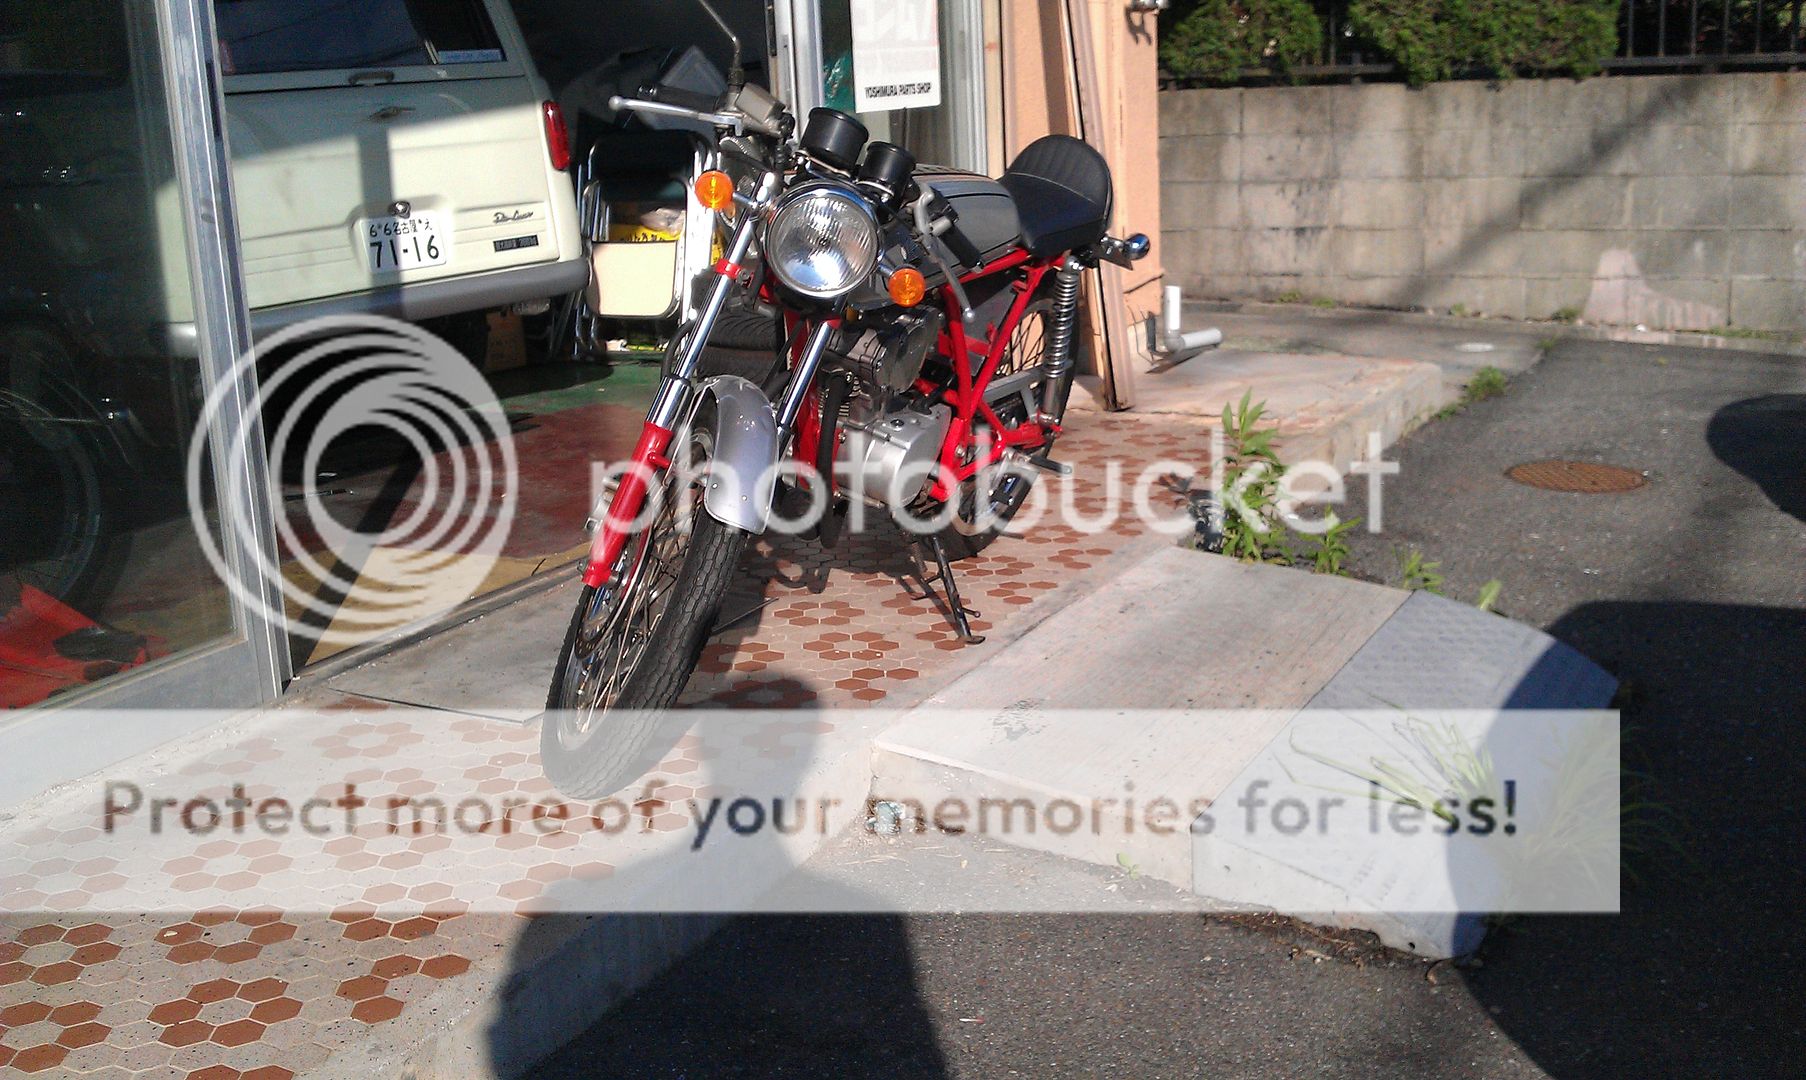
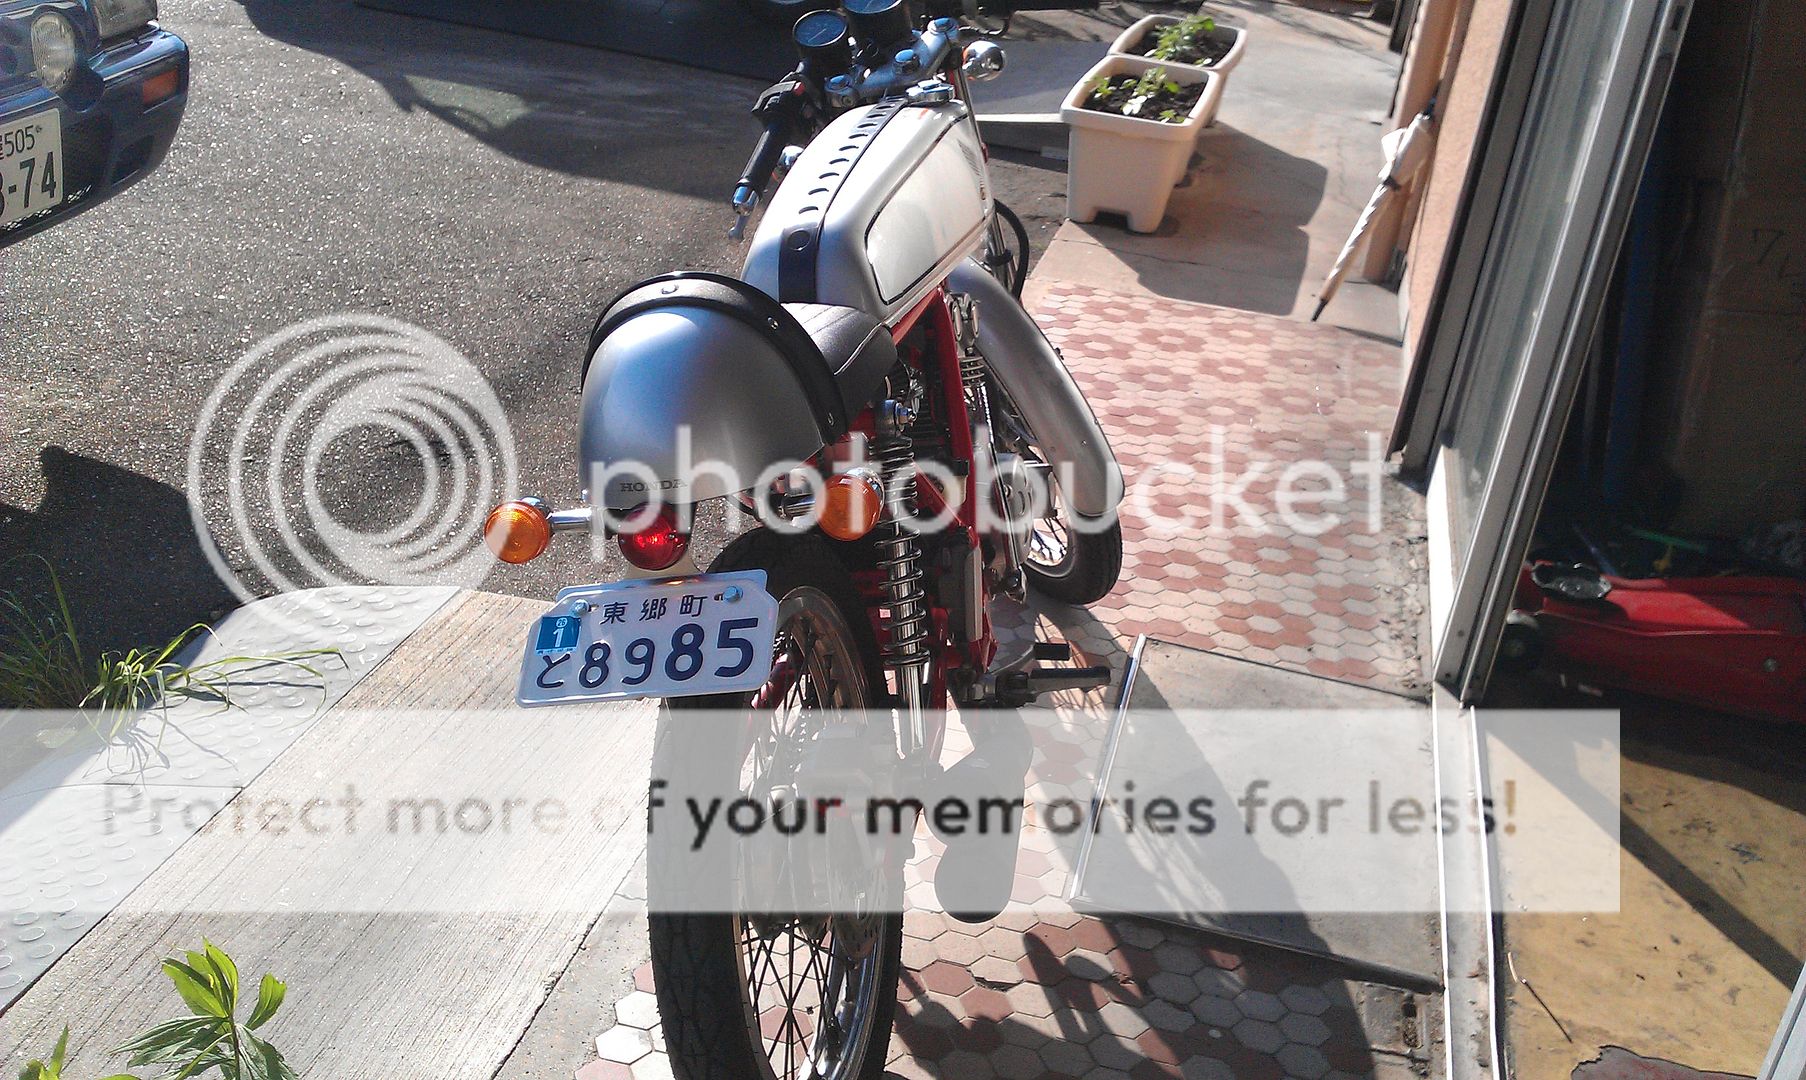
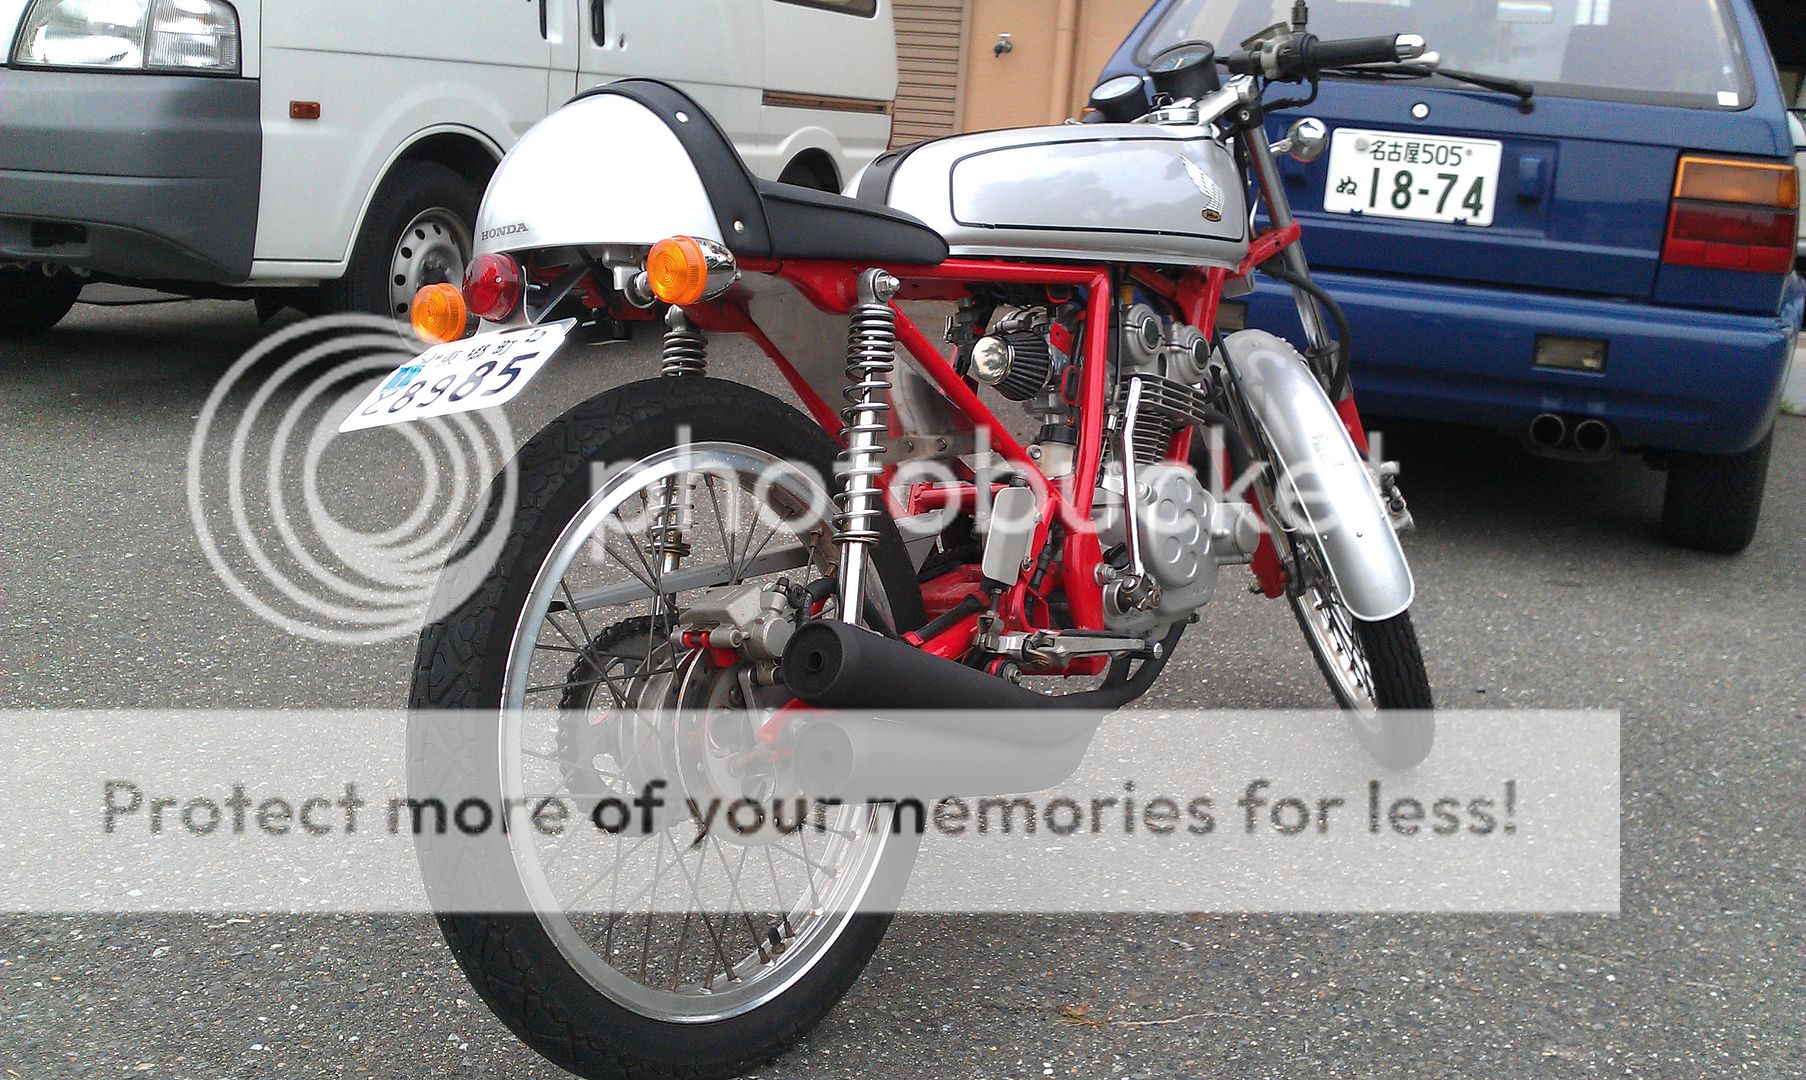
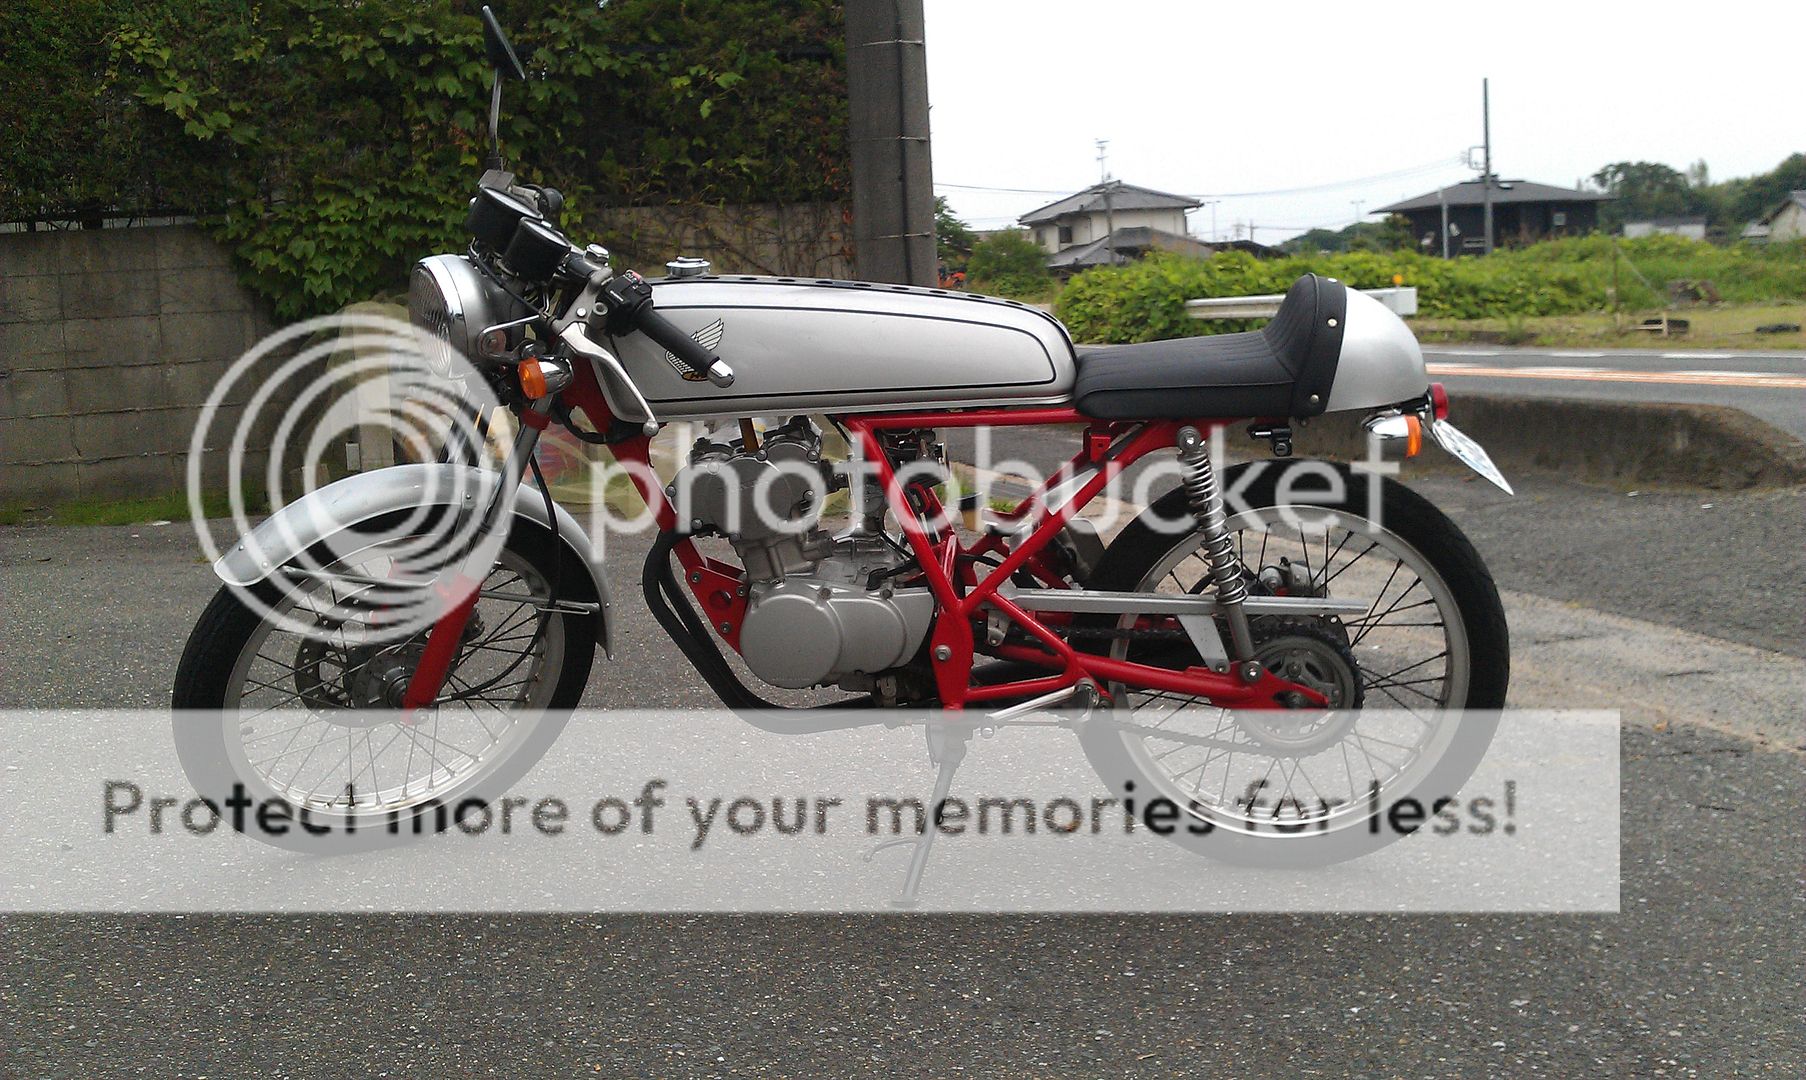
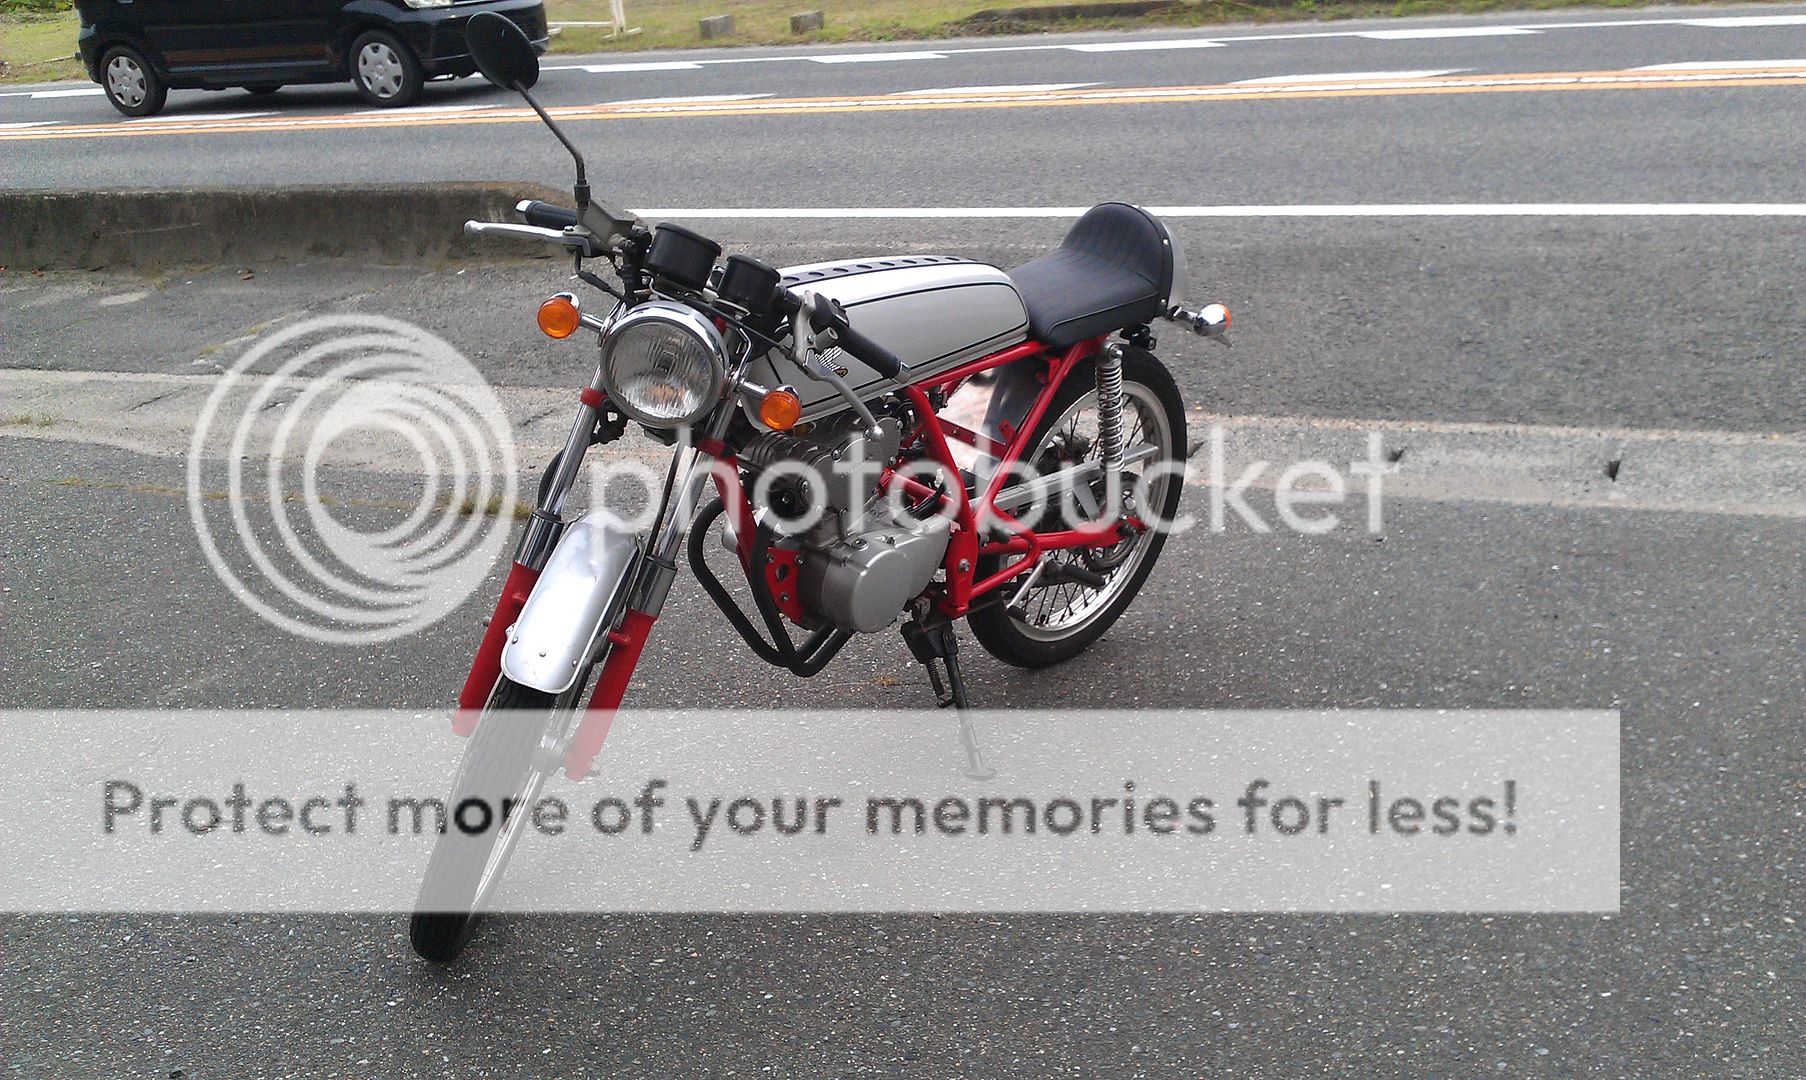
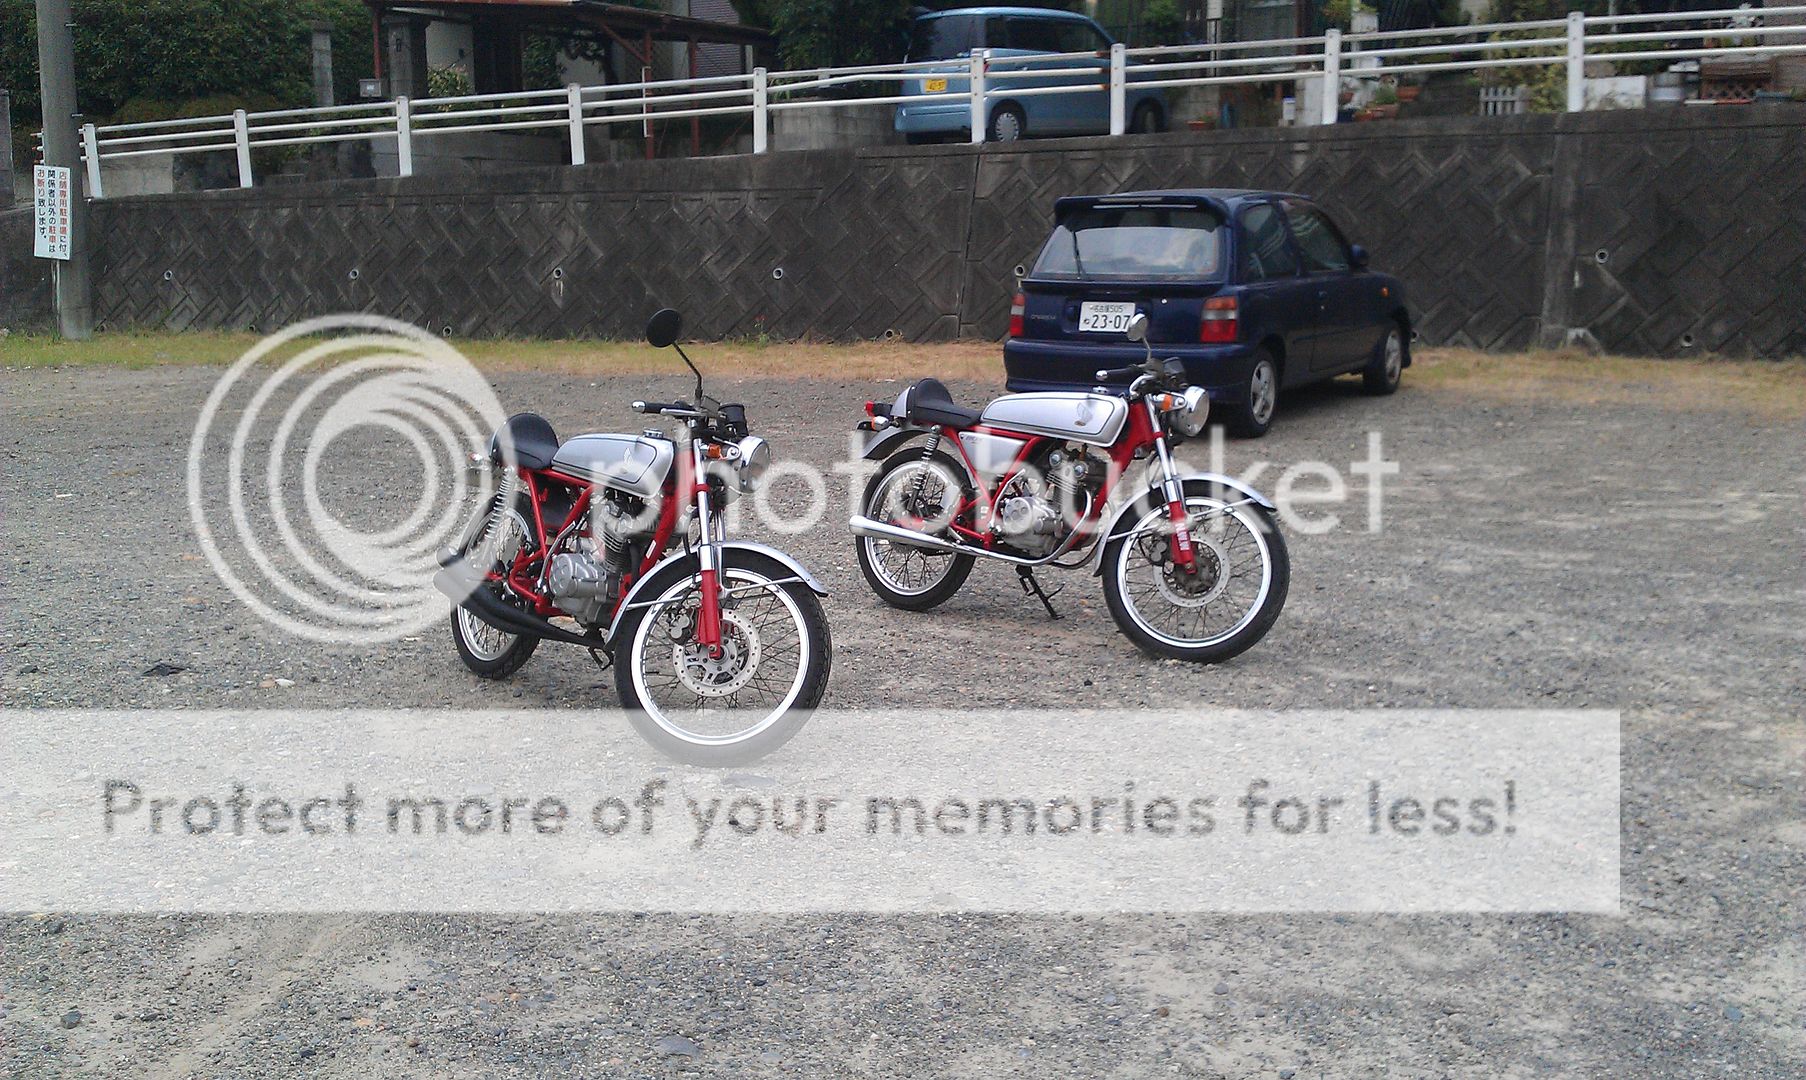
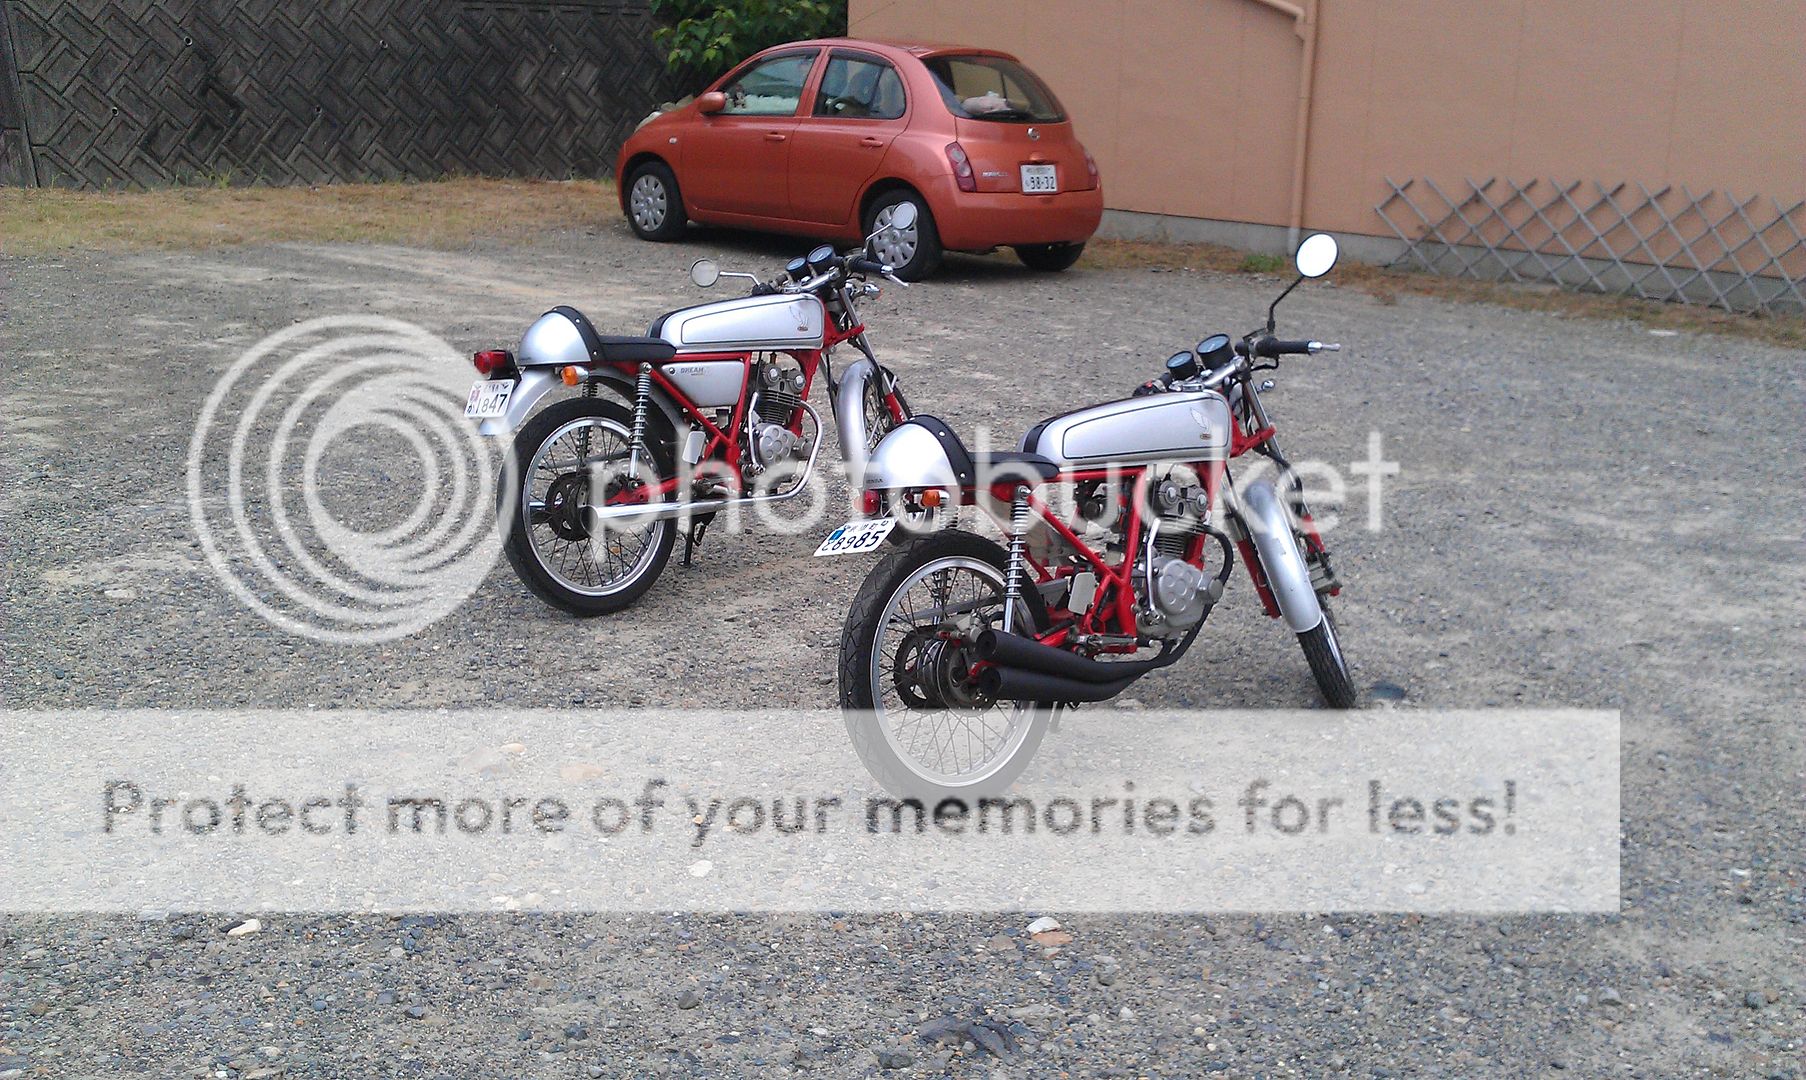
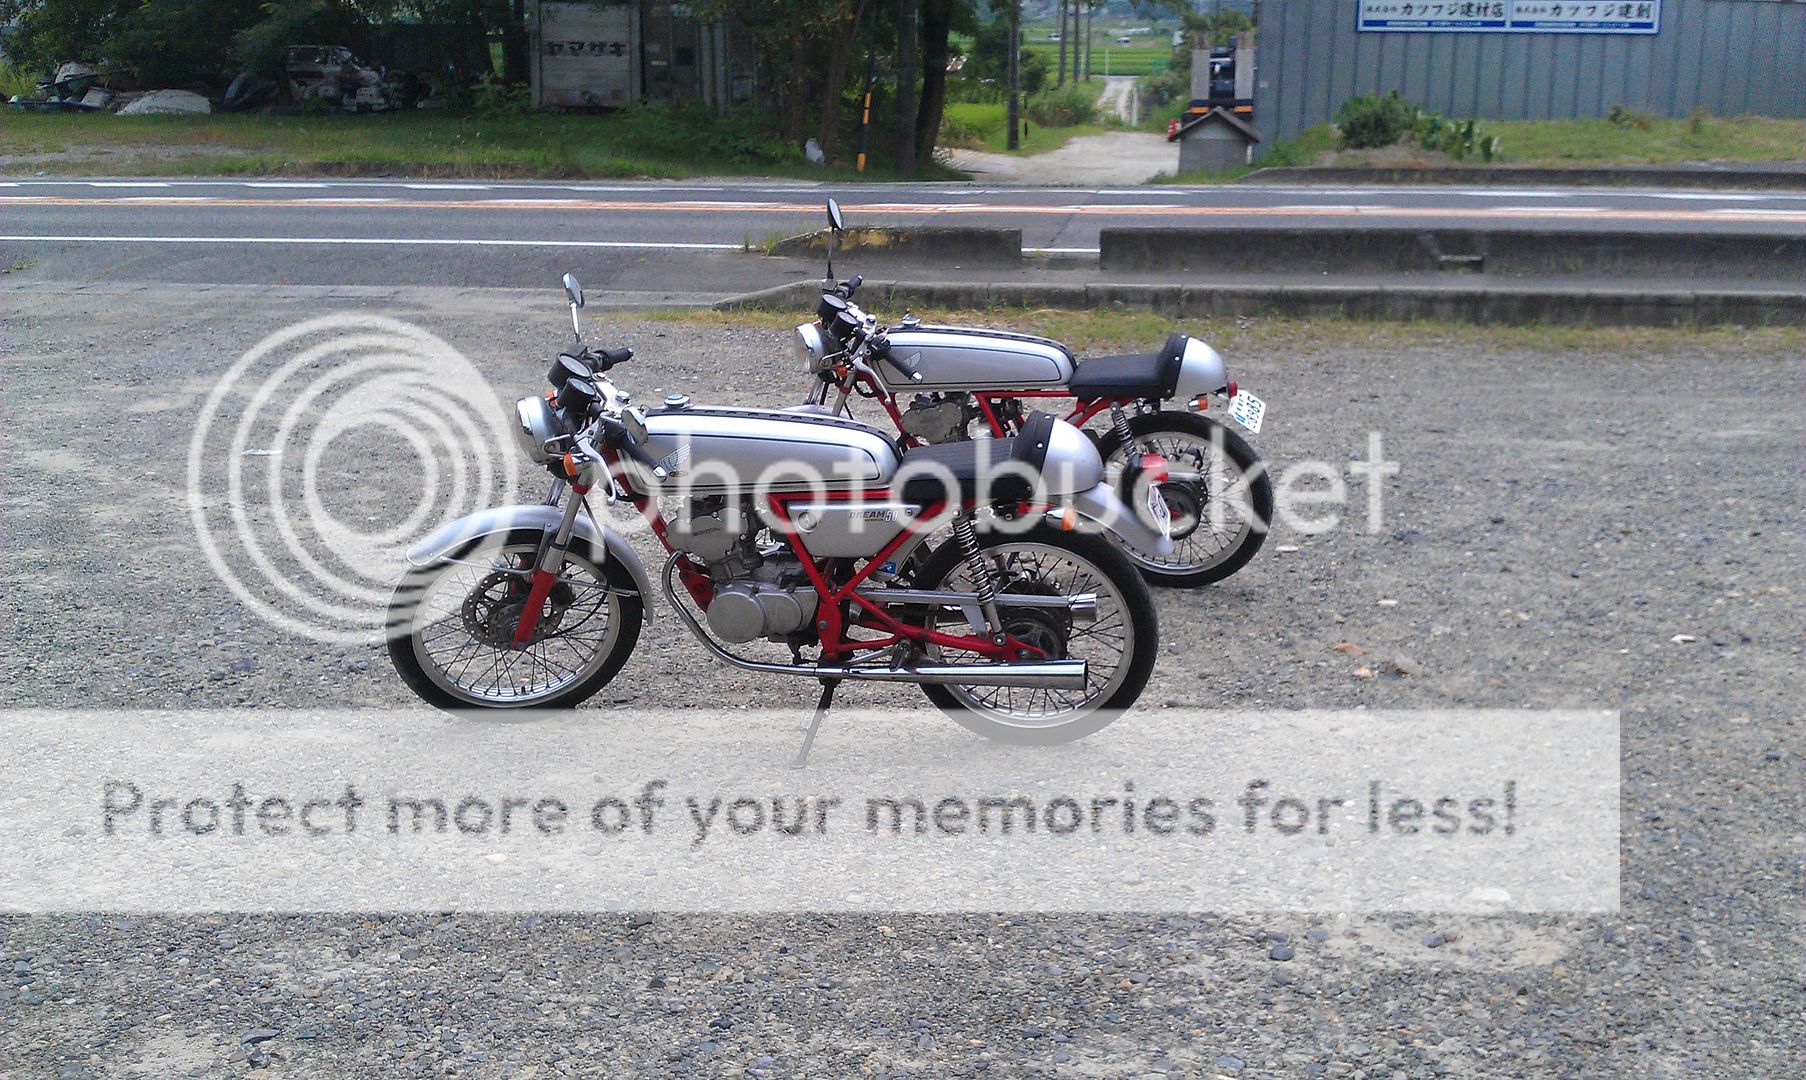
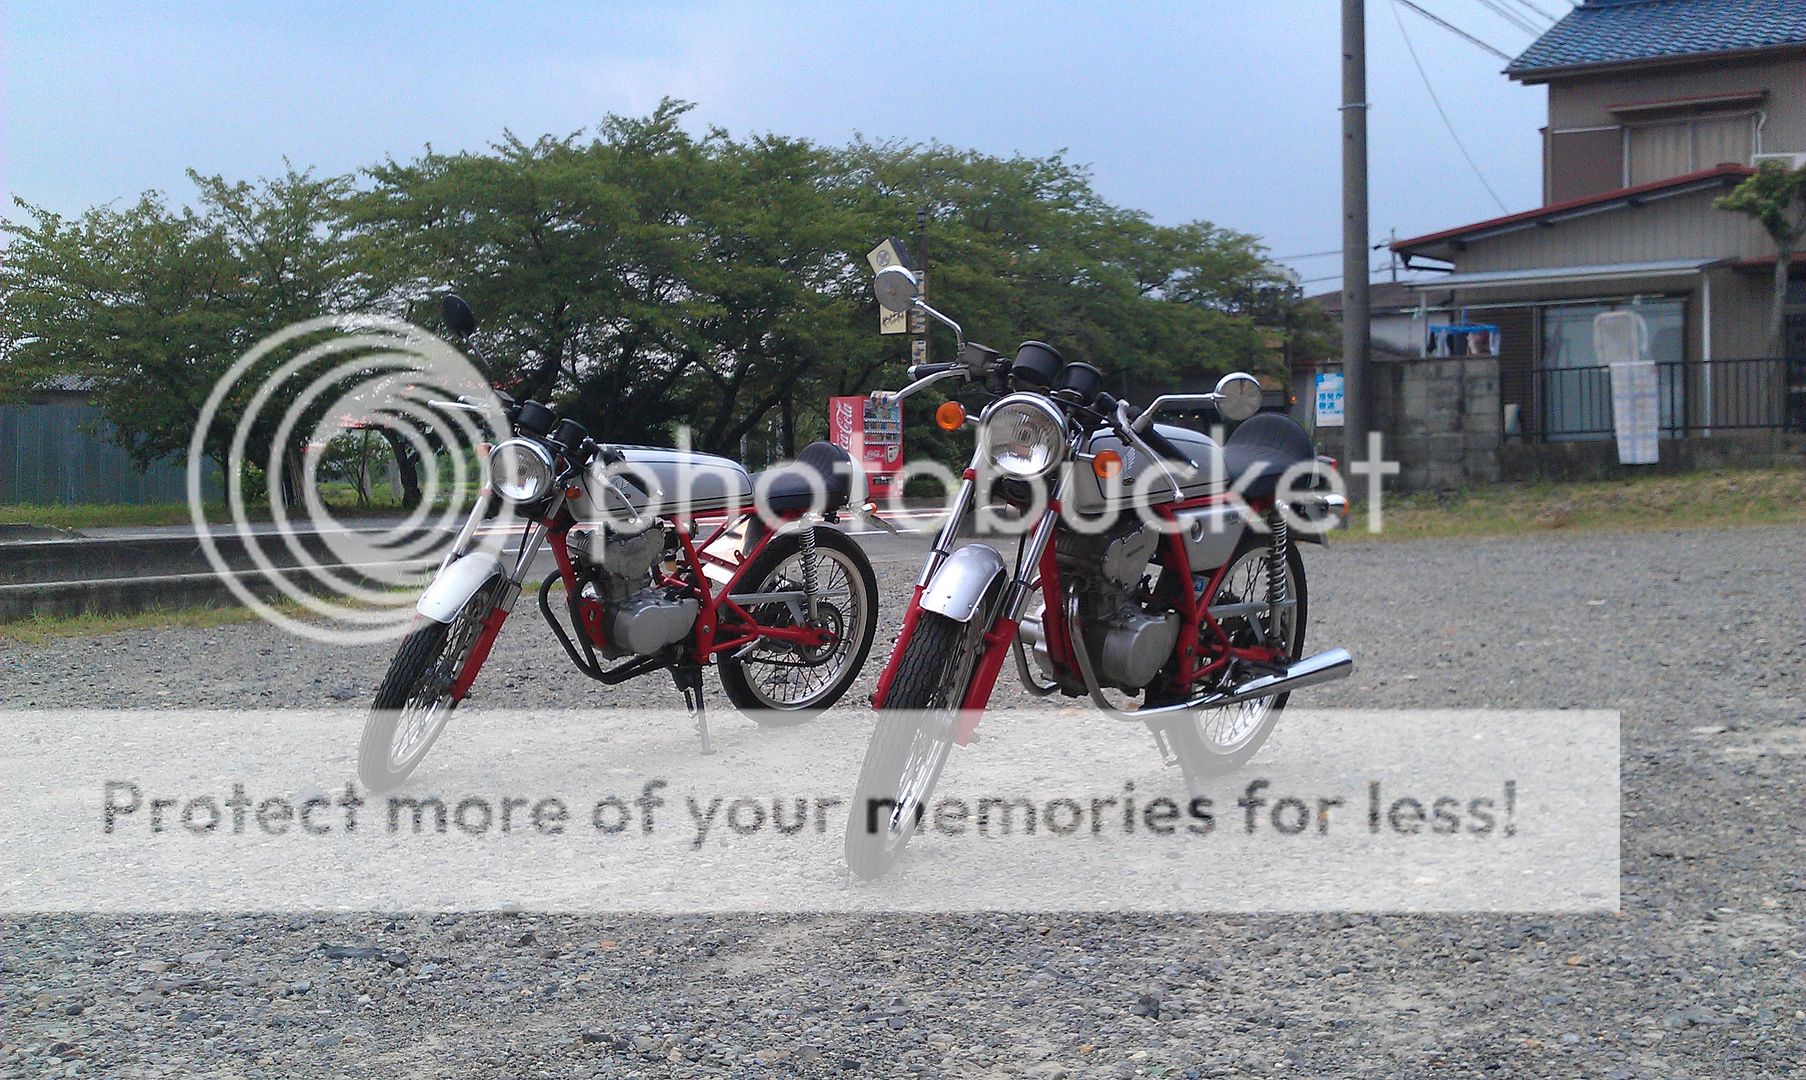
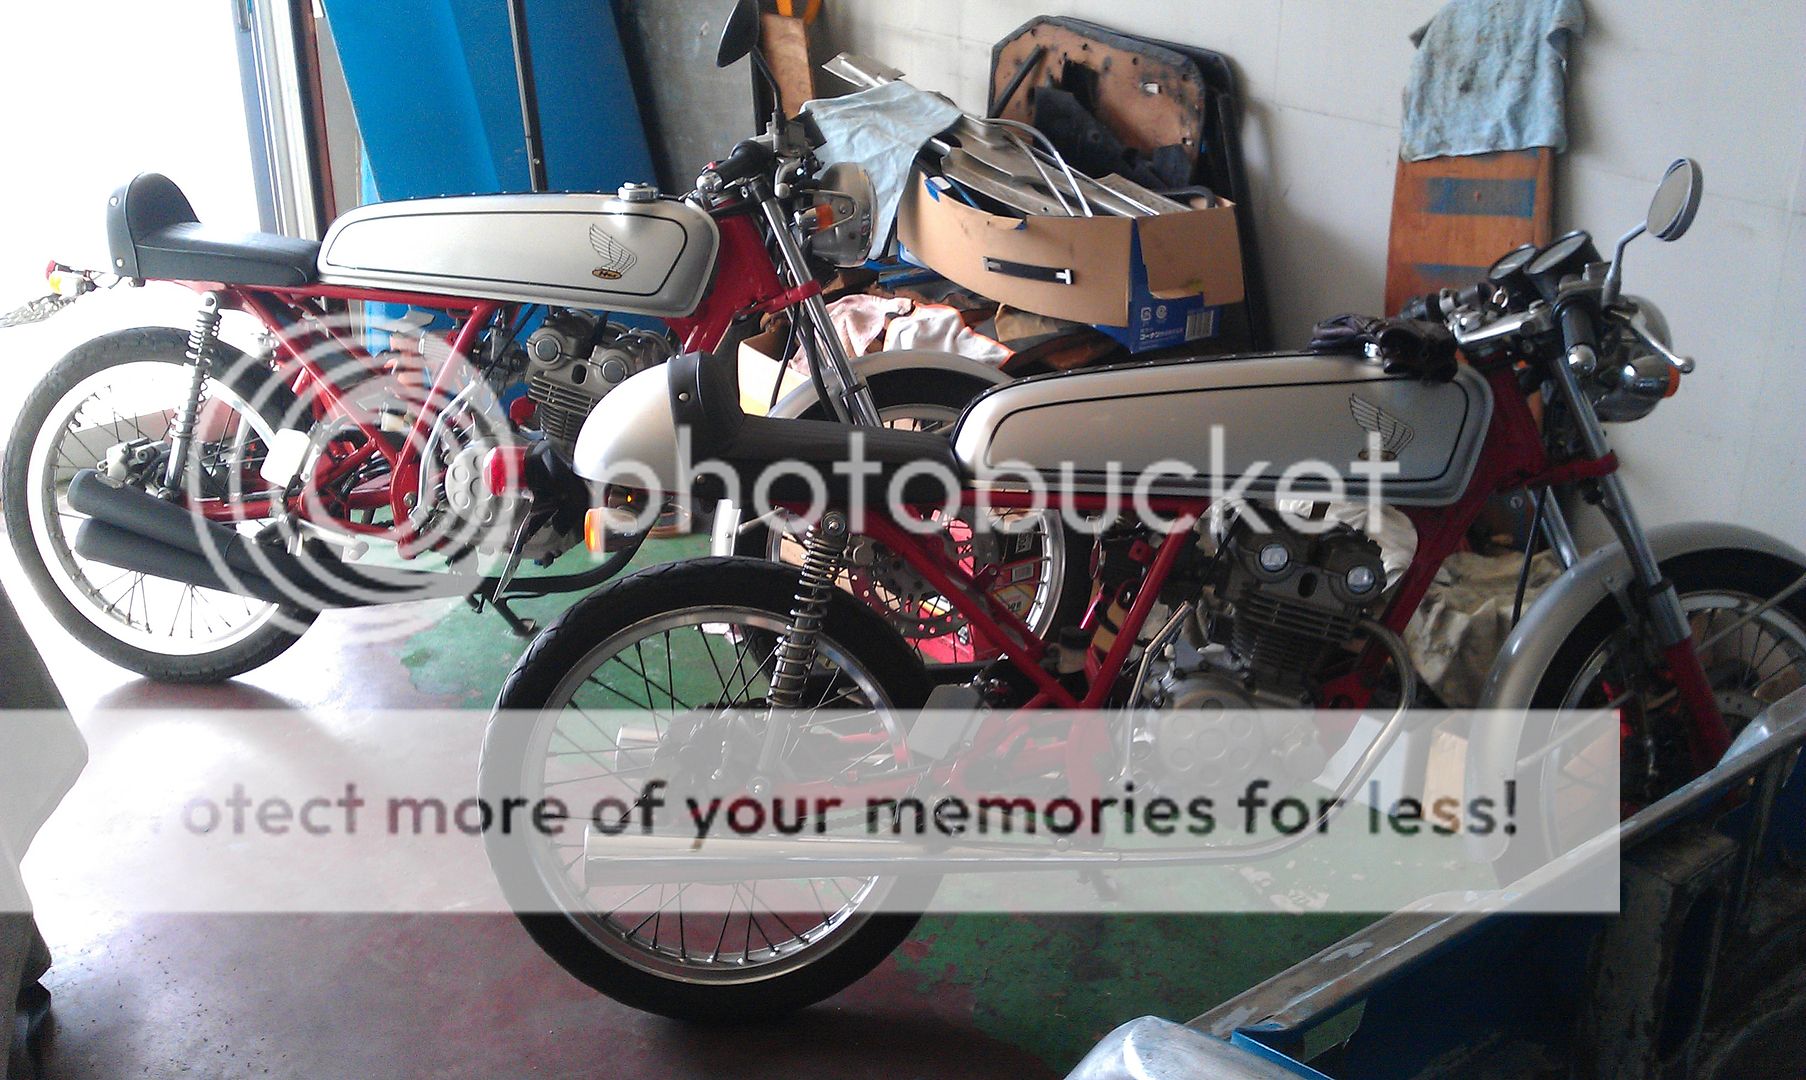
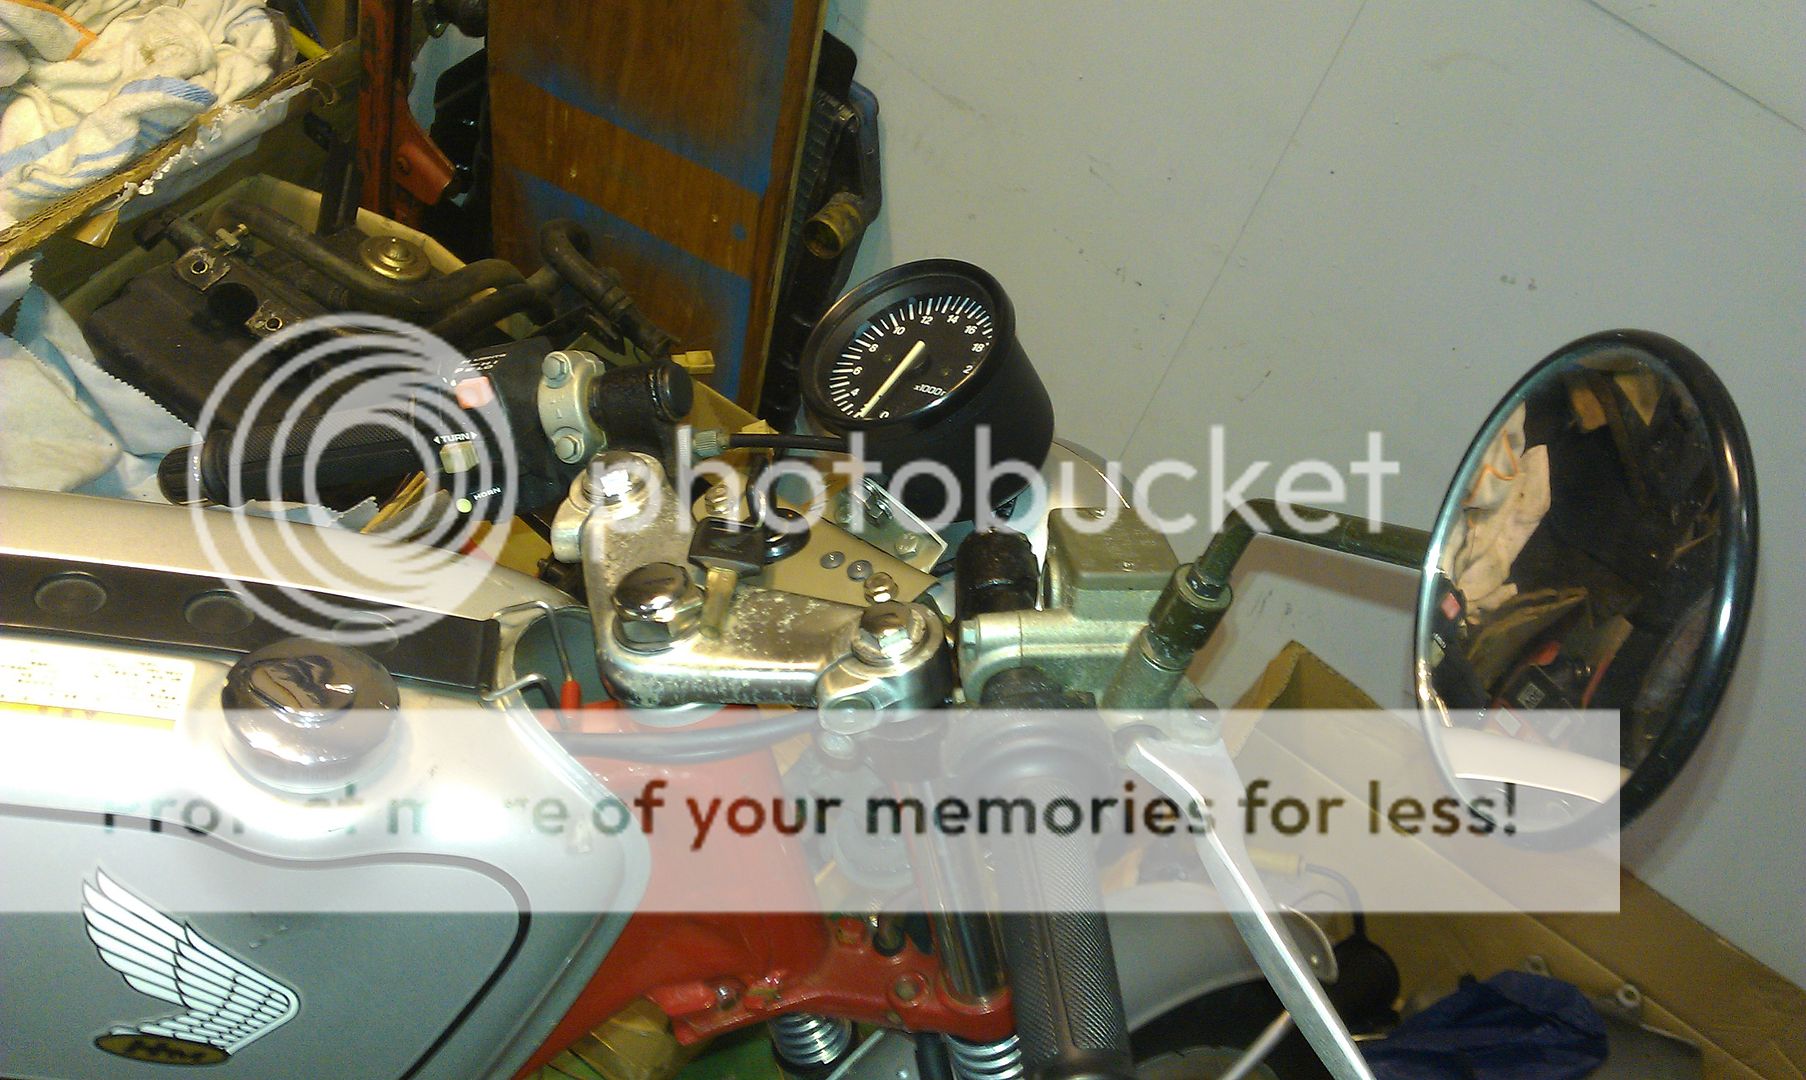
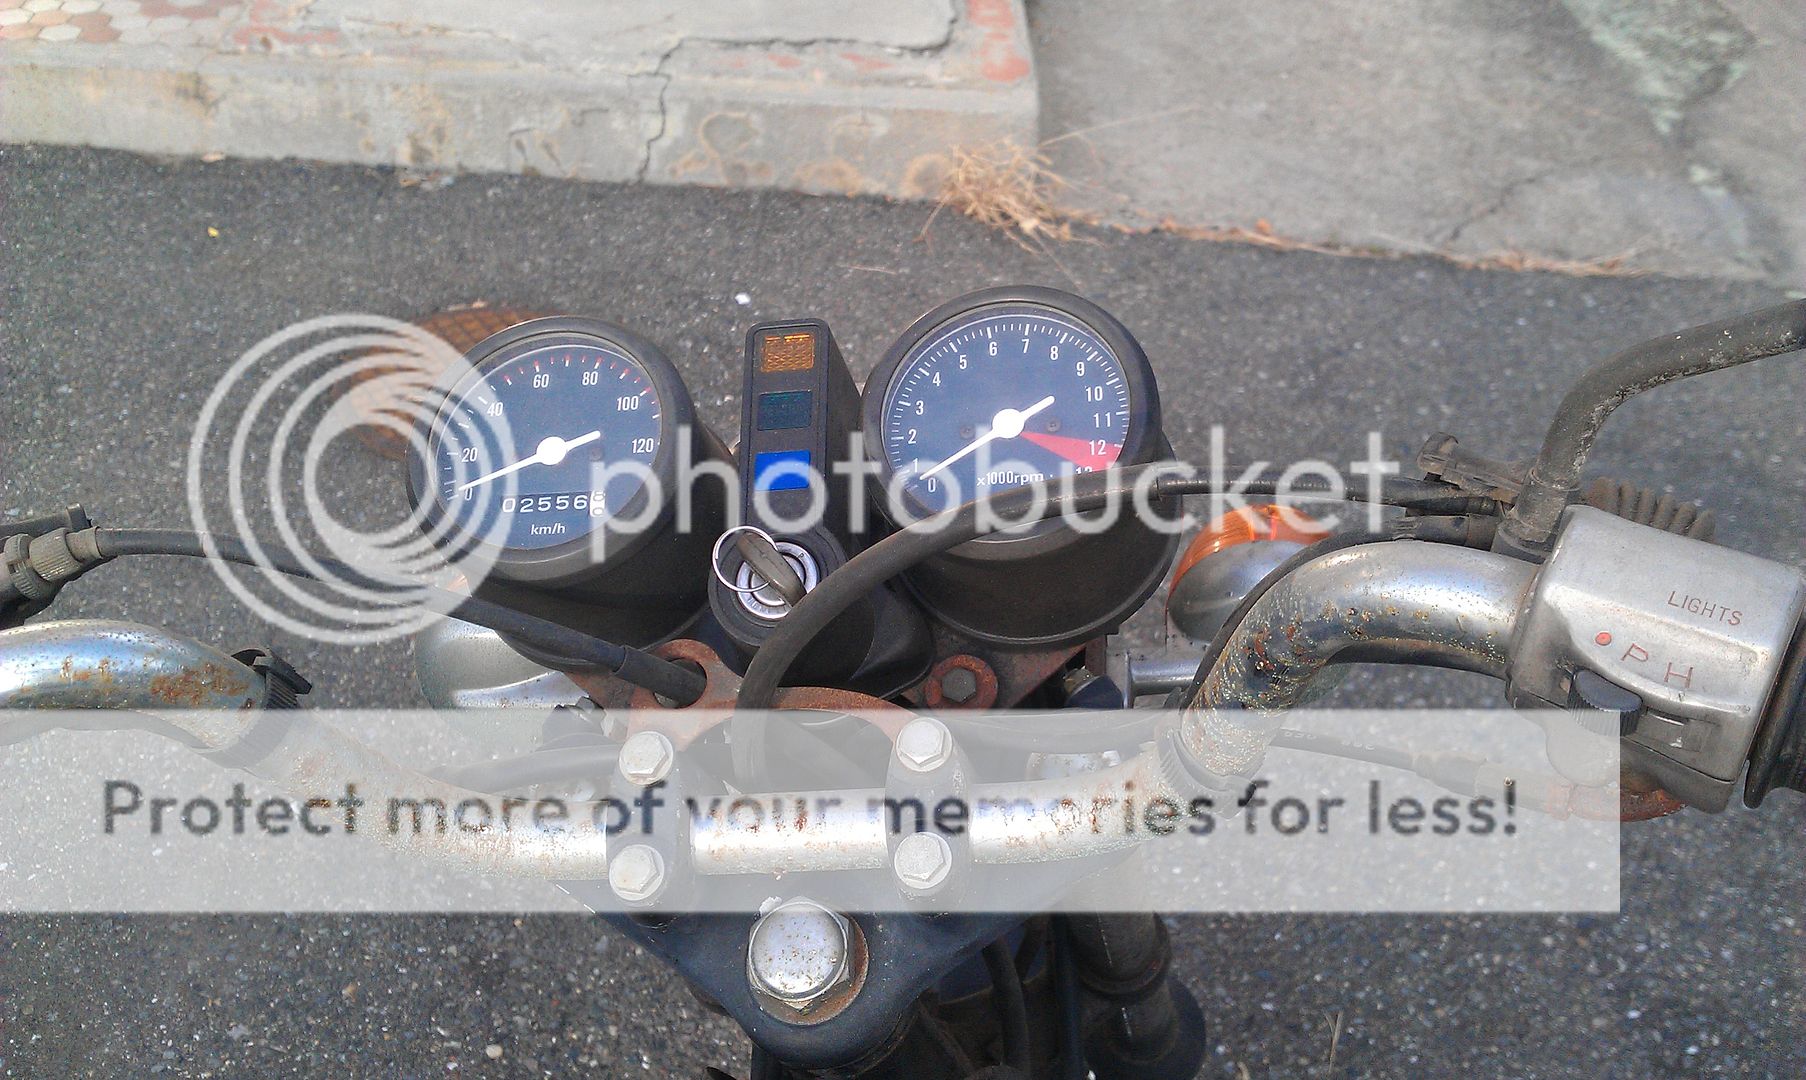
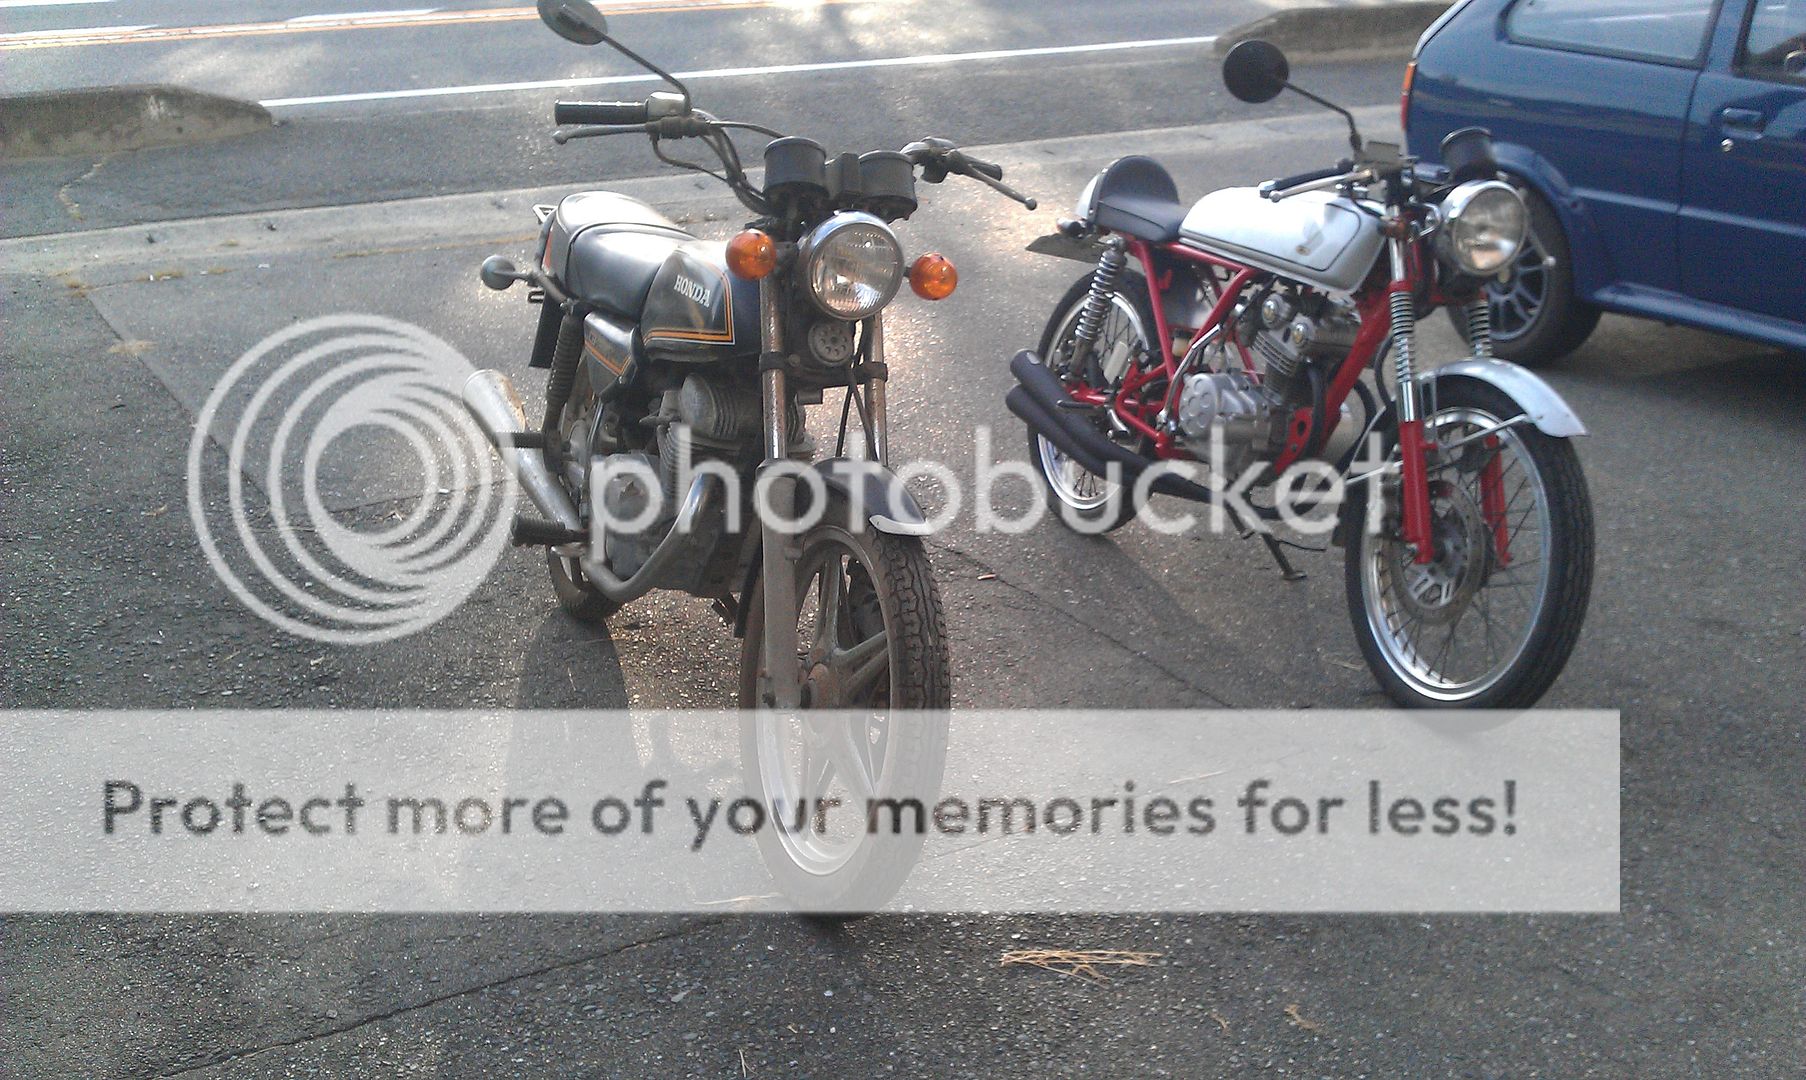
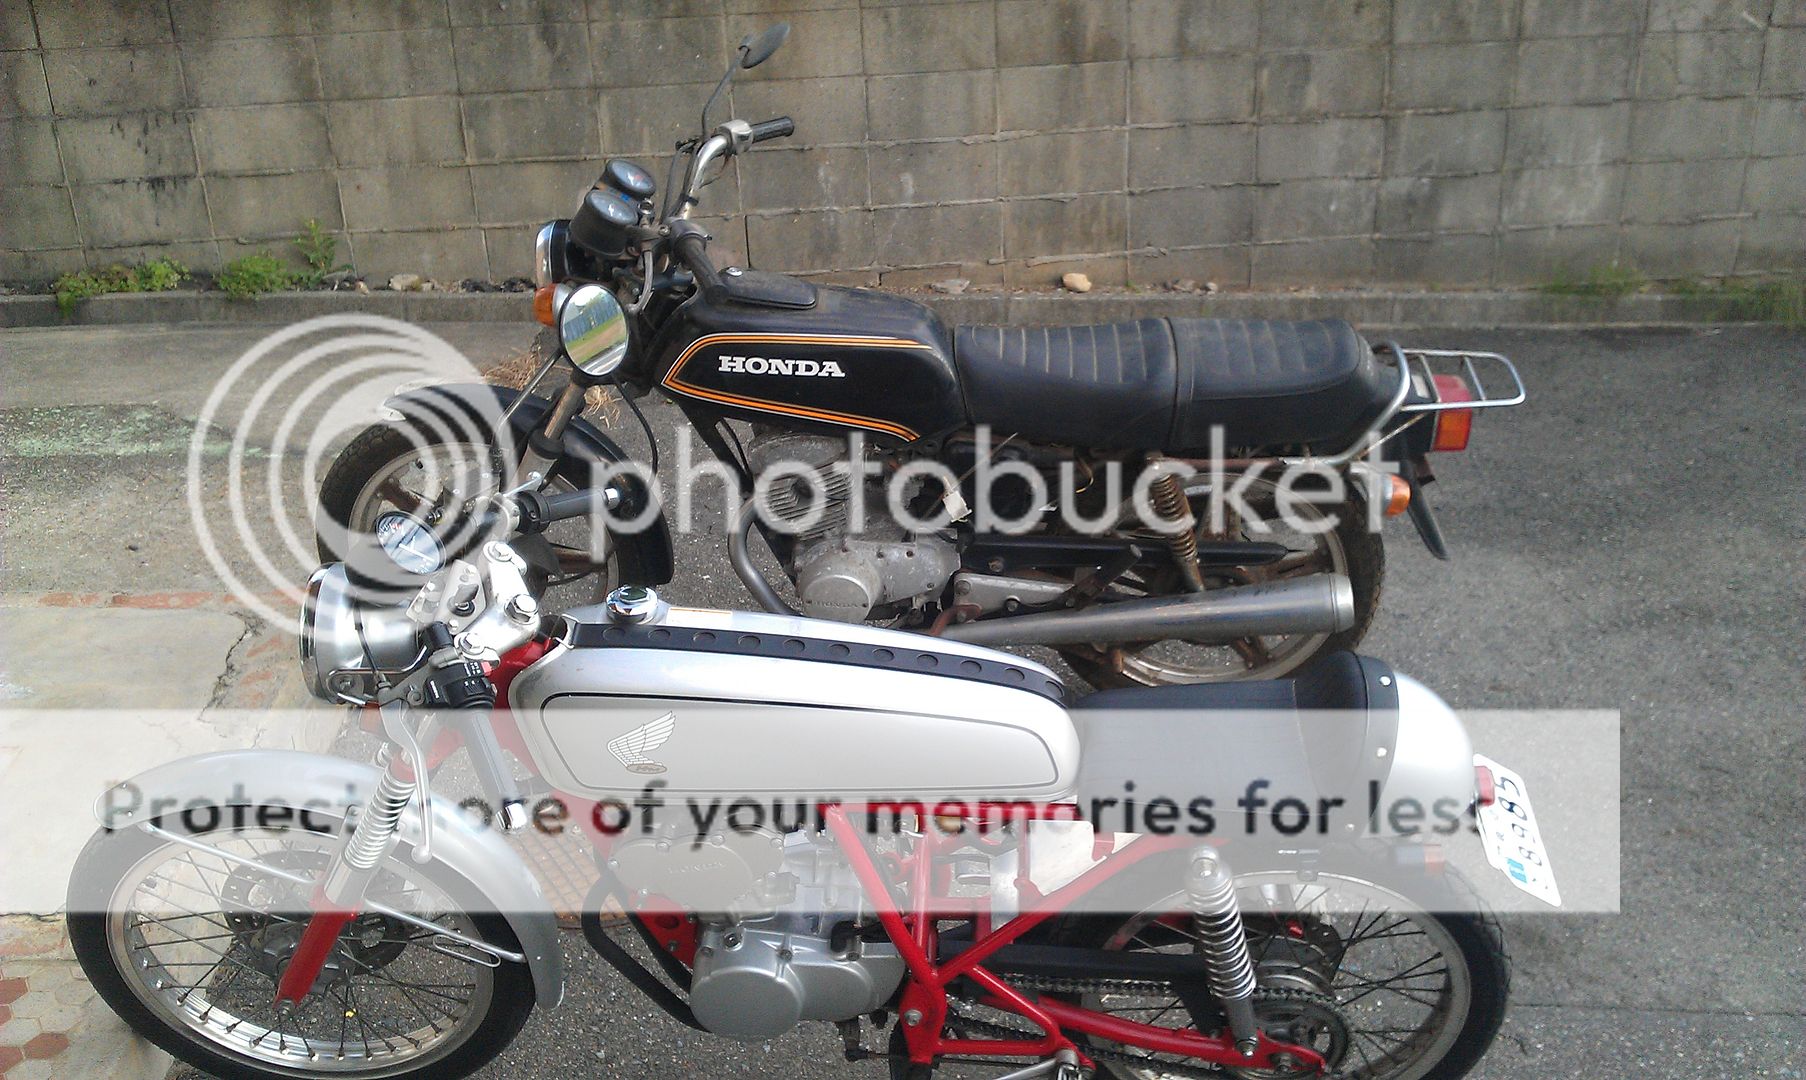
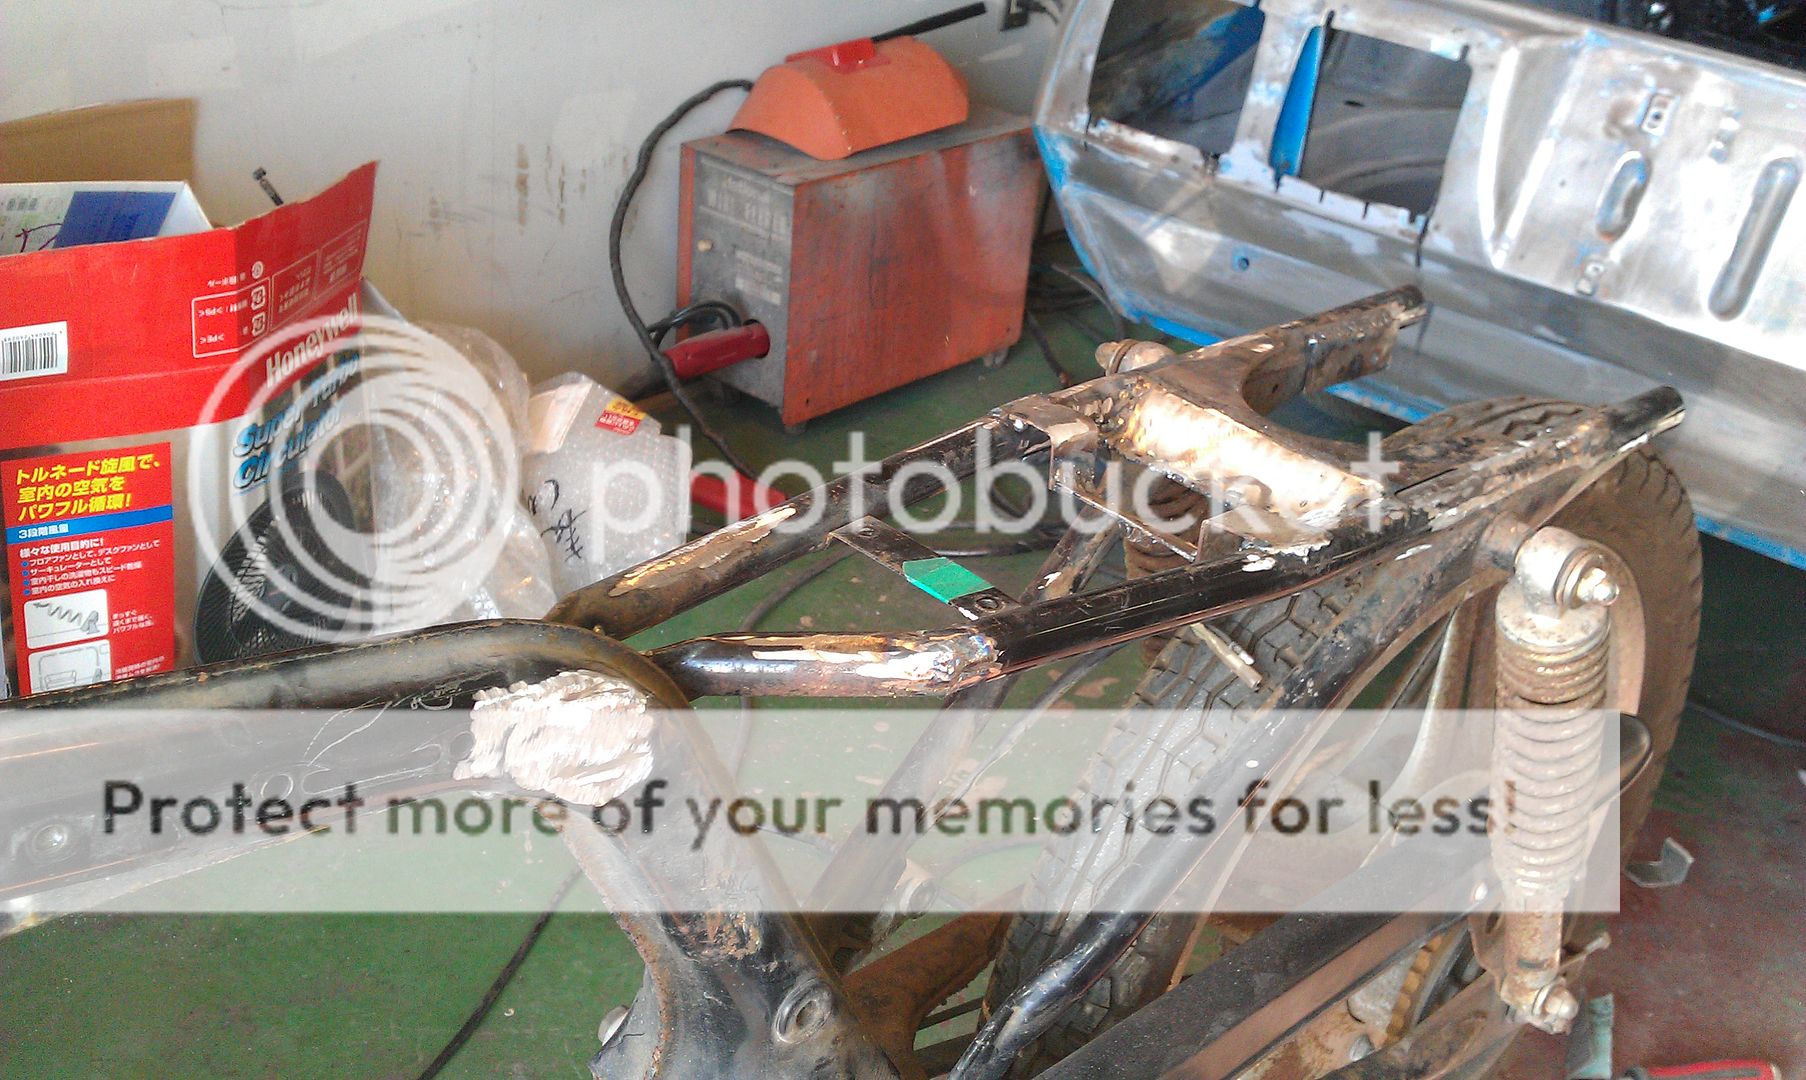
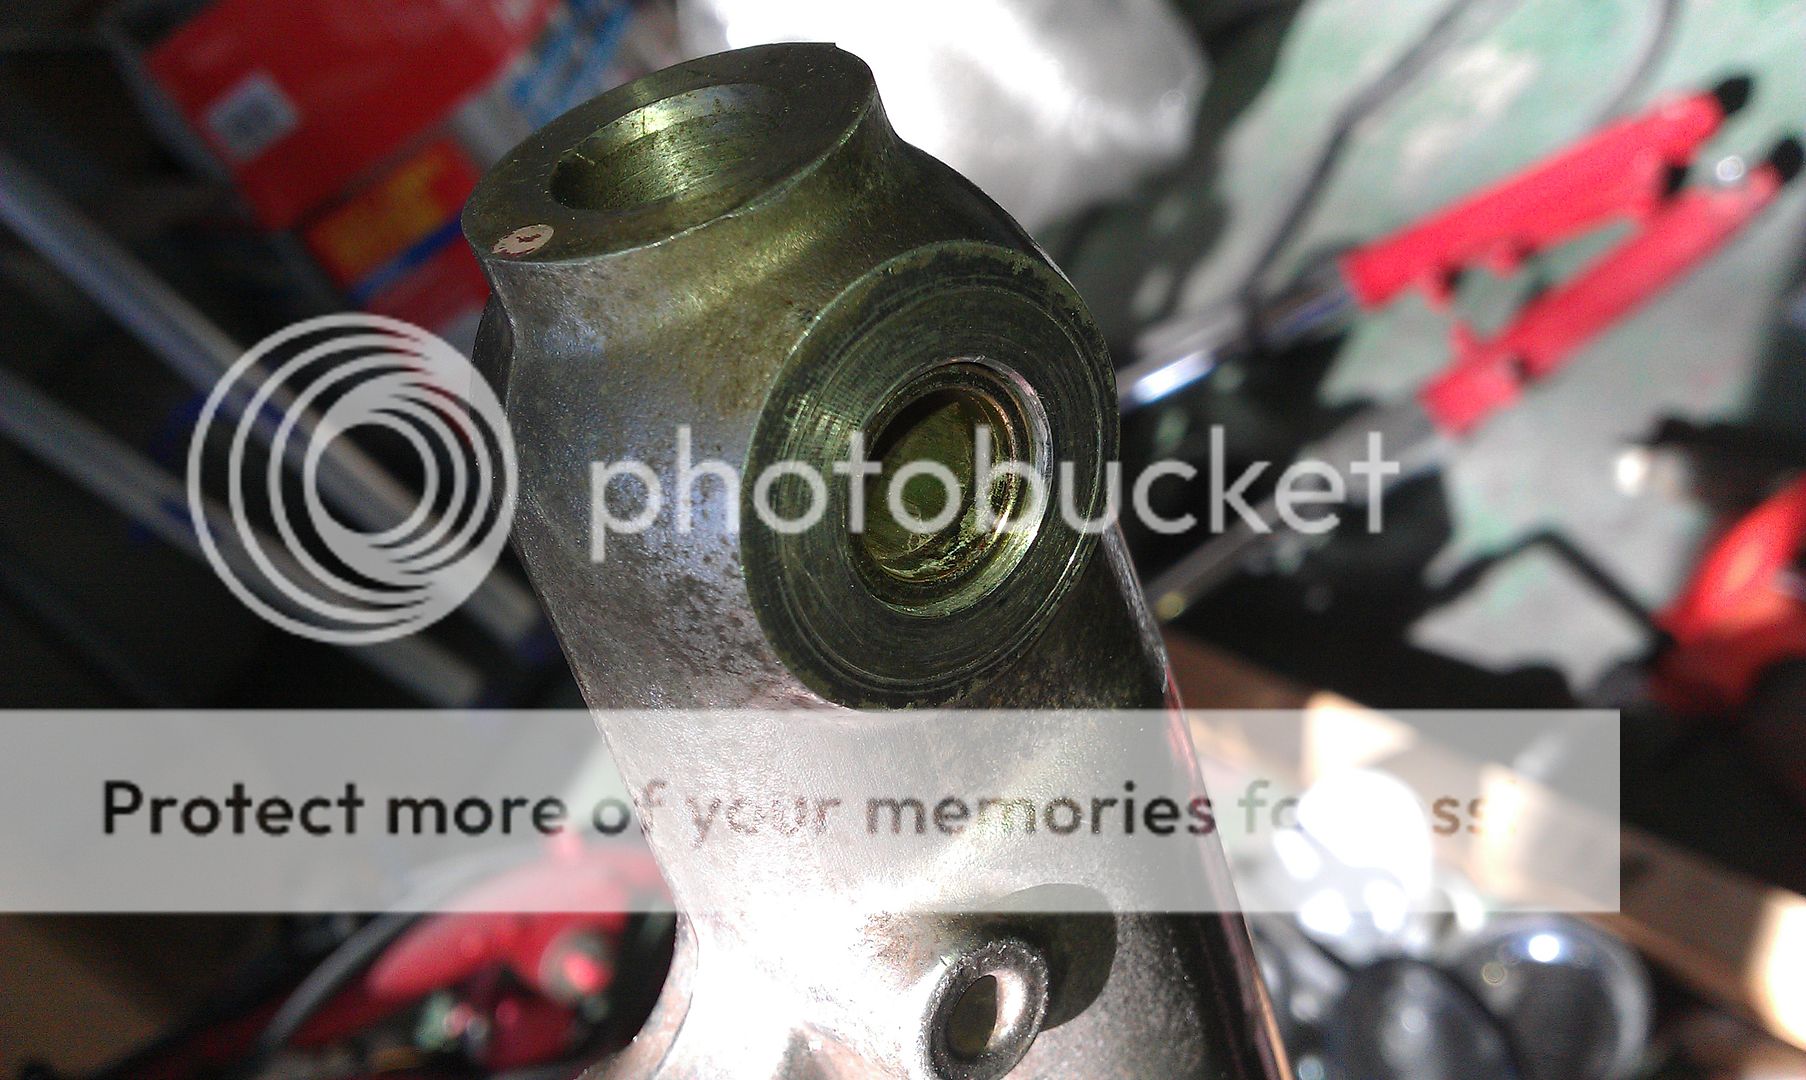
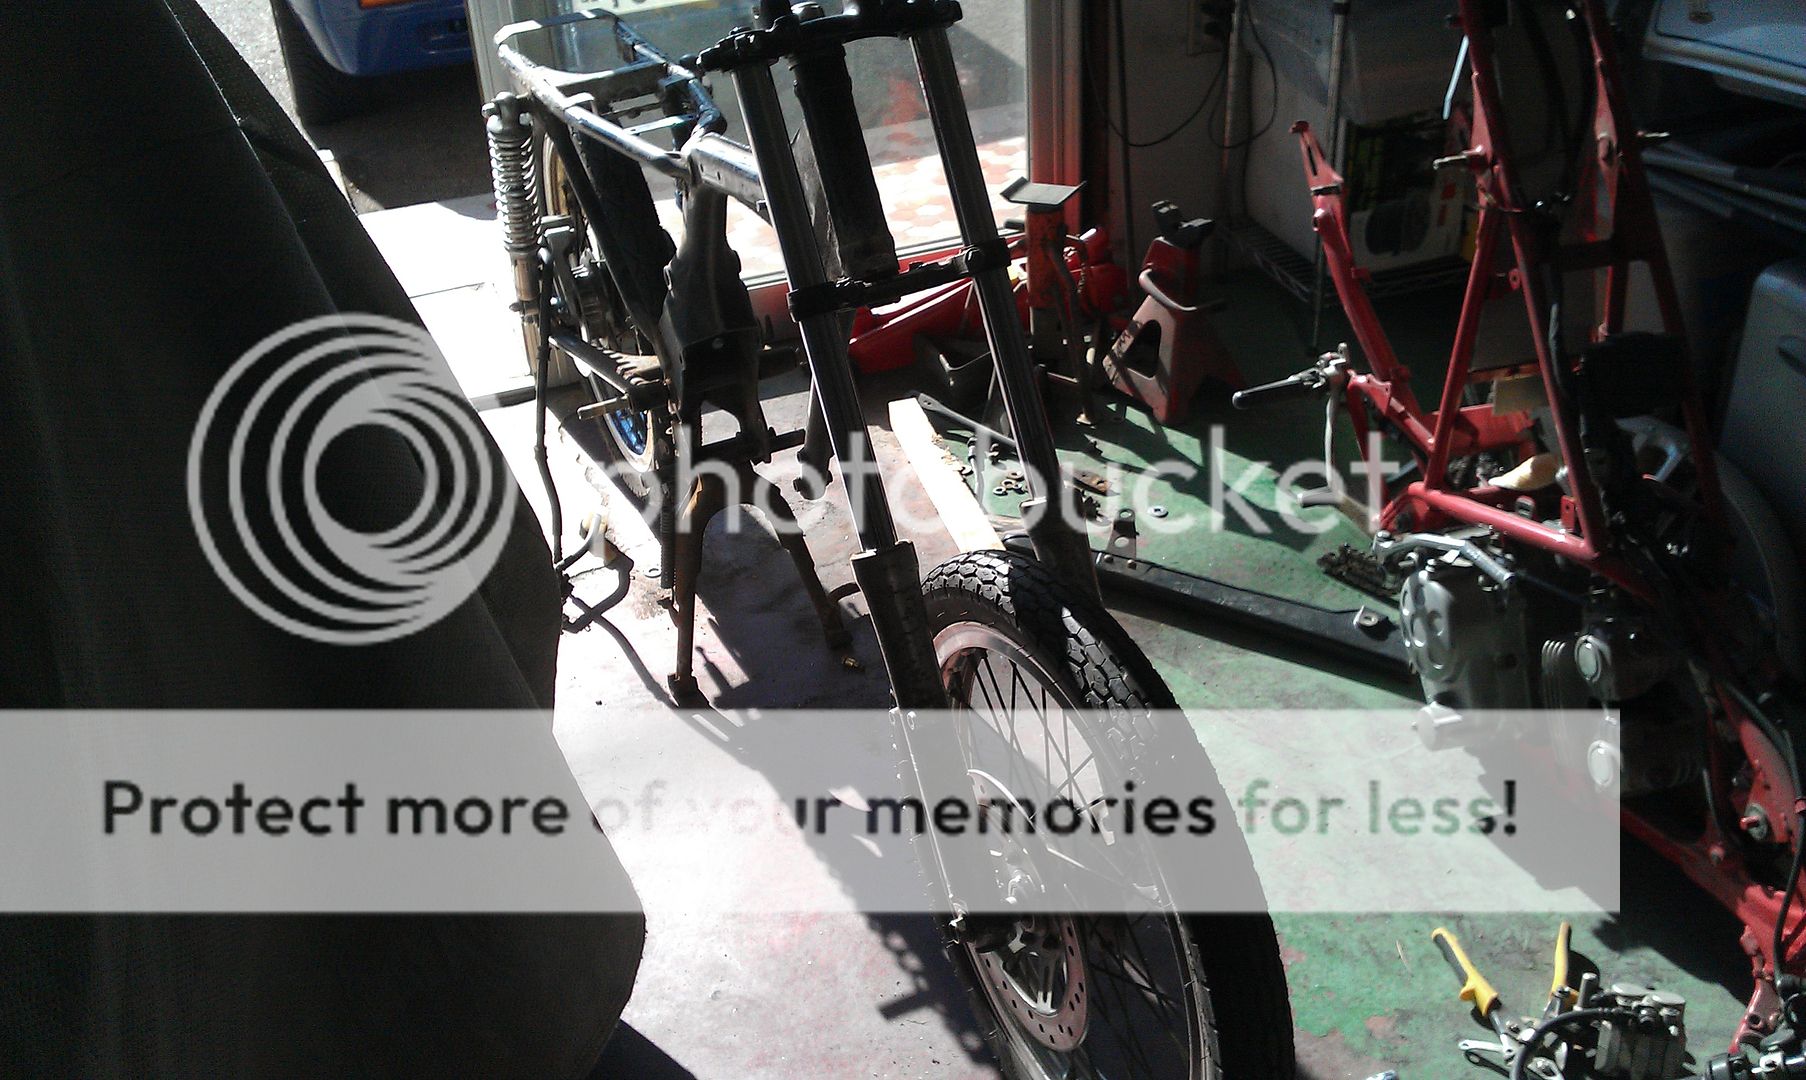
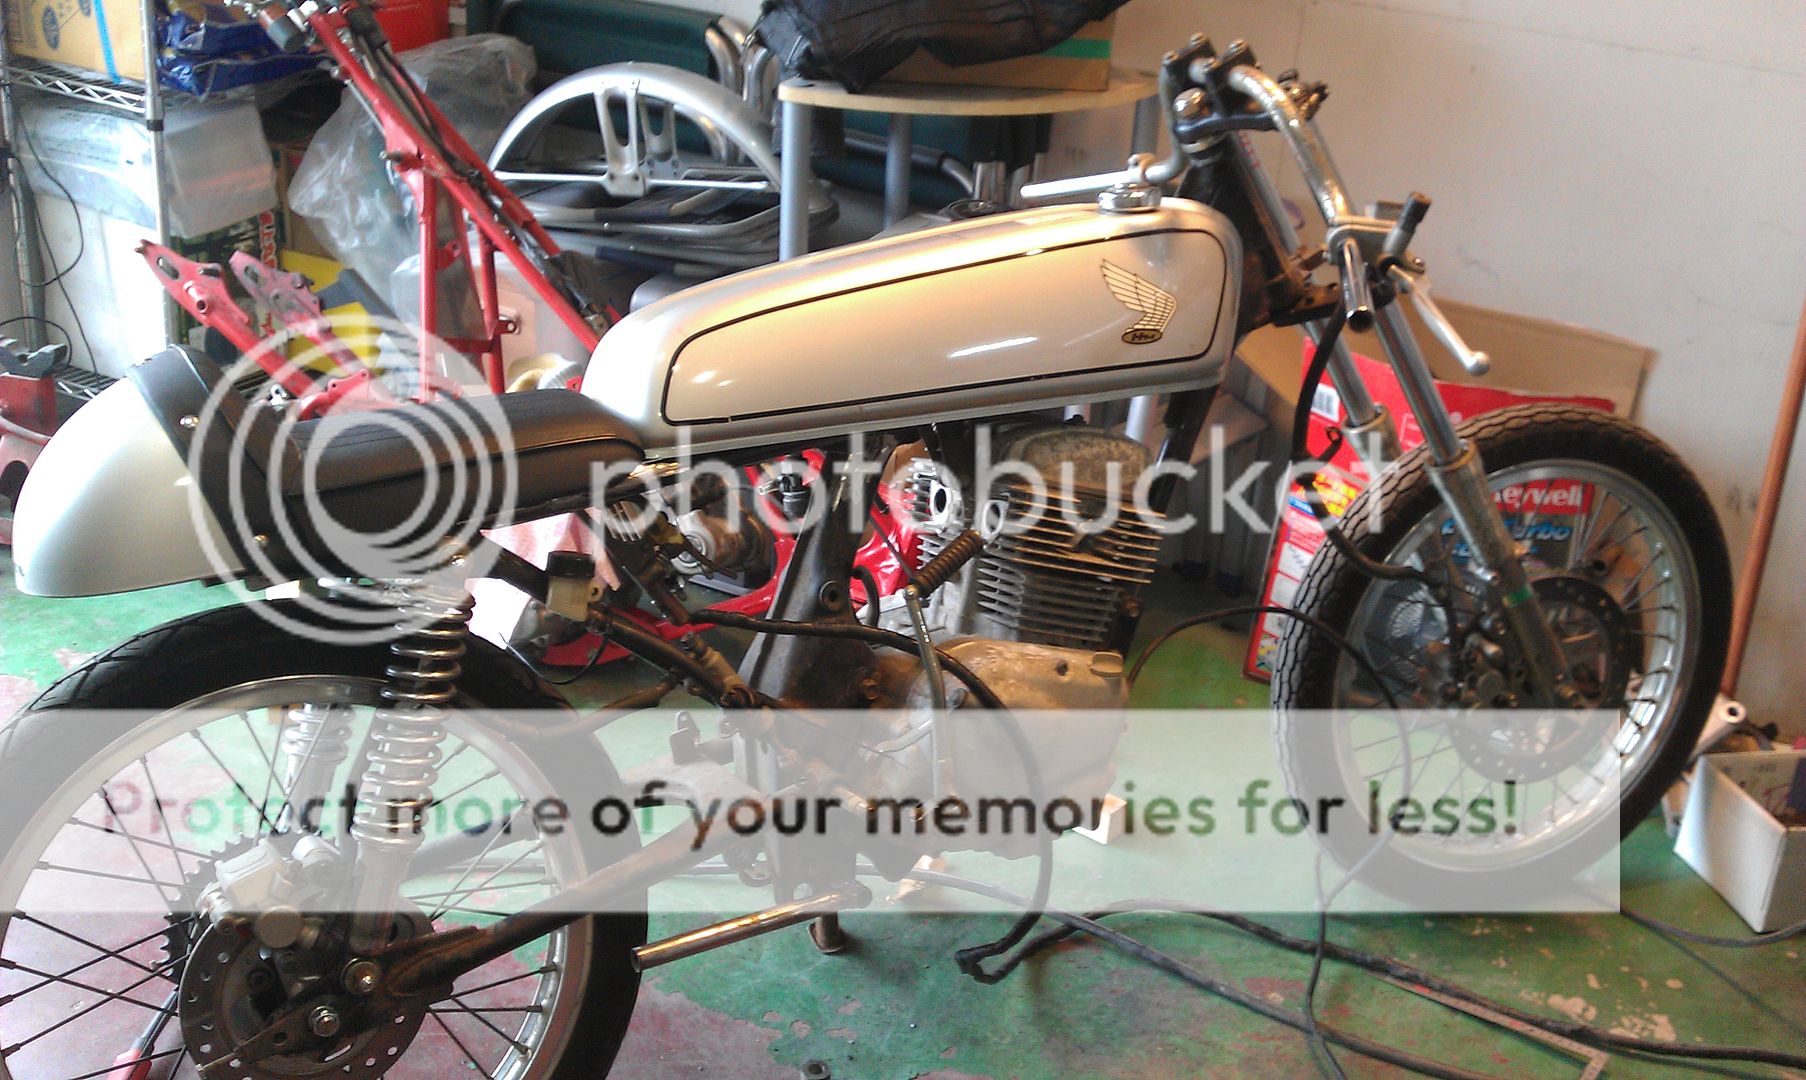
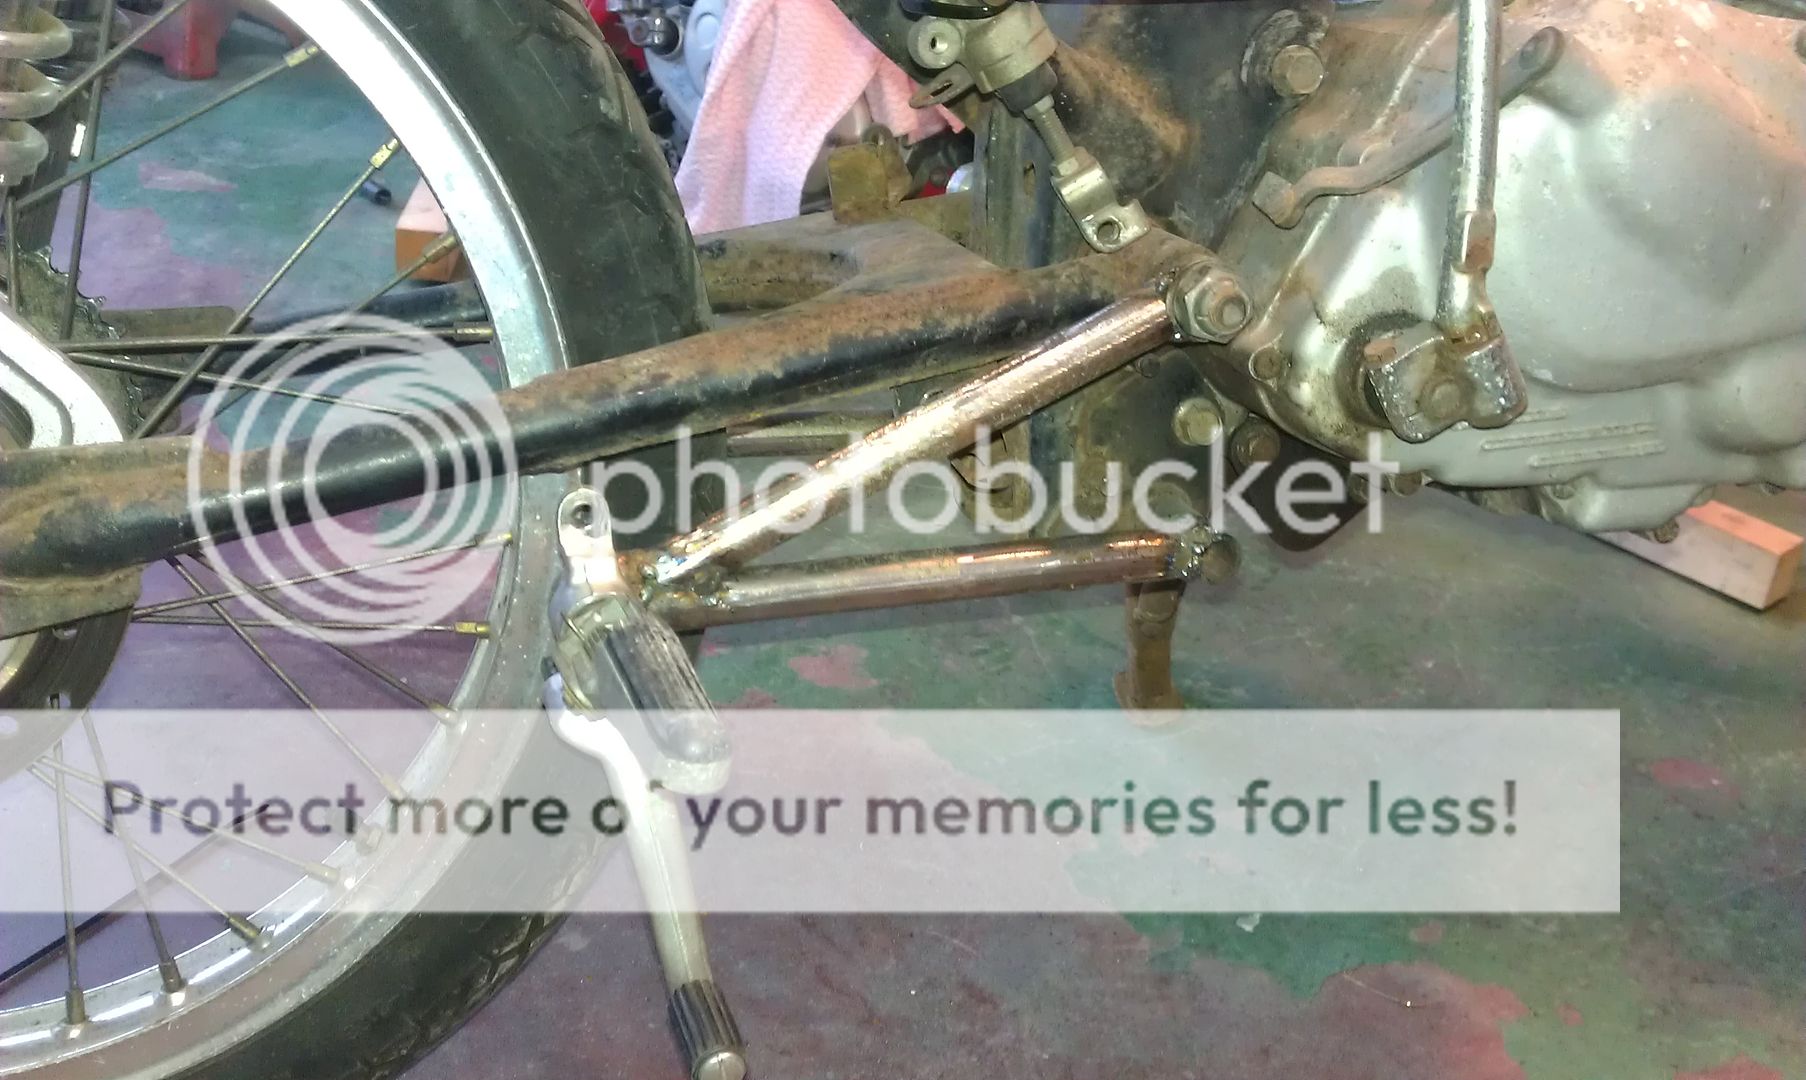
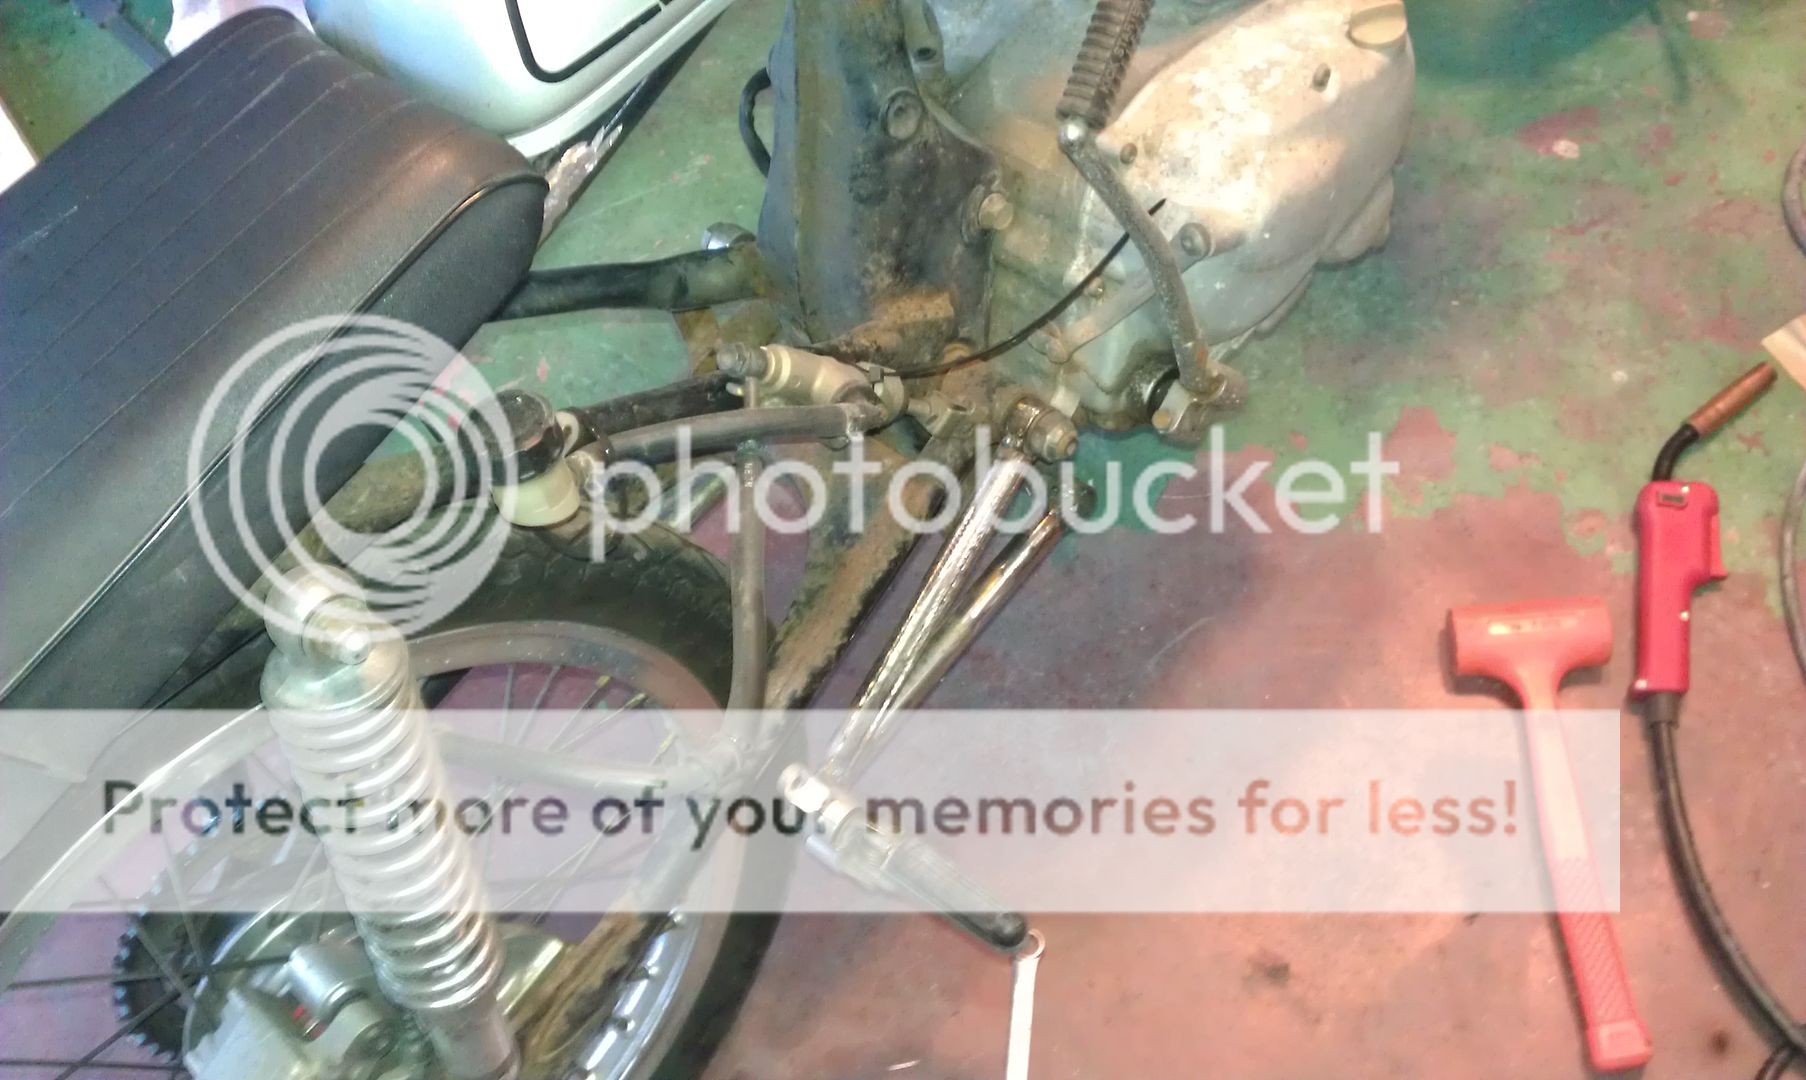
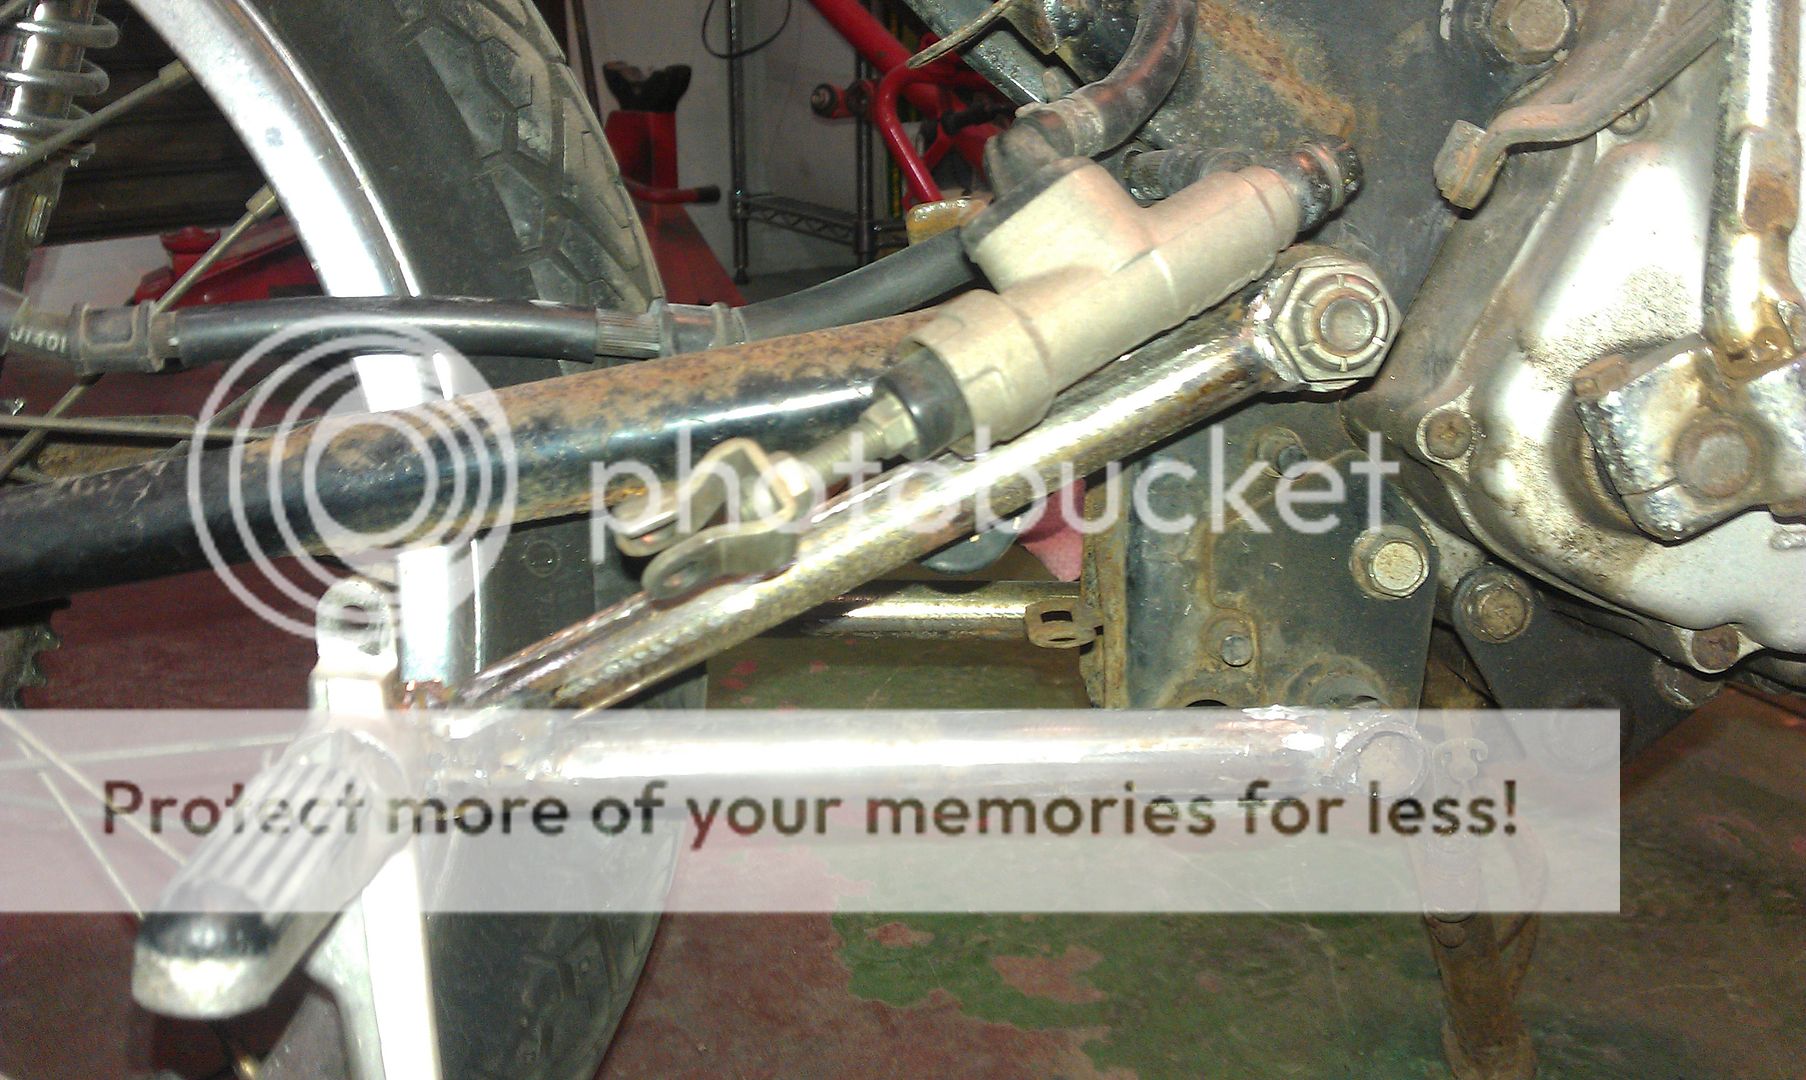
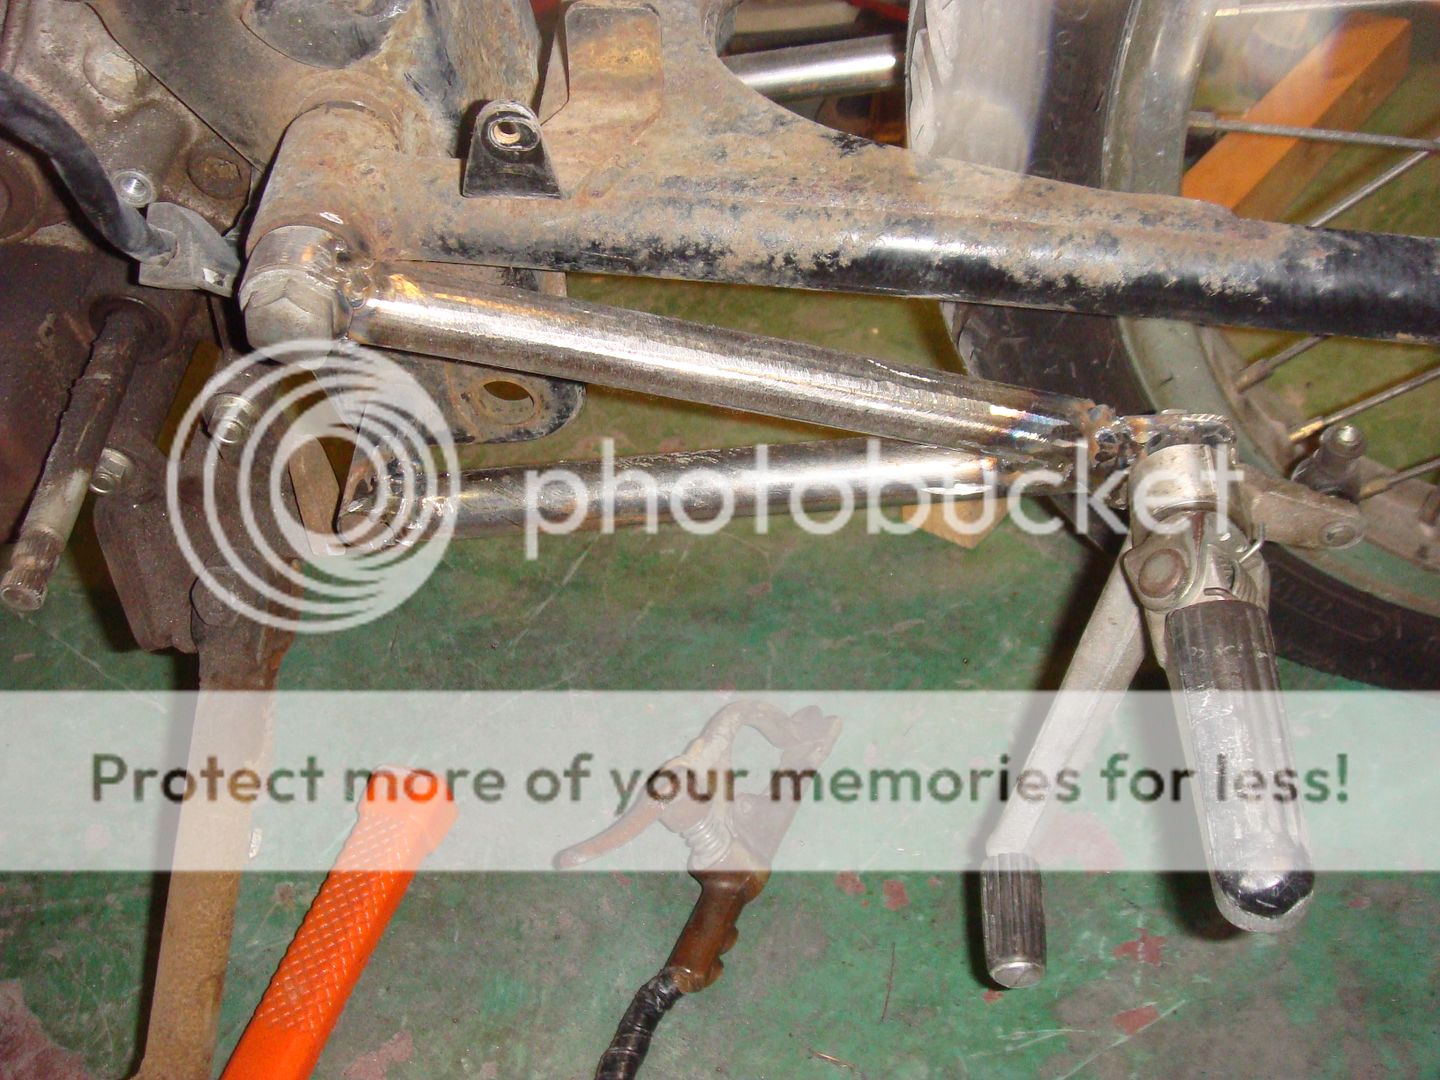
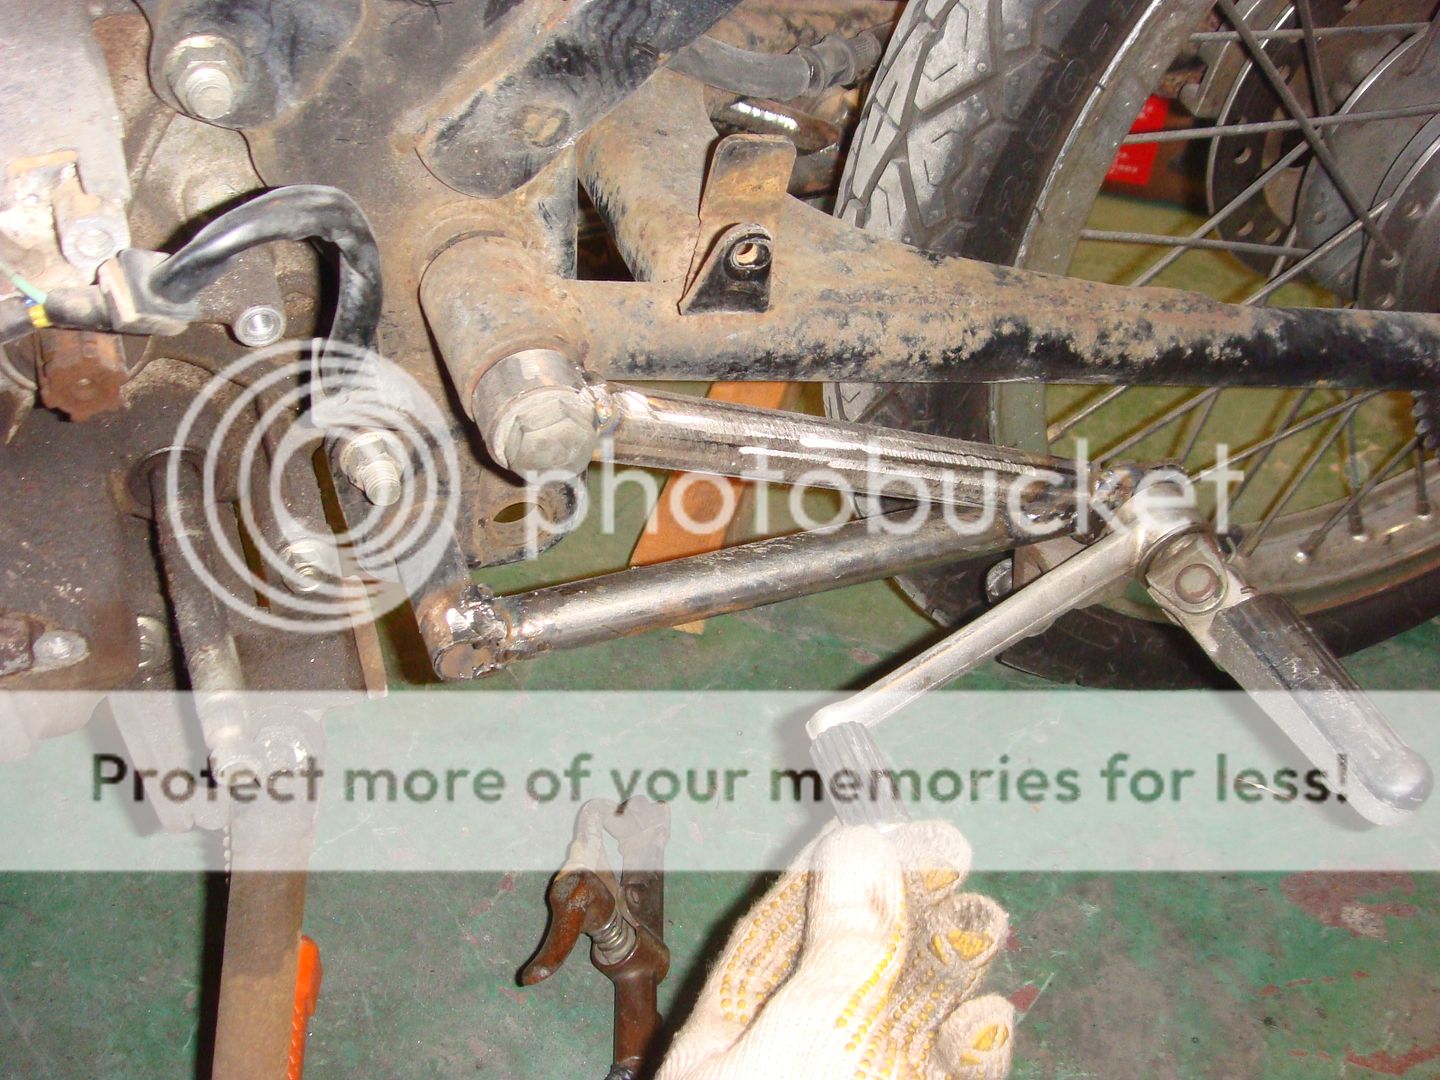
The pictures are a bit blurry. One of the downsides of buying a bike in the middle of winter is that it's too damn cold to get the bike out for a good photo session.

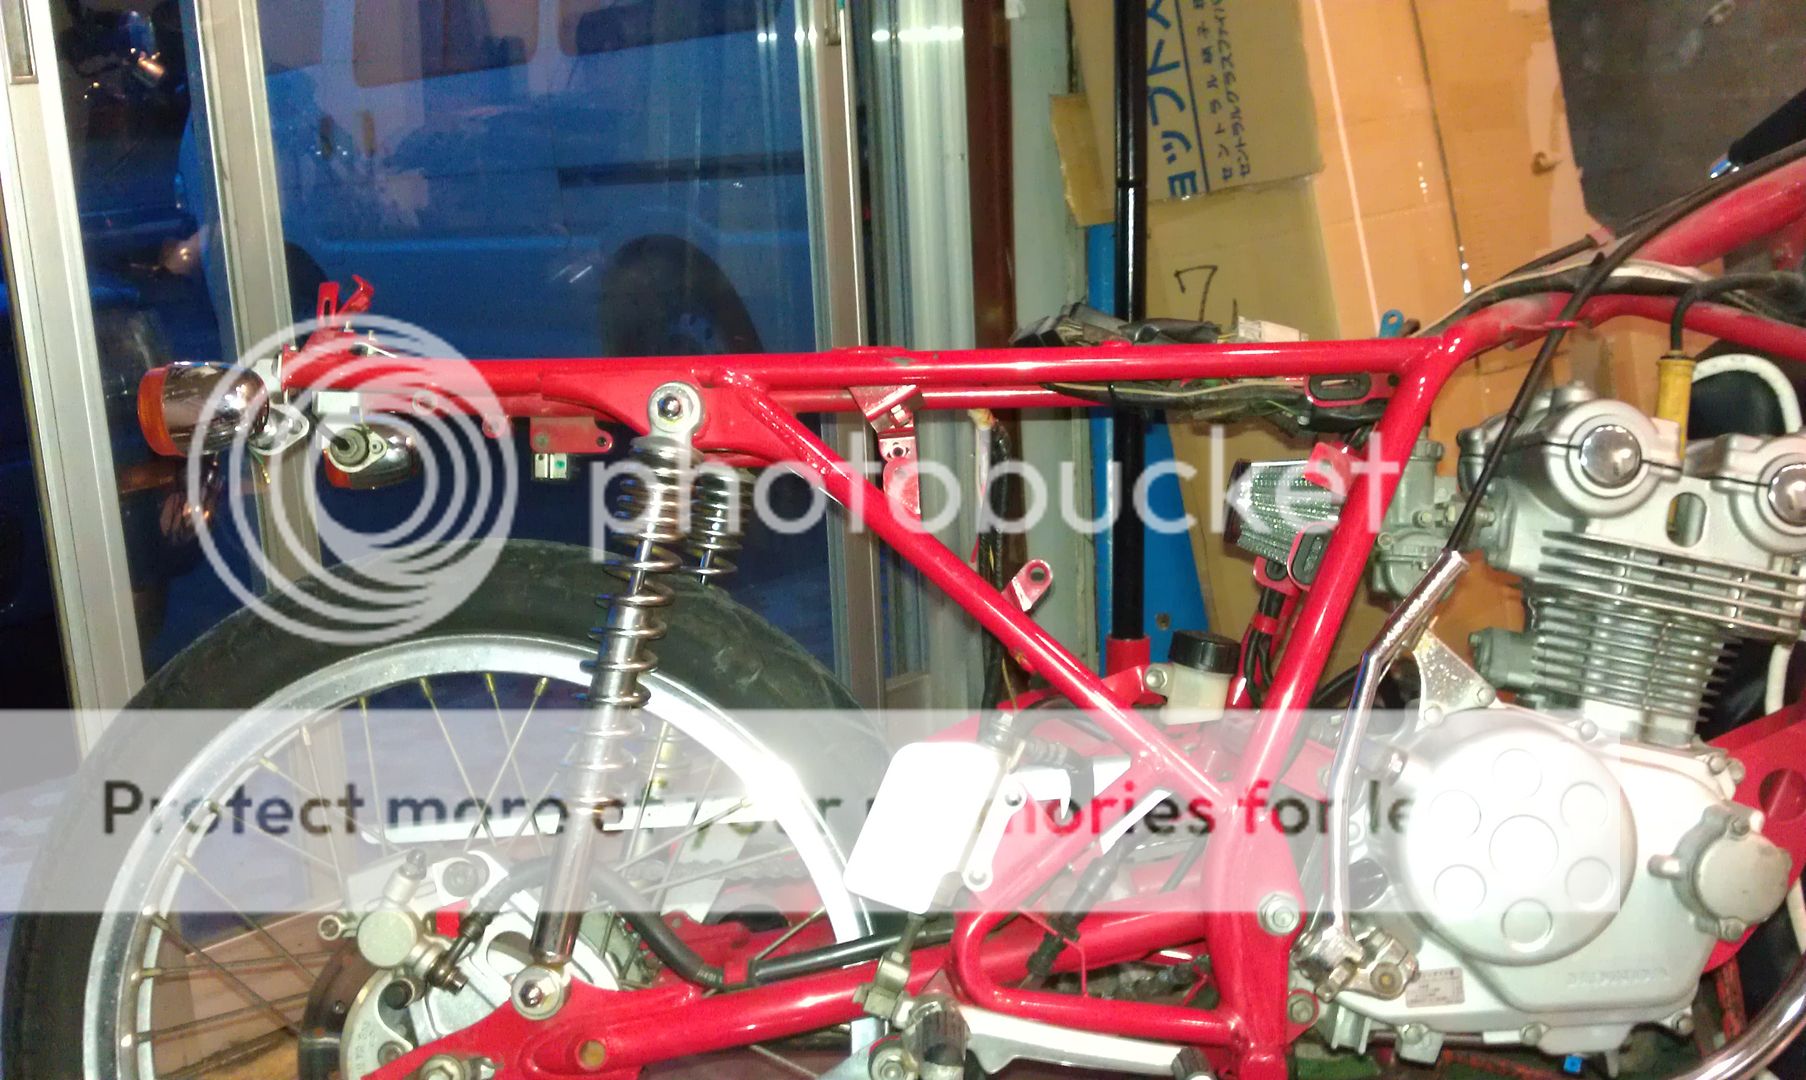
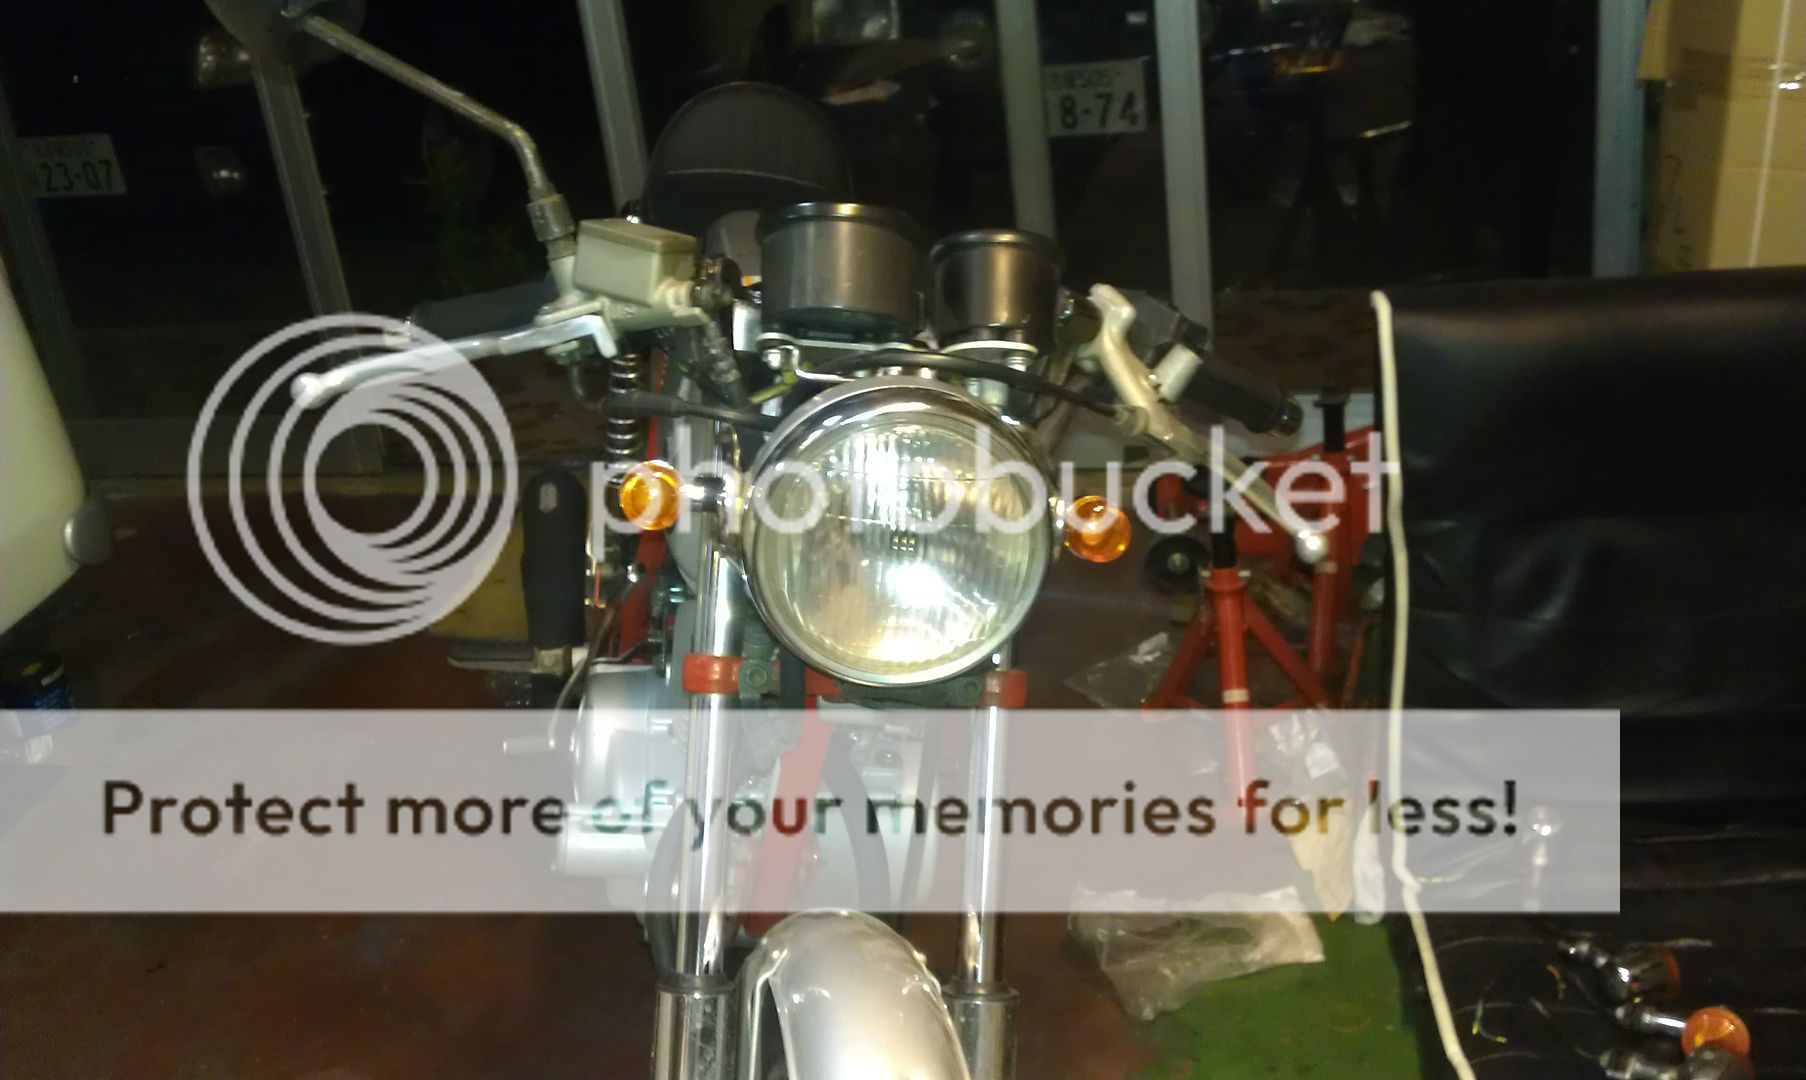
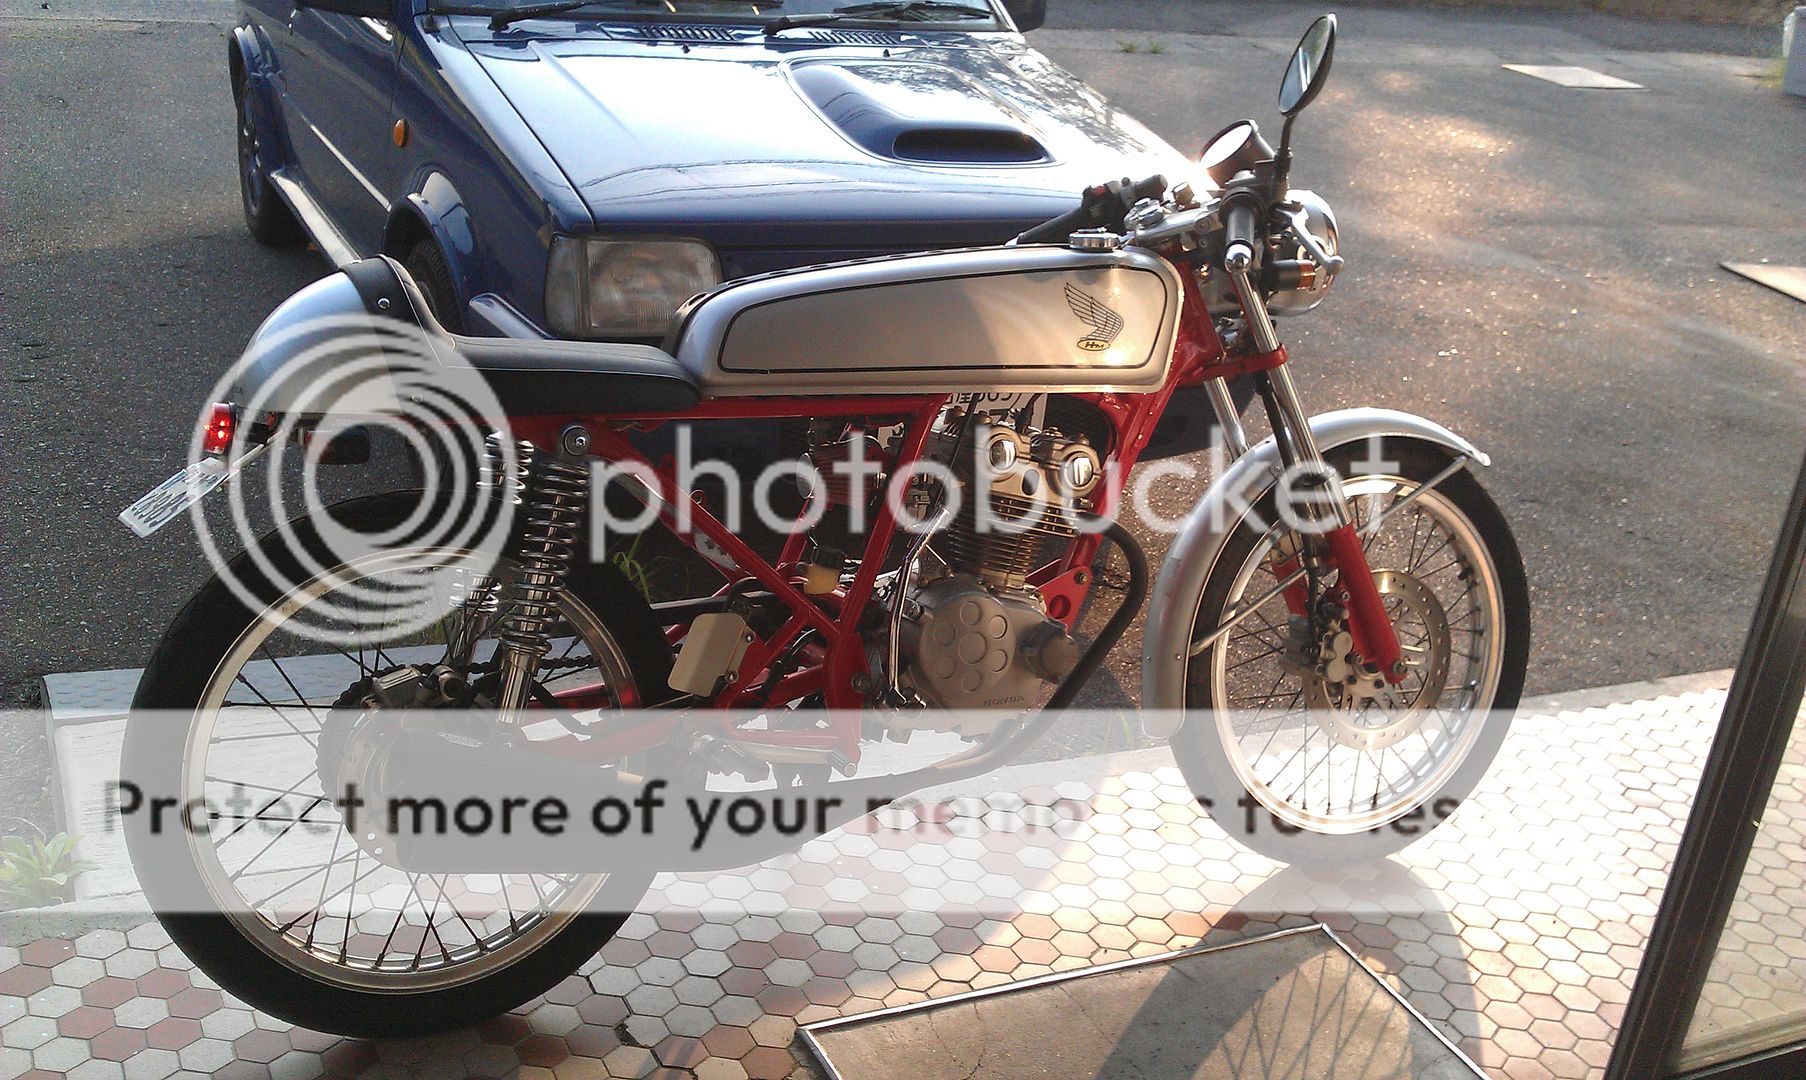
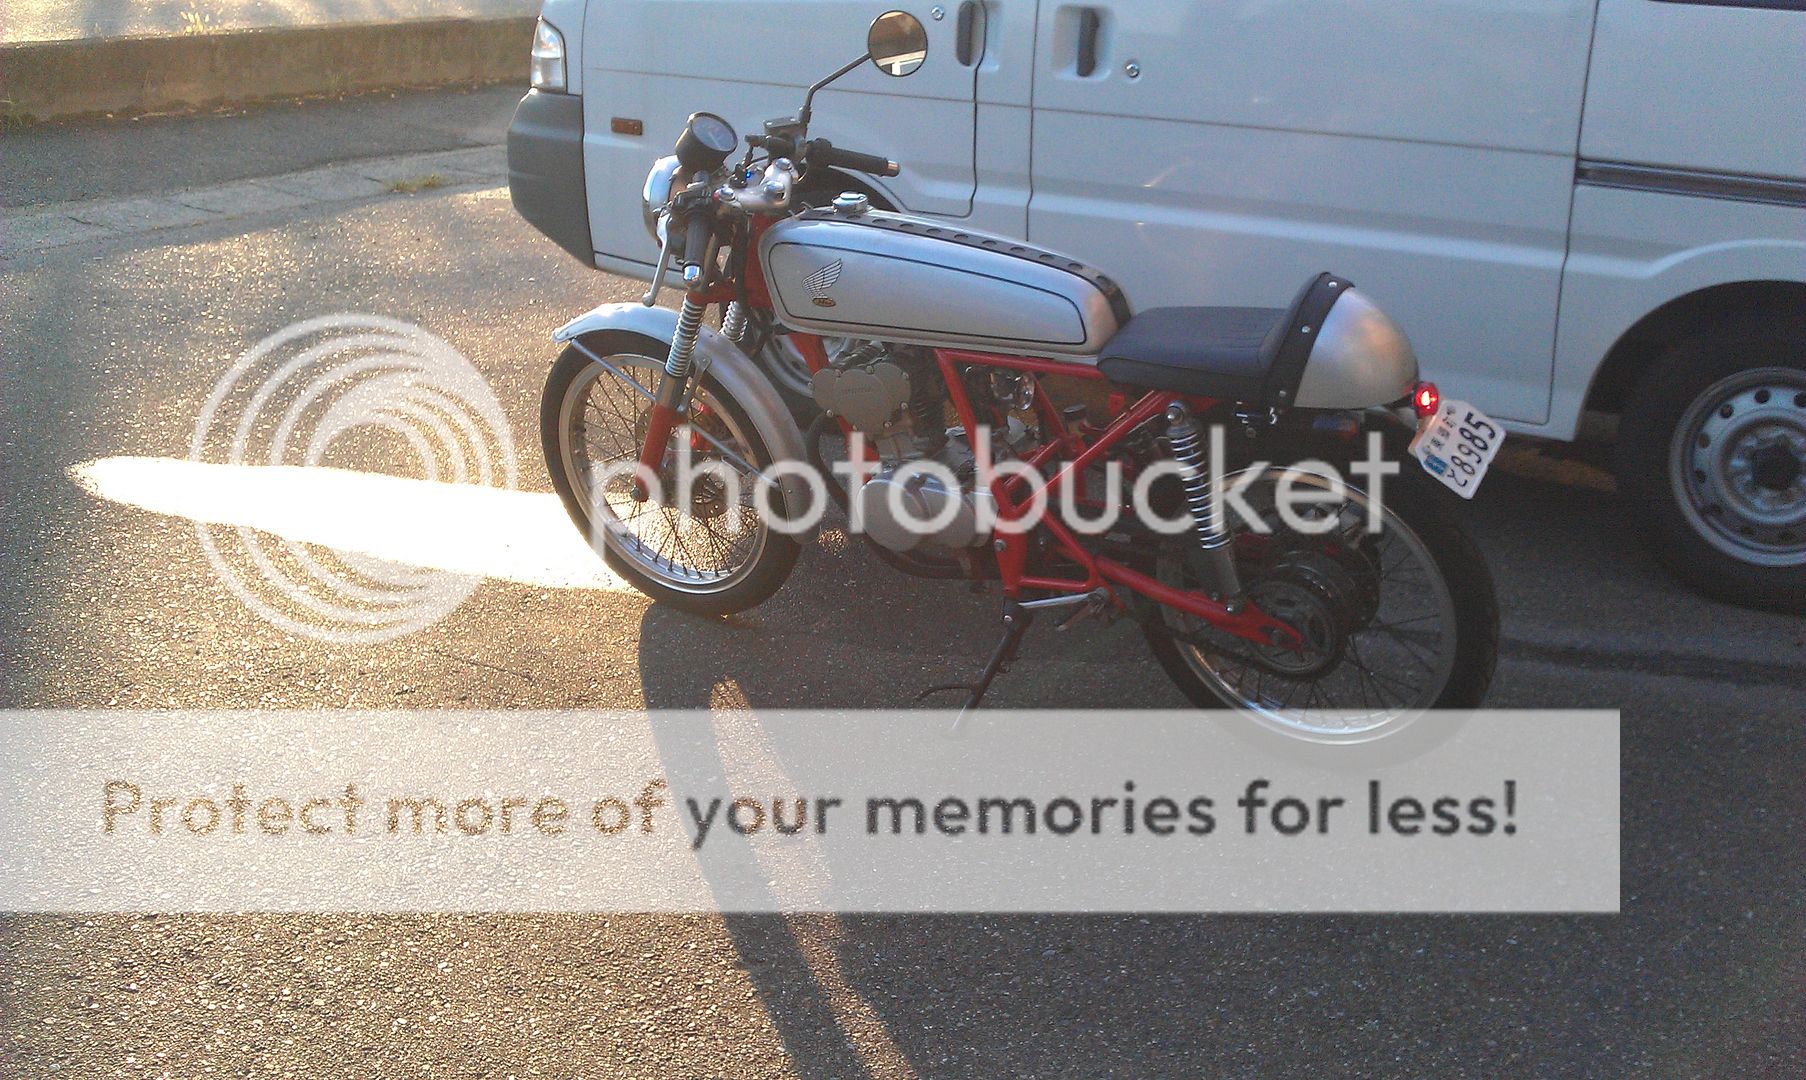
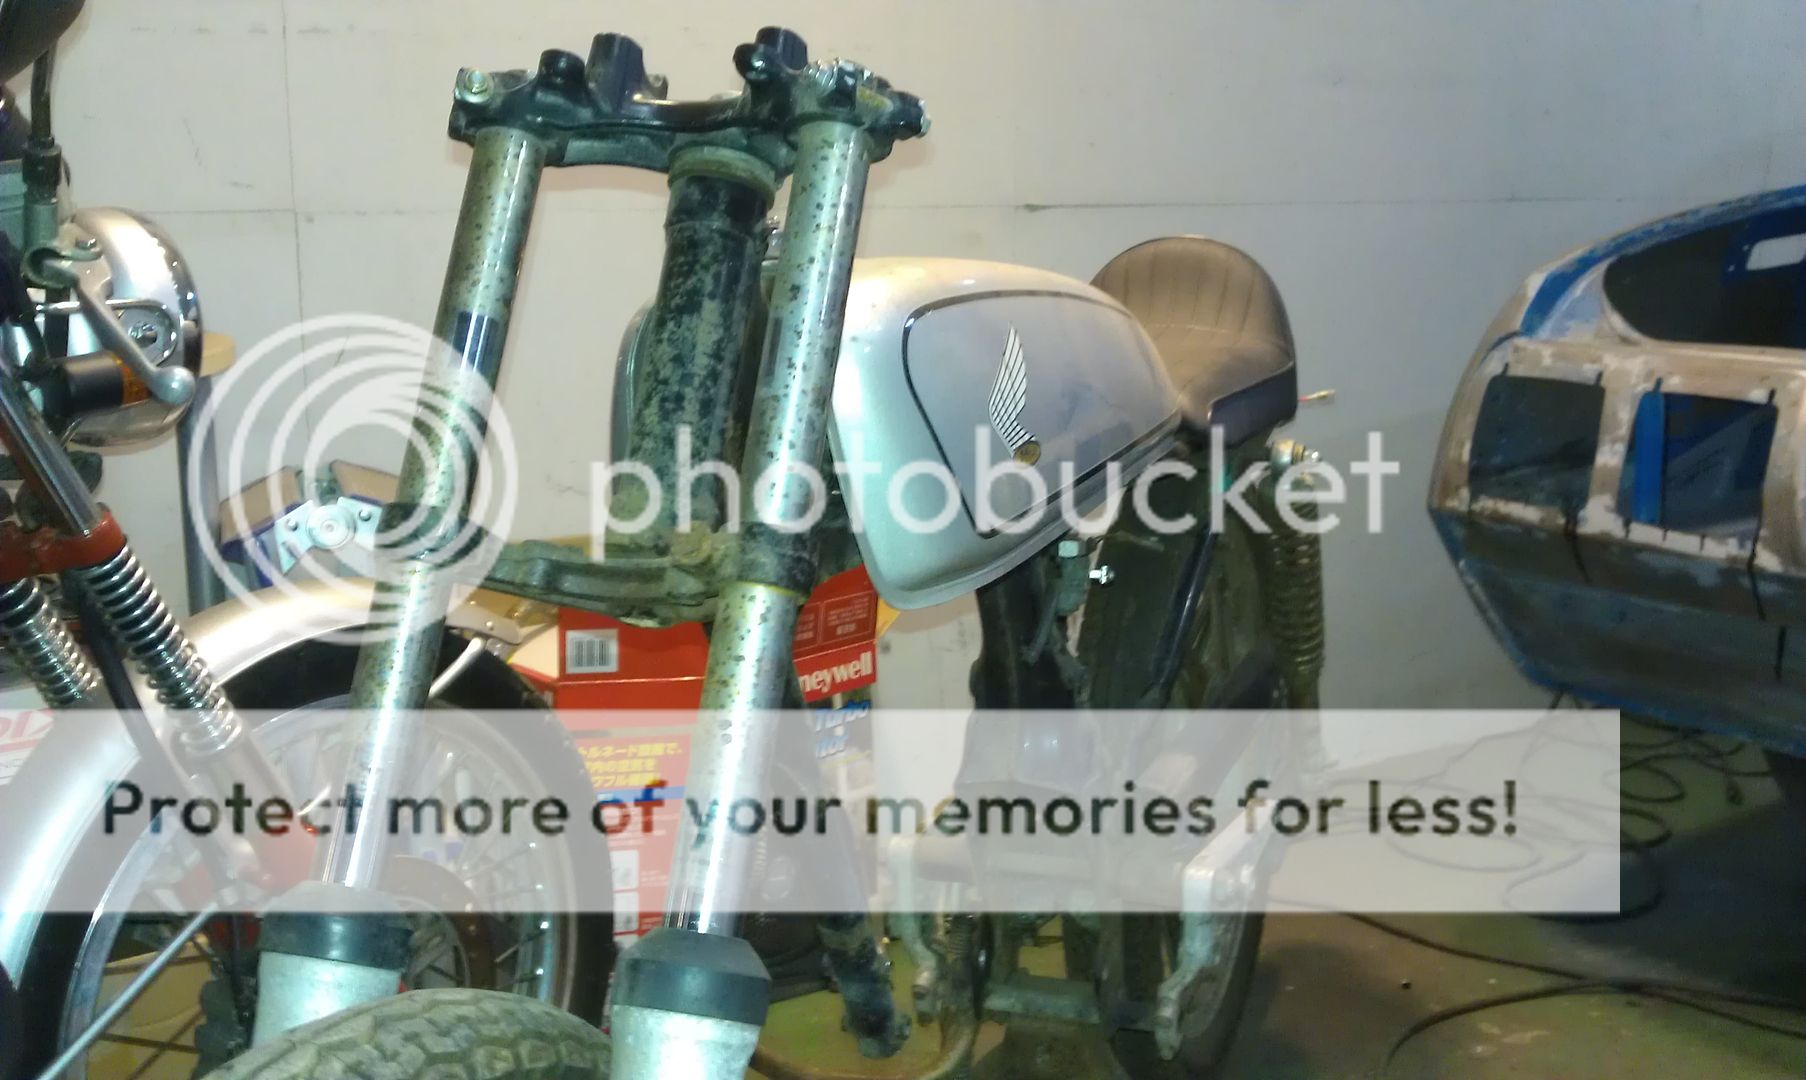
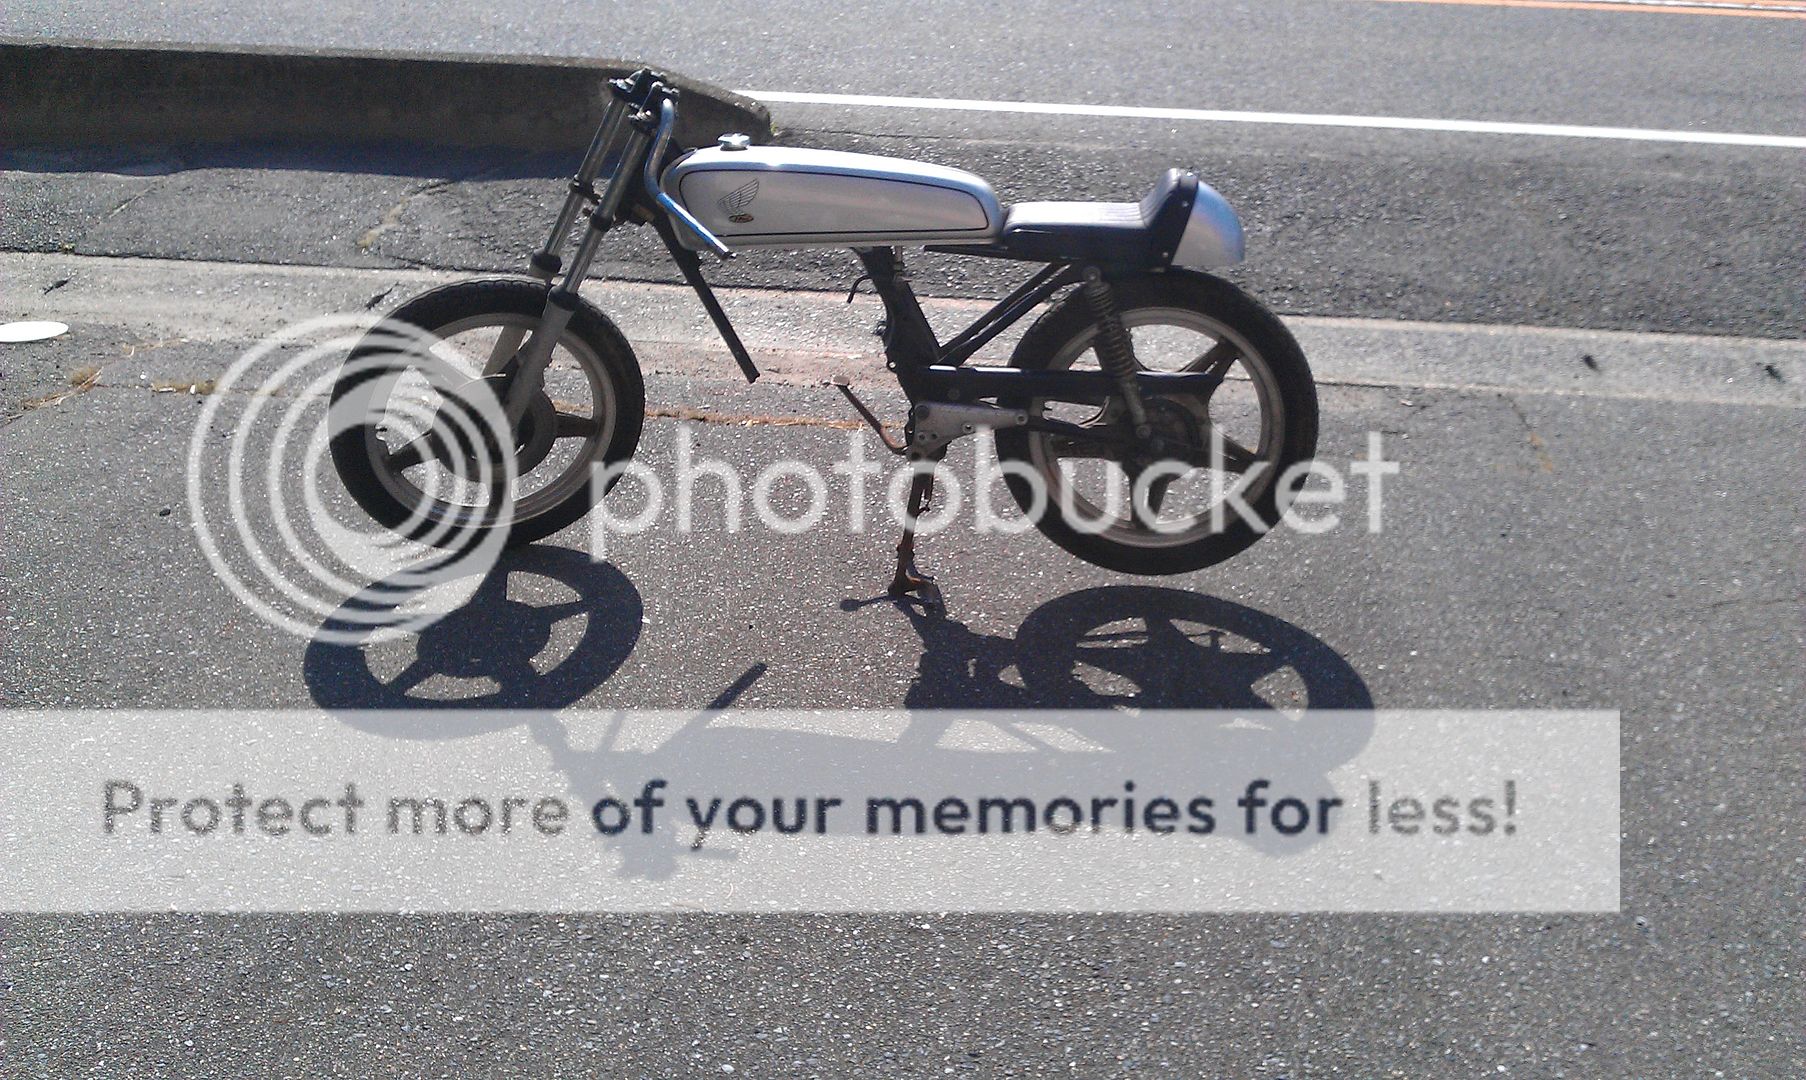
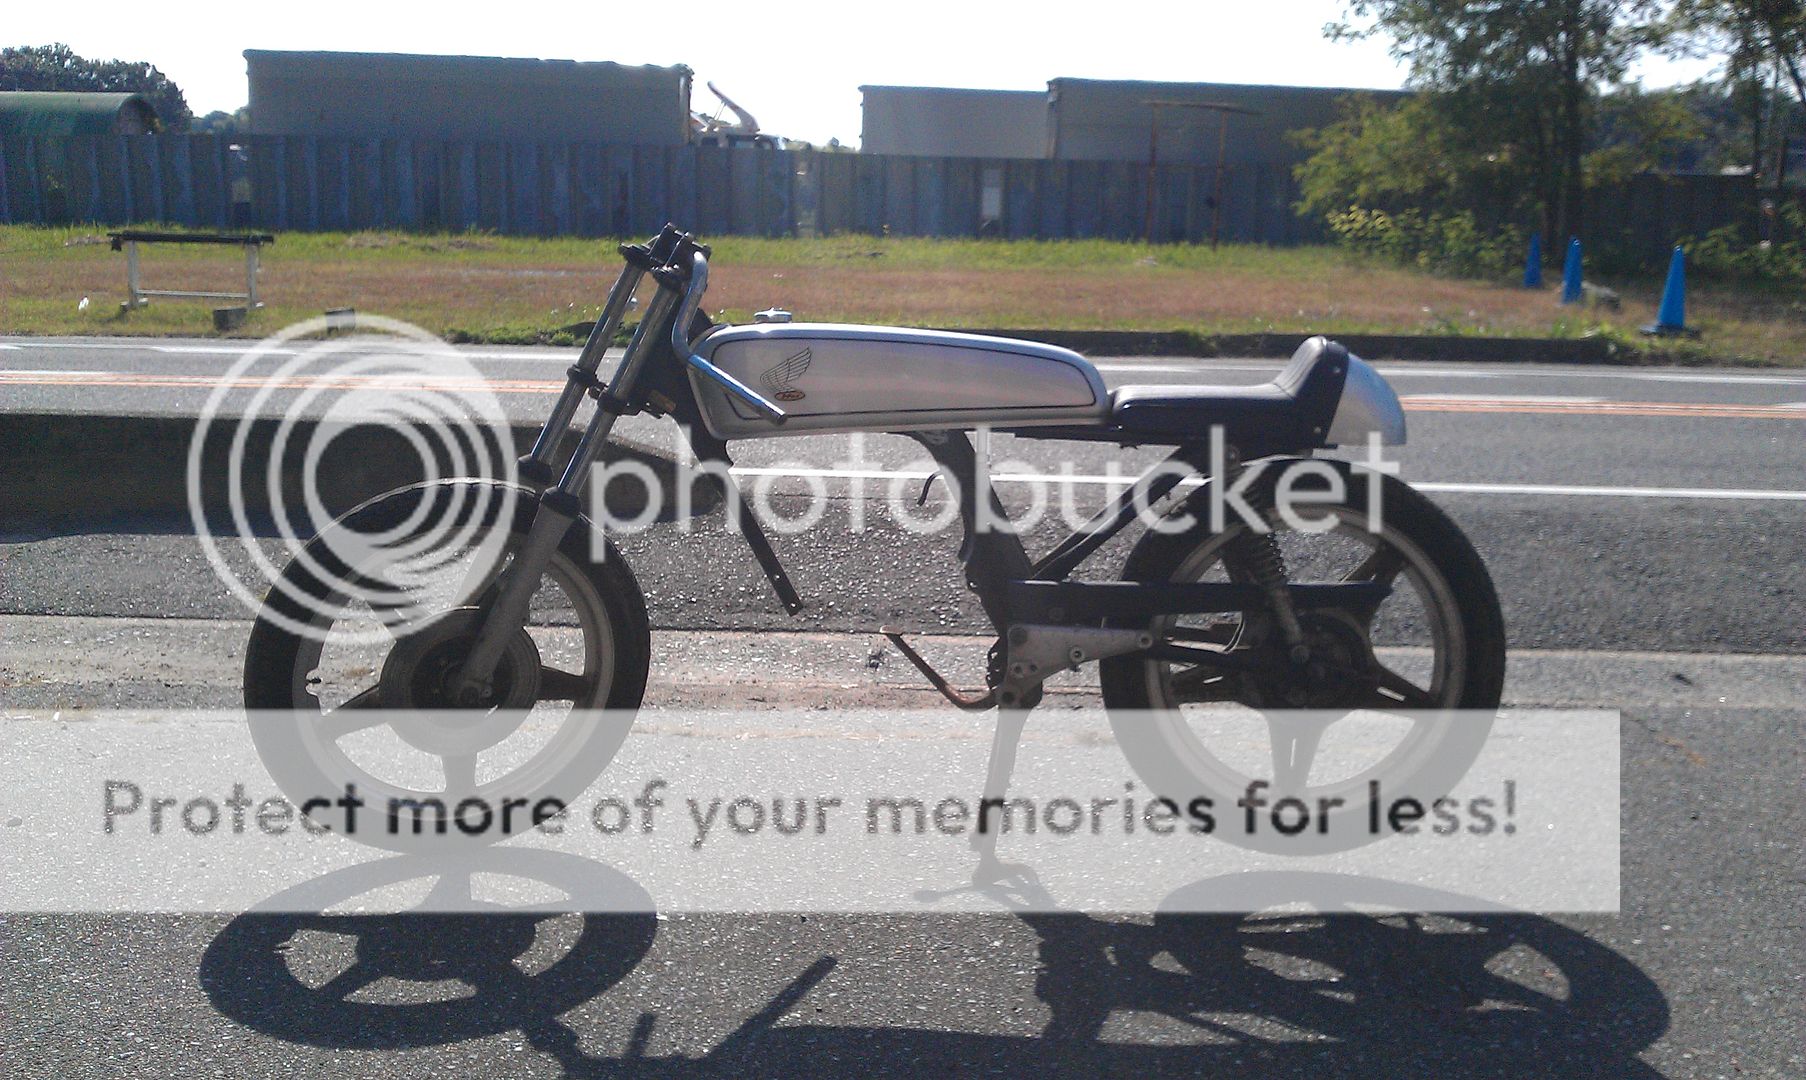
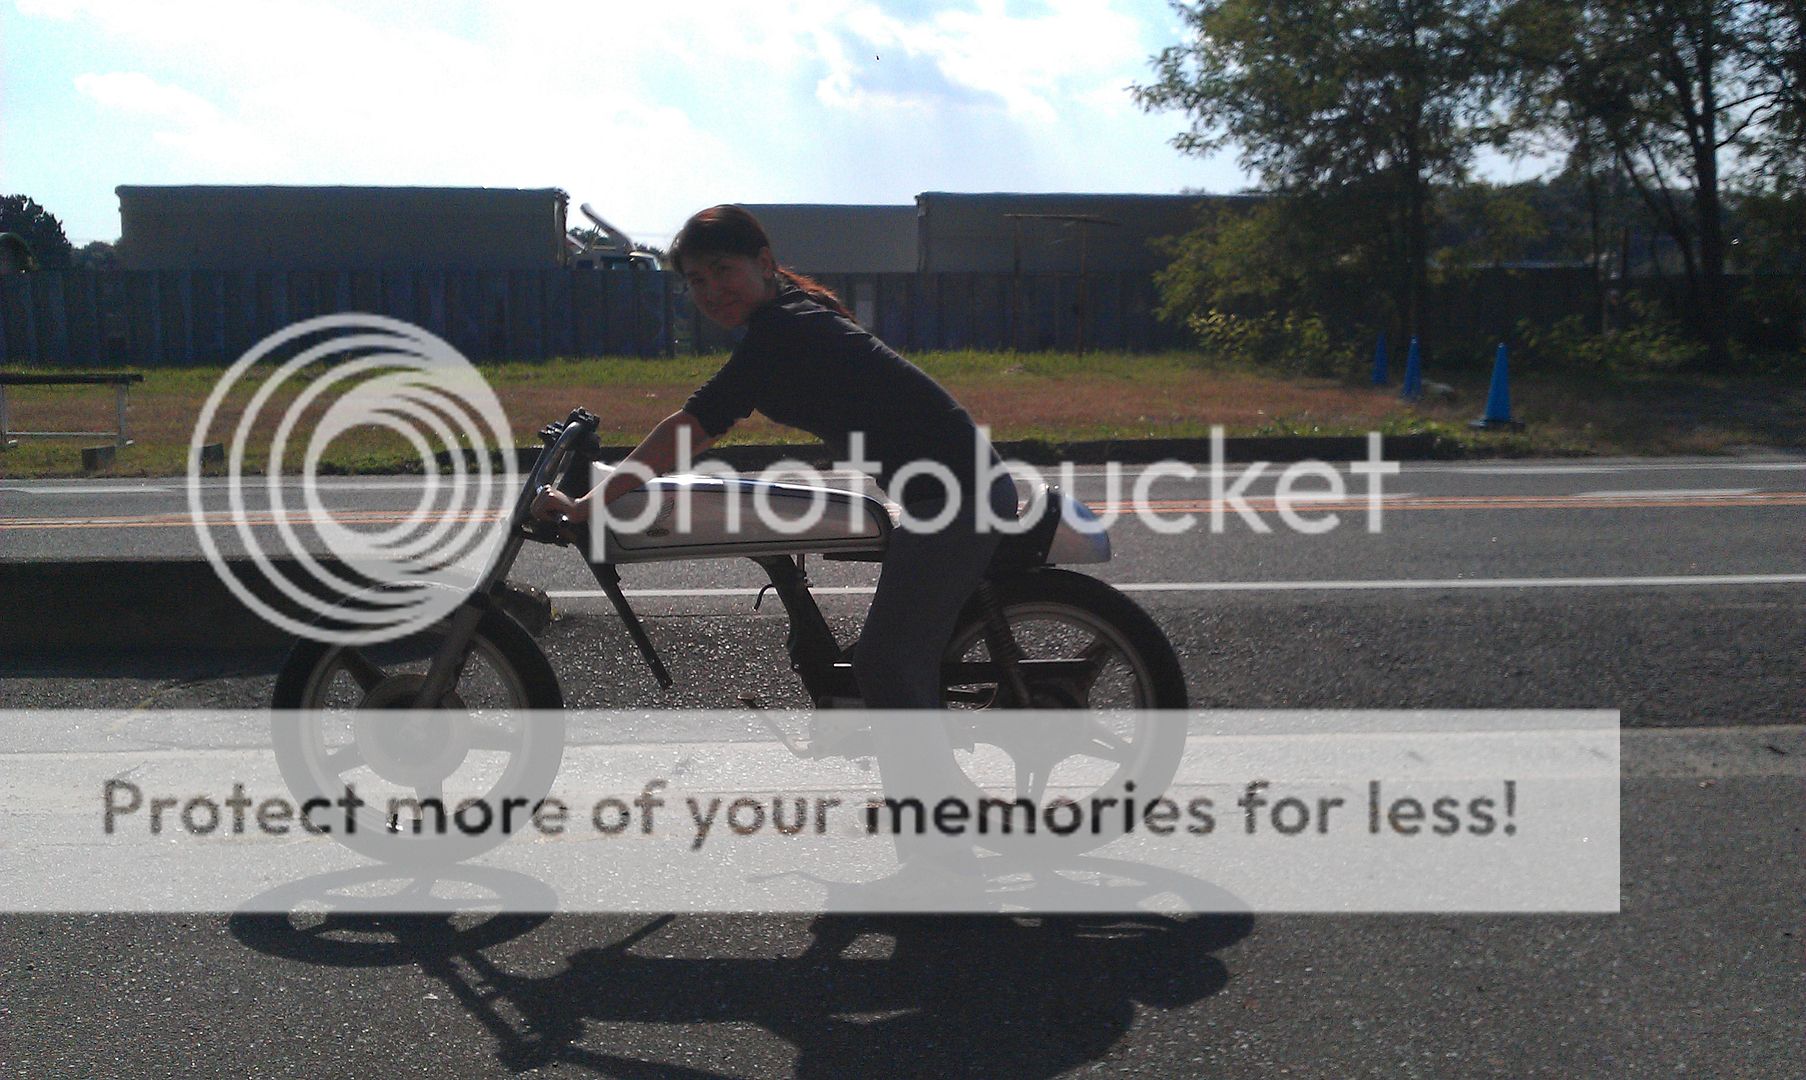
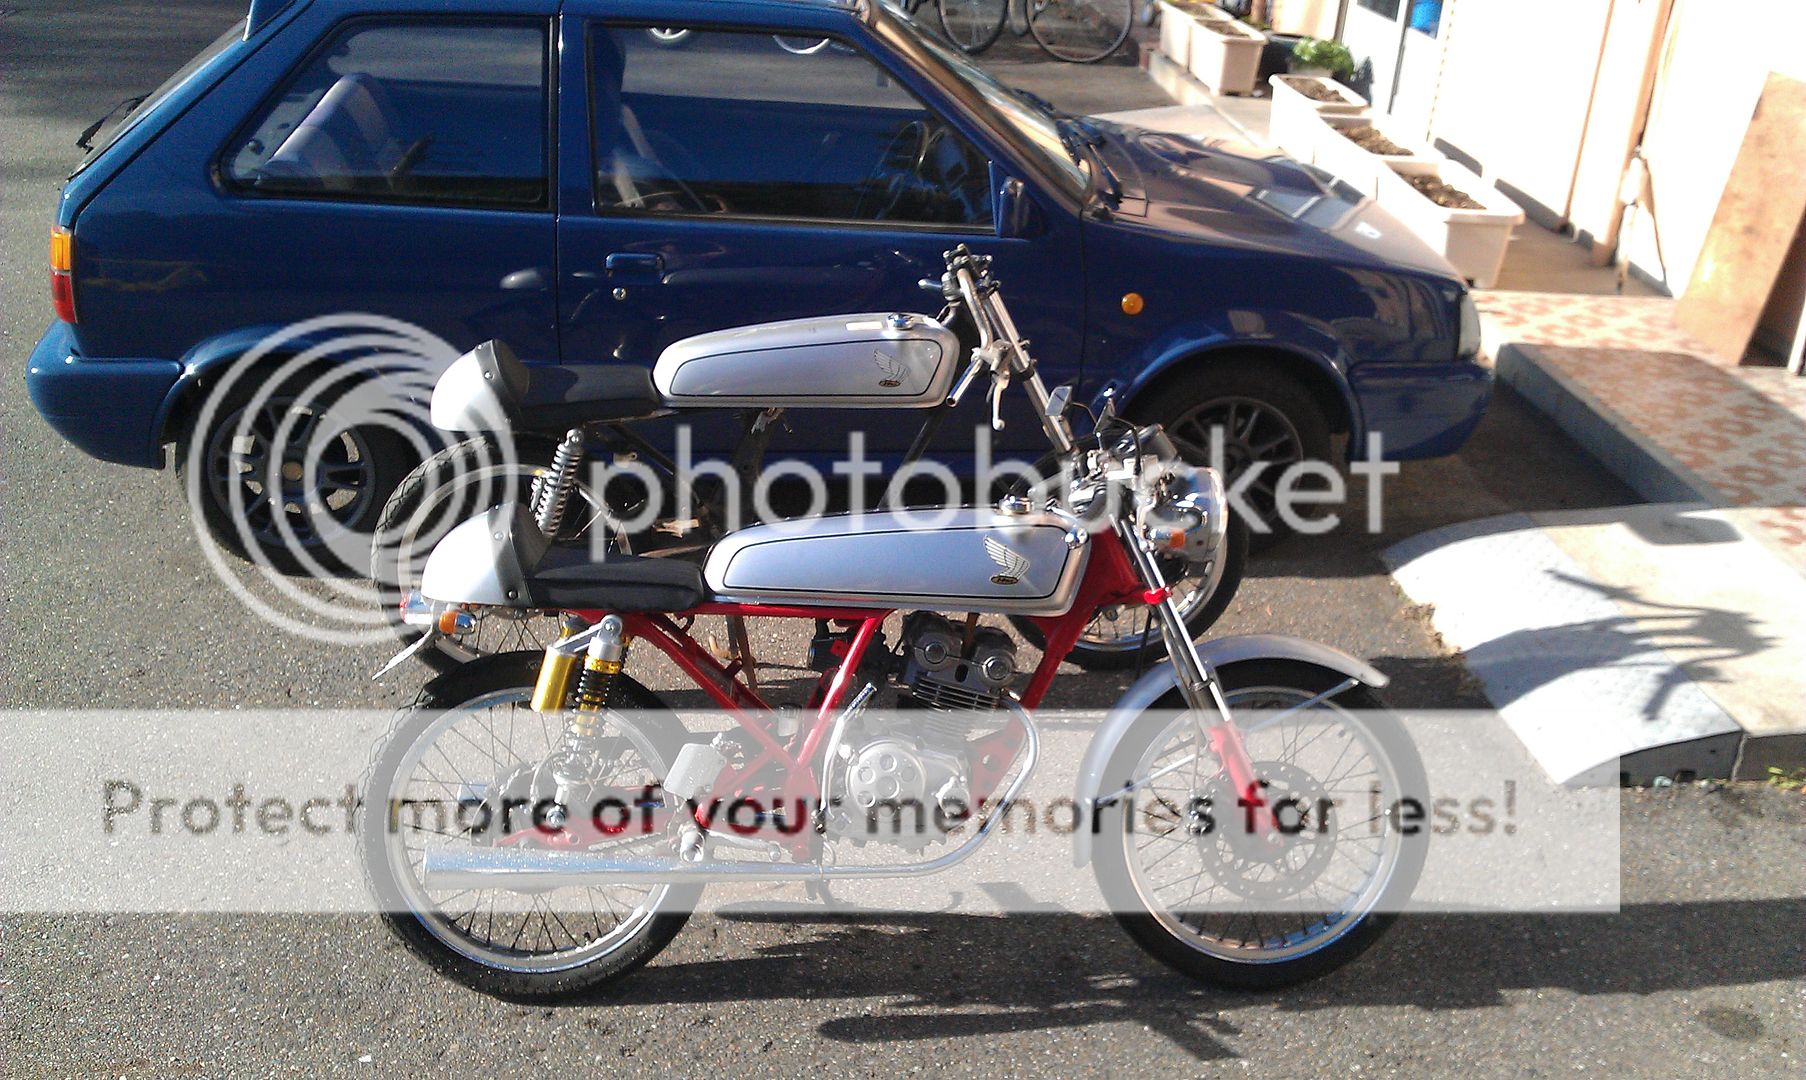
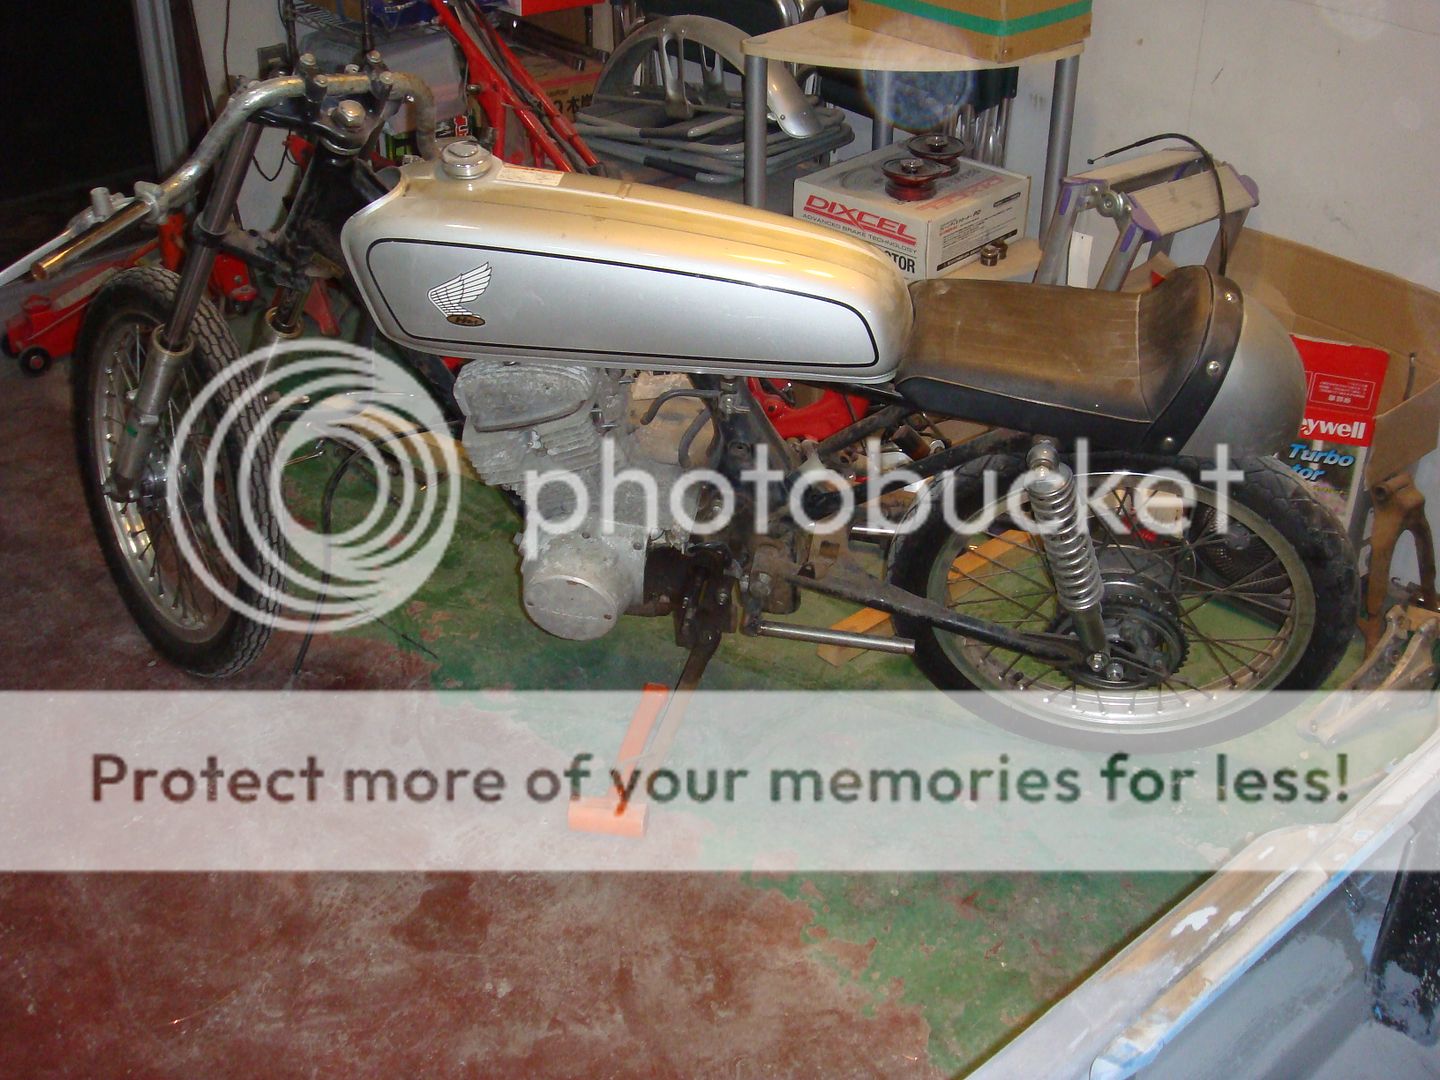
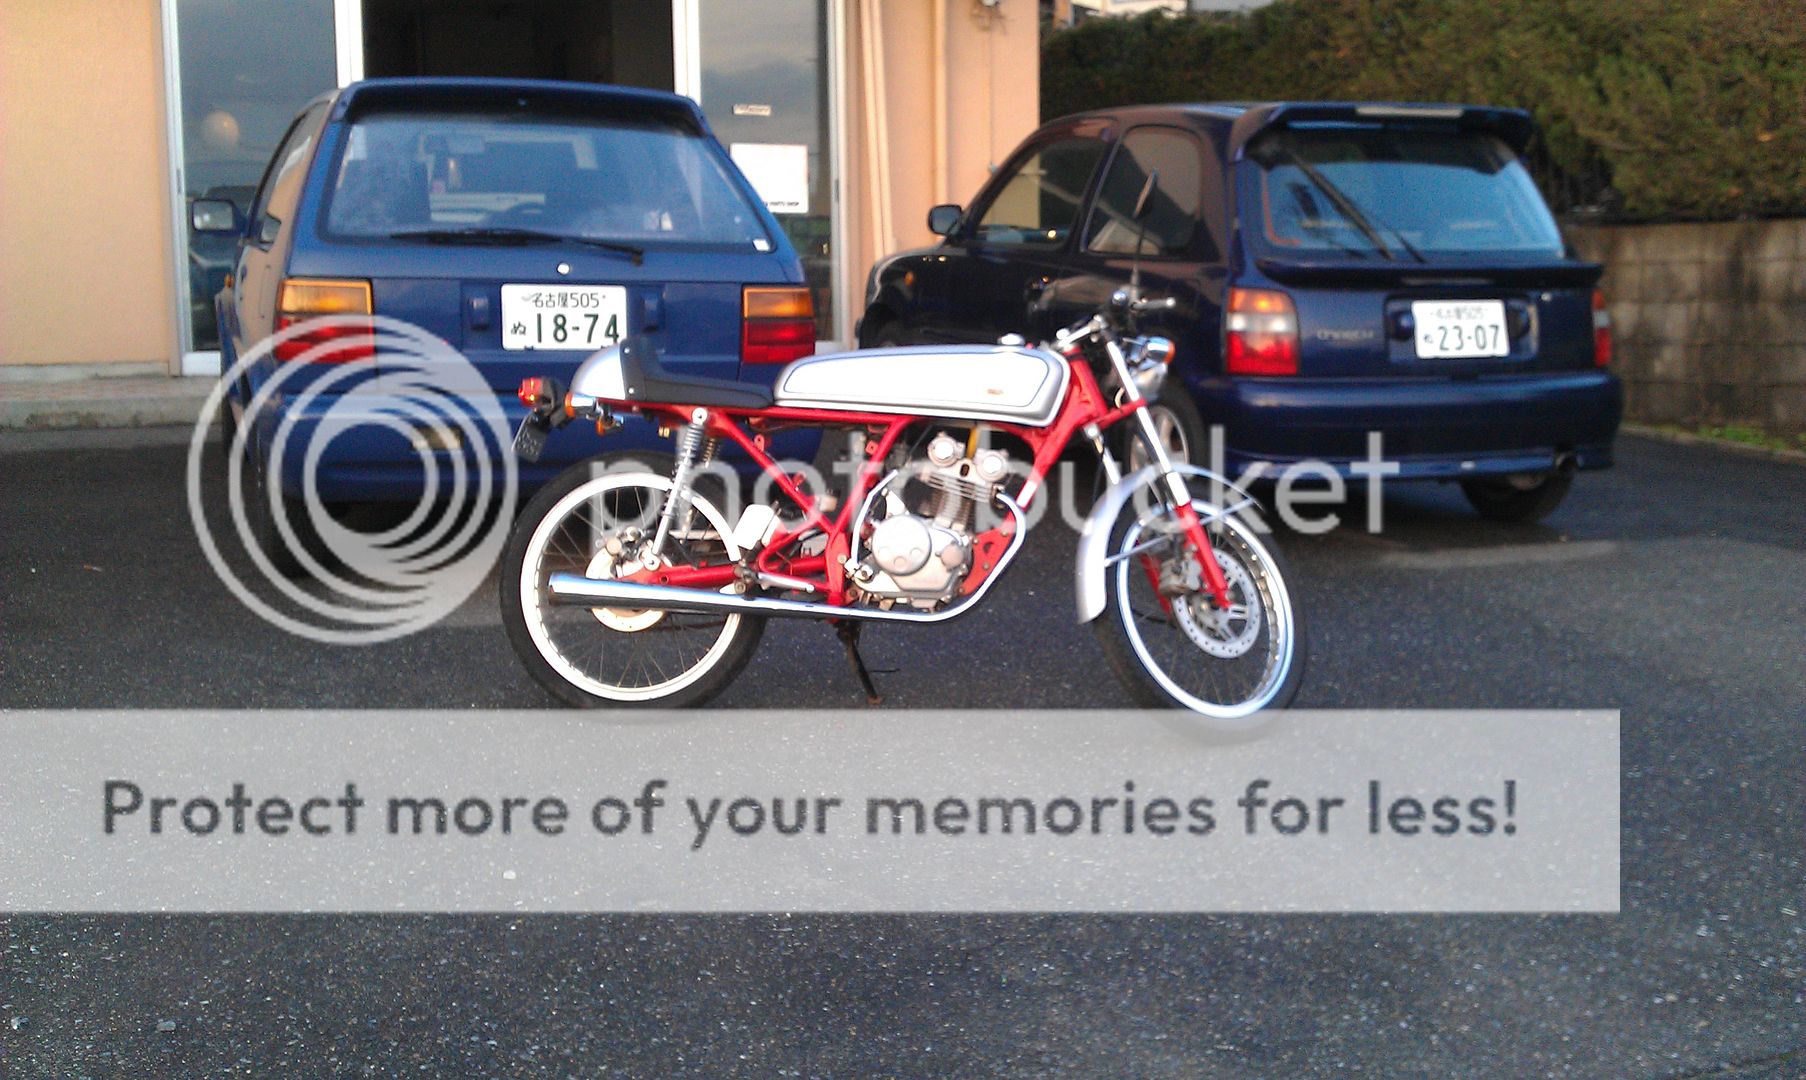
I just love that classic look!
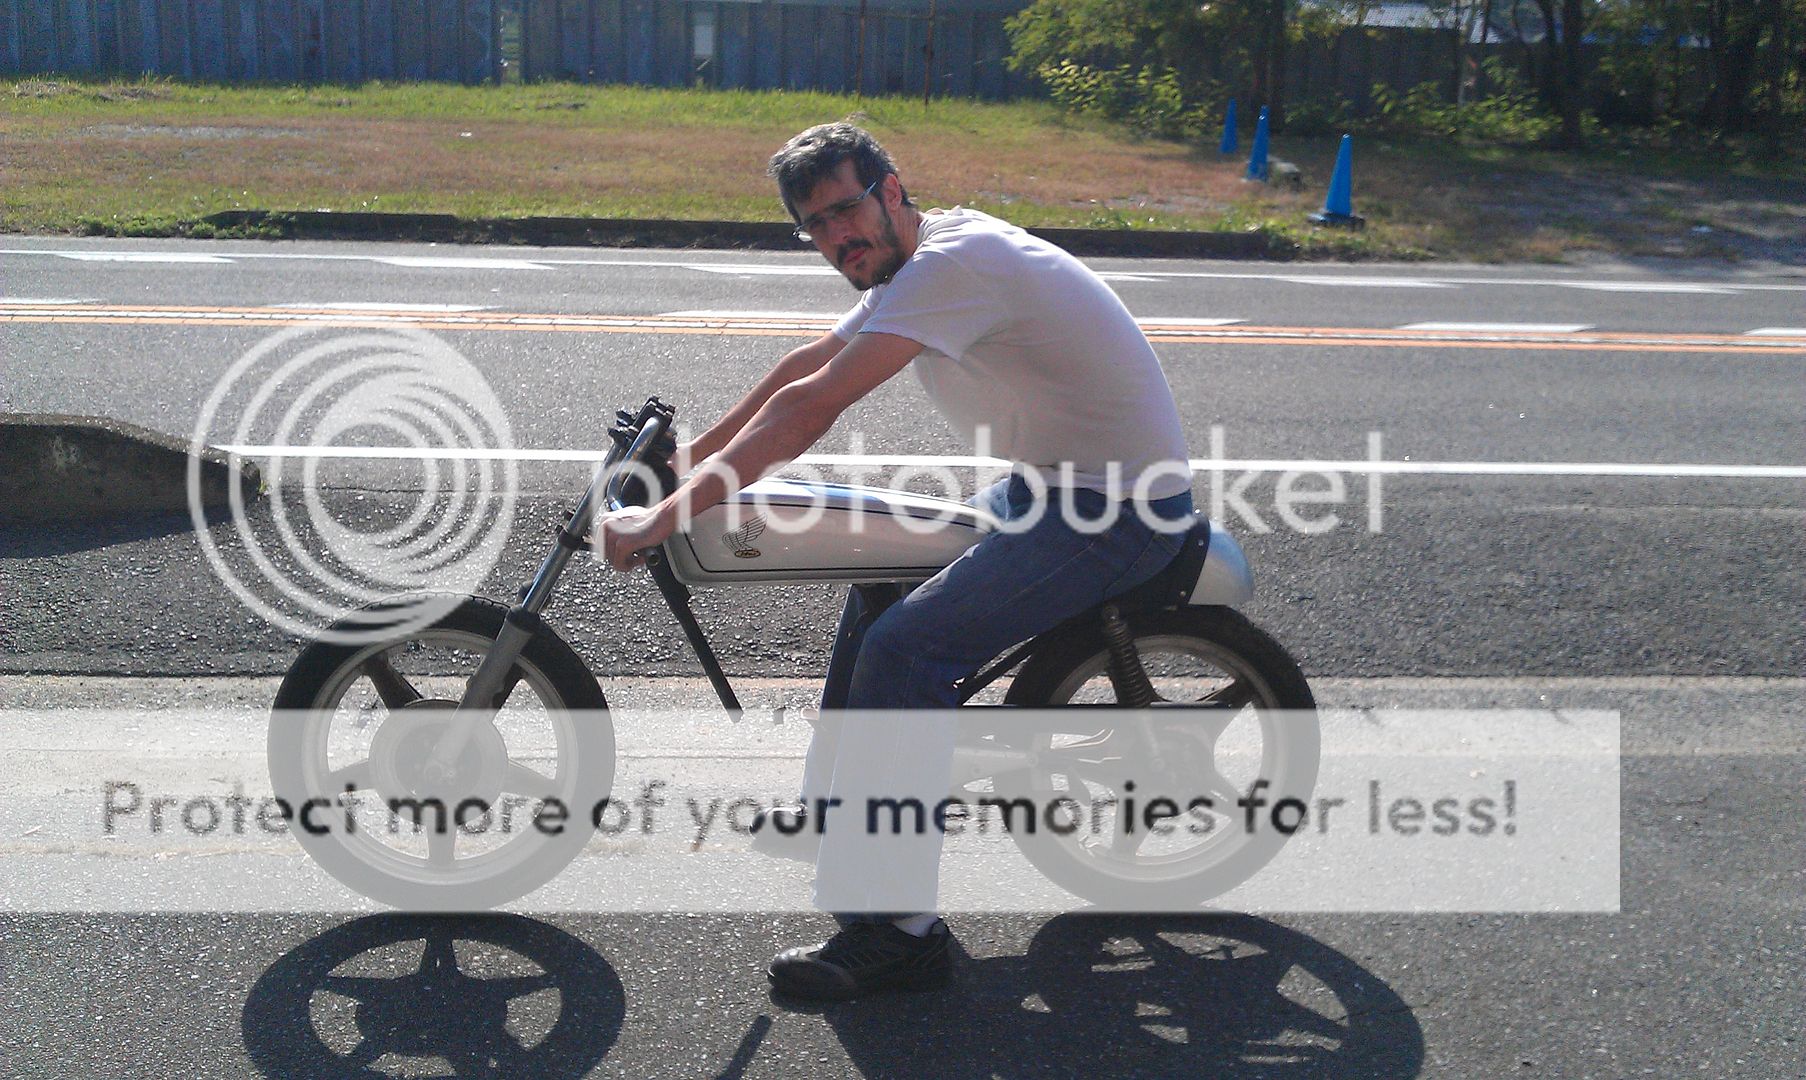
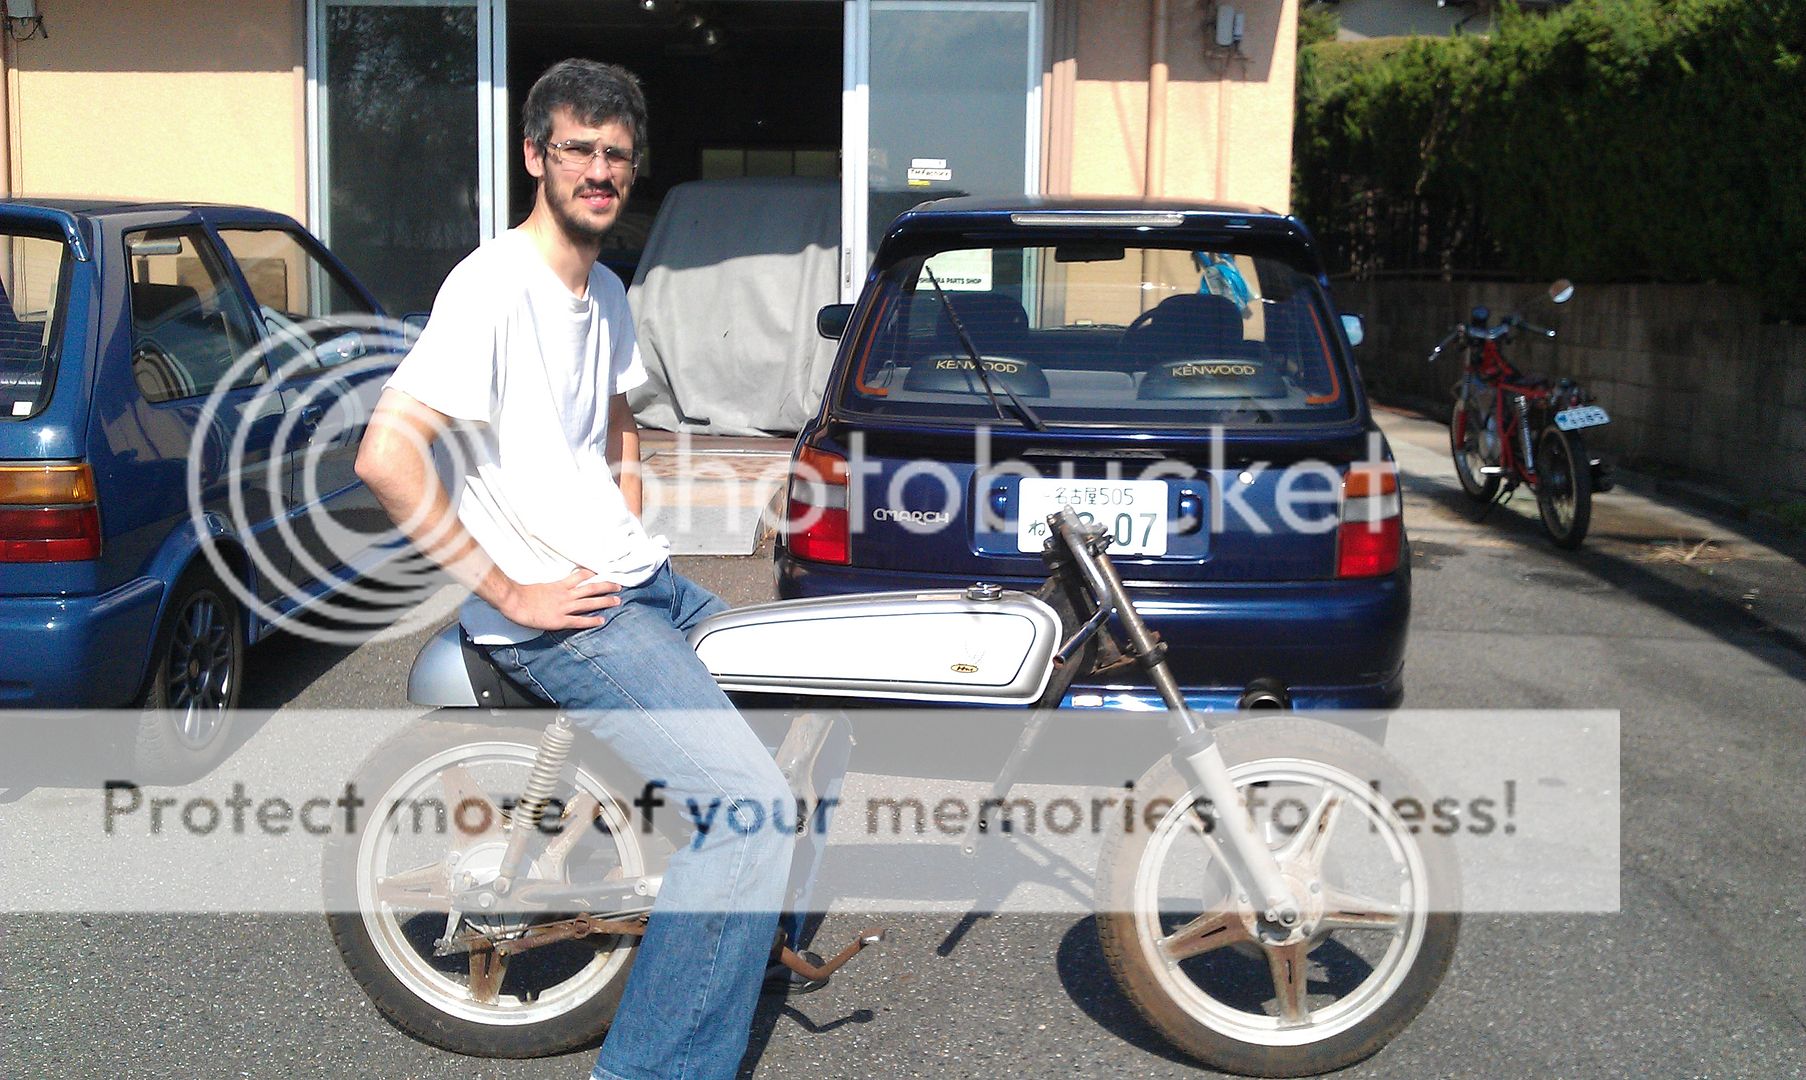
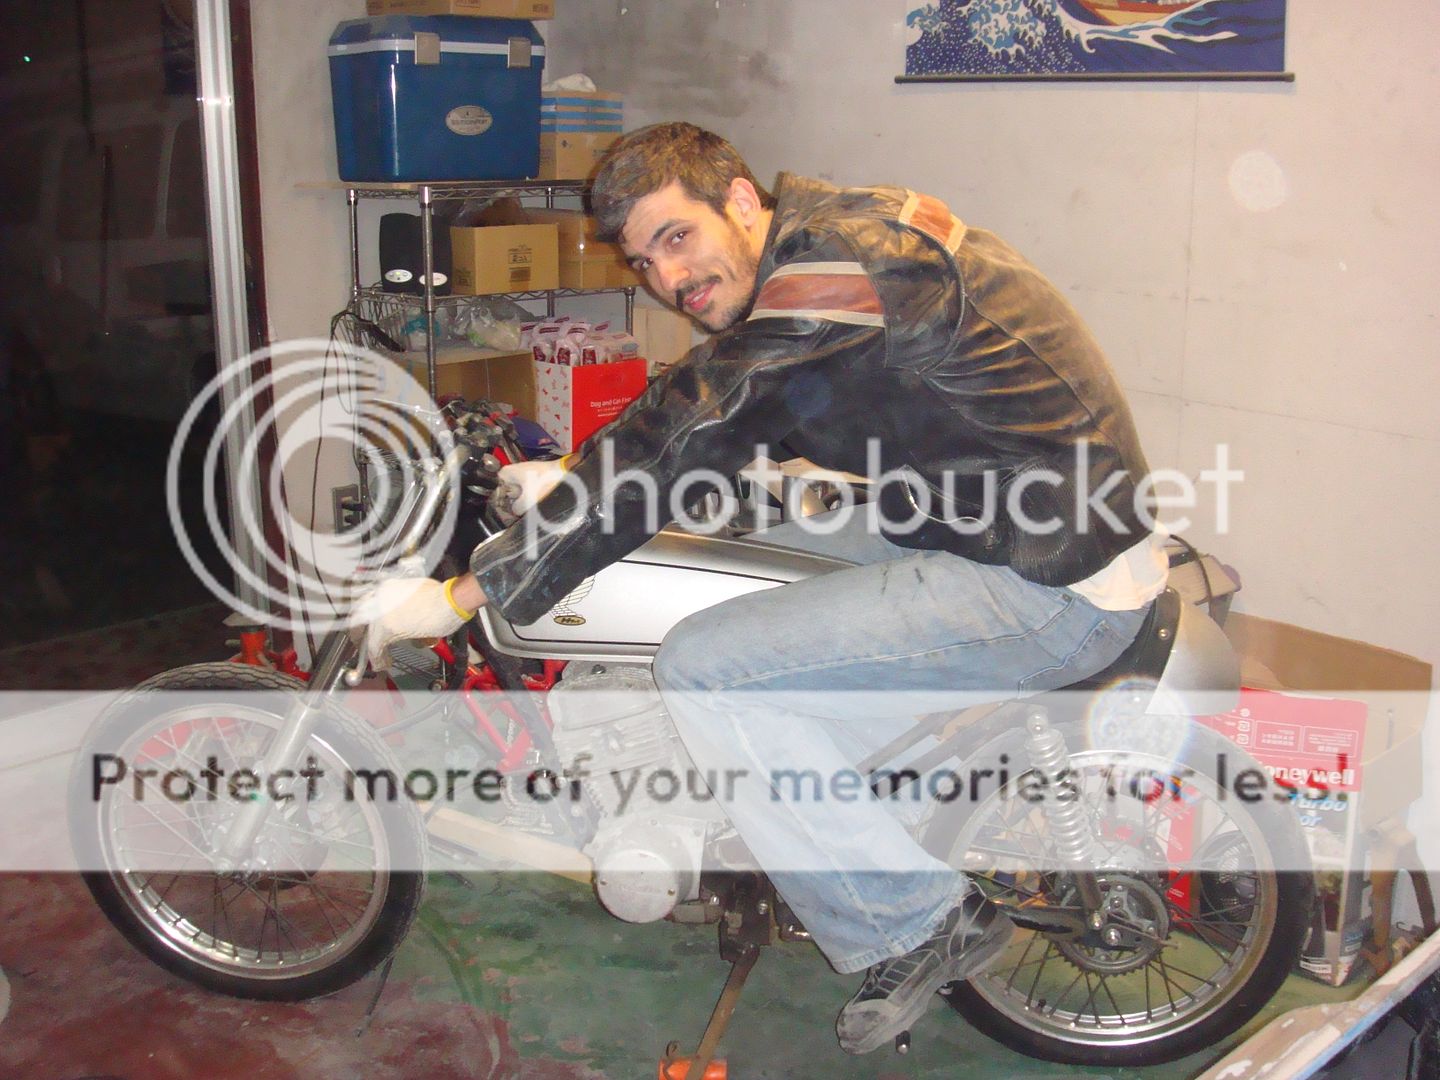
Here's me sitting on it right before I rode it for the first, nervous as hell!


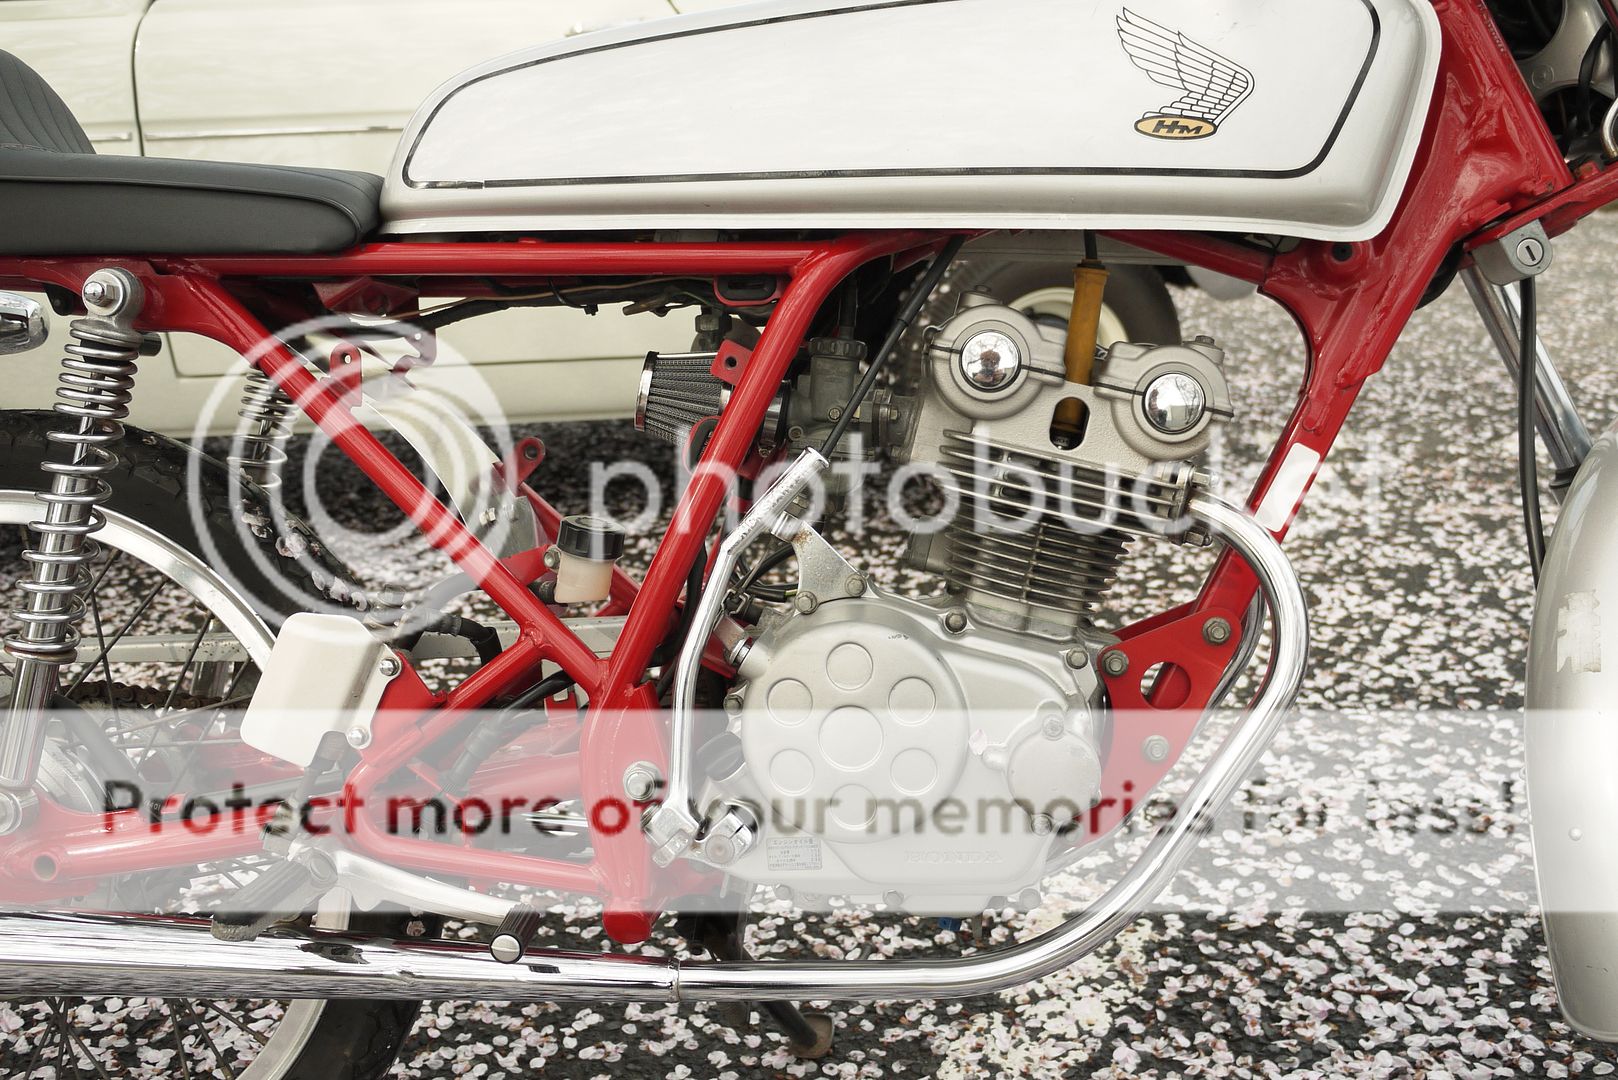
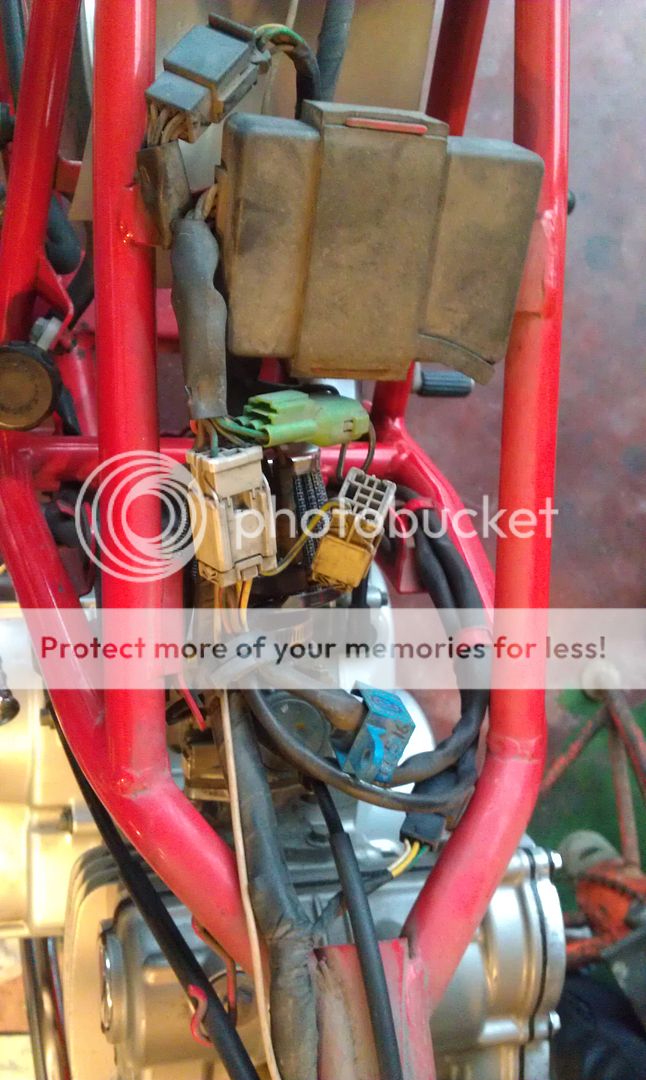
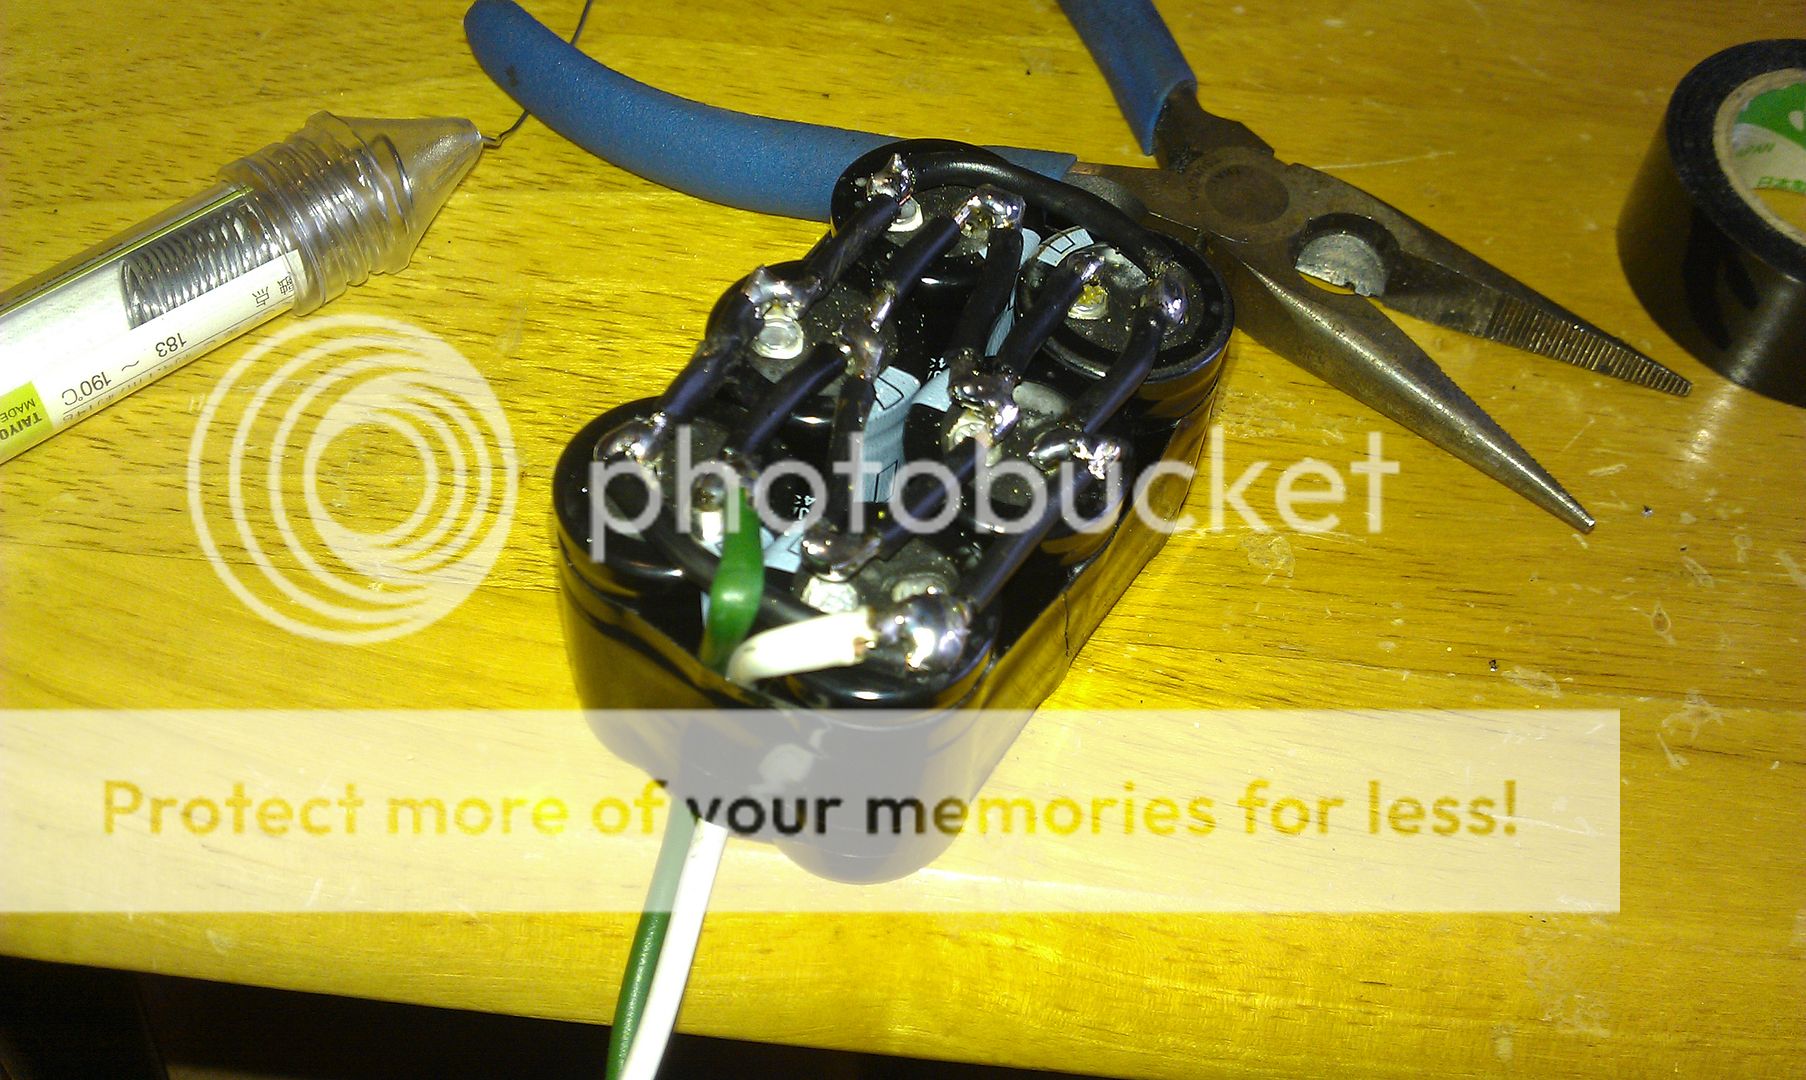
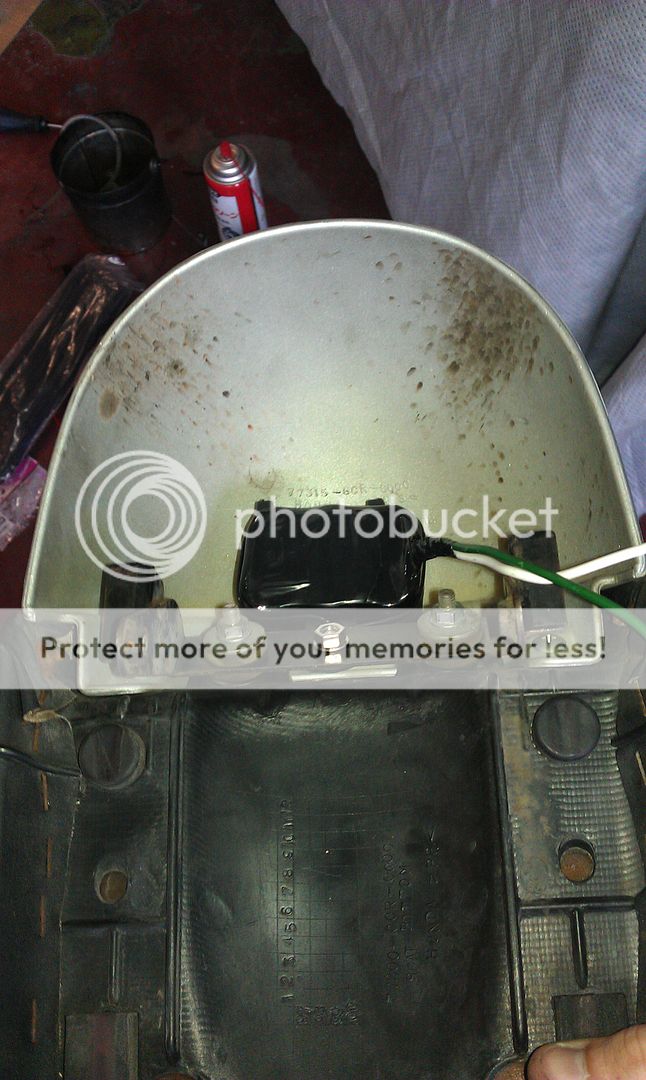
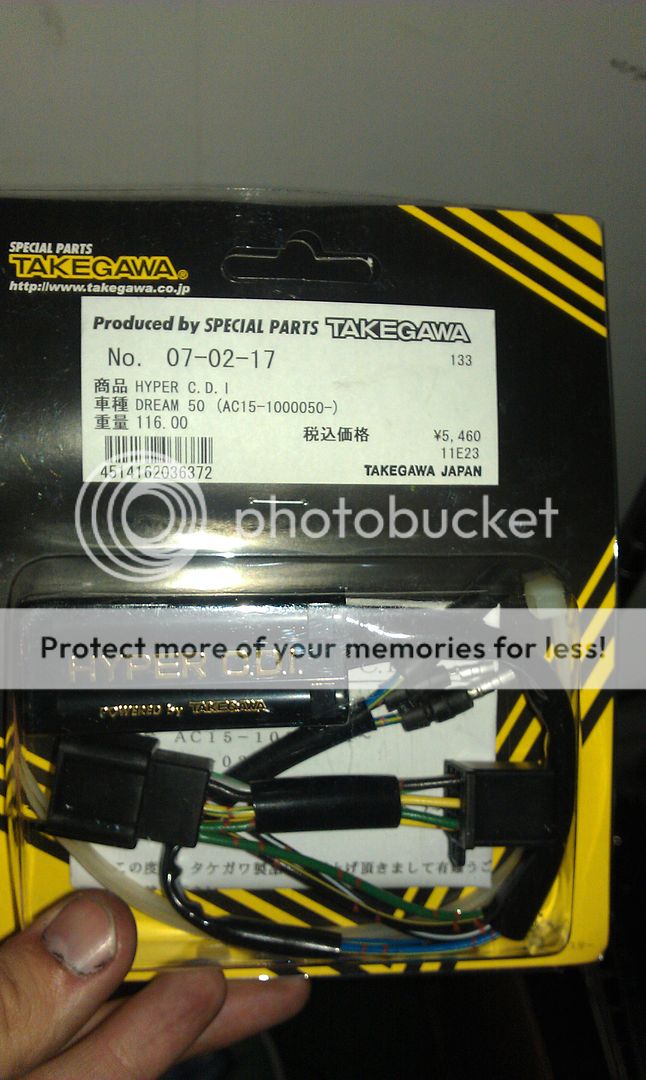
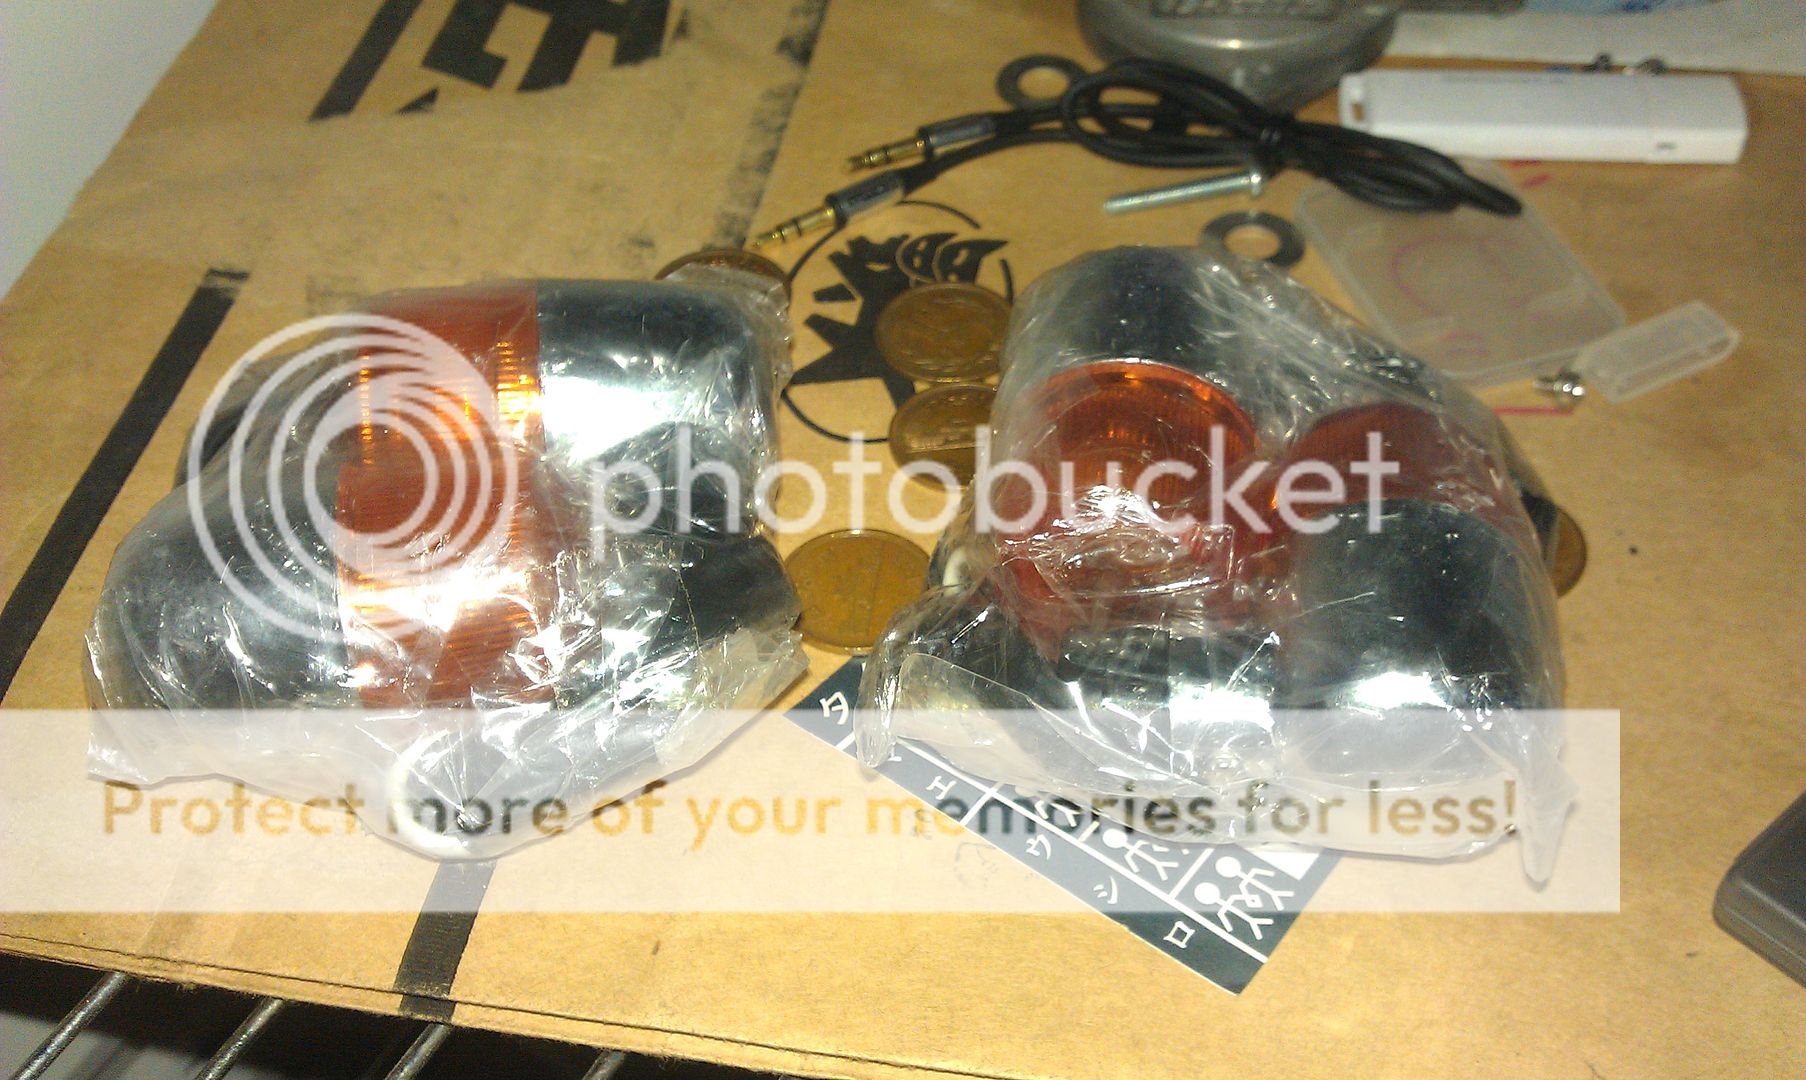
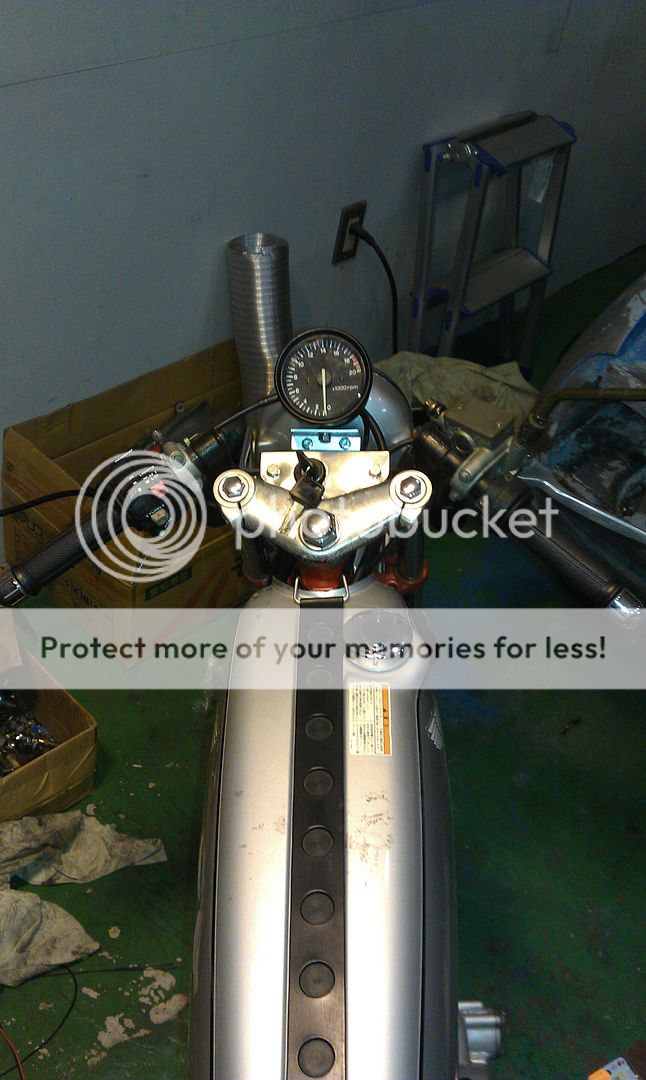
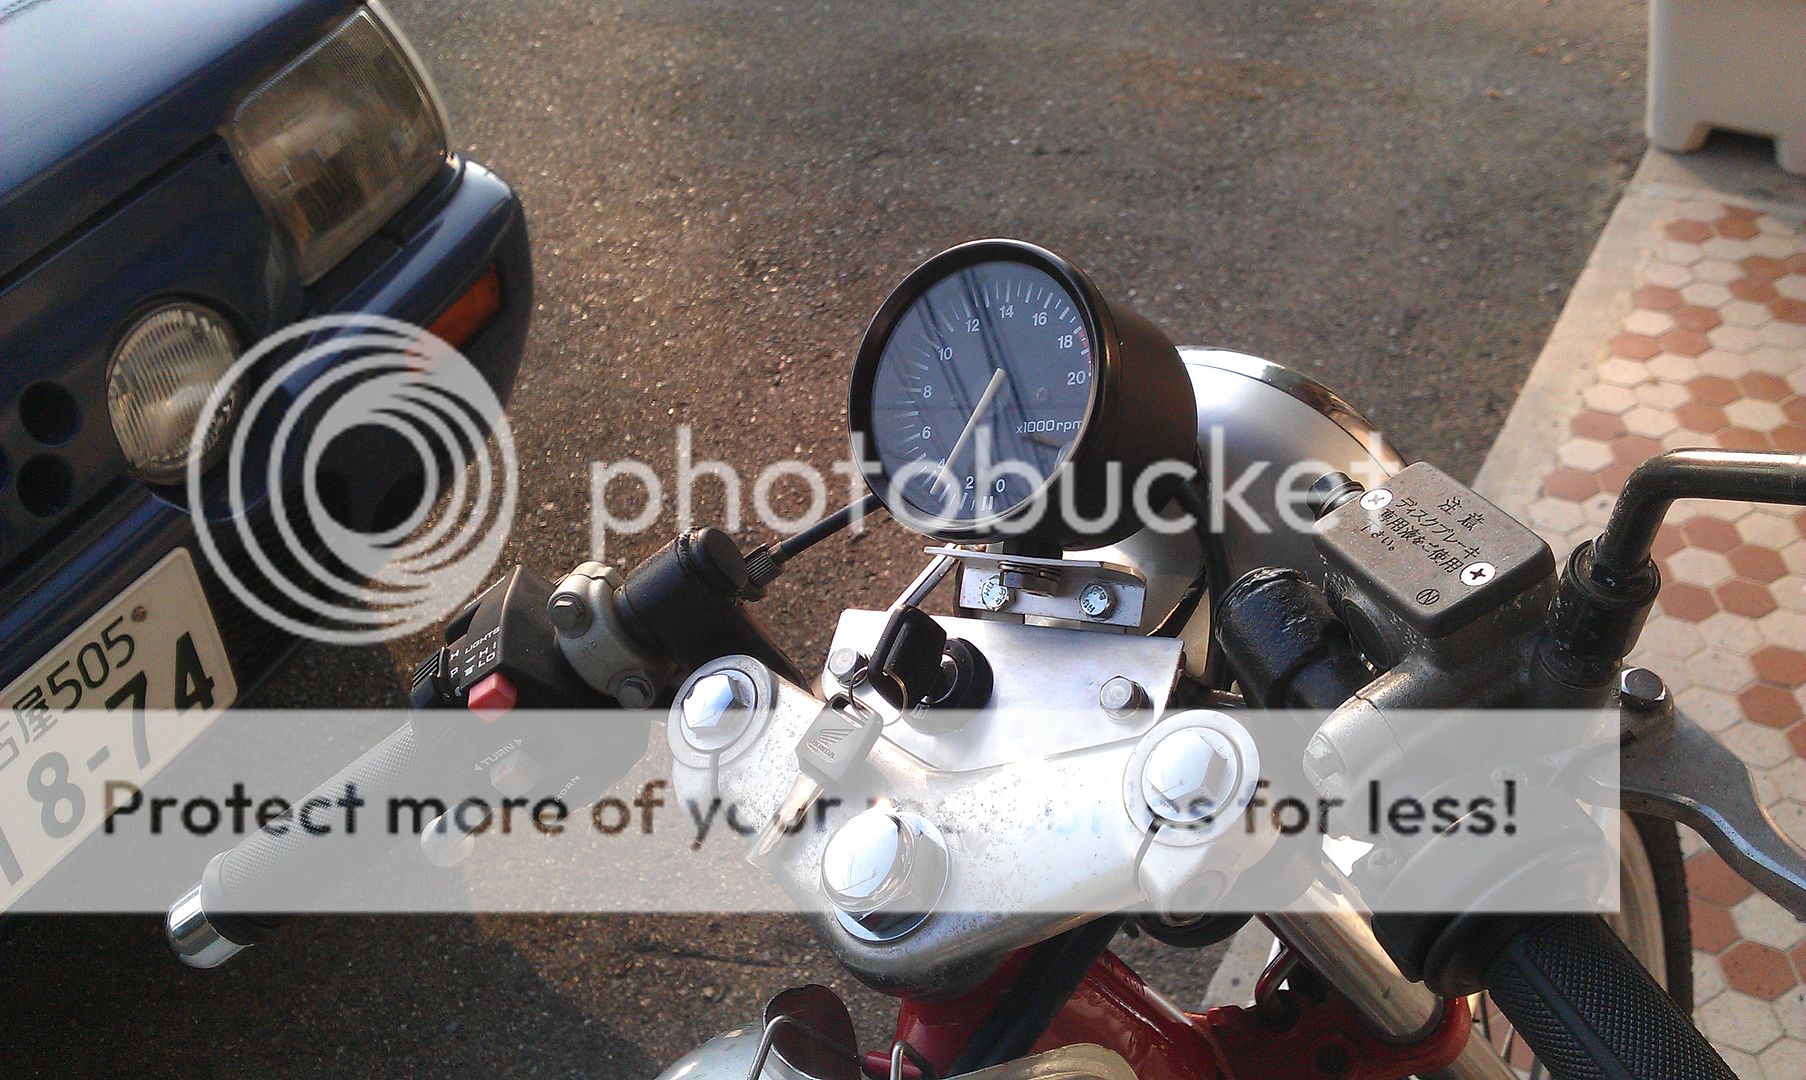
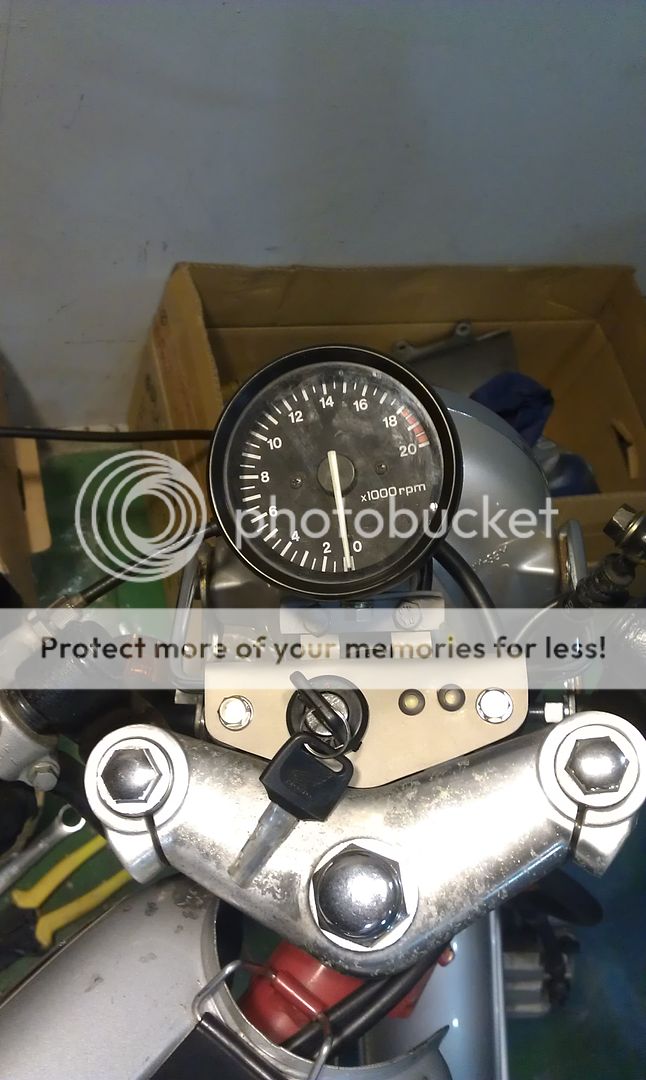
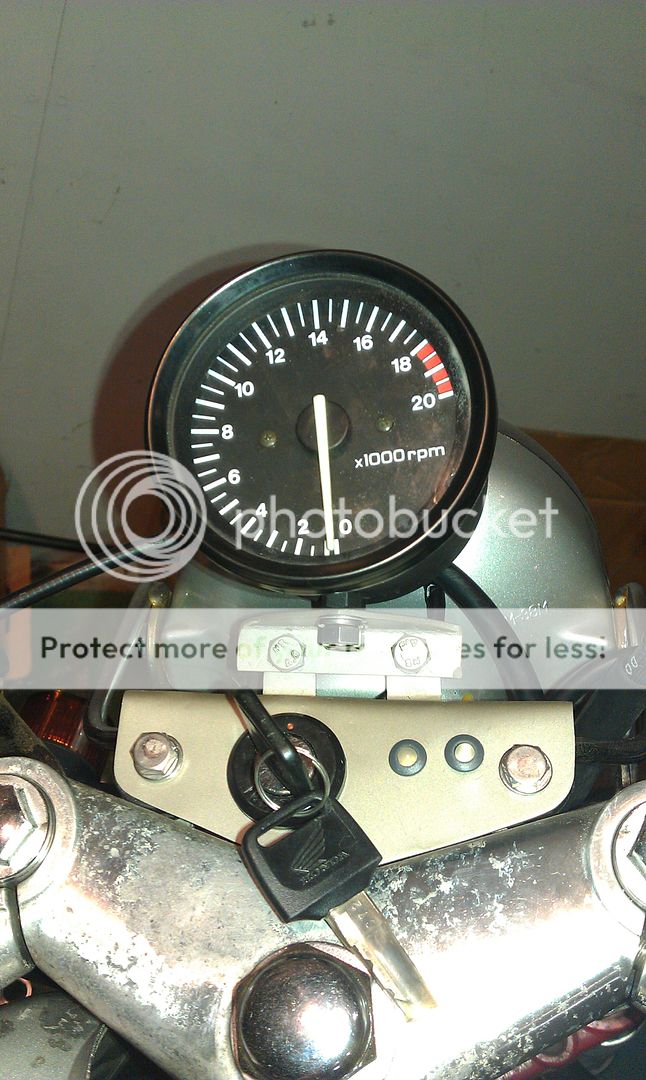
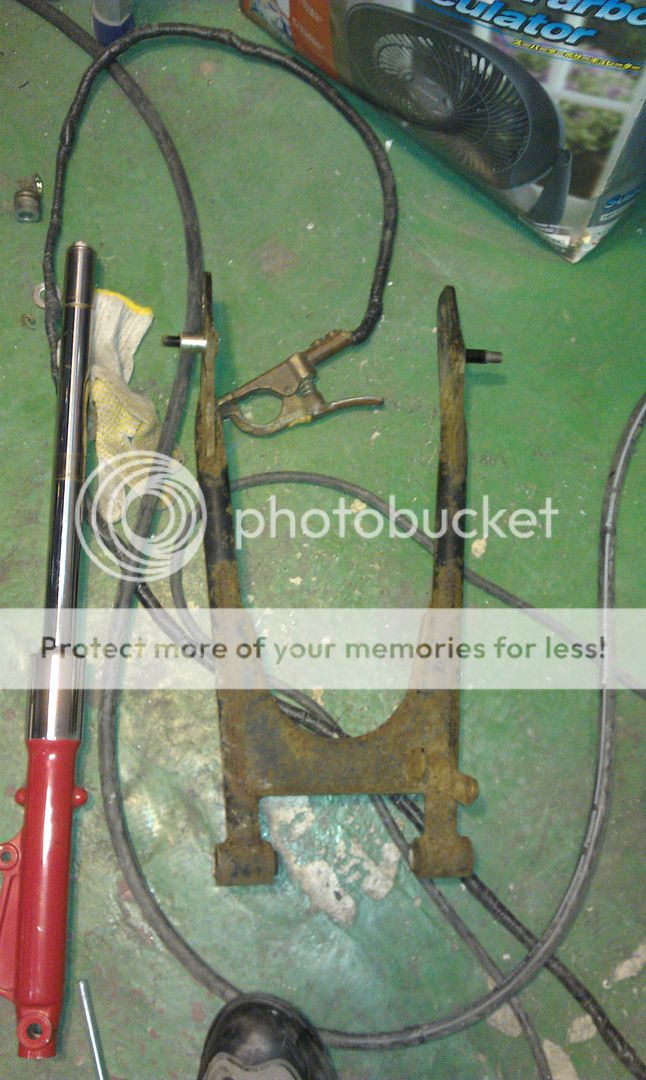
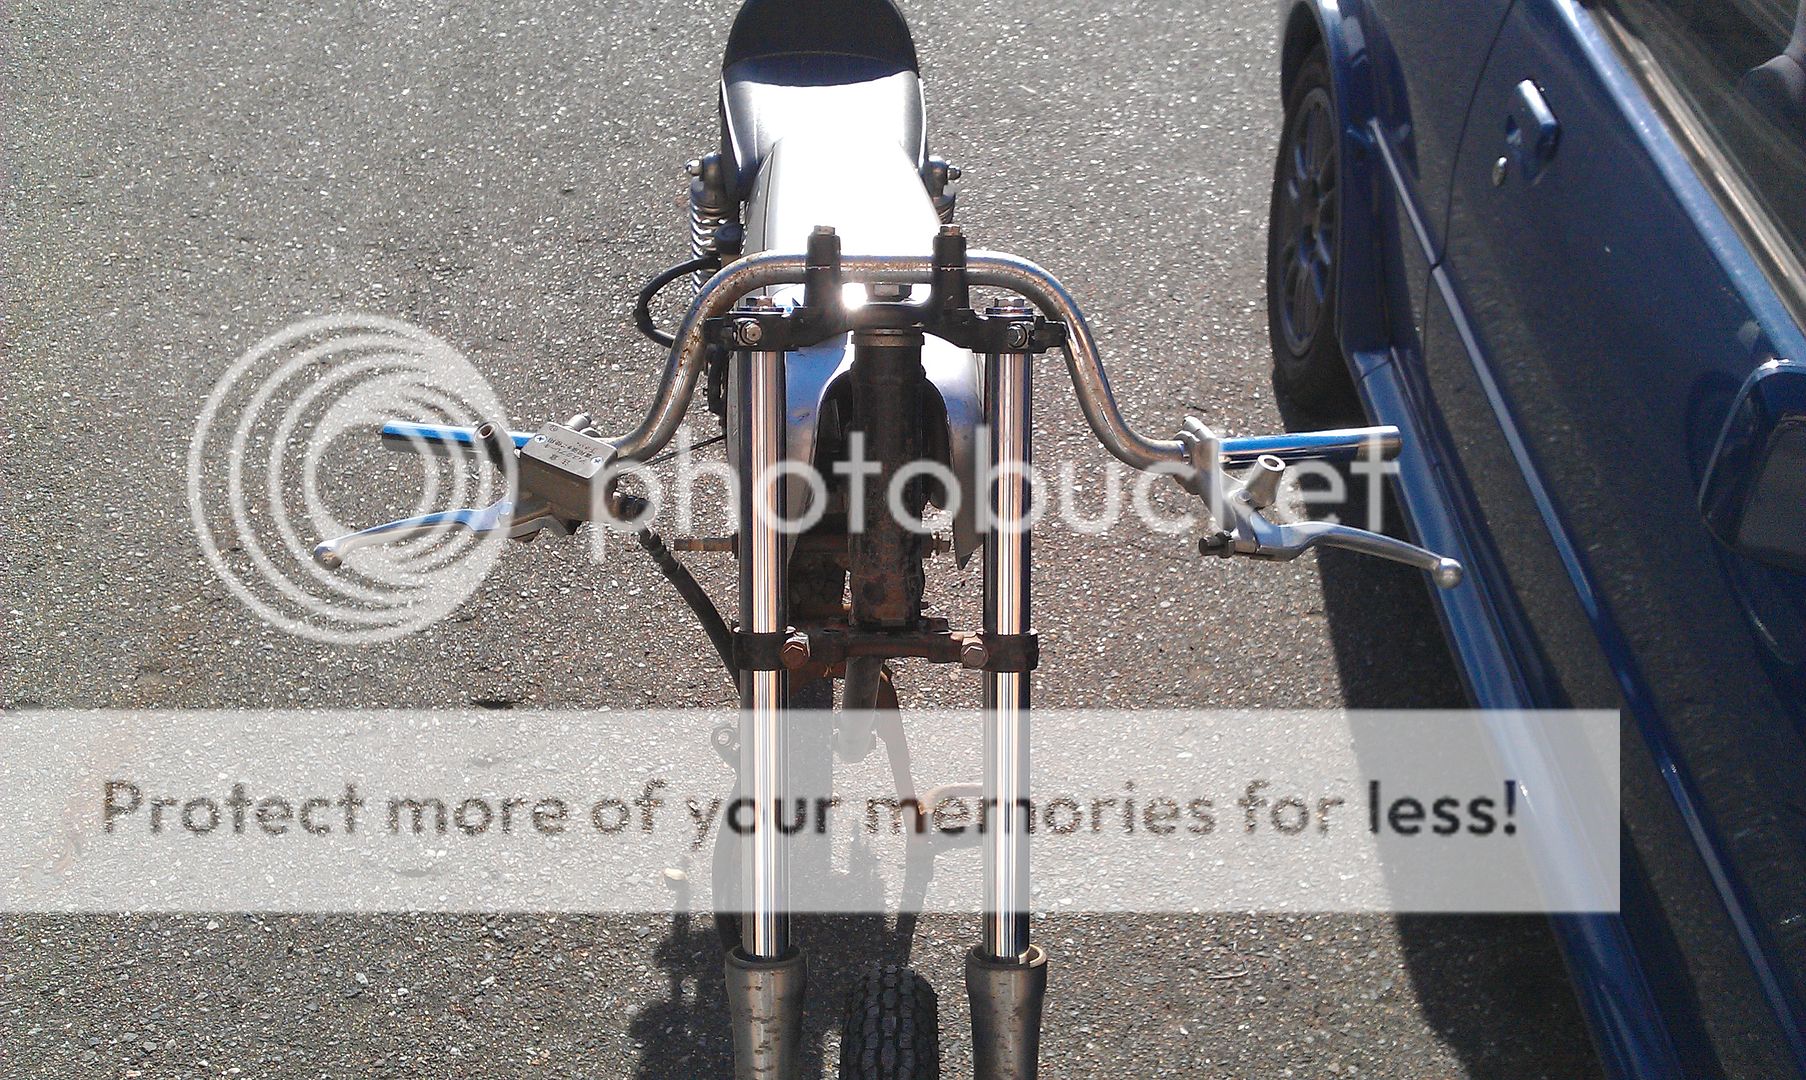
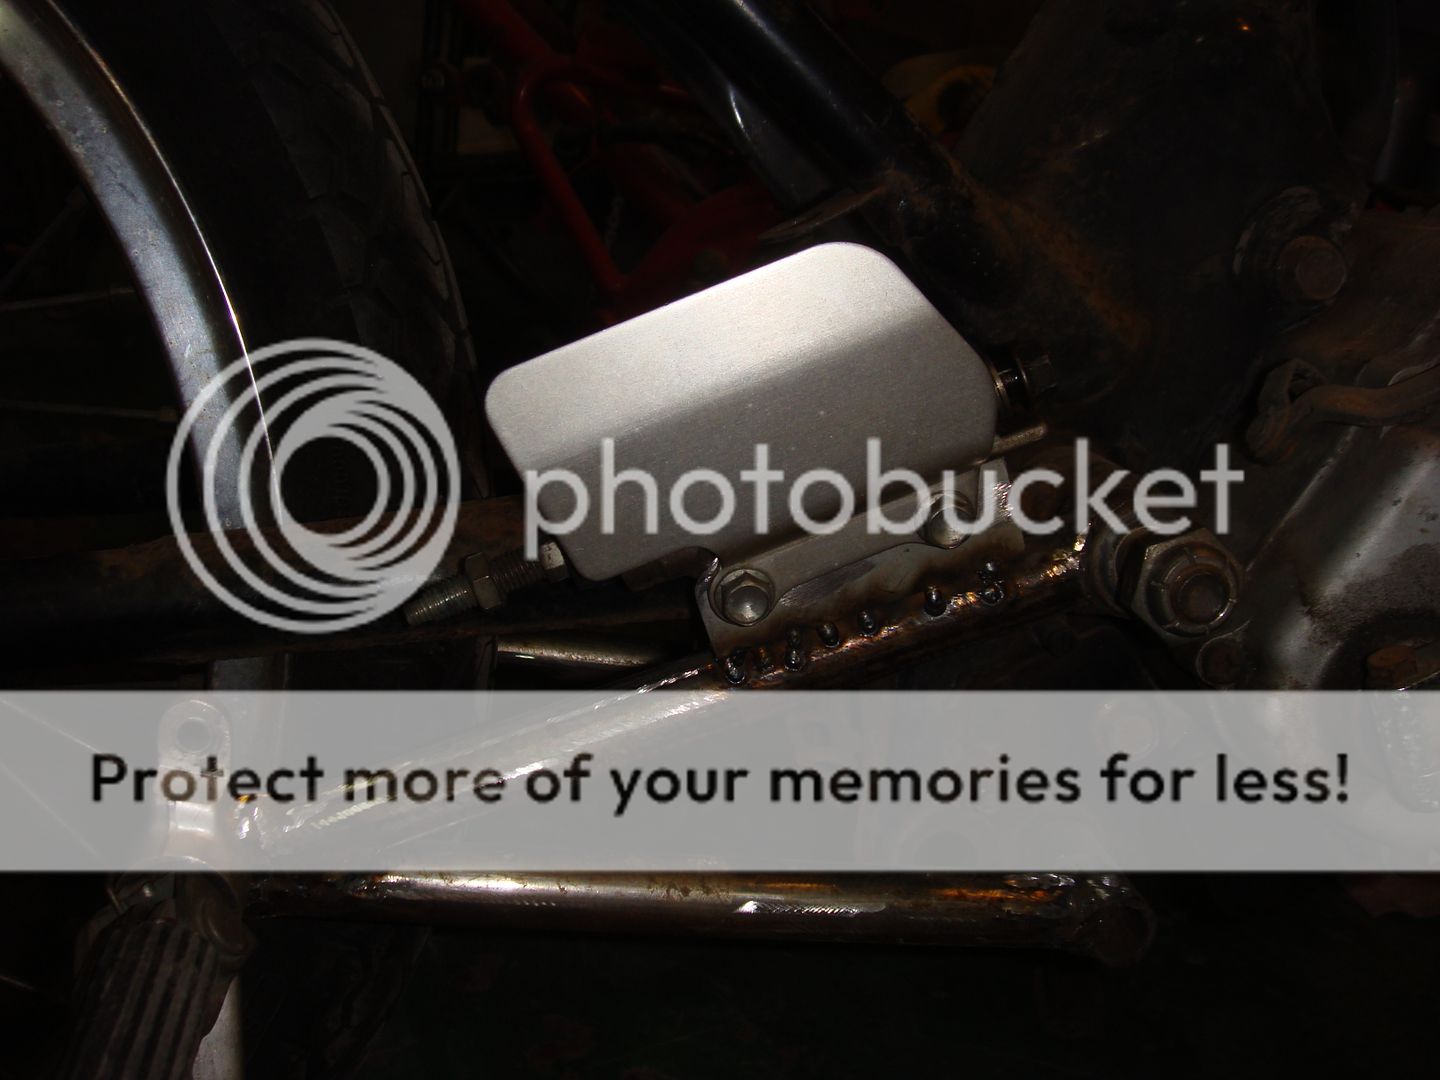
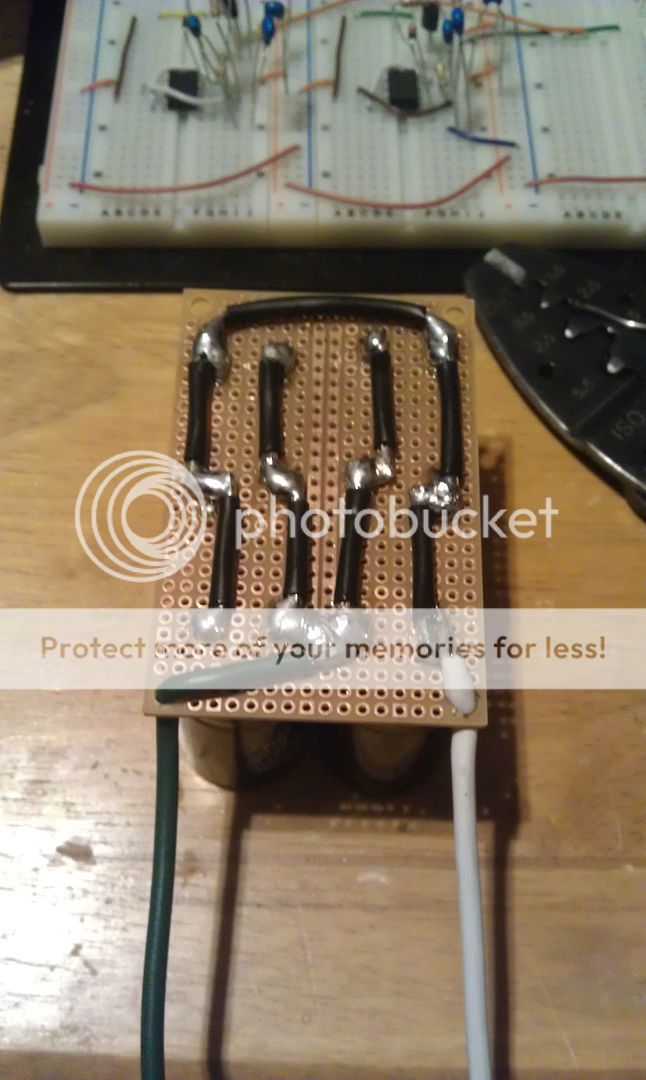
That was all a little while ago, so on the days that it was above about 5 C outside I started tooling around with it. First goal was to eliminate the air box. The problem with that was the battery. The bike itself doesn't need the battery to run, but it doesn't run very well without it. Also, the tachometer doesn't work without a battery. So, the best way to solve a lack of battery is lots of capacitance!
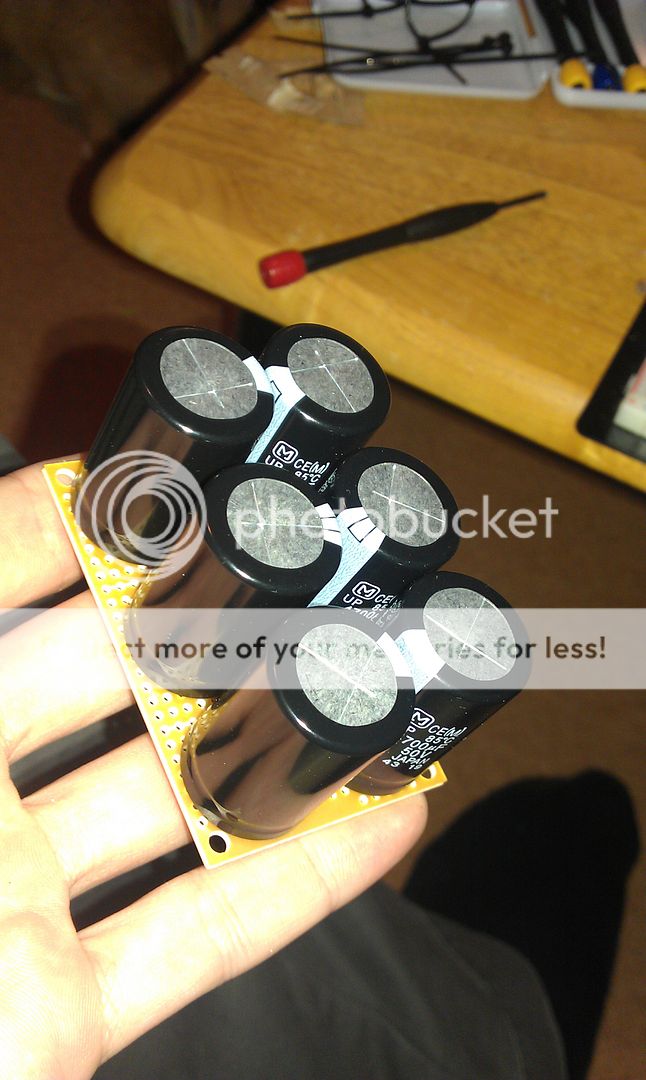
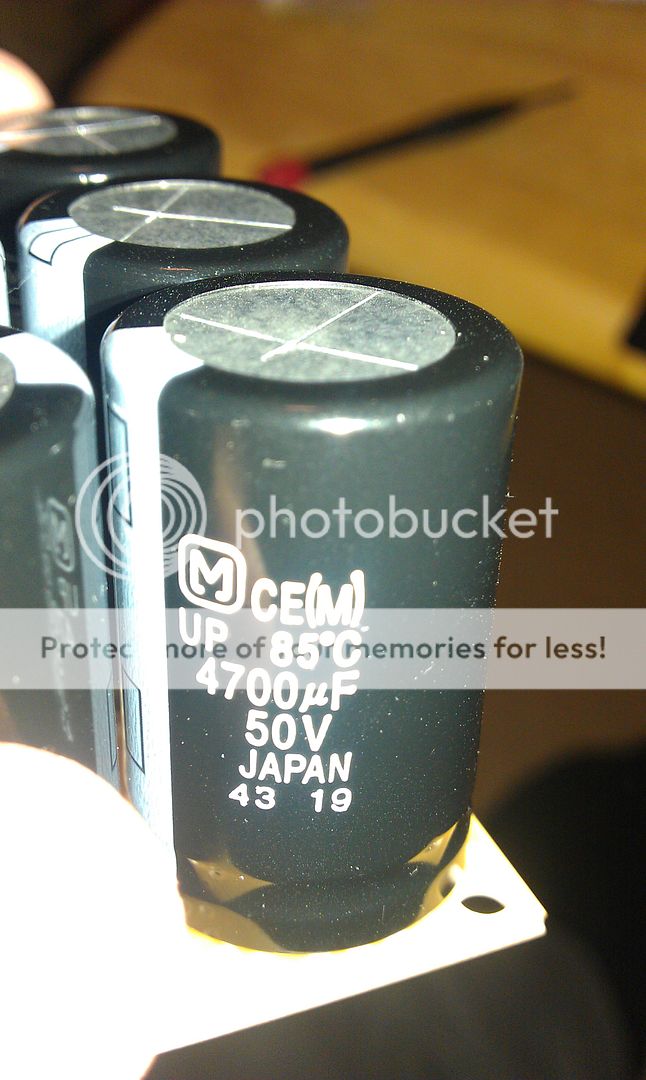
That would be 6 50V 4700 uF capacitors connected in parallel for a total of 28200 uF of capacitance. That's a lot of juice!
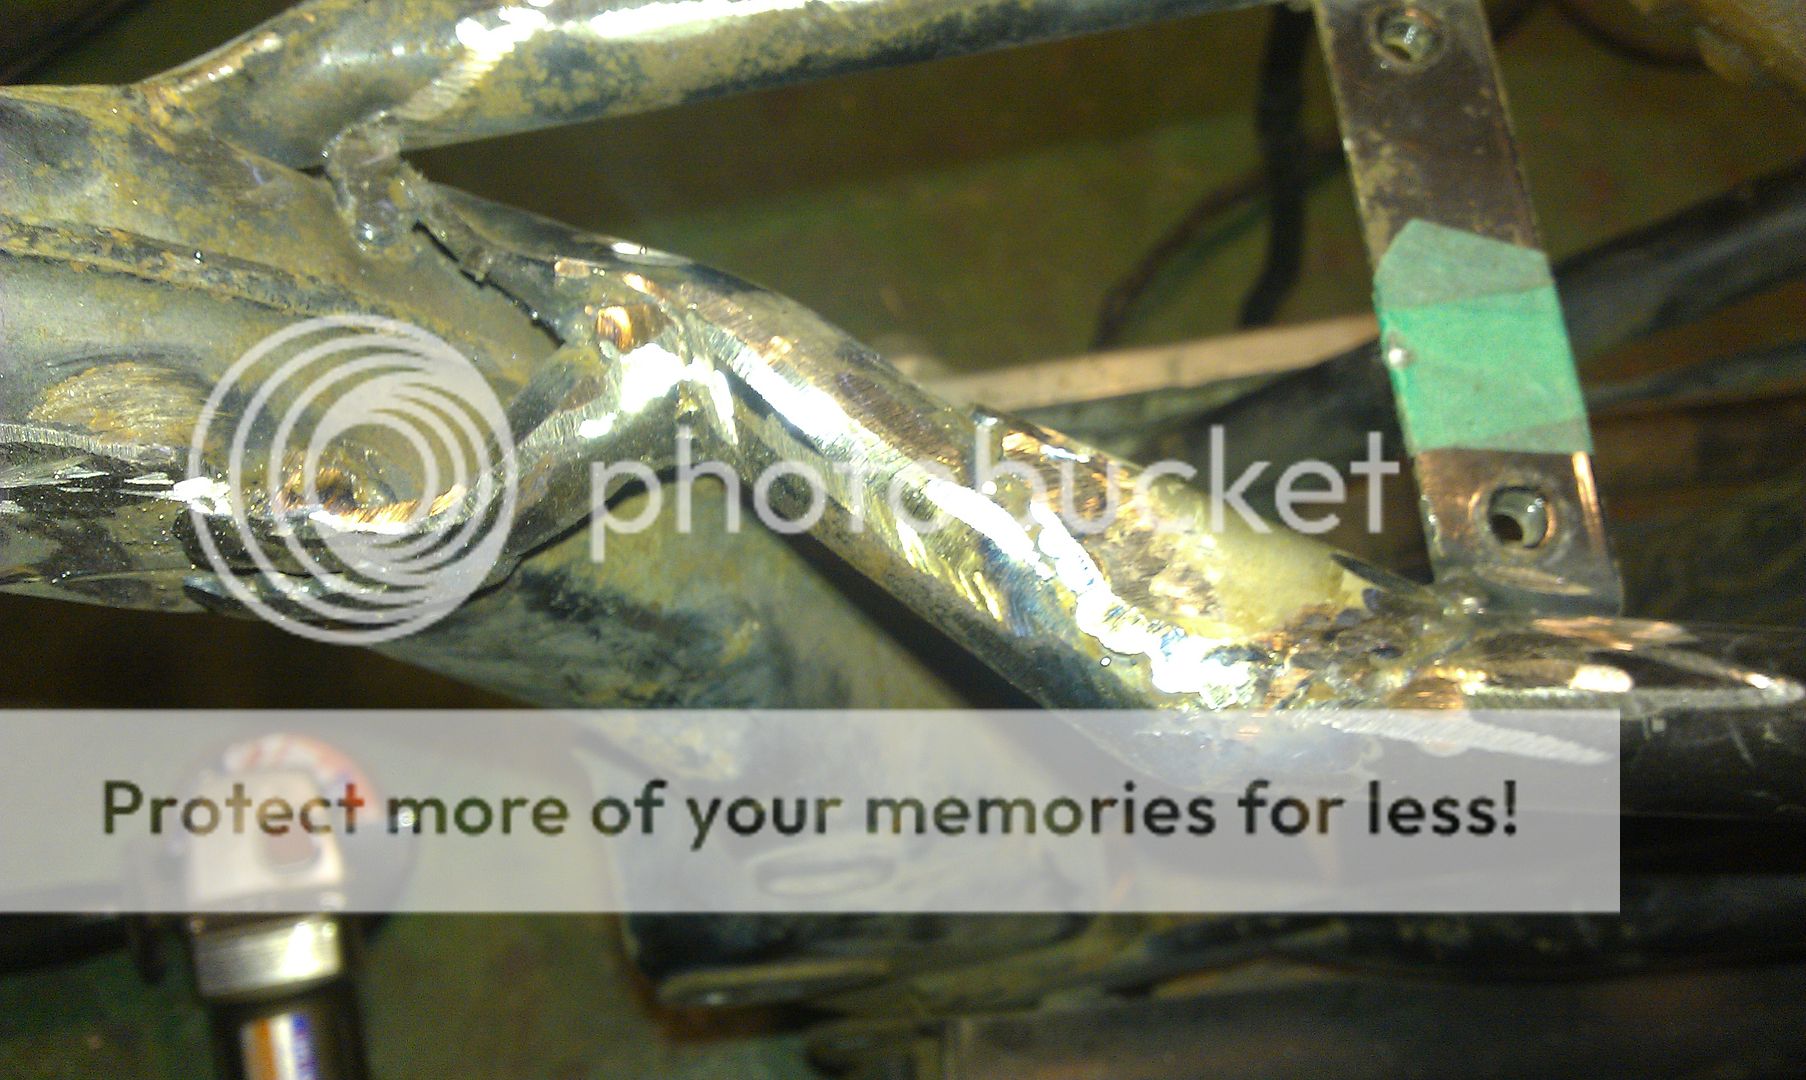
All soldered up!
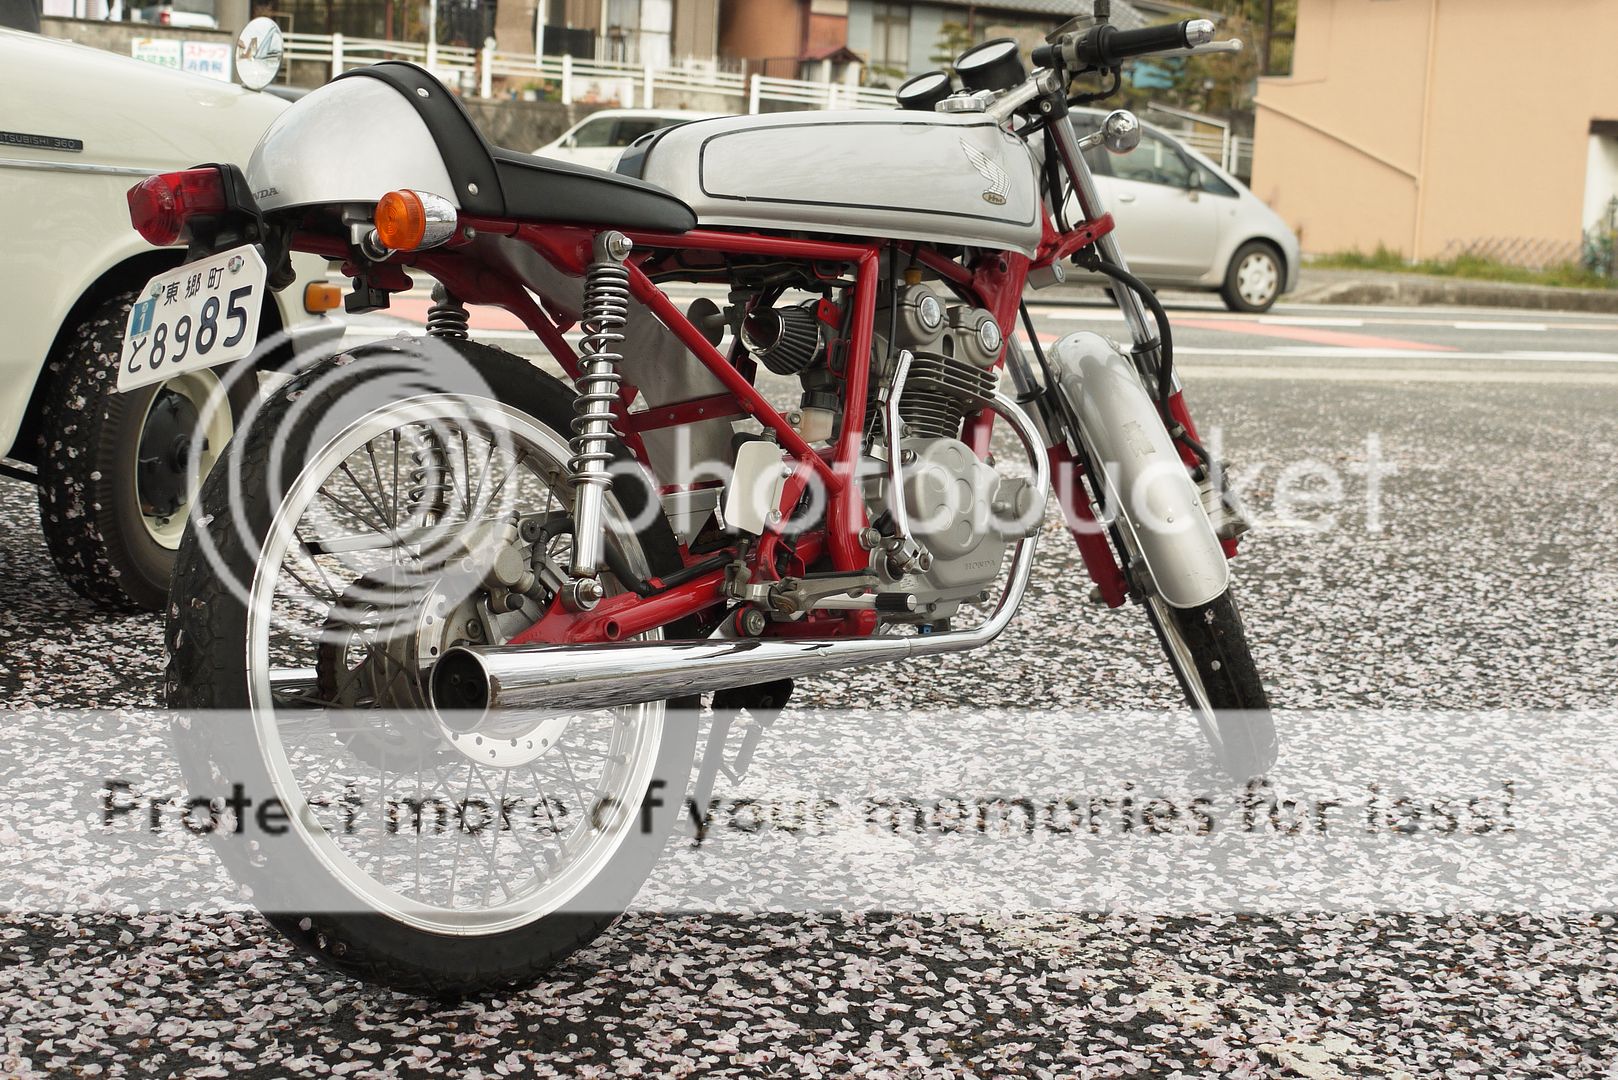
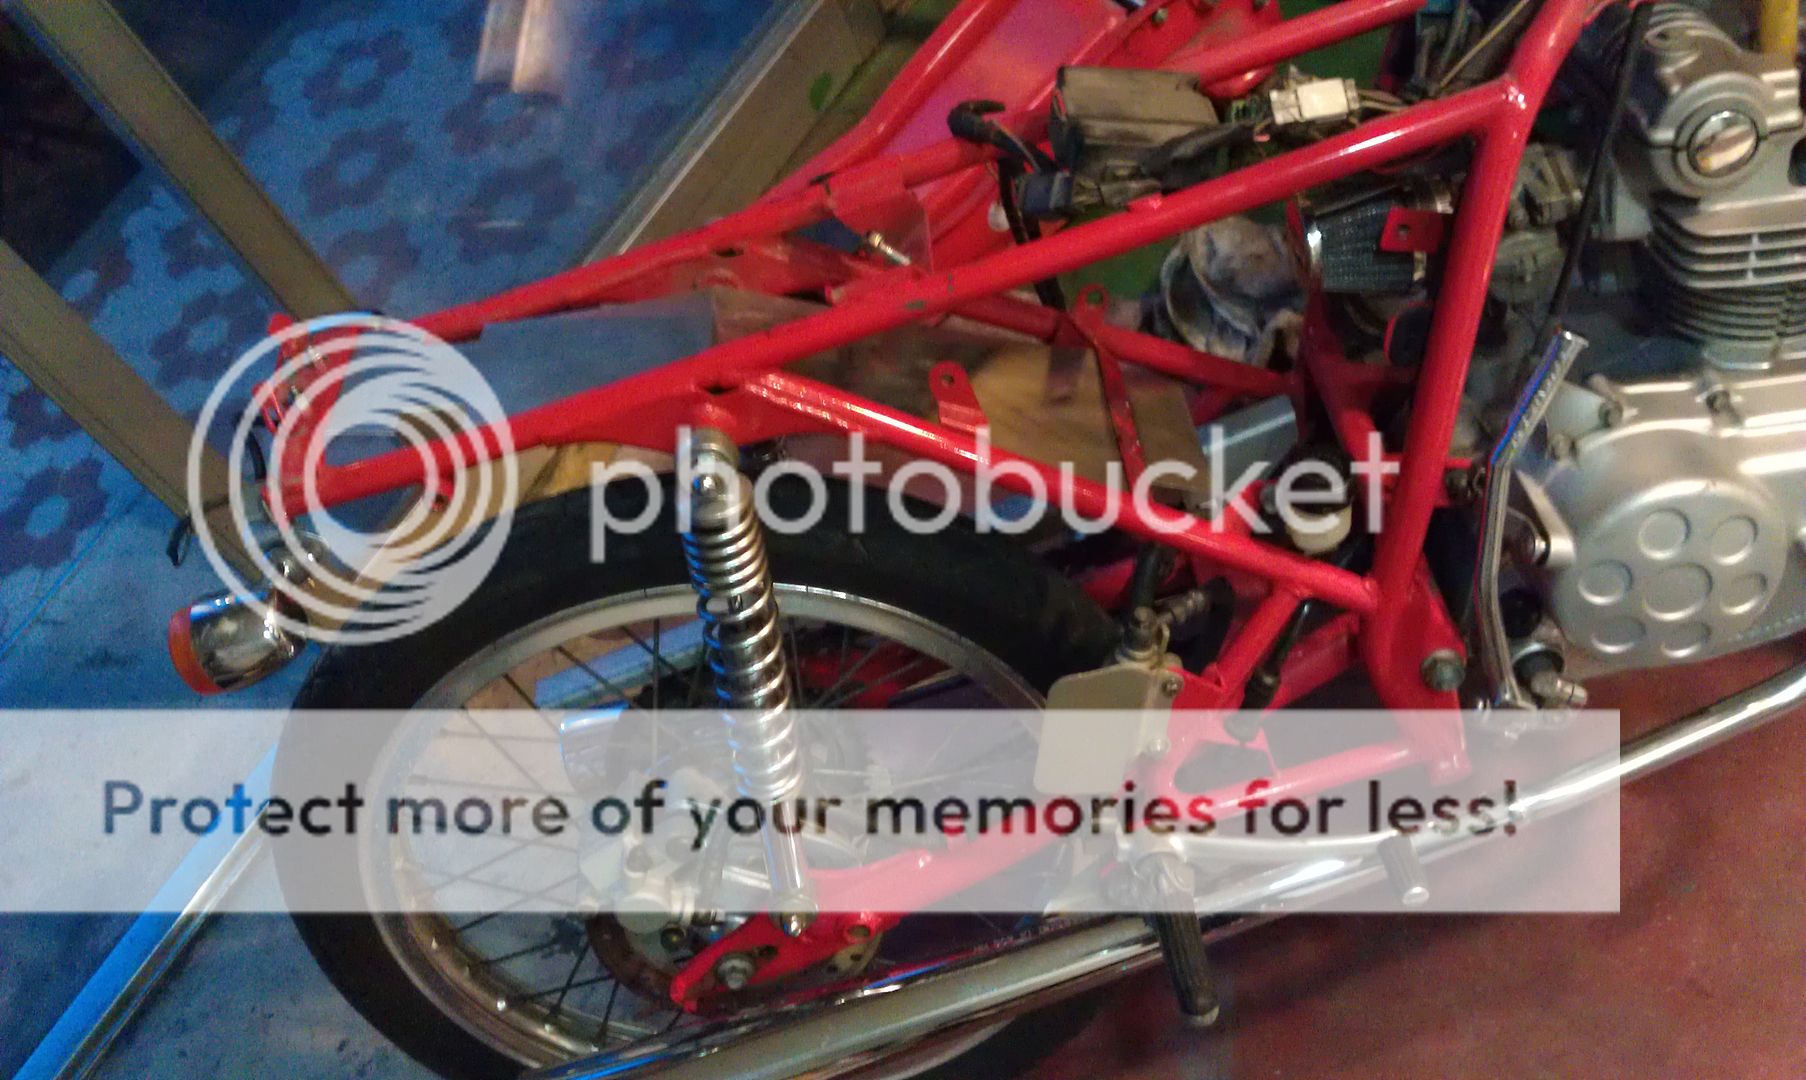
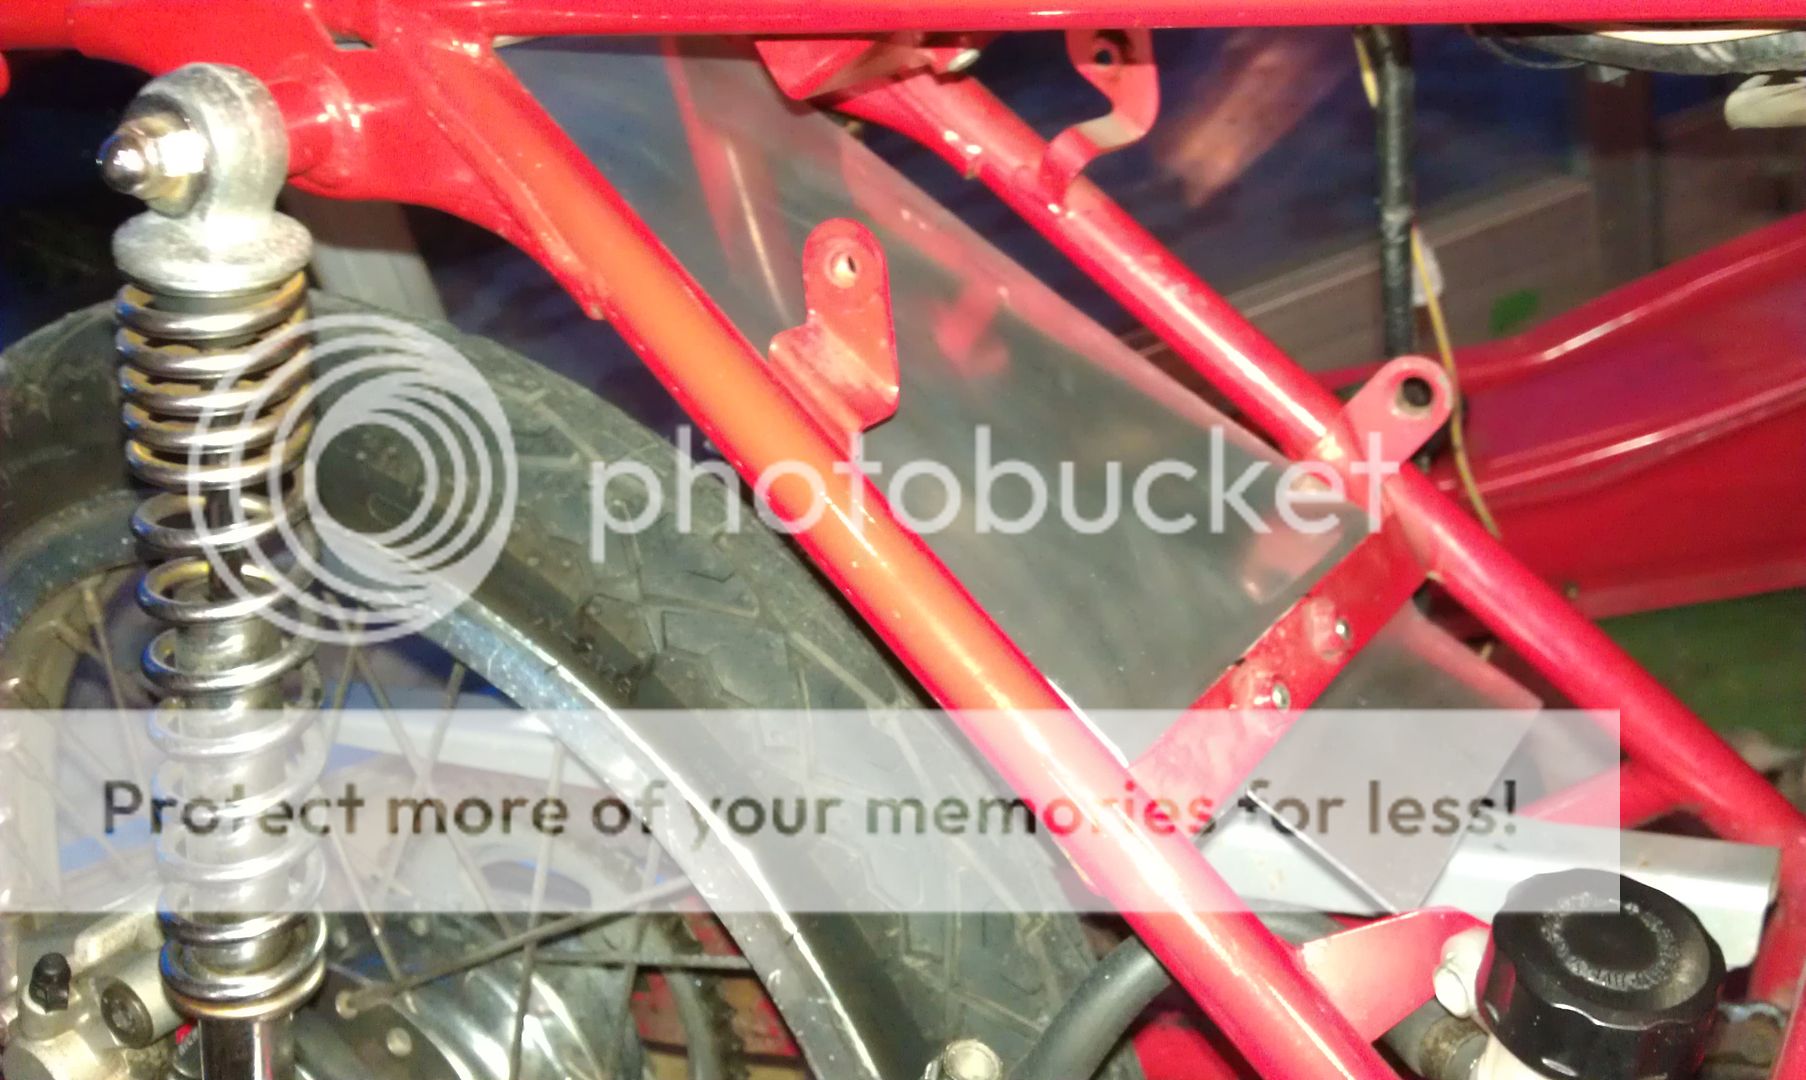
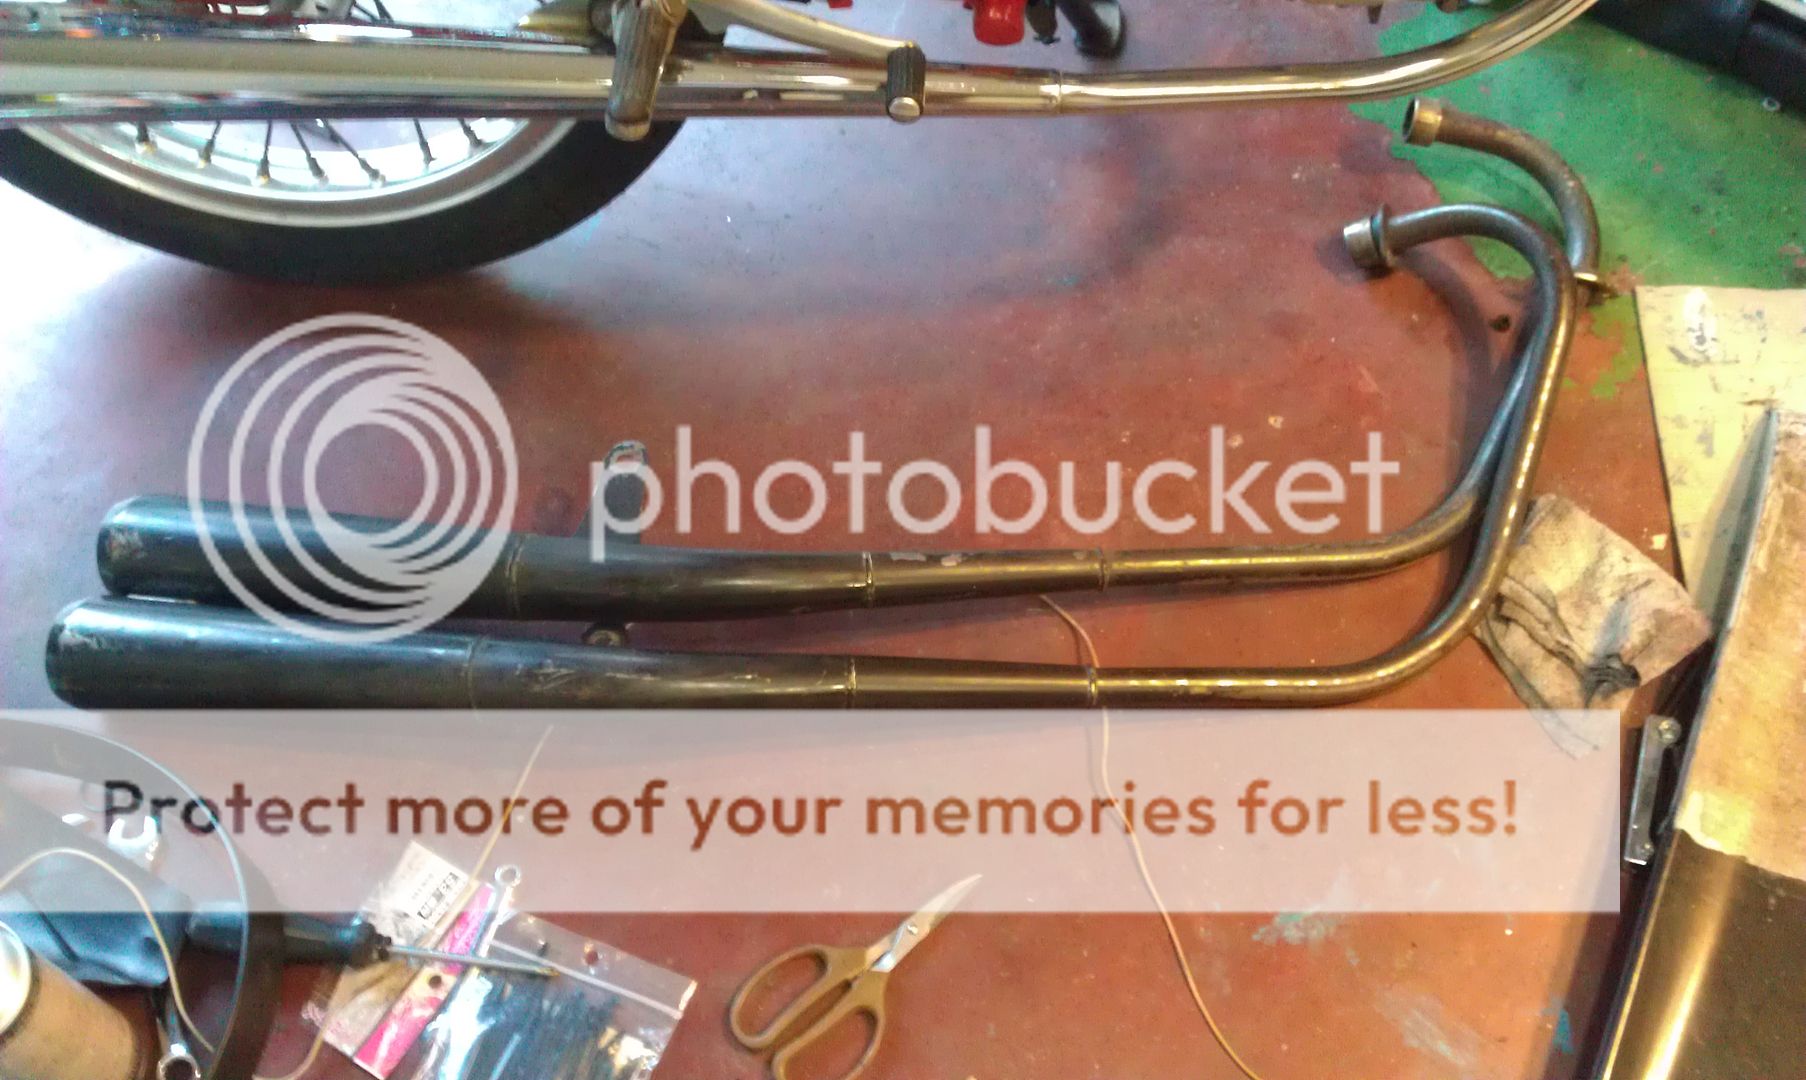
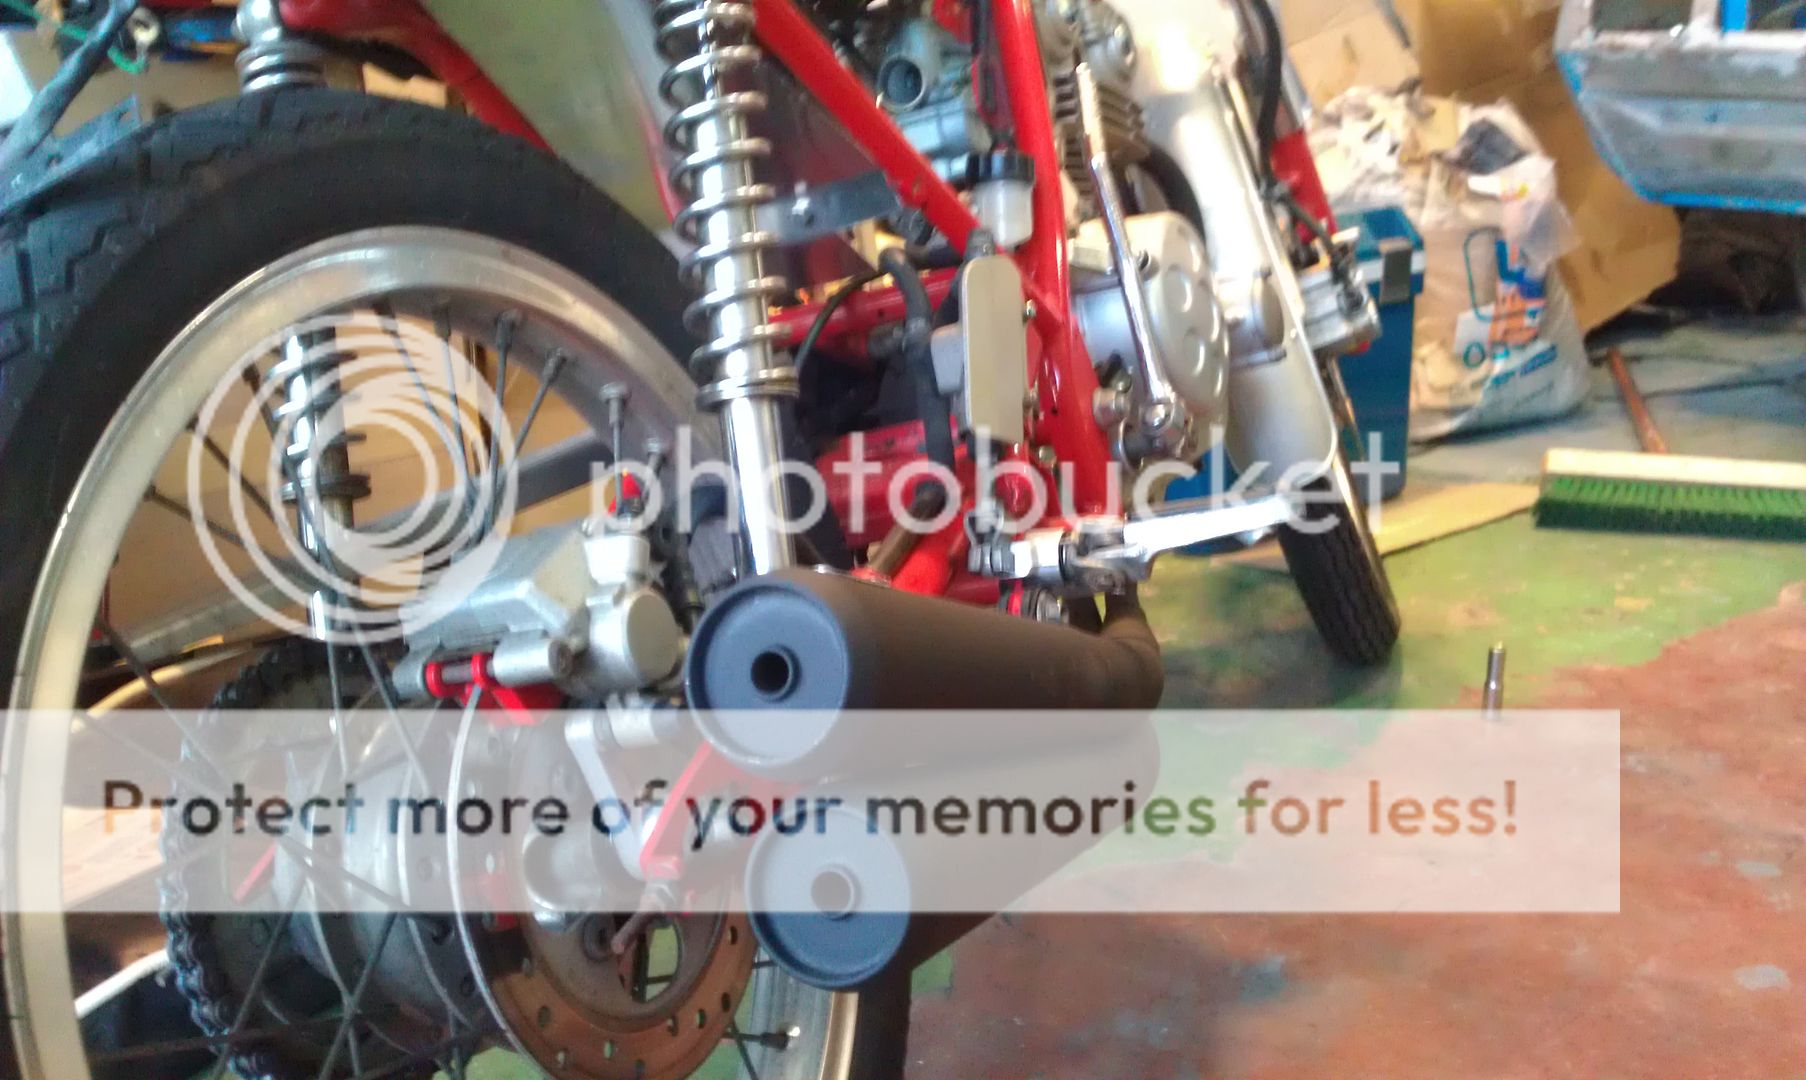
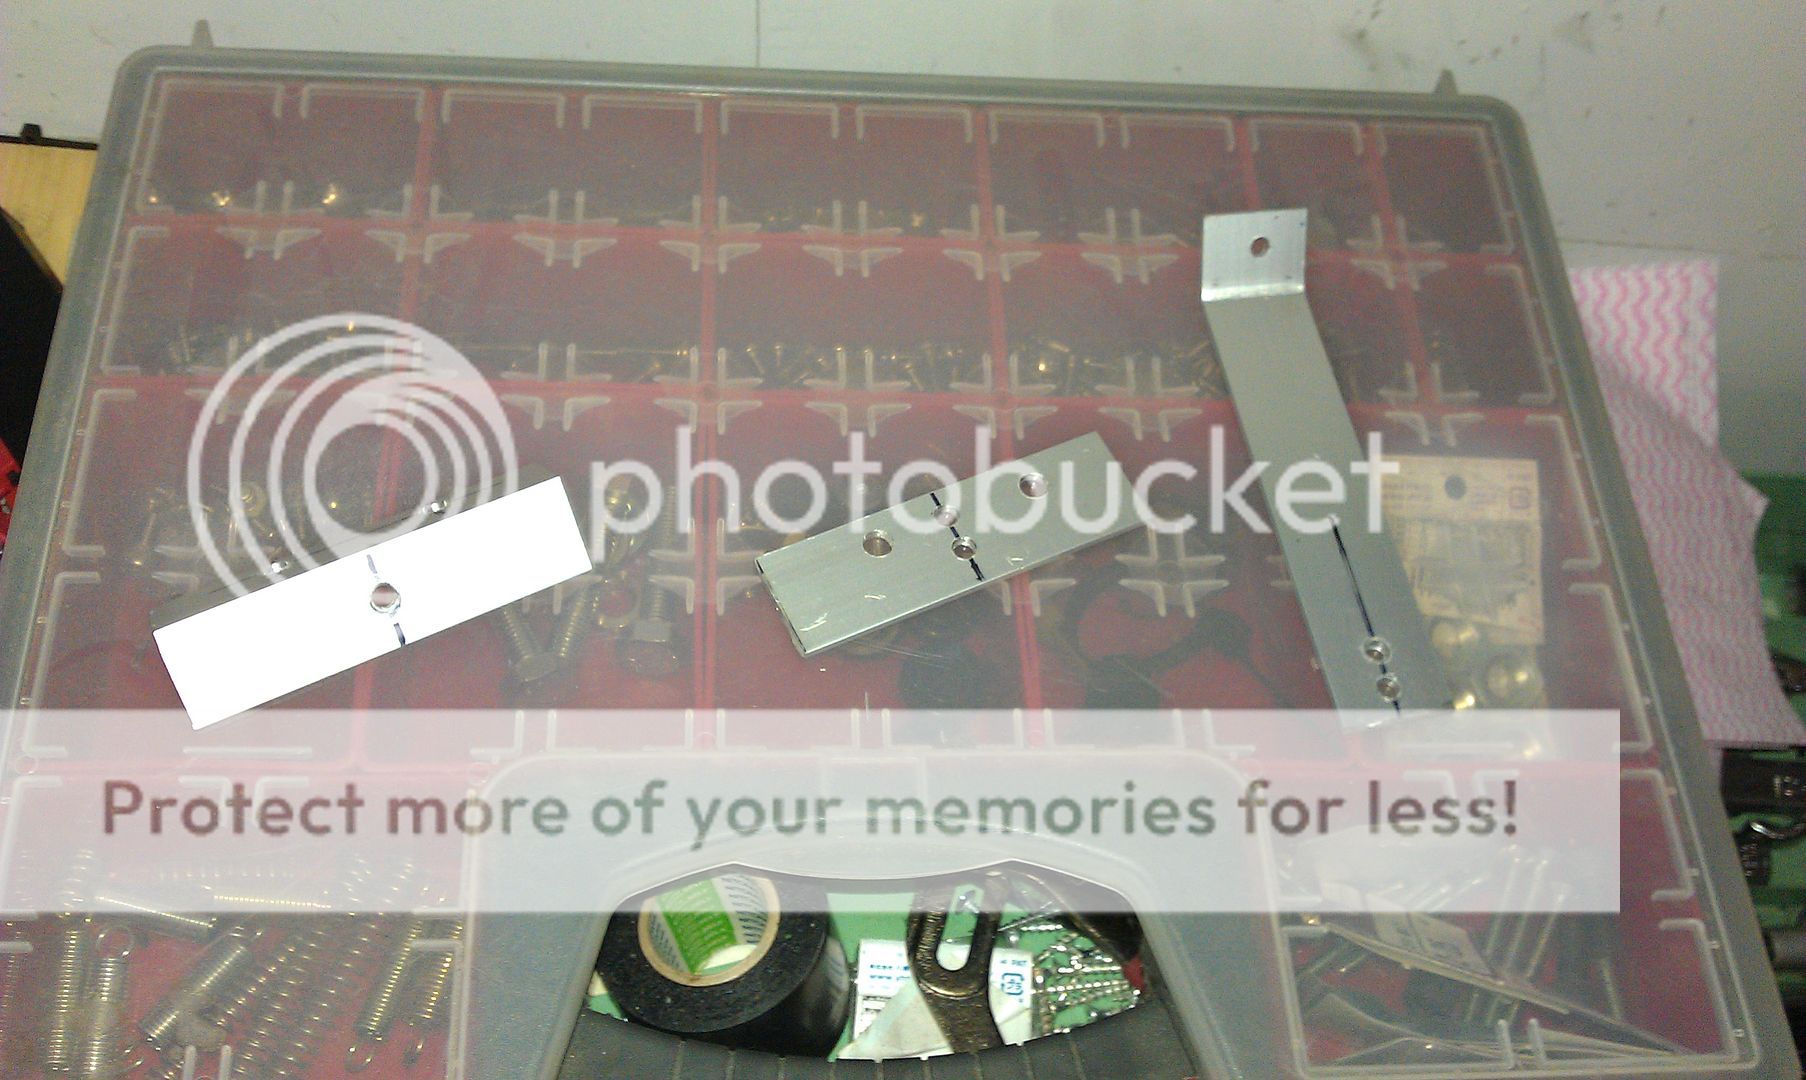
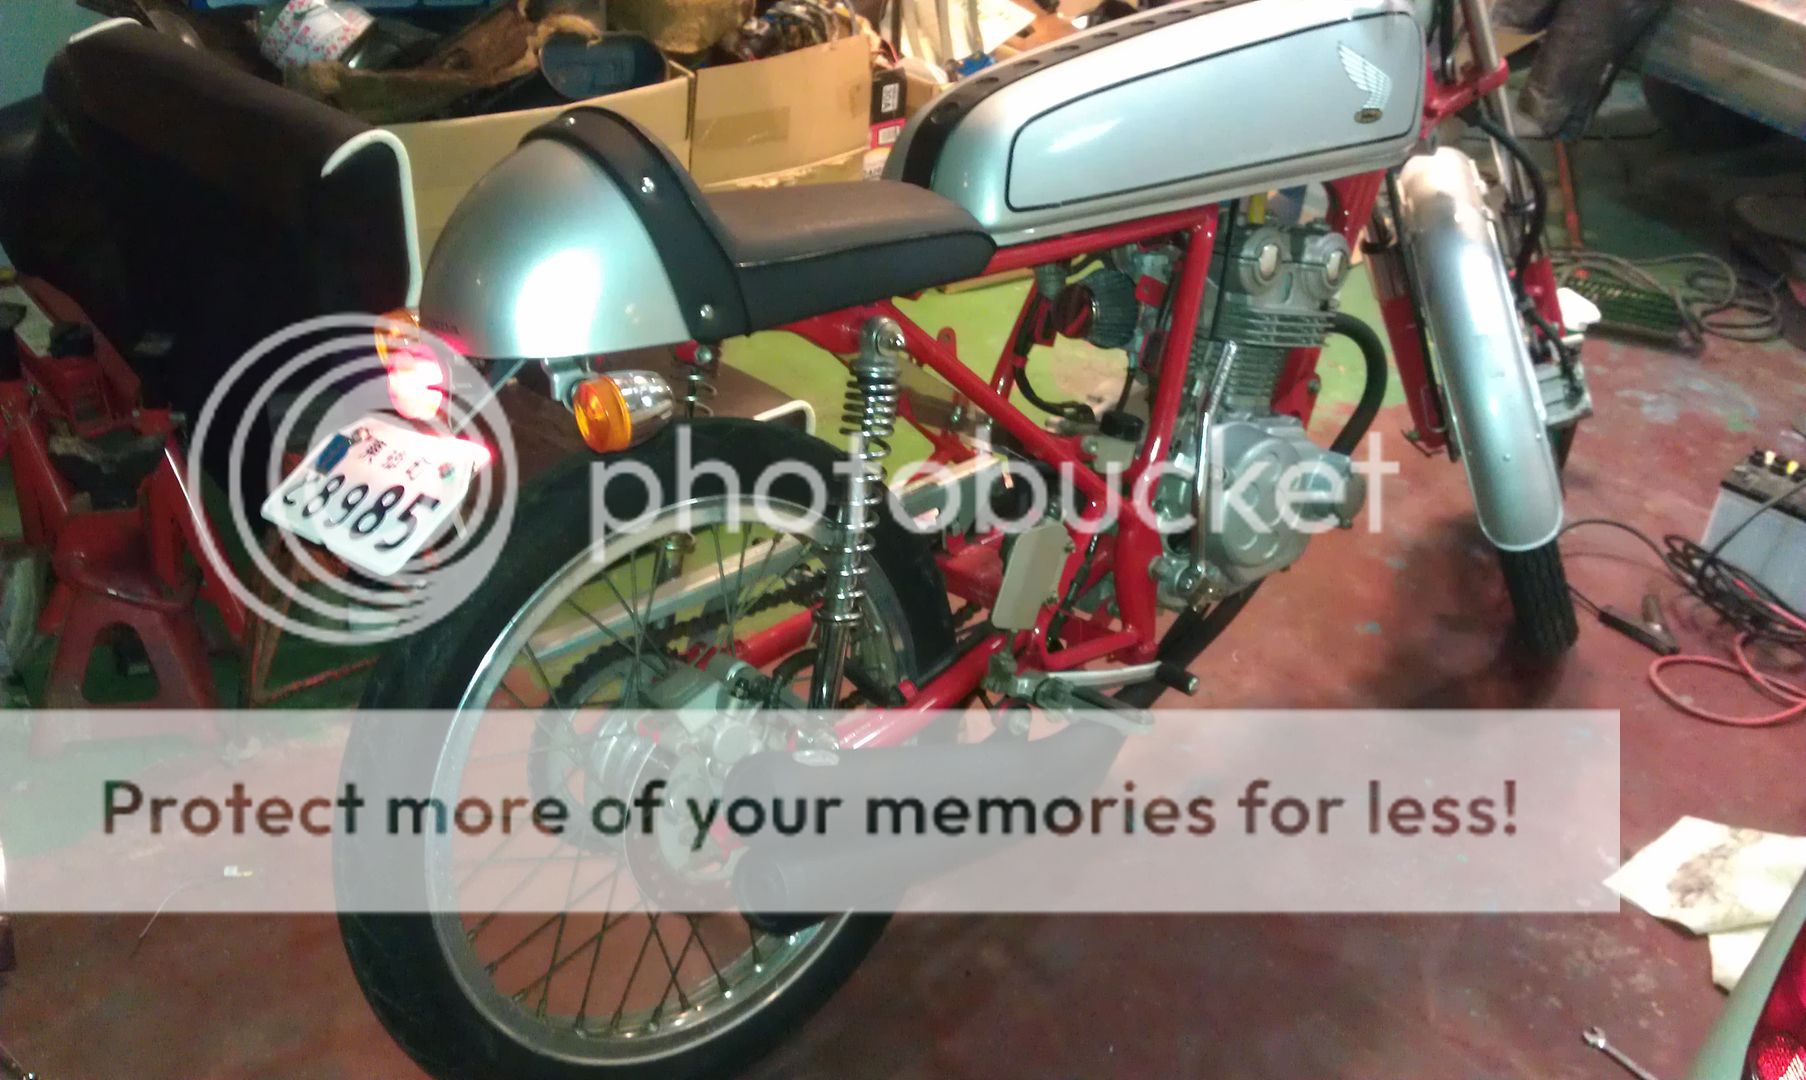
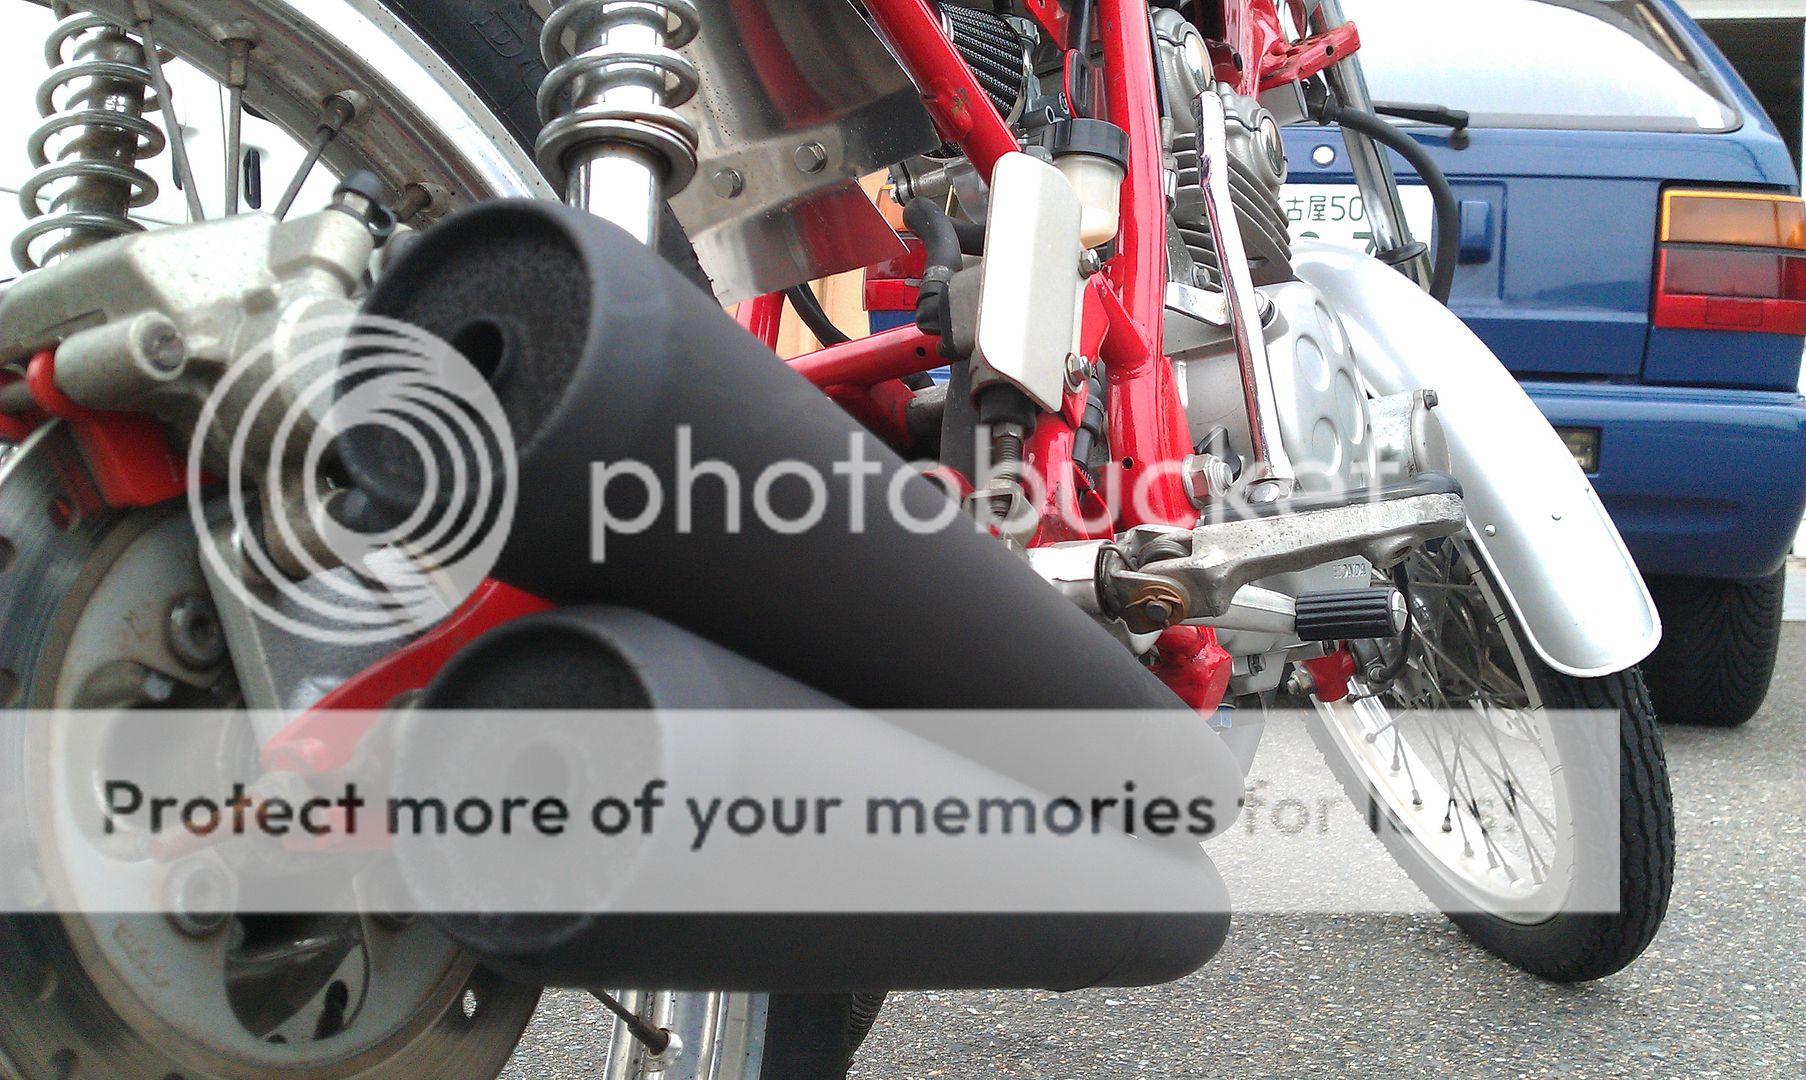
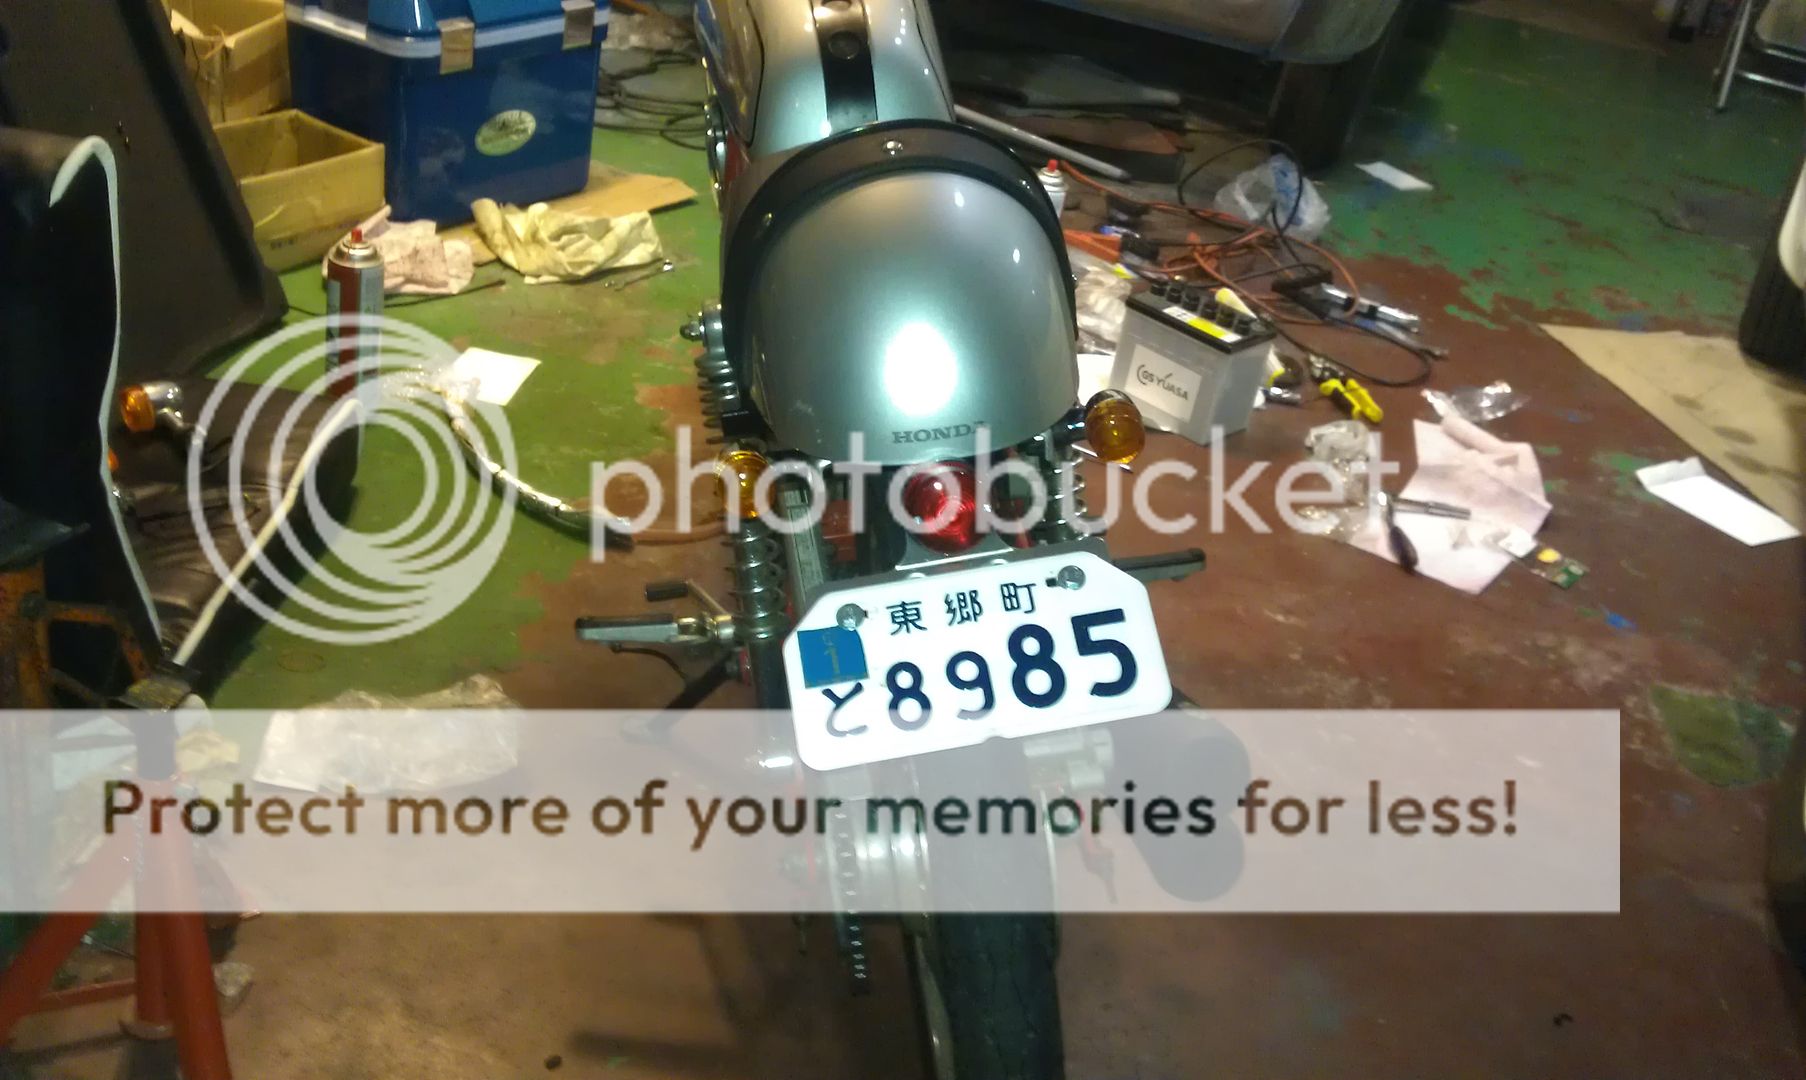
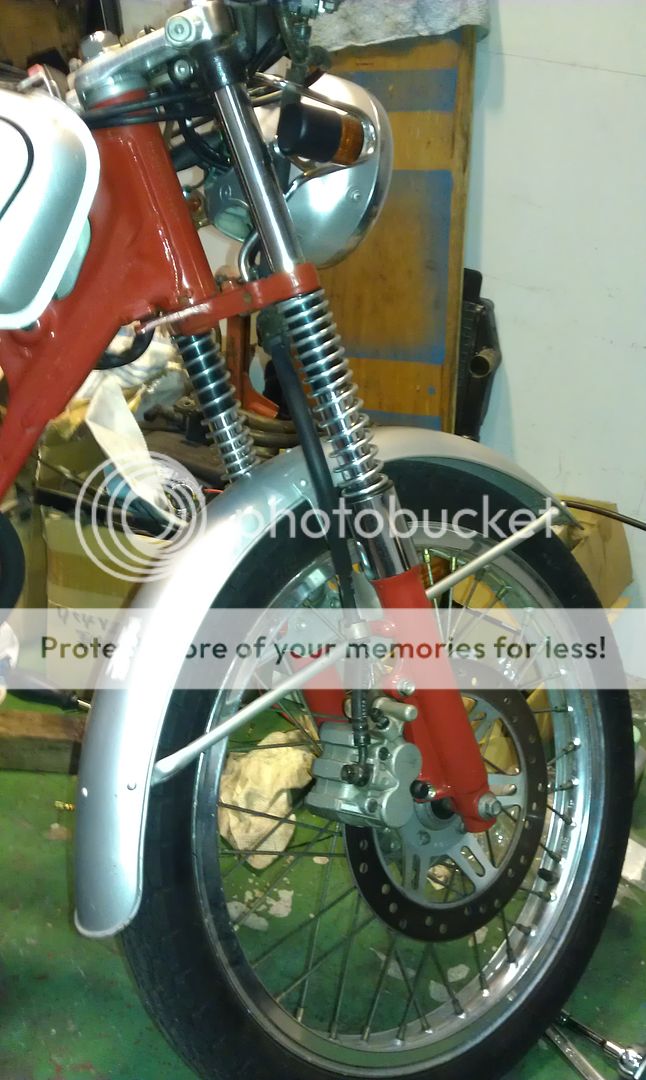
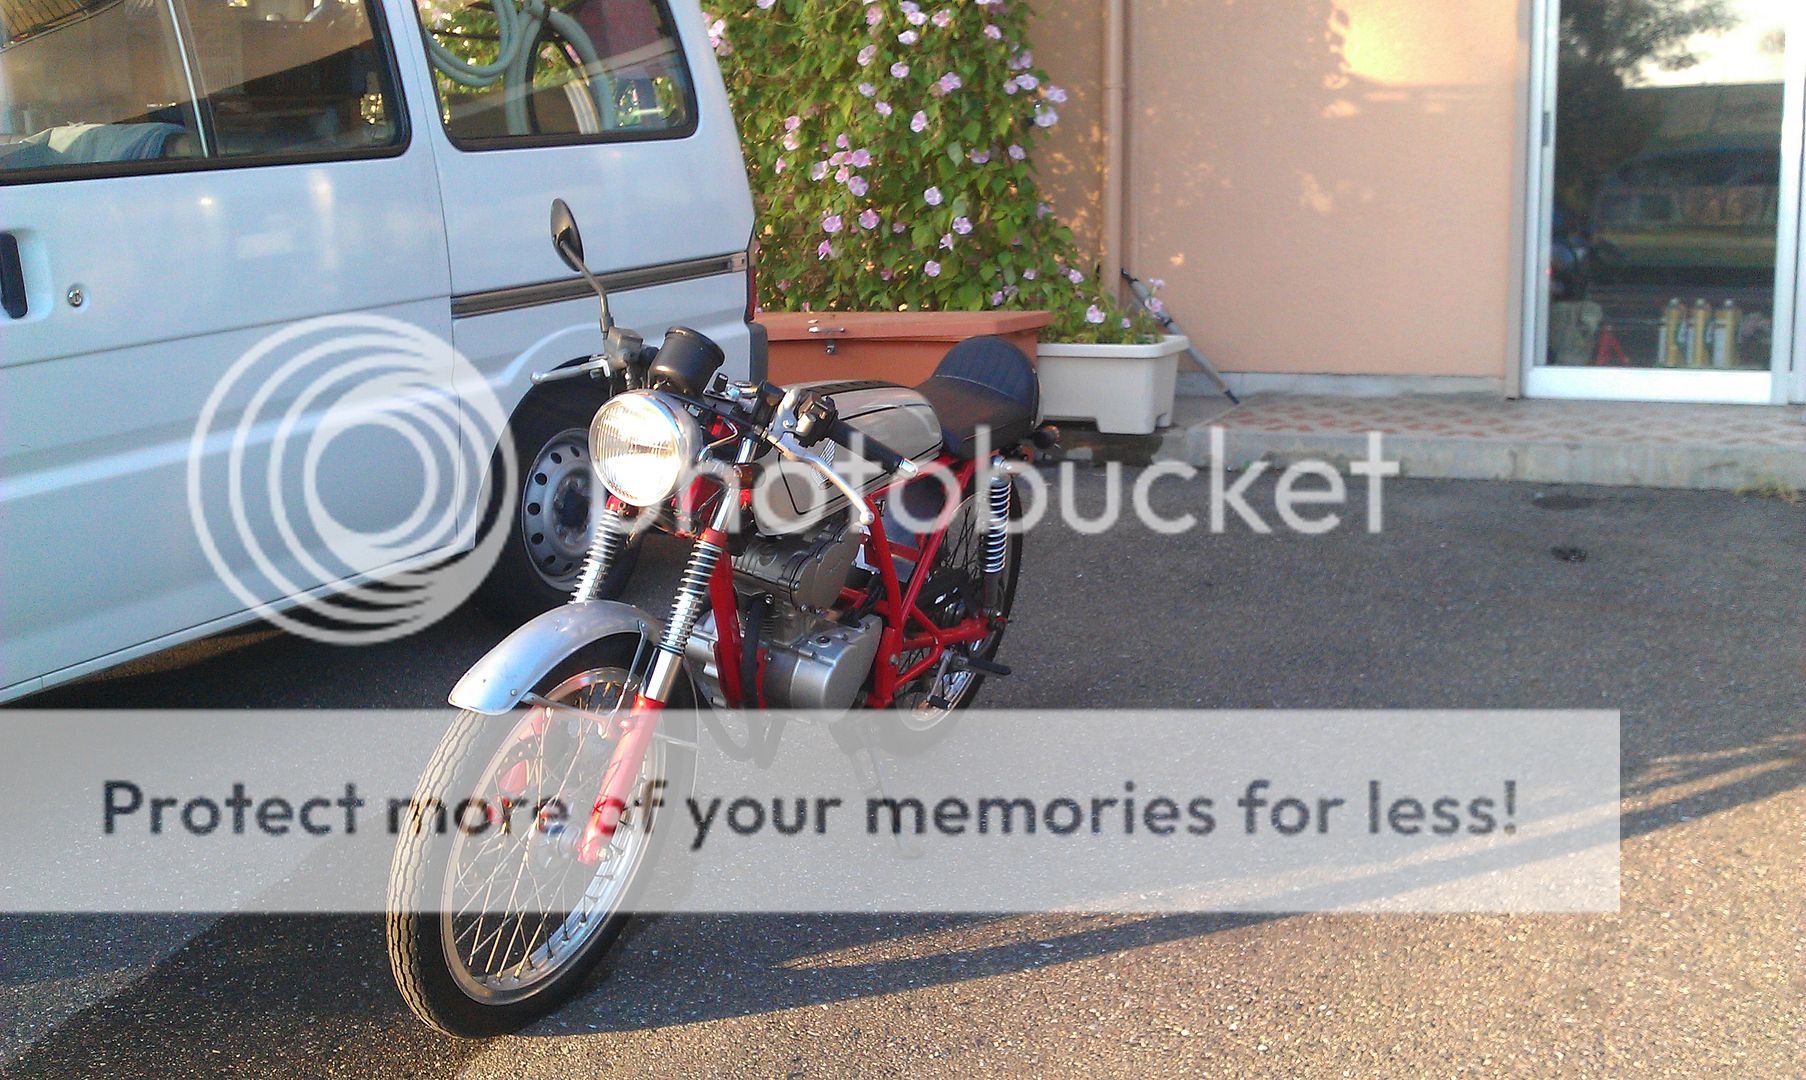
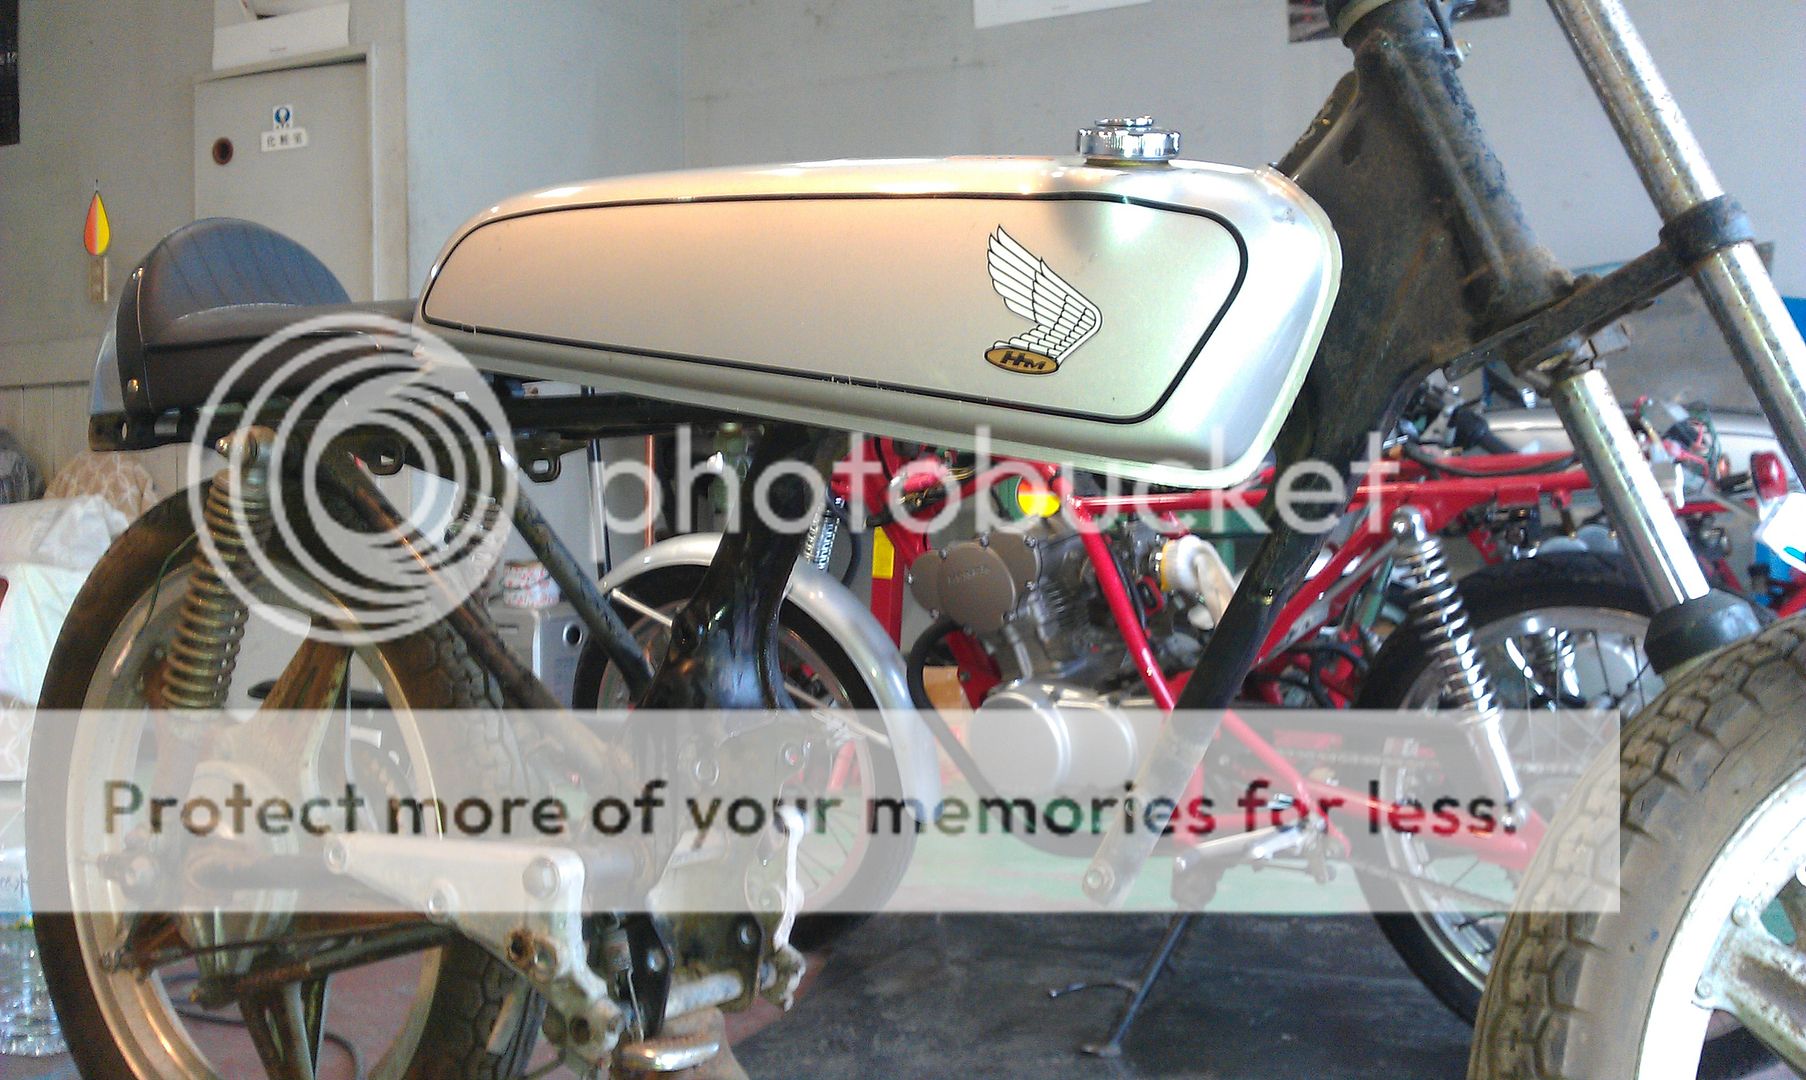
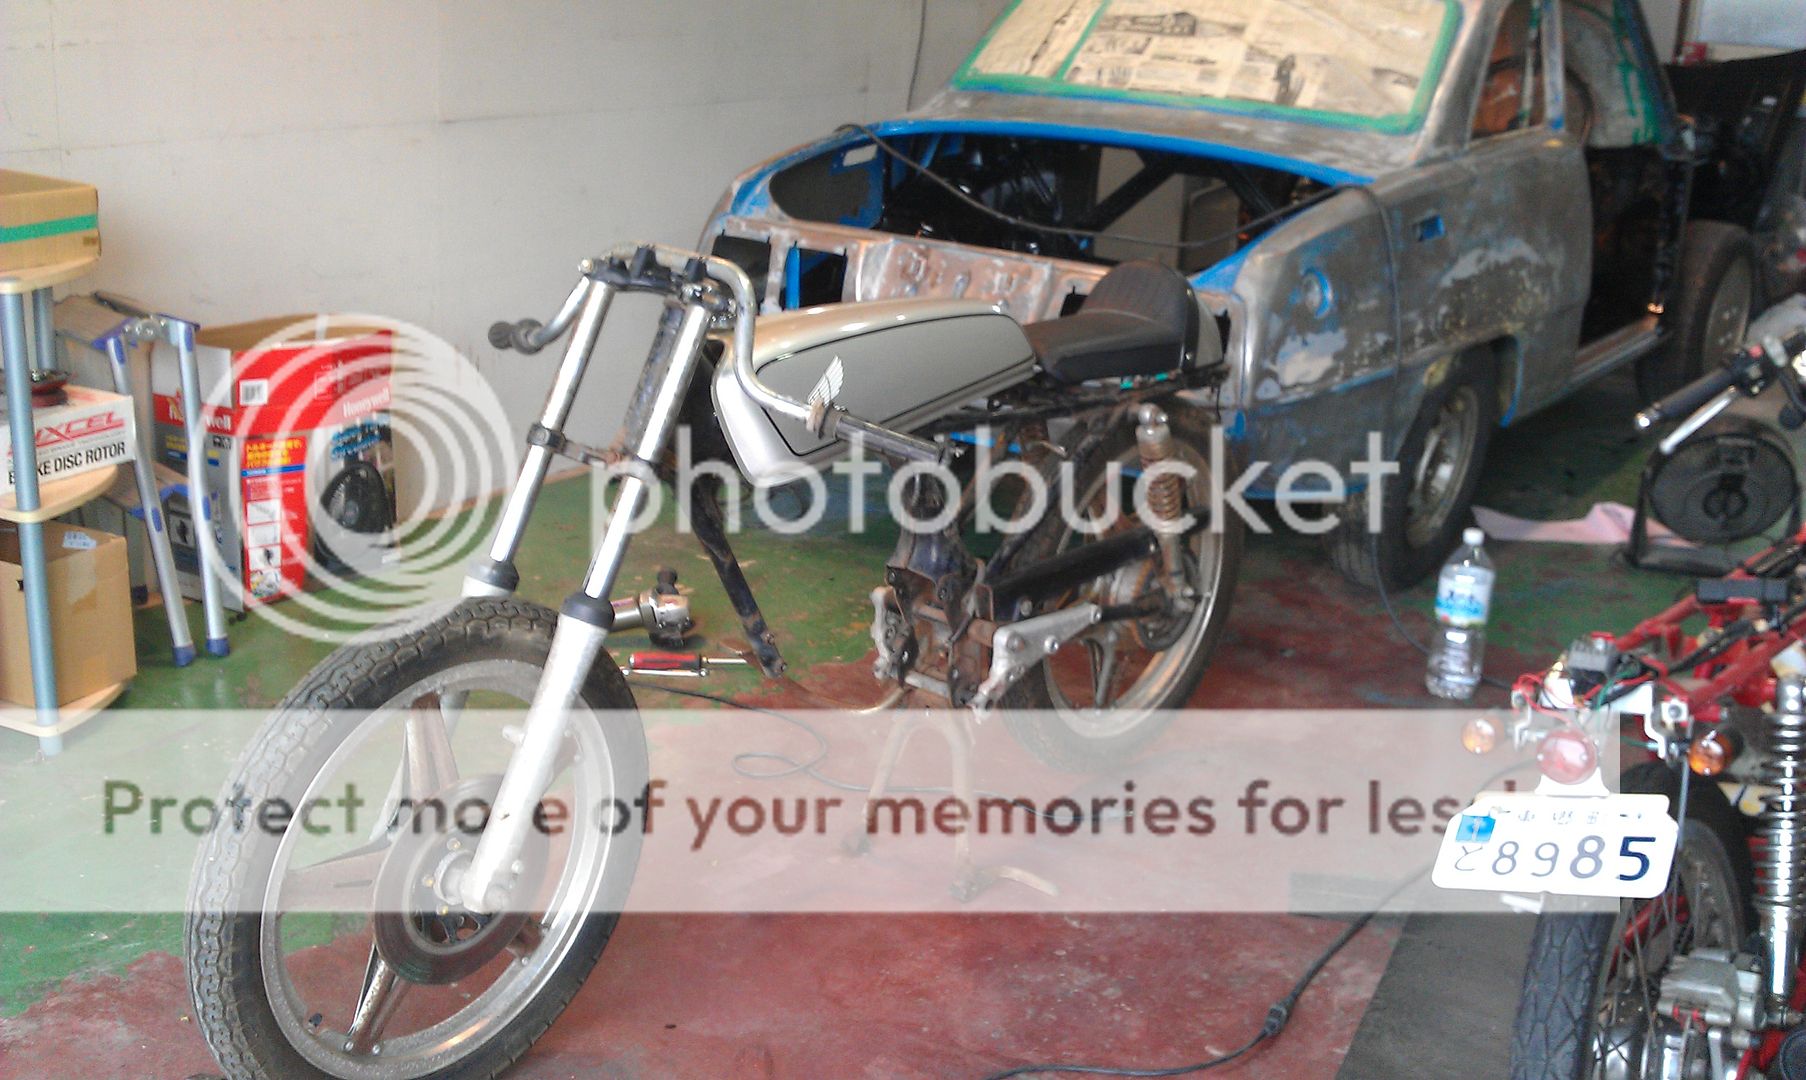
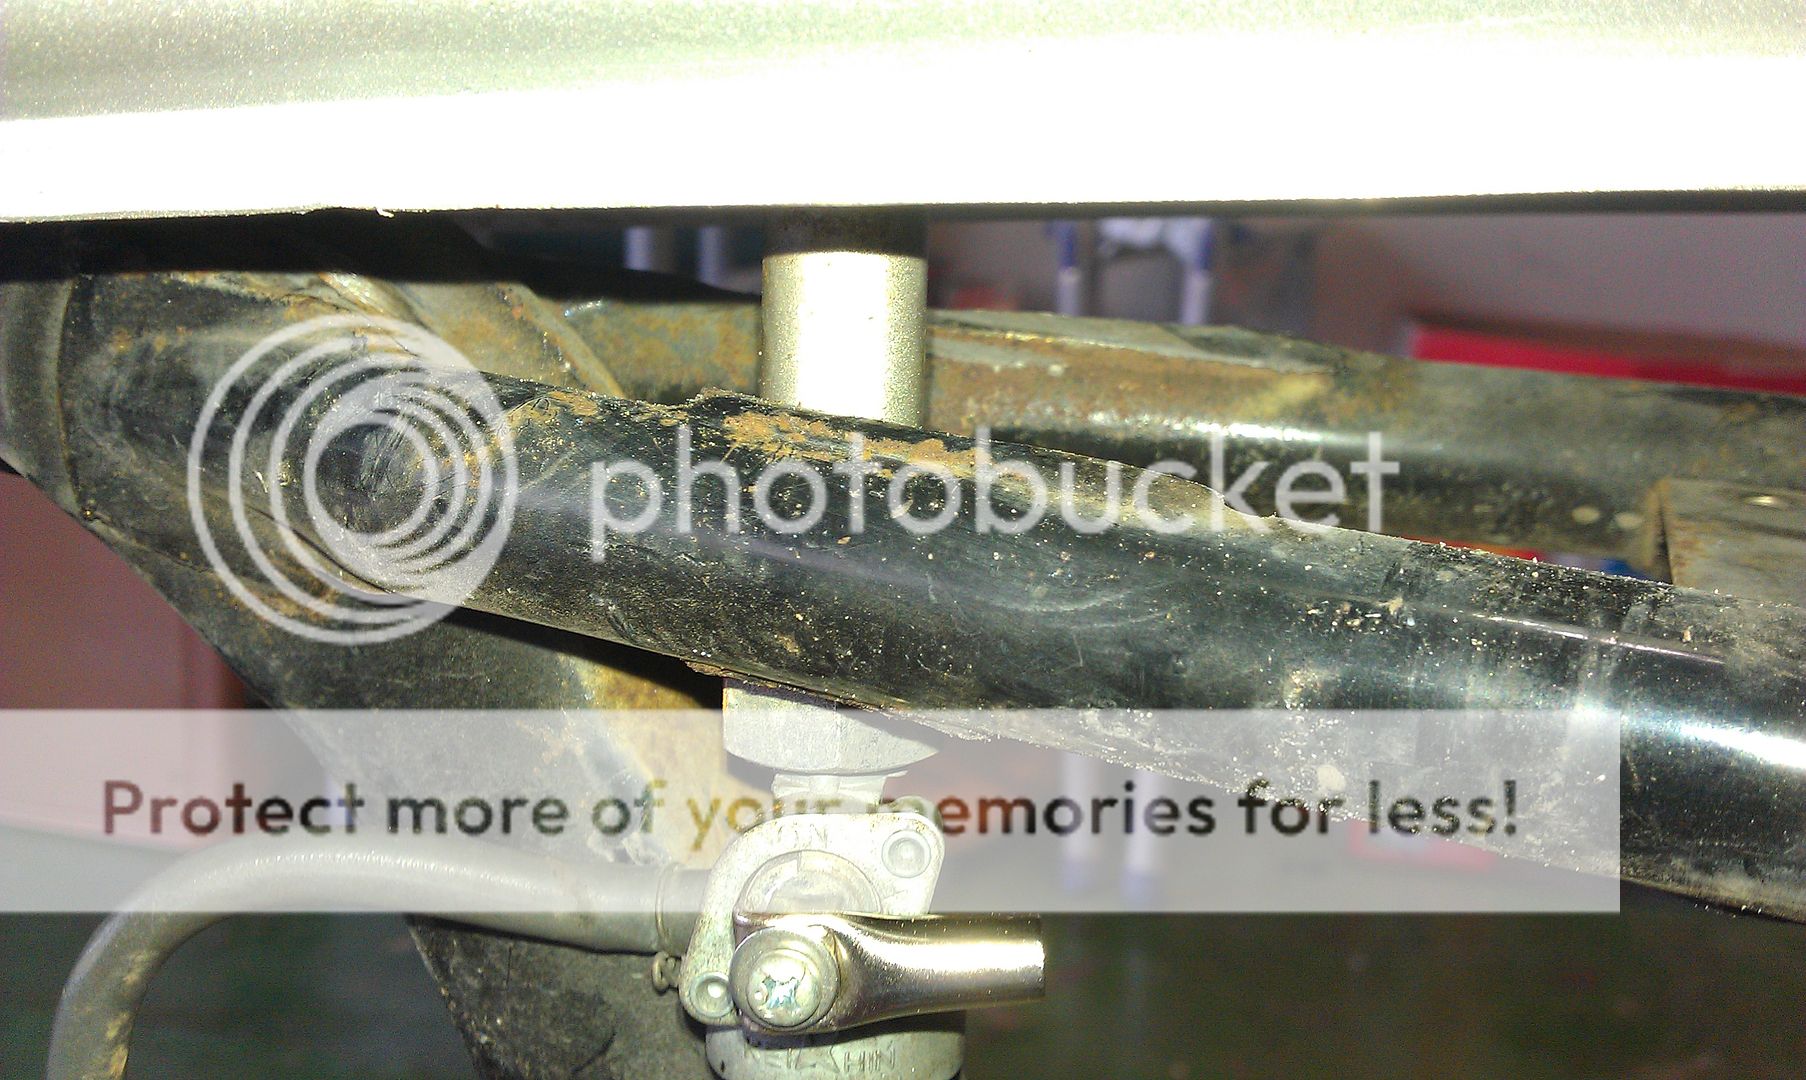
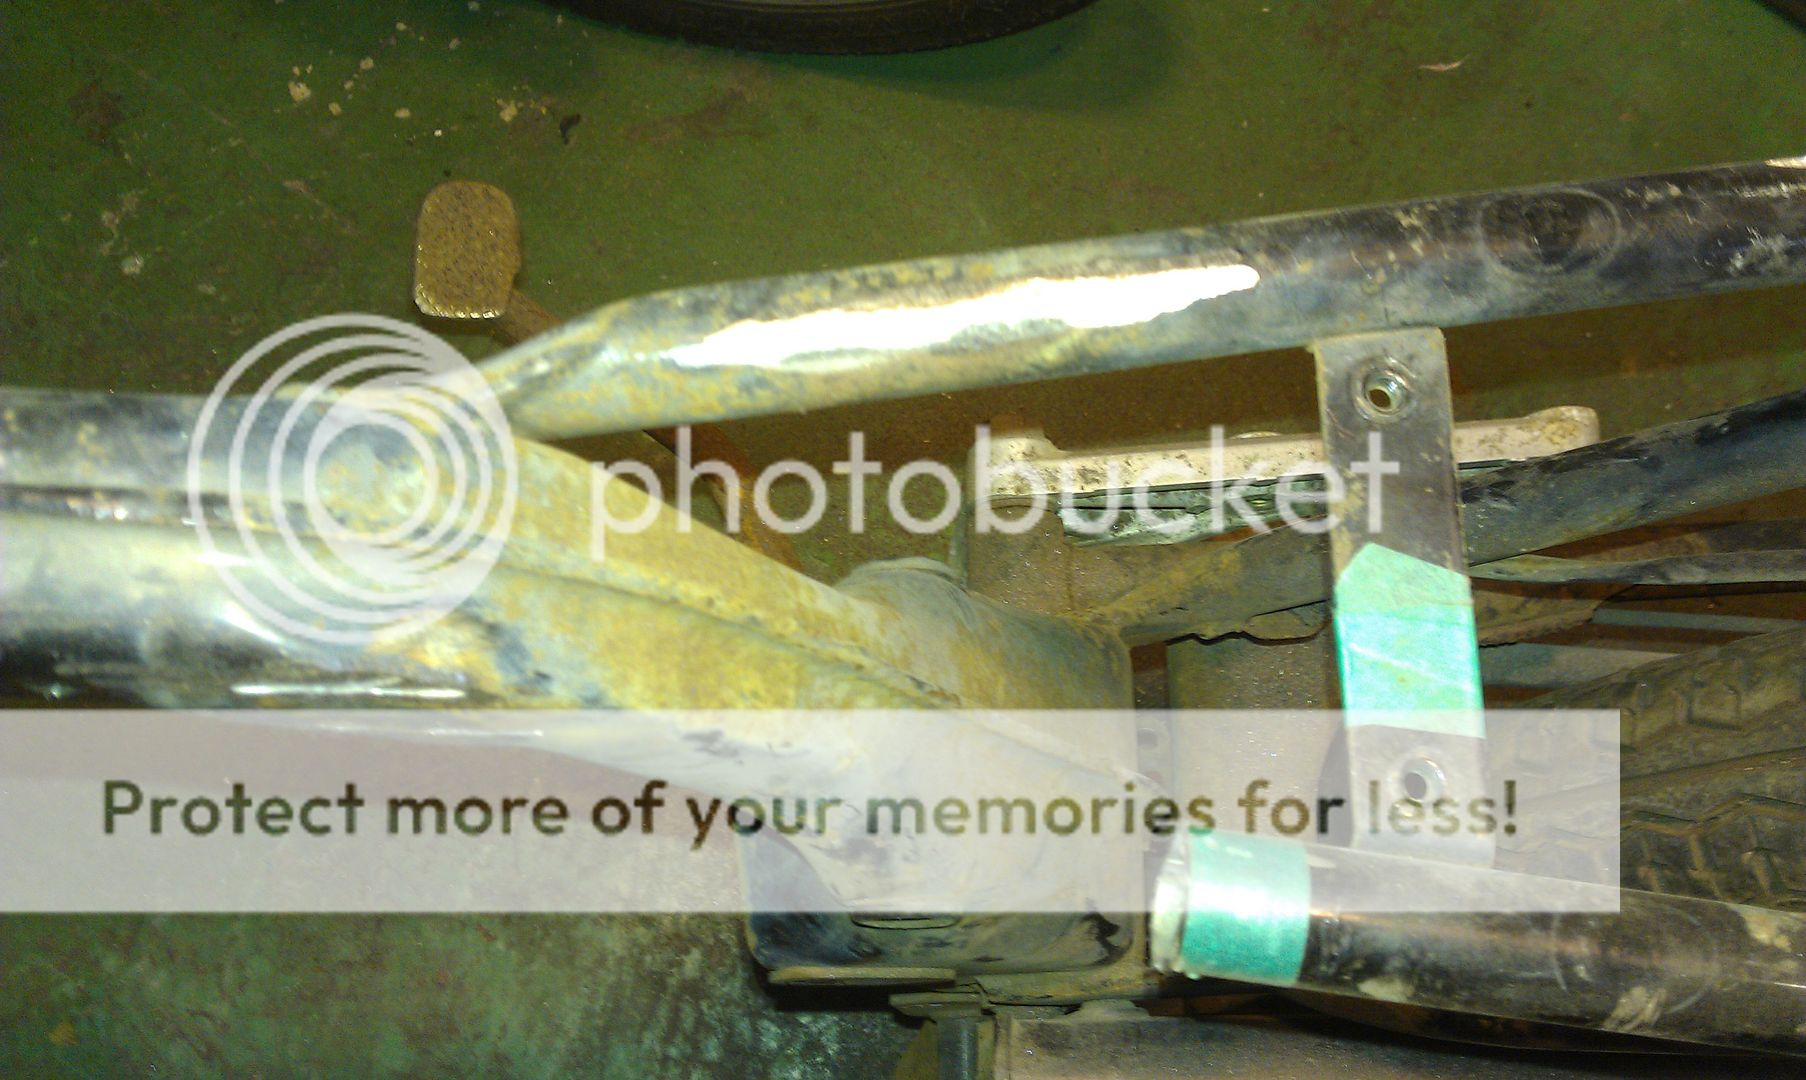
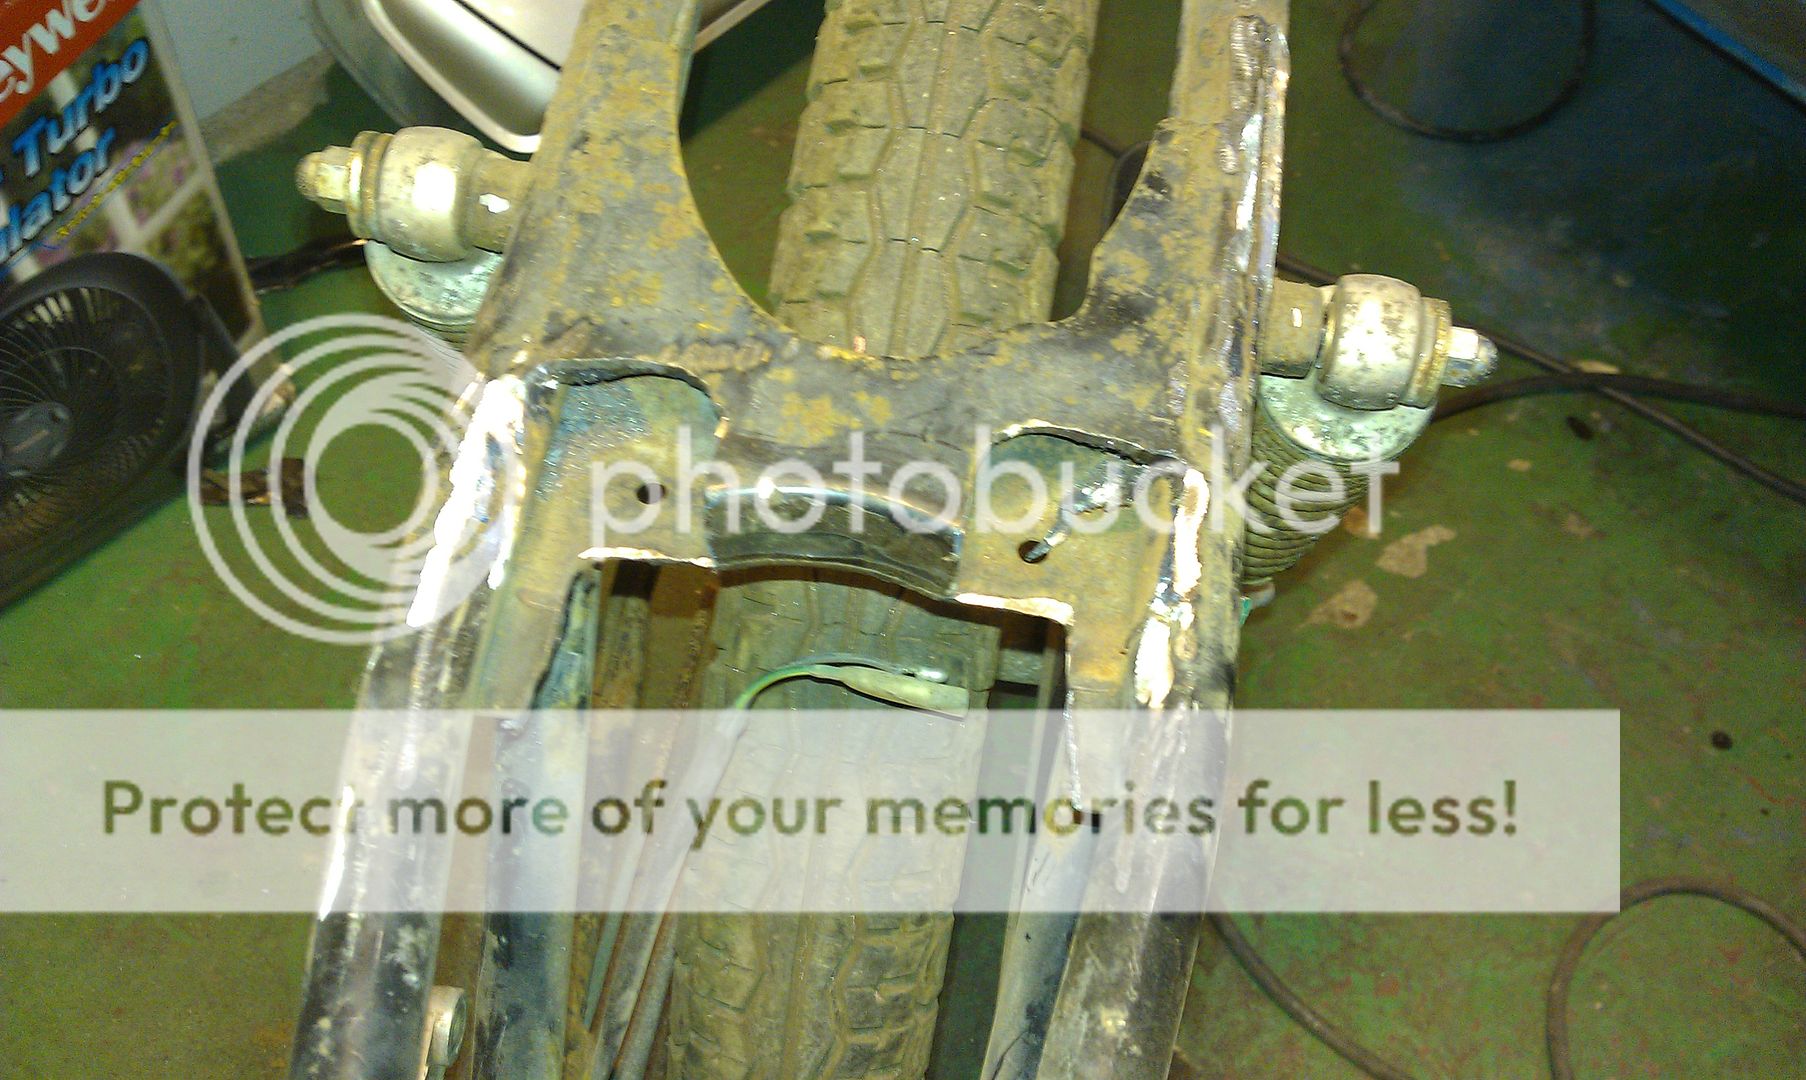
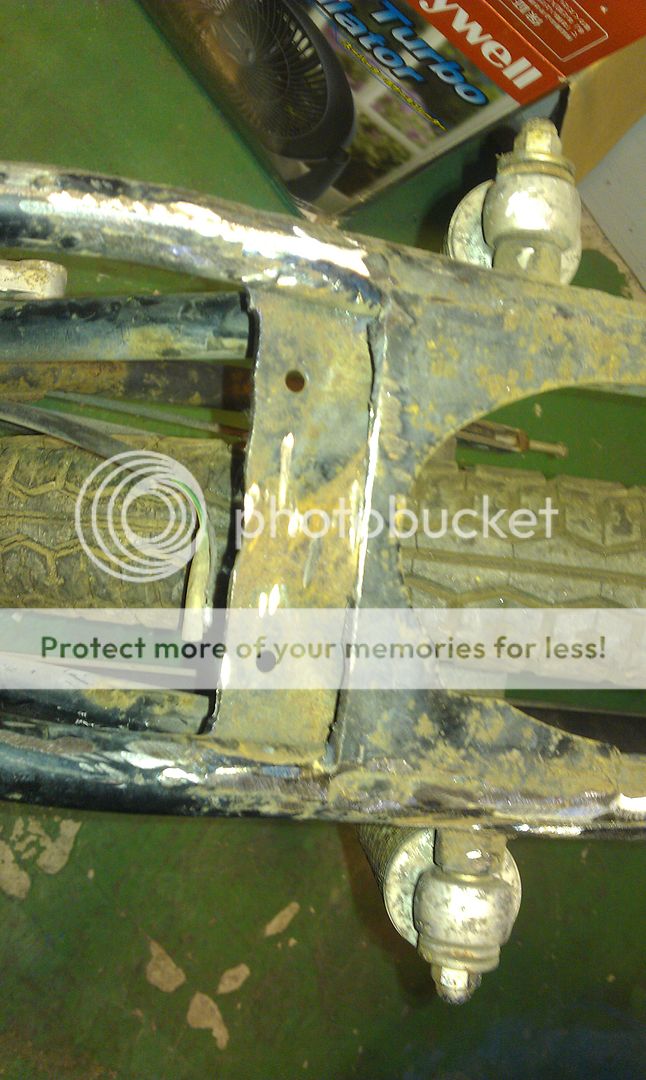
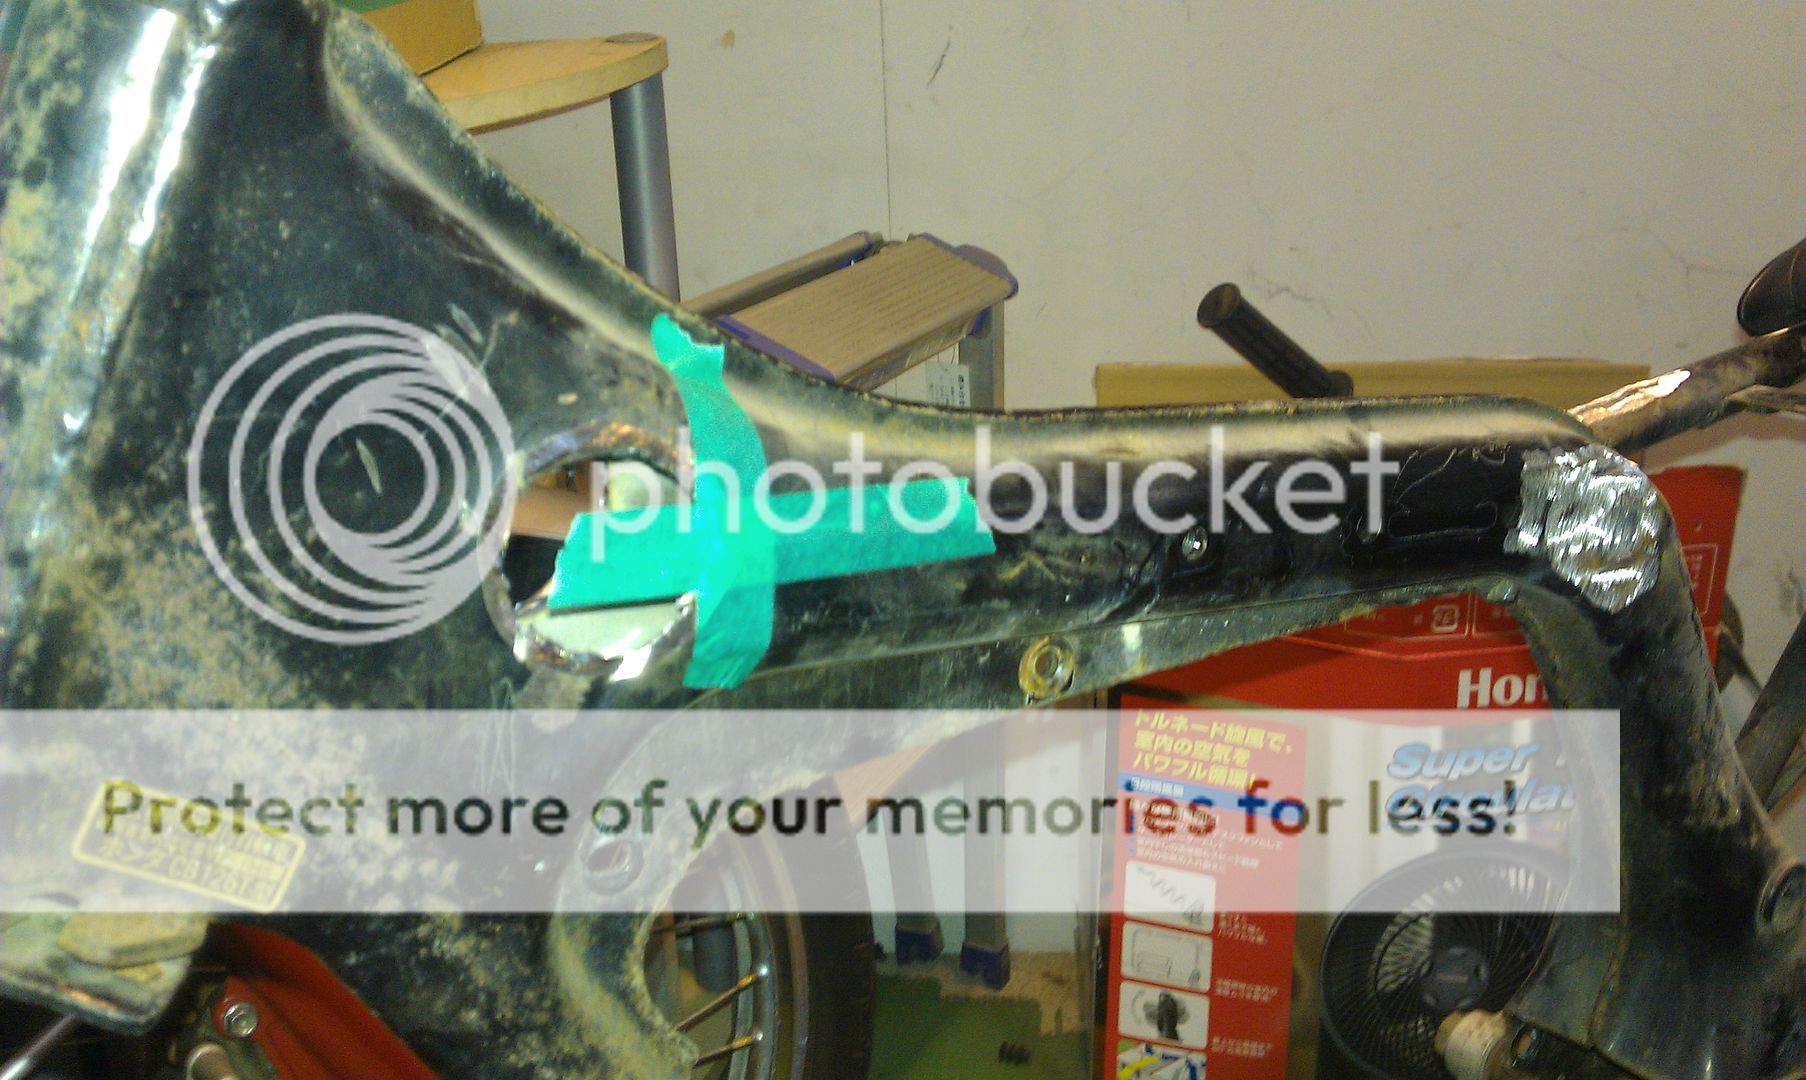
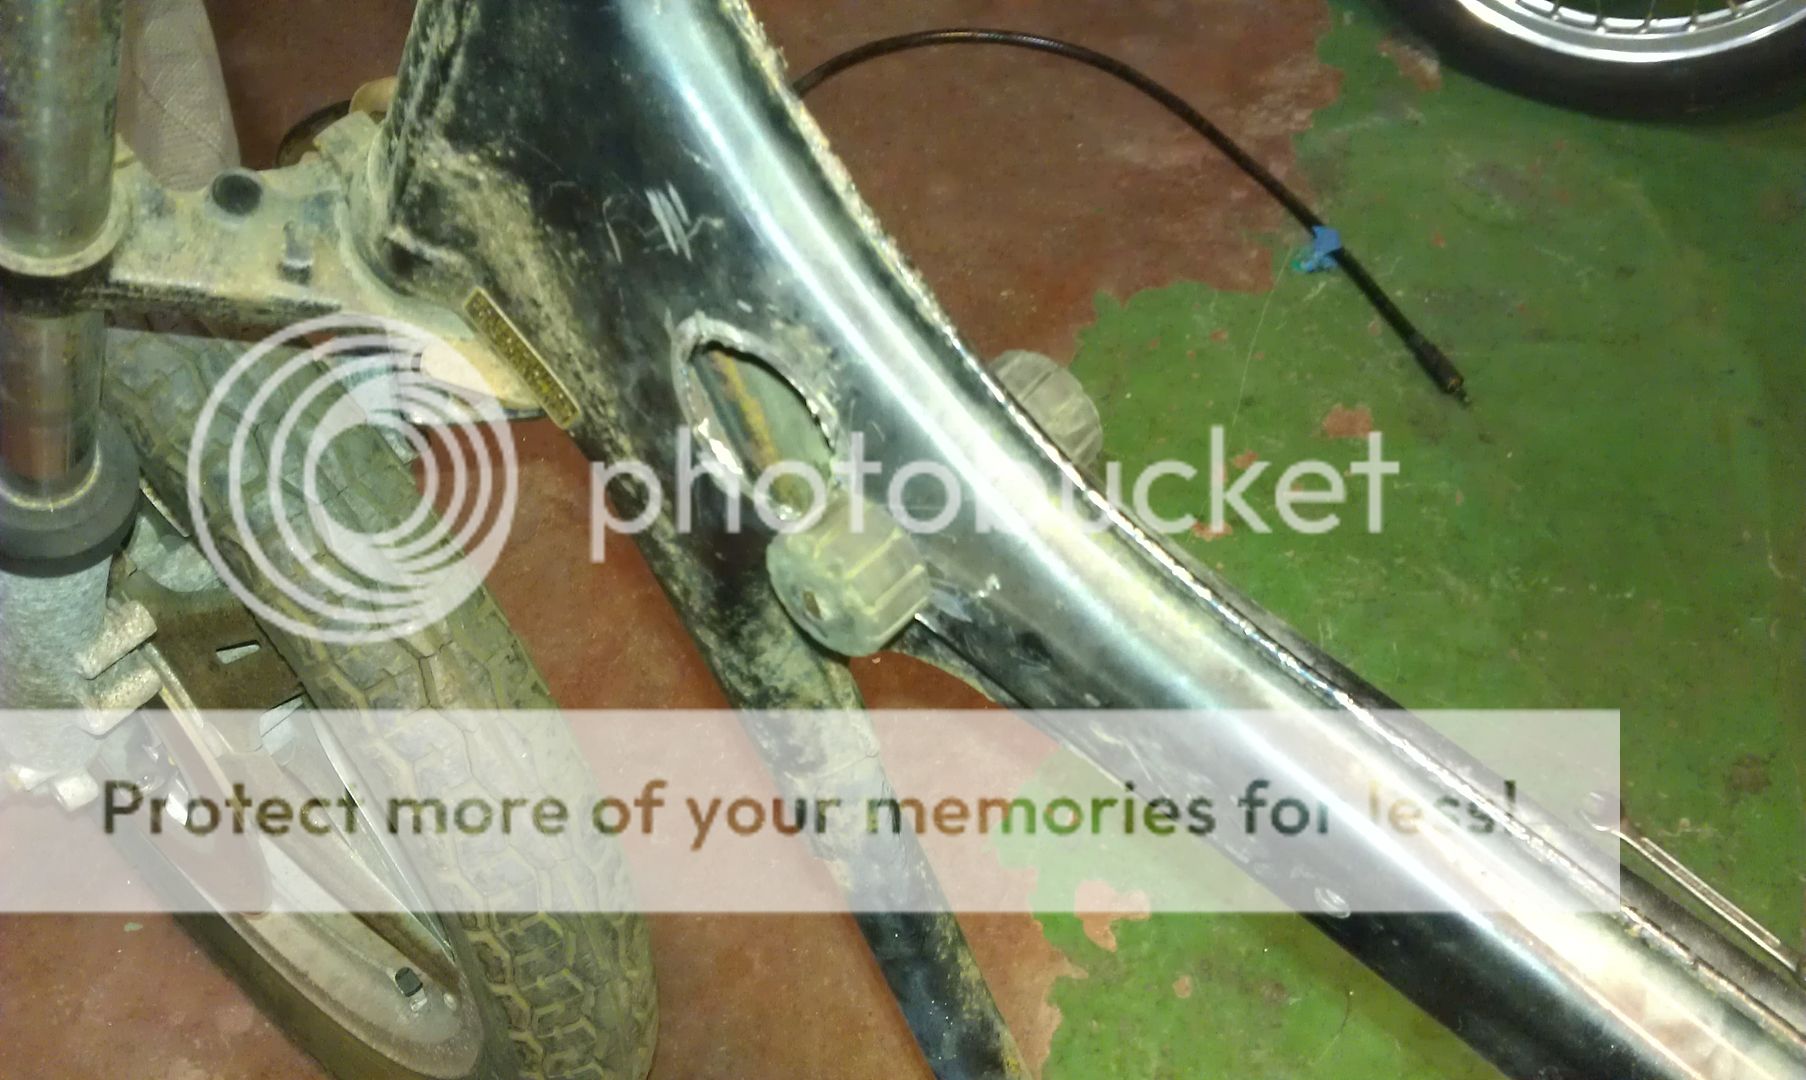
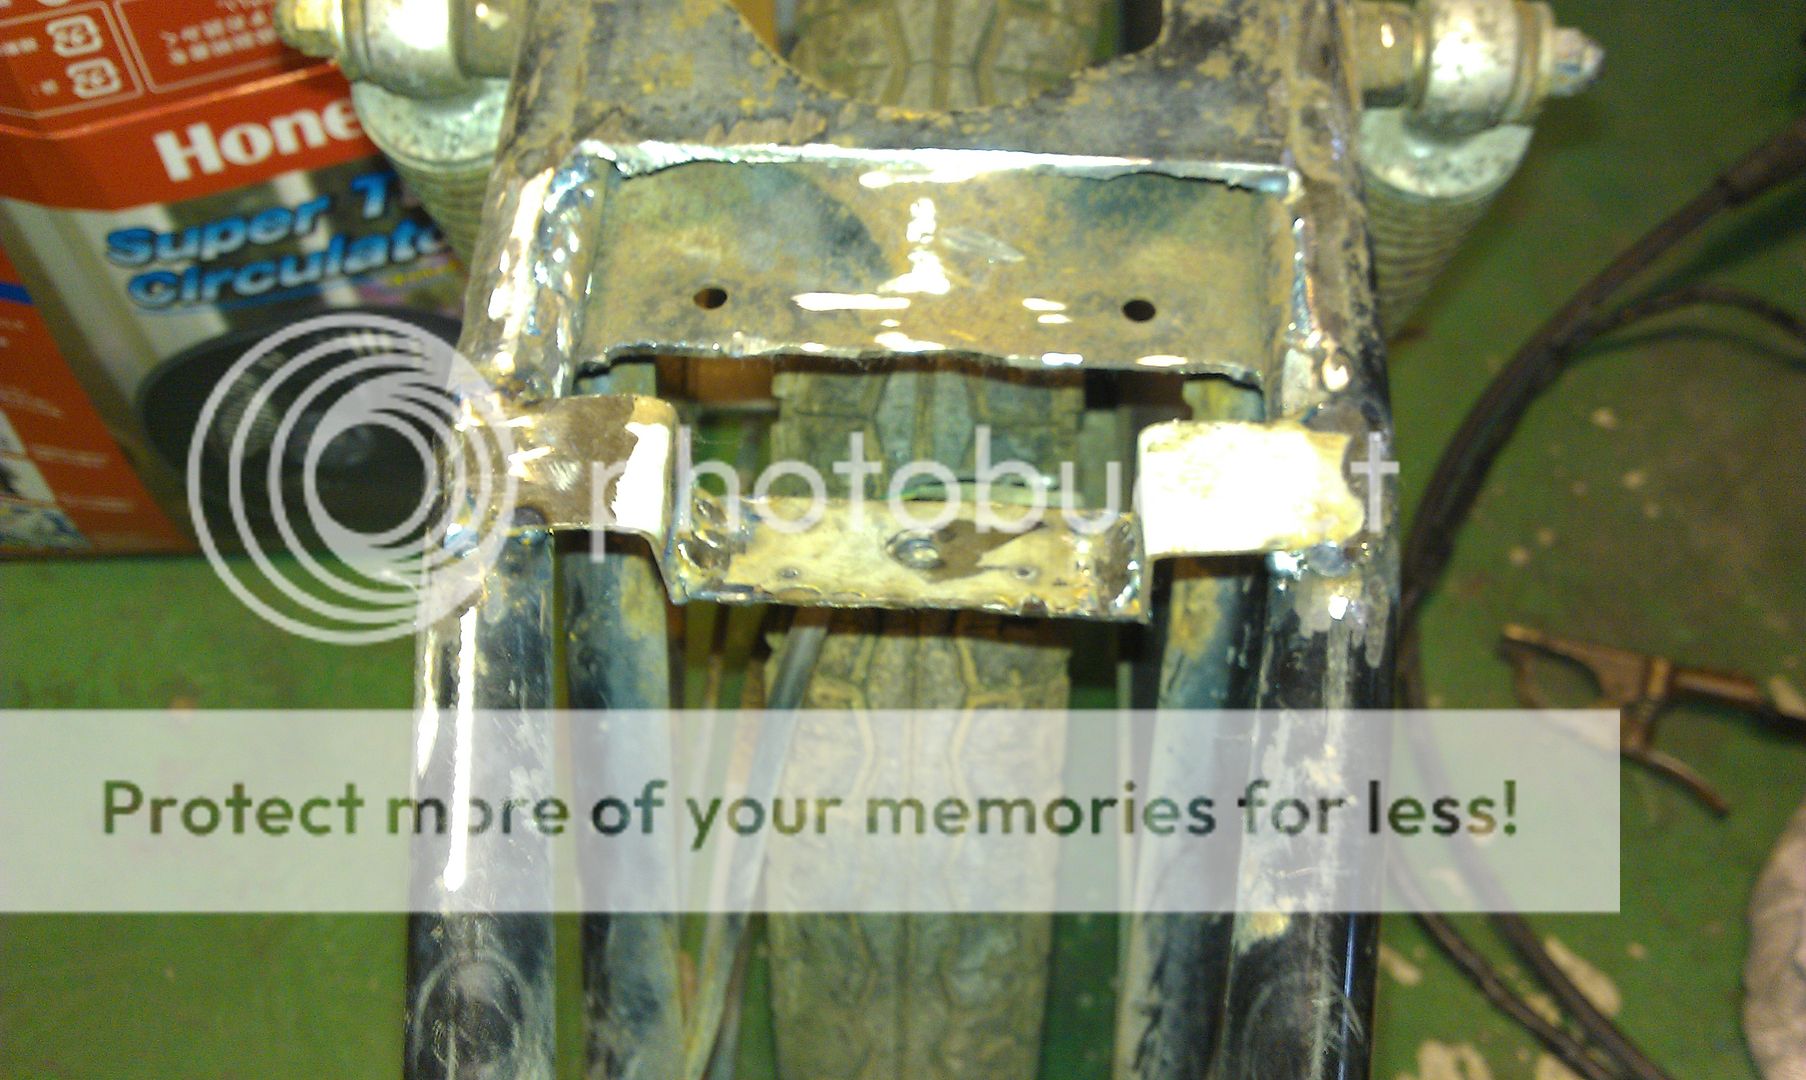
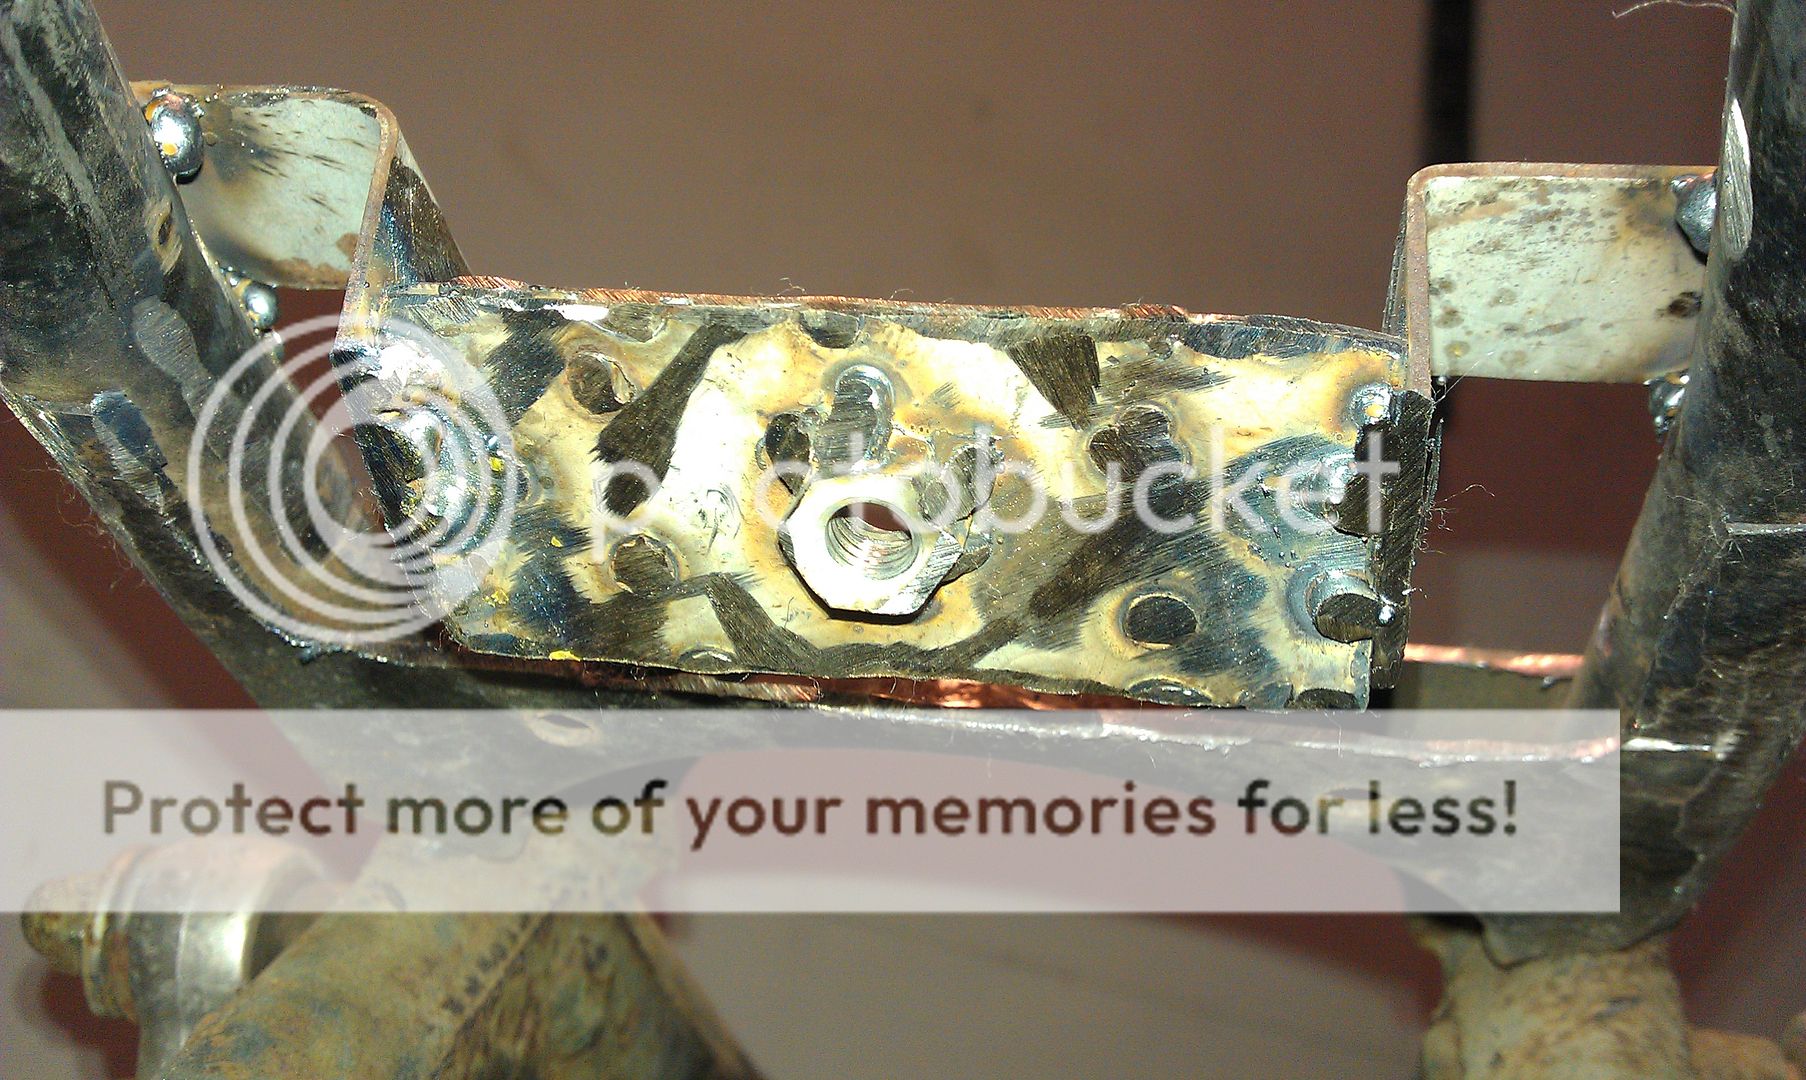
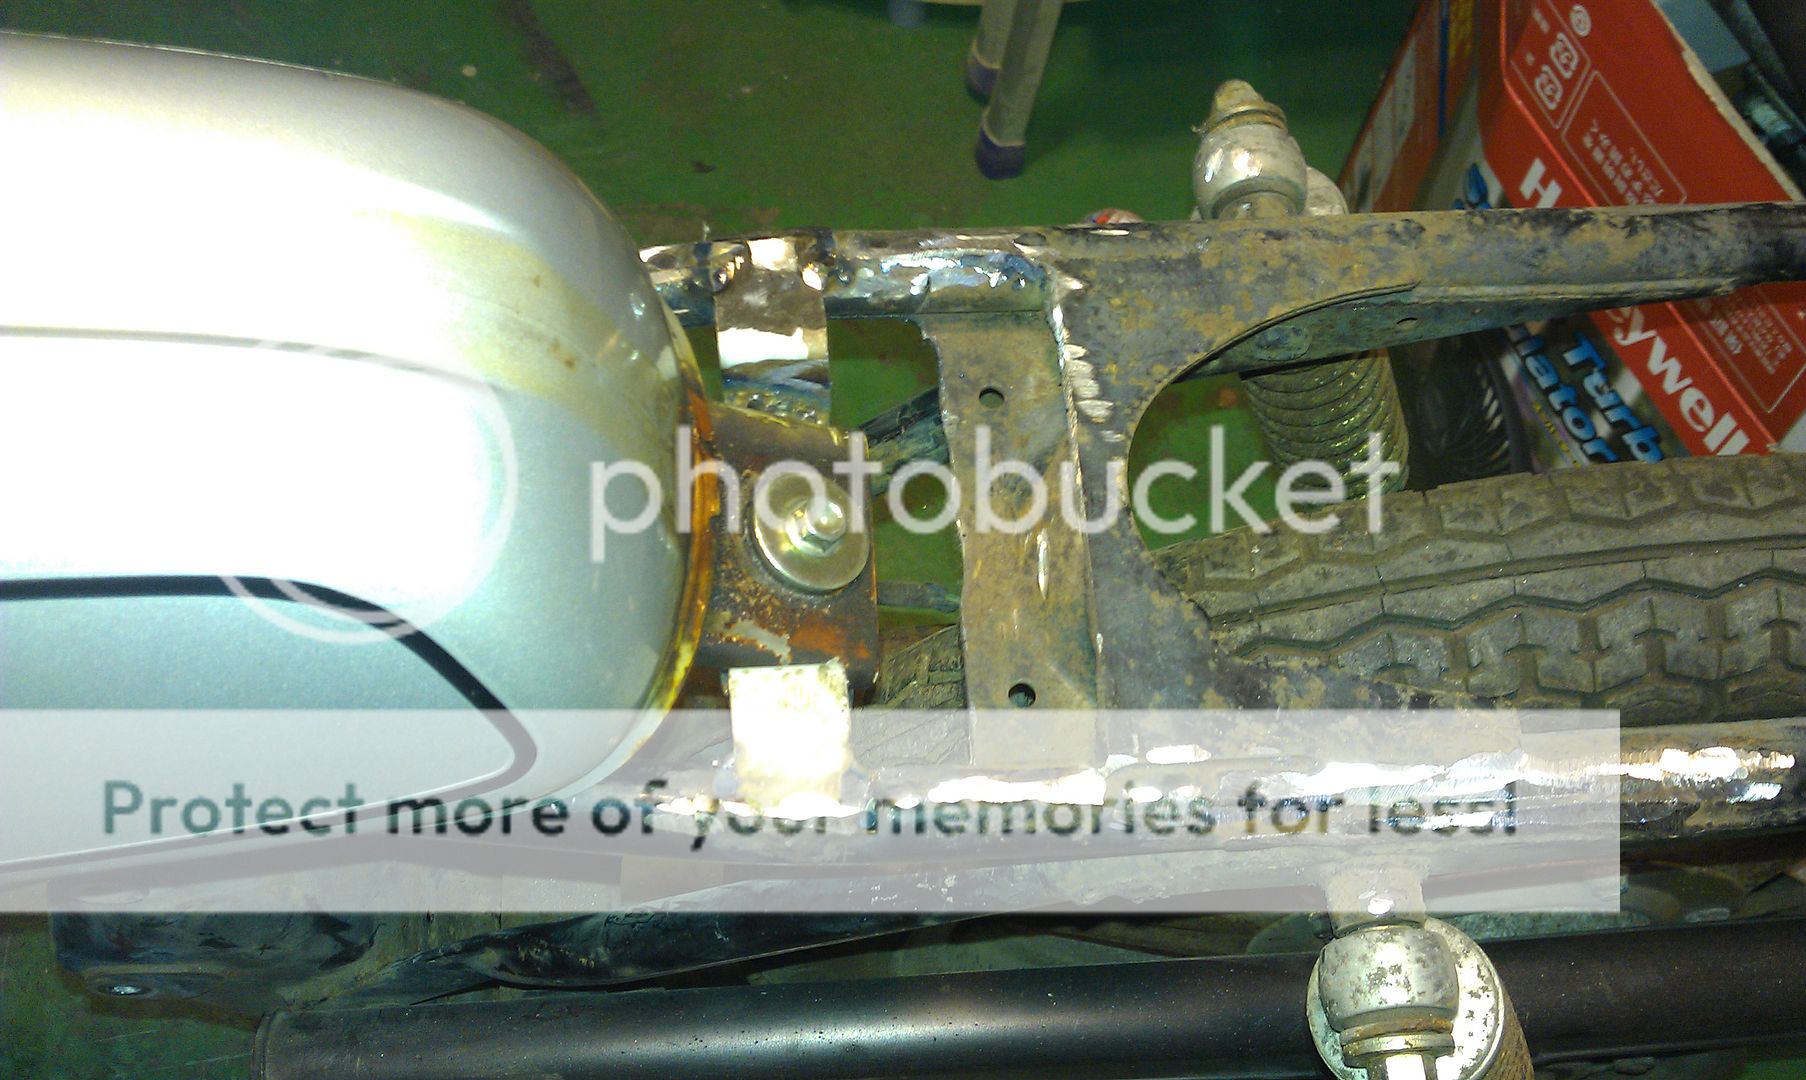
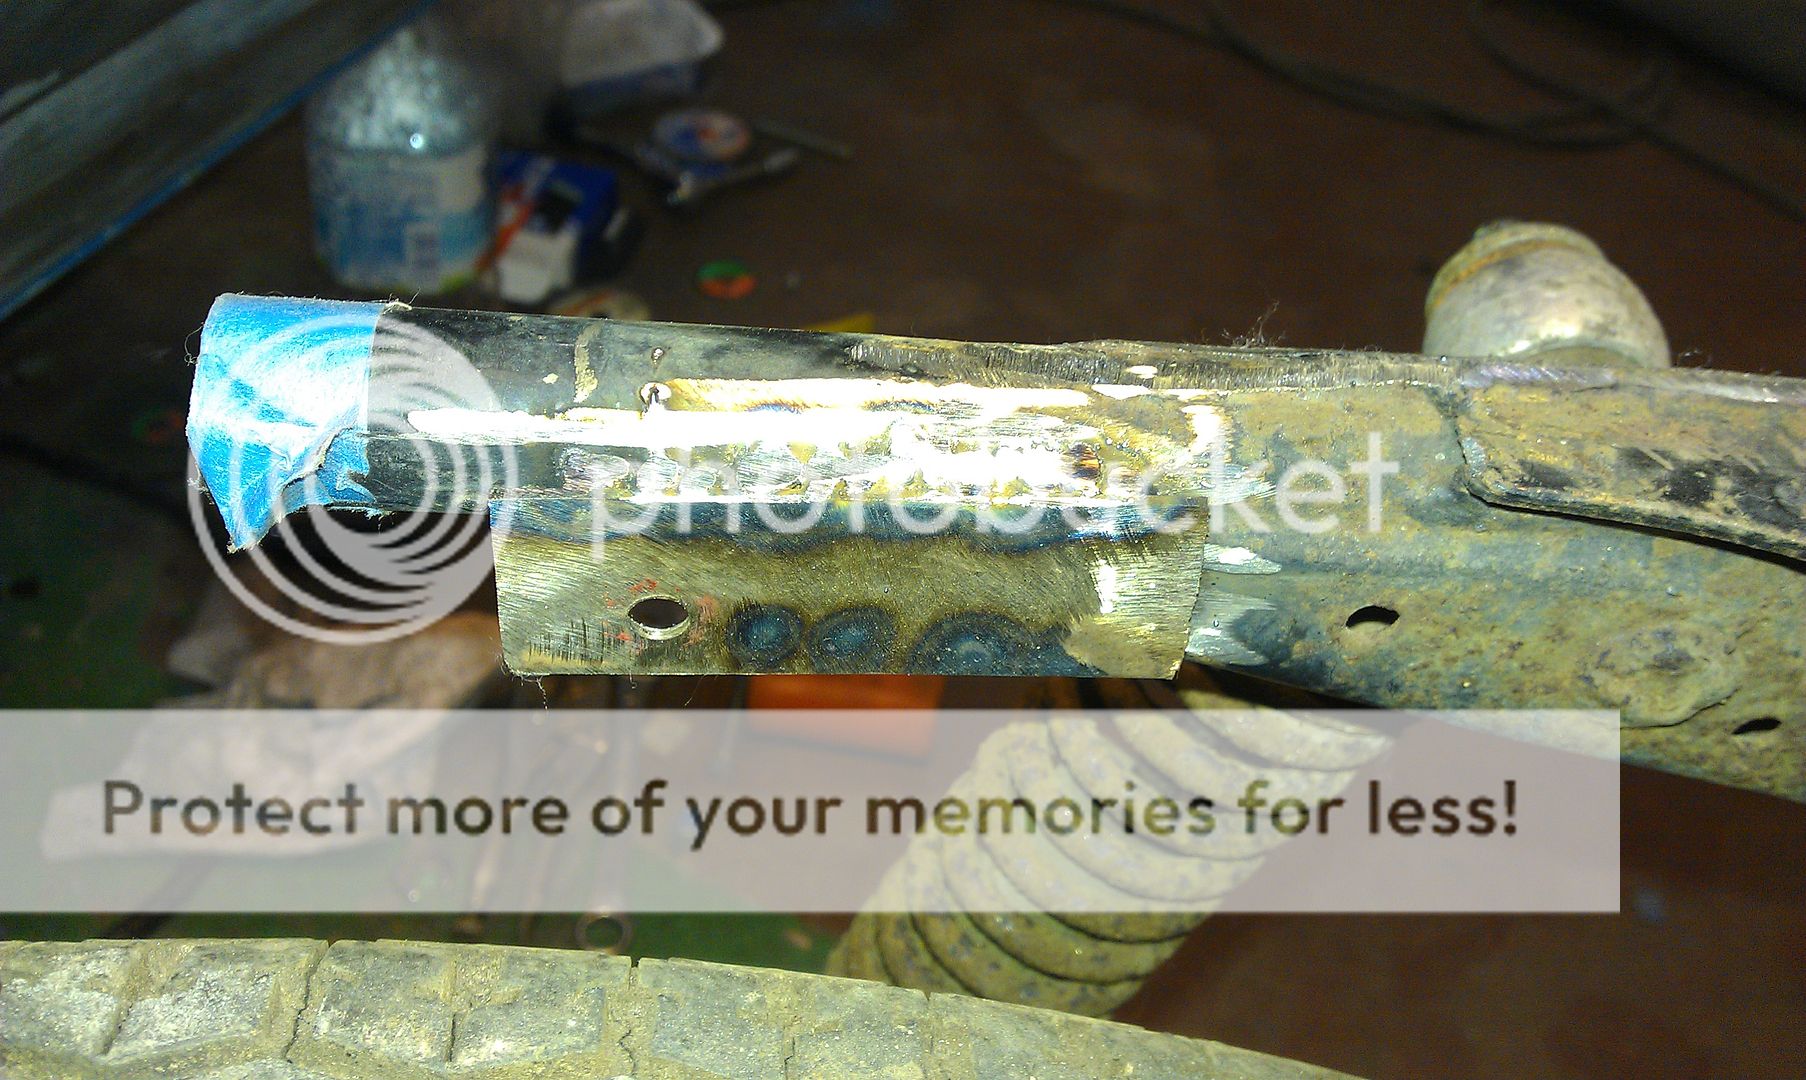
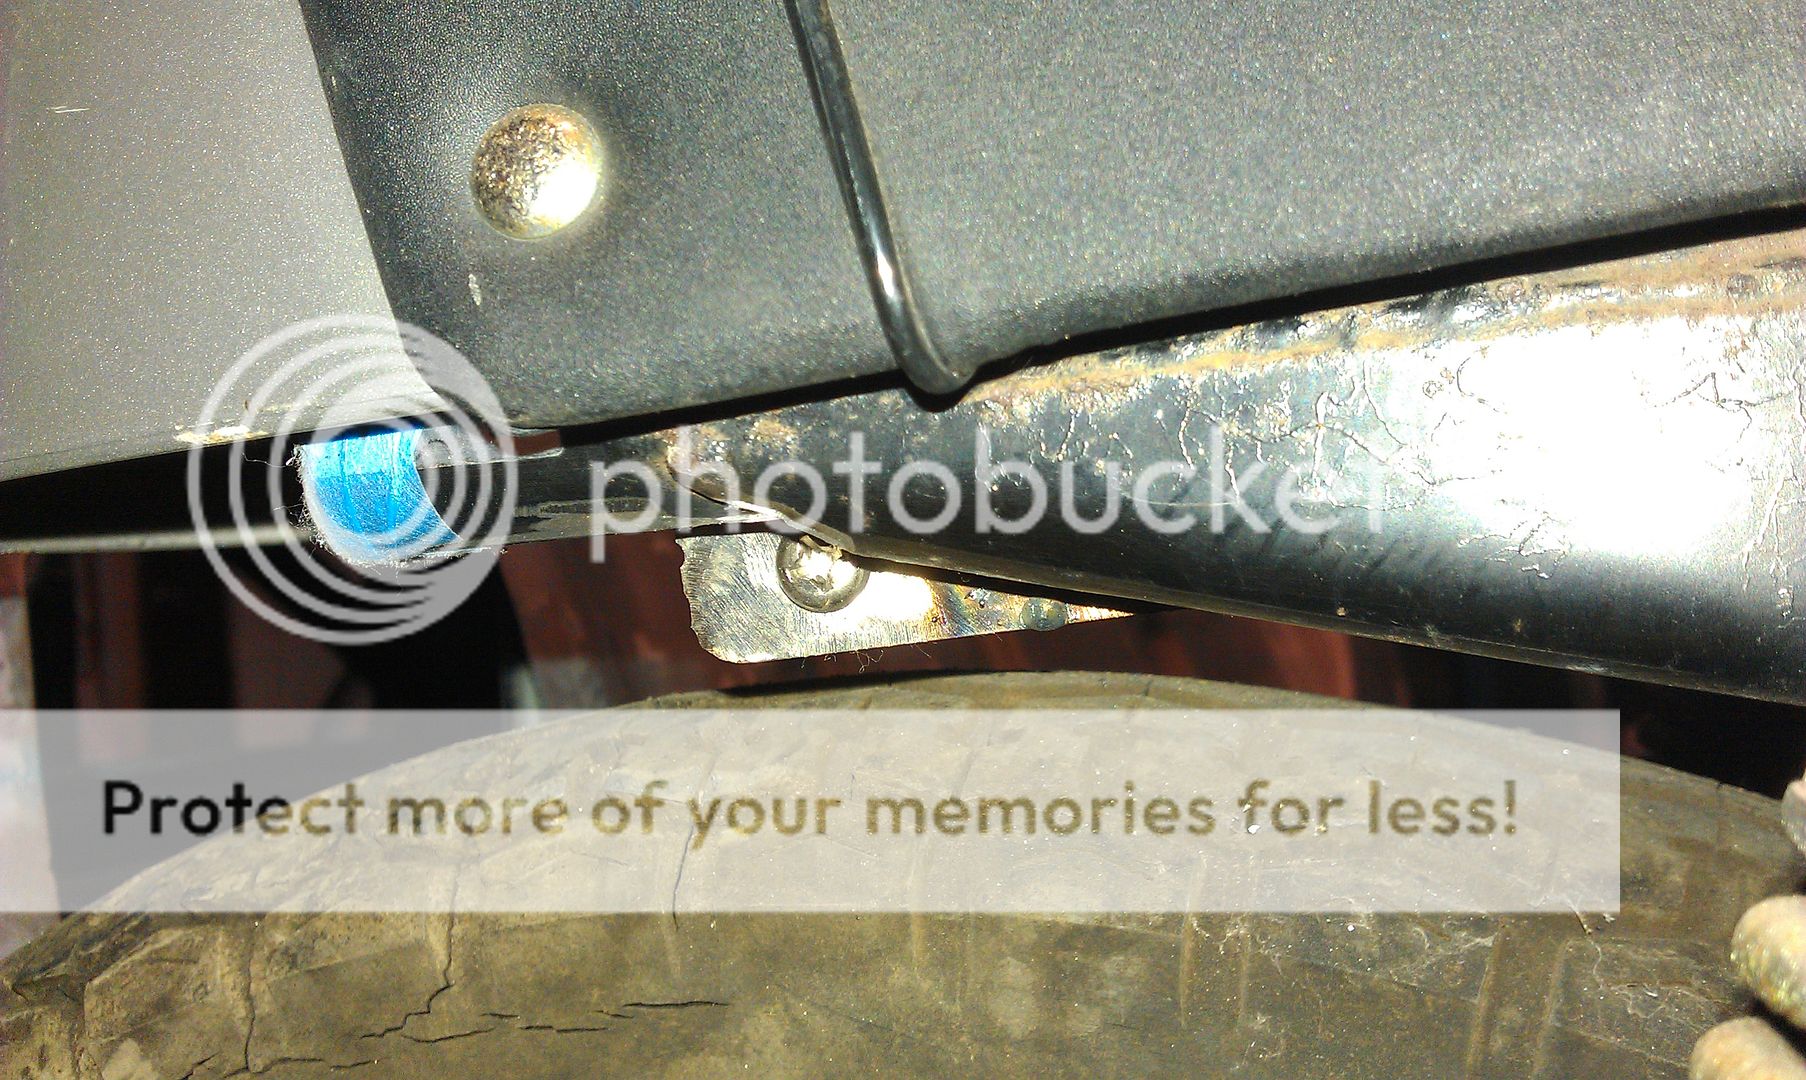
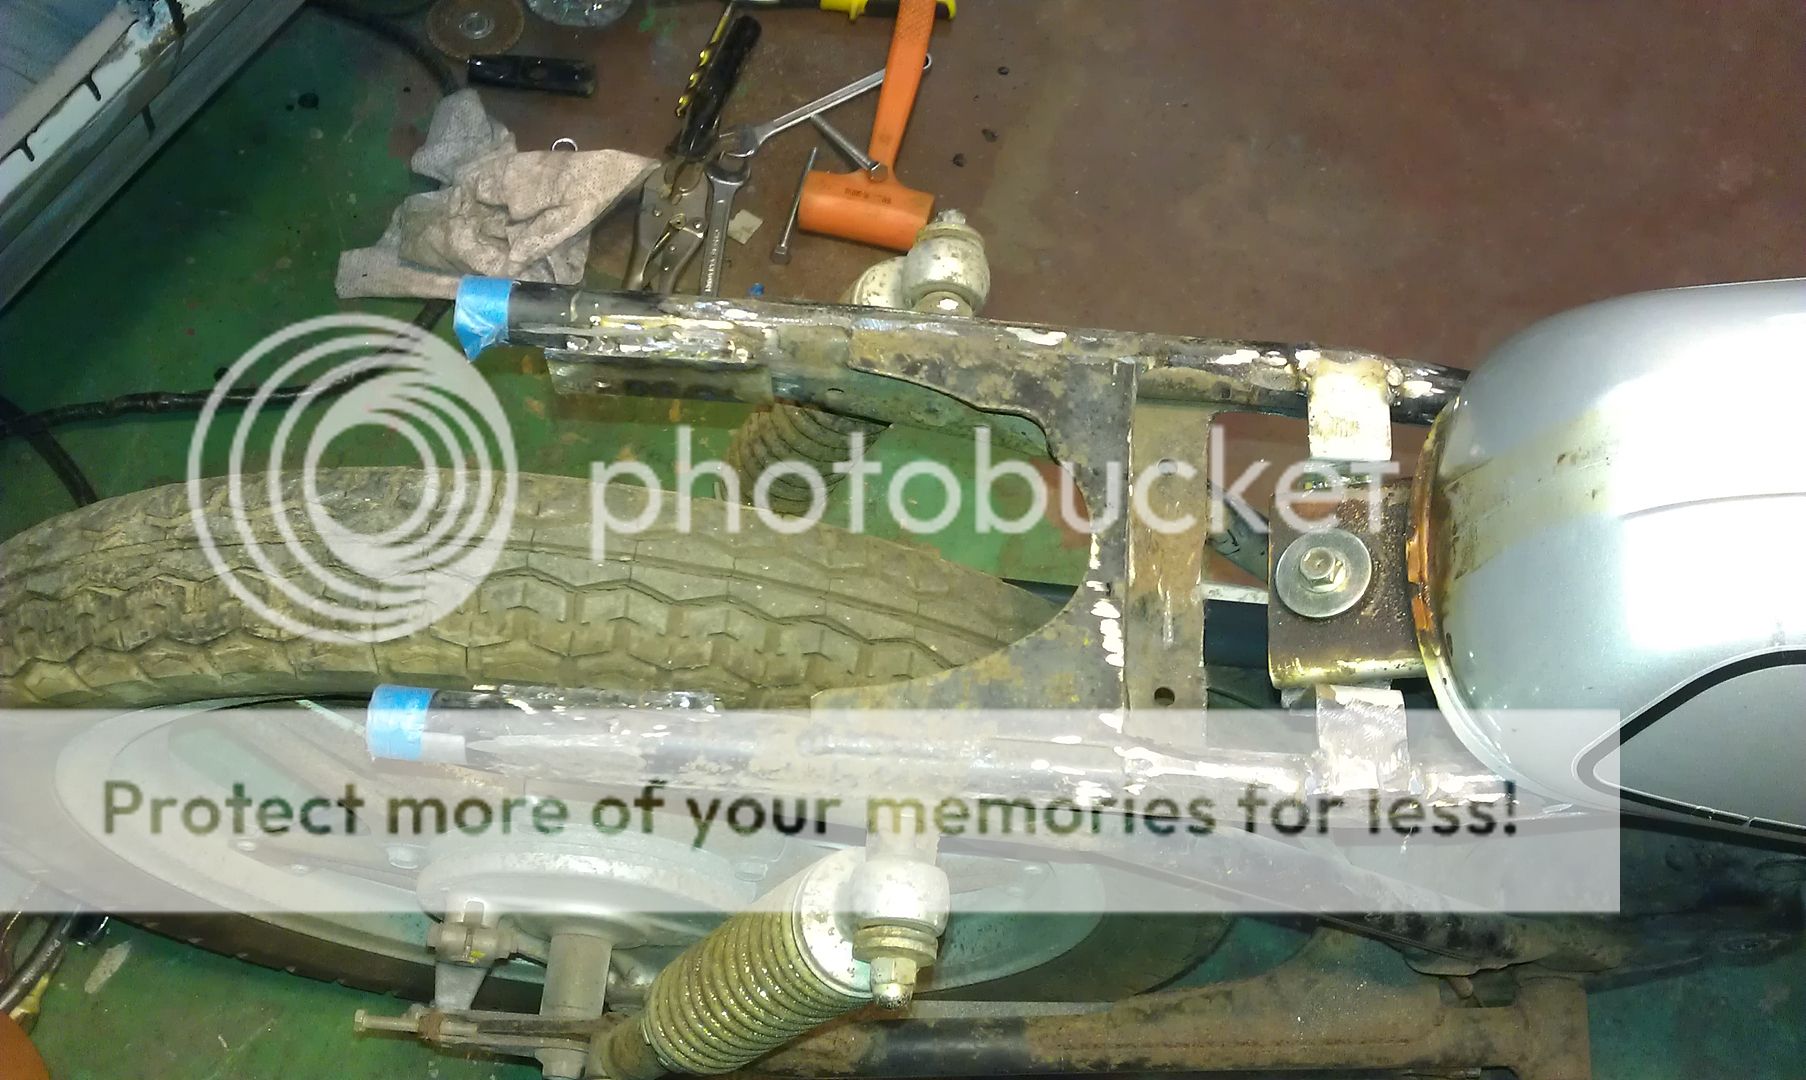
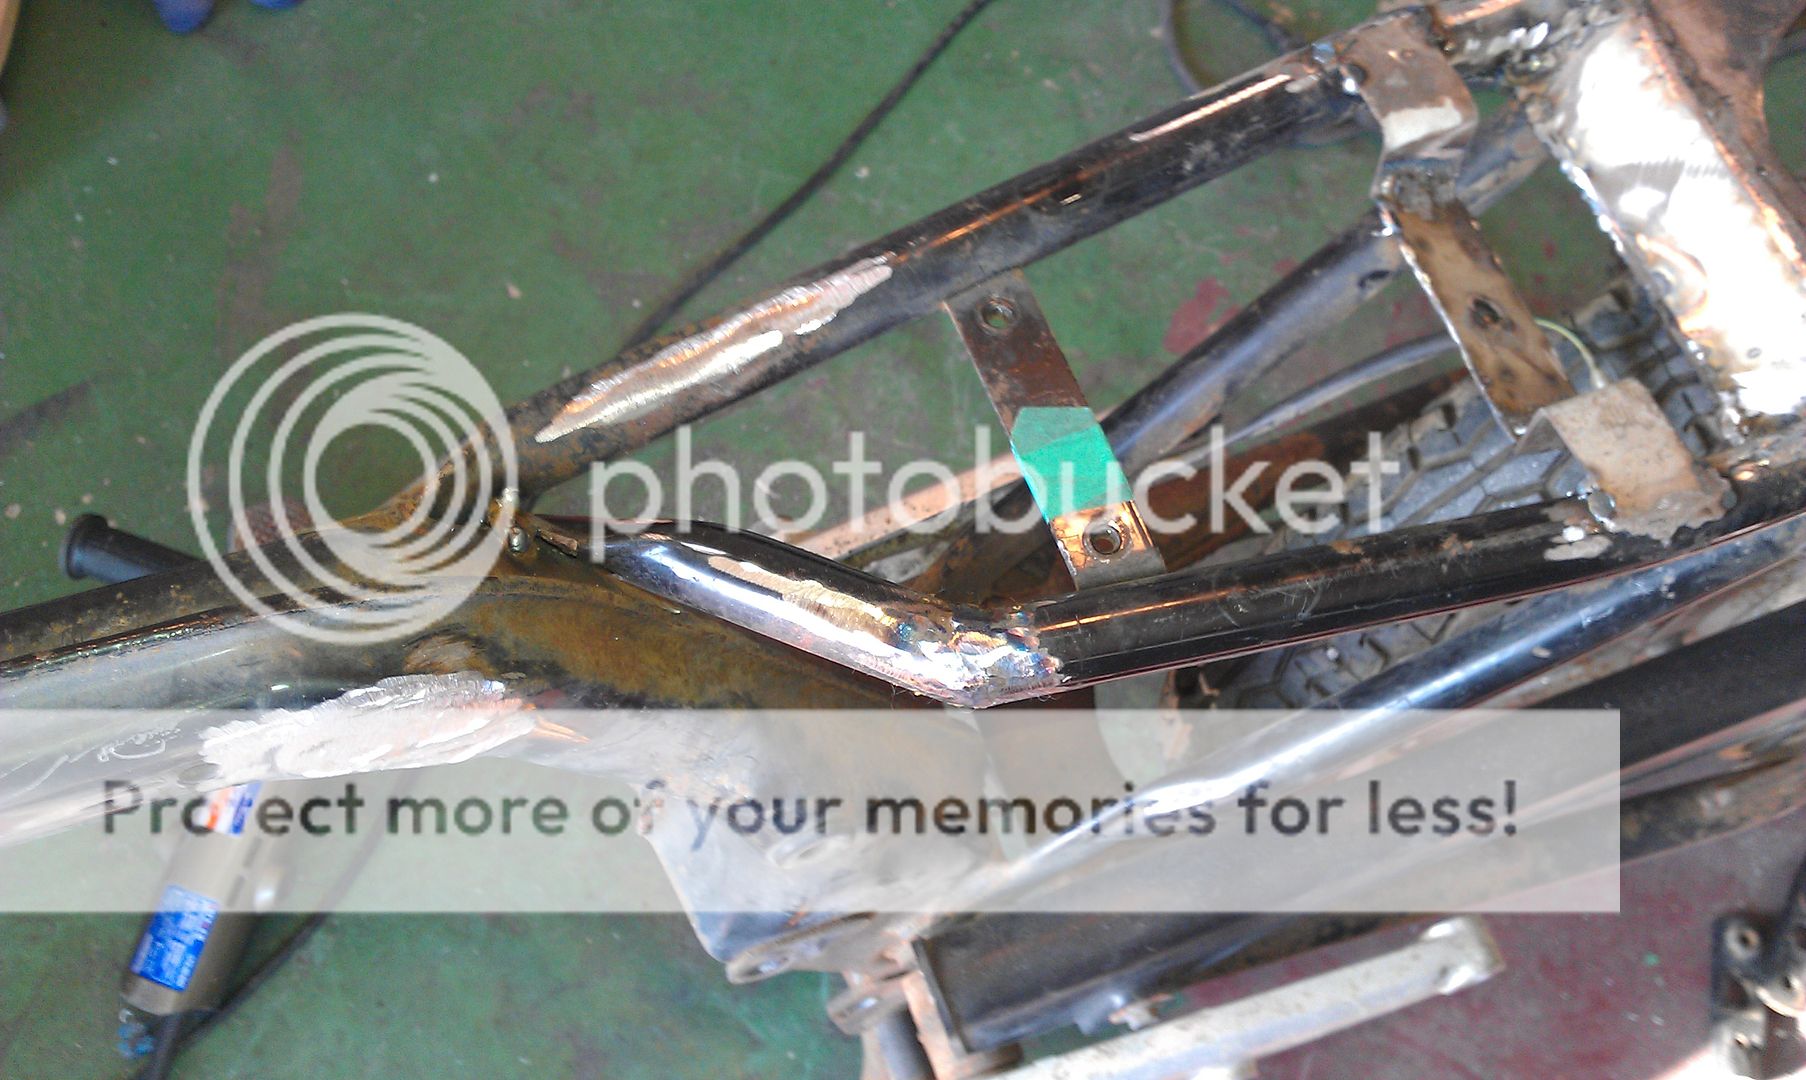
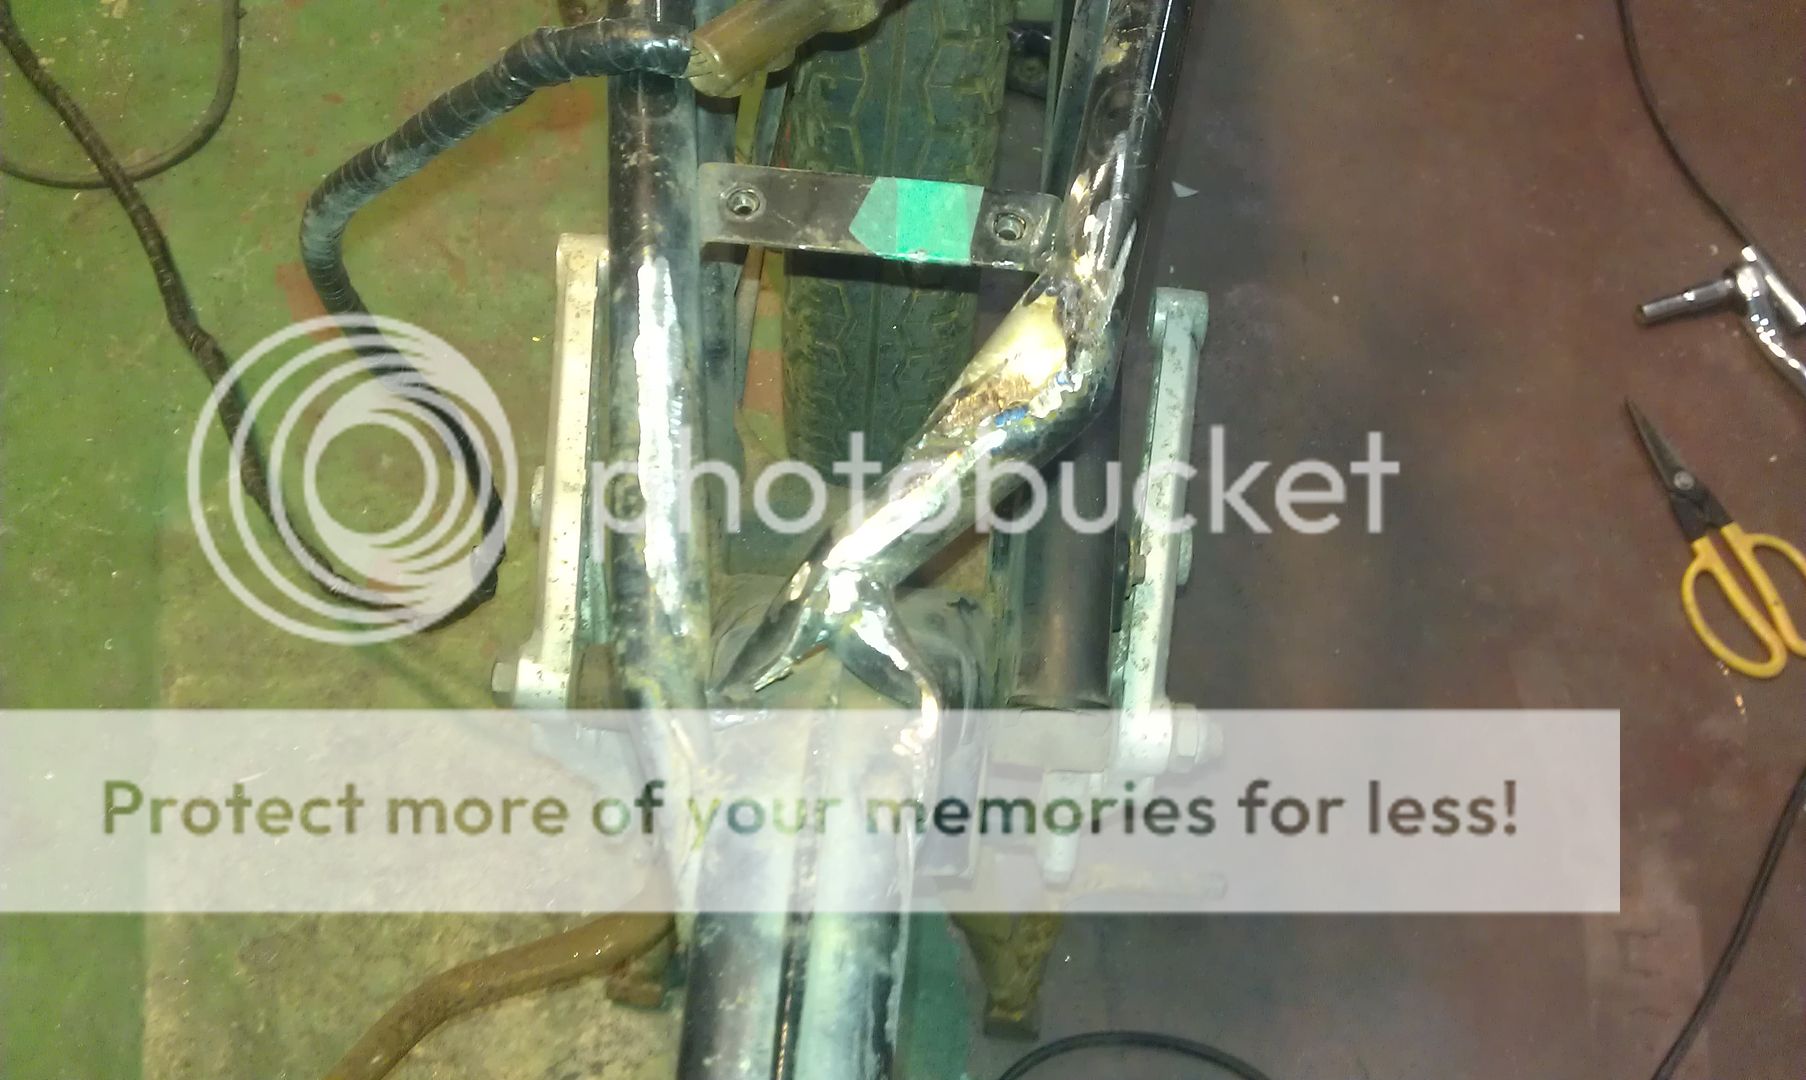
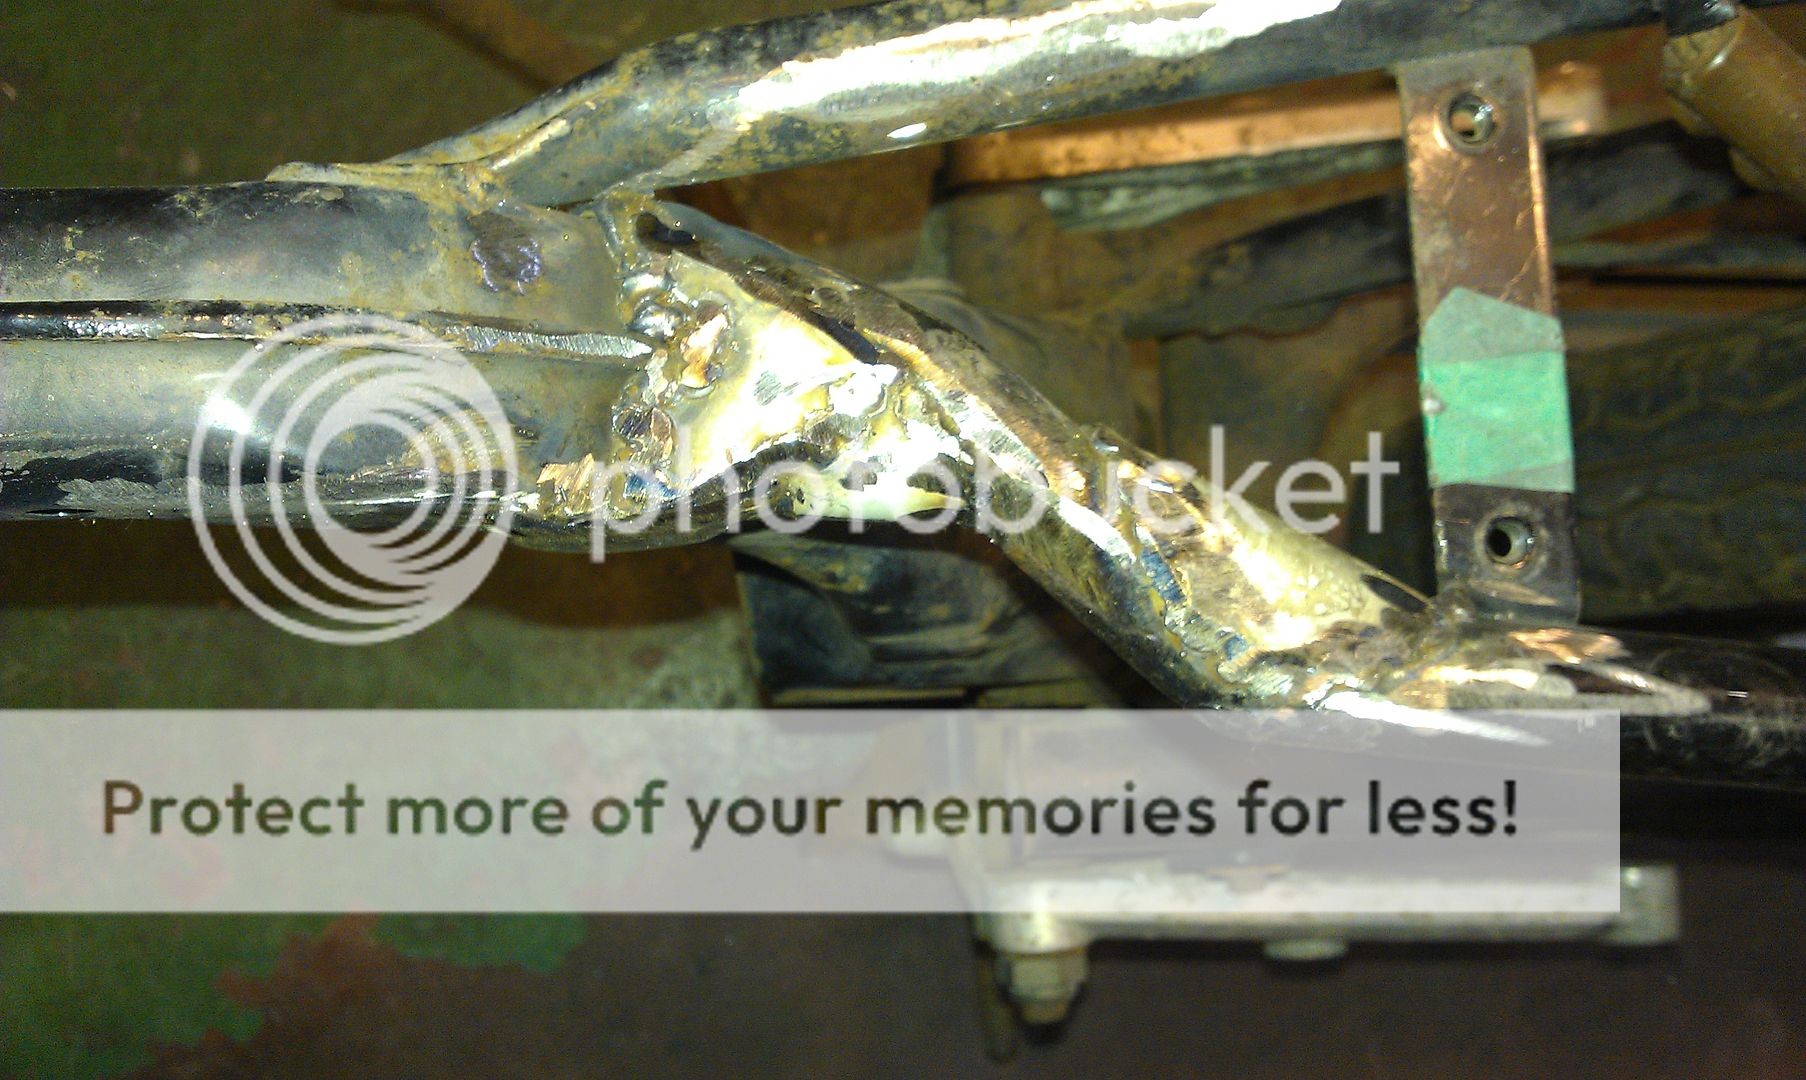
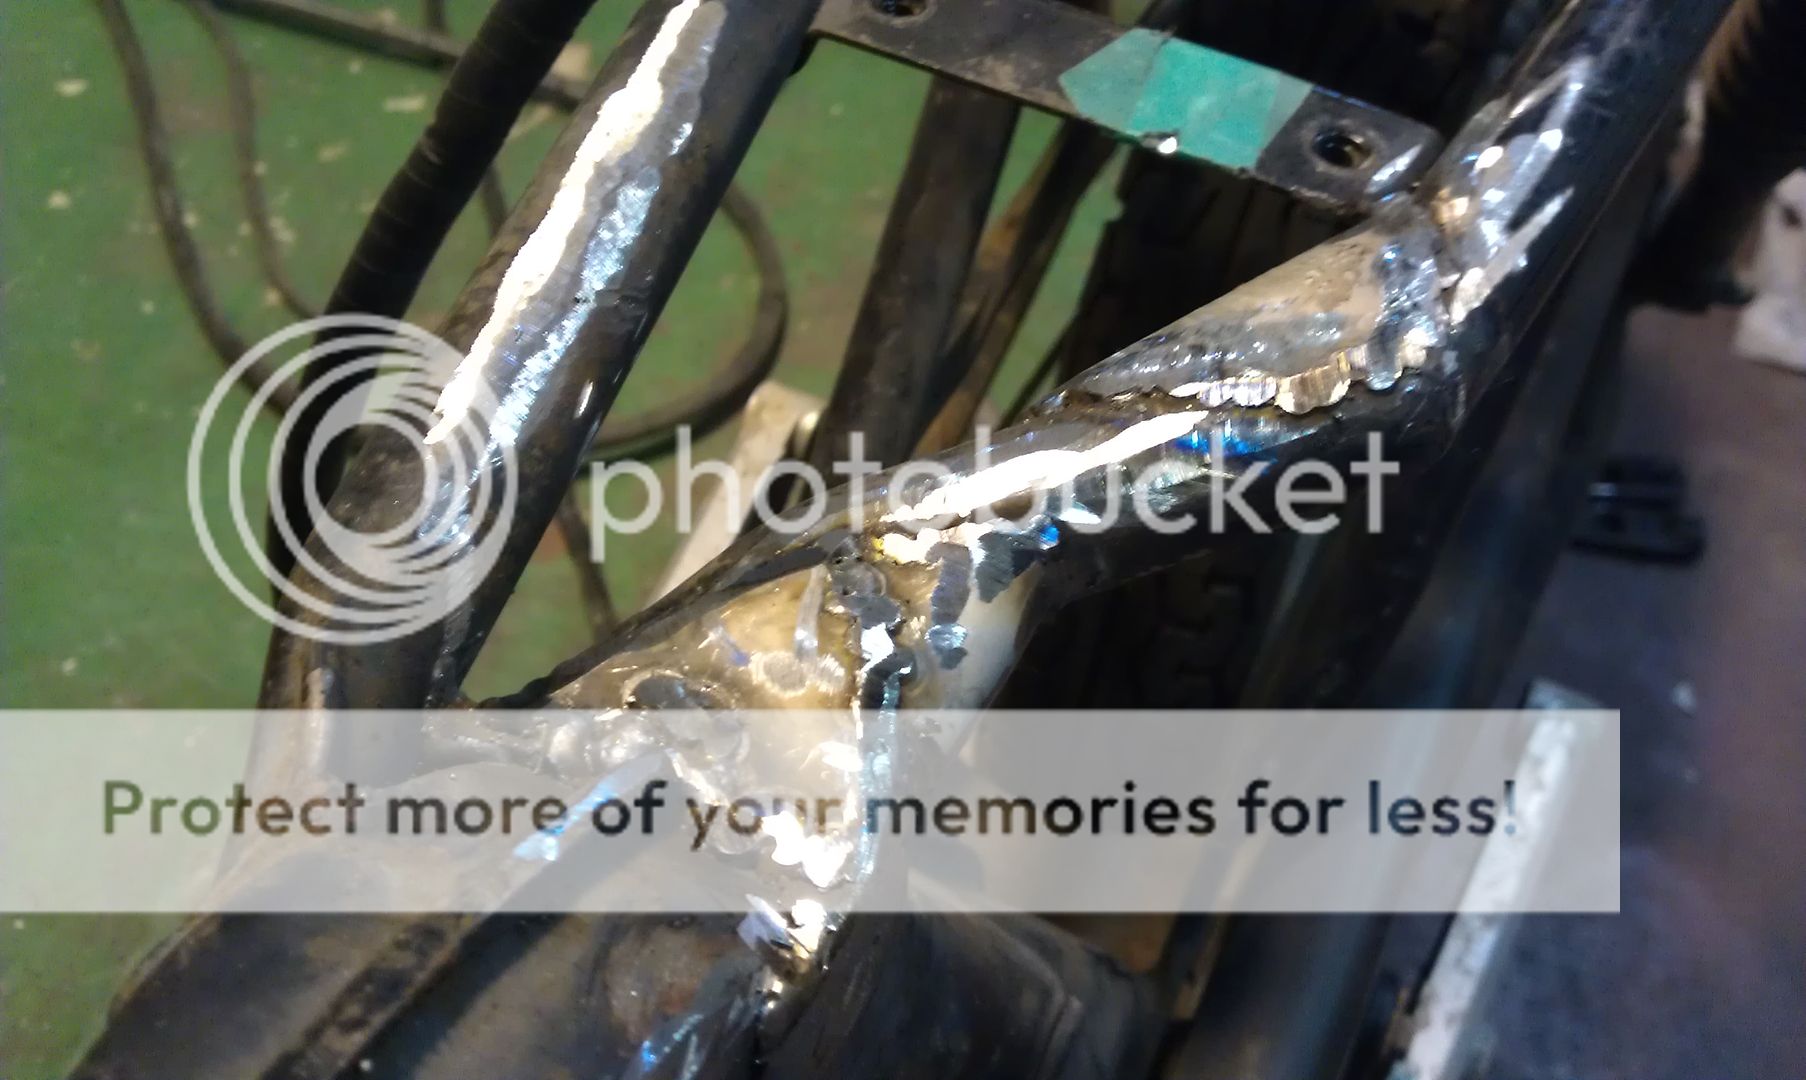
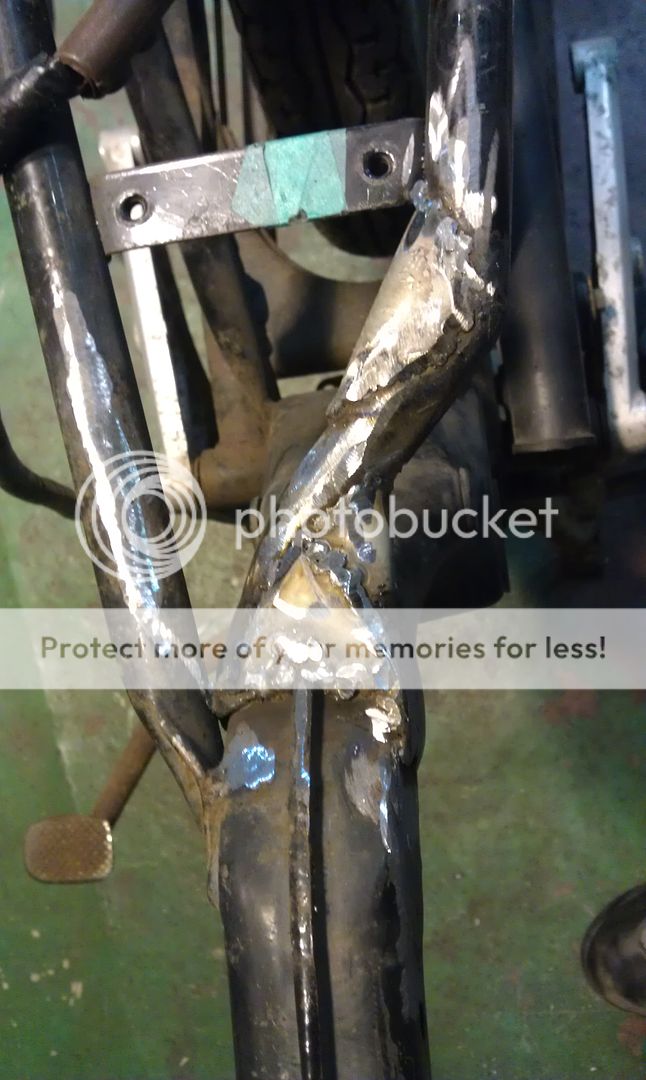
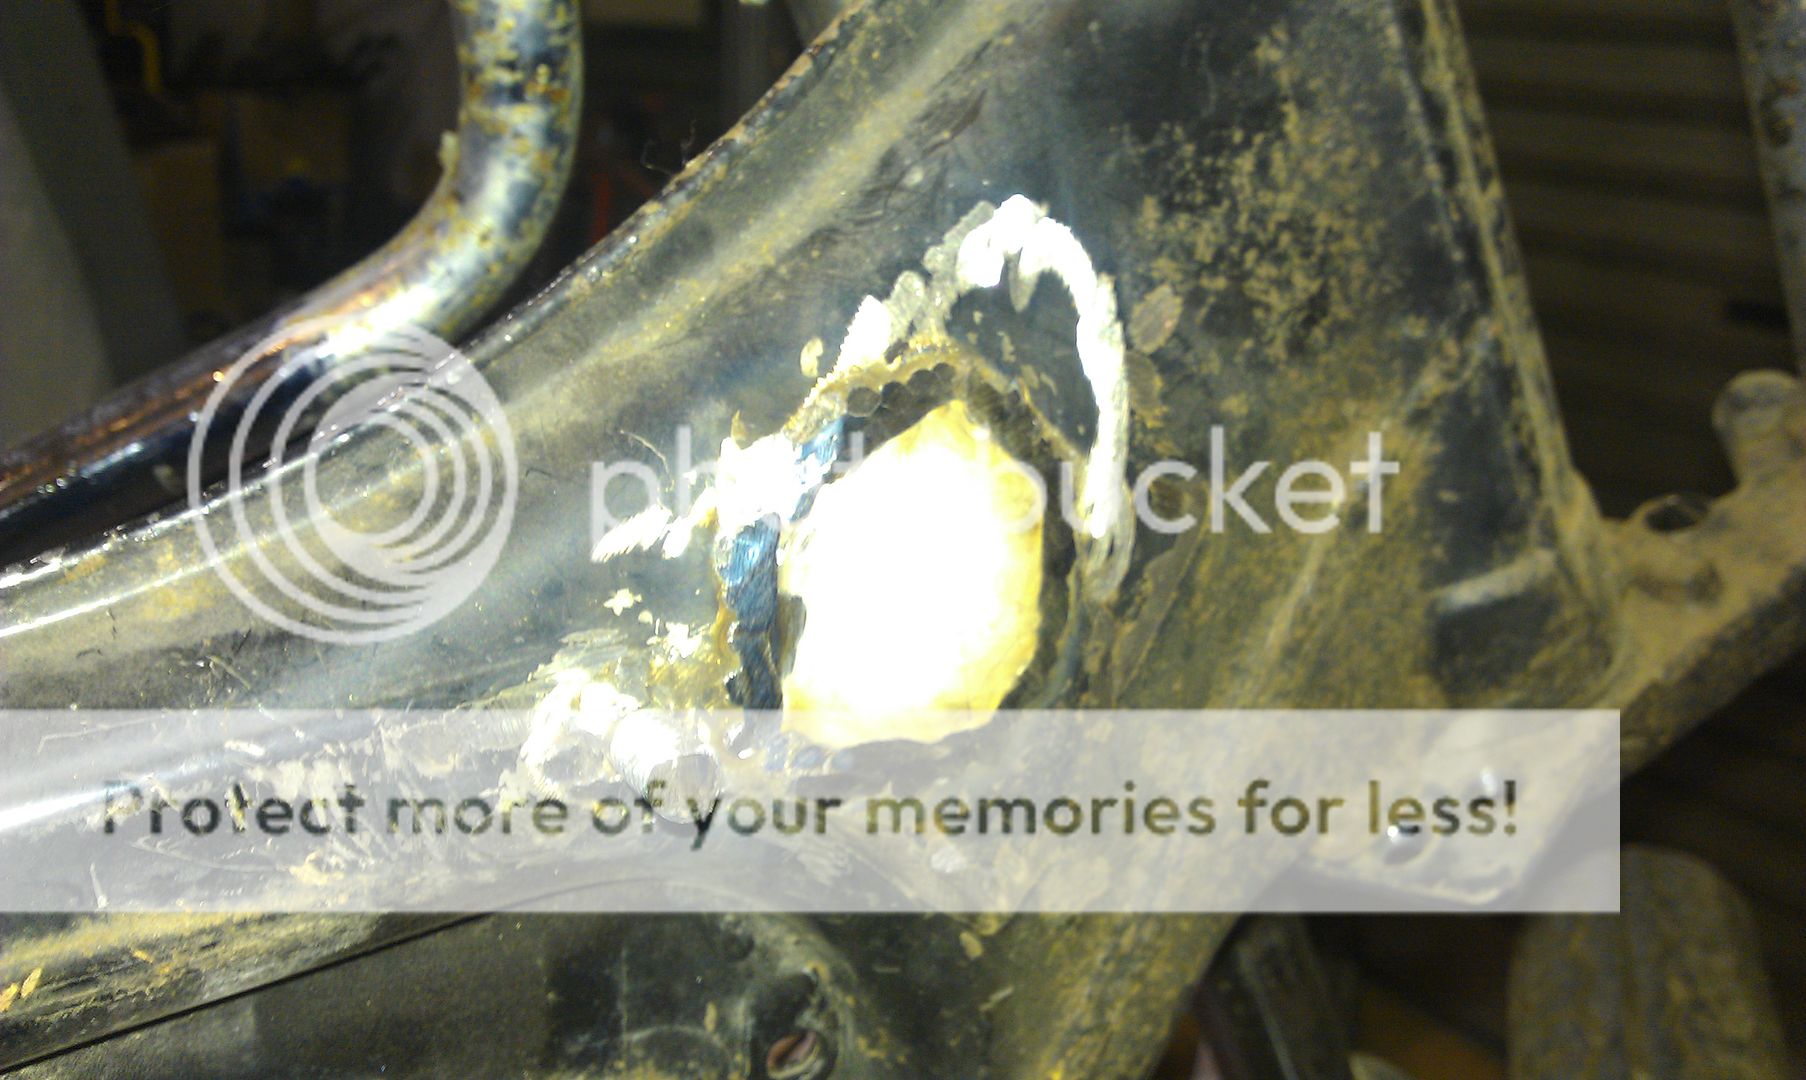
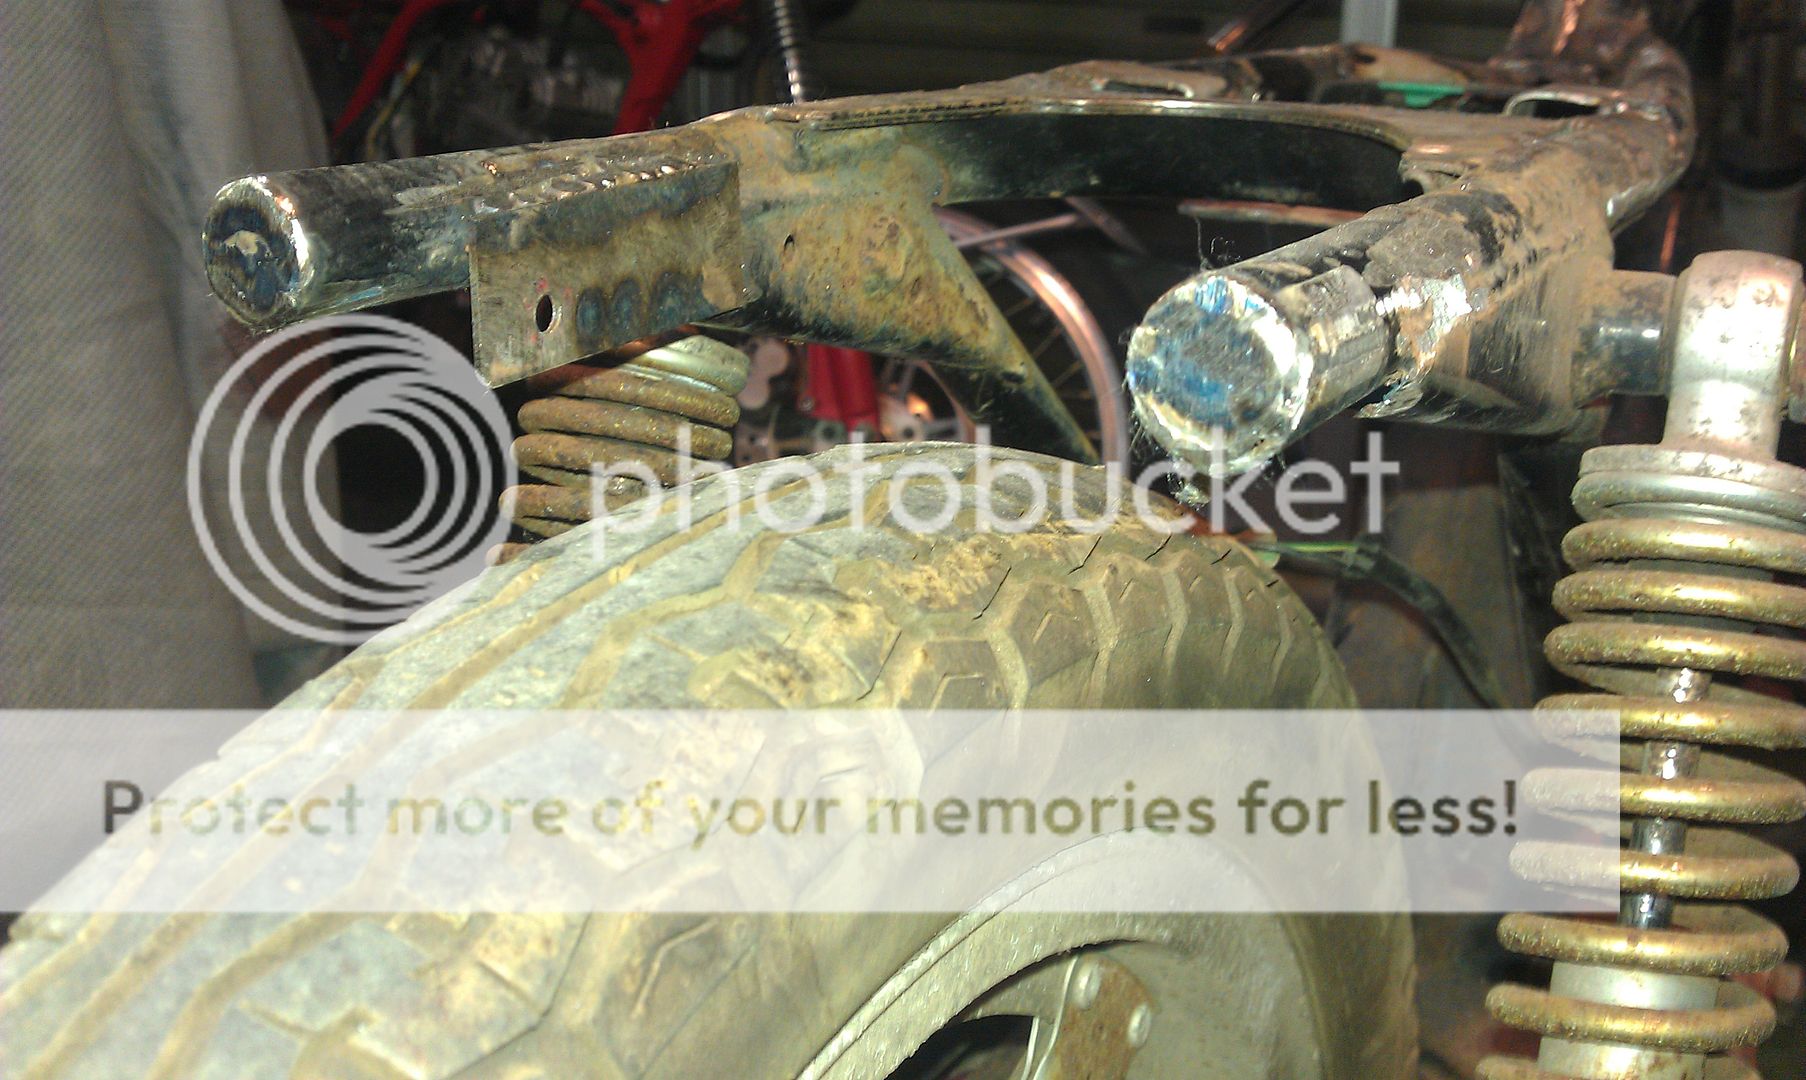
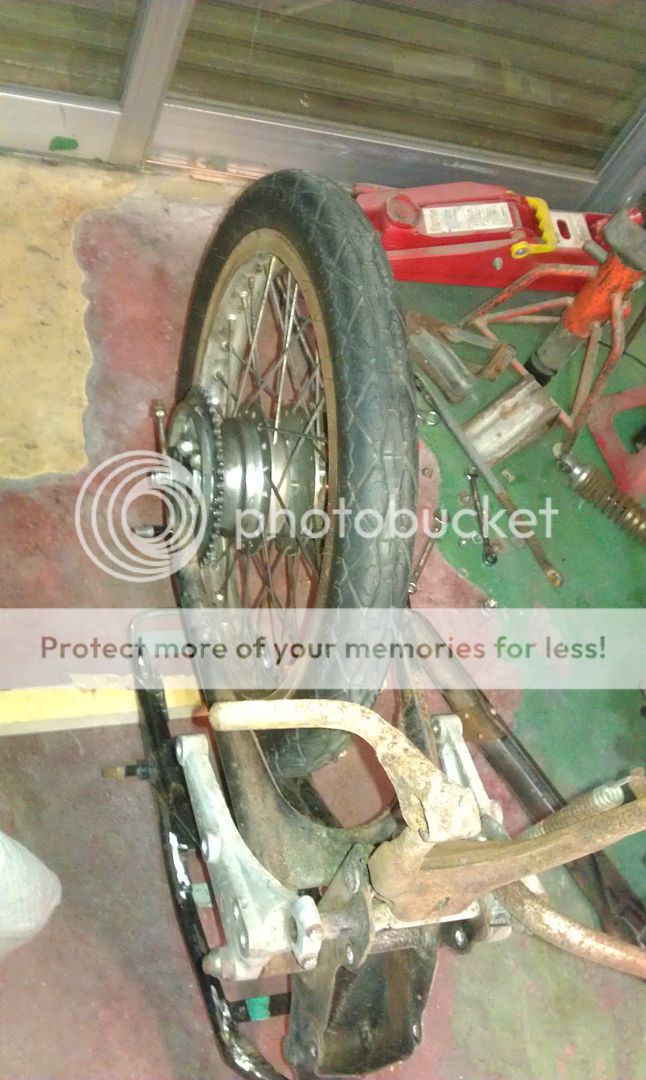
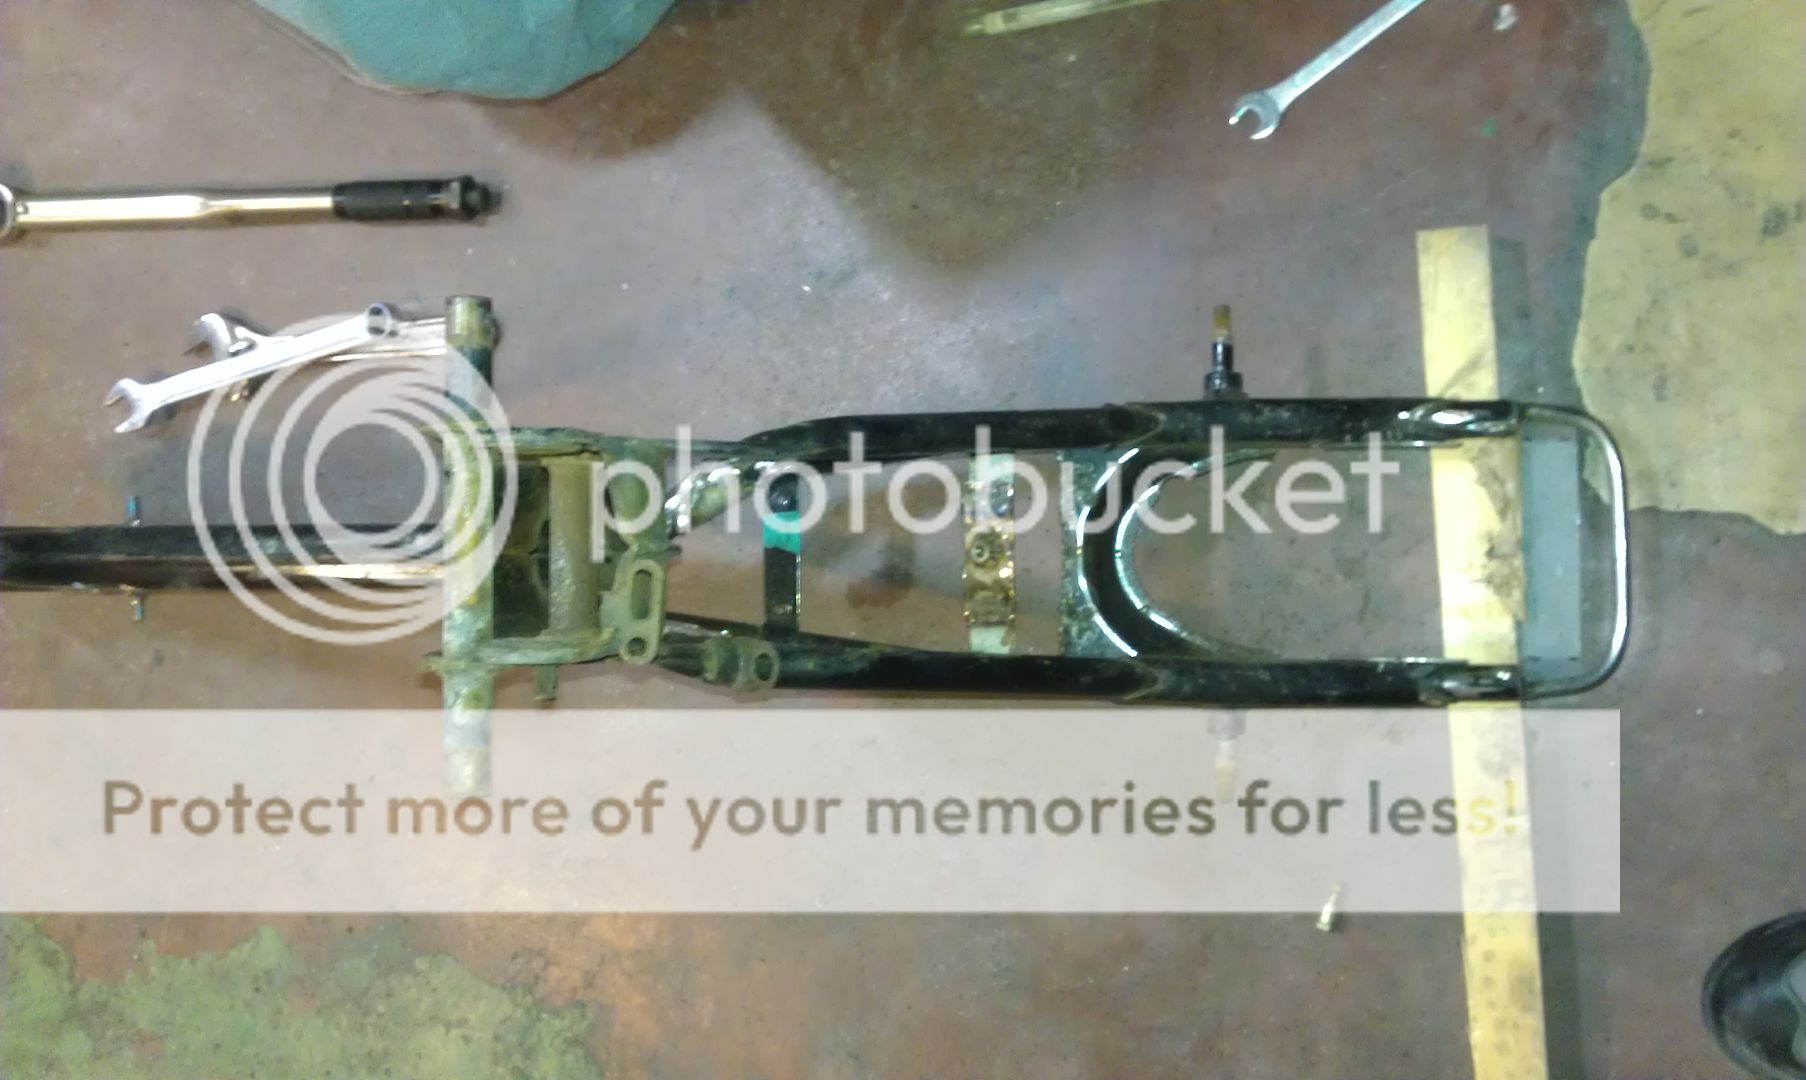
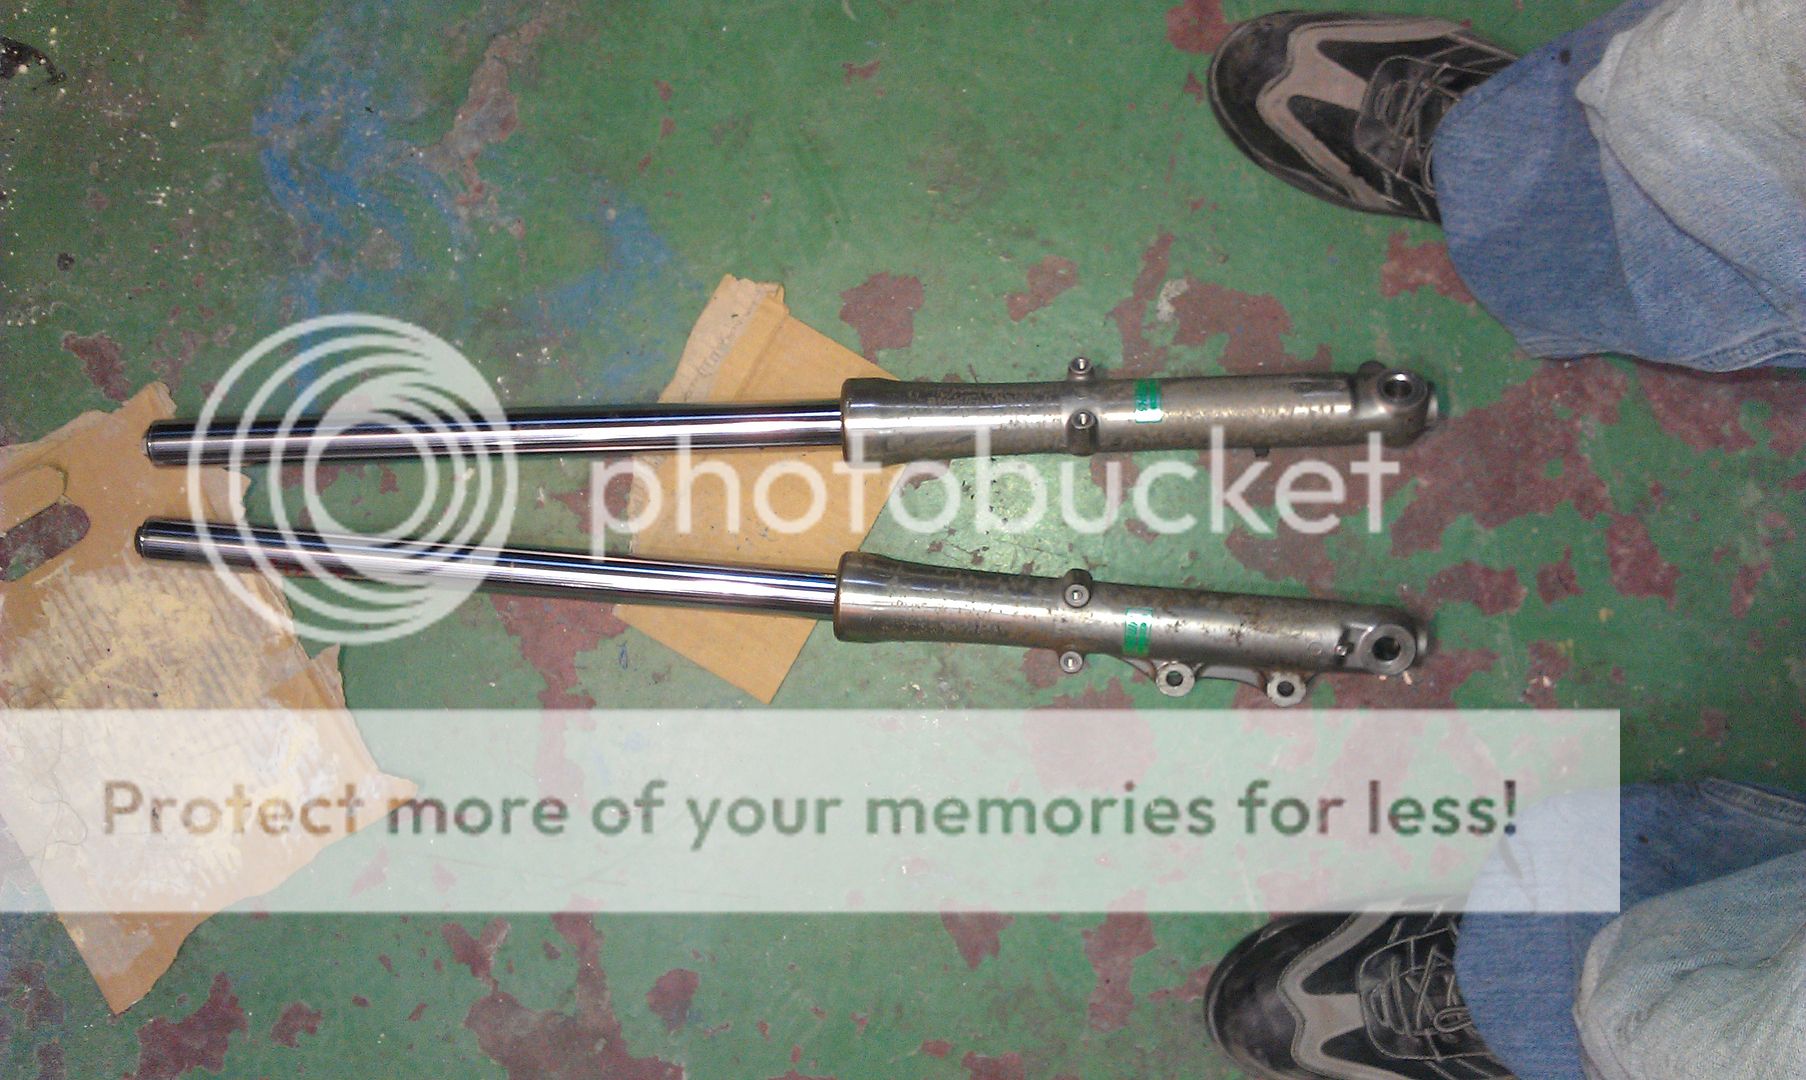
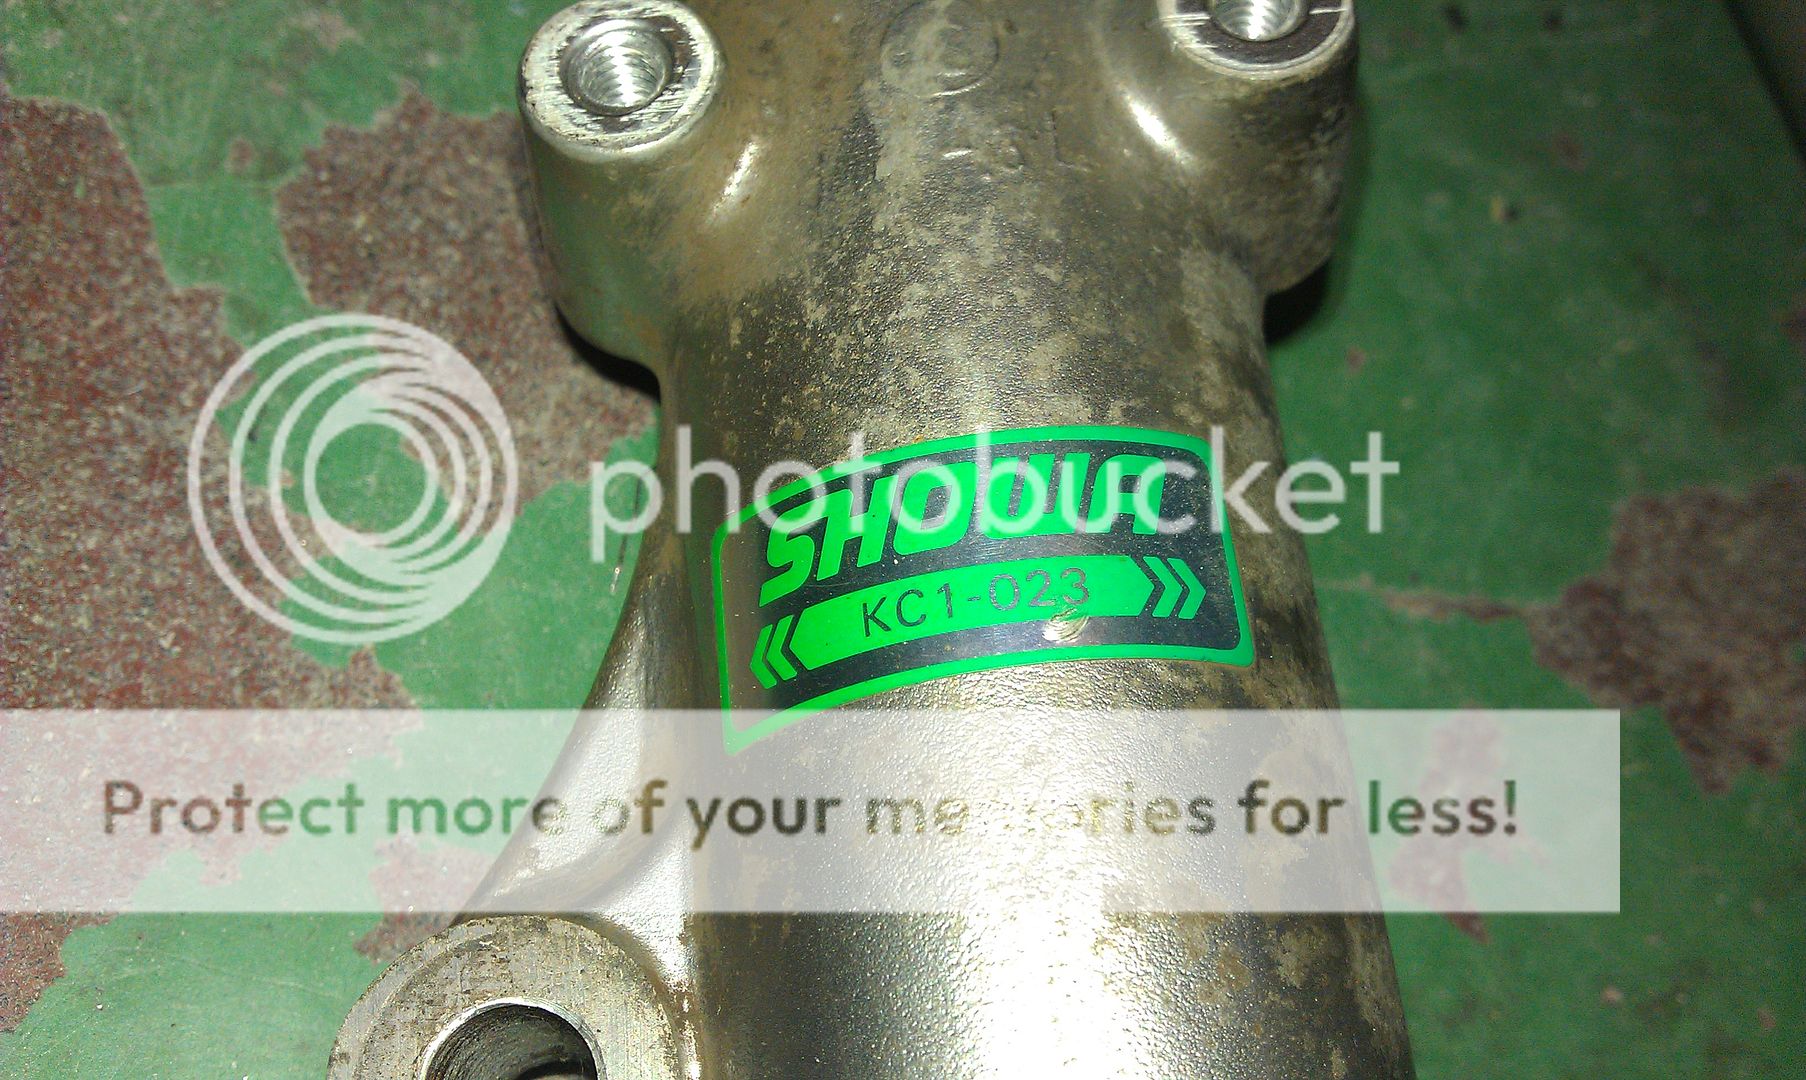
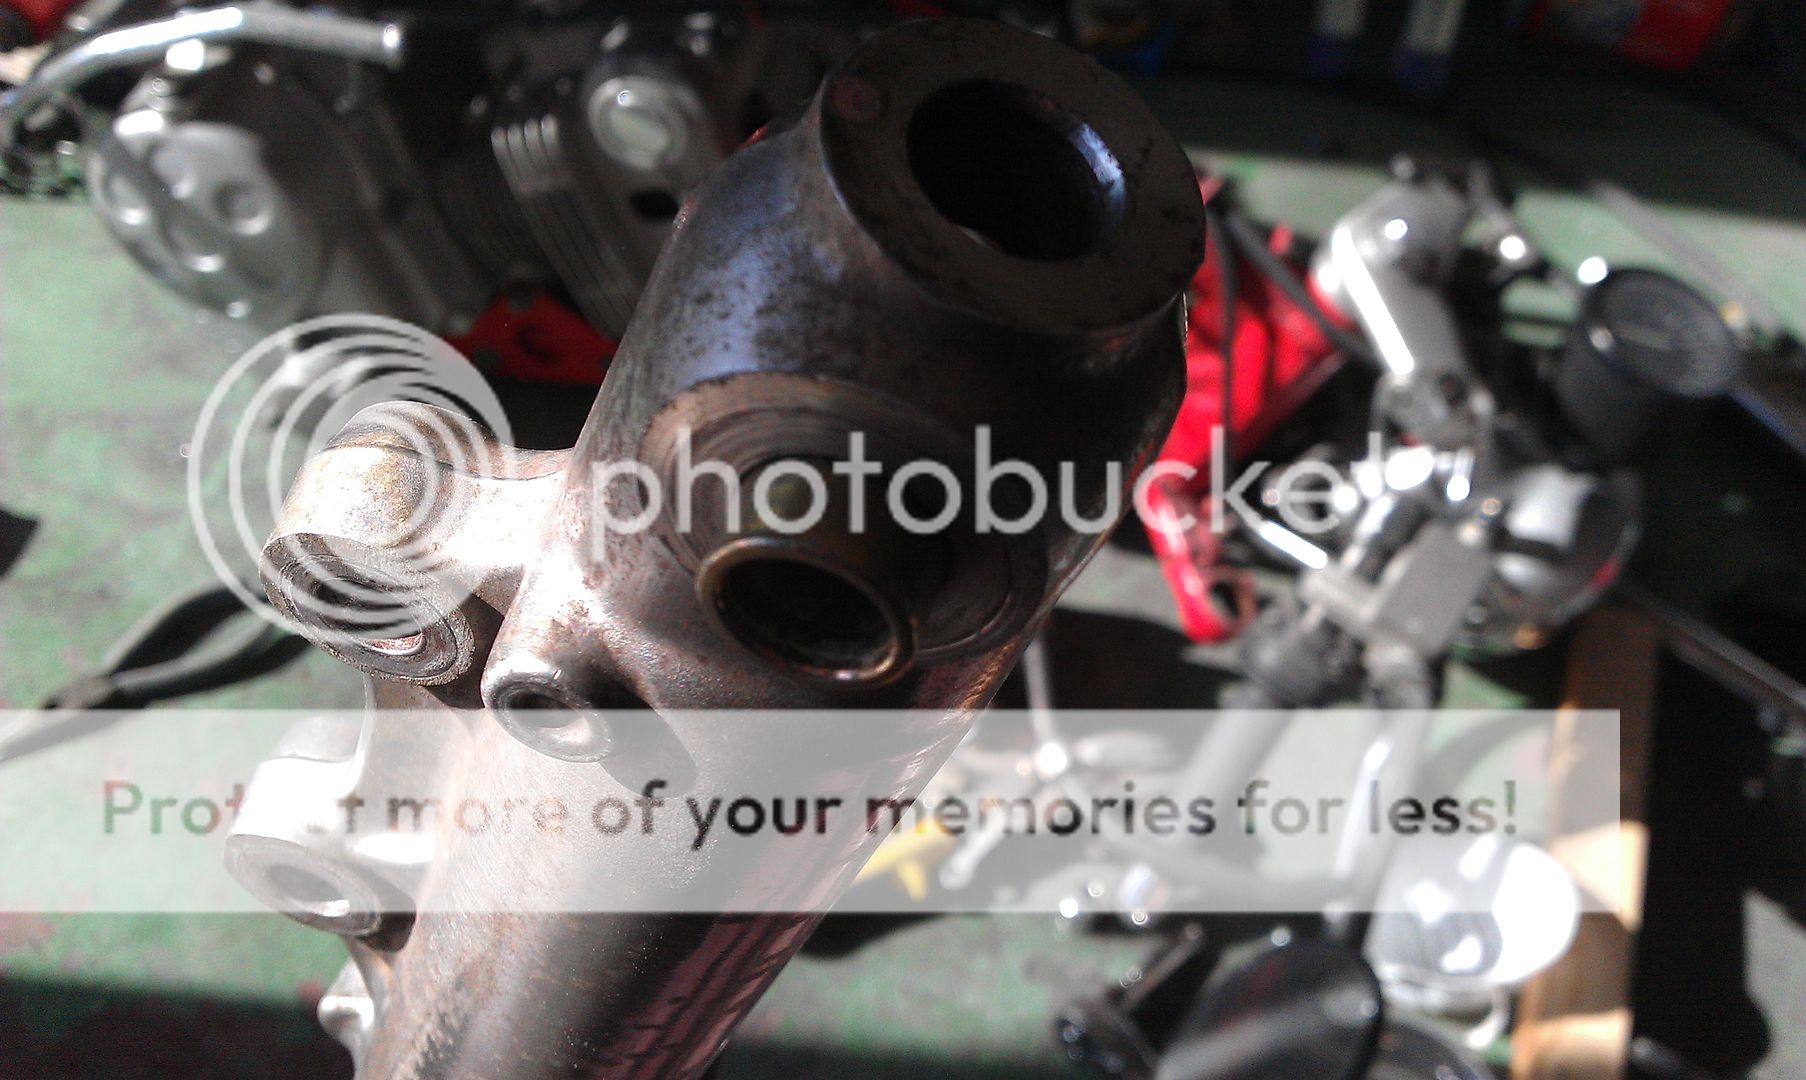
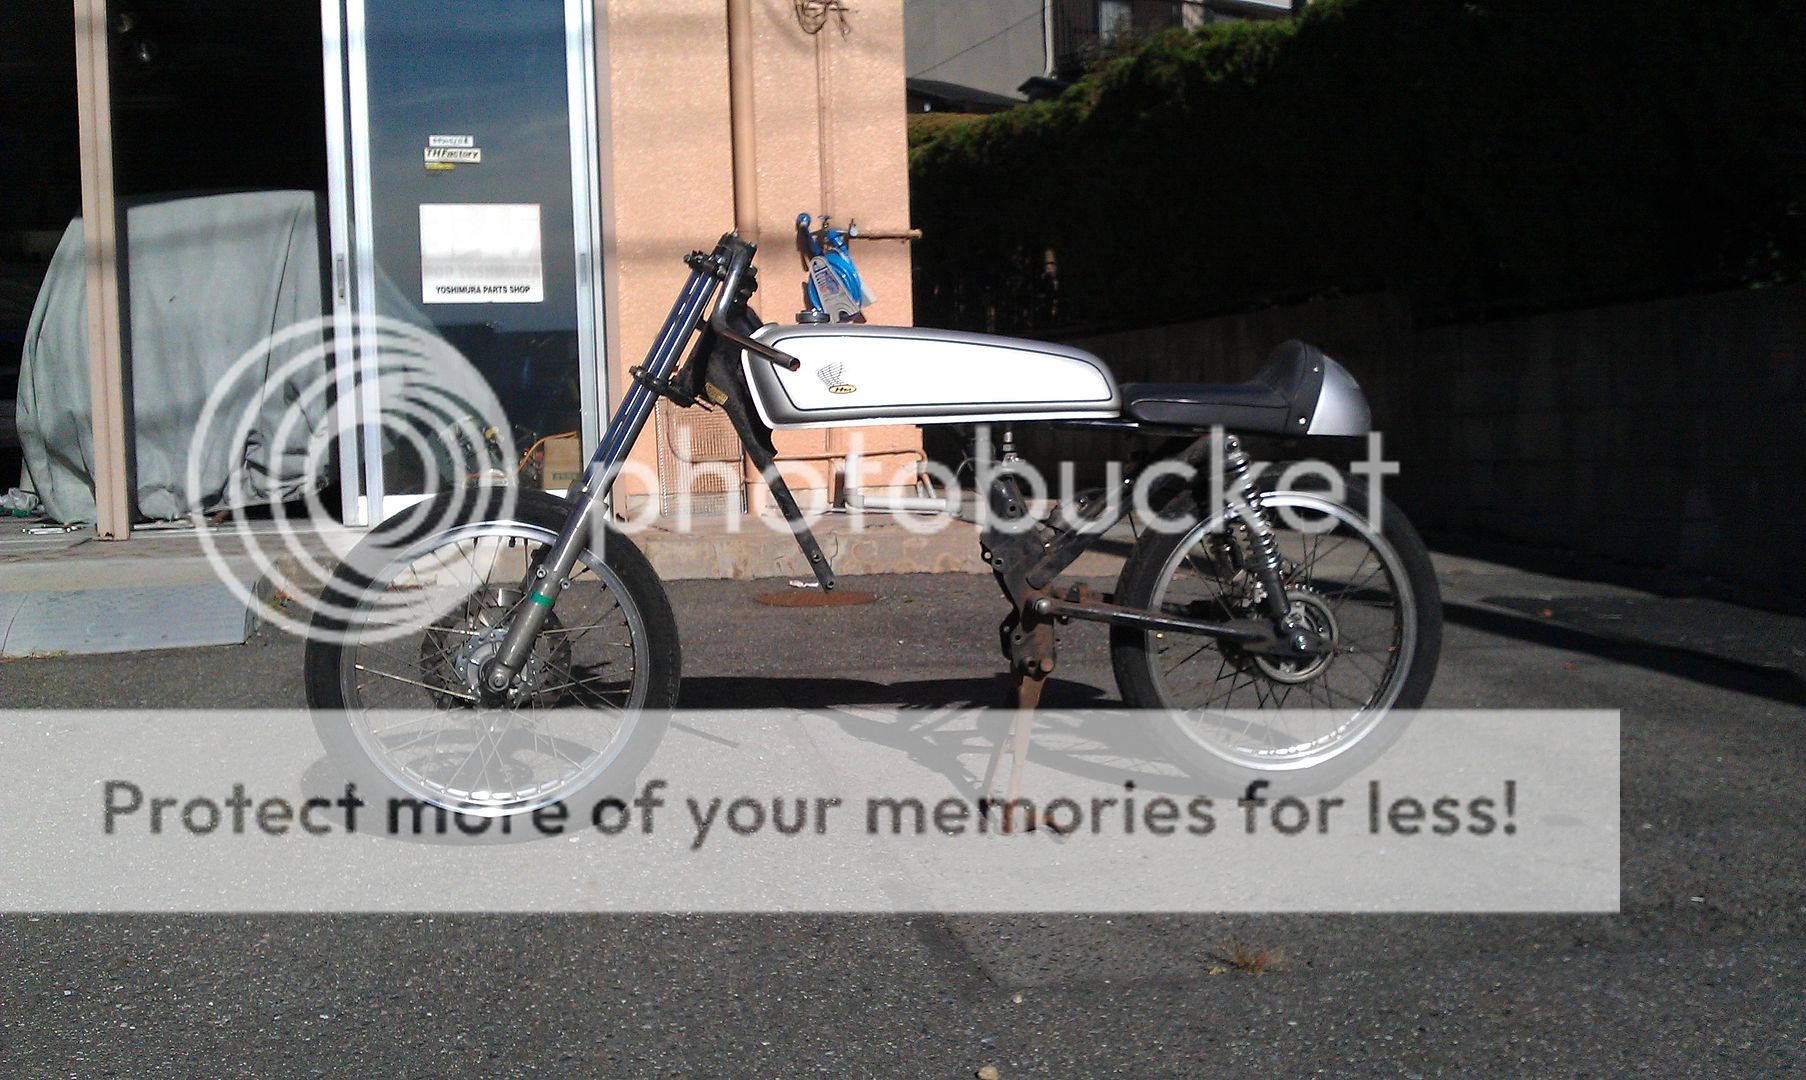
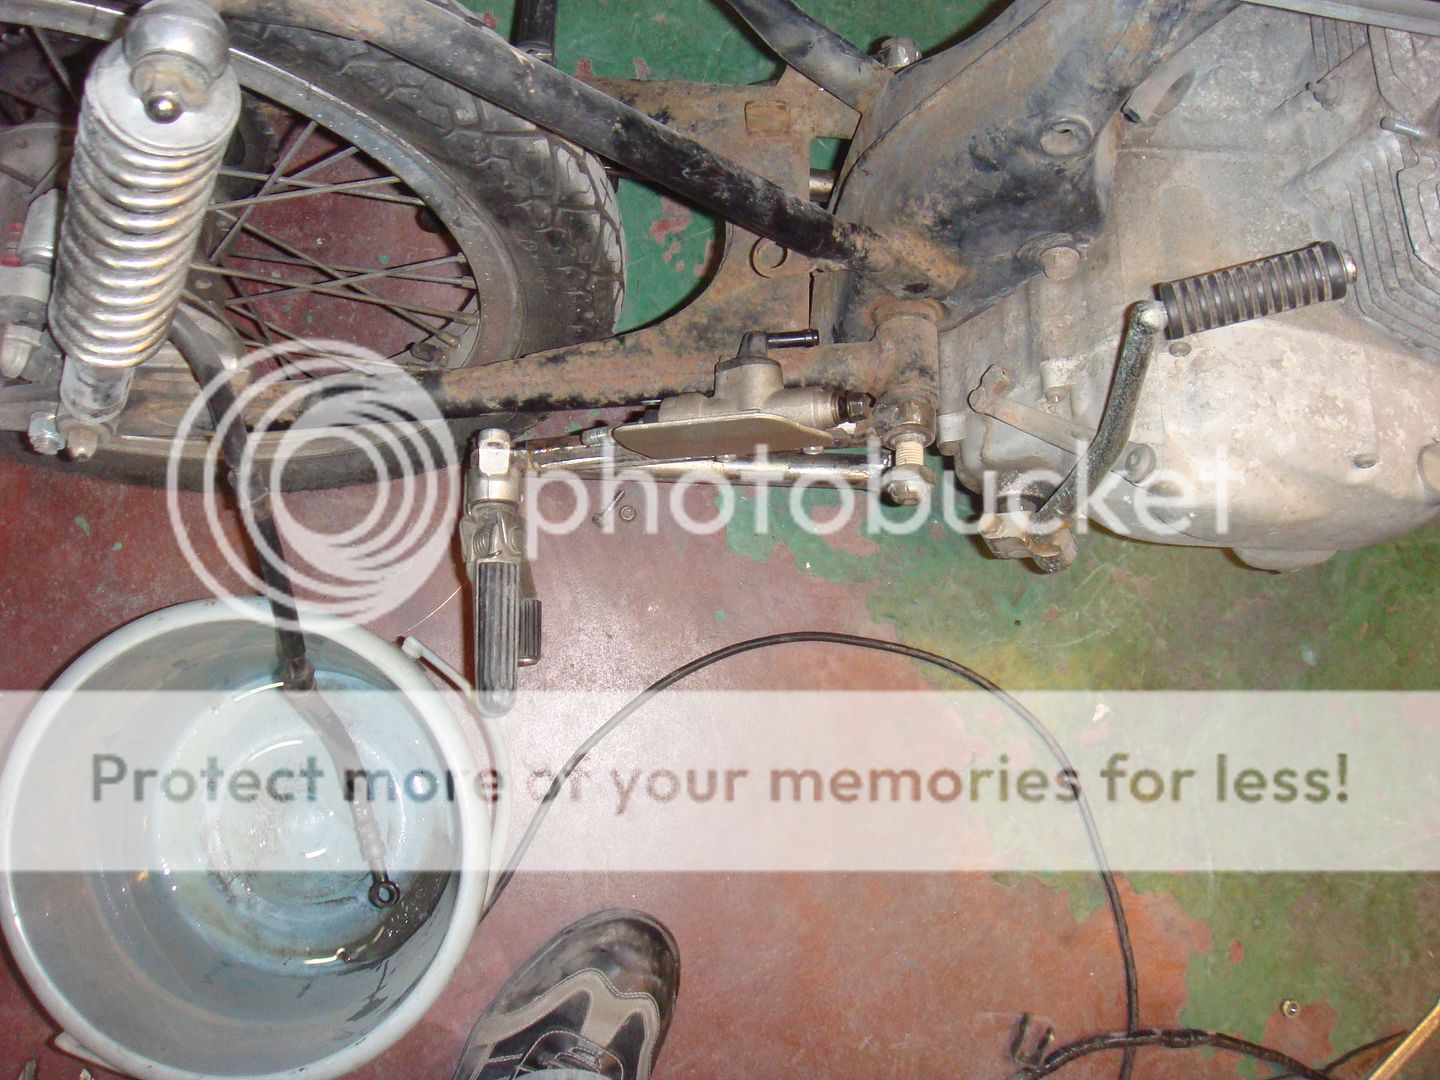
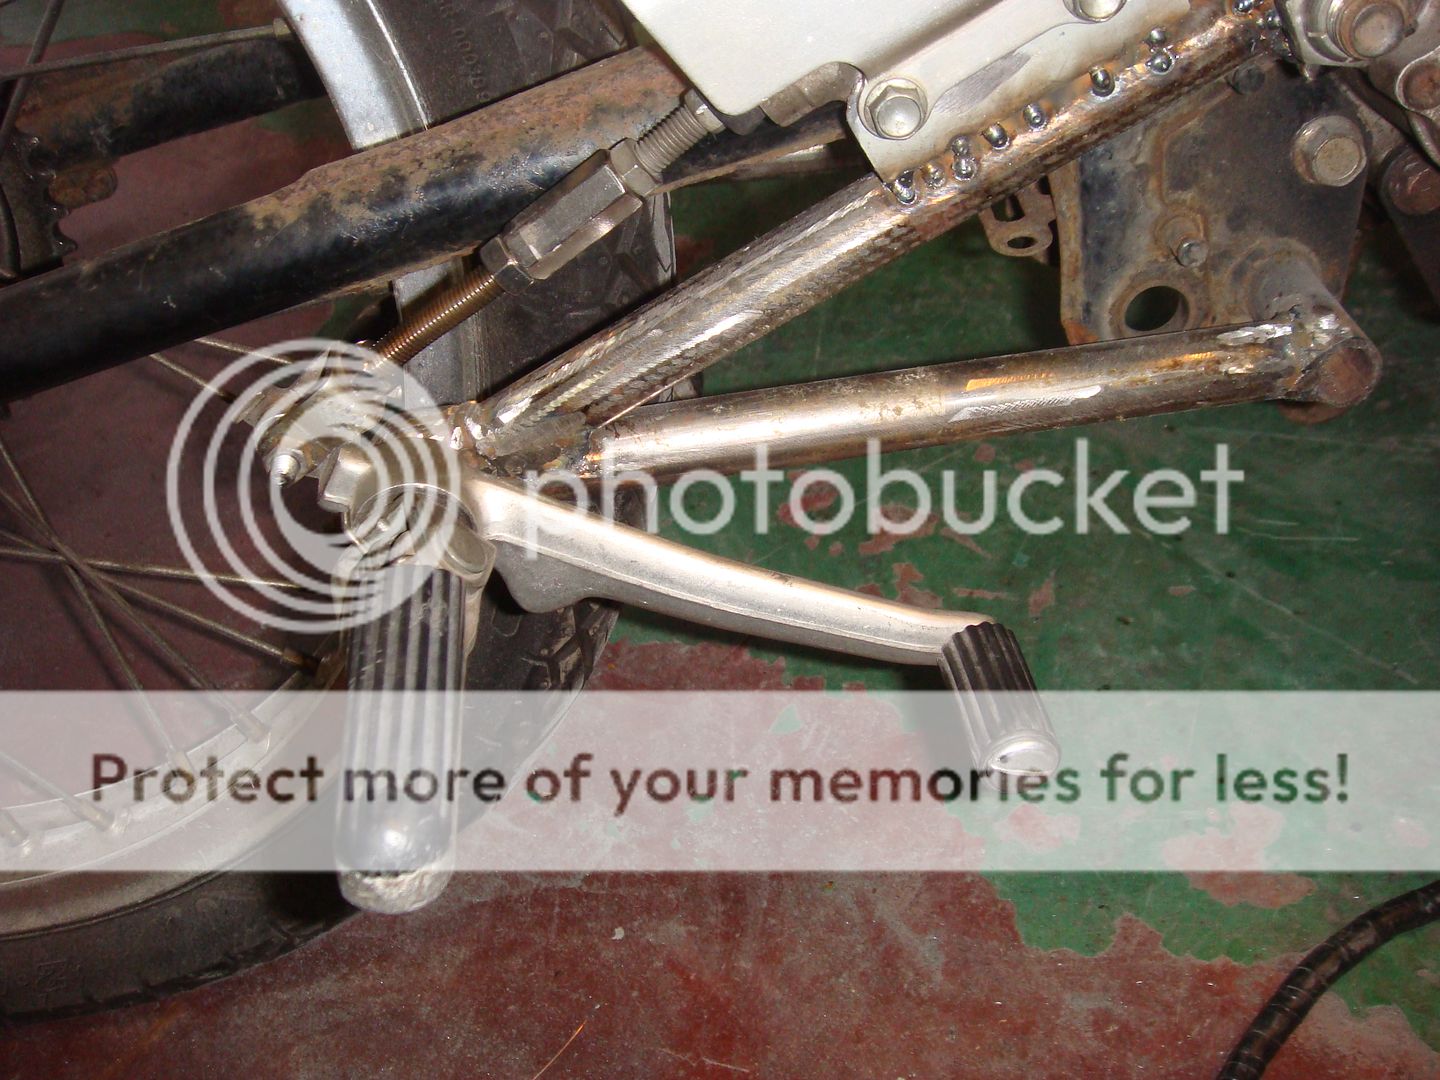
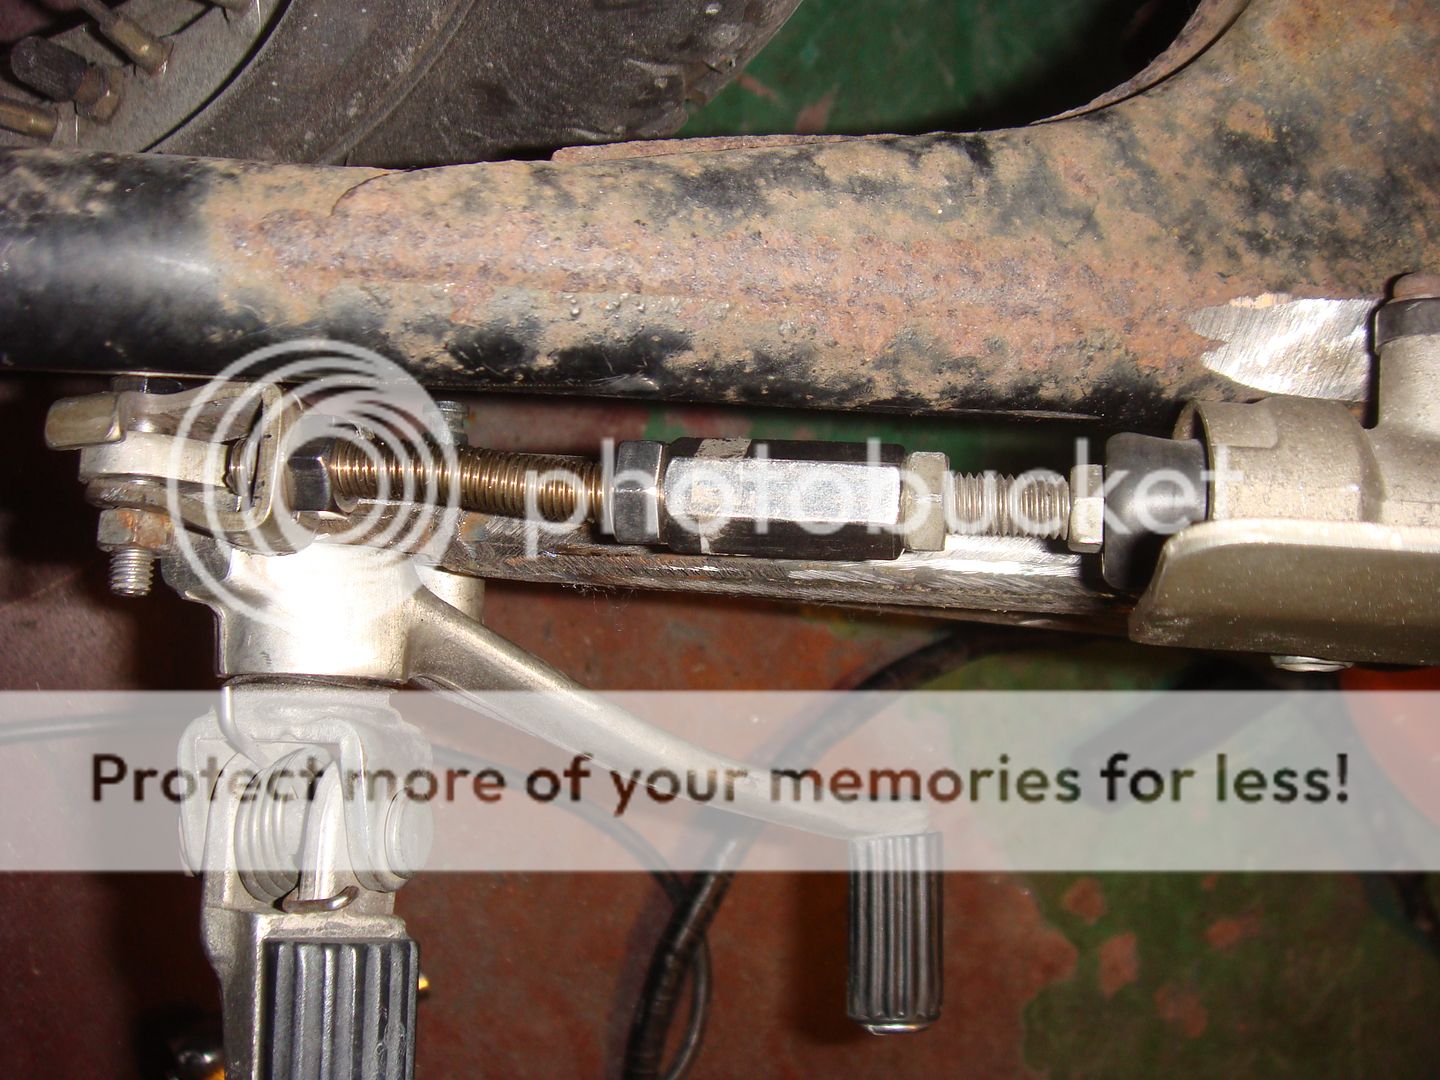
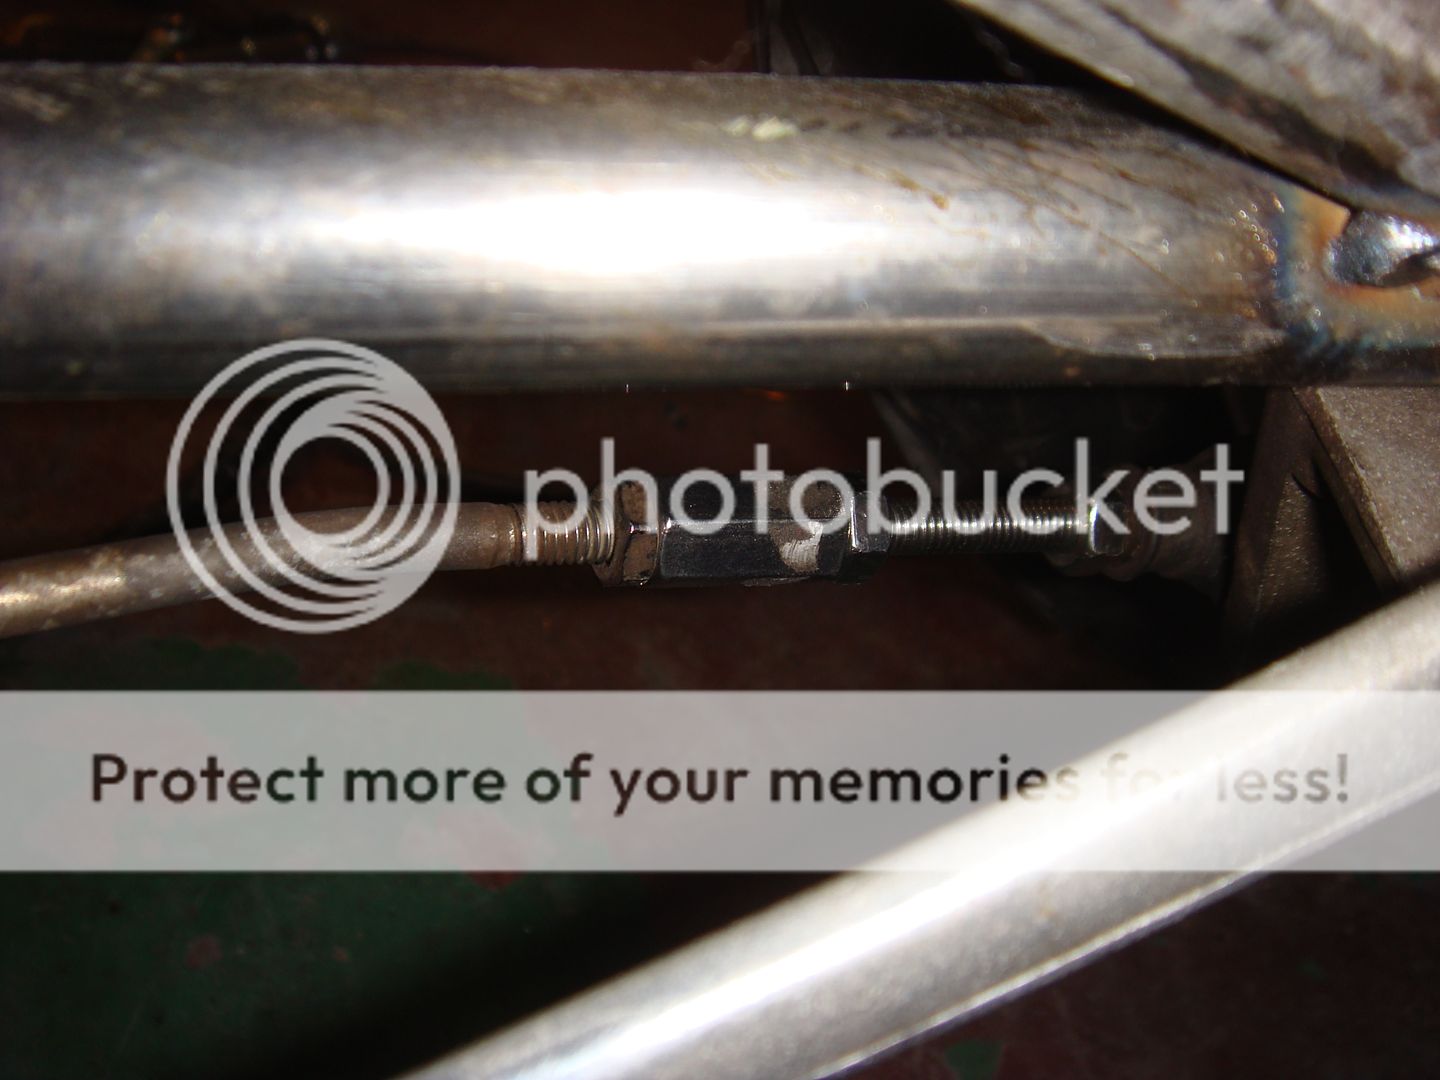
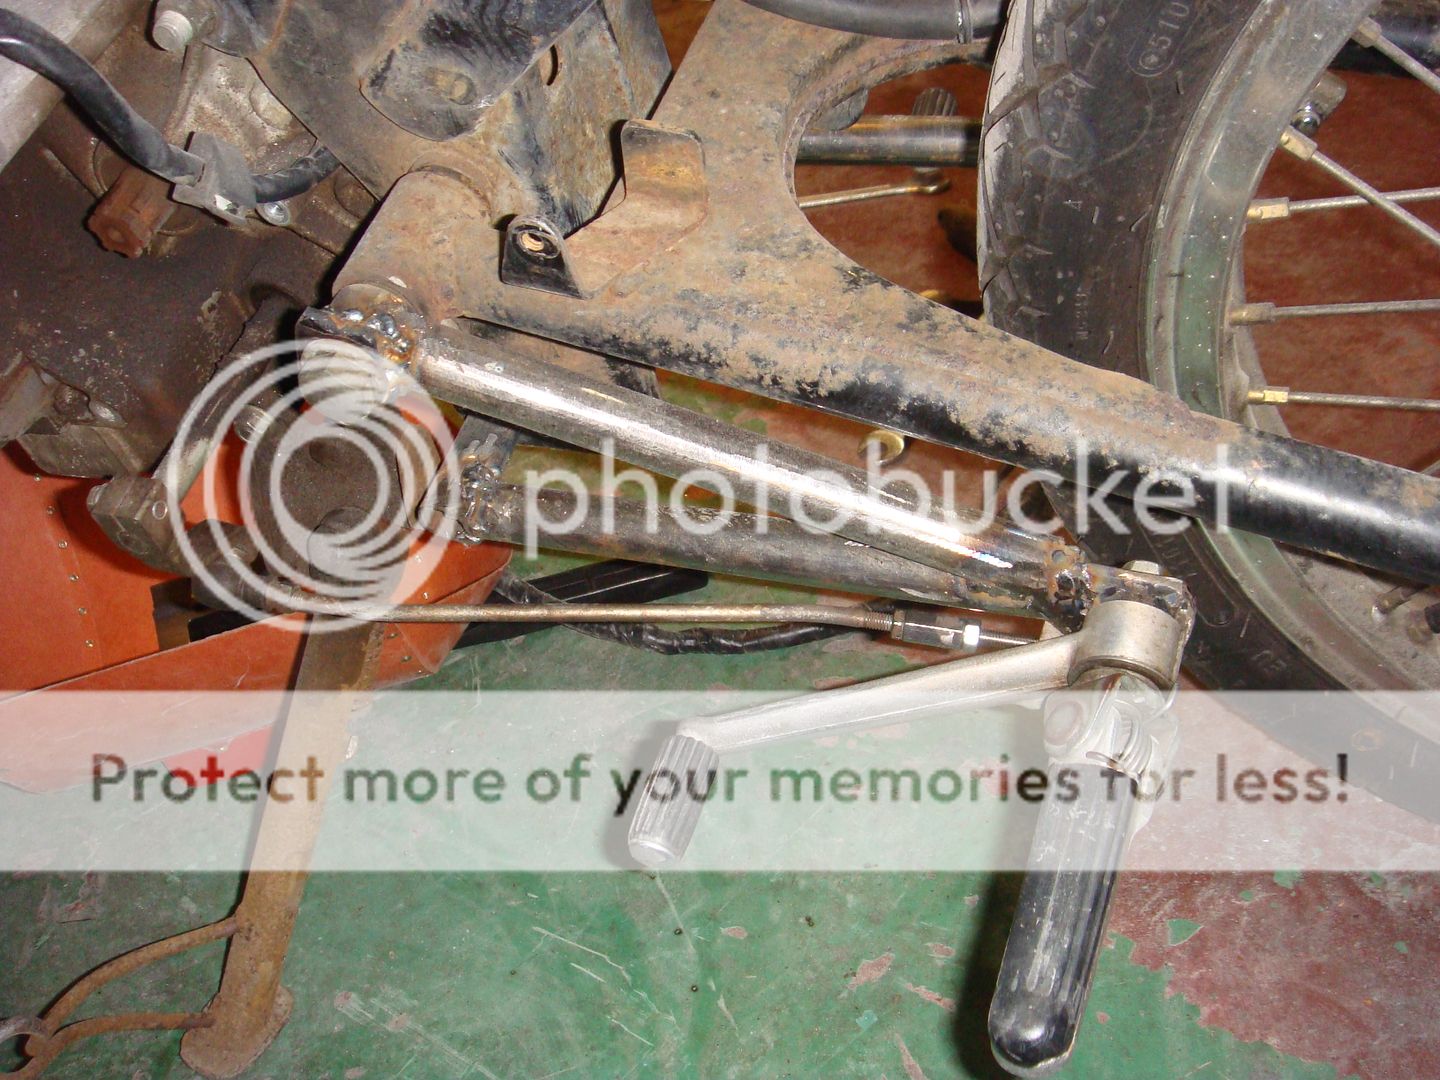
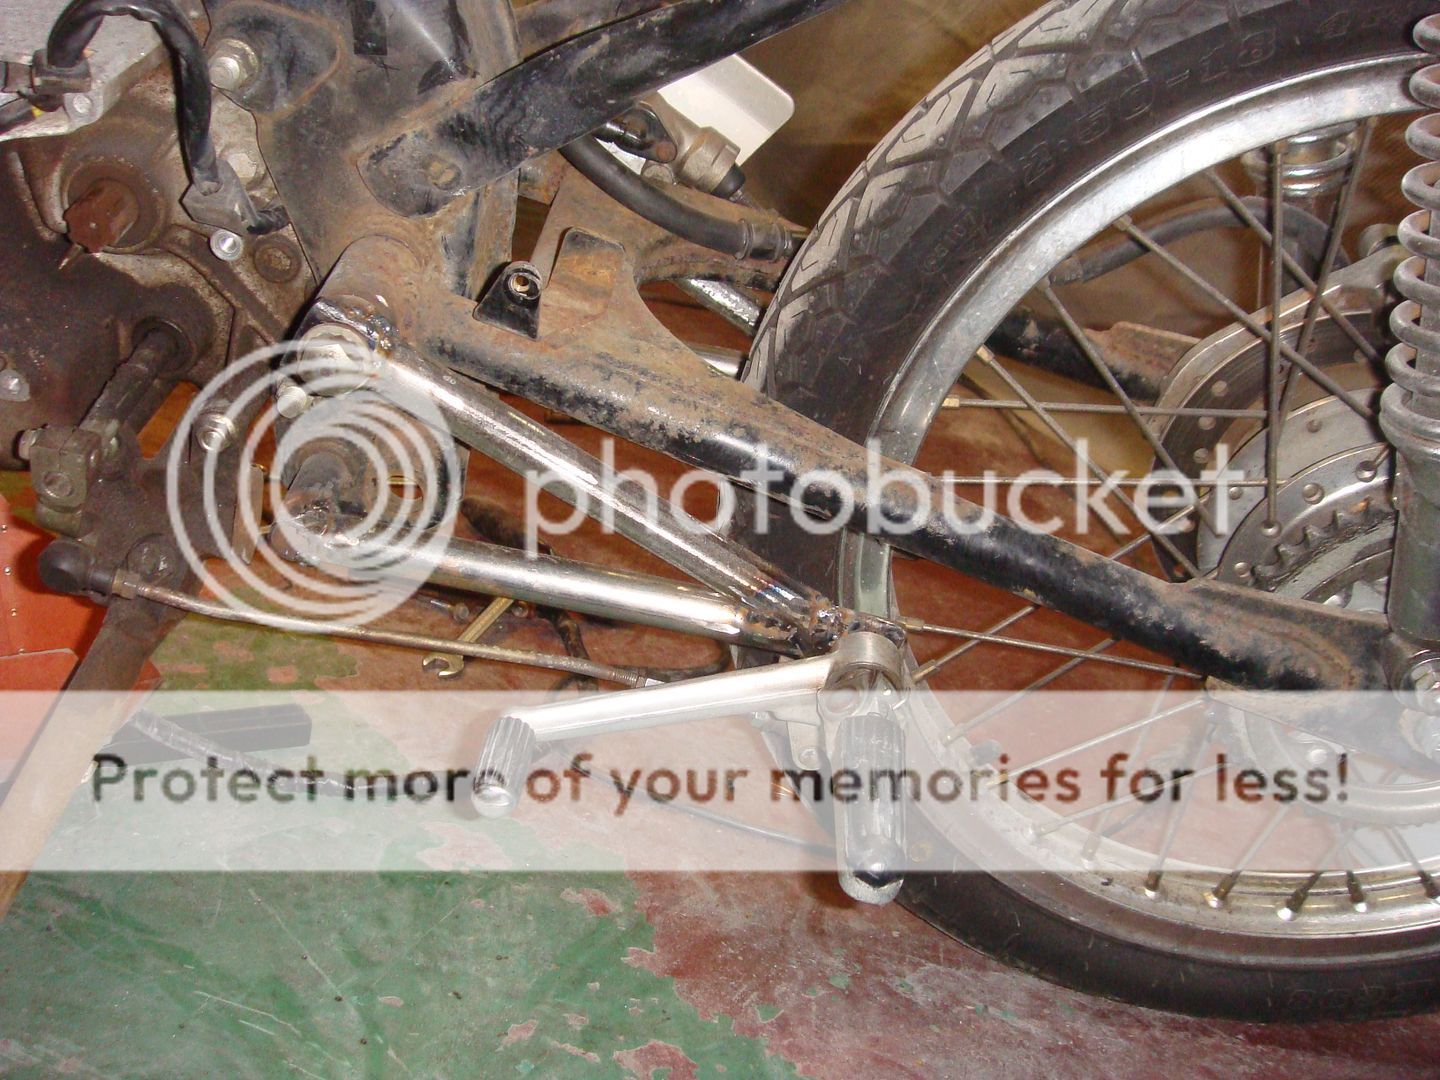
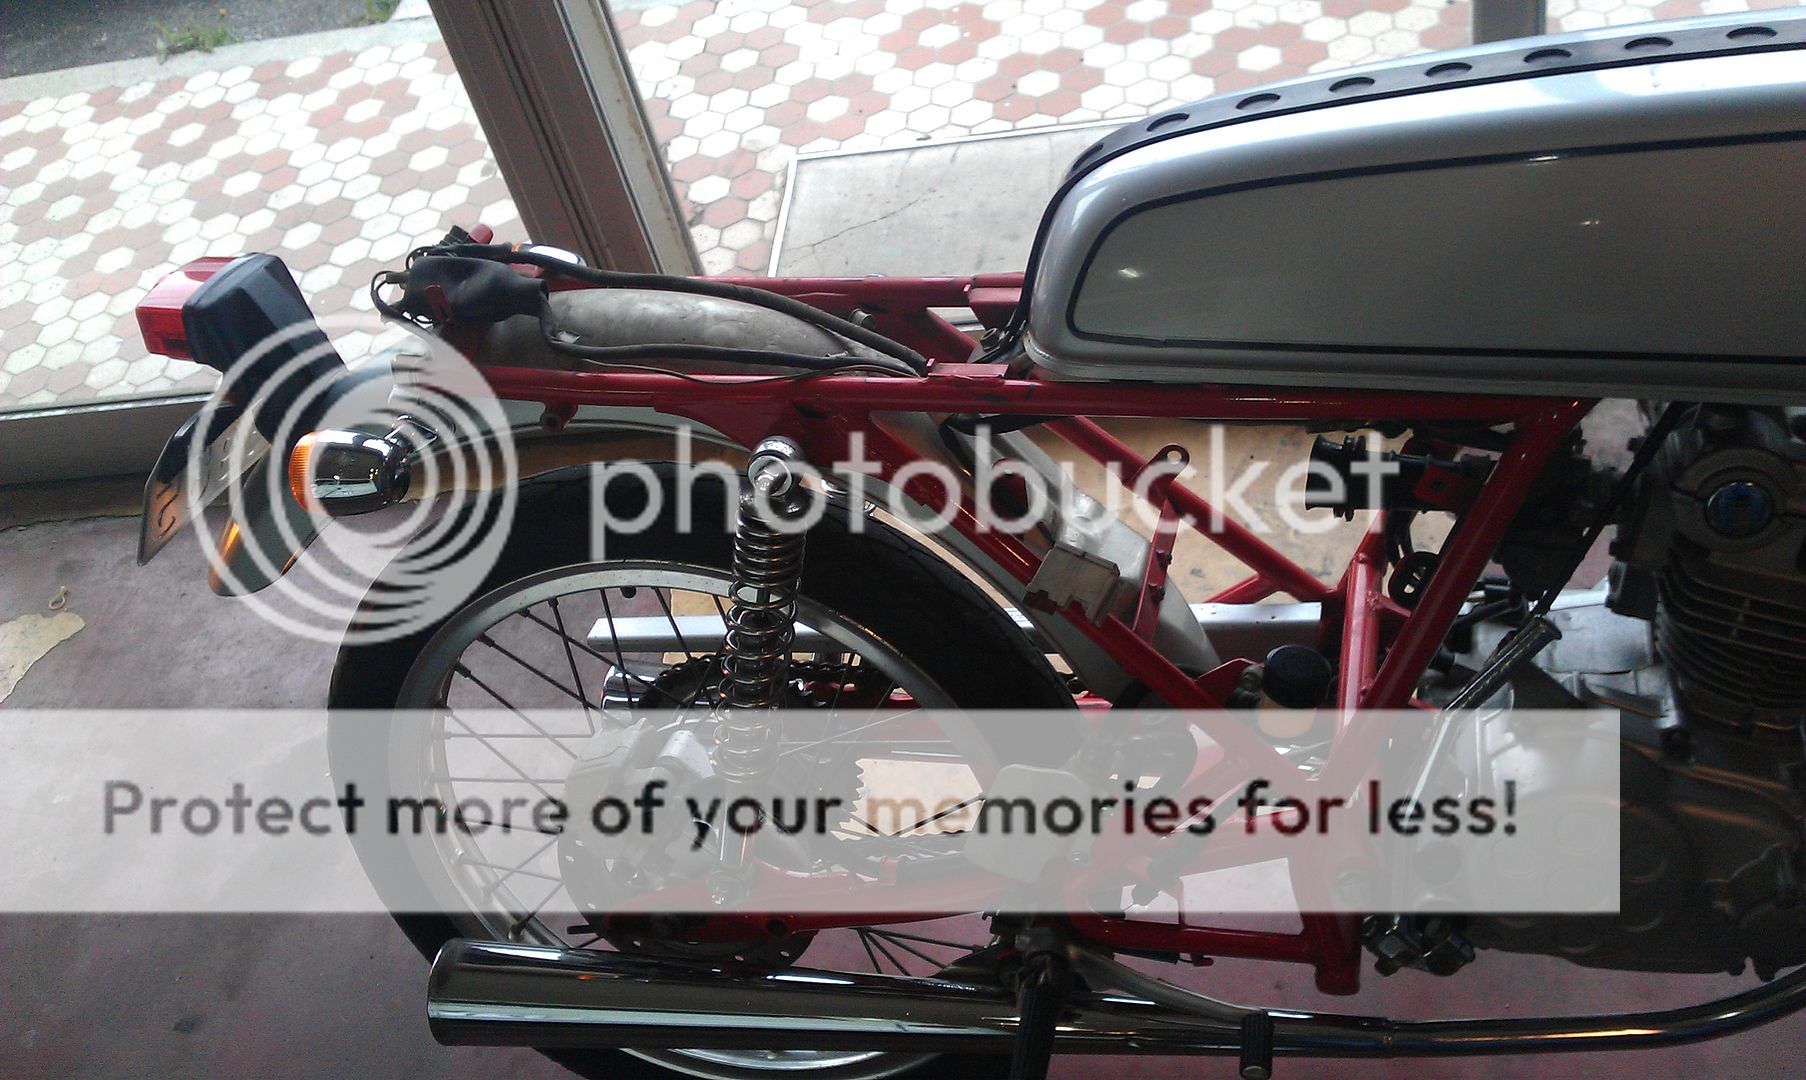
I was also planning on dropping the rear fender and dropping in a piece of aluminum for a much cleaner look.
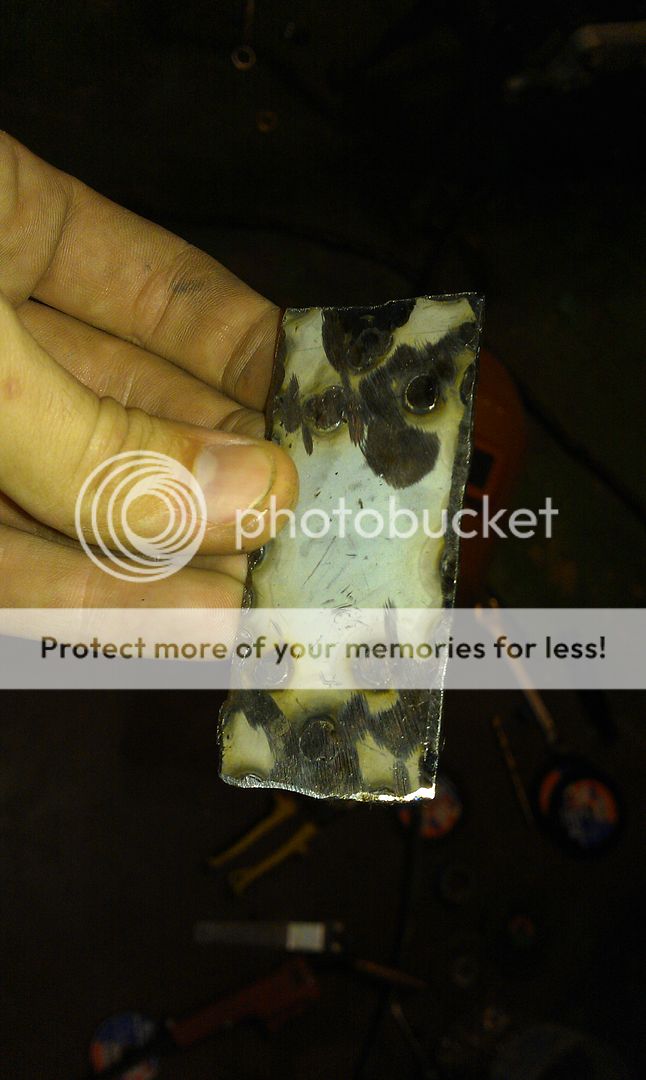
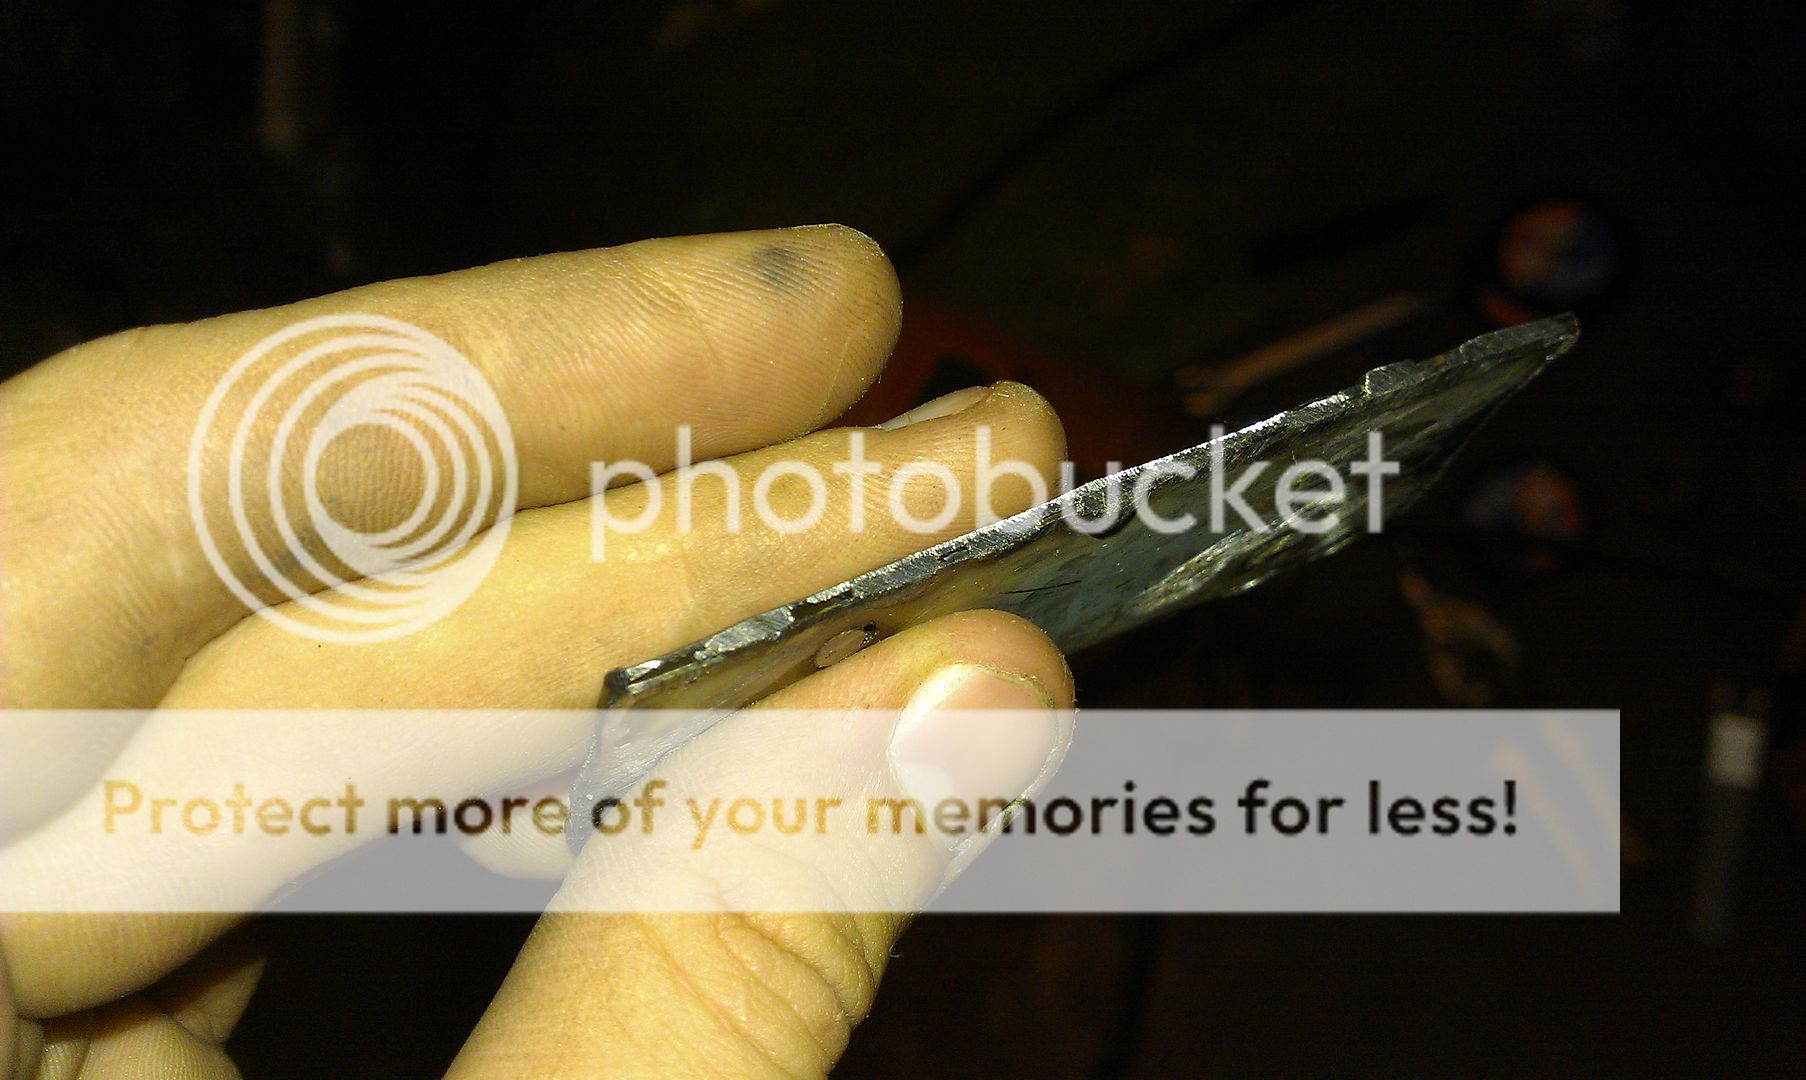
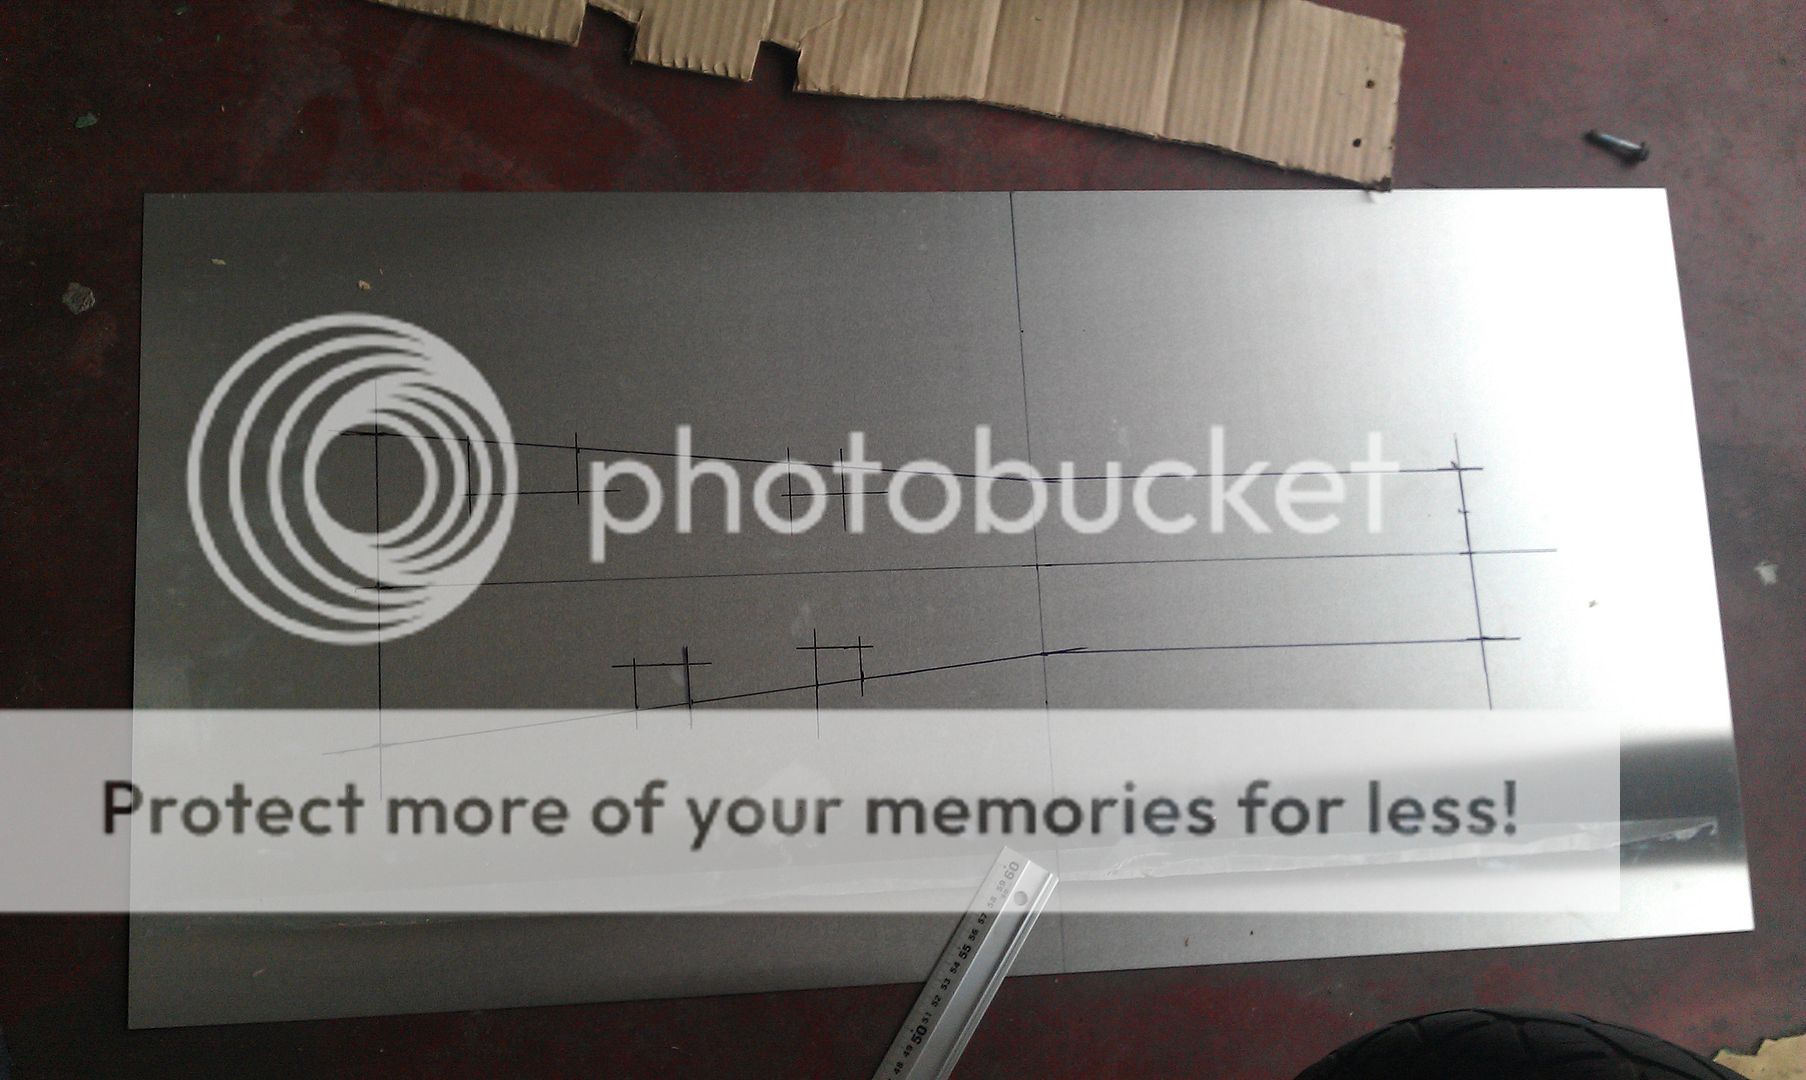
So I took a piece of cardboard and folded and cut it to the shape I wanted. Then I took some simple measurements and transcribed them a nice piece of aluminum I picked up for 15 bucks at the local hardware store.
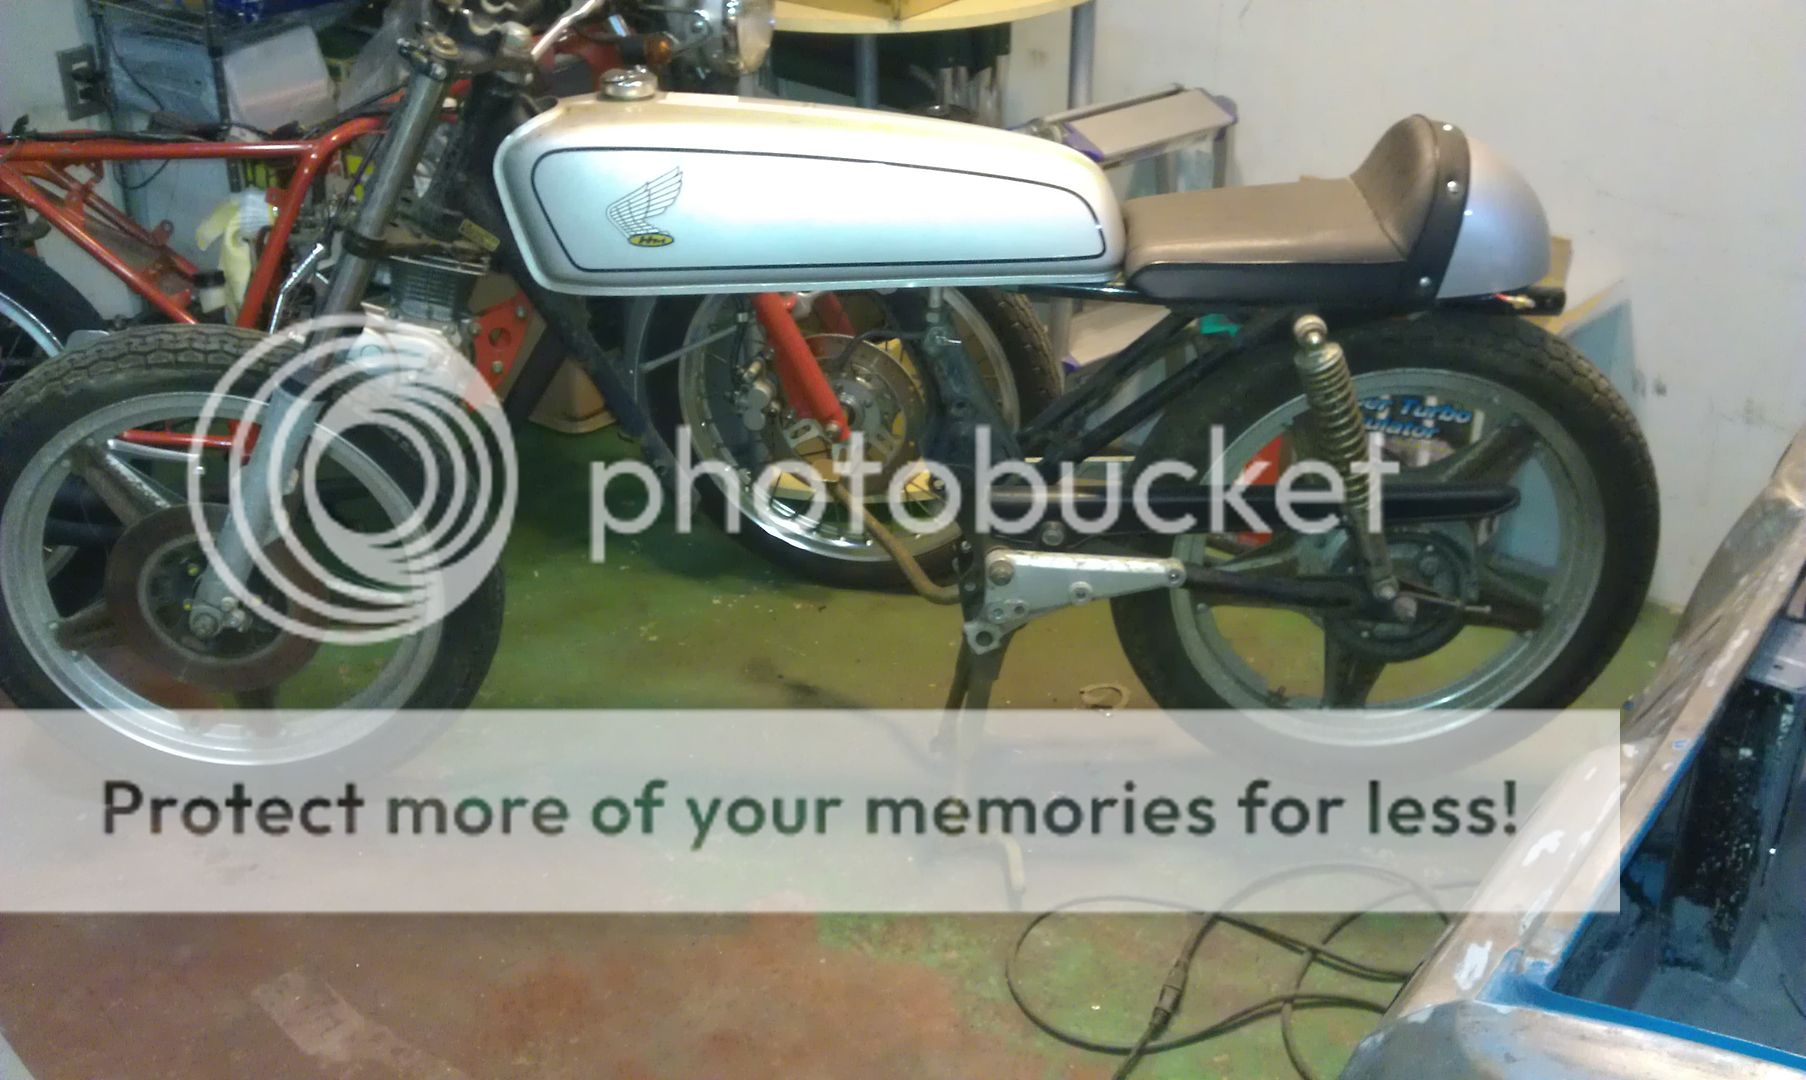
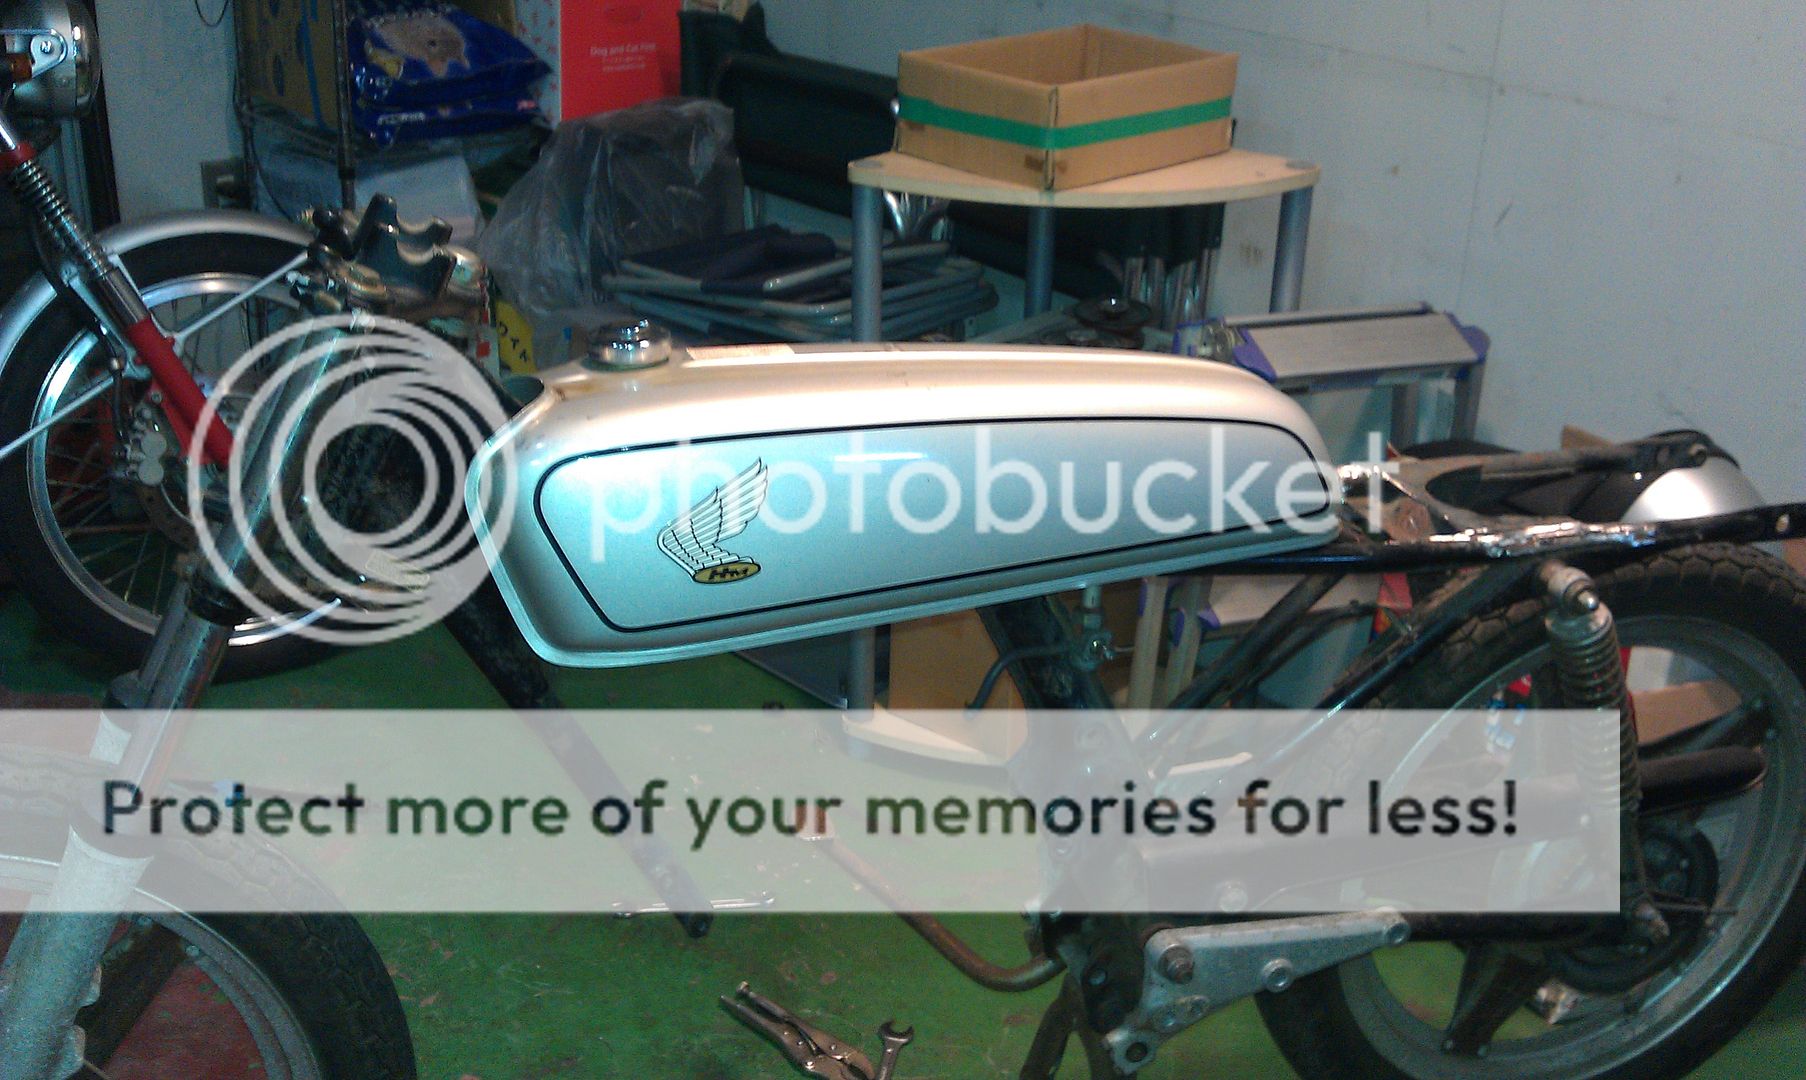
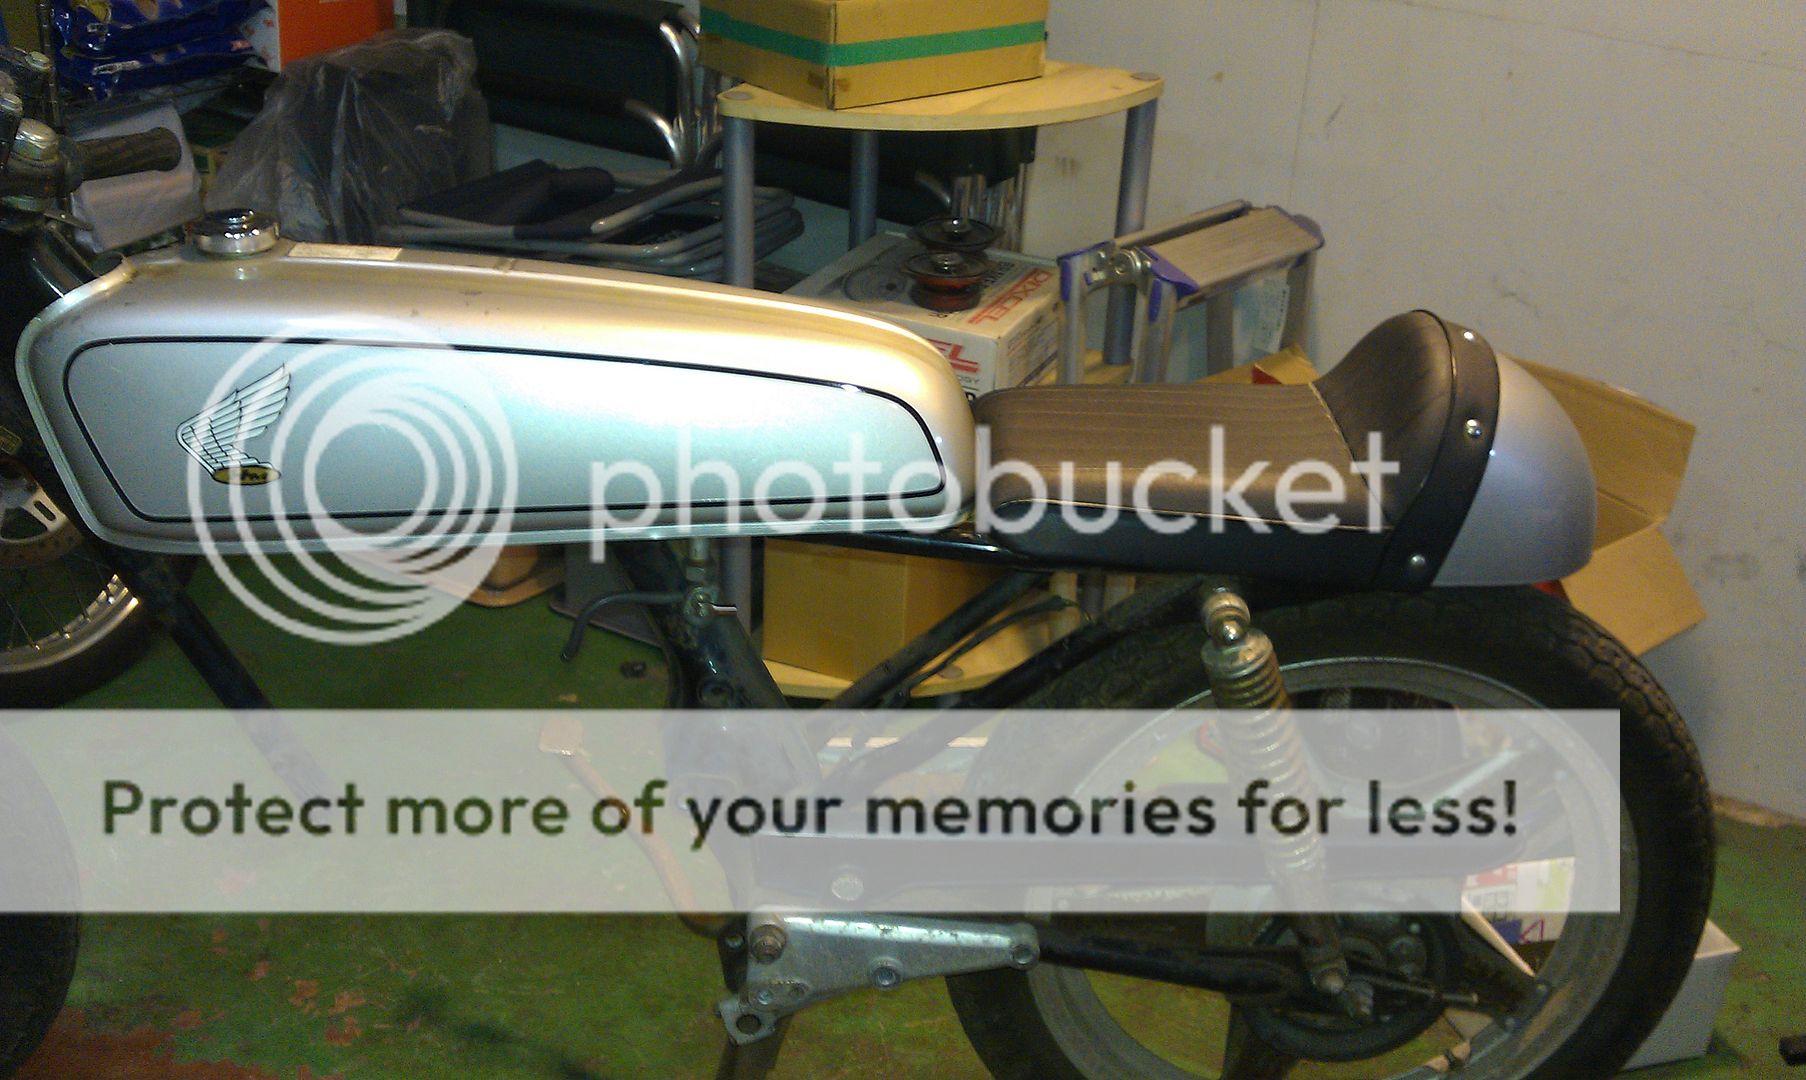
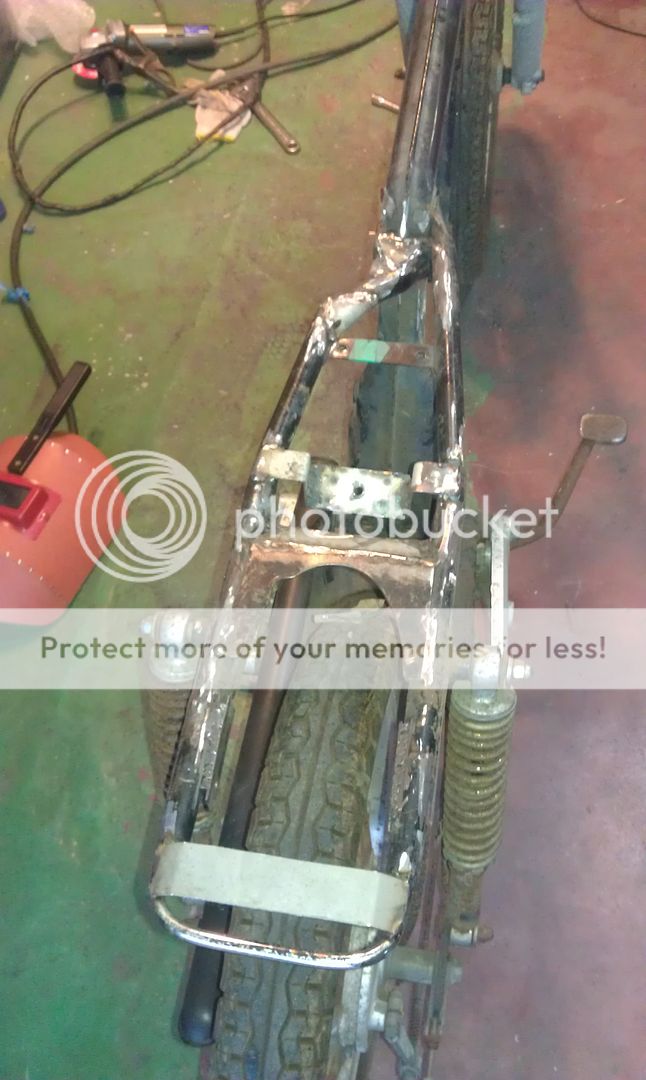
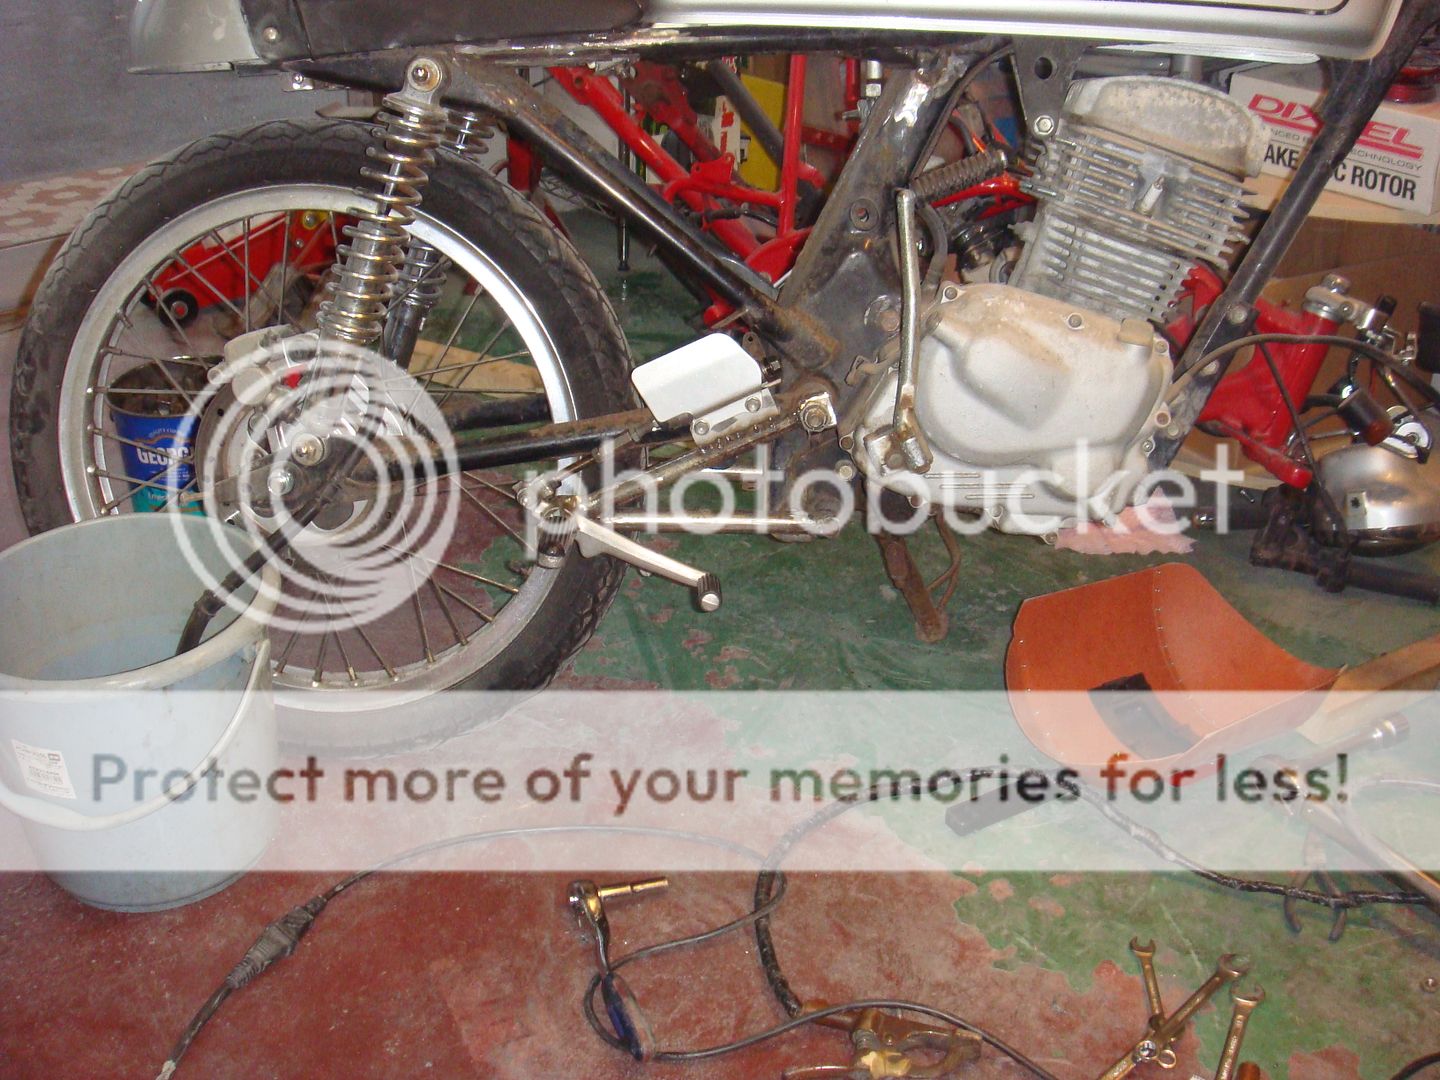
Here's the finished product!
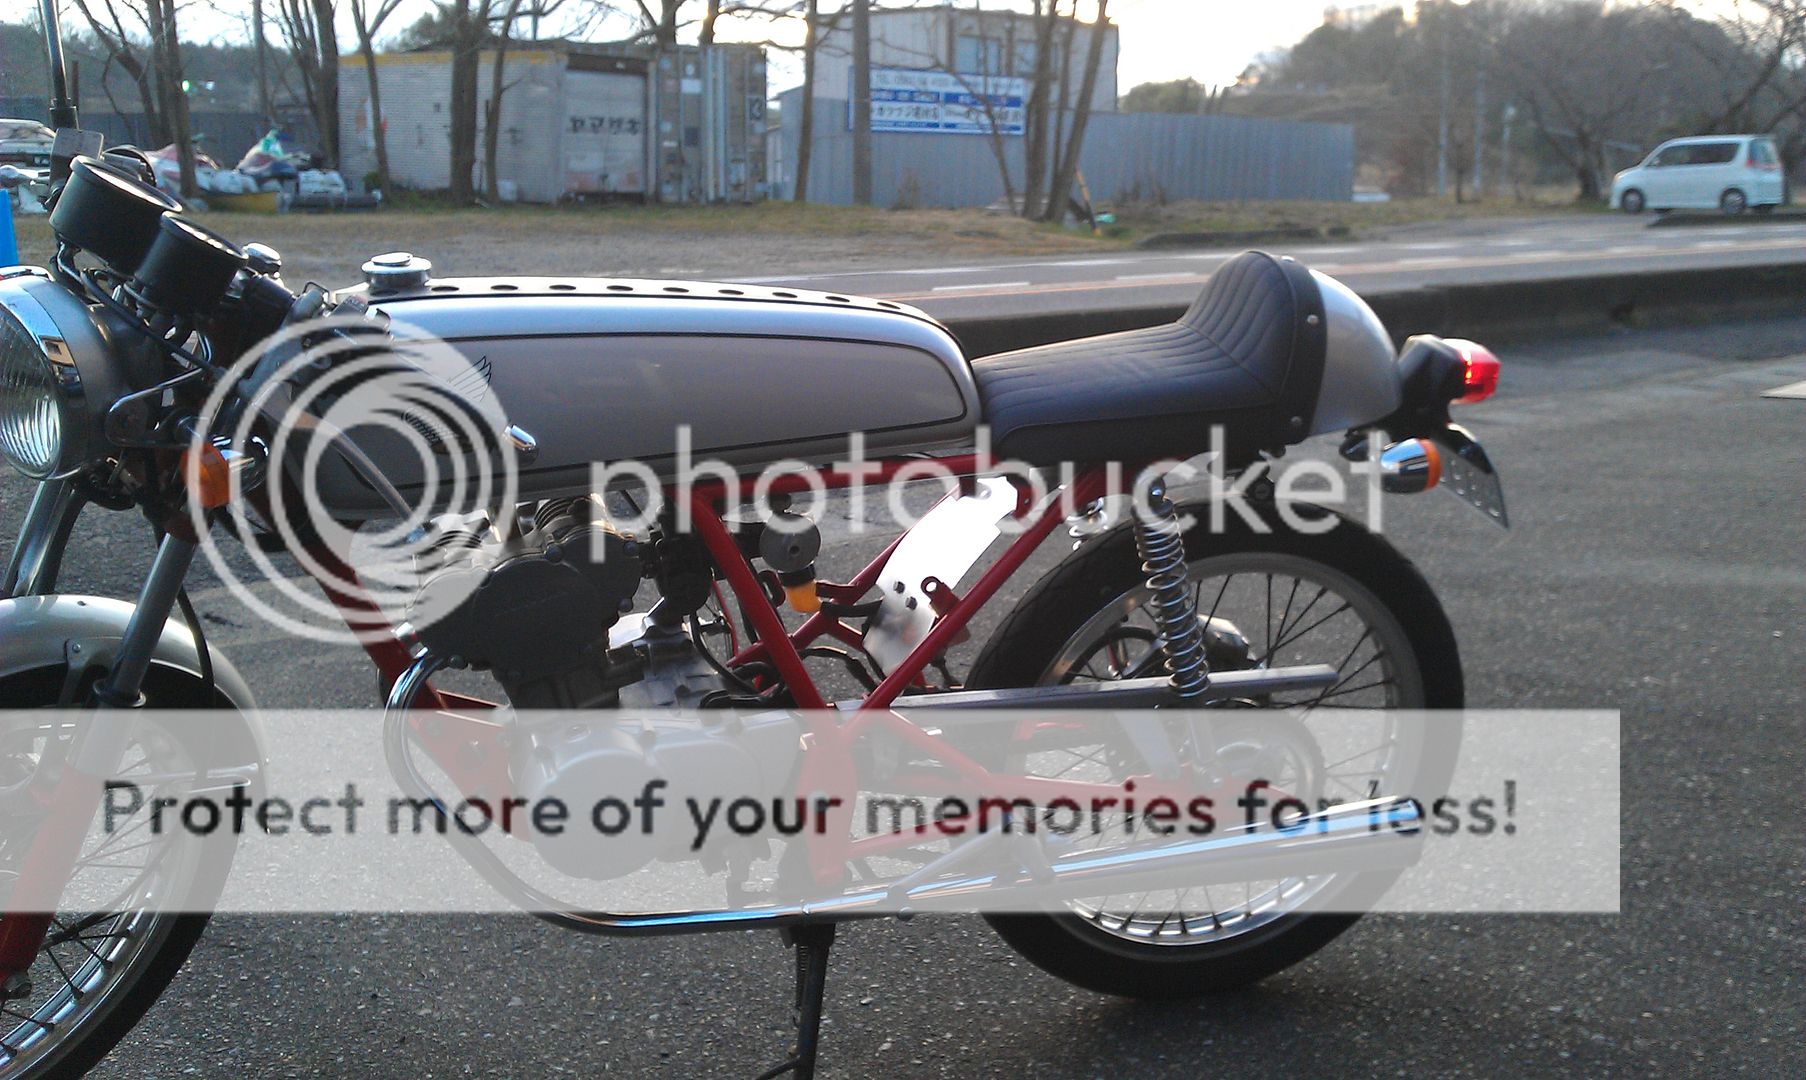
Not bad looking at all!
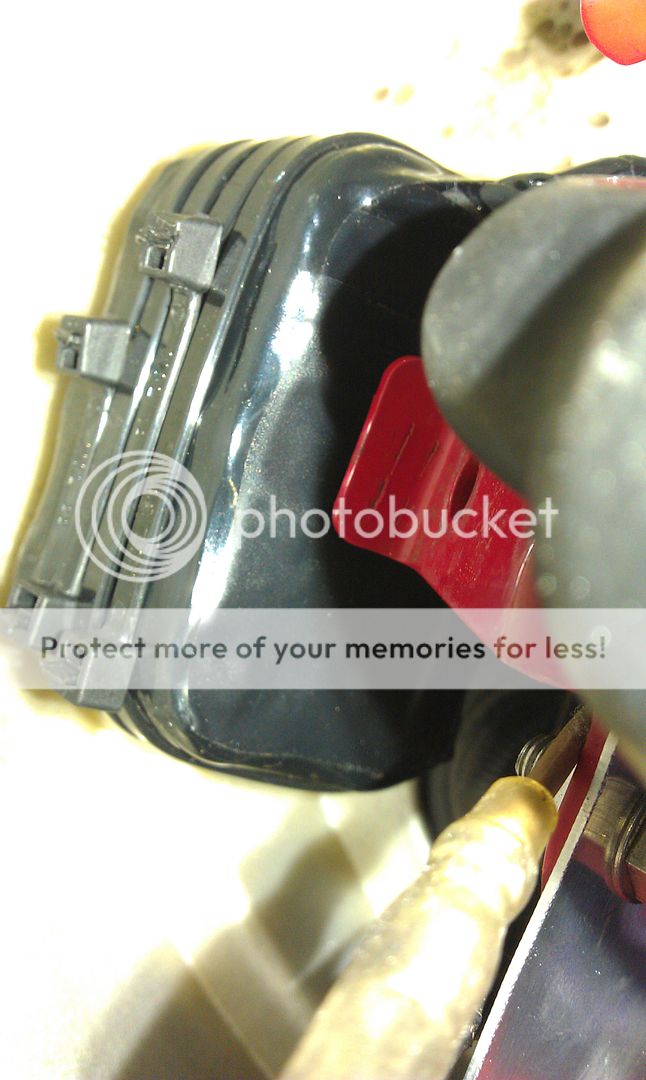
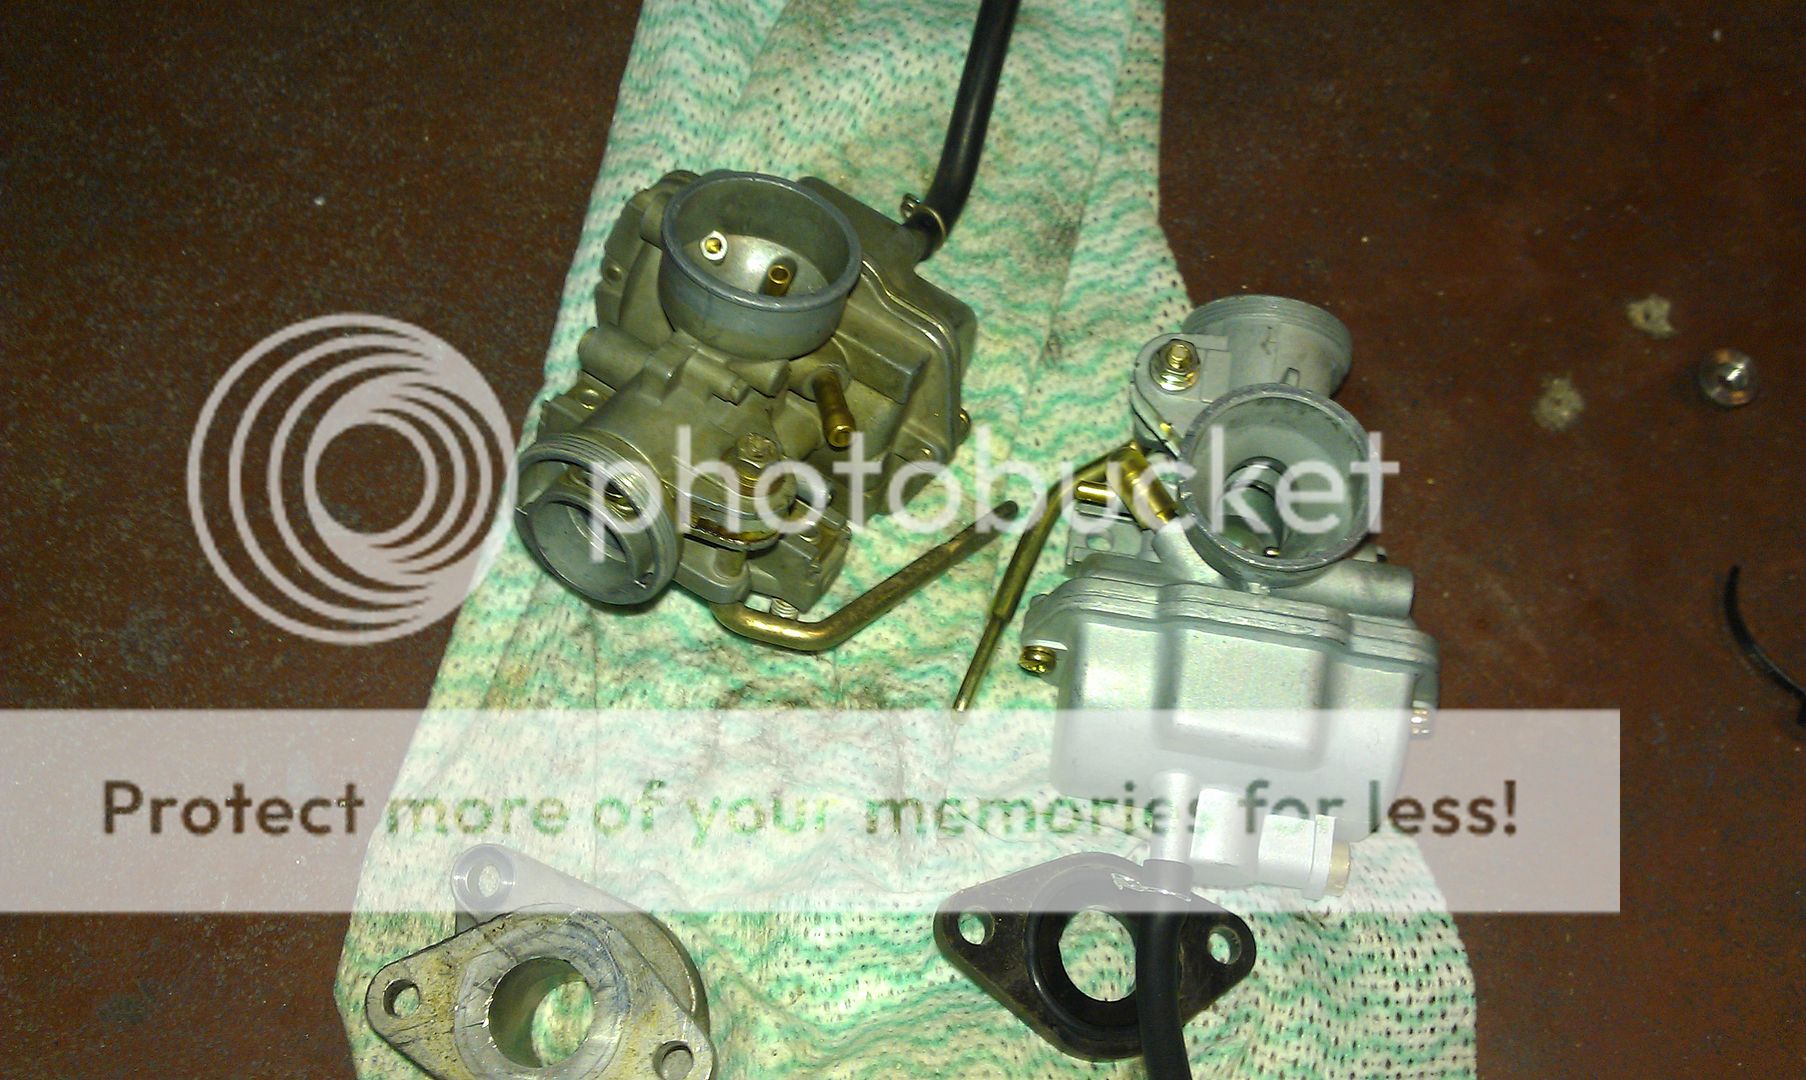
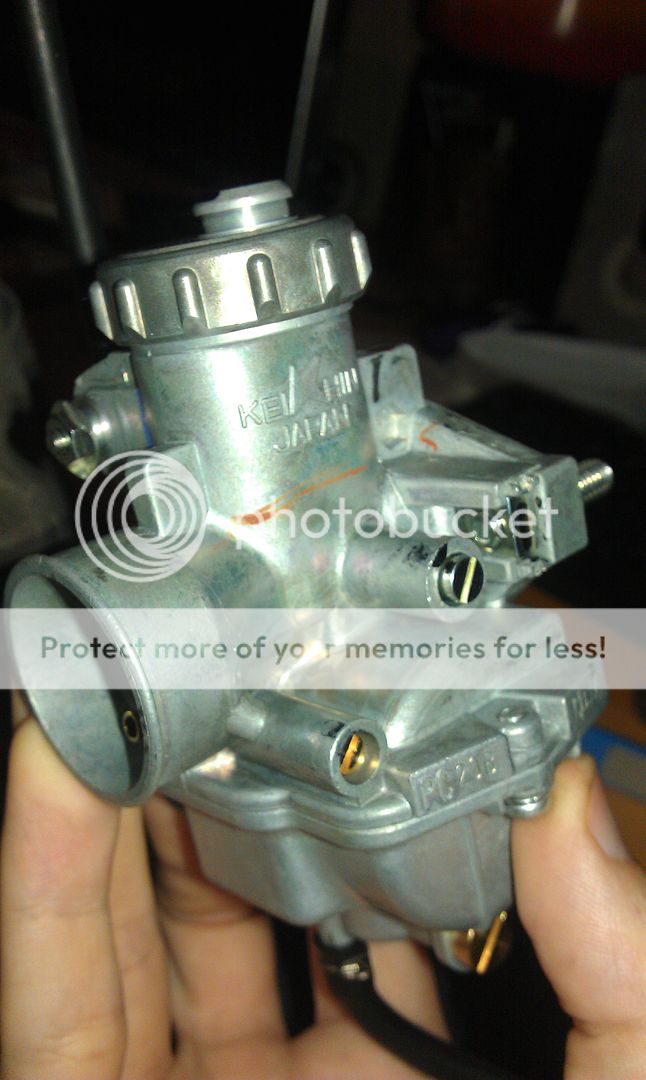
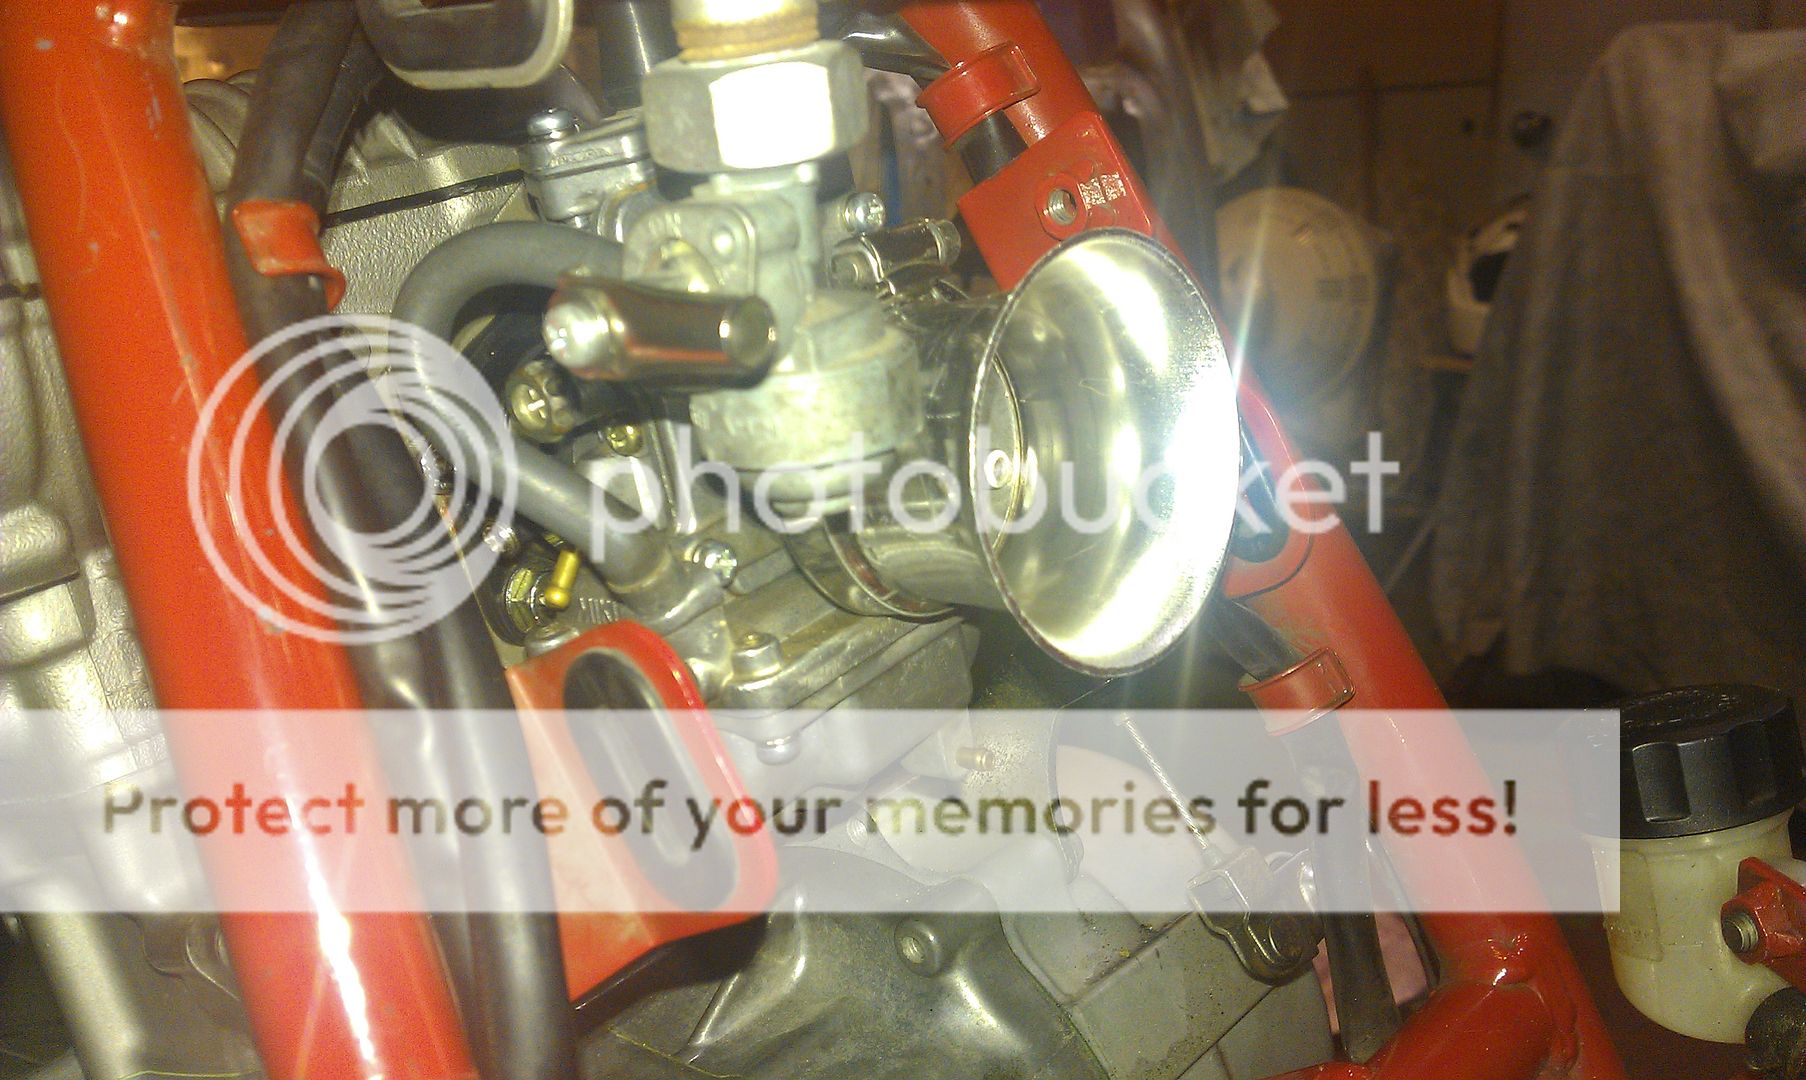
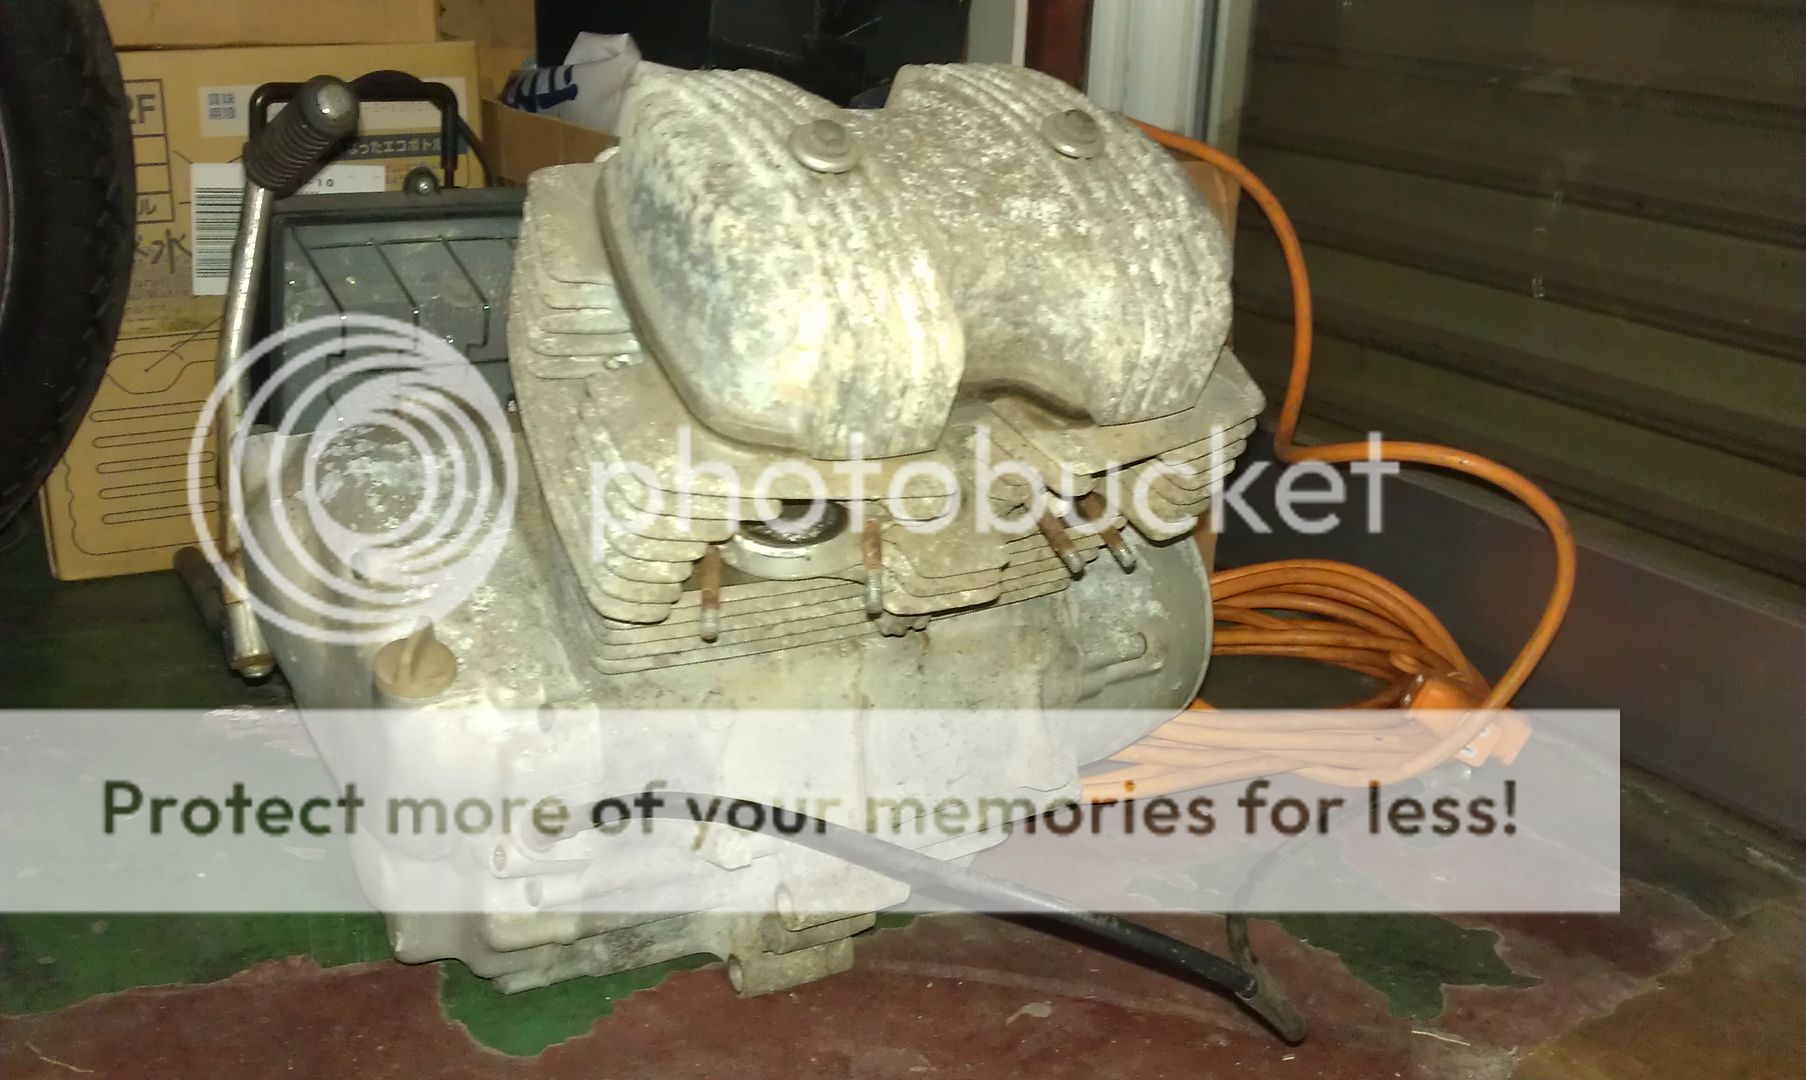
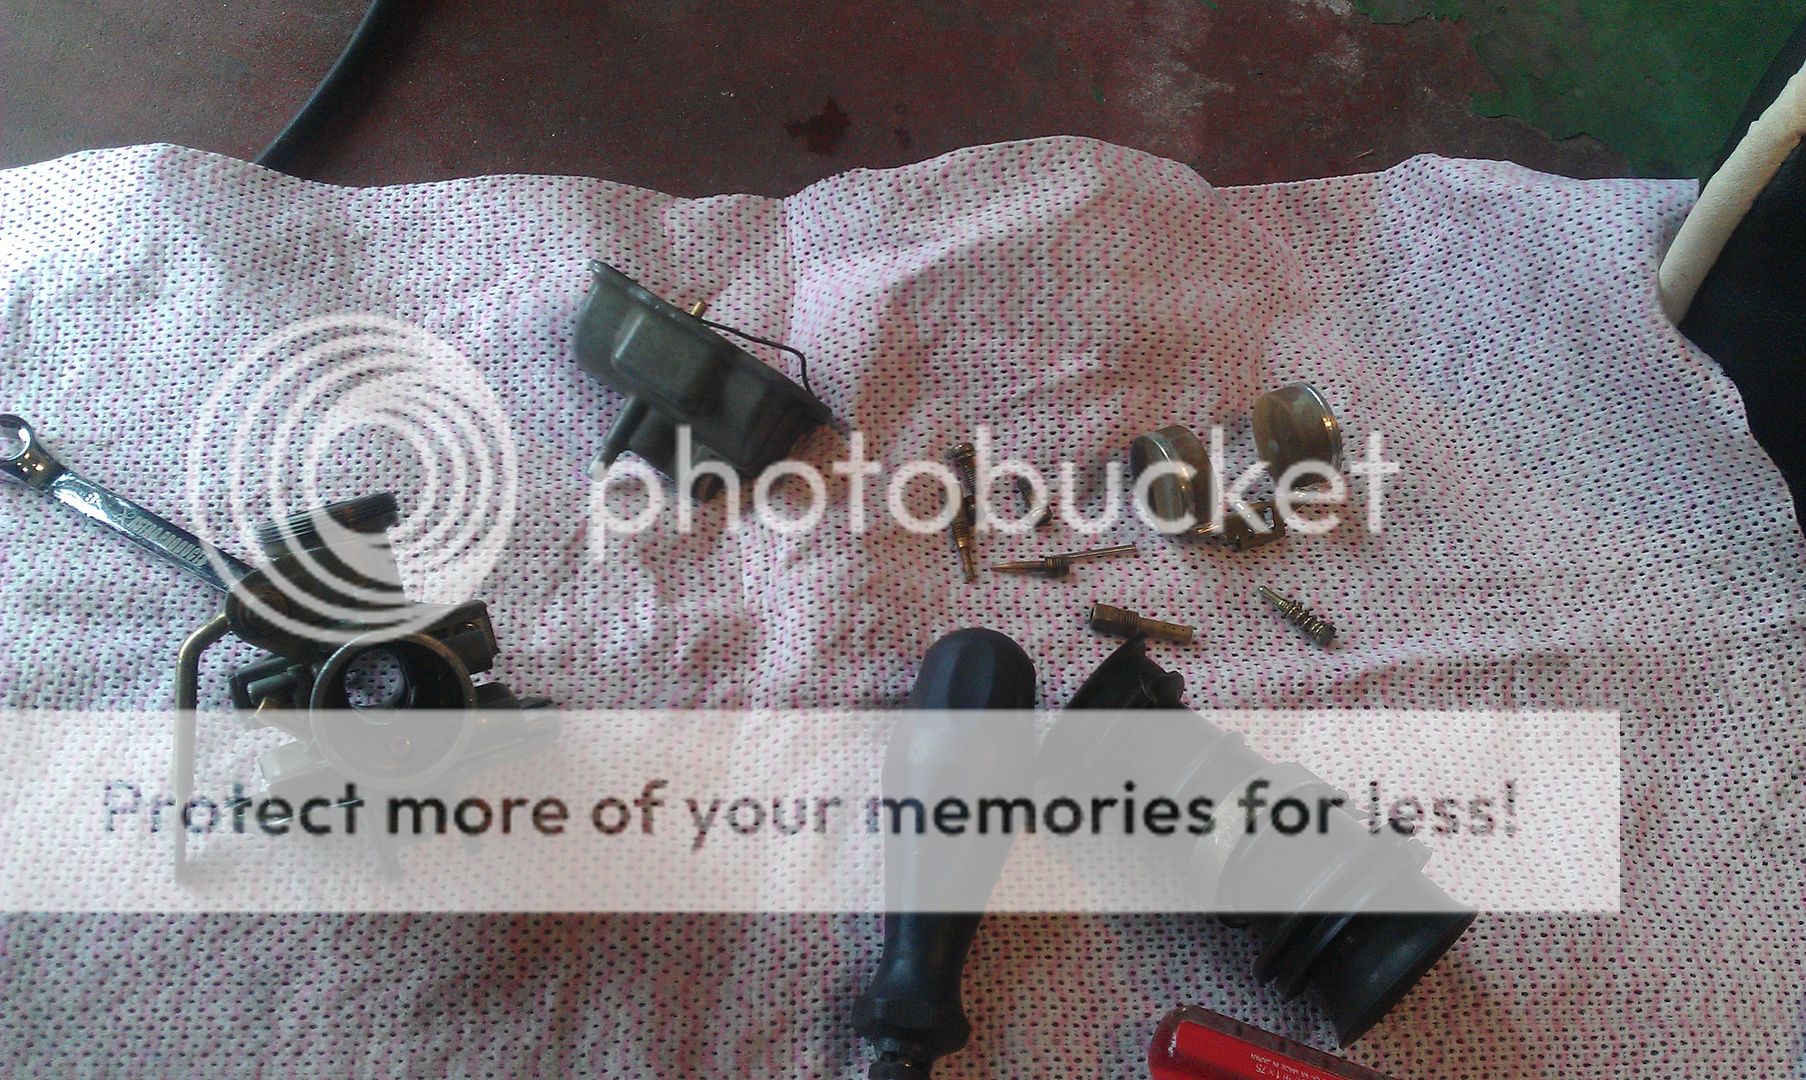
It still ran a little rough and had absolutely no power below about 8,000 rpm, which made launching very difficult. So a carb clean was in order.
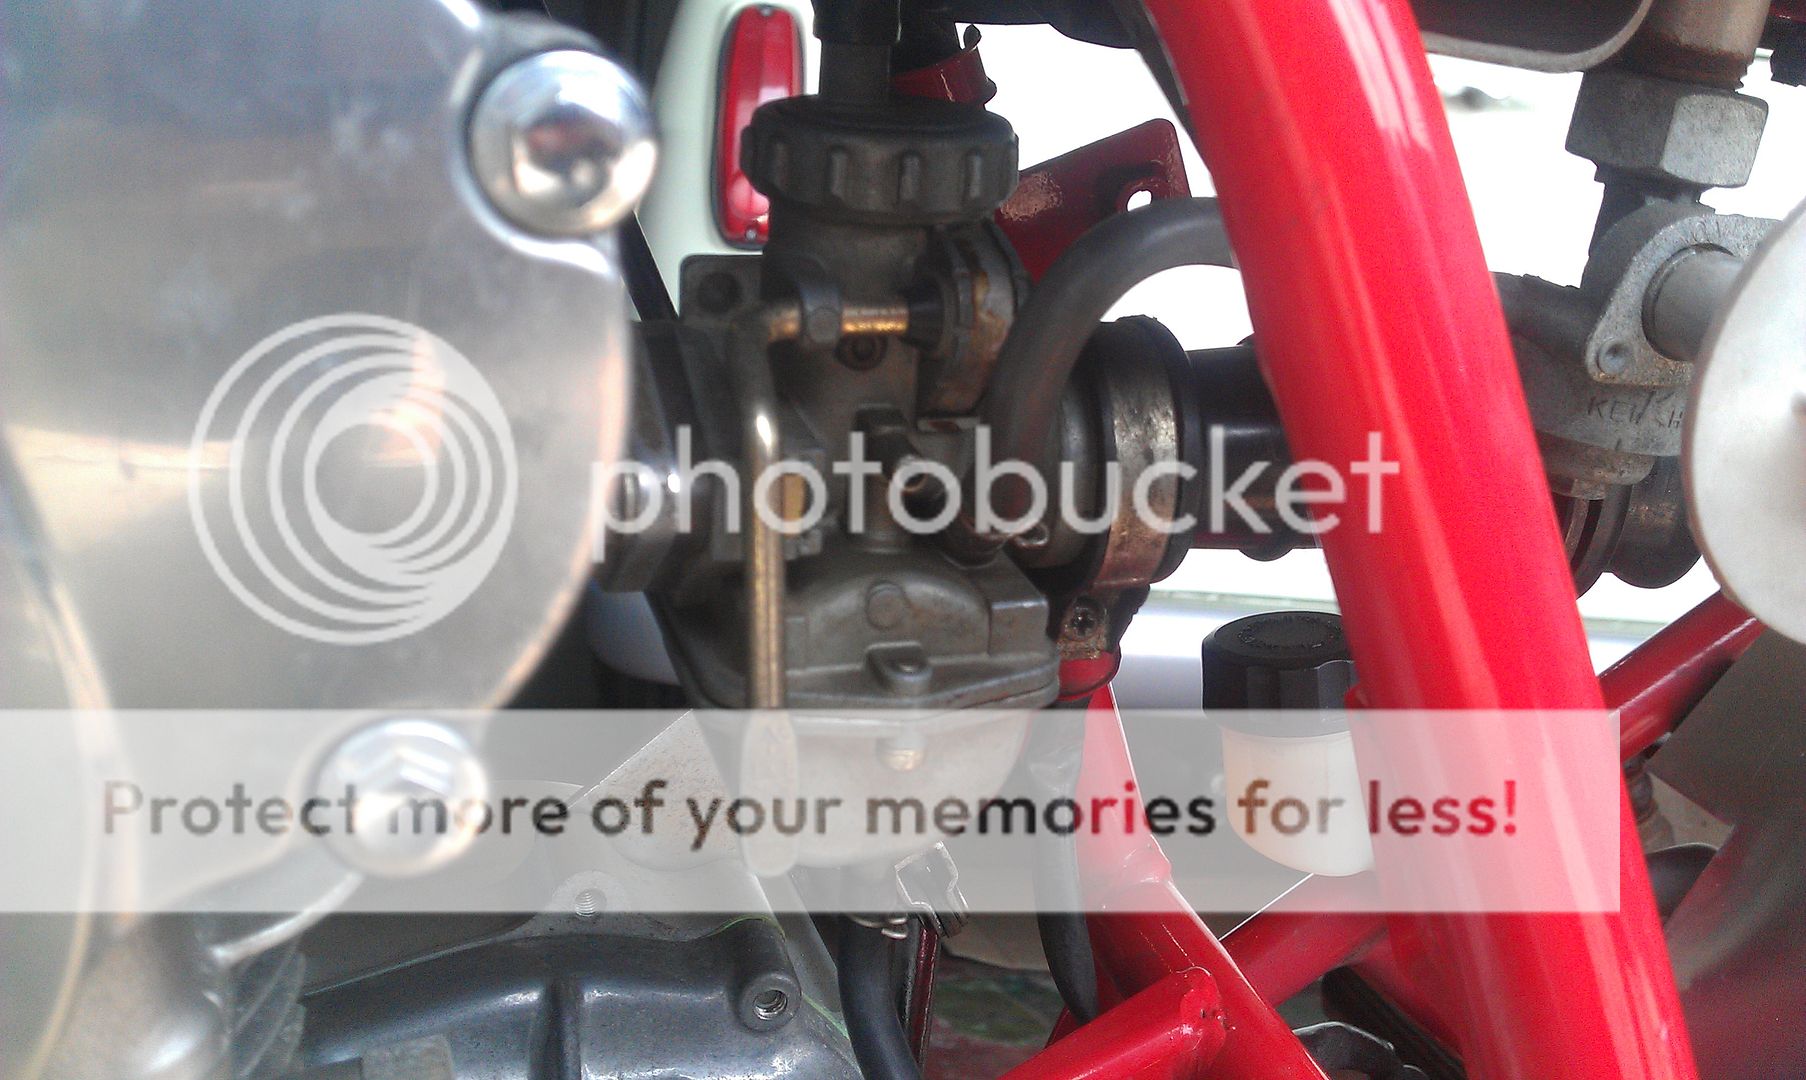
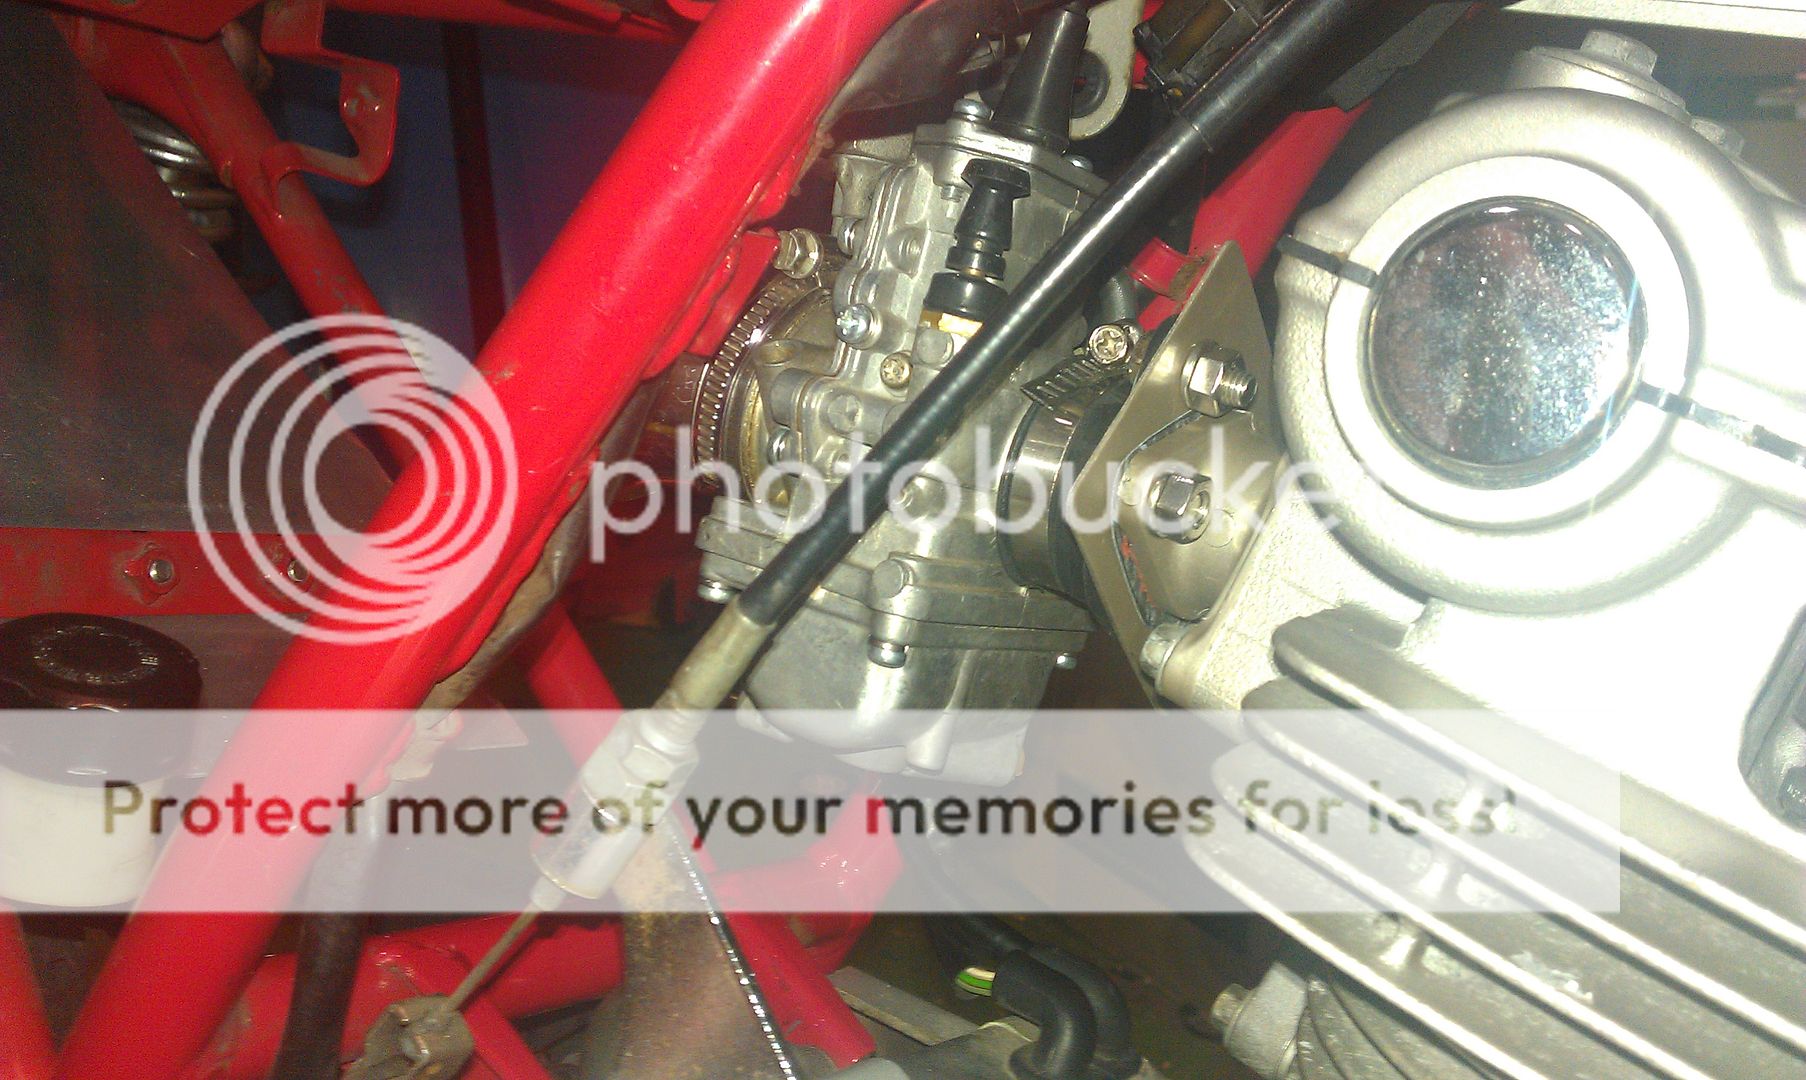
The carb itself is surprisingly simple and straight forward, using a sliding tube connected to a needle for both the throttle valve and fuel jet.
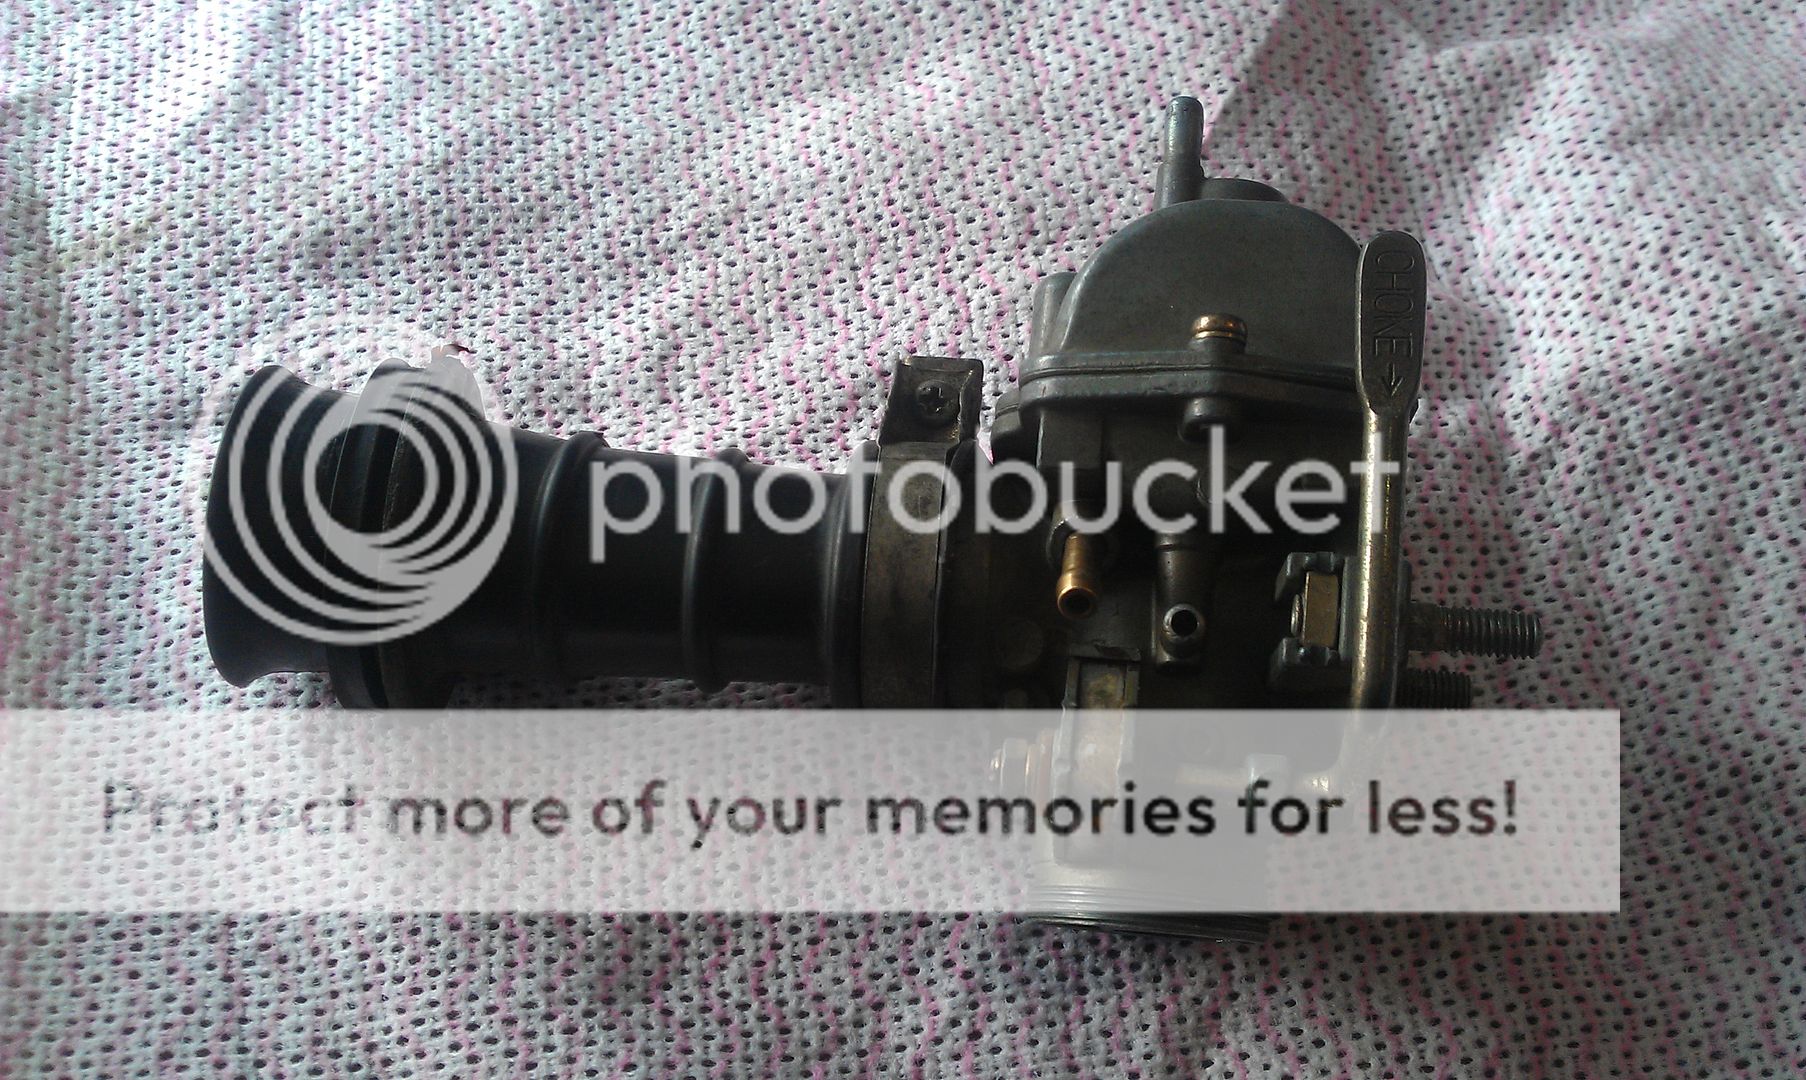
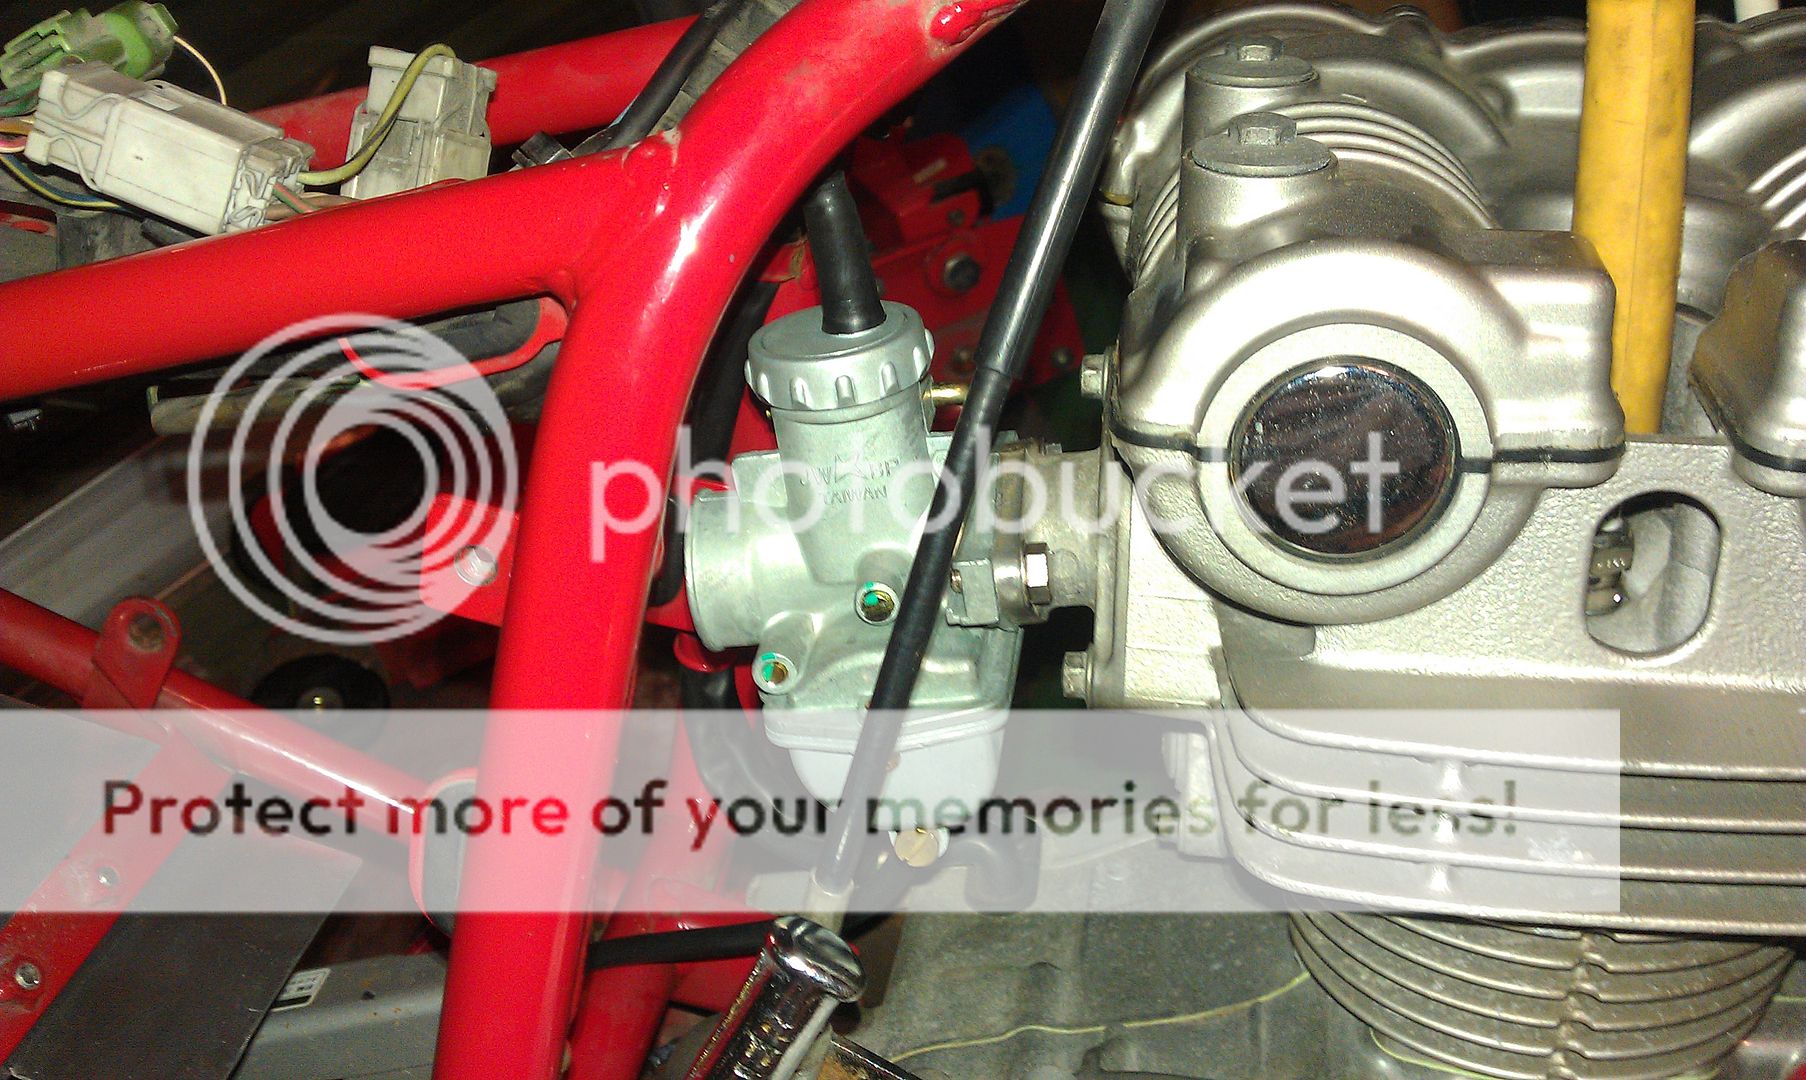
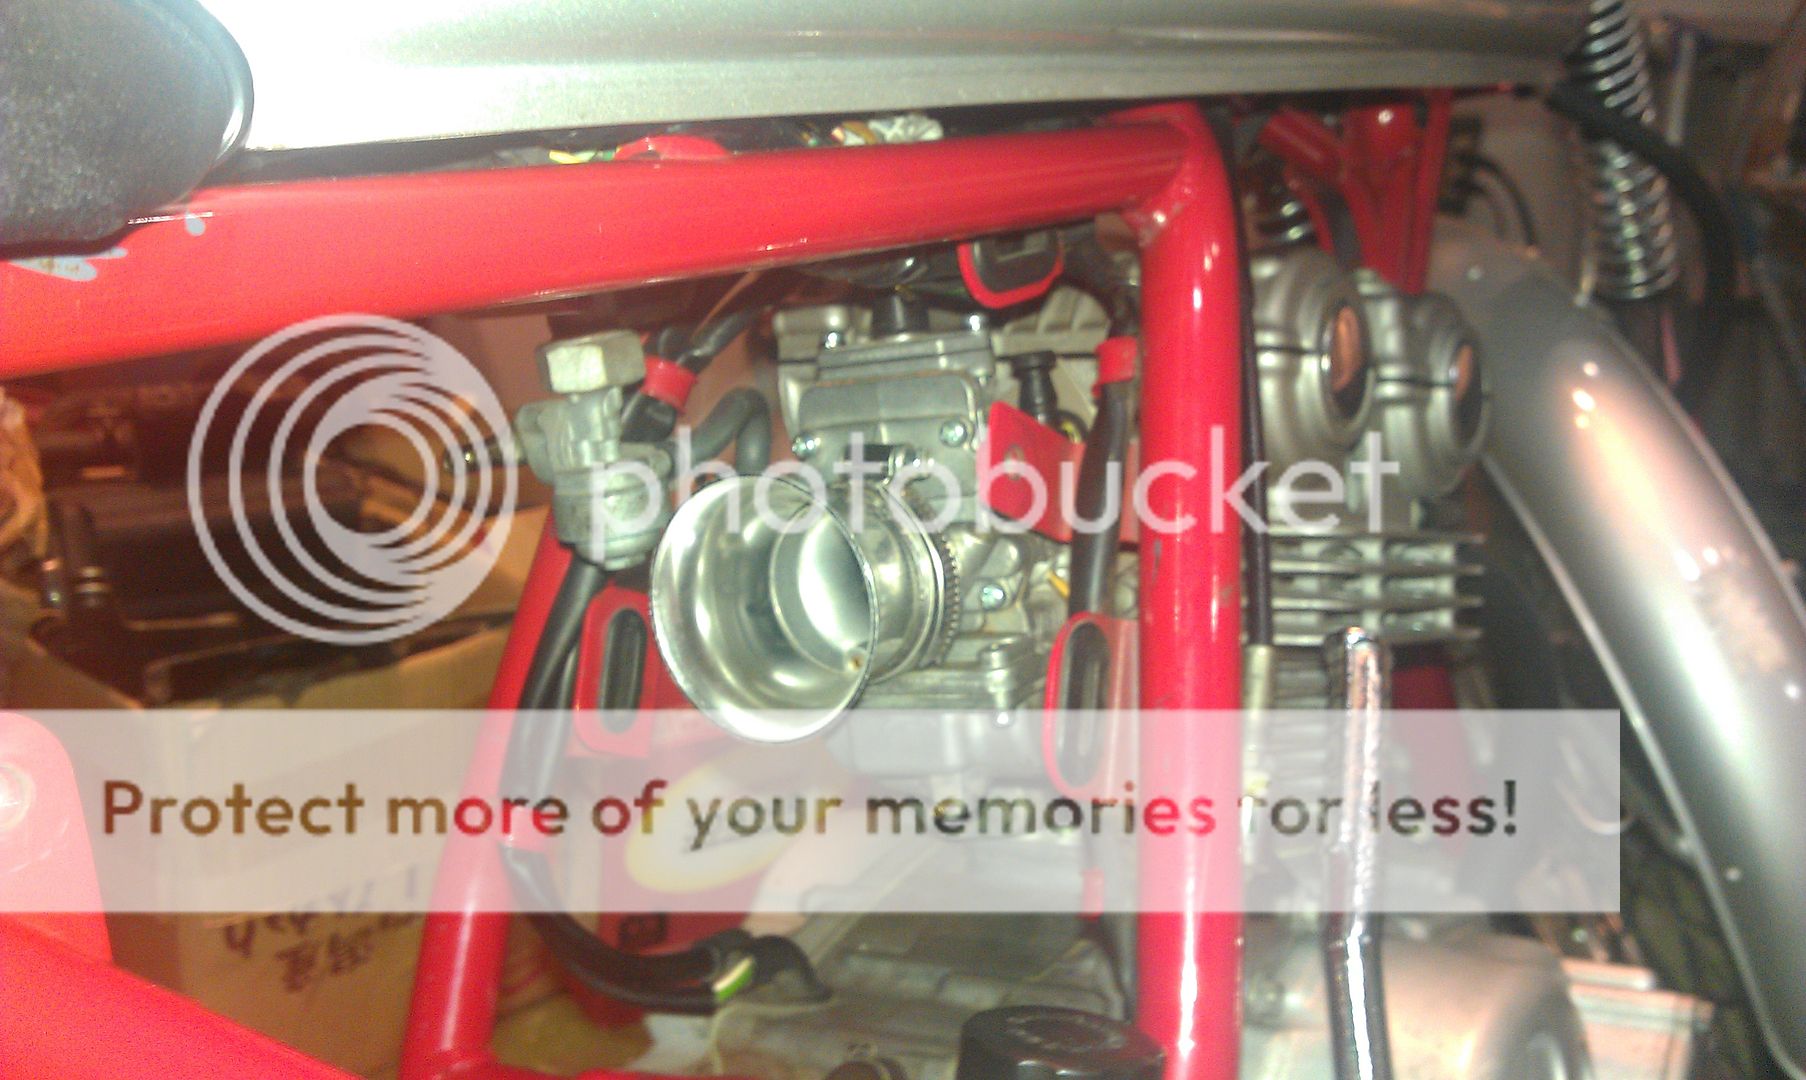
Here's the throttle valve/needle.
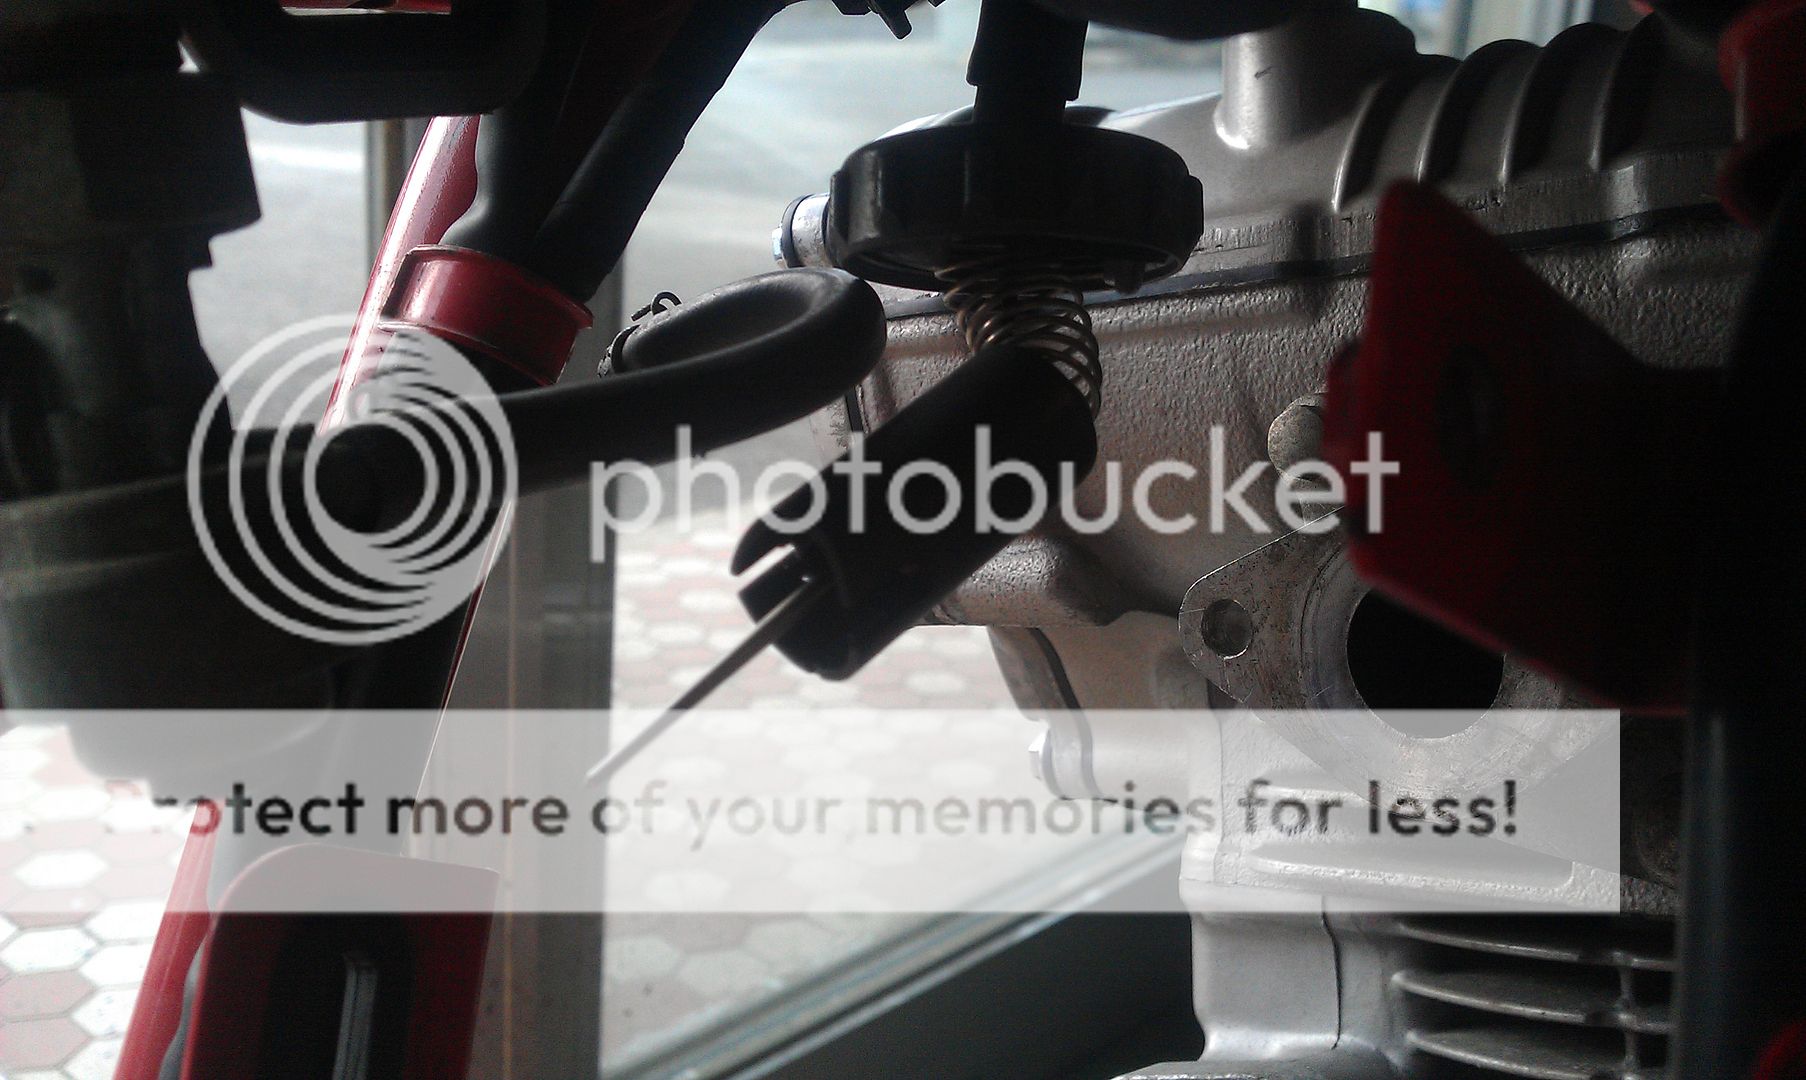
Here's a look down where the throttle valve slides.
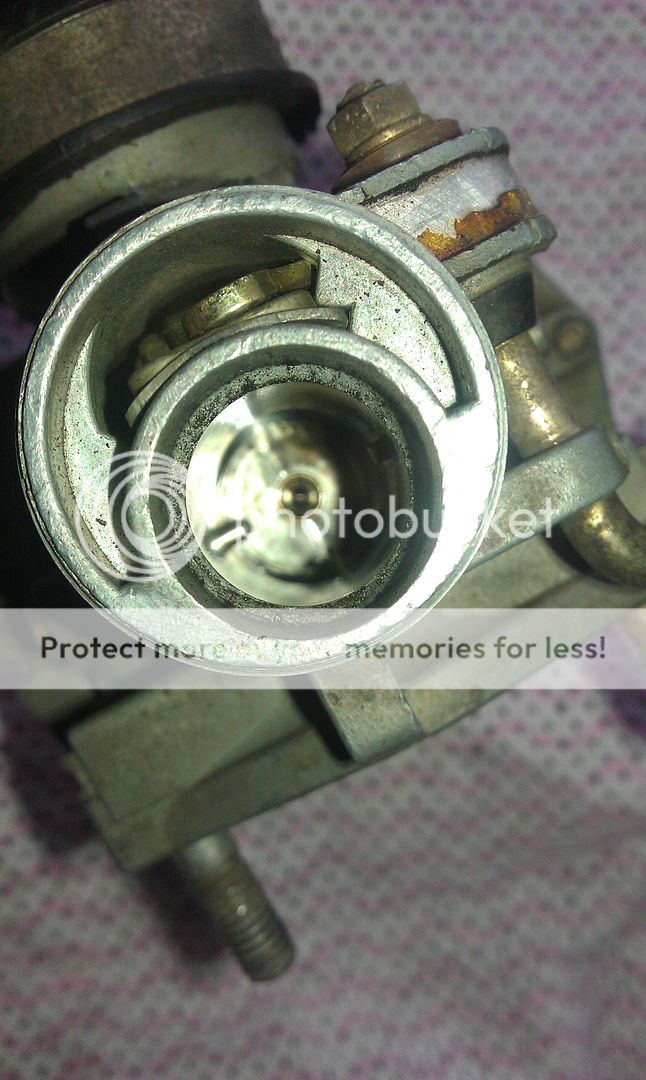
All apart!
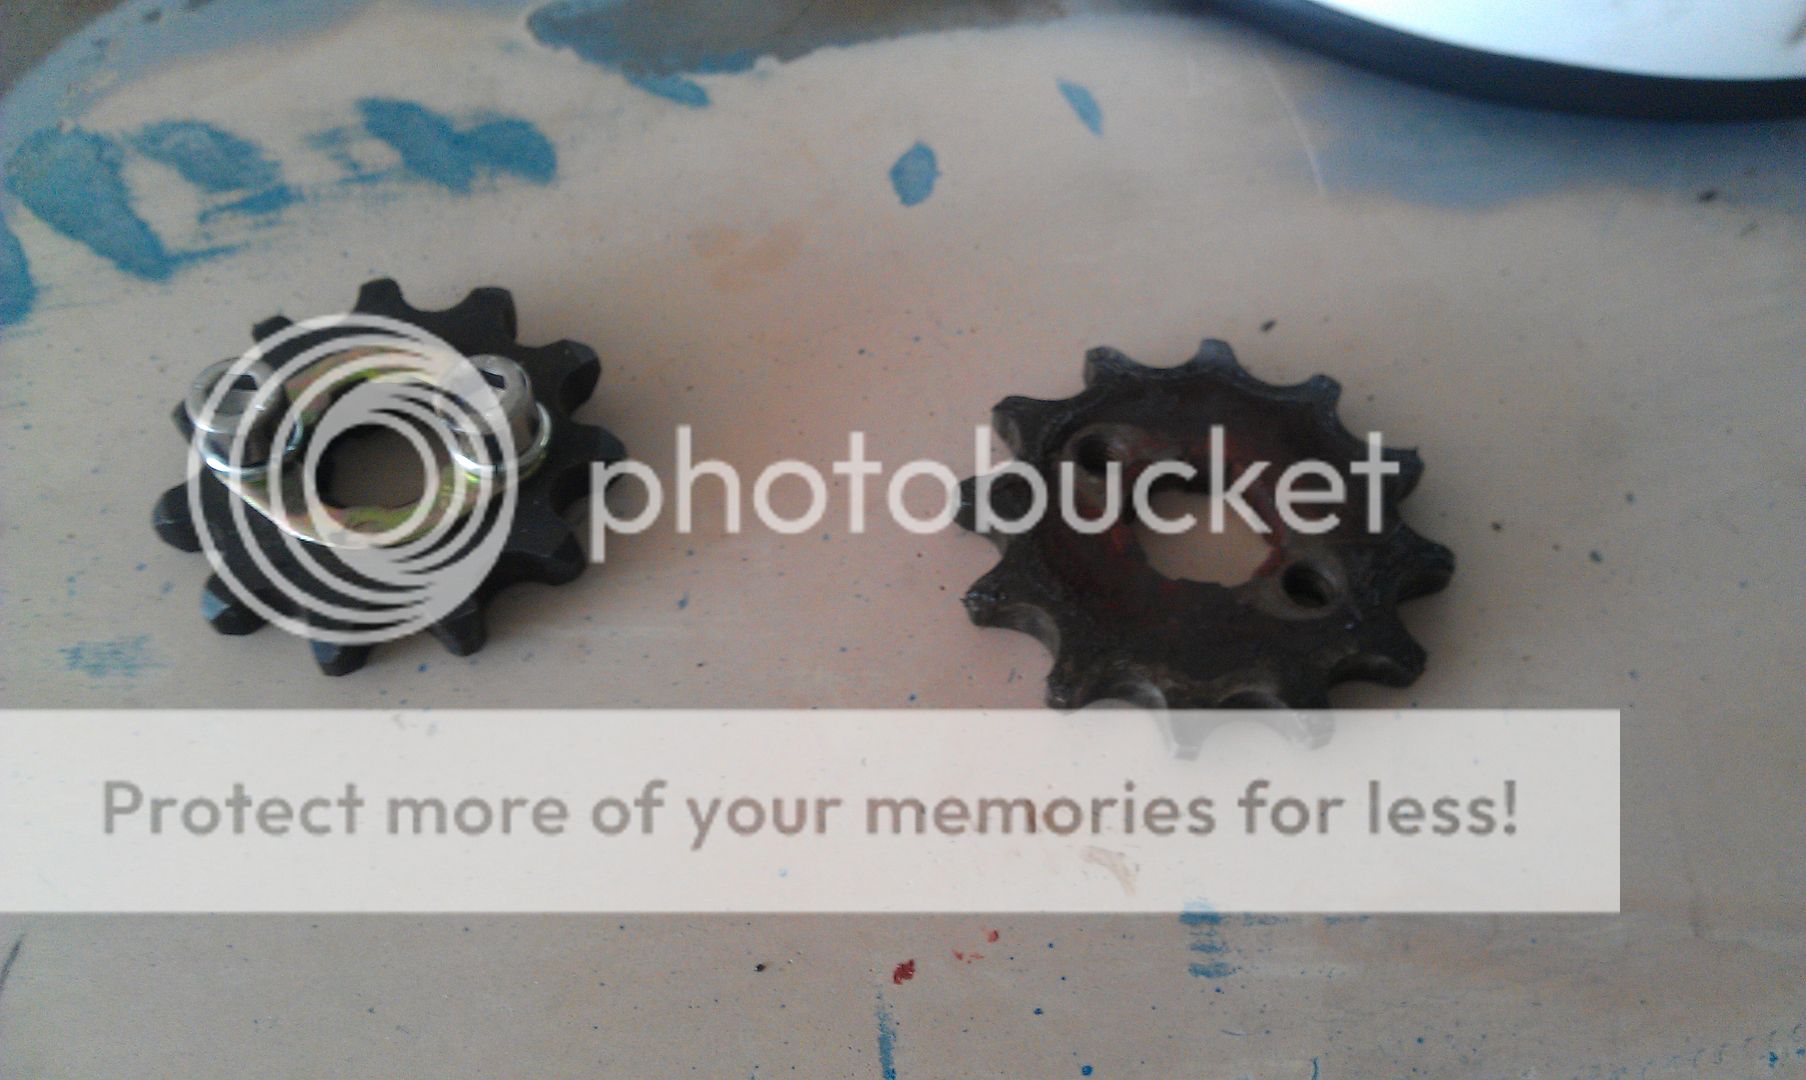
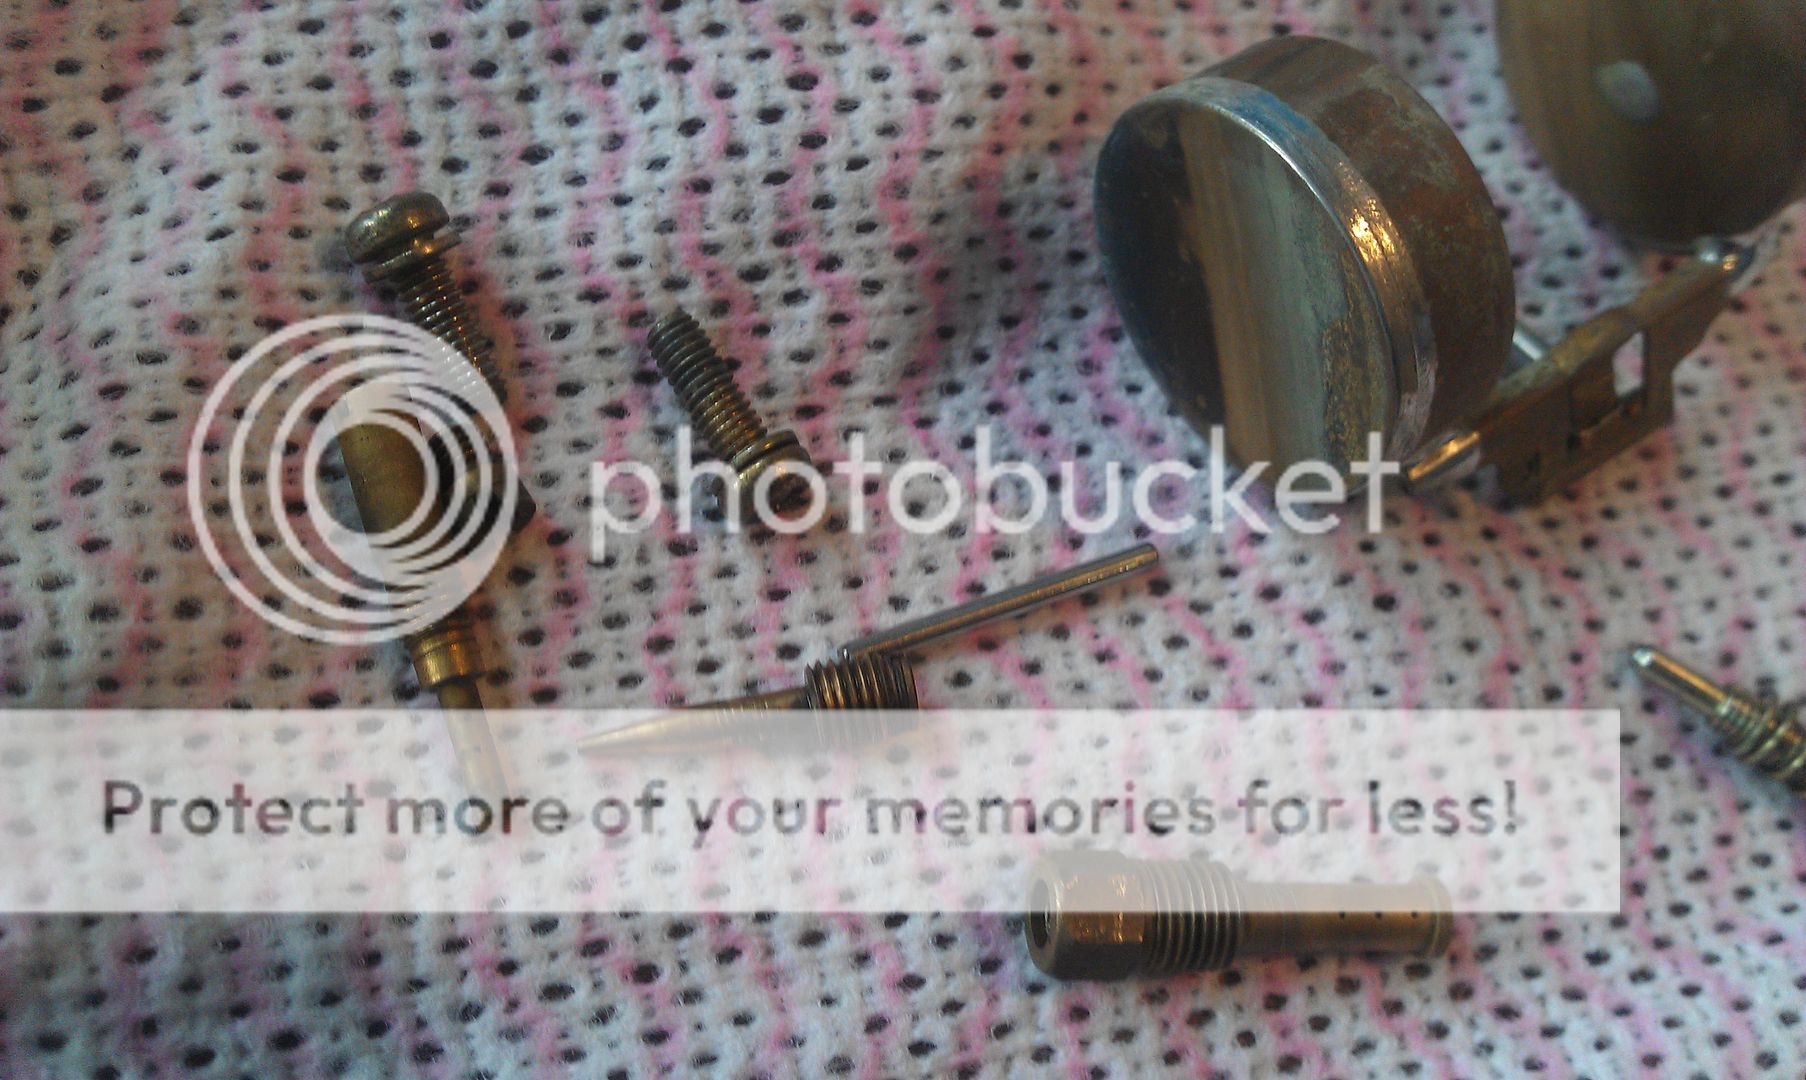
A close up of the little bitty parts!
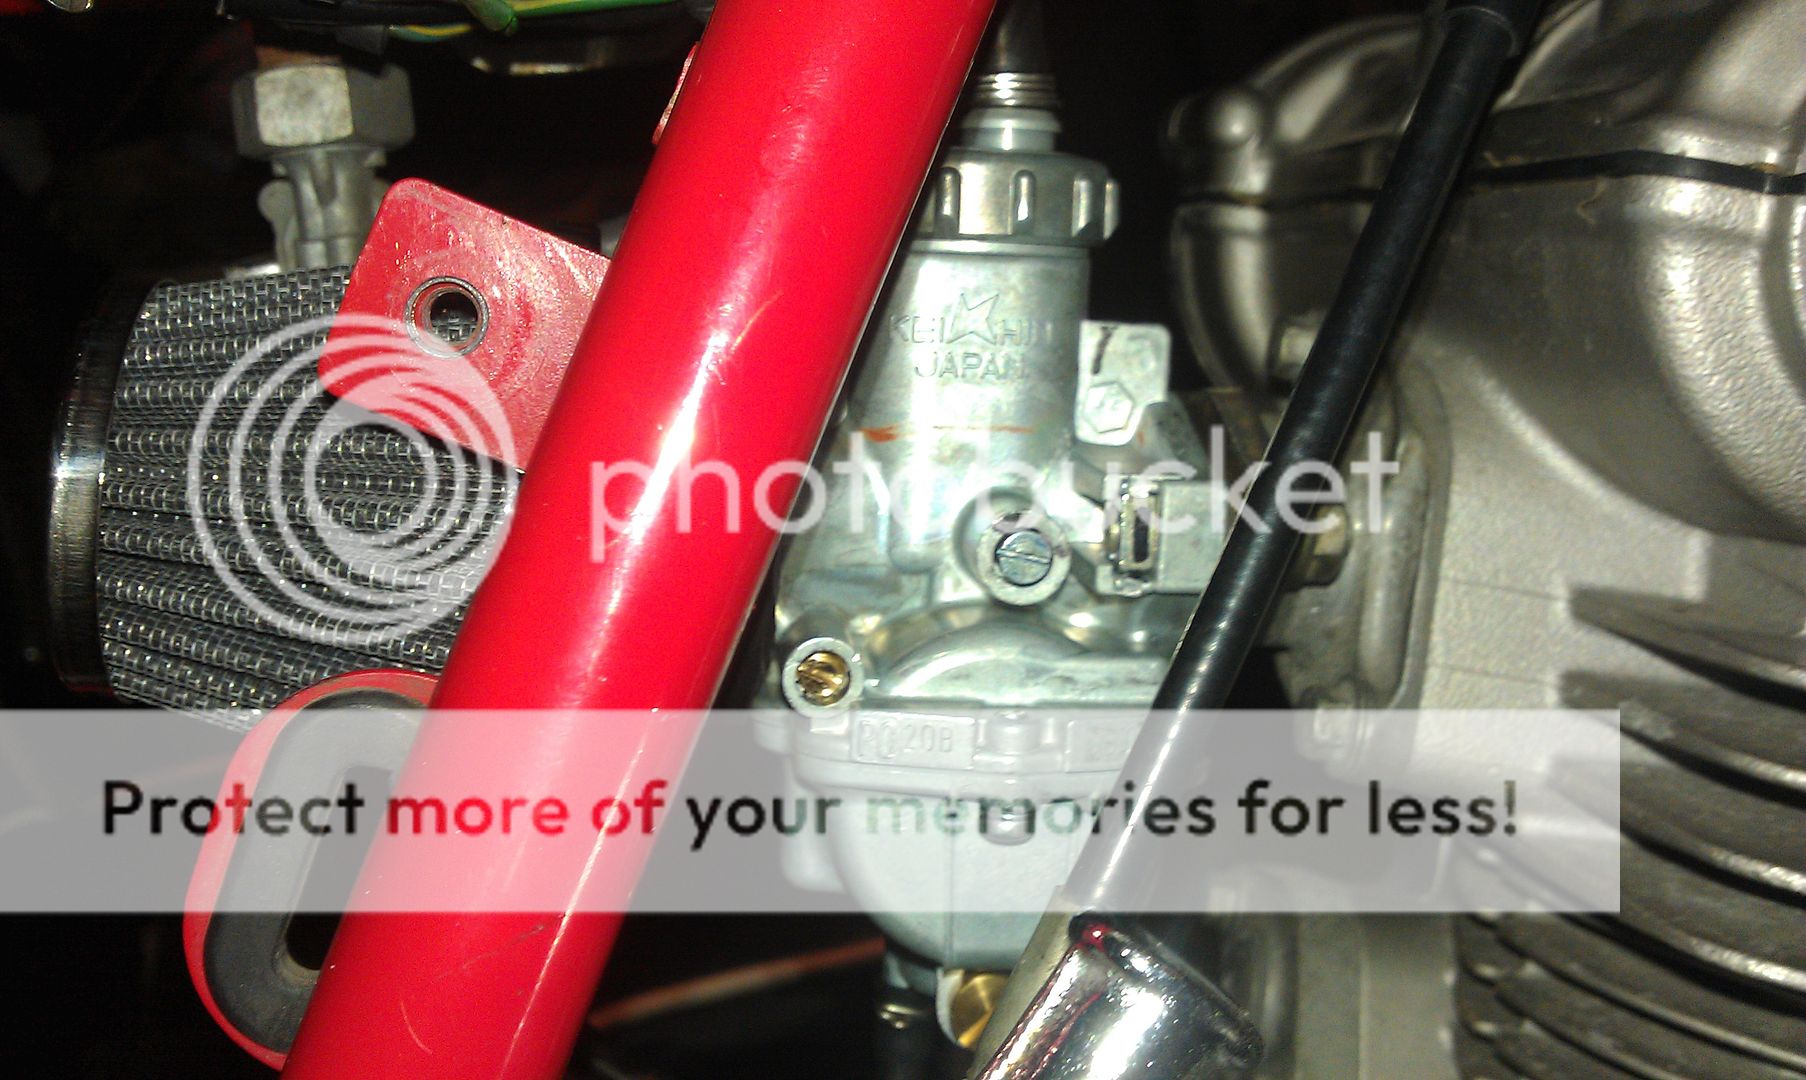
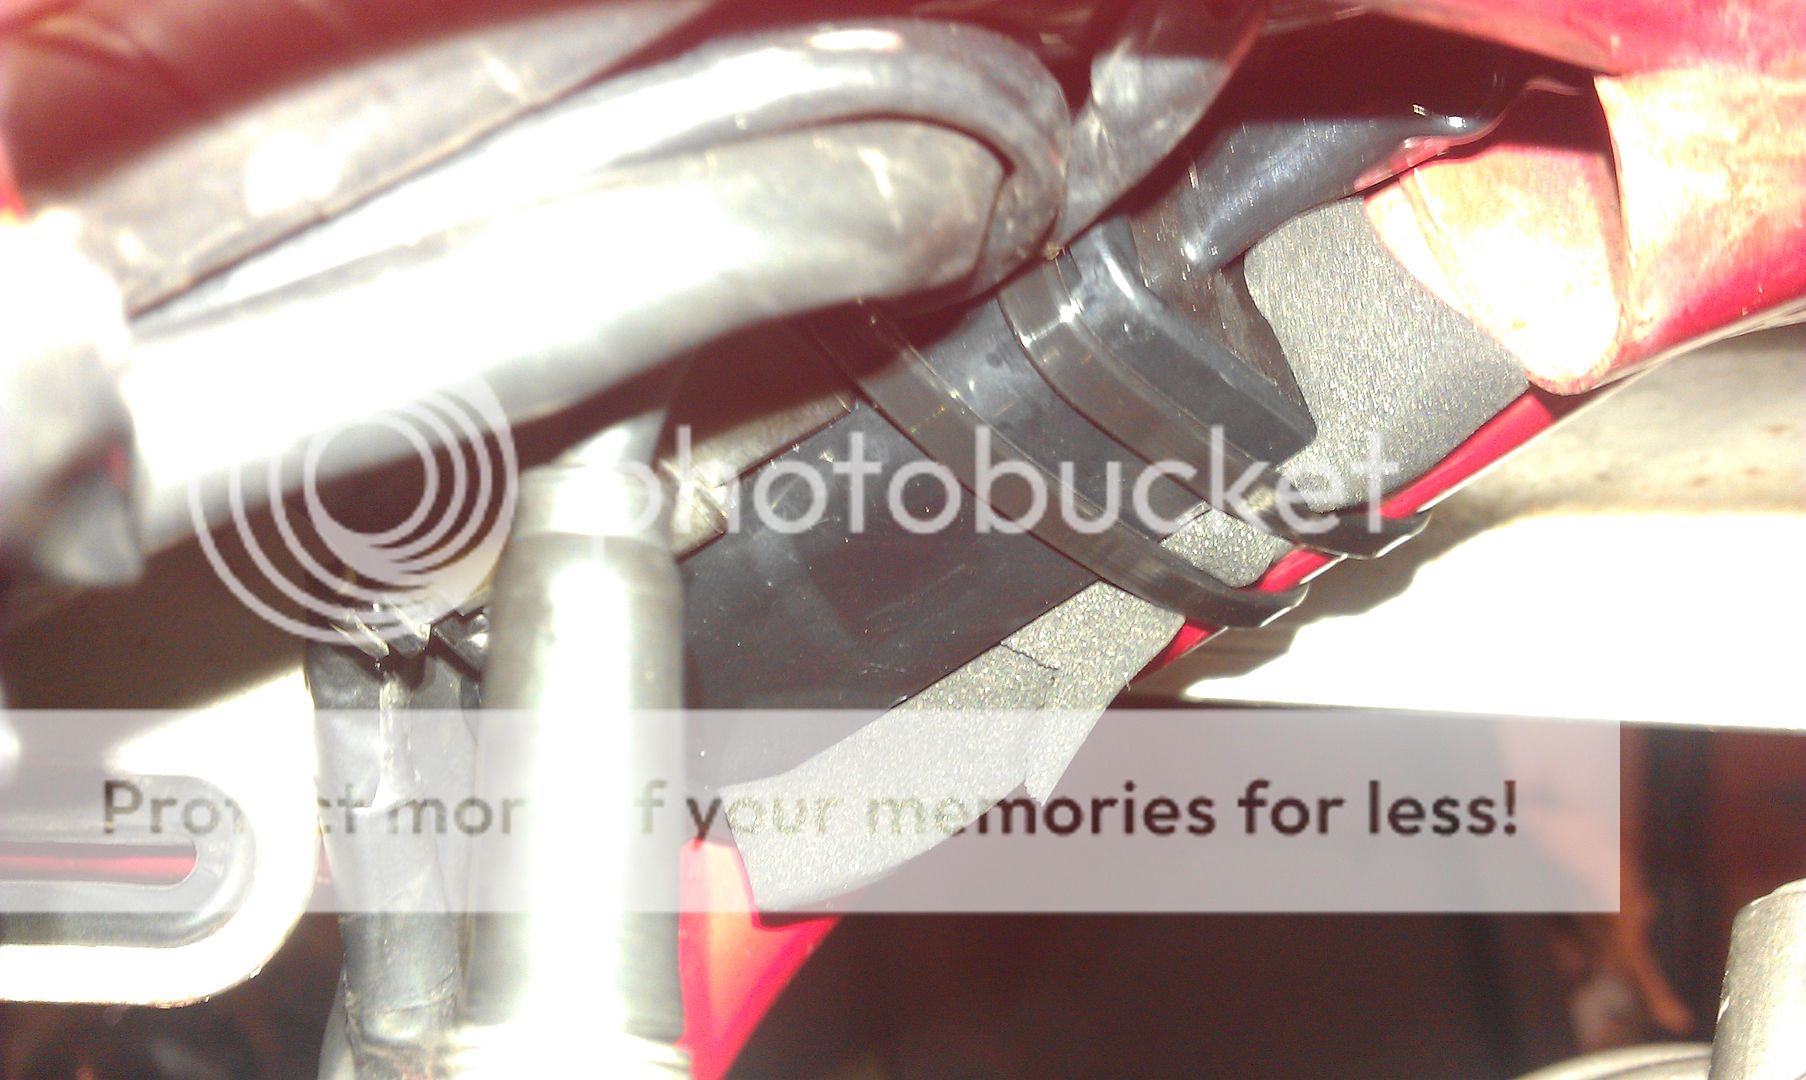
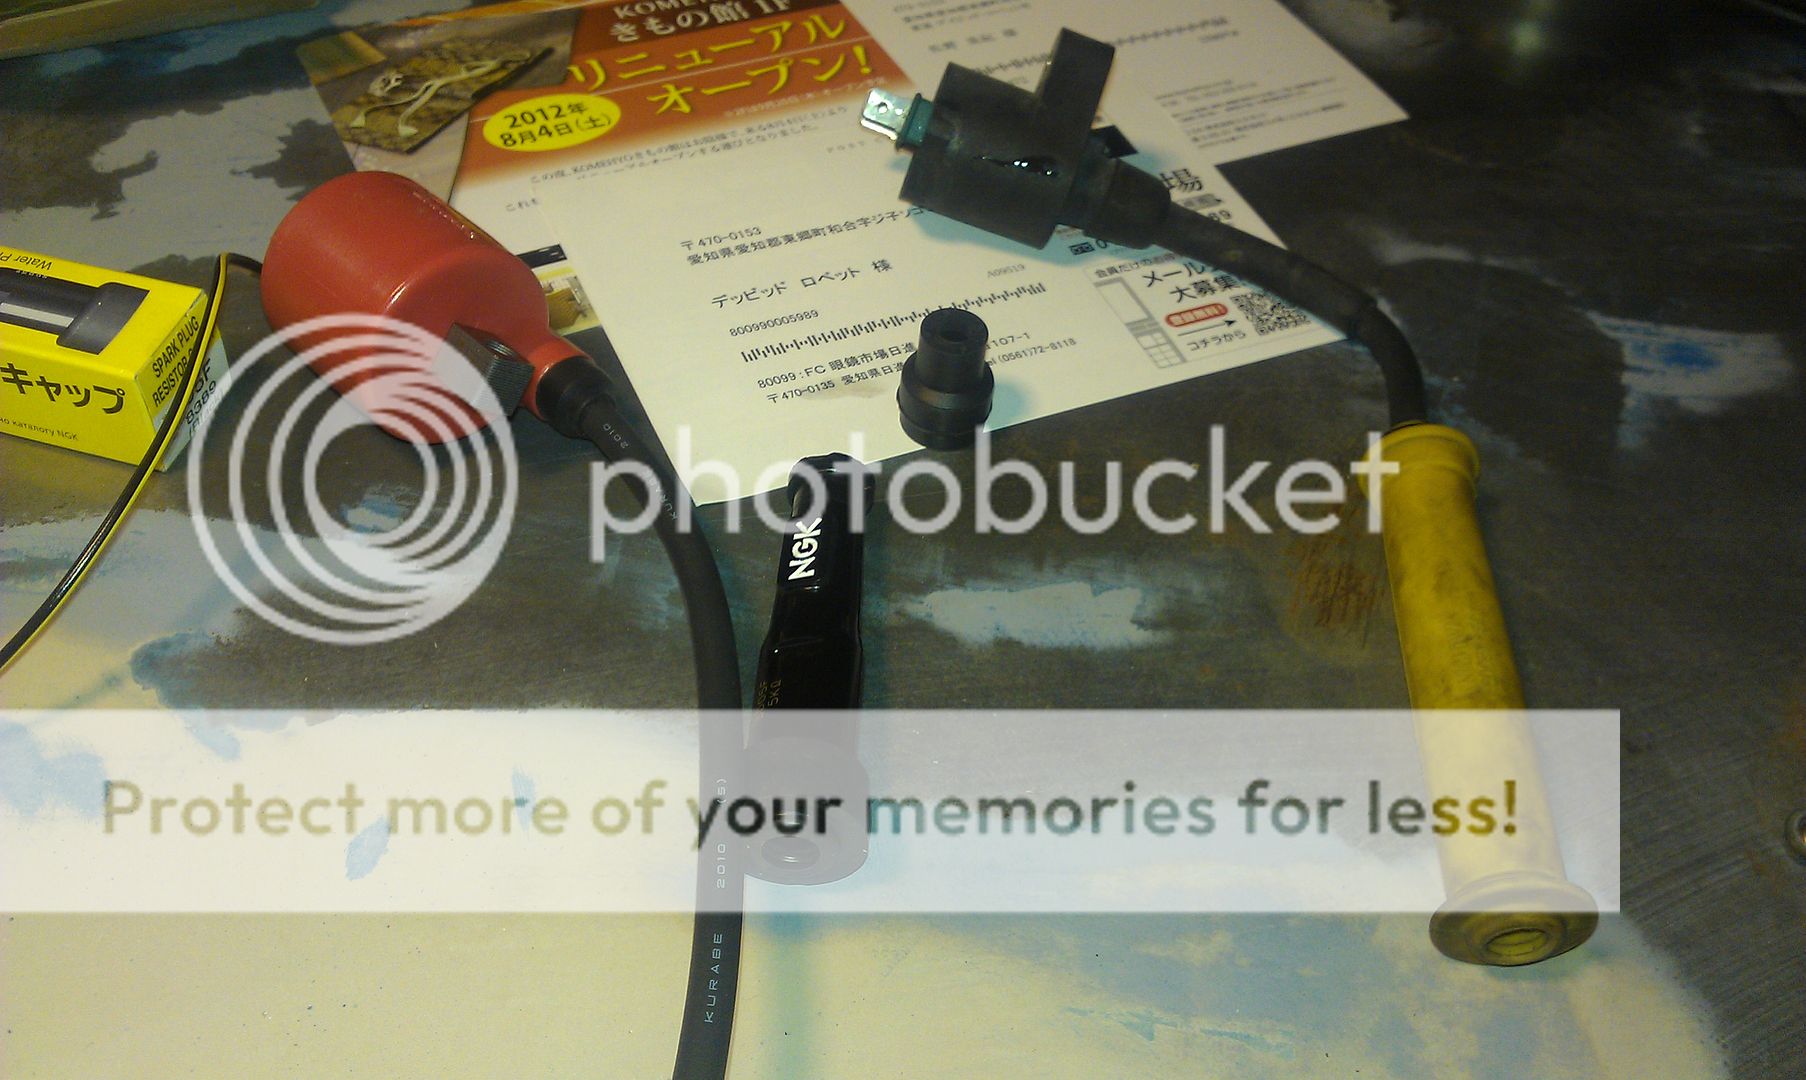
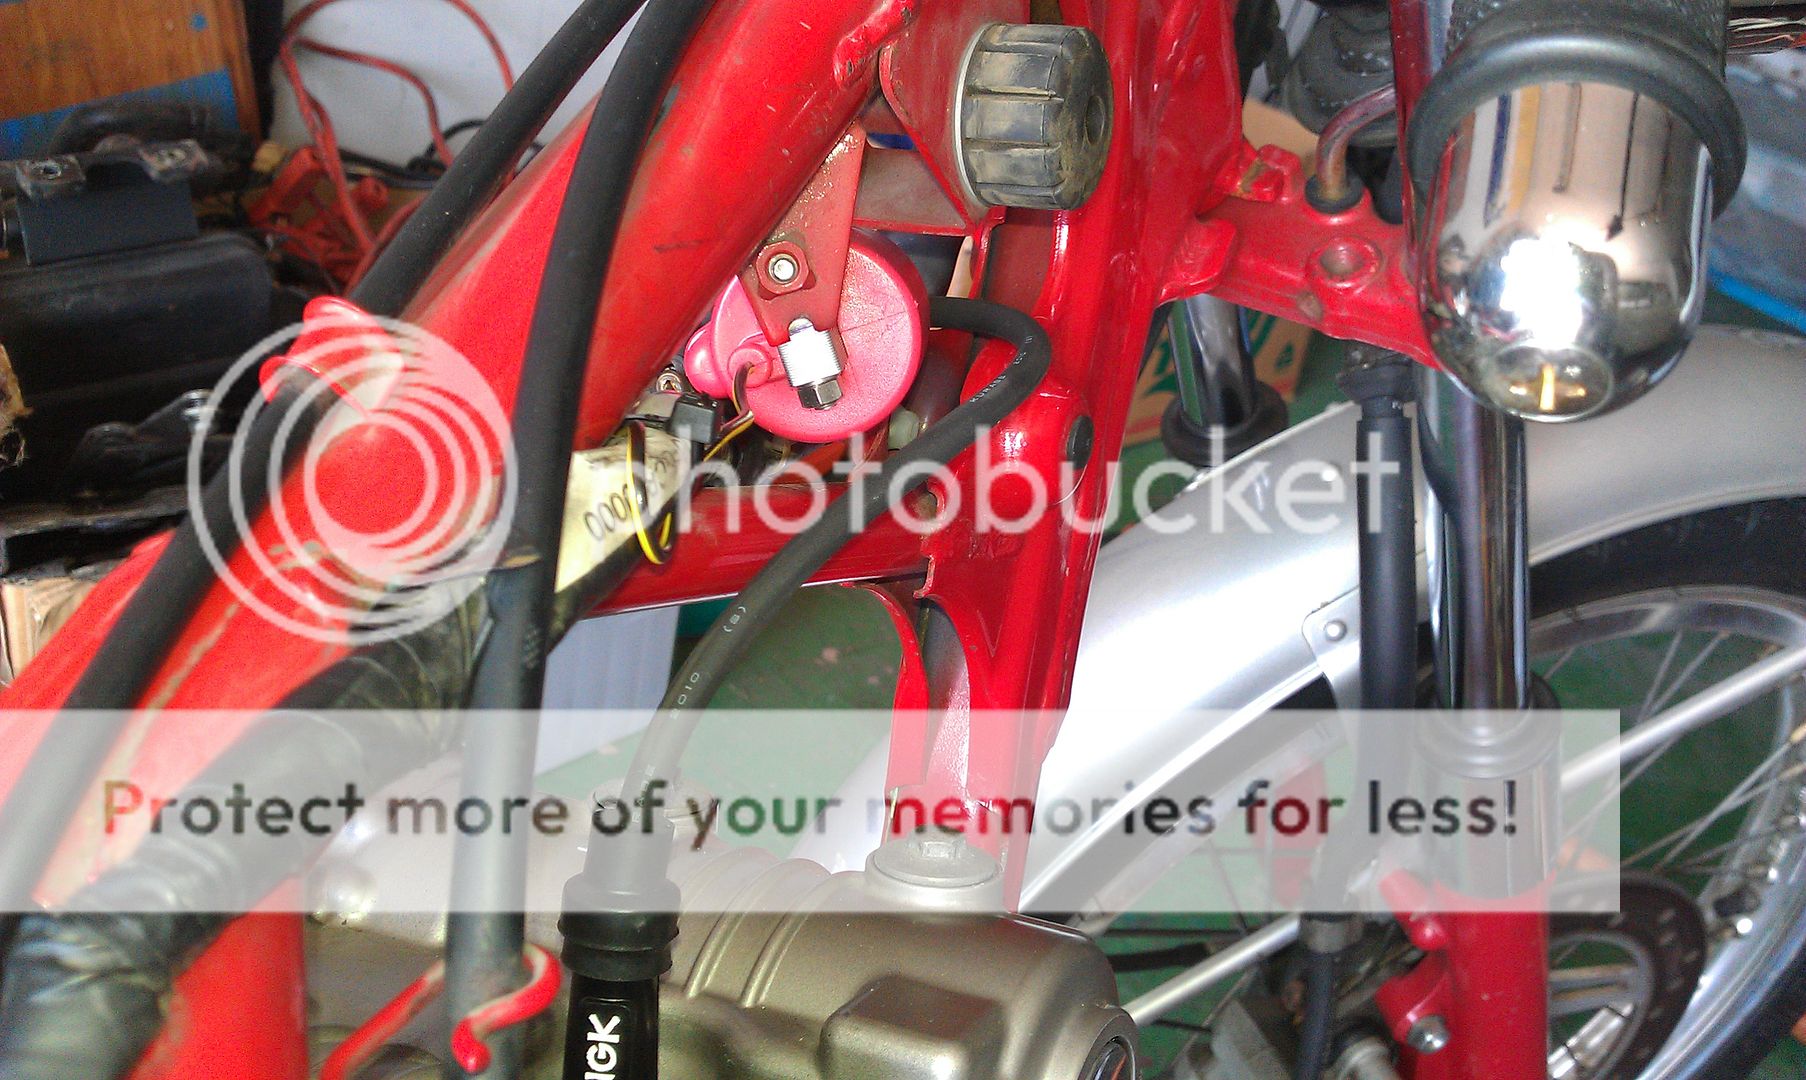
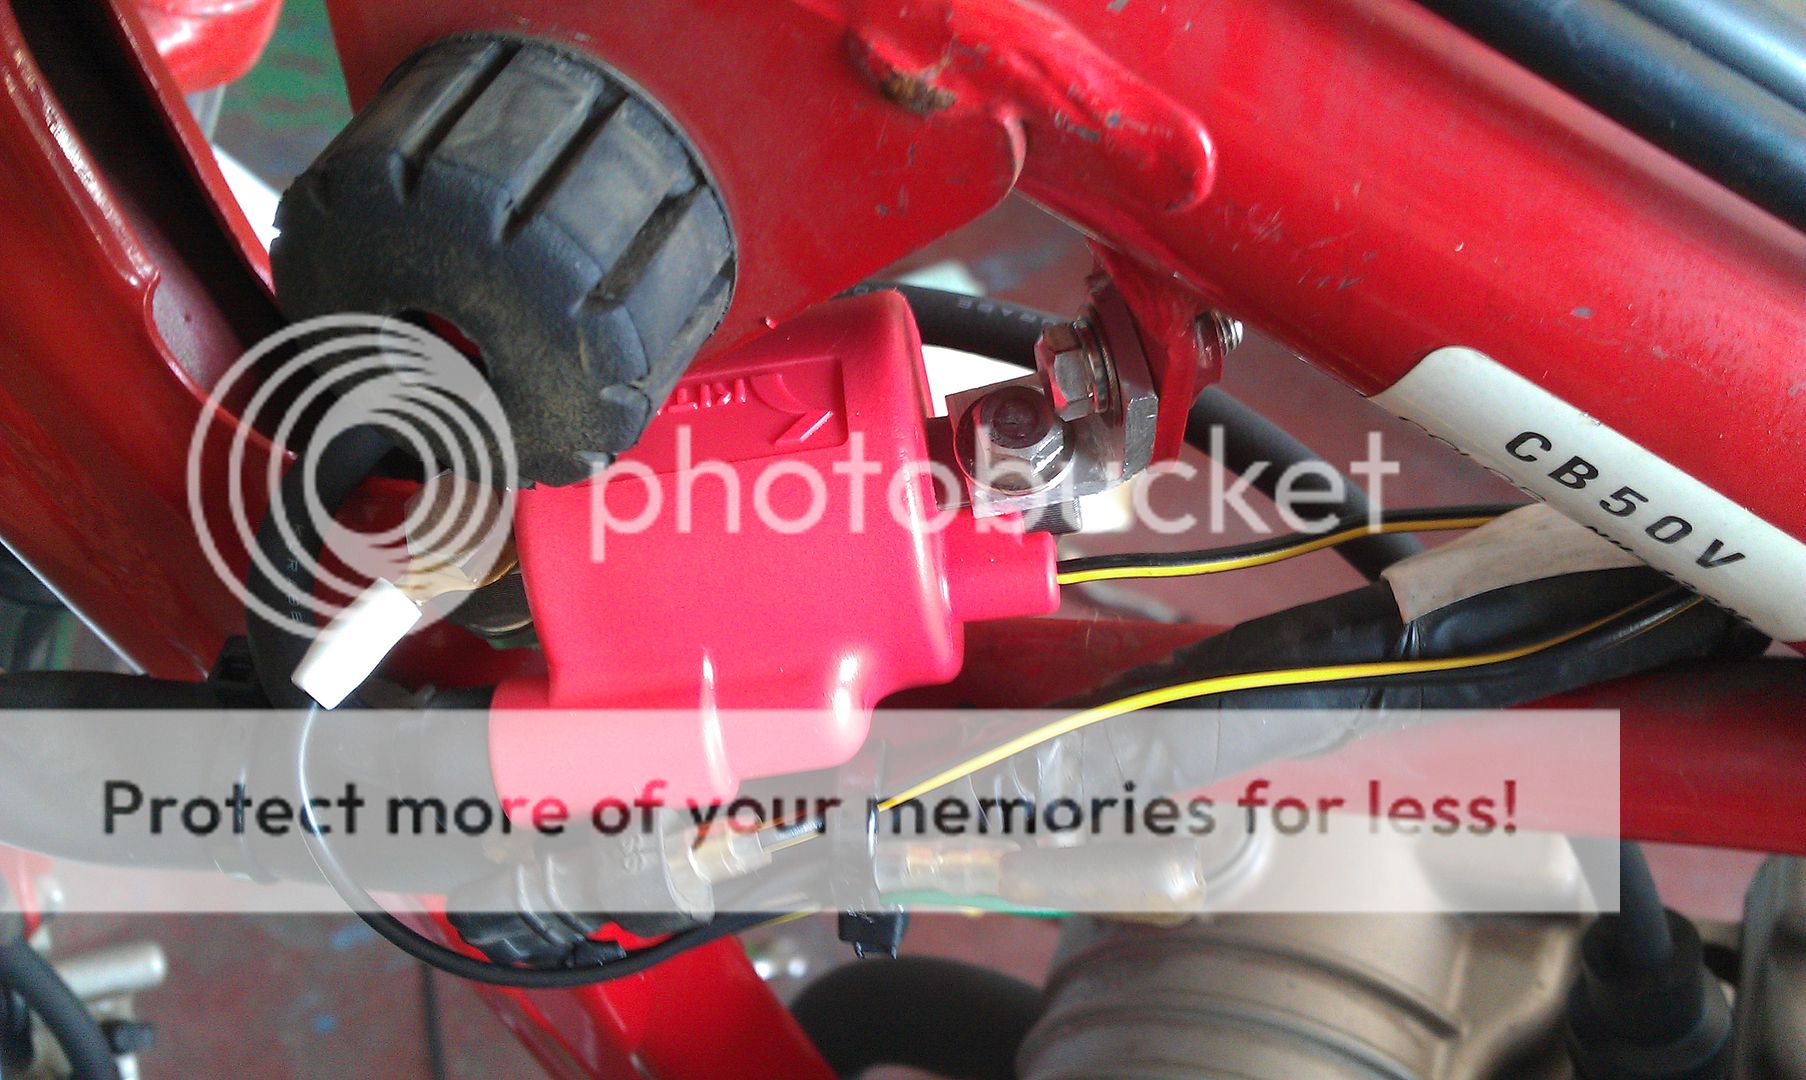
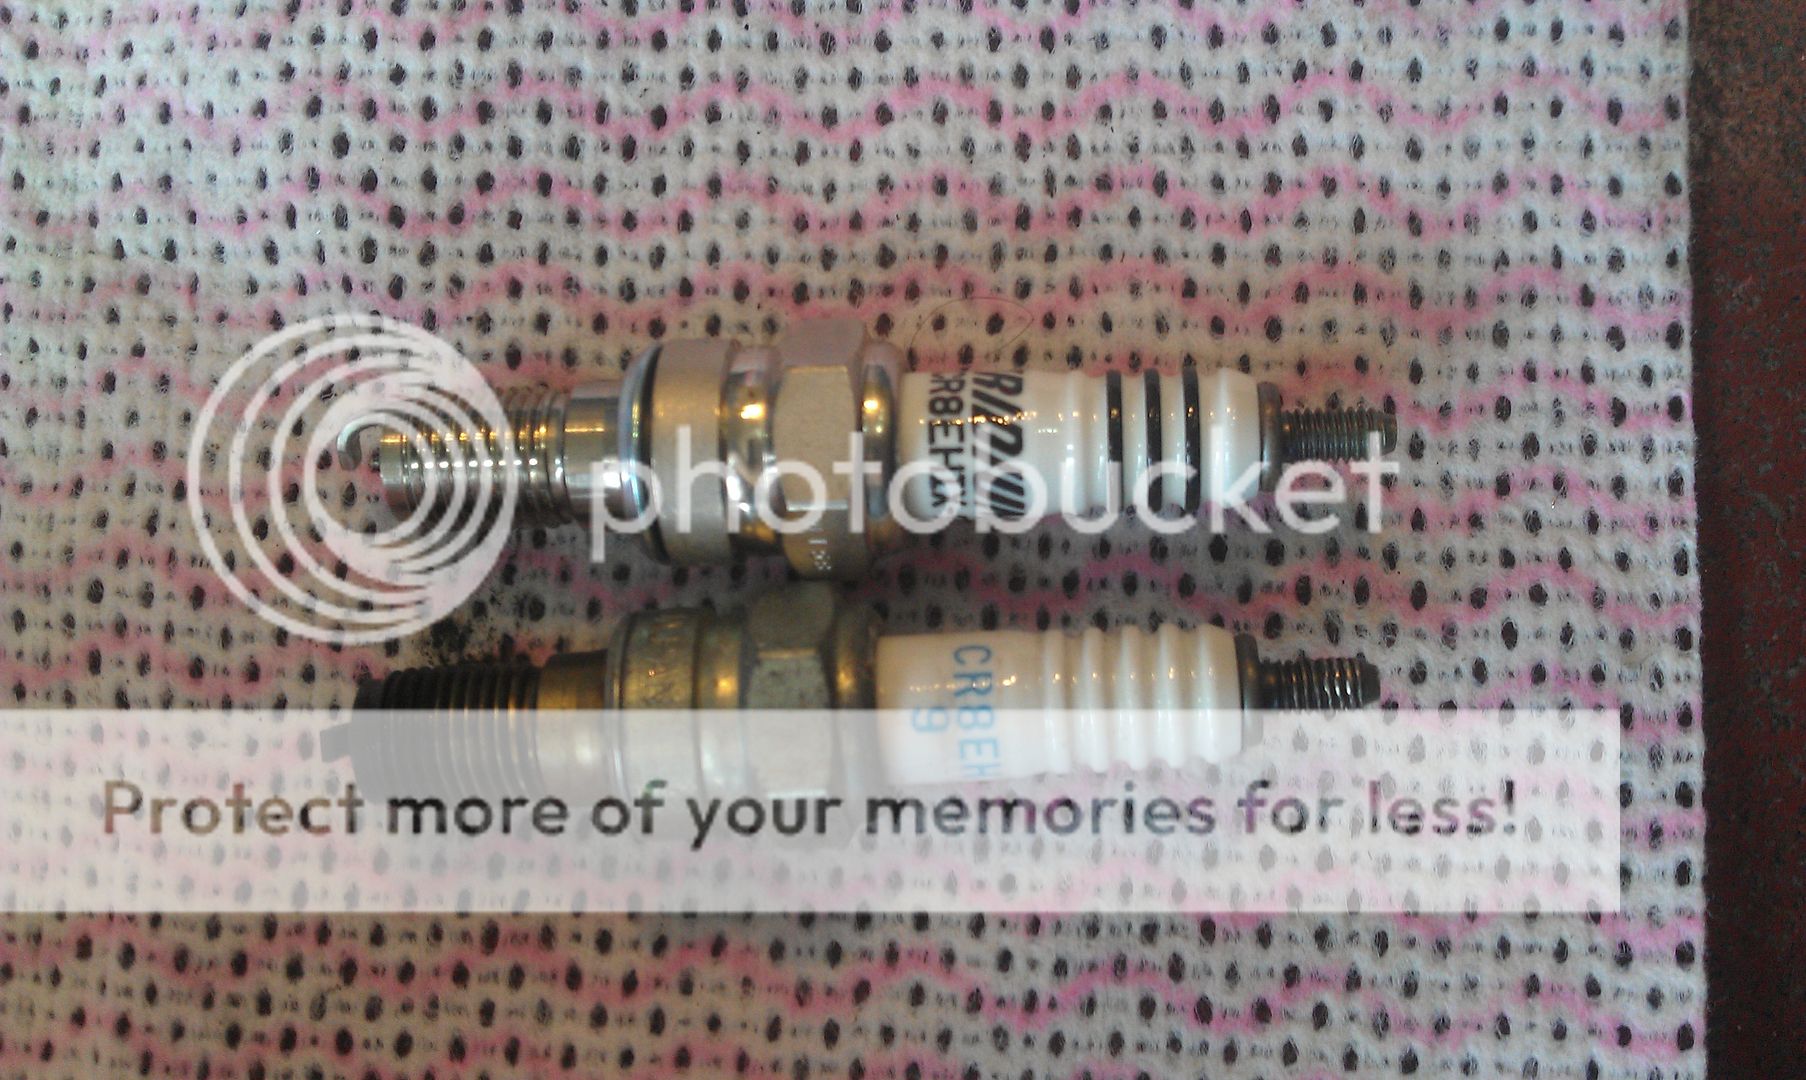
I also swapped in a new iridium plug!
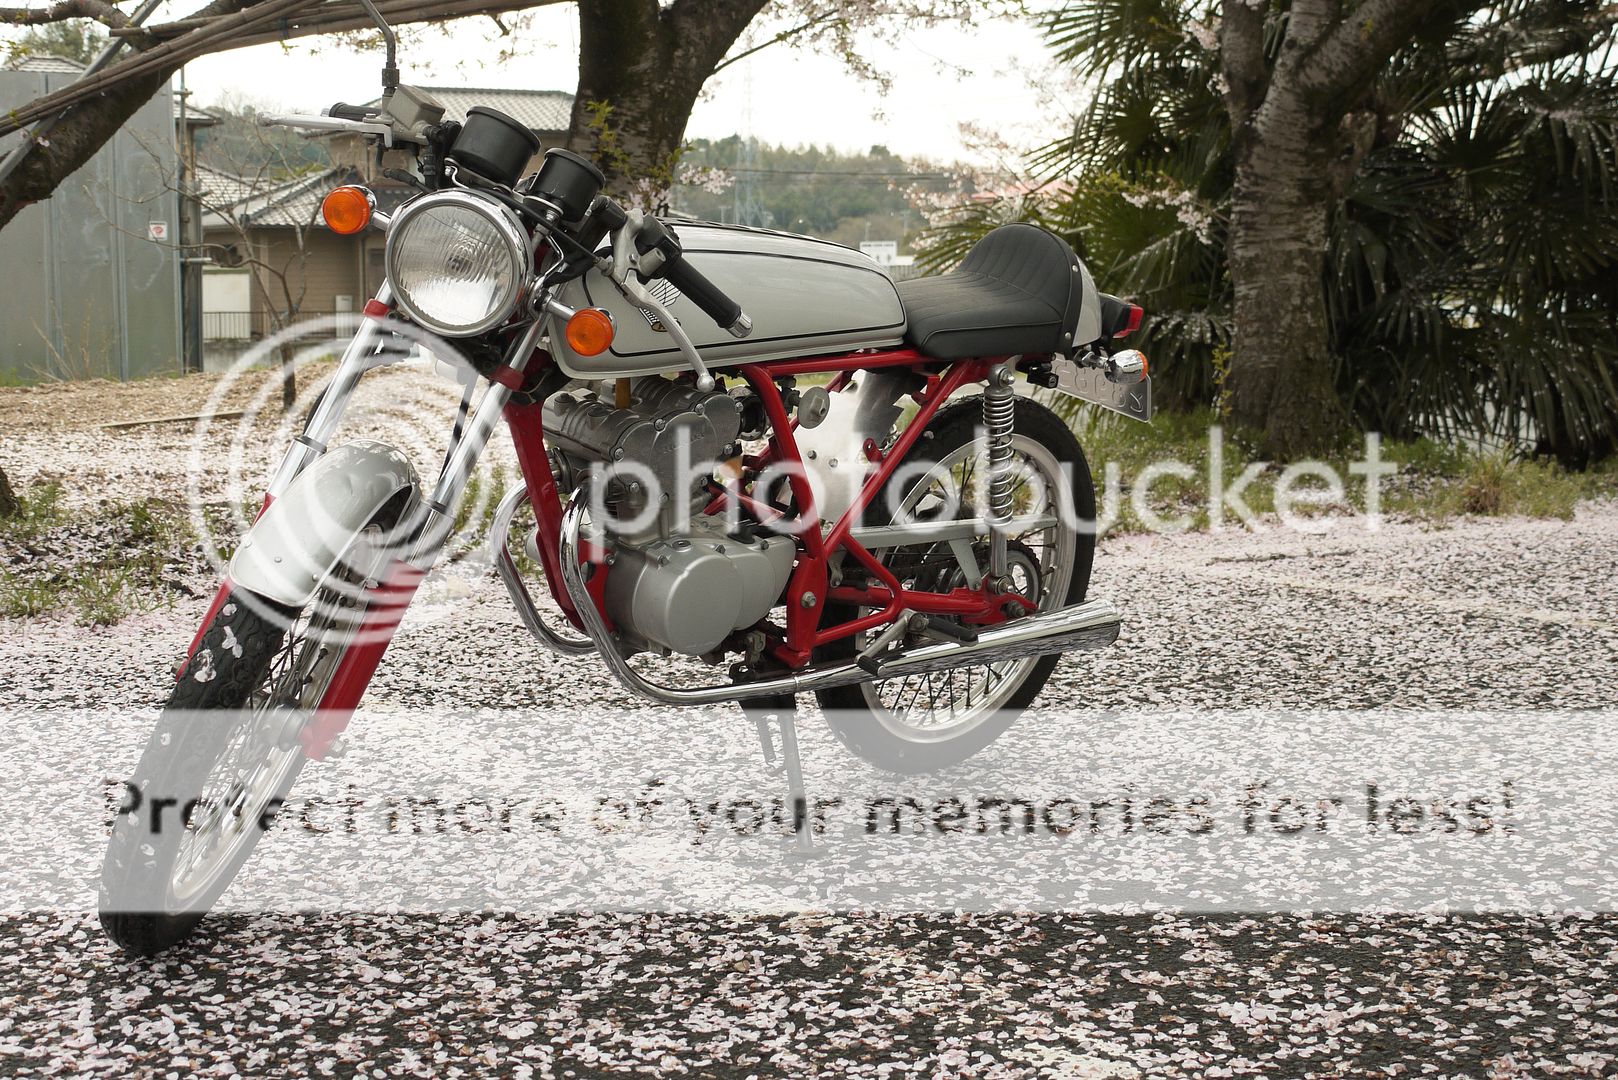
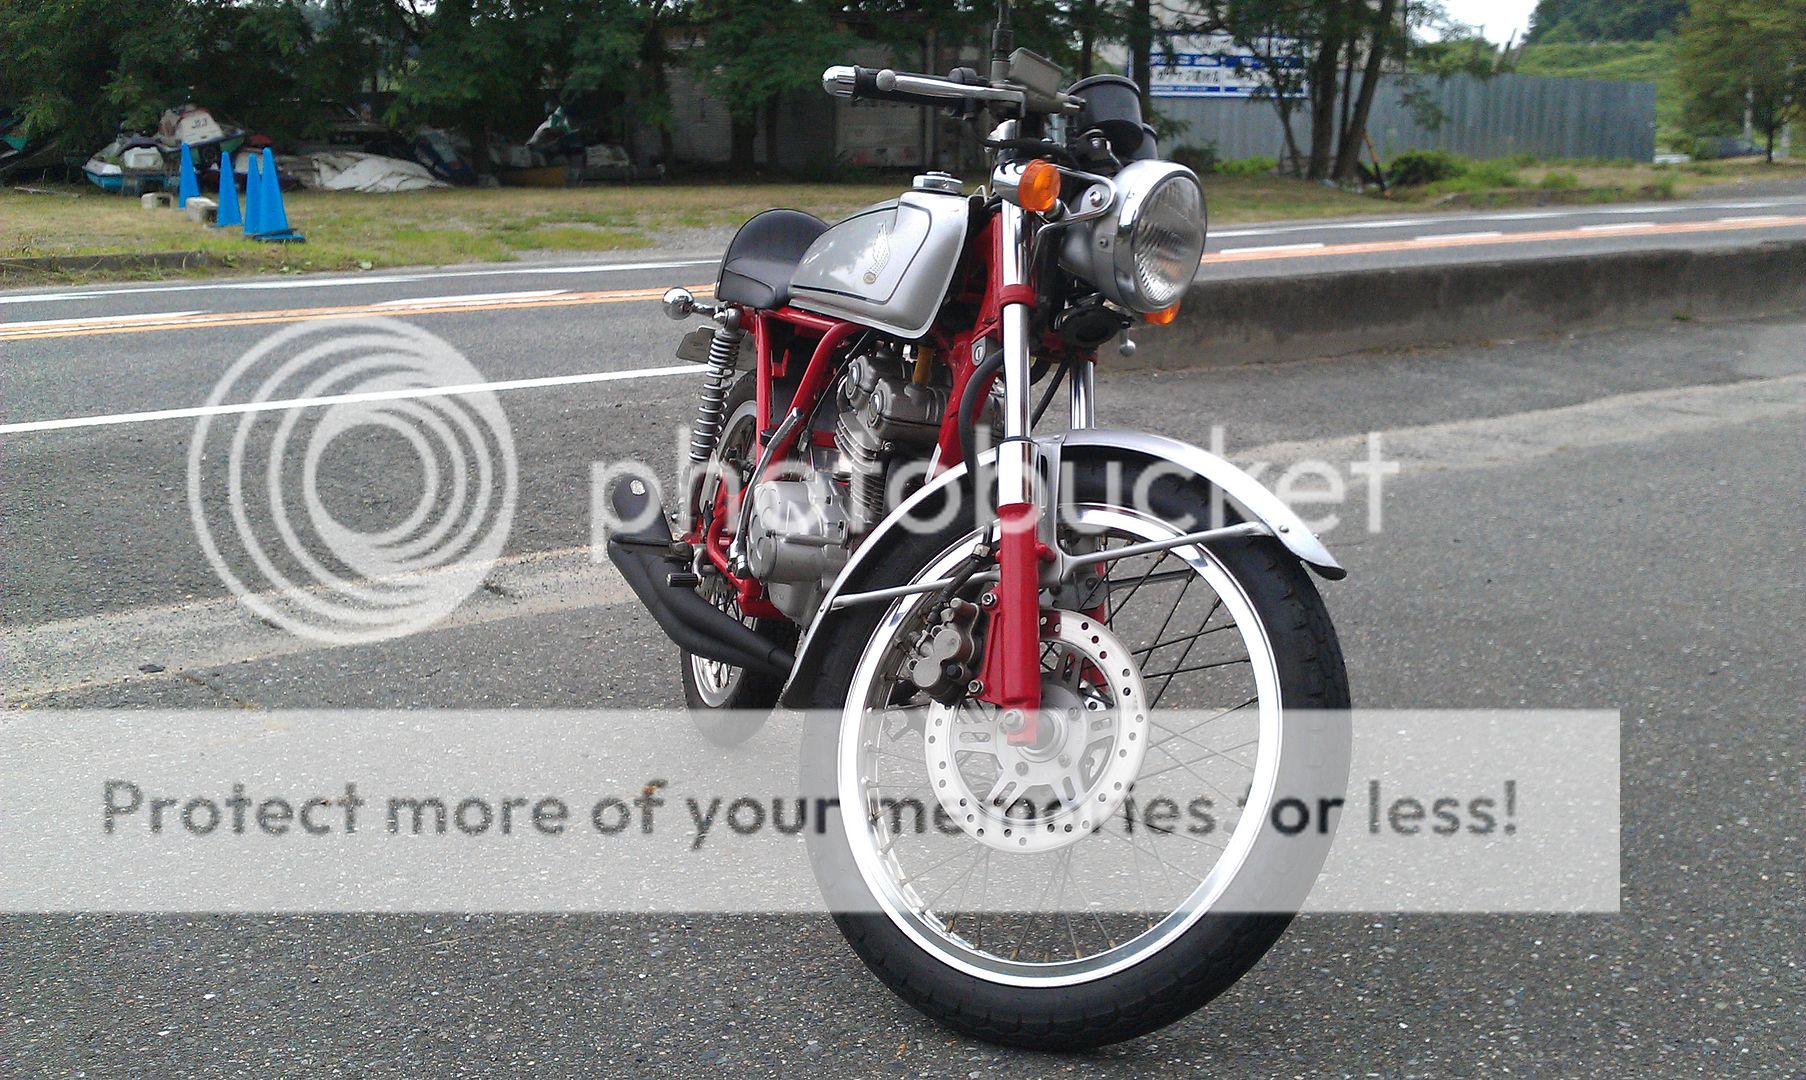
This completely transformed the bike! Strong, good power from about 6,000 rpm all the way up to 13,500 rpm! Launching is still a bit difficult, but I'll blame that on the fact that the bike was designed for Japanese guys that weigh about 20 kilos less than me! Didn't get any more pictures pictures because it started to rain and hasn't stopped since! As soon as it starts finally warming up and summer rolls in there will be much more happening to this little pocket bike!
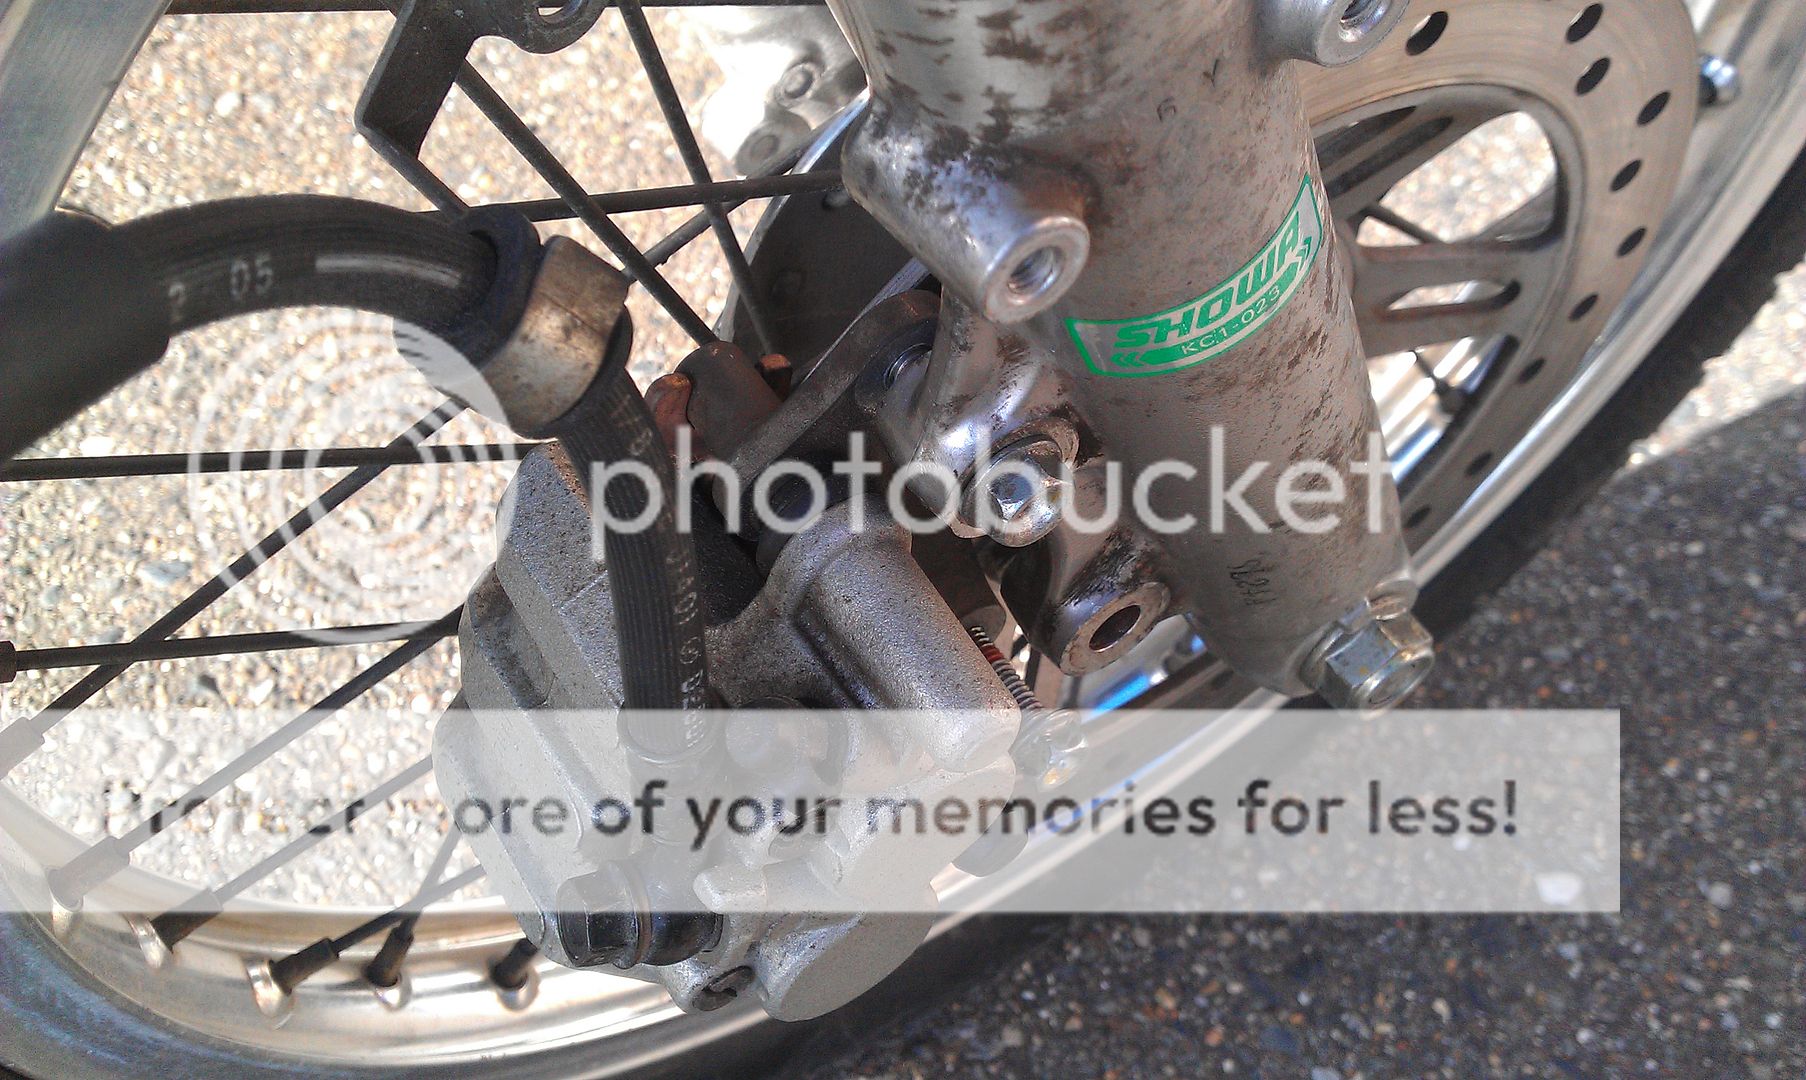
Big things on the list at the moment are to refresh the brakes, new tires an air filter and riding the hell out of it!
Cheers
David
I've been a fan of Do The Ton for a while now and spend most of my time at work reading the threads on here (shh, don't tell my boss). I figured that since I had a project of my own under way, it might be fun to bring it here for you guys to see. I'll give a little self introduction first, though.
My name's Dave and I'm actually a huge classic Japanese car aficionado. I currently own five cars (1967 Mitsubishi 360, 1971 Fairlady Z, 1973 Isuzu Bellet, 1988 300ZX SS, 1991 March Super Turbo). I tend to fall in love with the more rustier ones and slowly coerce them back to life. I'm working on swapping the Super Turbo for something older as well as getting another classic in my garage sometime early next year. If you'd like to see more about the cars, feel free to check them out here:
https://sites.google.com/site/nakazoto/home
Alright, on to my project! I've been working on this project for a little under a year now and have been updating it on JapaneseNostalgicCar.com. So these posts are copy pastes of the posts there to bring everything up to the present time!
Thank you guys for looking and here goes!
========
Apr 05, 2012
So, I've always wanted an old cafe racer bike and I also needed a learners bike to help me get my sea legs back for the proper motorcycle test. As such, I've been keeping my eye on the Dream 50 for quite some time. Unfortunately, they are indeed pricey. I was waffling between getting this or trading my March in and getting an R31 Skyline. I was leaning very heavily towards the Skyline, but all the offers on trade in value for my March were frankly insulting (I had one place offer to give me 500 bucks for a 40,000 mile, twin charged, piece of rally history!). So I said, this has got to be a sign, decided to keep the March and pulled the trigger on this bad boy! It needs some work as it was indeed the cheapest one I could find for sale. But, I picked it up in Okazaki and rode it all the way back to my place, a 40 minute ride! Biggest problem I had along the way was that my hands went numb!
Alright, enough gabbing, on with the pictures!
The pictures are a bit blurry. One of the downsides of buying a bike in the middle of winter is that it's too damn cold to get the bike out for a good photo session.
I just love that classic look!
Here's me sitting on it right before I rode it for the first, nervous as hell!
That was all a little while ago, so on the days that it was above about 5 C outside I started tooling around with it. First goal was to eliminate the air box. The problem with that was the battery. The bike itself doesn't need the battery to run, but it doesn't run very well without it. Also, the tachometer doesn't work without a battery. So, the best way to solve a lack of battery is lots of capacitance!
That would be 6 50V 4700 uF capacitors connected in parallel for a total of 28200 uF of capacitance. That's a lot of juice!
All soldered up!
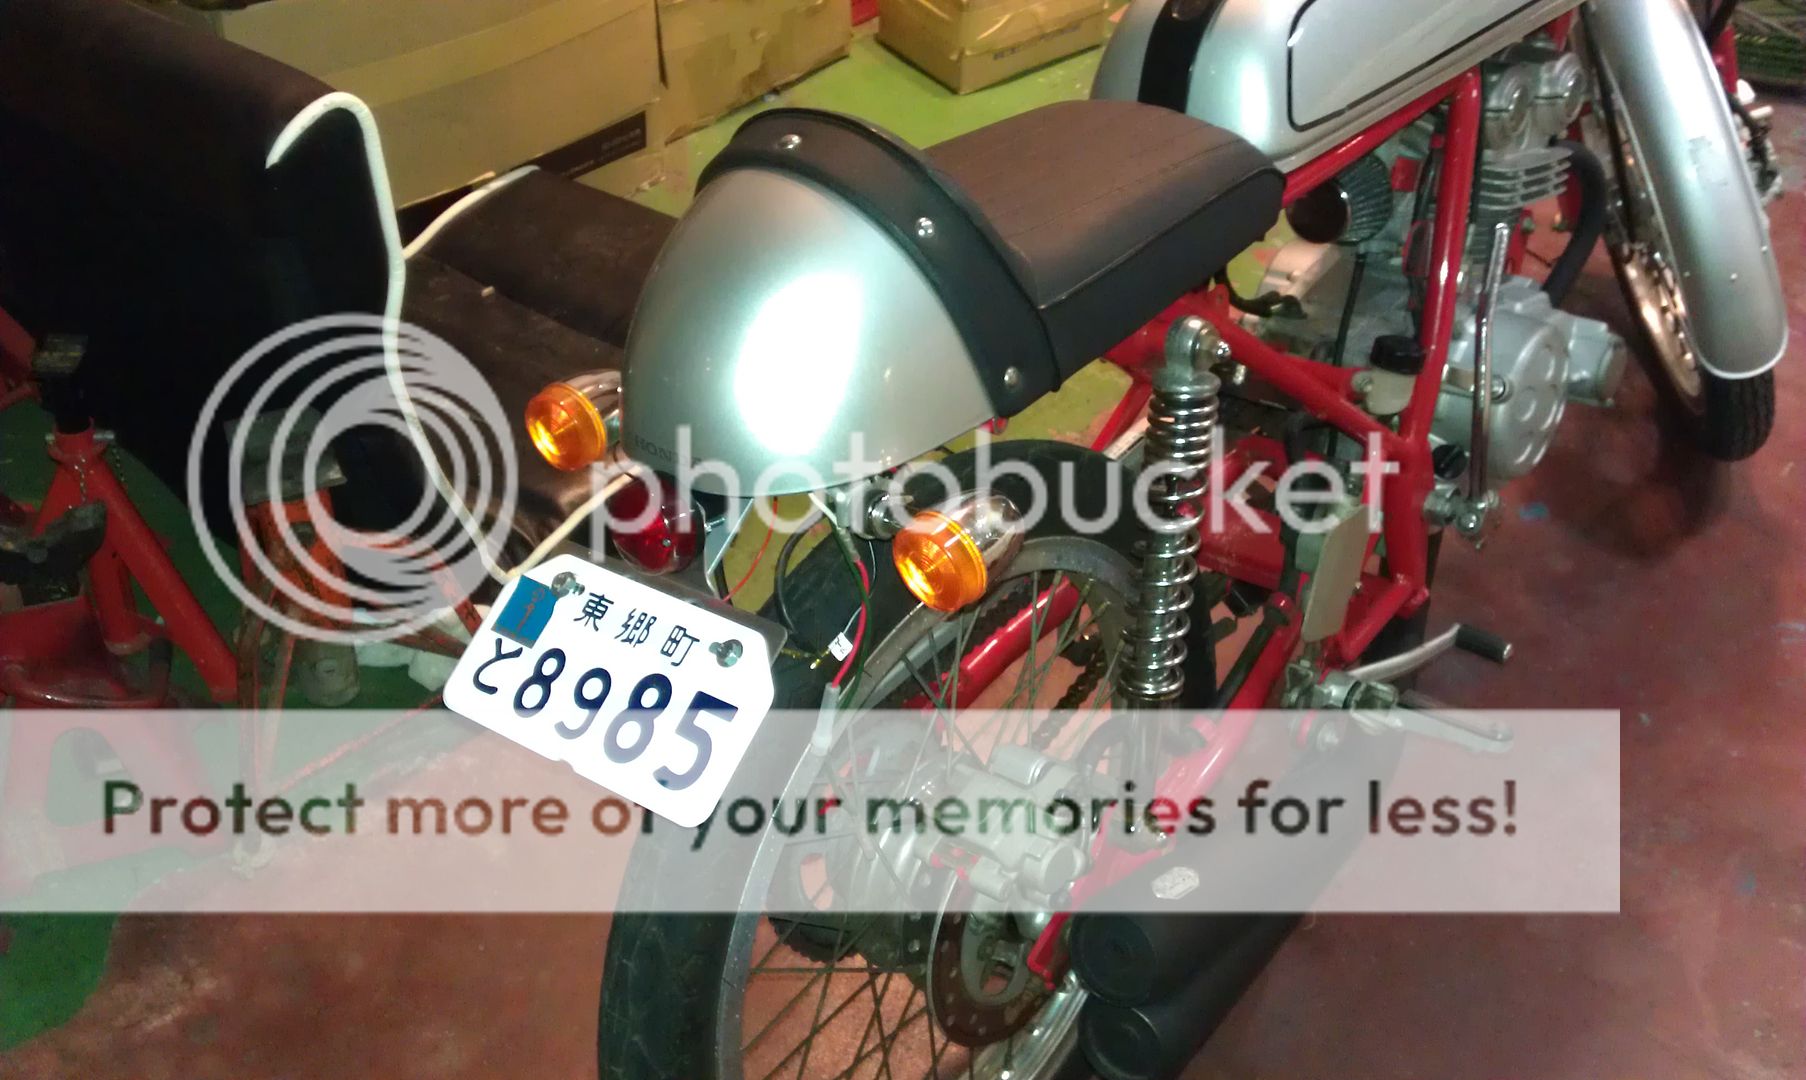
I was also planning on dropping the rear fender and dropping in a piece of aluminum for a much cleaner look.
So I took a piece of cardboard and folded and cut it to the shape I wanted. Then I took some simple measurements and transcribed them a nice piece of aluminum I picked up for 15 bucks at the local hardware store.
Here's the finished product!
Not bad looking at all!
It still ran a little rough and had absolutely no power below about 8,000 rpm, which made launching very difficult. So a carb clean was in order.
The carb itself is surprisingly simple and straight forward, using a sliding tube connected to a needle for both the throttle valve and fuel jet.
Here's the throttle valve/needle.
Here's a look down where the throttle valve slides.
All apart!
A close up of the little bitty parts!
I also swapped in a new iridium plug!
This completely transformed the bike! Strong, good power from about 6,000 rpm all the way up to 13,500 rpm! Launching is still a bit difficult, but I'll blame that on the fact that the bike was designed for Japanese guys that weigh about 20 kilos less than me! Didn't get any more pictures pictures because it started to rain and hasn't stopped since! As soon as it starts finally warming up and summer rolls in there will be much more happening to this little pocket bike!
Big things on the list at the moment are to refresh the brakes, new tires an air filter and riding the hell out of it!
Cheers
David