We noticed you are blocking ads. DO THE TON only works with community supporters. Most are active members of the site with small businesses. Please consider disabling your ad blocking tool and checking out the businesses that help keep our site up and free.
You are using an out of date browser. It may not display this or other websites correctly.
You should upgrade or use an alternative browser.
You should upgrade or use an alternative browser.
So... Jenn FINALLY has a build thread: '71 CB350
- Thread starter haircuttergirl
- Start date
haircuttergirl
Over 1,000 Posts
haircuttergirl
Over 1,000 Posts
haircuttergirl
Over 1,000 Posts
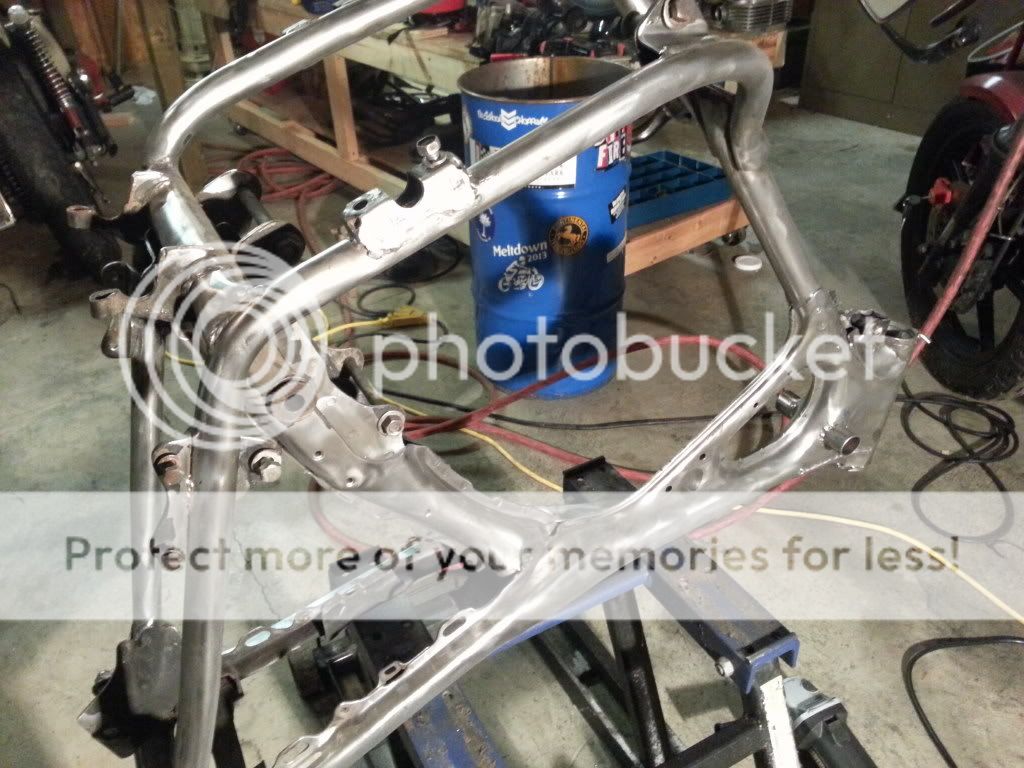
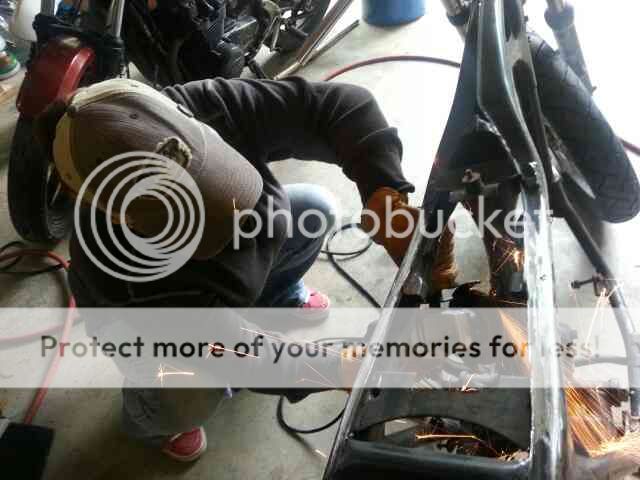
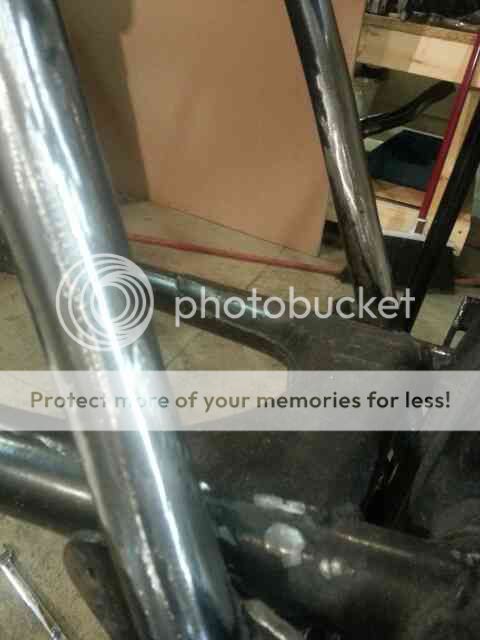
When I was planning soda blasting as my next step, I realized I'd overlooked some cutting that needed to be done on my frame... some extra bracing that had been welded on in a weird position. So I took care of that tonight.

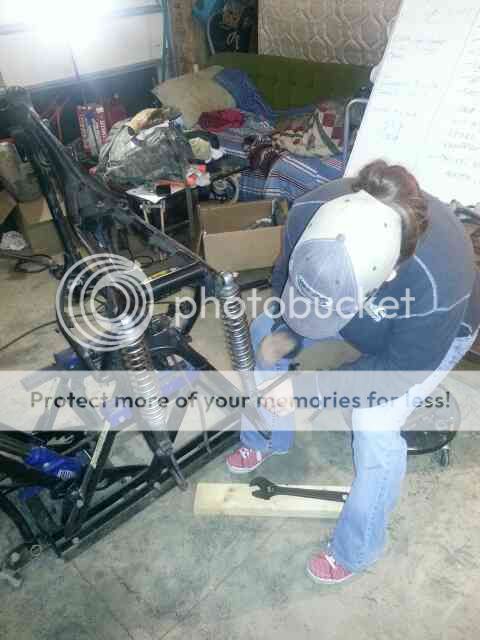
Then I smoothed everything out. I'm starting to get the hang of the grinder a lot more. I liked it before but it's beginning to feel more natural now.
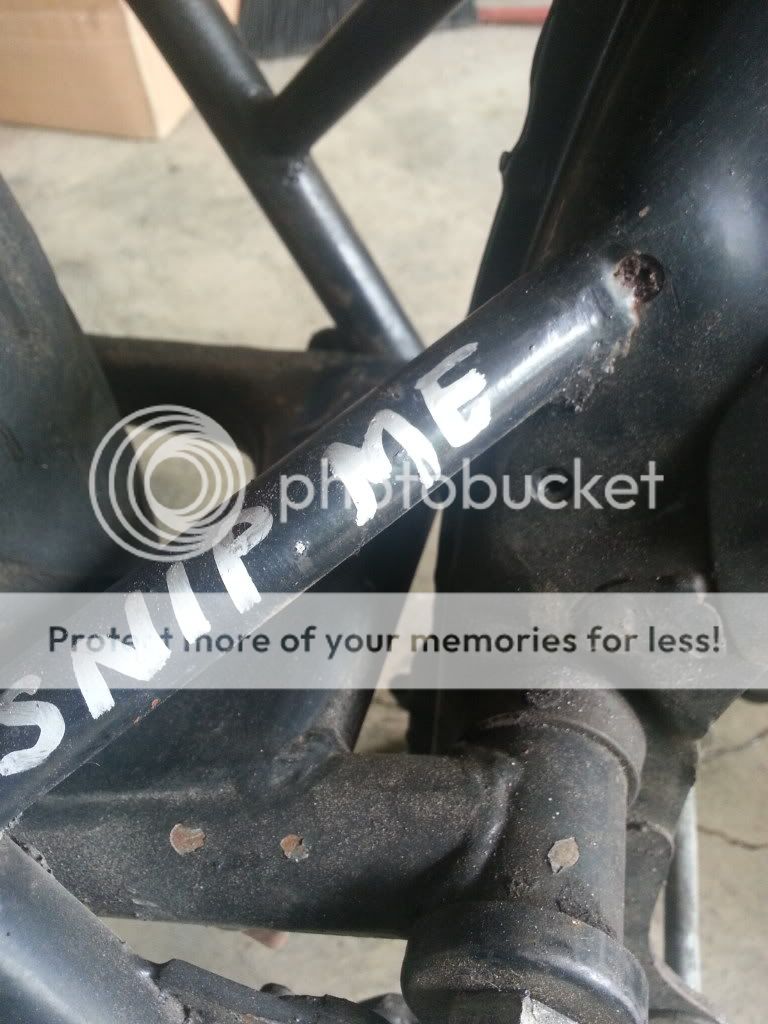
Got the last few things stripped off the frame.
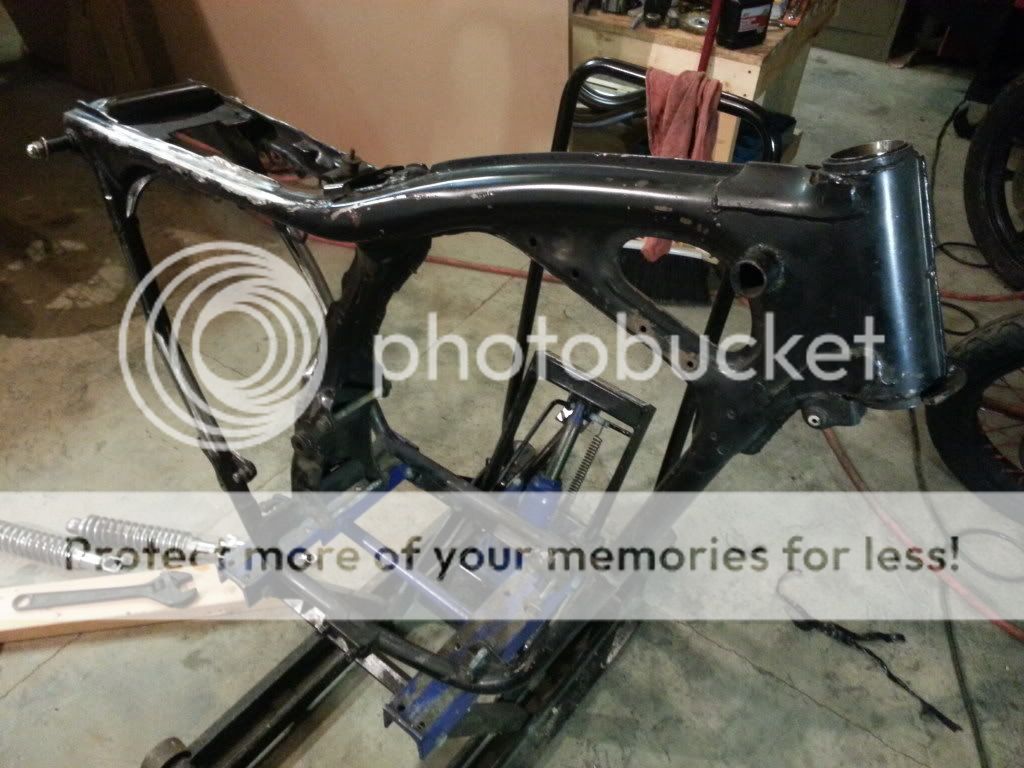
NOW I'm ready to soda blast.")
*Rain, rain, go away... Jenn wants to soda blast today.*
Then I smoothed everything out. I'm starting to get the hang of the grinder a lot more. I liked it before but it's beginning to feel more natural now.
Got the last few things stripped off the frame.
NOW I'm ready to soda blast.
*Rain, rain, go away... Jenn wants to soda blast today.*
JustinLonghorn
No Purple Hearts, No Blue Ribbons
kopcicle said:I'm just here for the free beer
~kop
Yep.
johngofast
Over 1,000 Posts
Good job Jenn, you must have had some good instruction on the grinder. Usually when I see a frame that someone has grinded on and it was their first time it looks like a beaver was chewin on it.
haircuttergirl
Over 1,000 Posts
A little common sense and a lot of good learnin' by Mr. E. He's fantastic. I thought I was doing good until he asked if he could show me something... haha. I was being wayyyy too timid with the grinder and it was taking me forever. No more. I don't even notice the sparks anymore, not sure if that's a good thing or a bad thing...JohnGoFast said:Good job Jenn, you must have had some good instruction on the grinder. Usually when I see a frame that someone has grinded on and it was their first time it looks like a beaver was chewin on it.
*Note: there are areas on the frame that were already smoothed down too far so I left those alone and tried to just work the area around it as best I could.
*hands Justin & Dennis a coupla IPA's*JustinLonghorn said:Yep.
Pull up a chair, fellas. The more, the merrier.
Scruffy
West Tennessee
Awful lot of "fluff" left on there... fork lock assembly and mount, frame backbone ridge, tail section, swingarm capable instead of a nice lightweight weld on rigid conversion that won't "load up" in corners and try to squirt out from under you...
Actually, looks just fine and congrats on jumping right into it. Once it is clean, go over EVERY weld line with a magnifying glass, I'm finding a lot of "iffy" welds on a much newer chassis.
Actually, looks just fine and congrats on jumping right into it. Once it is clean, go over EVERY weld line with a magnifying glass, I'm finding a lot of "iffy" welds on a much newer chassis.
Pity those brace tubes came out. Unless a new pair are going in in a slightly different position
Do not remove the weld "ridges" unless you are a certified welder and really know what you are doing and you need a steering lock, so I'd call it a day, other than the inspection that Scruffy suggested.
Do not remove the weld "ridges" unless you are a certified welder and really know what you are doing and you need a steering lock, so I'd call it a day, other than the inspection that Scruffy suggested.
teazer said:Do not remove the weld "ridges" unless you are a certified welder and really know what you are doing and you need a steering lock, so I'd call it a day, other than the inspection that Scruffy suggested.
+1 Jenn Its really looking good.
haircuttergirl
Over 1,000 Posts
Ha. I've been busy...Redbird said:Done yet?
Scruffy
West Tennessee
teazer said:Pity those brace tubes came out. Unless a new pair are going in in a slightly different position
Do not remove the weld "ridges" unless you are a certified welder and really know what you are doing and you need a steering lock, so I'd call it a day, other than the inspection that Scruffy suggested.
I have all my frame welding done by a dual certified expert, FAA and US Coast Guard approved. I tack the stuff together, he does the rest. I know my limitations. I do need to get him to go over the welds on the 1998 chassis, the factory did a horrible job. Gaps, cracks, slag left on the beads that is starting to chip off...
haircuttergirl
Over 1,000 Posts
Took a wire wheel to the frame tonight... Its looking all puuuurty. Obviously there's still some areas to get. I'll hit those with the soda blaster as soon as we get our air compressor problem resolved.