
We noticed you are blocking ads. DO THE TON only works with community supporters. Most are active members of the site with small businesses. Please consider disabling your ad blocking tool and checking out the businesses that help keep our site up and free.
You are using an out of date browser. It may not display this or other websites correctly.
You should upgrade or use an alternative browser.
You should upgrade or use an alternative browser.
Dream 50 -> CB125T!
- Thread starter Nakazoto
- Start date
Highwind said:hey man are those custom gas tanks?
The gas tank is actually the Honda factory original gas tank from the Honda Dream 50 (the little 50 cc scooter that I pulled nearly all my parts from). You can still find them on Yahoo Auctions, but they're quite expensive, generally pulling in around 35,000 yen!
So, I took last Thursday off and Friday was the Japanese version of Thanksgiving. This resulted in a nice 4-day long weekend which really let me get to work. Since finding quality Turkey in Japan is like finding the lost city of Atlantis, I decided to keep myself busy in the garage with my Bellett and the CB!
My first step was to get the reservoir for the brake master mounted, which meant welding a nut to a tab. This piece of steel was cut the size and shape I needed and then I ran a stainless bolt through it with a non-stainless nut on the other end.
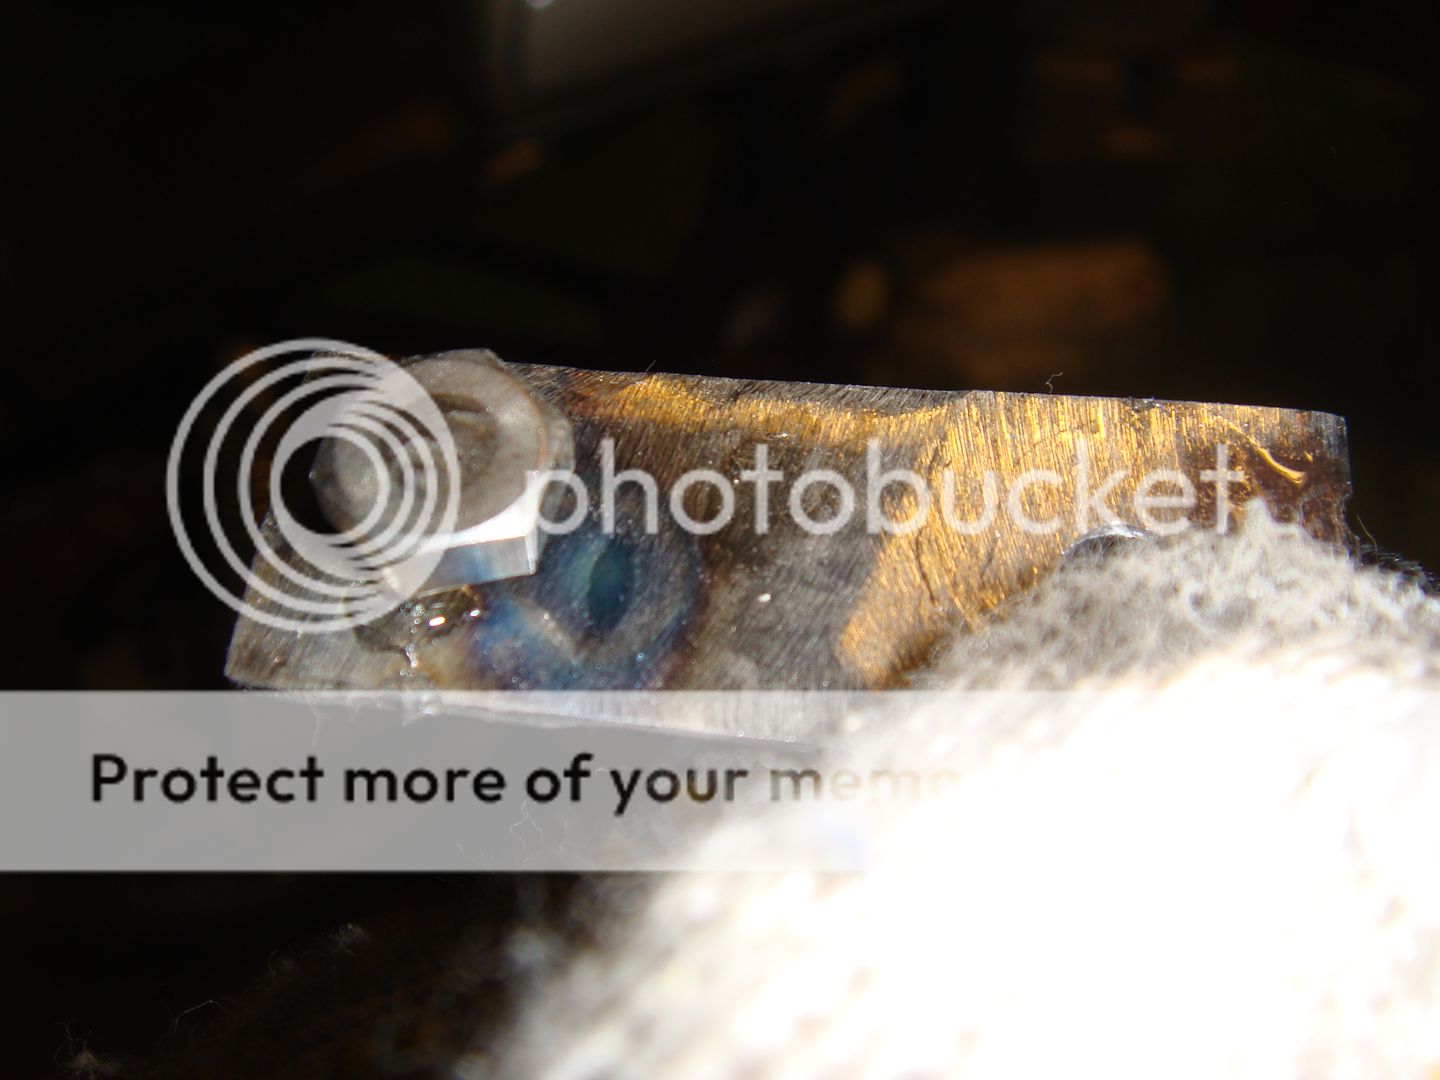
I then pulled out the welder and welded that nut right in place!
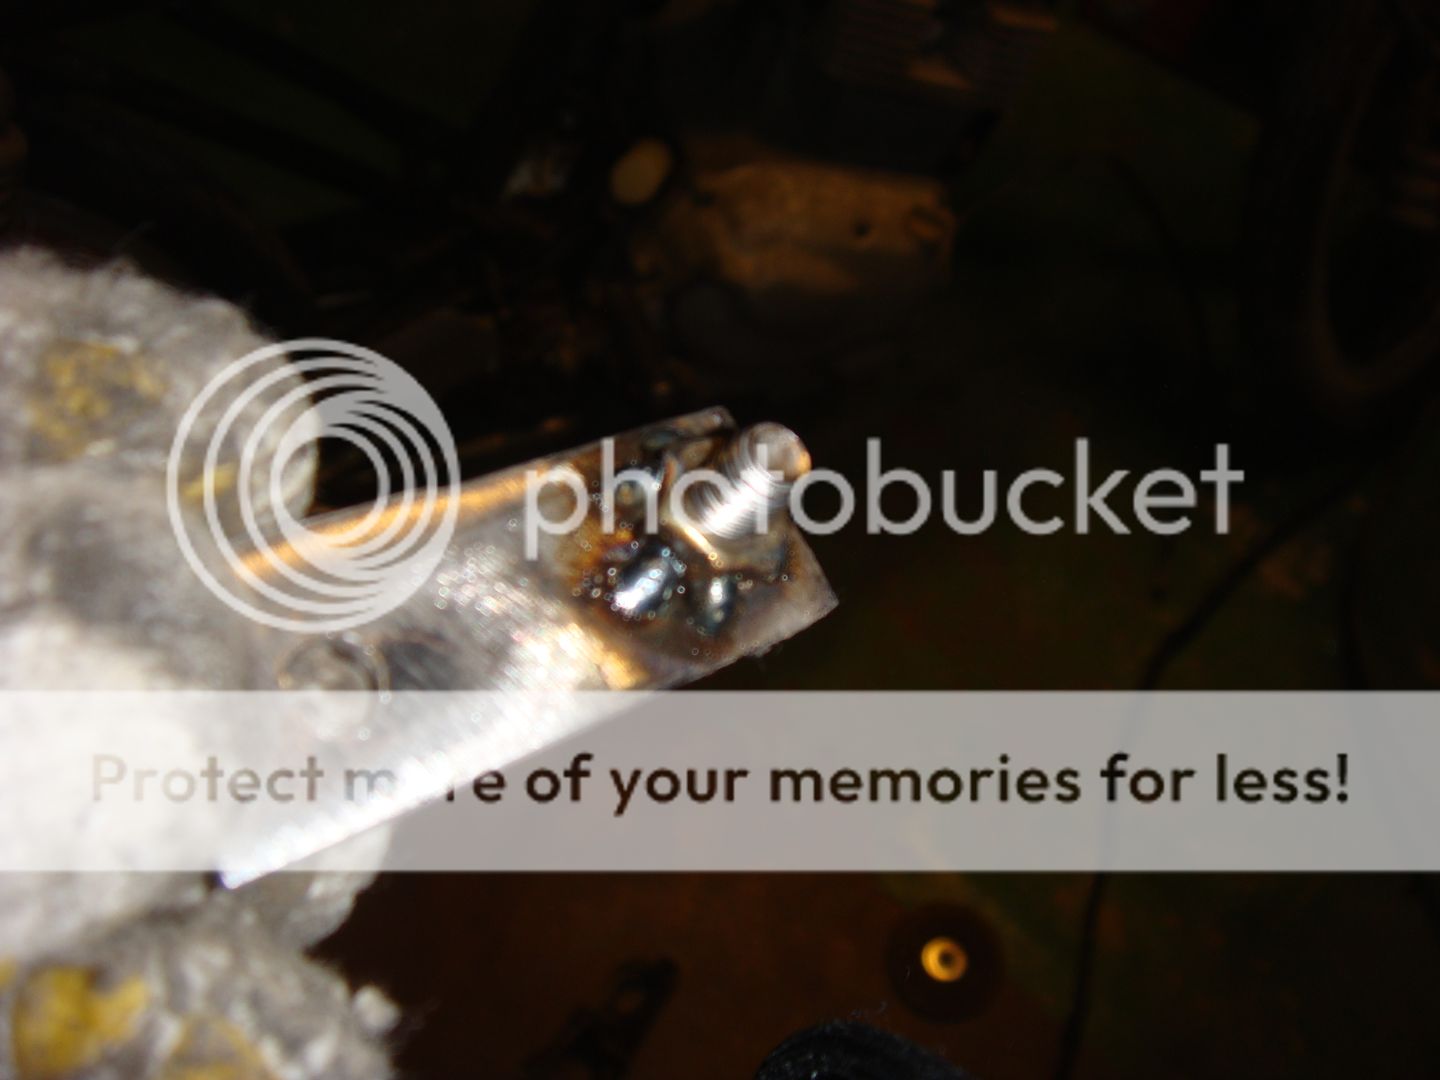
Here it is welded and mounted into place.
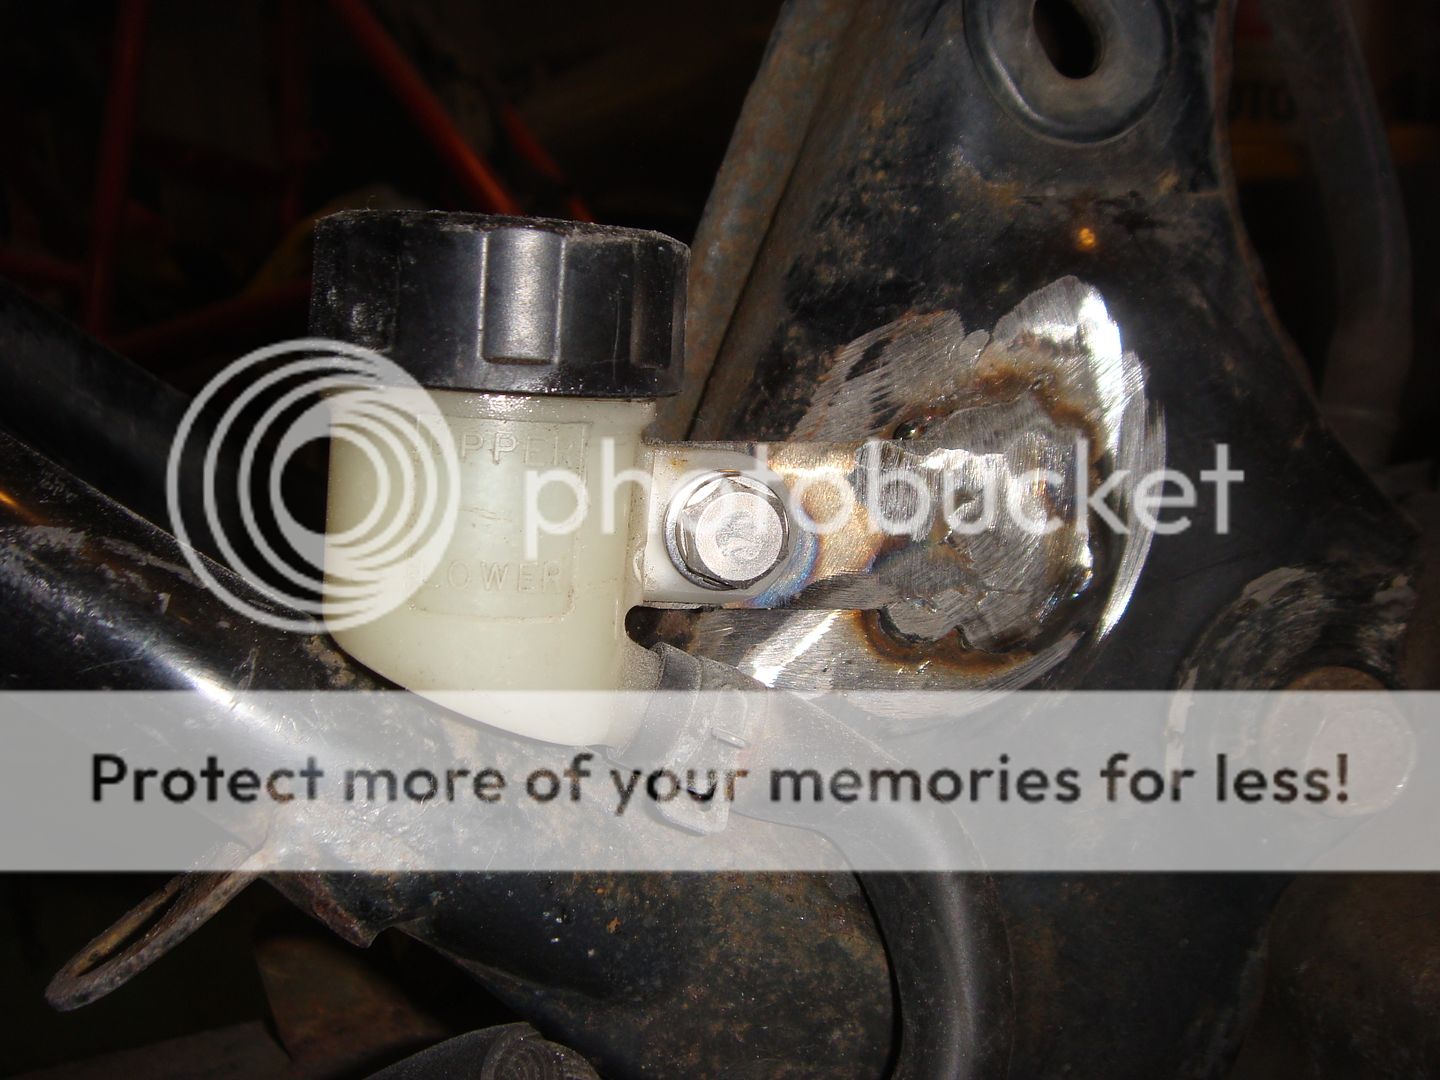
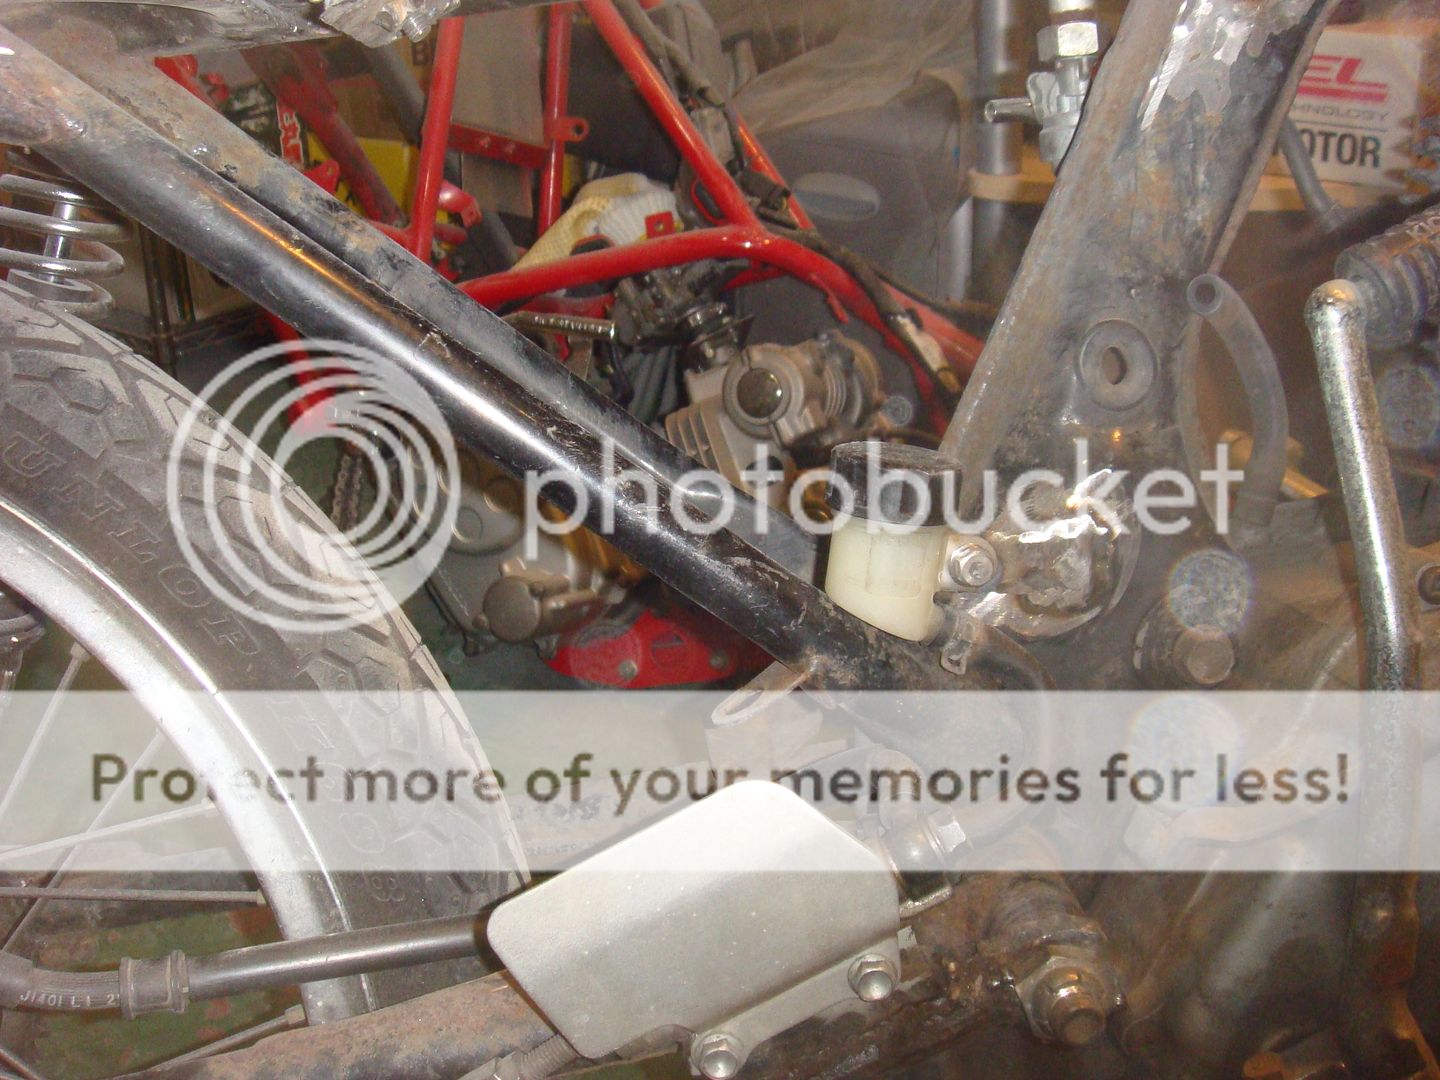
And a shot from a little further back. The hose has a slight kink in it which will get fixed with a longer piece of hose during final installation.
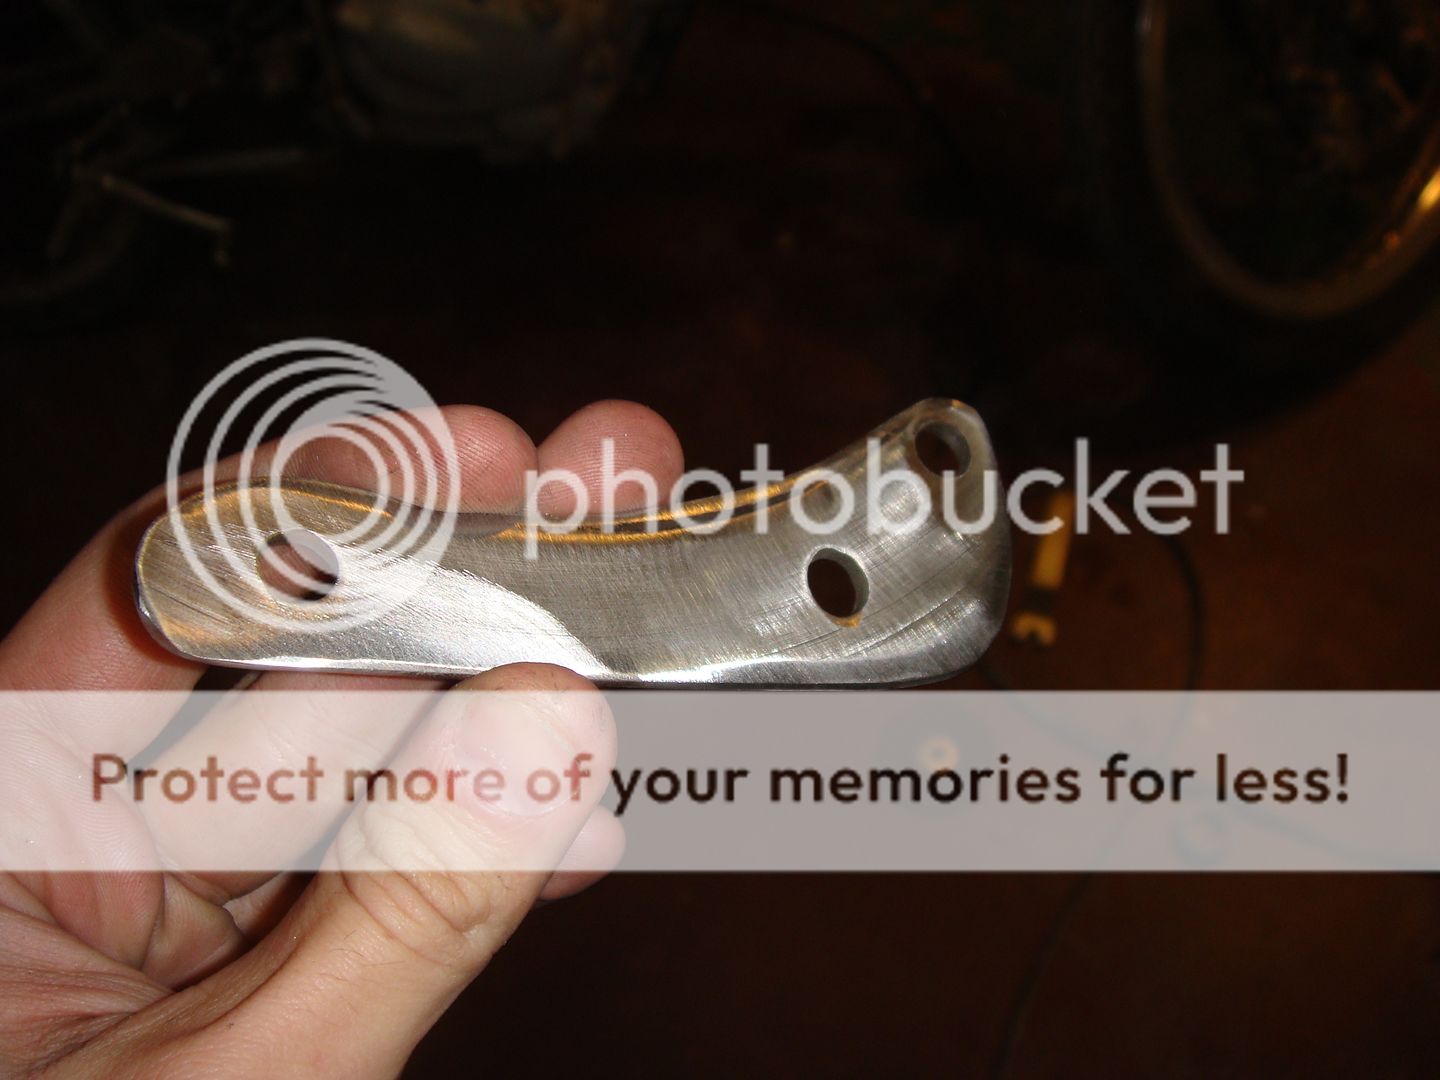
With the rear brake mostly sorted (I still have a little more welding to do to be completely done) I started in on the front brake. My first problem is that I'm broke, I've got zero yen. So instead of finding an appropriate piece of thick aluminum for my front caliper mounting bracket I was left digging through my scrap pile looking for something suitable. The only piece of metal I found thick enough to do the job was the old brake rotor from the CB. Since it was pretty pooched already, I didn't feel bad about tearing into it.
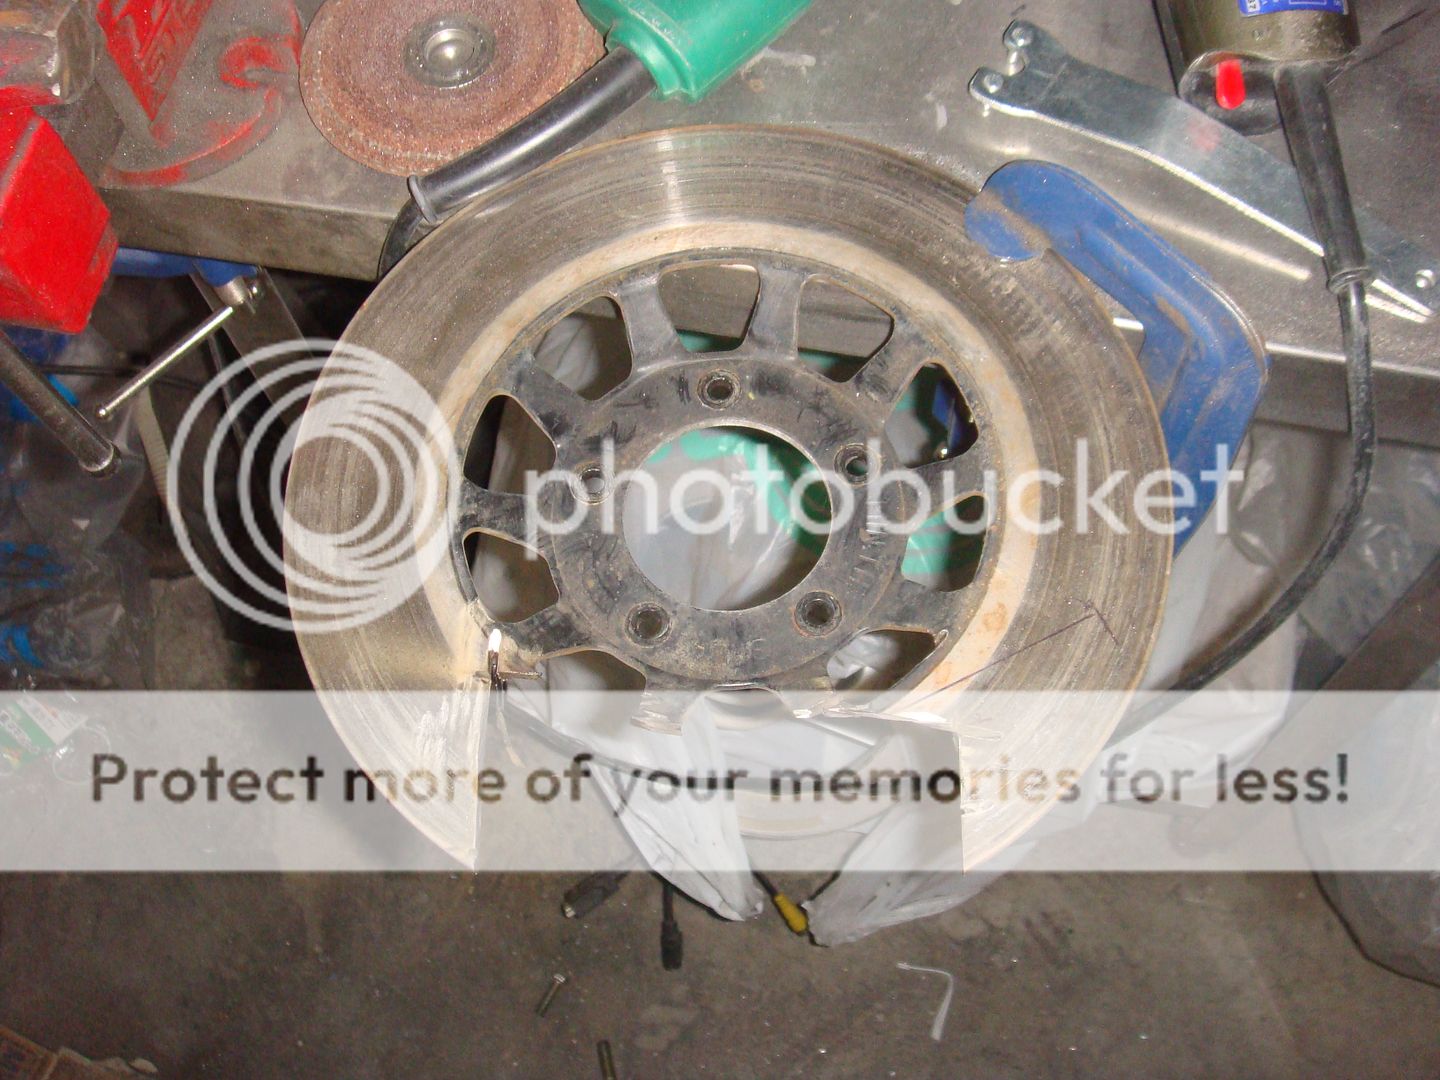
That took four cut off wheels. I had no idea that brake disc steel was so insanely tough! Here's the piece I ended up with.
And roughly where it will sit.
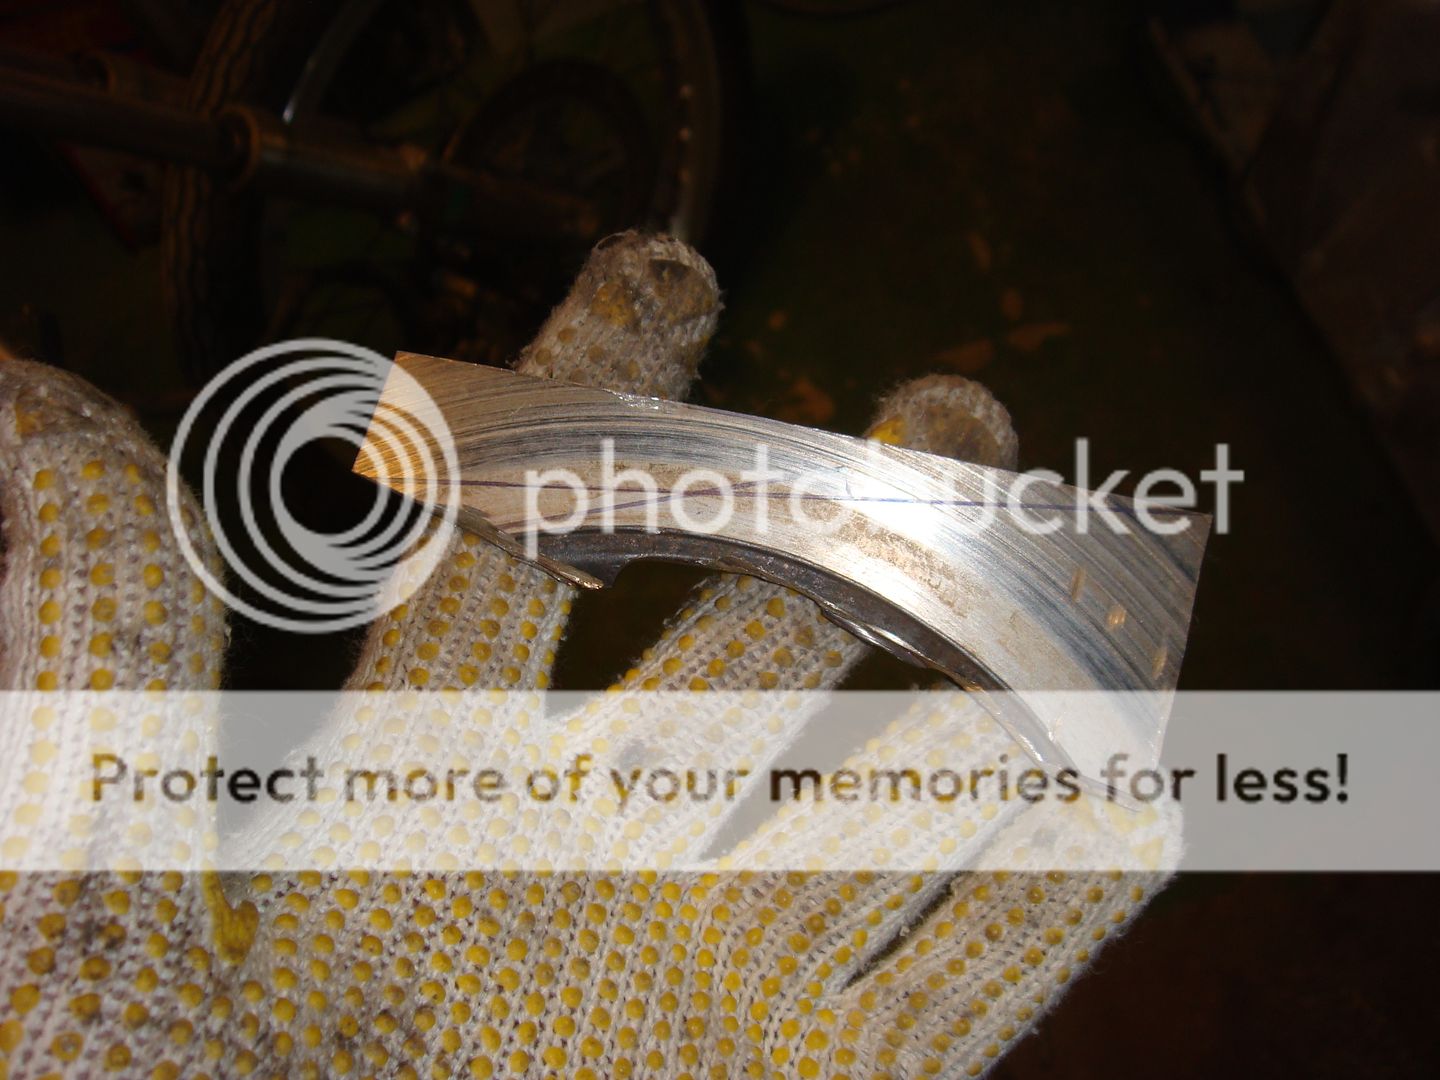
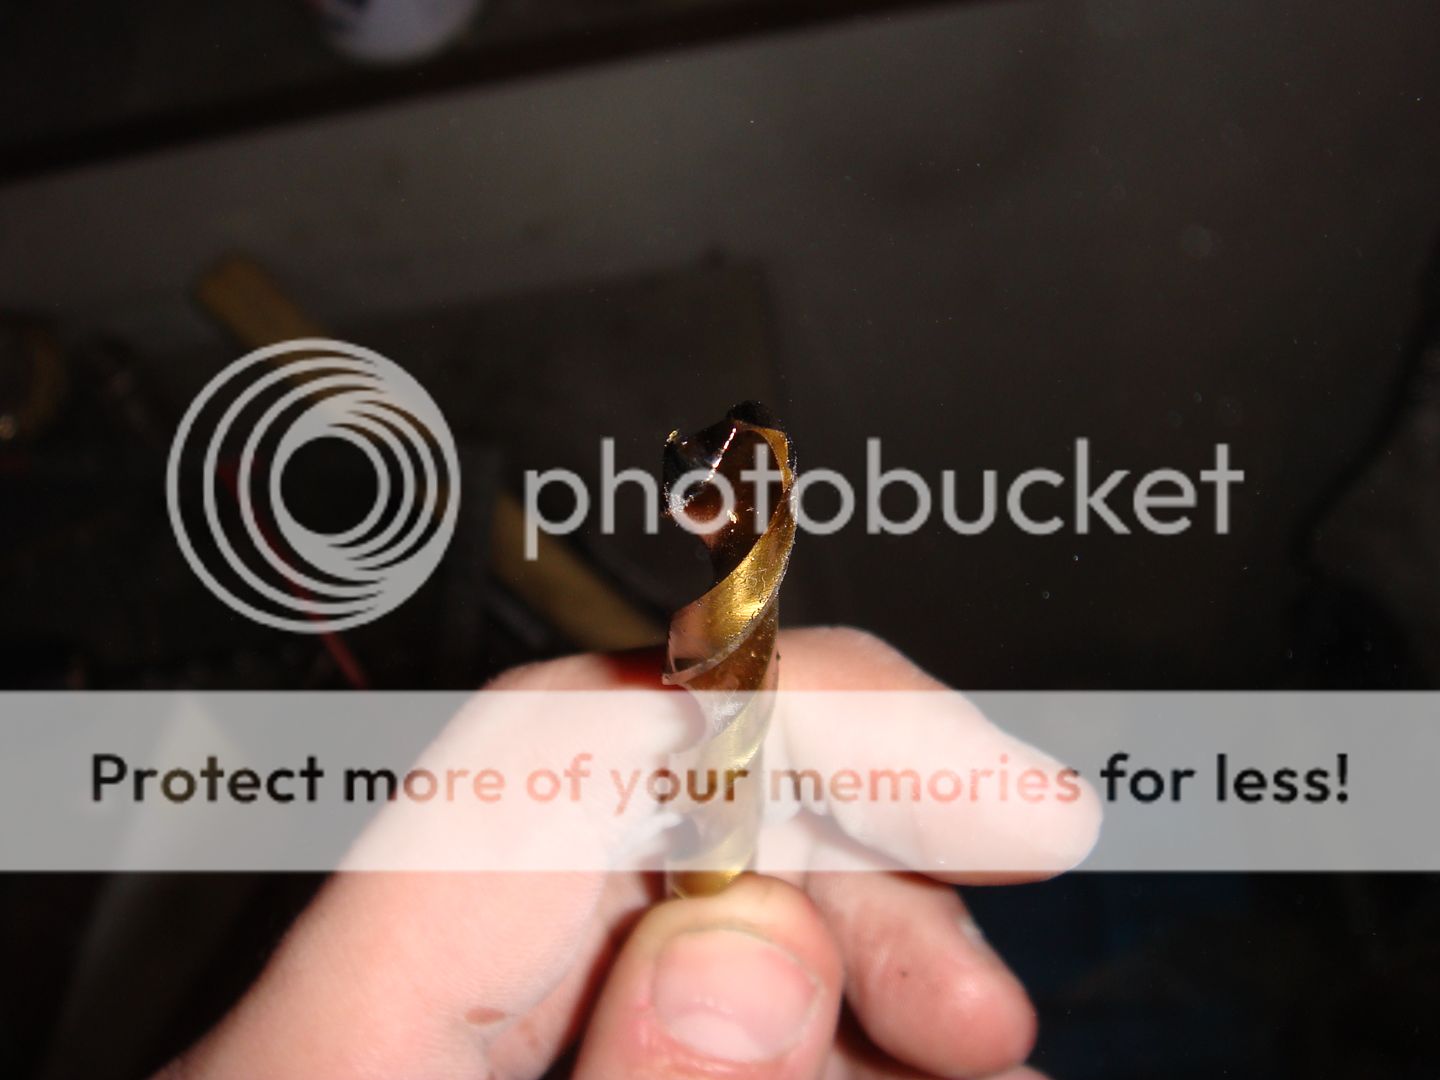
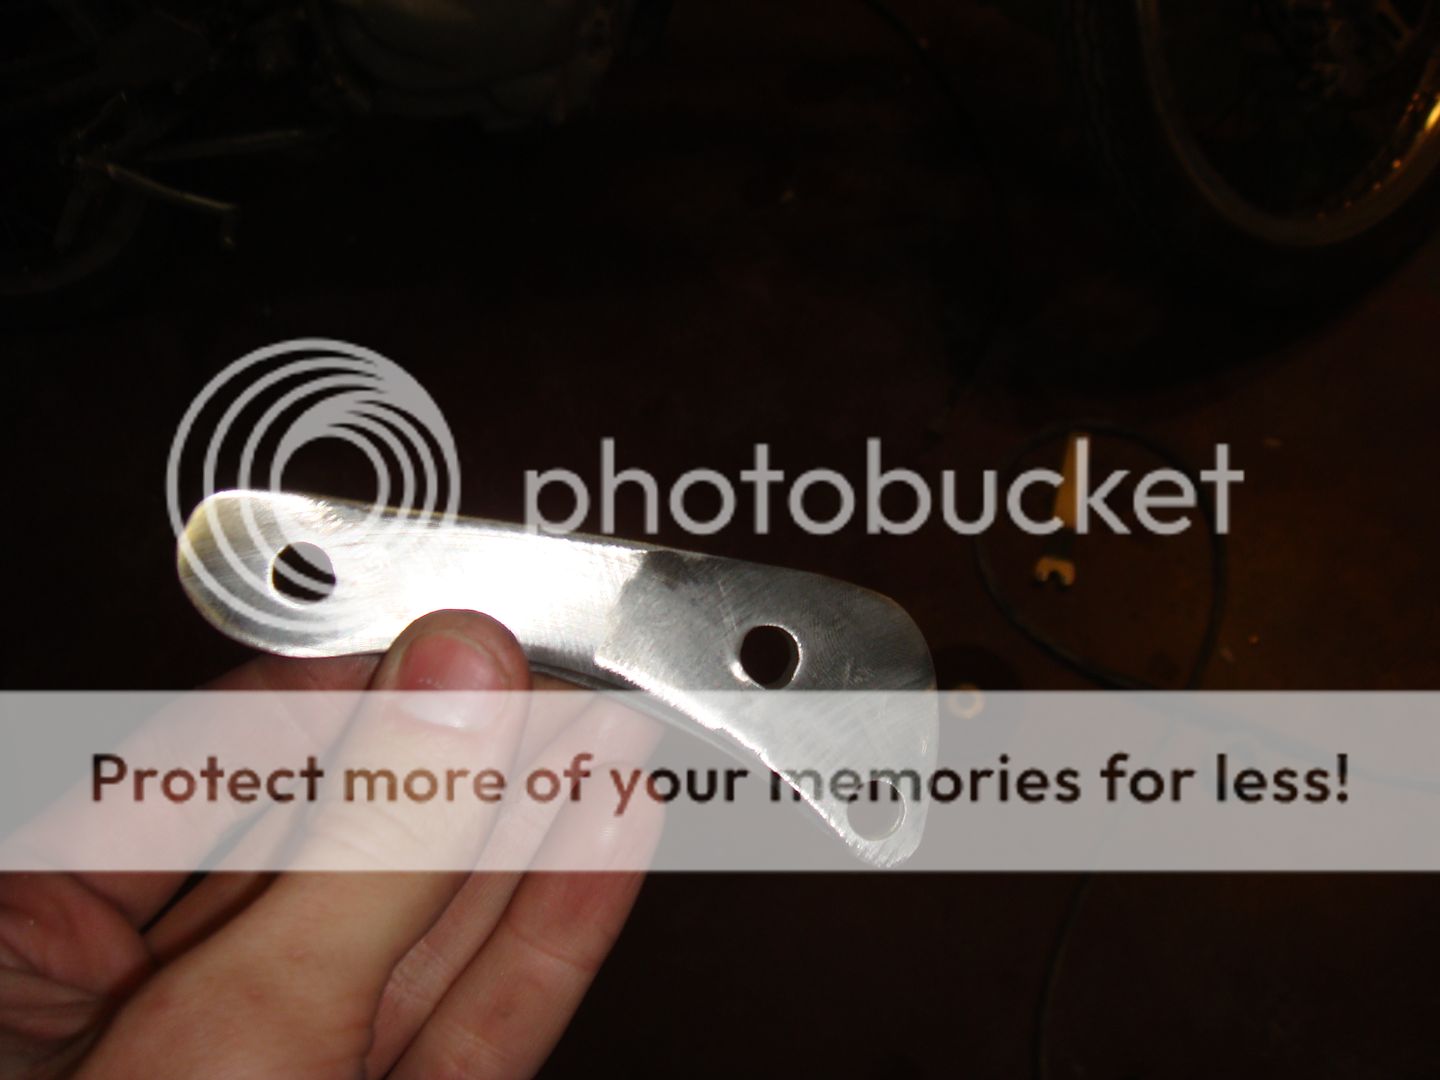
I needed to put three 8mm holes in it, so I pulled out my cheap Chinese drill bit and watched the brake rotor laugh at it.
After a trip to the hardware store and a couple of good bits later, I finally had my holes. I then cut off all the excess steel and cleaned the whole bracket up a bit.
Turned out alright if I do say so myself!
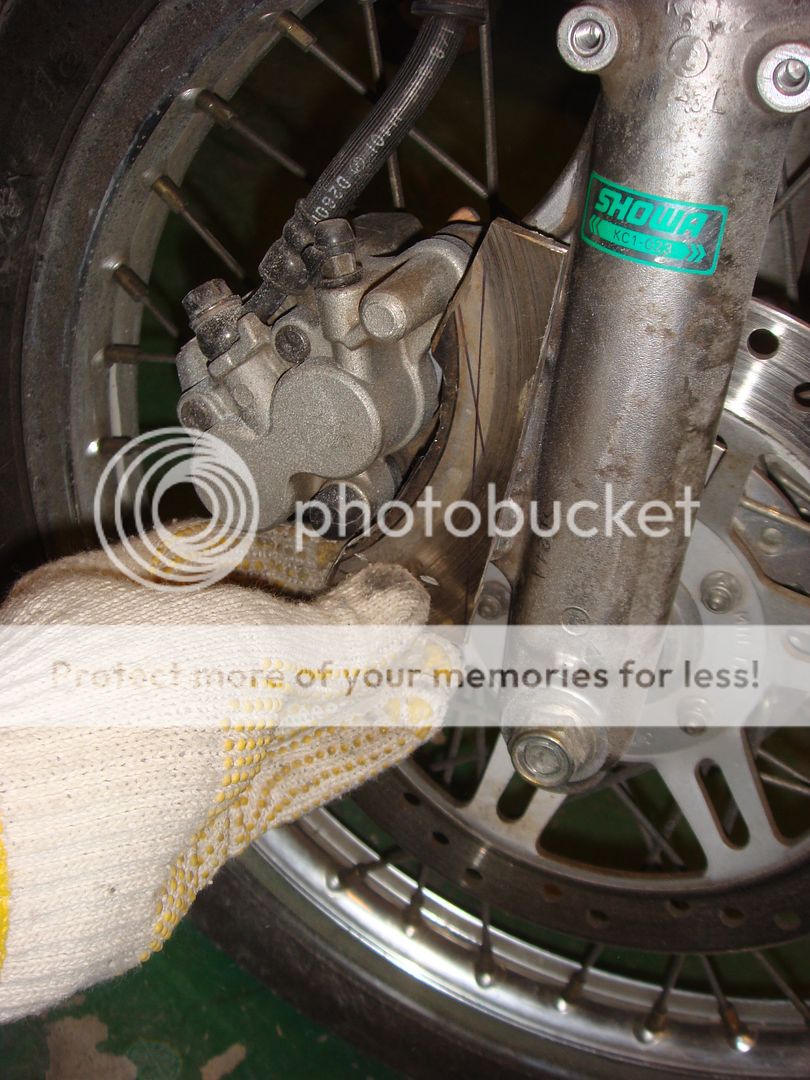
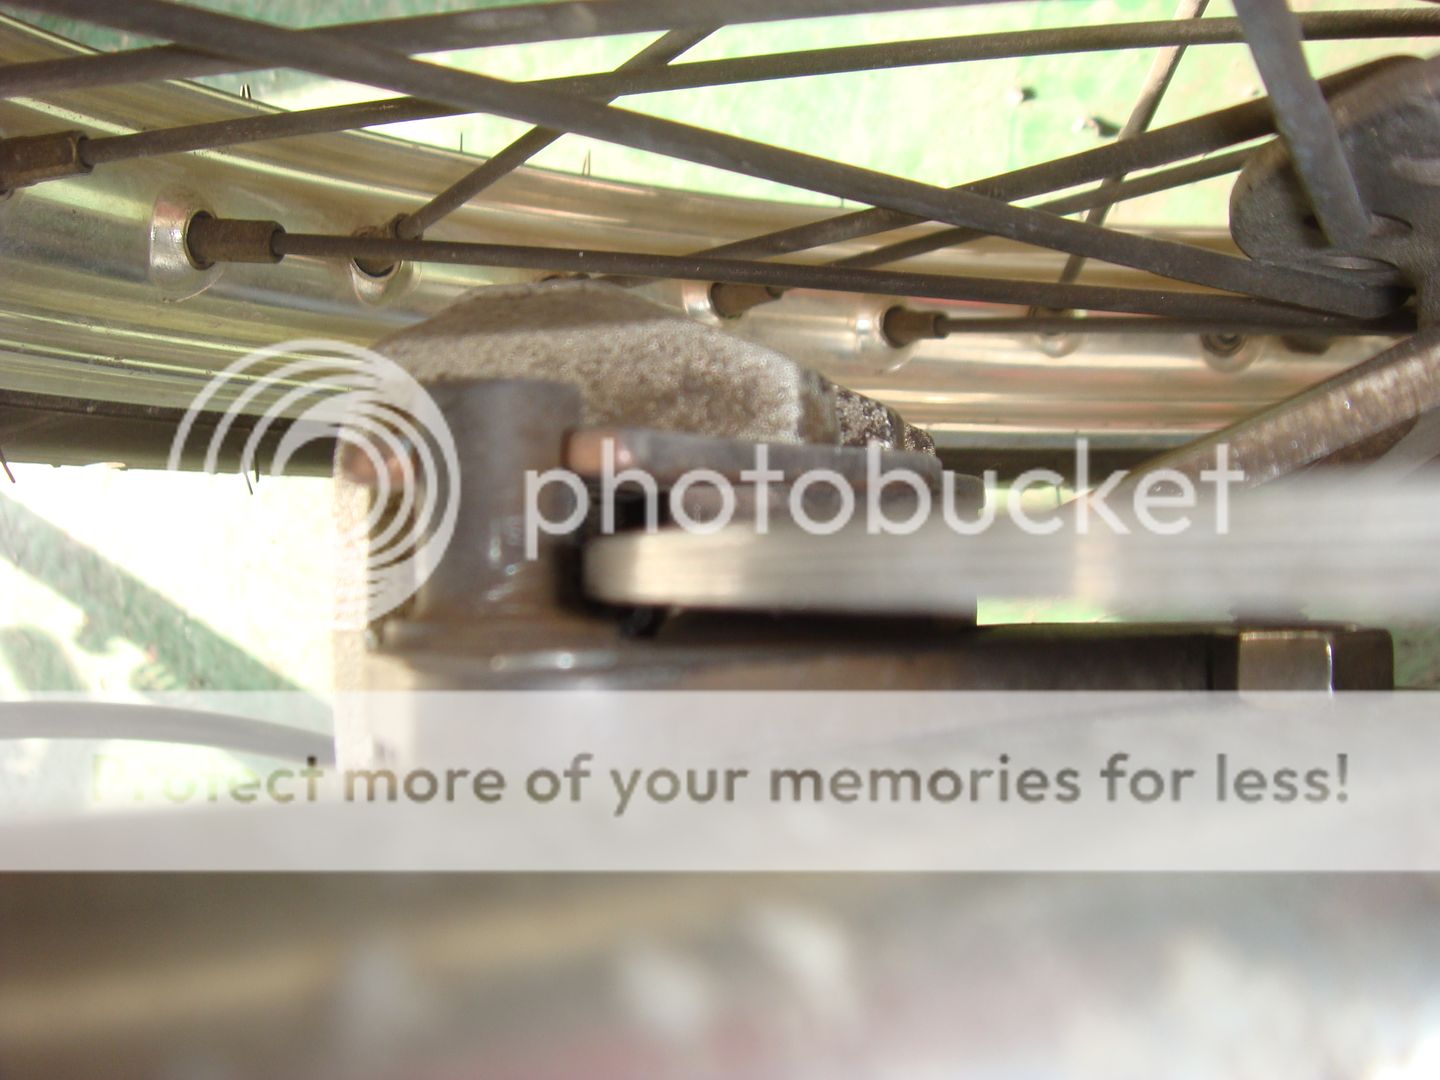
Here it is holding the caliper in place.
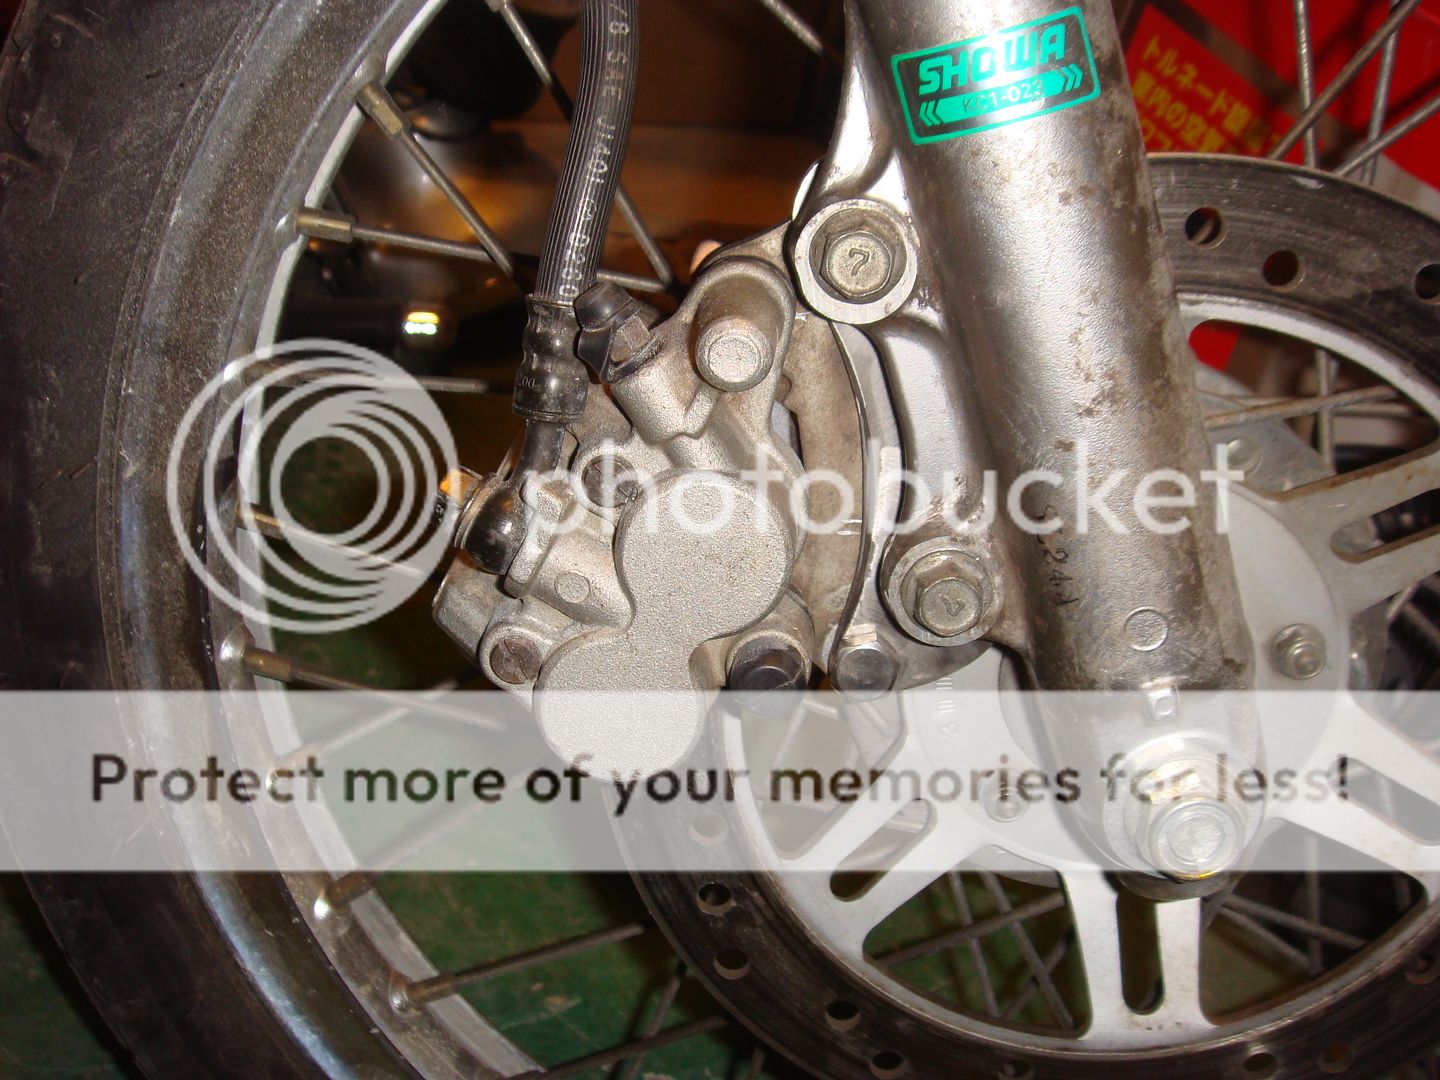
Now the problem with this is that the top of the caliper sits just a bit too close to the rotor. 95% of the pad is exactly where I want it to be so my plan was to just not worry about it (since moving the top of the caliper out is a hugely difficult task). The problem was the clearance between the caliper and the rotor itself. Clearance was tight here to begin with, but moving the top of the rotor in caused it to be too tight for my comfort.
So, I worked on it a bit and ended up with this, giving me the clearance I need. I figure I'll do some test rides like this (on a nice long straight where I can stop using the rear brake if I have to) and if it bothers me then I'll go through the trouble of making a new bracket again.
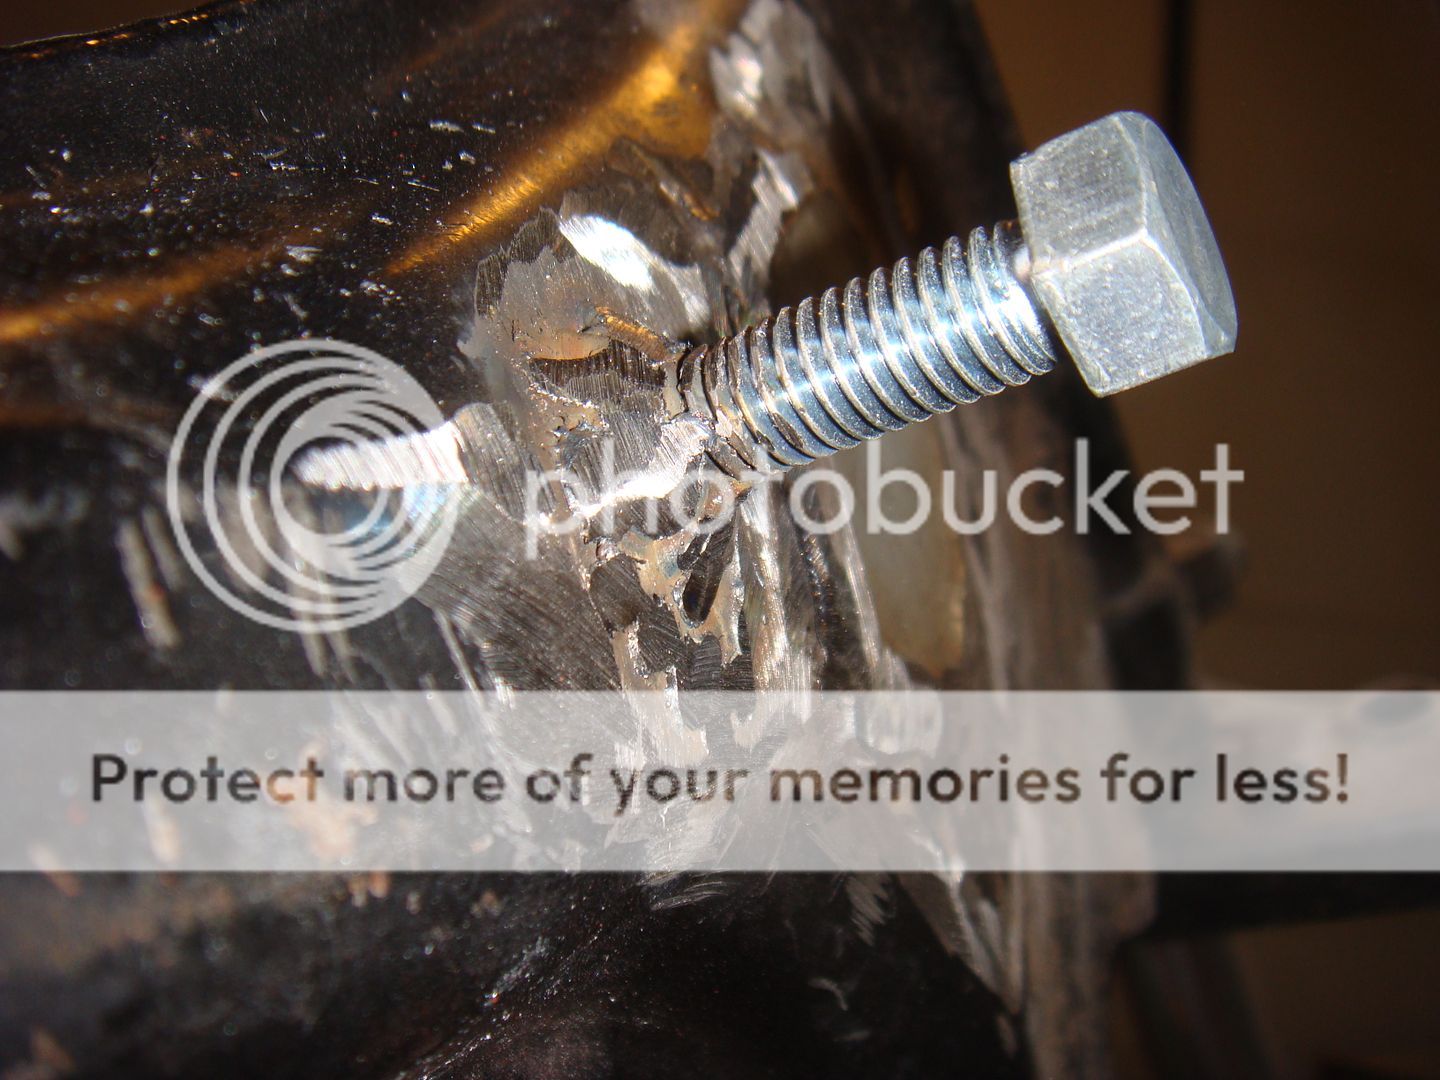
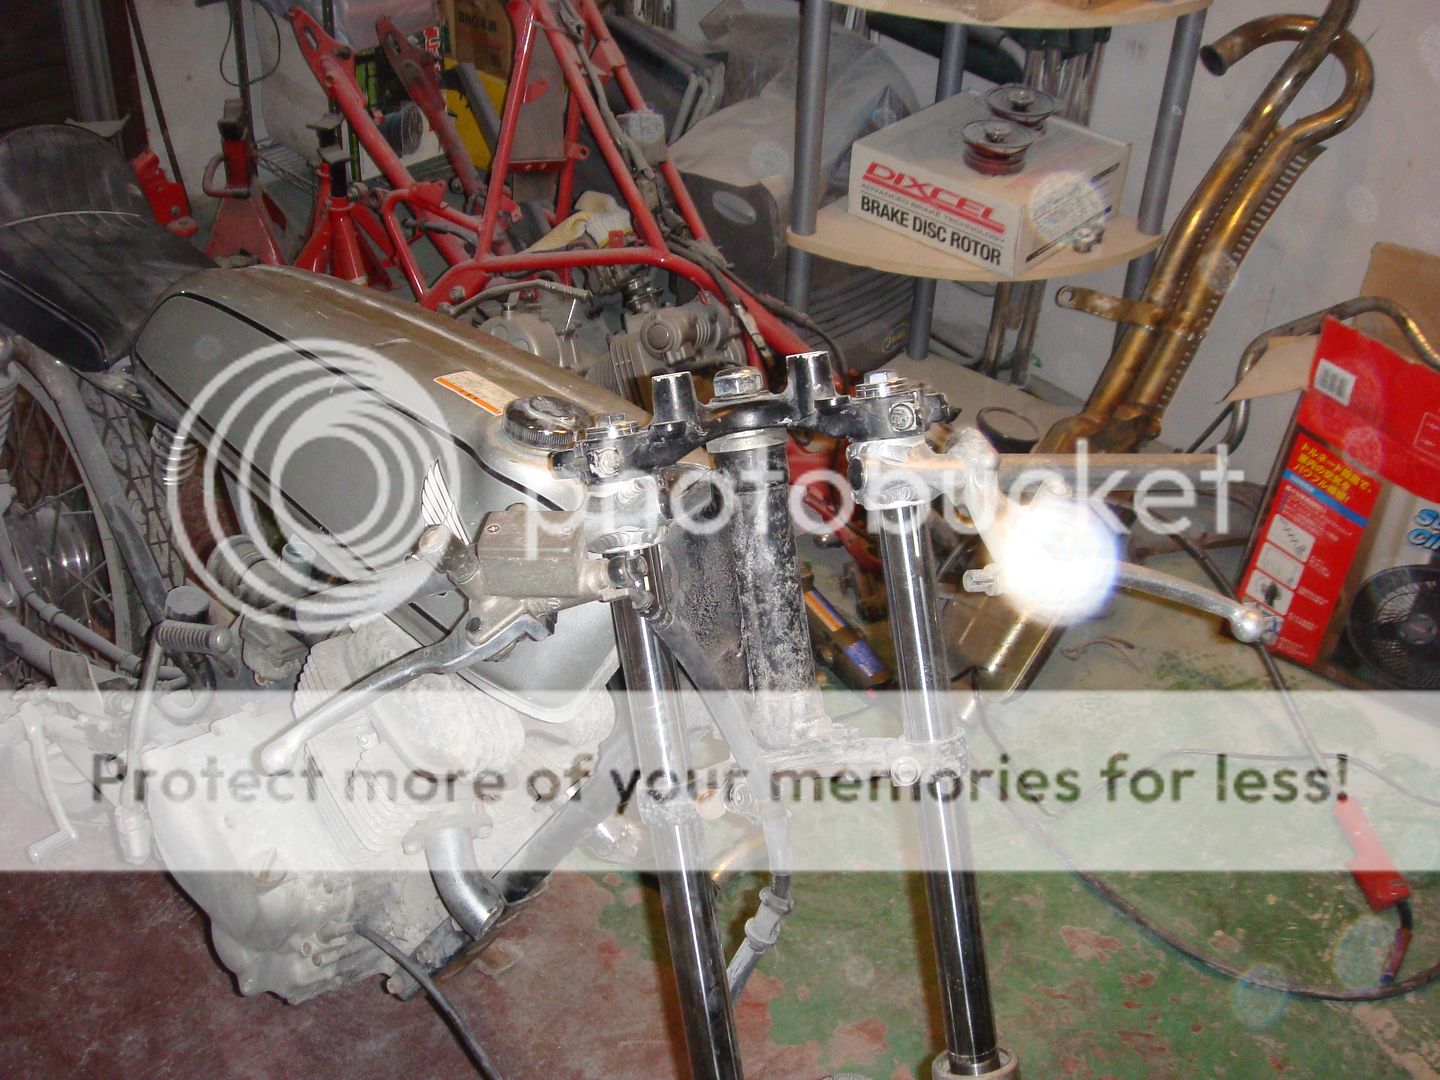
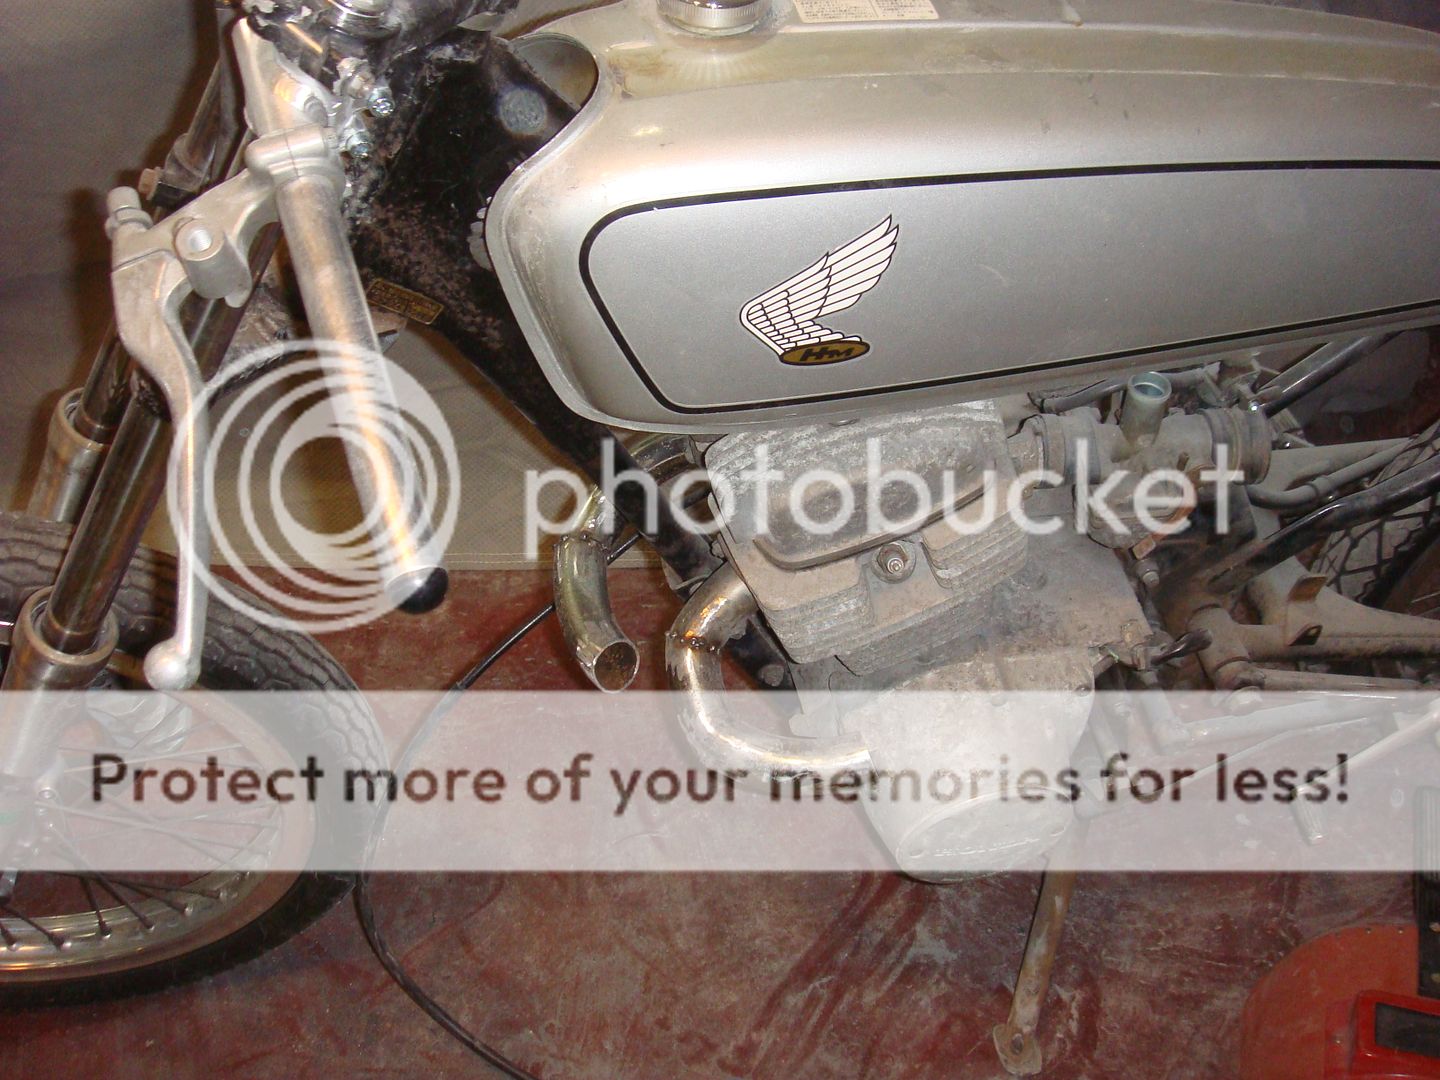
The next thing that was bothering me was the gas tank. The front of it was sitting a little too low for my liking. So, I sliced off the old mounts, filled in the holes, drilled new holes and welded in a new bolt.
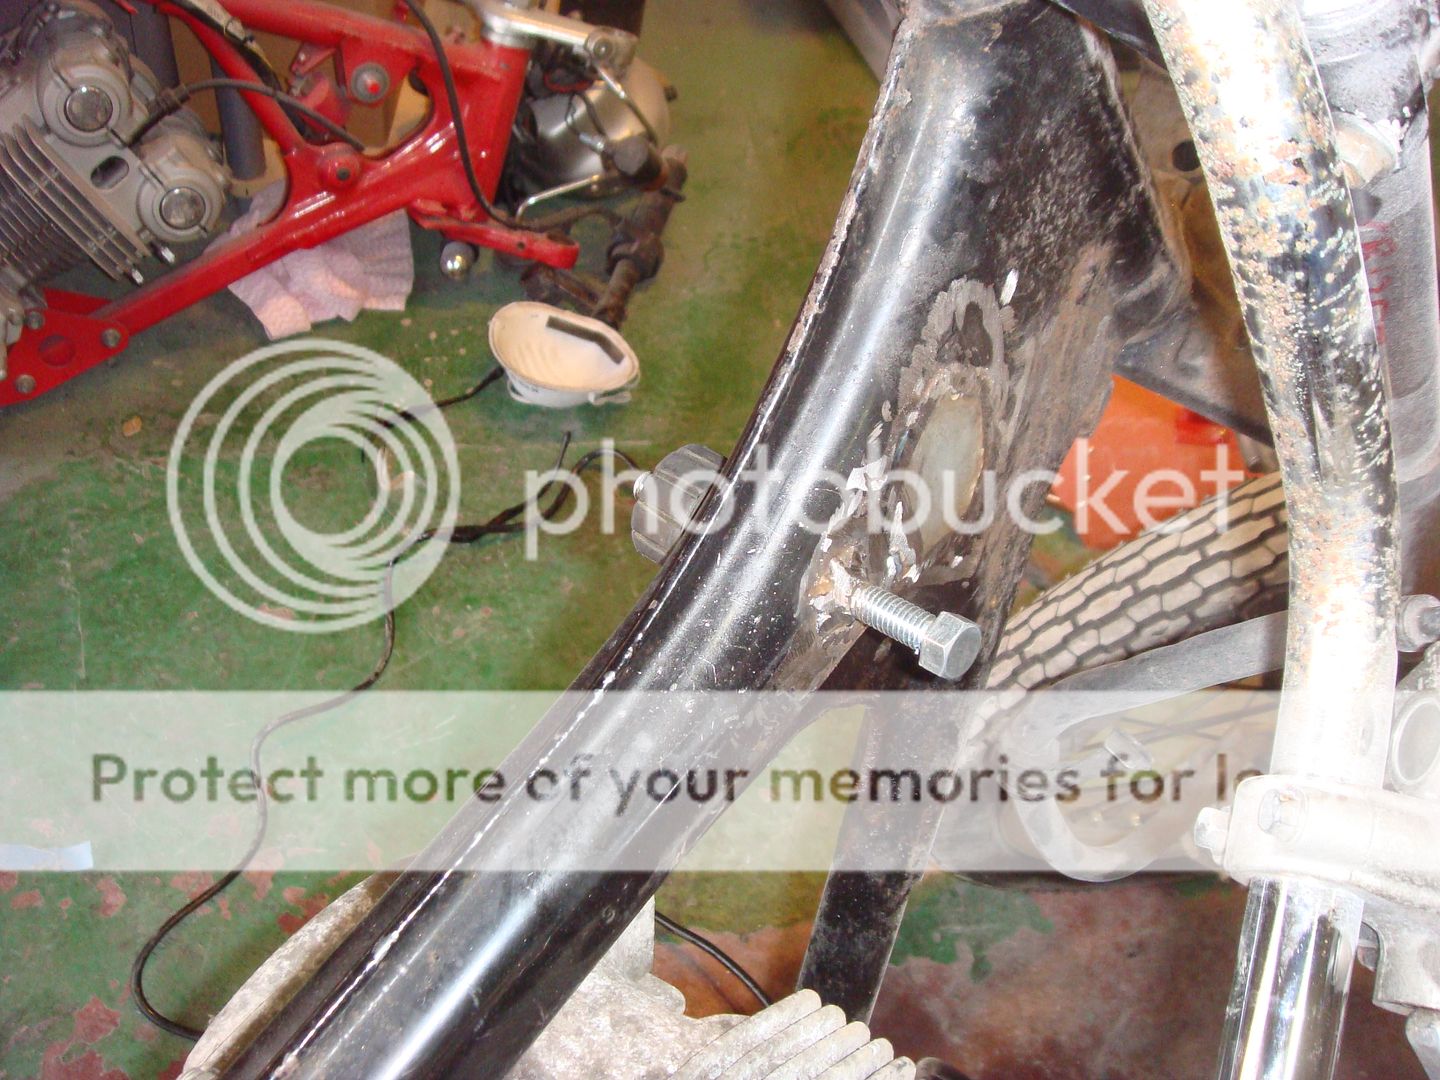
The result was instantly noticeable. I think it looks much, much better!
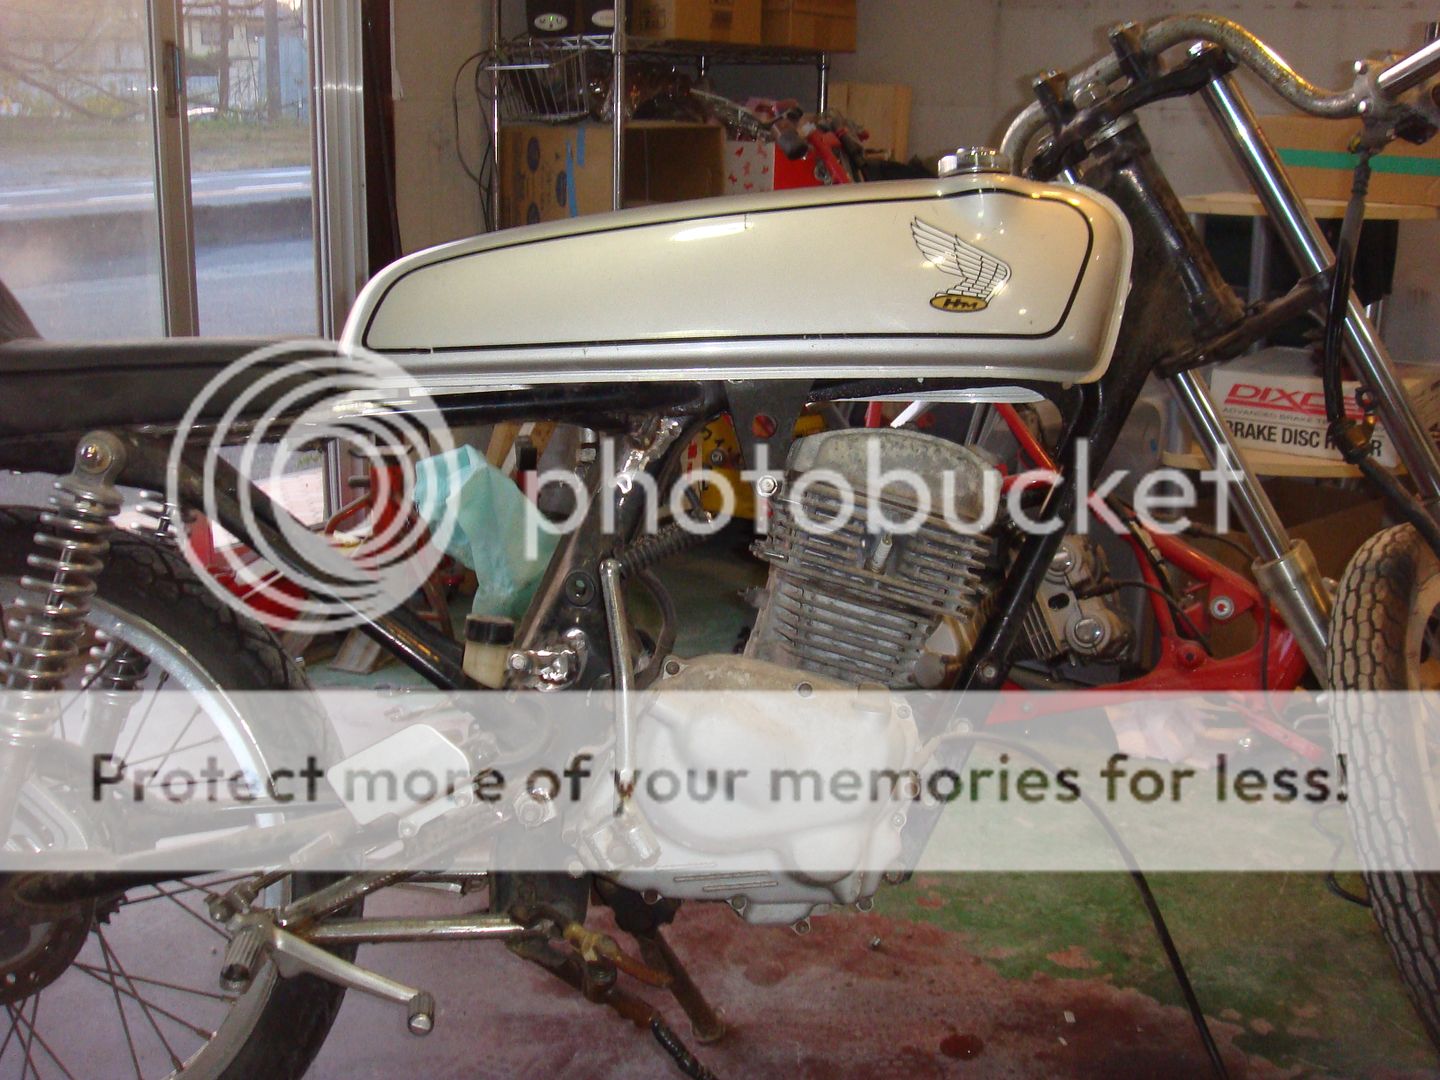
And a shot from a little further away.
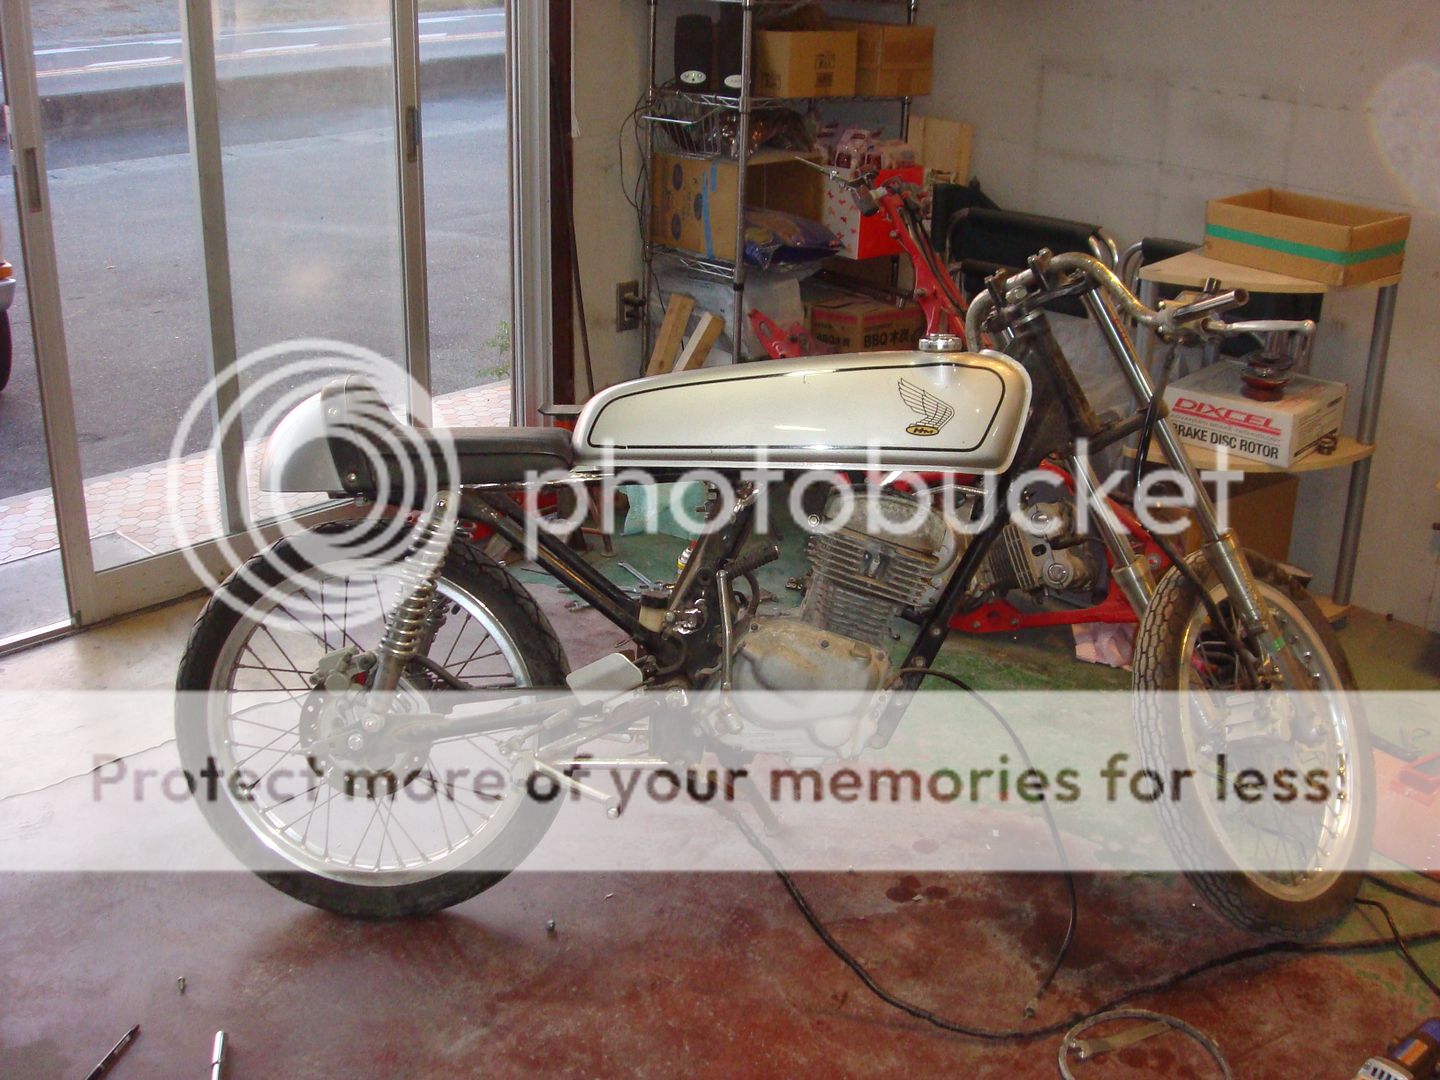
And that's where it sits at the moment. The next goal is to sort the exhaust, which is going to be interesting. Since my new rear sets sit much lower than the originals, space for an exhaust is tight. Space on the left side of the bike with the side stand and shift linkage is nearly non-existent. This is pushing me towards running a scrambler style exhaust (well, that and the fact that I love scrambler style exhausts). It all depends on what I can get my hands on for cheap. There's a decent used scrambler style exhaust on Yahoo Auctions at the moment for 2,000 yen, which is about the same as three beers, so I may take a chance on it.
At any rate, thanks for reading guys and I'll be back with more progress as it happens!
Cheers,
David
Thanks for the comment! It's a shame the Dream 50 would be a nightmare to import, because I'd love to build one using the engine from a CBX125F. That would be a monster! I'm currently located in Nagoya, Japan. Here they sold both the street version and the HRC built racing version. Although, finding an HRC version is extremely difficult.cobraace2 said:Wow fantastic i love the dream 50 in the states it was sold as a racing only not street legal . great work cant wait to see final results . what is your location ?
Alright, so while waiting for bondo to harden on my Bellett, I did some minor work on the CB!
First, I received a package in the mail. Inside were these beautifully made clip ons!

And here they are clipped on!
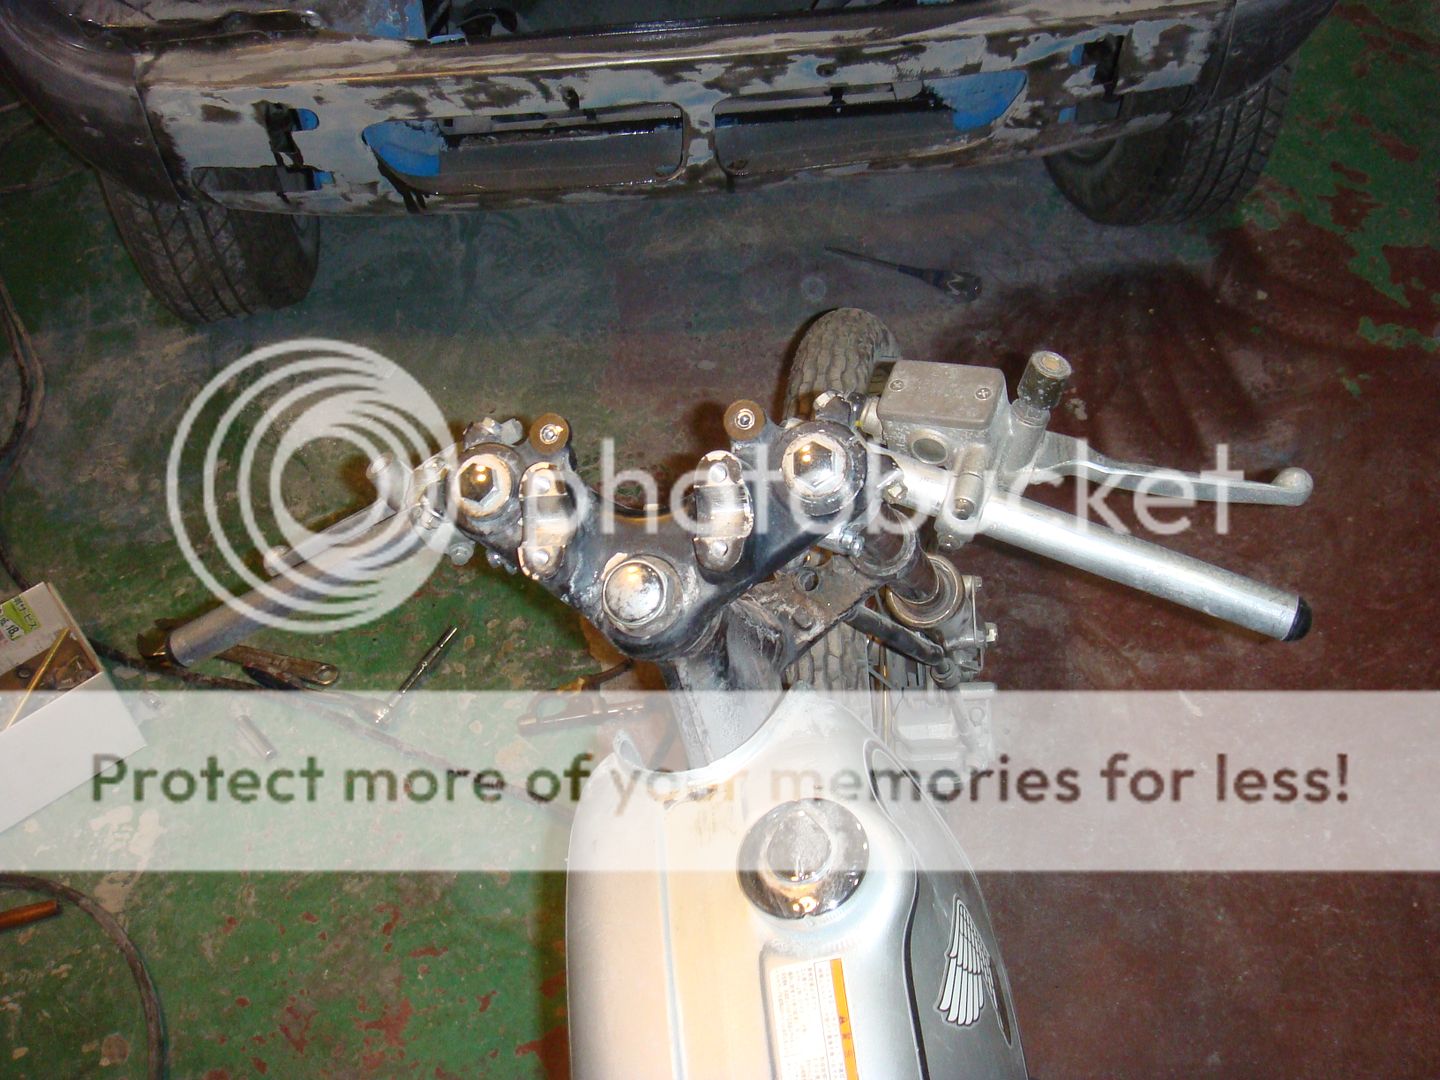
I'm not sure I like them so high up, but they're just mounted there temporarily. Once I can roll it outside and really get a feel for where they sit, I'll adjust them further.
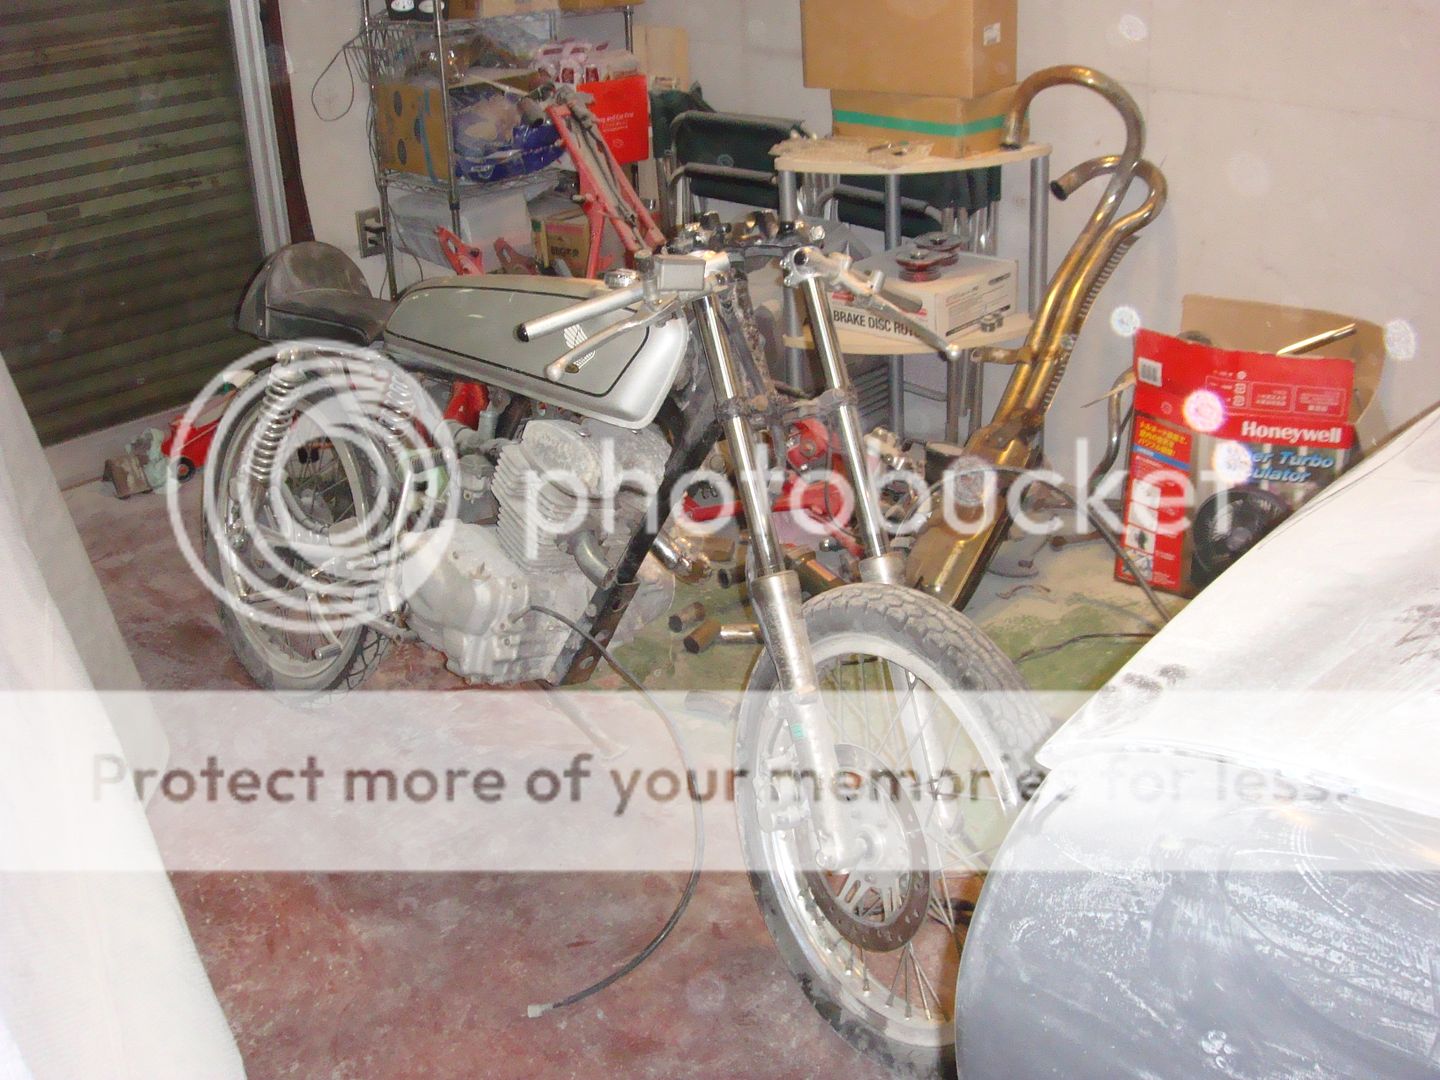
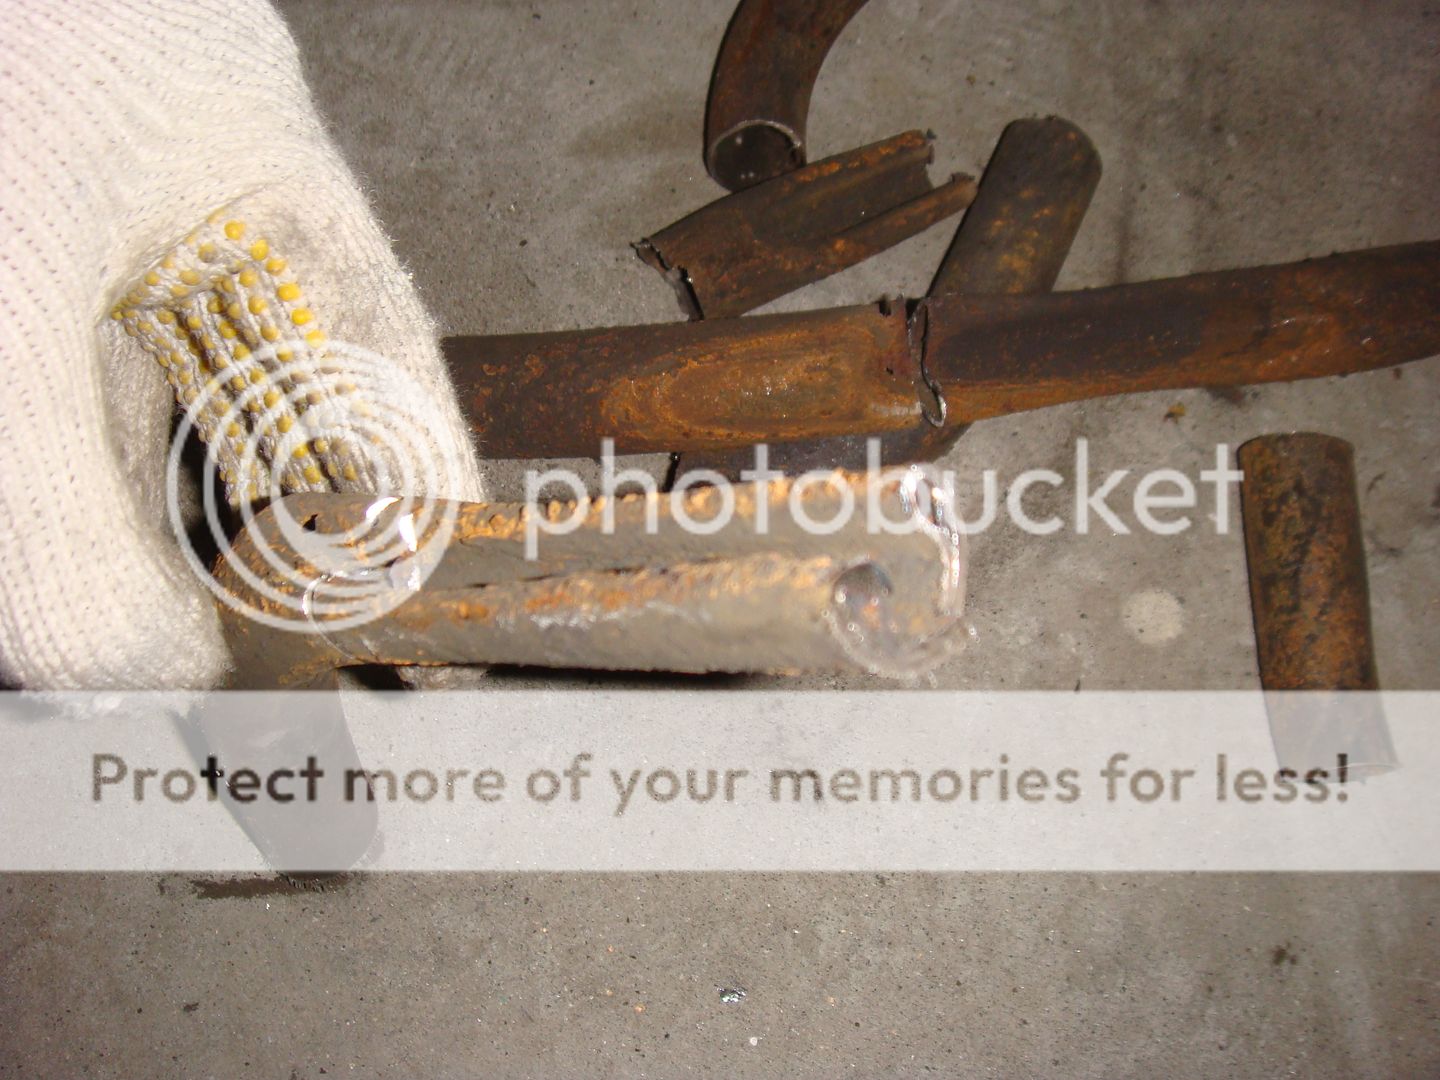
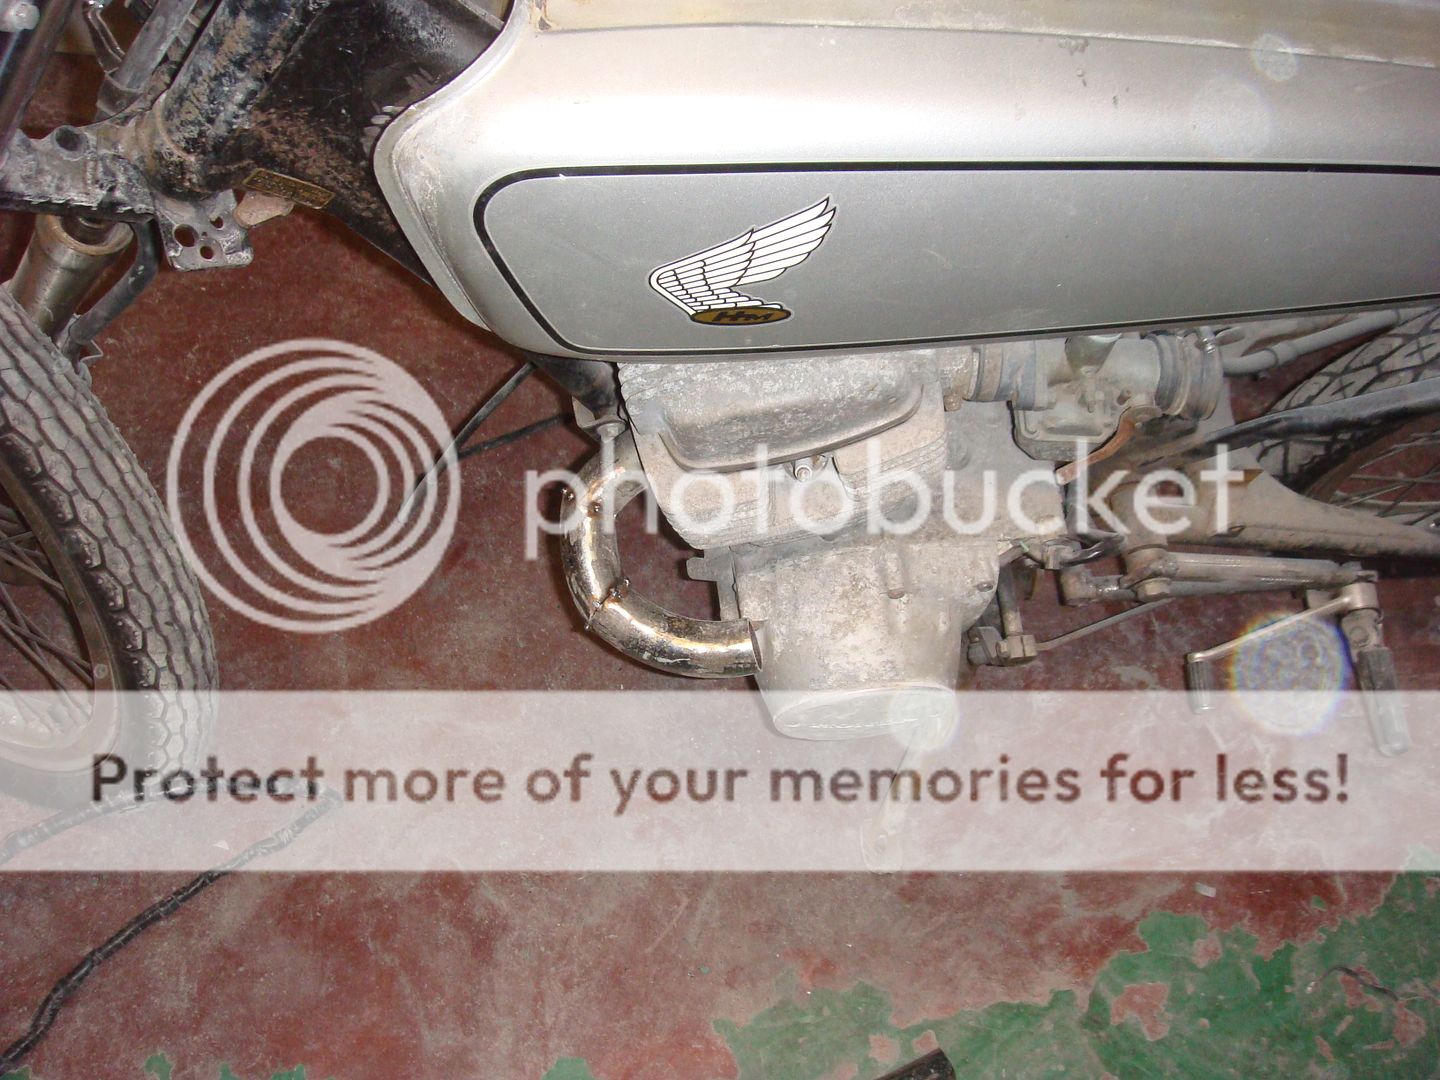
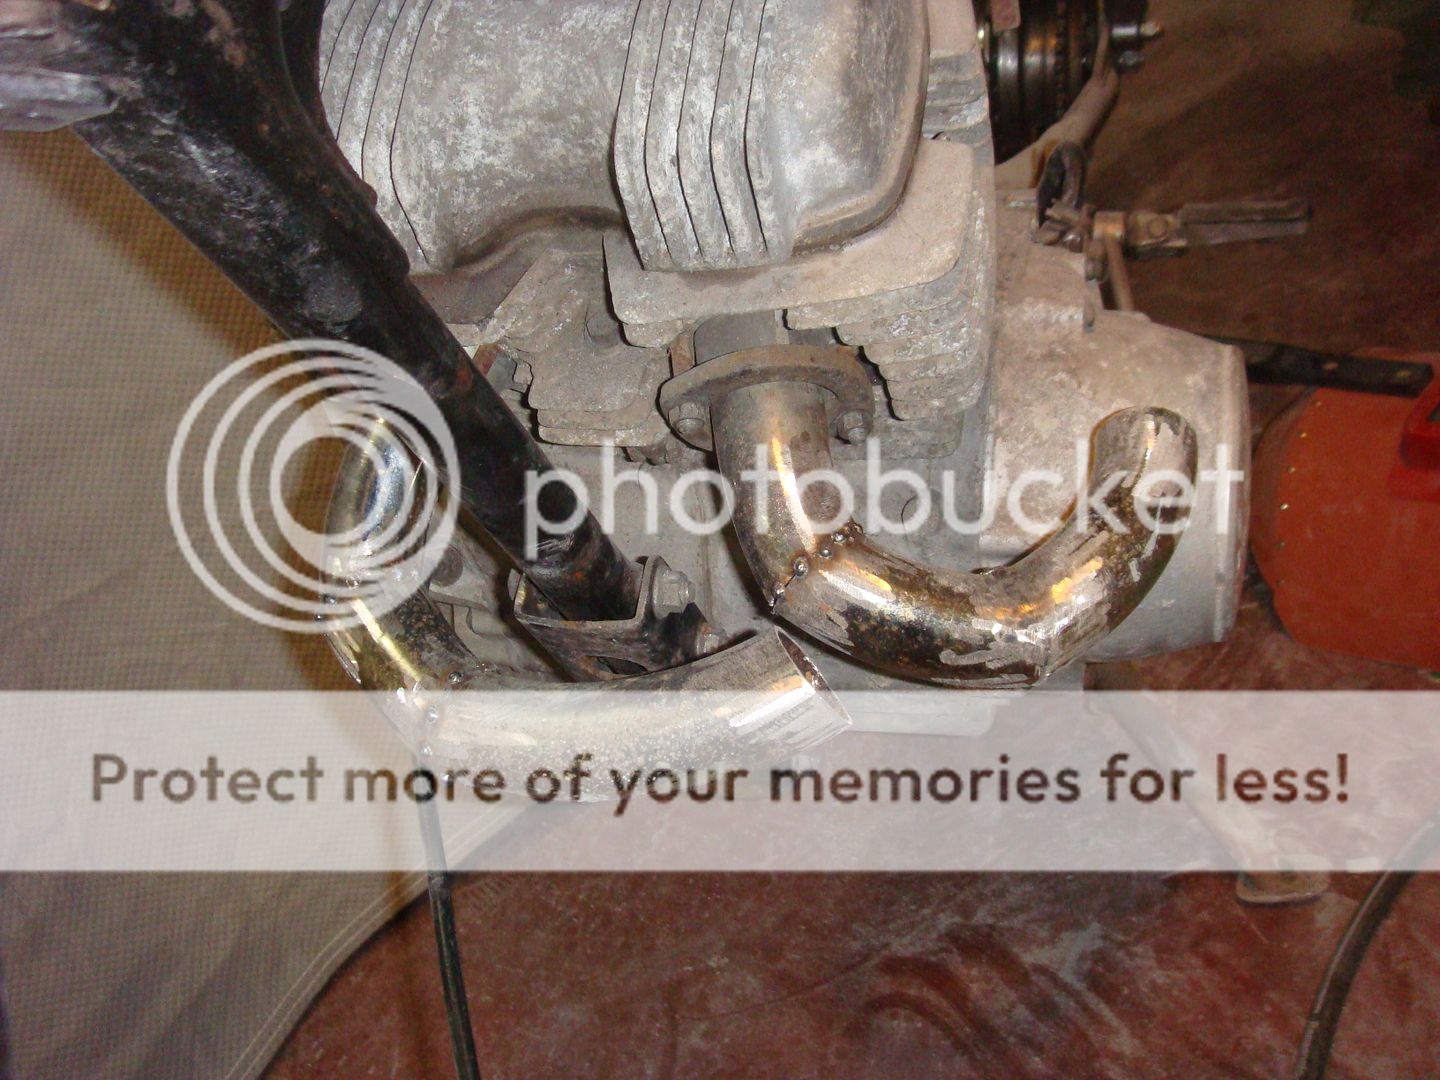
Next the exhaust saga begins! You can see in the background of two of the pics above a nice scrambler exhaust leaning against the wall. I bought this with the intention of modifying it to fit and having this cool scrambler exhaust. Well, it was just different enough that it would take a lot of cutting and welding to fit. I figured that if I was going to be cutting and welding, I should just use the factory pipes, since they're already going to be scrapped and are the perfect size. So, I busted out my cut off wheel and grinder and got to cutting. I was shocked to find out that the exhaust was double walled (as was my cut off wheel which didn't last for very many cuts). This nasty brown (read: rusty) pipe was inside of the larger silver piping.
The exhaust would flow through this smaller piping instead and the larger pipe was just for looks. Also, and this was the really shocking bit, the smaller pipe was crimped in the center blocking flow almost completely.

Exhaust was supposed to flow through this! It's about the same collective size as a drinking straw. I'm not really sure what purpose this would serve other than to officially neuter the performance of the engine.
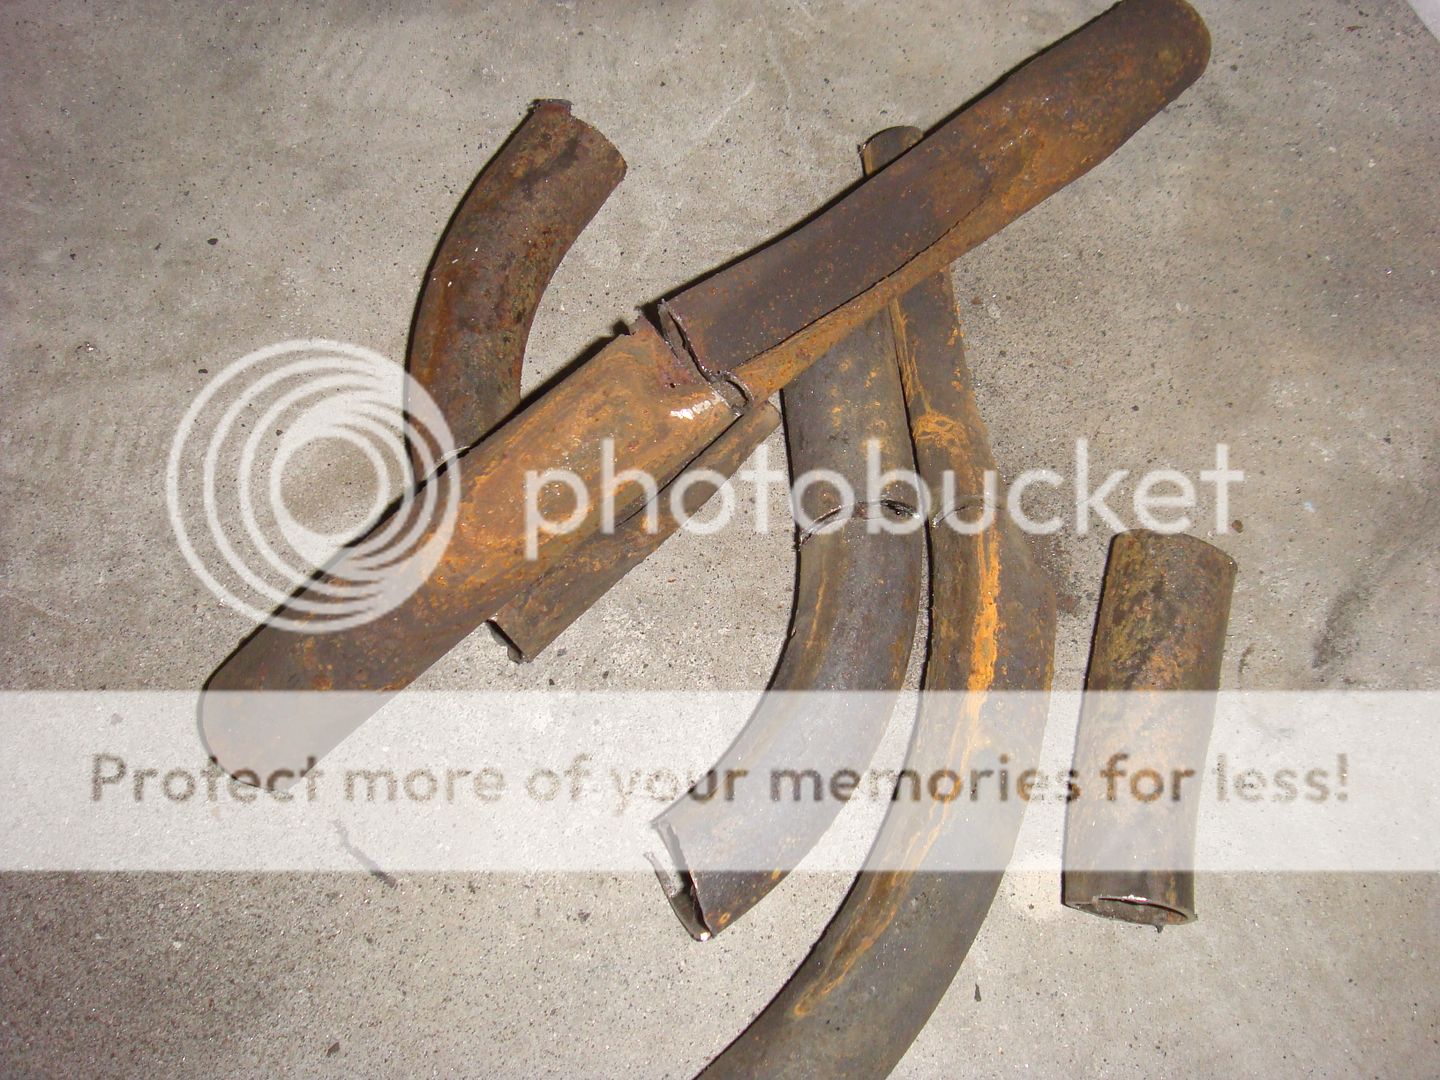
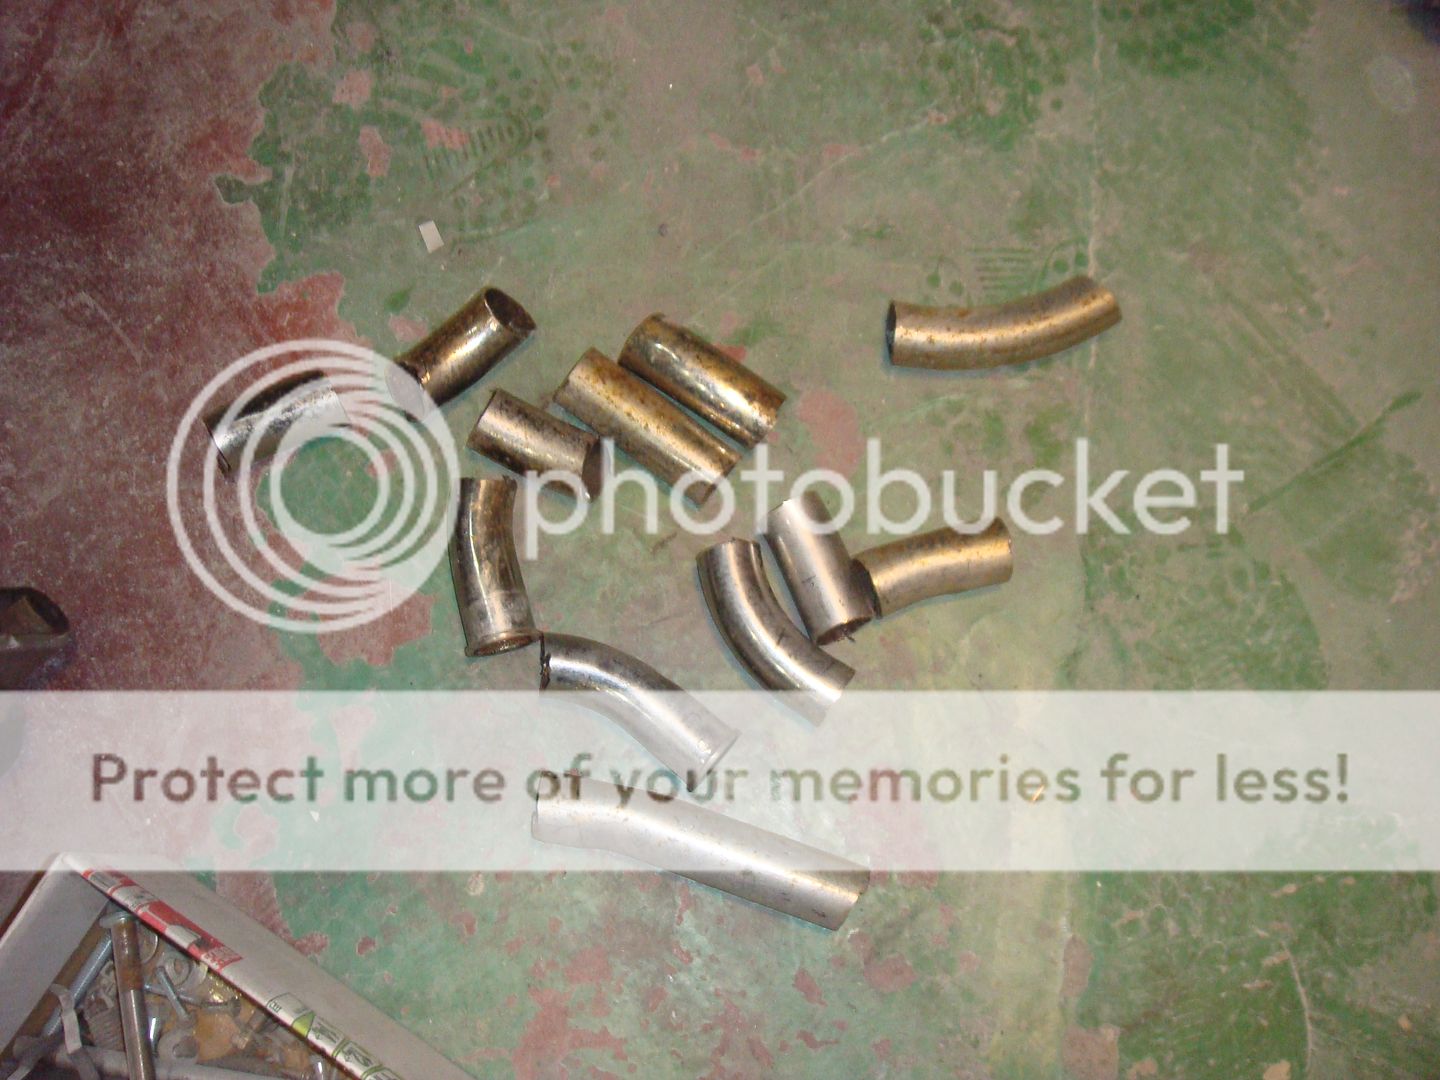
After throwing all that piping away, I was left with a nice collection of curves and straights.
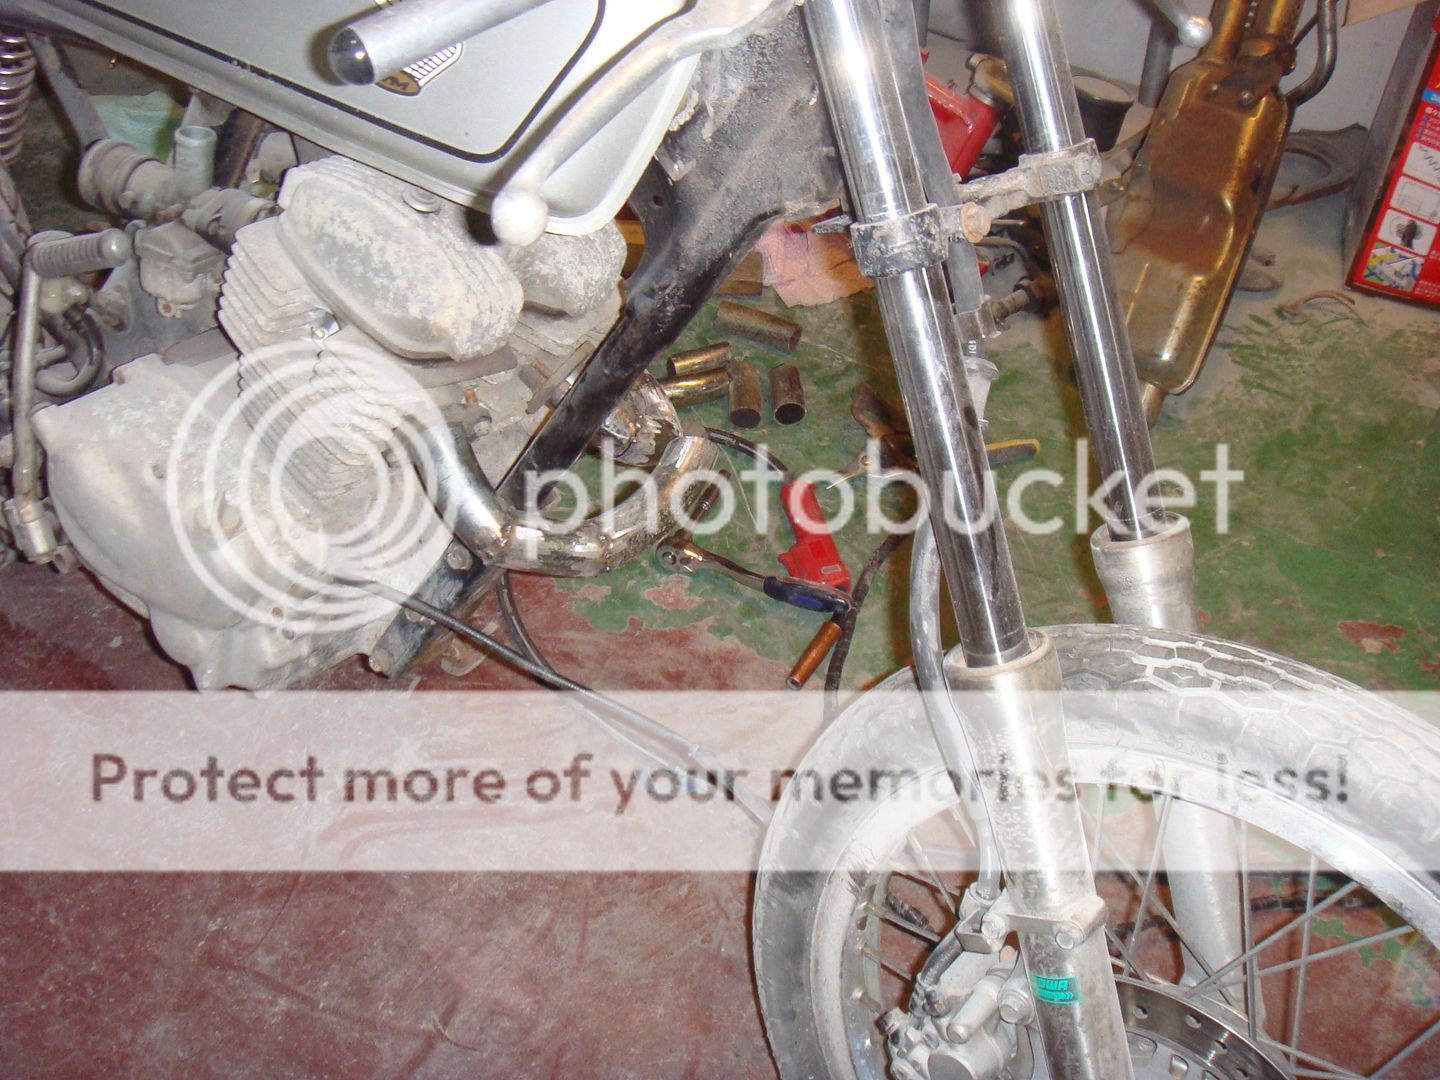
Now, I was trying to think what kind of exhaust to go with. I had my heart set on a scrambler exhaust for two reasons really. The first being that with the shift linkage and new peg locations, there's not a whole lot of room on the bottom half of the bike anymore. If I were to run an exhaust that way, it would have to be a two into one and tuck right under the brake lever. The second reason was that I think scrambler exhausts are just damn cool! So, with a little bit of planning and grinder work, I got started on making a completely custom scrambler exhaust.
The curves won't be perfectly smooth and the entire exhaust will most likely be a little turbulent, but when compared to the pea shooter of an exhaust before, it should flow immensely better. Also, not really going for an all out screamer here, just something that tucks up and hides nicely.
I am liable in the future to rip all this out and start again, but for now, I'll continue down this path and see what kind of craziness I can come up with! That's as far as I've come so far though.
Thanks for reading guys!
Cheers,
David
stroker crazy
crazy as a fox
With that exhaust it's a wonder the bike could breathe at all!
Crazy
Crazy
stroker crazy said:With that exhaust it's a wonder the bike could breathe at all!
Crazy
It's definitely insane! I couldn't believe my eyes when I saw it. It really makes me wonder what other weird tricks are pulled inside of other factory exhausts.
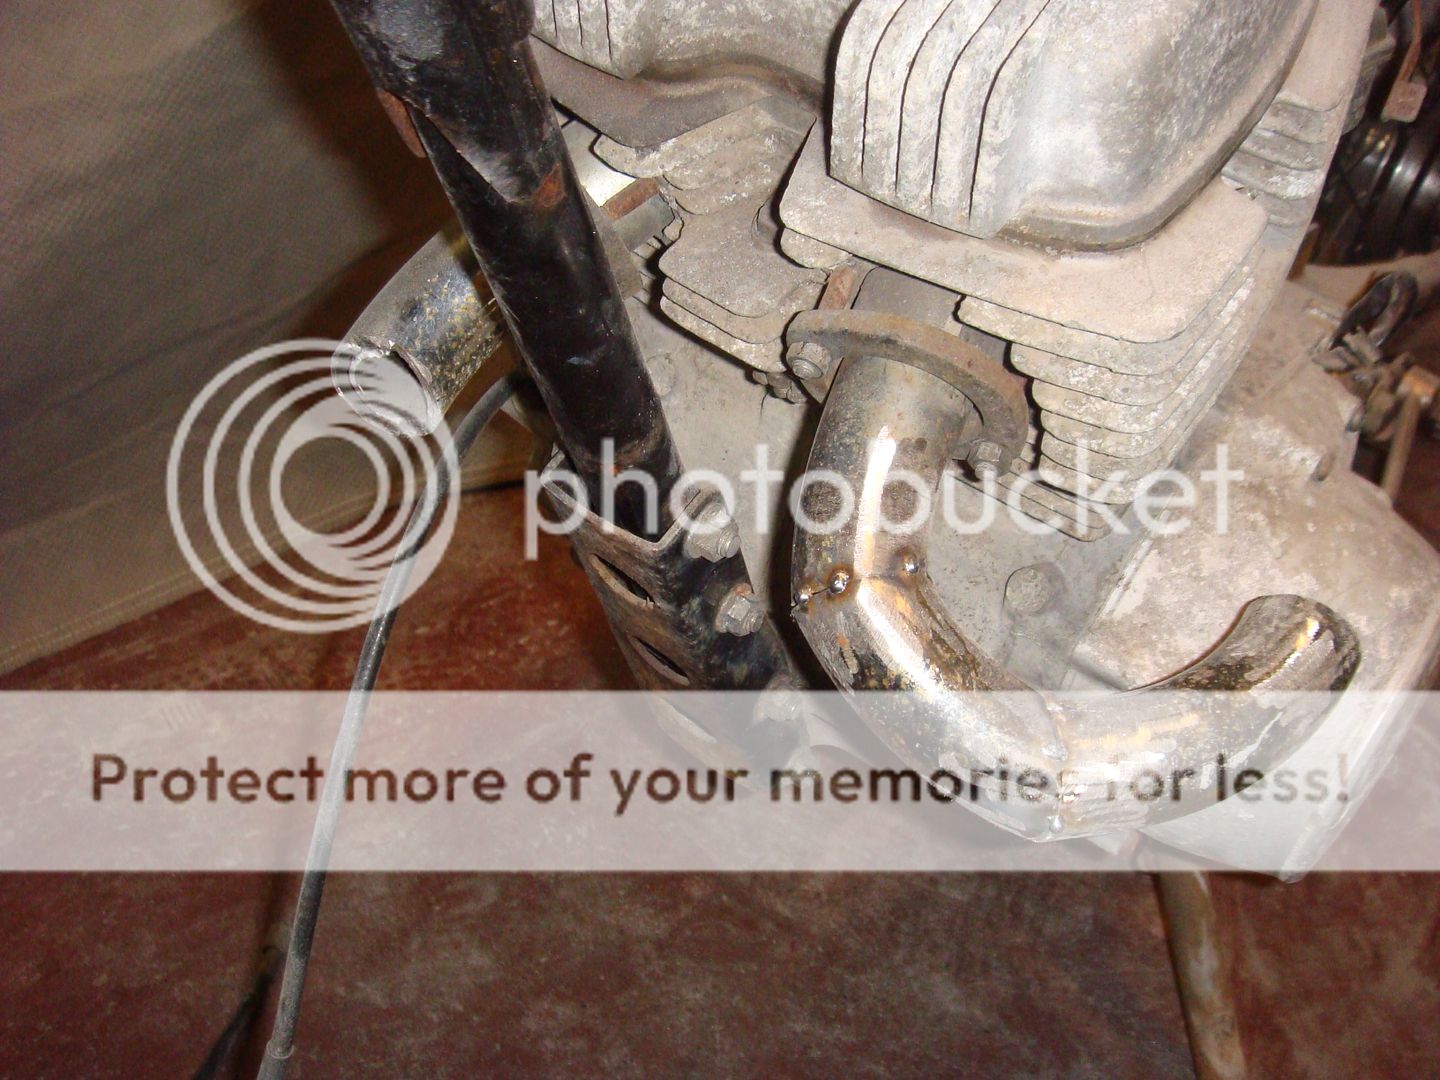
A bite sized update this morning! I got another two pieces welded on to the exhaust.
It's slowly starting to take shape and really go the way I want it to.
It actually took a bit of work for these two pieces. I welded them on and just hated how it was turning out. So I sliced them right back off, cleaned it all up again and took another shot at it. I'm glad I did because I'm pretty happy with how it turned out.
Next up is continuing these two pieces around the side and then figuring out how to build a collector from scratch. Fortunately, it only has to collect two pipes, so it shouldn't be too hard!
Cheers
David


