
We noticed you are blocking ads. DO THE TON only works with community supporters. Most are active members of the site with small businesses. Please consider disabling your ad blocking tool and checking out the businesses that help keep our site up and free.
You are using an out of date browser. It may not display this or other websites correctly.
You should upgrade or use an alternative browser.
You should upgrade or use an alternative browser.
Weslake Nourish
- Thread starter UK Mark
- Start date
![IMG_0003[1].JPG](/data/attachments/68/68946-7770315d3fe1bc52ee6ae2c13238c9cf.jpg)
![IMG_0002[1].JPG](/data/attachments/68/68947-2a0c751ecb87794300862b47b048e4bc.jpg)
![IMG_0023[1].JPG](/data/attachments/68/68948-77642c5600c0eada2cee559e40d68969.jpg)
")
UK Mark
Been Around the Block
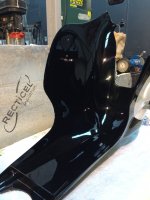
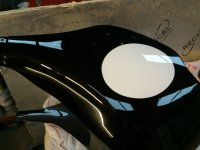
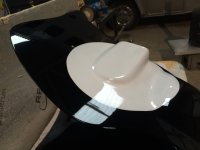
paintwork stuff is now completely finished after I de-nibbed and blocked down with 1500 wet paper. Managed to get most of it with a machine polisher, which makes life easier but all the nooks and crannies needed buffing by hand.
Any swirls or compound marks disappeared after hand glazing and it's now had a good buff with resin wax. Was really cold in the barn today and I had to light my little stove.
I've wrapped all these parts up and put them away safe and it's nice knowing they are done and all ready for bolting on in a few months.
Attachments
UK Mark
Been Around the Block
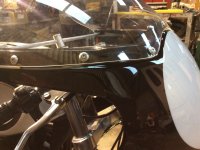
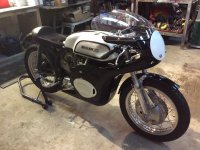
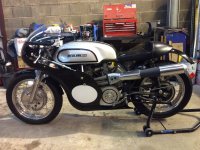
I'm officially finished with dry assembly now..... I'm sure I said that a few months ago, but that's the way these things go. Paint is all polished and the fairings still fit which was a bit of a worry.
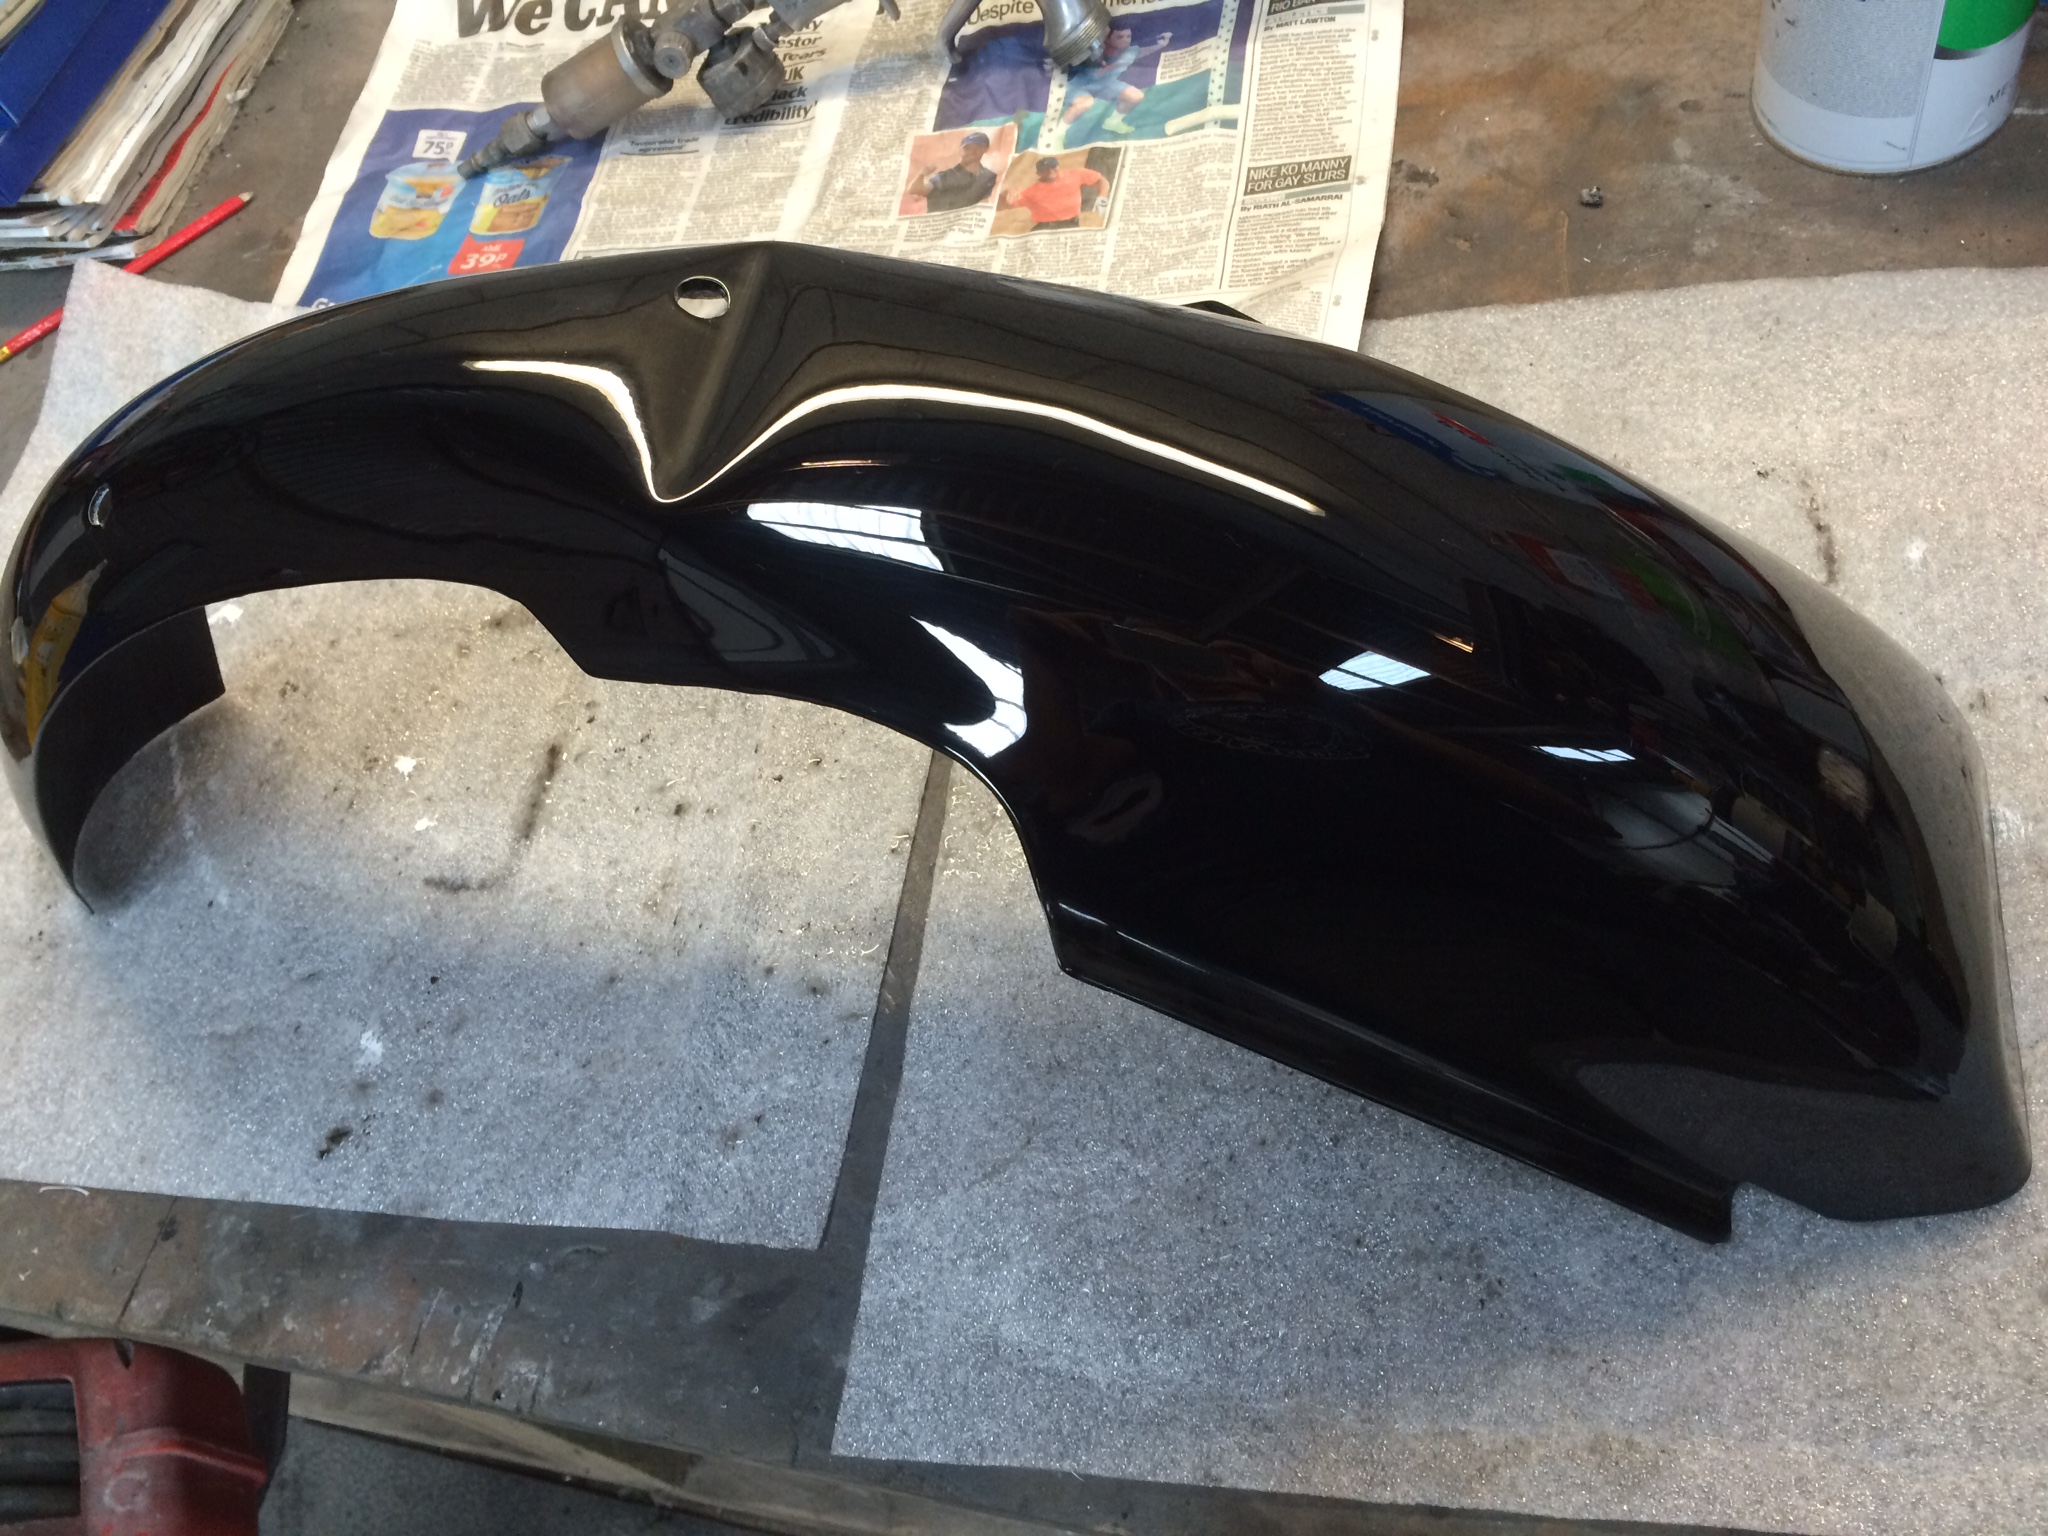
Front mudguard was painted 21 years ago and looks no different to the stuff done this last month, so that will stay as it is.
Will probably tear it down after Christmas, so won't have much to update for a while.
Front mudguard was painted 21 years ago and looks no different to the stuff done this last month, so that will stay as it is.
Will probably tear it down after Christmas, so won't have much to update for a while.
Attachments
UK Mark
Been Around the Block
Thought I ought to sort some suitable gear out for me to ride this and just picked up a nice set of used, black one-piece RST leathers.
Been on the look out for some decent kit for a while and could not resist having these, being slightly used and a fraction of the cost for new. For how often I will ride the bike, they're perfect. I considered buying new, but wouldn't have paid the cost of these (new) so I'm happy with what I have, especially as I ended up laying out a third of what would have been the cheaper option.
Only ever been focused on things the bike needed and not so much for me as the rider. My other bikes are off-roaders, so completely different riding gear.
Pic isn't me, by the way...... it's from RST
Attachments

UK Mark
Been Around the Block
Little update. I recently dropped my engine off to a guy that's raced and maintained Weslake & Nourish units for years.
I'm sure this is something I could have done at home, but I thought I'd call on the experience of someone that can gauge tolerances and assess wear and tear on these engines plus also give some guidance on setting it up properly when it's back in the bike.
Turns out, the internals have little or no wear and it looks to have been maintained just as its previous owner had said...... Result!
So, casings are all cleaned, new seals fitted, valves re-lapped, barrels blasted & re-coated black and it's being put back together with little fuss or expense.
Frames being powder coated and all seems to be on track for it to be done this summer.
Actually spent a couple of weekends tidying the workshop, re-organising benches and tools so I can't wait to start assembly.
Engine plates have all been sanded with superfine paper and polished to a mirror finish, which took me 3 days. Primary cover has had 1 day of polishing so far, which I didn't really want to do, but it does look good. If I would have had the engine at home neither the plates or workshop would have got that attention.
UK Mark
Been Around the Block
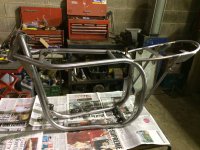
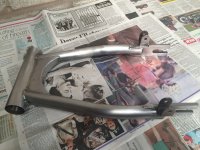
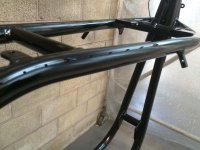
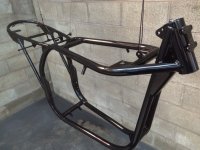
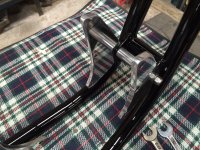
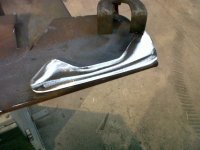
Frame is fettled ready for powder coating and the brackets Id tacked on during dry assembly for a steering damper and fairing mountings are now fully brazed. I dusted on a holding coat of black primer earlier, so it went back to bare metal for removal of any light scars with ease. Doesn't look bad for a 53 year old frame.
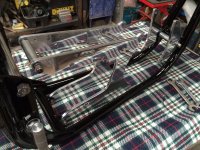
The swing arm I bought from Mick Hemmings also had some attention to the flat sections on each leg as they where a little rough on the cut edges from water jet or laser cutting. Nothing too much, but they look much neater after a couple of hours work.
Should have them dropped off for coating this week, so it feels like proper progress again. I was going to paint it black in 2k, as I did years ago but pc seems to be the better option these days. Plus spraying a frame is really tedious, so it saves me unecessary work.
Attachments
UK Mark
Been Around the Block
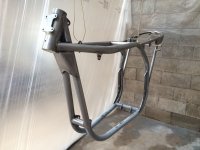
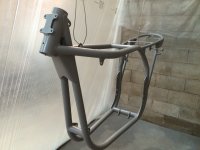
I couldn't find a company that could fill the light scrapes to my lower frame tubes, for which there are quite a few and apply powder coat, so I painted it at home in 2k. So much for saving tedious work.
Hung it up in another make-shift polythene booth after tidying up the sections needing attention and gave it a good coat of acid etch primer.
Hung it up in another make-shift polythene booth after tidying up the sections needing attention and gave it a good coat of acid etch primer.
Attachments

UK Mark
Been Around the Block
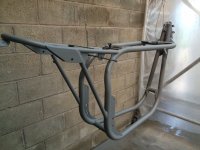
Let this flash off for 15 minutes and then straight on with 2k black, using a fast activator which allows you to load on the coats with less chance of runs.
Came out nice and clean, with no dirt in the finish, so it just needs a quick nib and polish. It was touch dry after an hour too, which is quick when air drying 2k.
I need to look at how to insert pictures around text to save multiple posts.
Modify message
Came out nice and clean, with no dirt in the finish, so it just needs a quick nib and polish. It was touch dry after an hour too, which is quick when air drying 2k.
I need to look at how to insert pictures around text to save multiple posts.
Modify message
Attachments
UK Mark
Been Around the Block
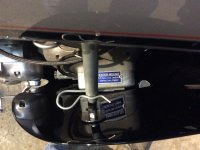
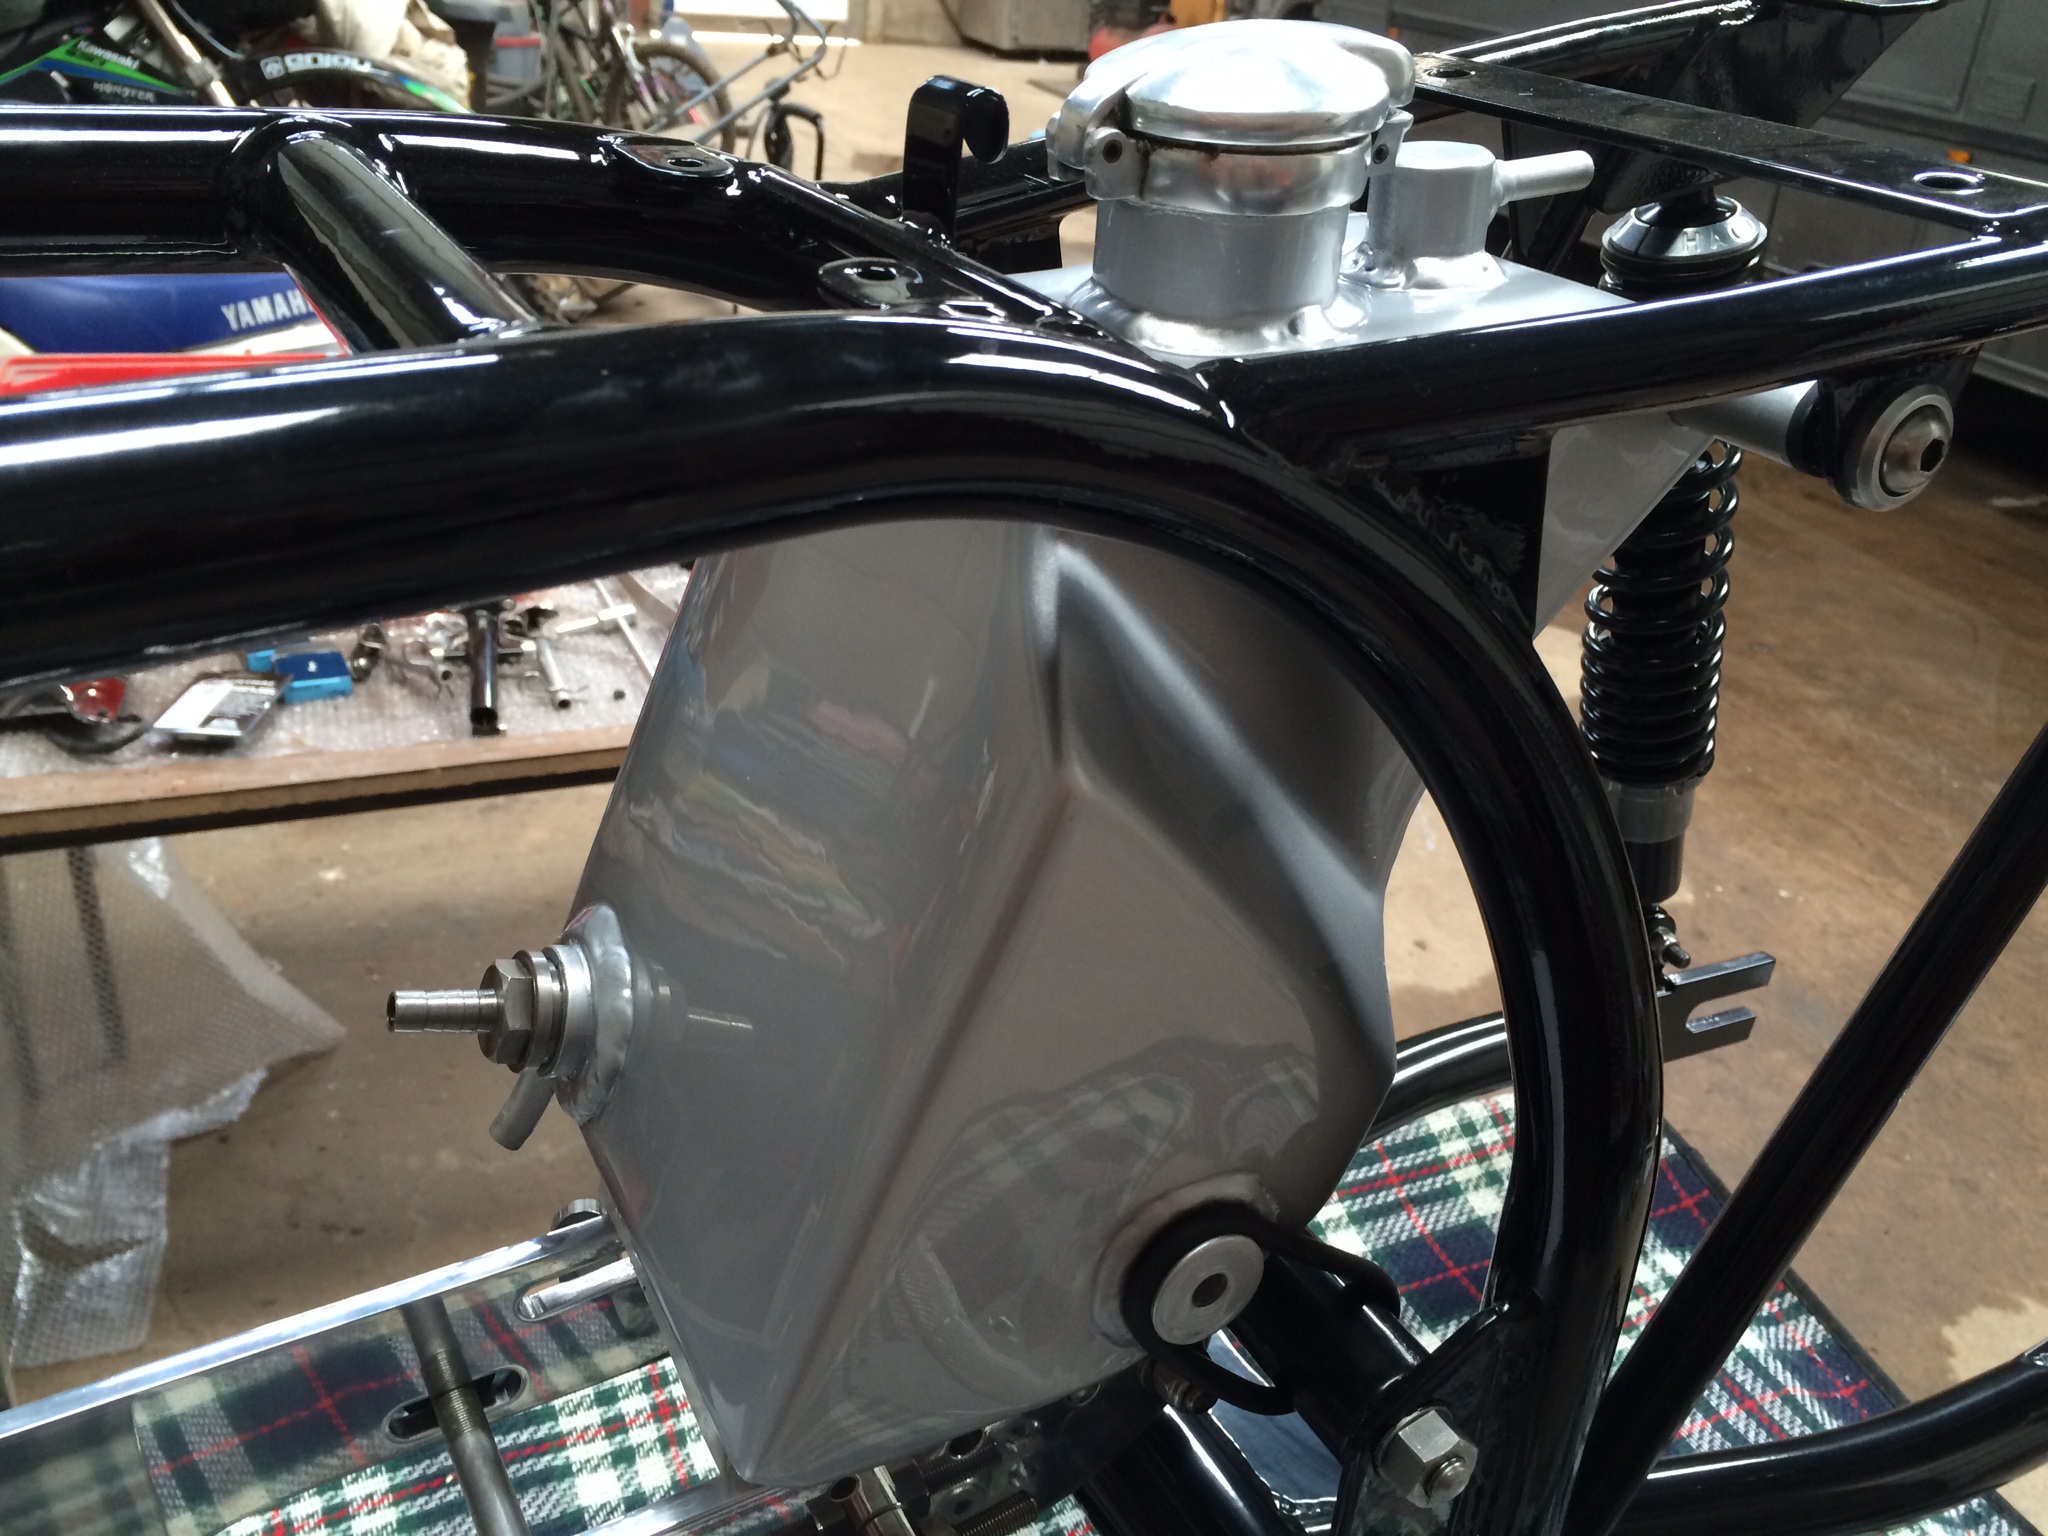
I spent a bit of time polishing the engine plates, which I didn't want to do initially, but they came up rather nice. Also made some alloy spacers which fit inbetween the frame brackets, so a longer stud runs through each bracket making a solid connection, instead of 2 x separate bolts & nuts. The rear lower brackets won't allow a long stud as the frame tubes are in the way, so I will re make this spacer and tap it out to take a pair of 3/8 UNF bolts, which I can get in from either side.
I would just have bolted up as normal, but the chap I had overhaul my engine ran a 920 Weslake in a Manx frame and said it made a load of difference with lowering vibrations, so I thought I'd try it out.
It's nice finally putting it back together
I would just have bolted up as normal, but the chap I had overhaul my engine ran a 920 Weslake in a Manx frame and said it made a load of difference with lowering vibrations, so I thought I'd try it out.
It's nice finally putting it back together
Attachments

UK Mark
Been Around the Block
Bolted a few bits on and as I'd got some silver basecoat and lacquer left, thought I'd re-finish the oil tank as it had a few little marks on it.
Also picked up a pair of Hagons, so will see how I get on with them.
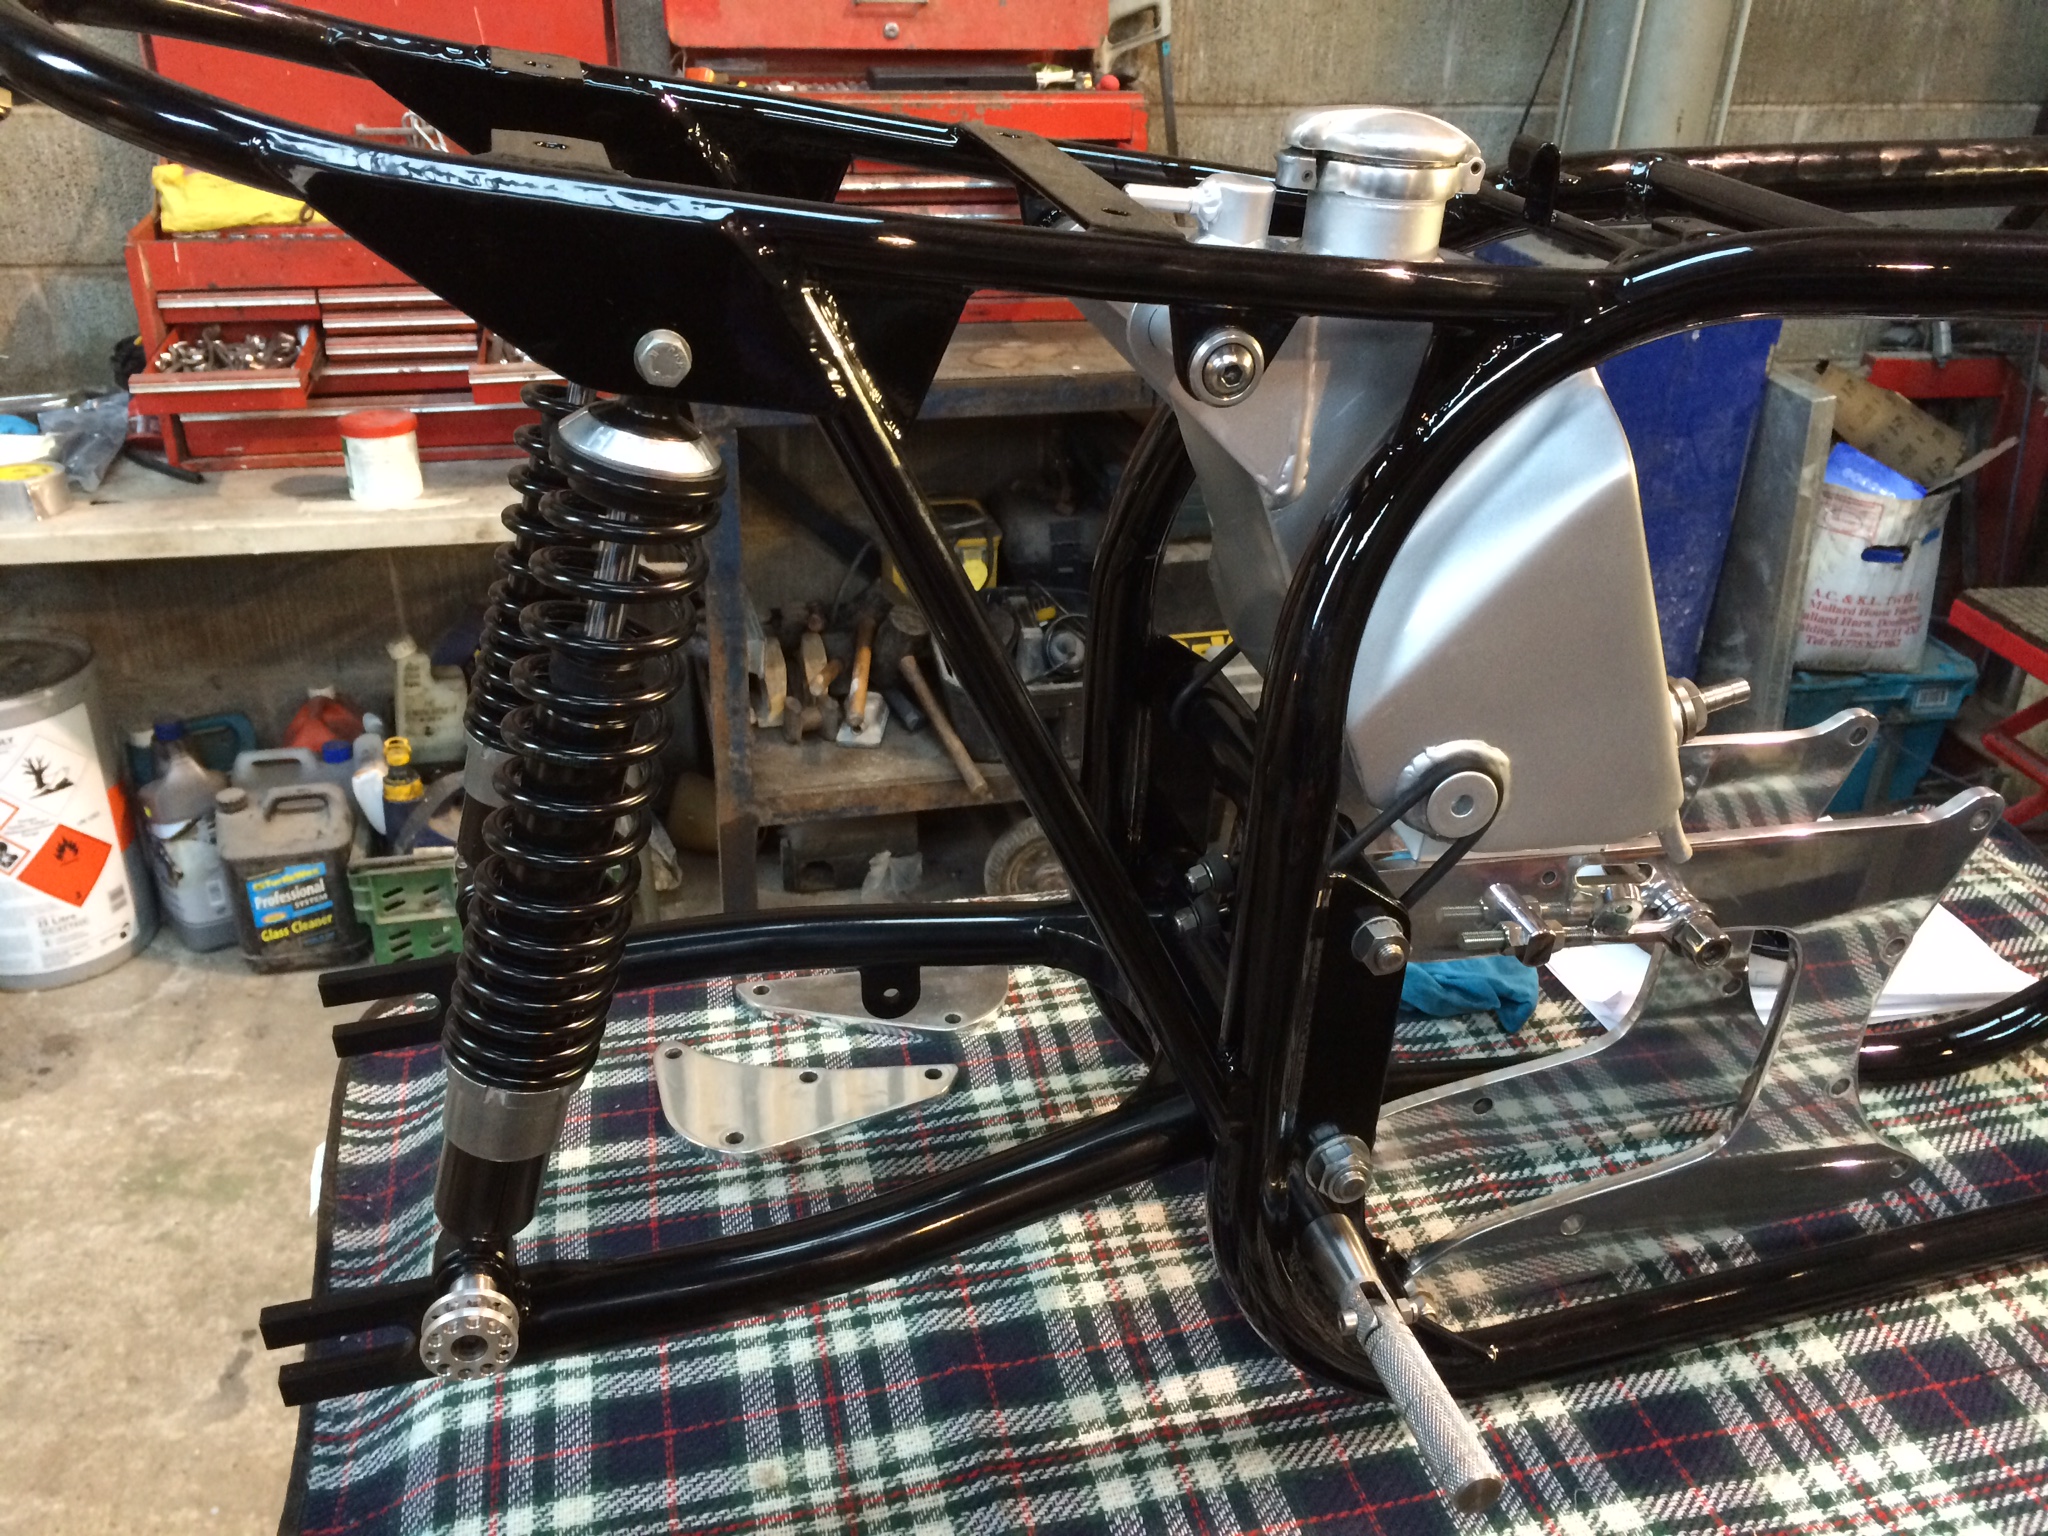
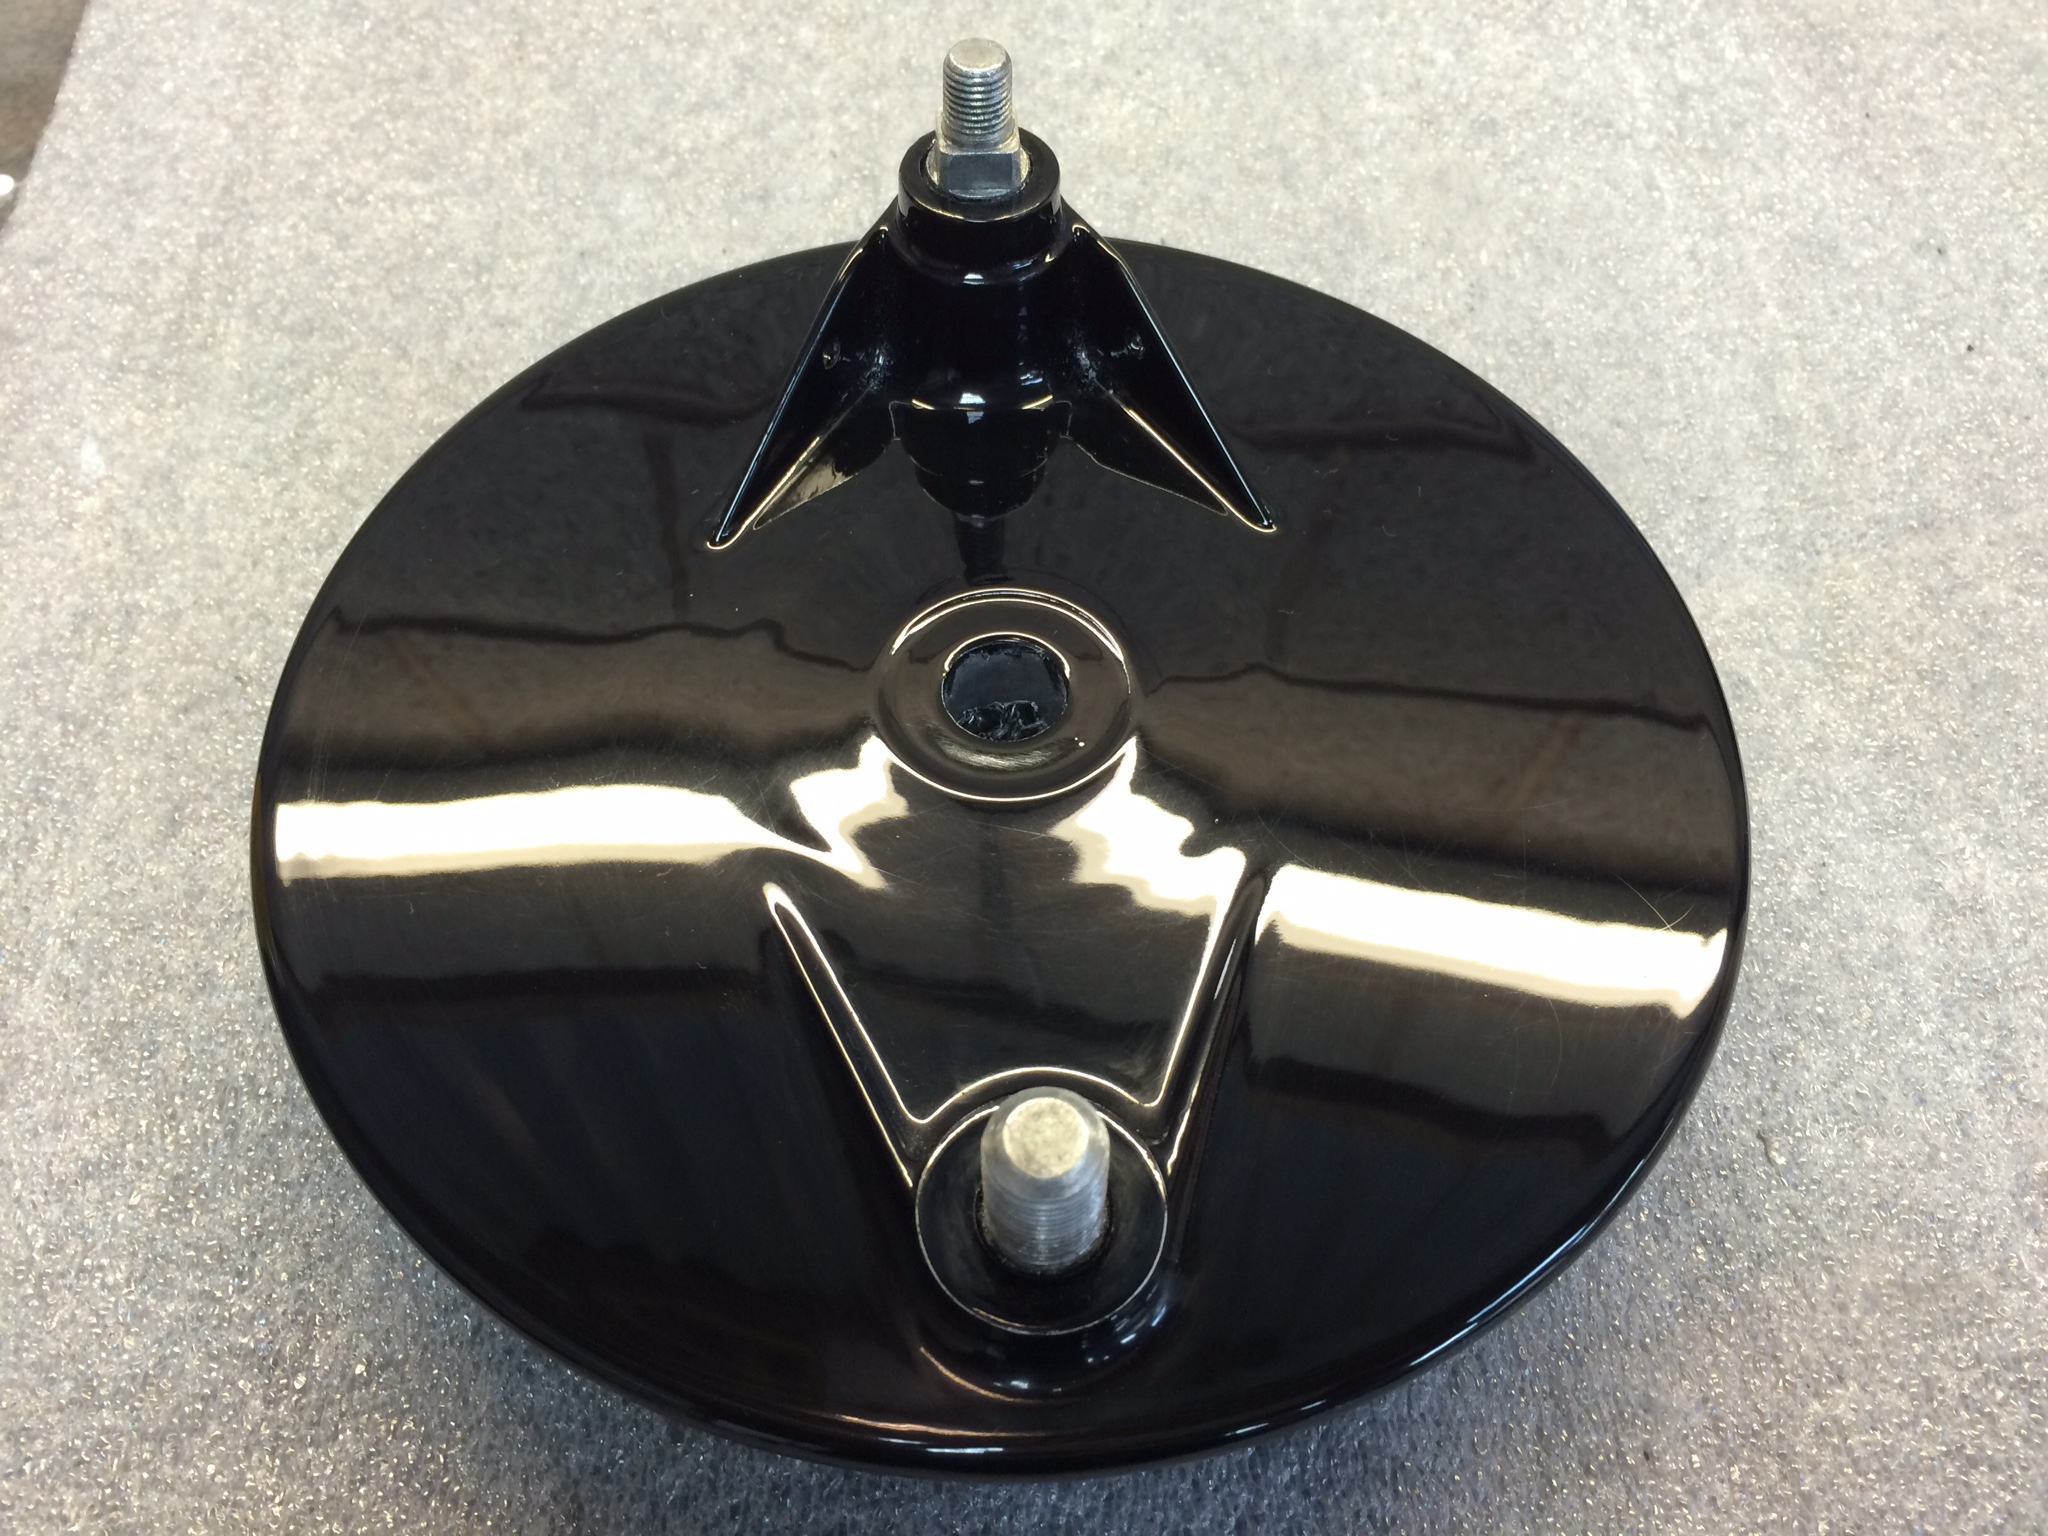
I'm planning on getting it back on its wheels shortly, so re-painted the rear brake plate ready in 2k black.
While I was at it, though I'd also re-finish the rear mudguard as that had a few little marks in it.
Also picked up a pair of Hagons, so will see how I get on with them.
I'm planning on getting it back on its wheels shortly, so re-painted the rear brake plate ready in 2k black.
While I was at it, though I'd also re-finish the rear mudguard as that had a few little marks in it.
UK Mark
Been Around the Block
Thanks Bud, not much old stuff left on it really. Norton frame is 1961/62 - except the rear end, Triumph gearbox is late 1950's, but that's got completely new quaife 5 speed internals, front forks are early 60's but have new stanchions and bushings, rear hub is 1970's but laced onto a new rim, central oil tank is 1980's and is a period race part, clip on's and odd other little bits are still there from 1992 when I first restored it.
Although the engine originates from the 60's, it was actually only manufactured in 1992, less than 25 miles away by Dave Nourish of Nourish Engineering for a local circuit racer.
It will look like new, but I've got bits from every decade going back to the 1950's on it.
Although the engine originates from the 60's, it was actually only manufactured in 1992, less than 25 miles away by Dave Nourish of Nourish Engineering for a local circuit racer.
It will look like new, but I've got bits from every decade going back to the 1950's on it.


