A CB360 Build

mchltshcr

Active Member
New to the forums and wanted to document my build as it progresses. DTT thus far has been a wealth of knowledge.

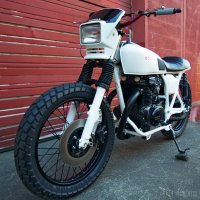
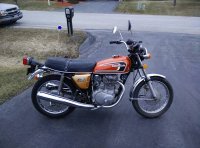
Recently picked up a running - I use the term loosely - 1974 CB360 with just under 14k miles for a fair price. Photos make it look better than it does in person.

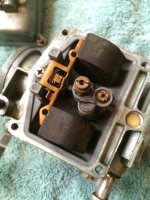
Has a number of issues, most electrical from what I gather. Spark plug wire was cracked open and possibly not firing consistently, starter would make a slight attempt and halt, condenser ended up showing no life at all, carb overflow was going nuts on one side, exhaust was rusted out on the bottom of one side, mismatched mirrors, etc.

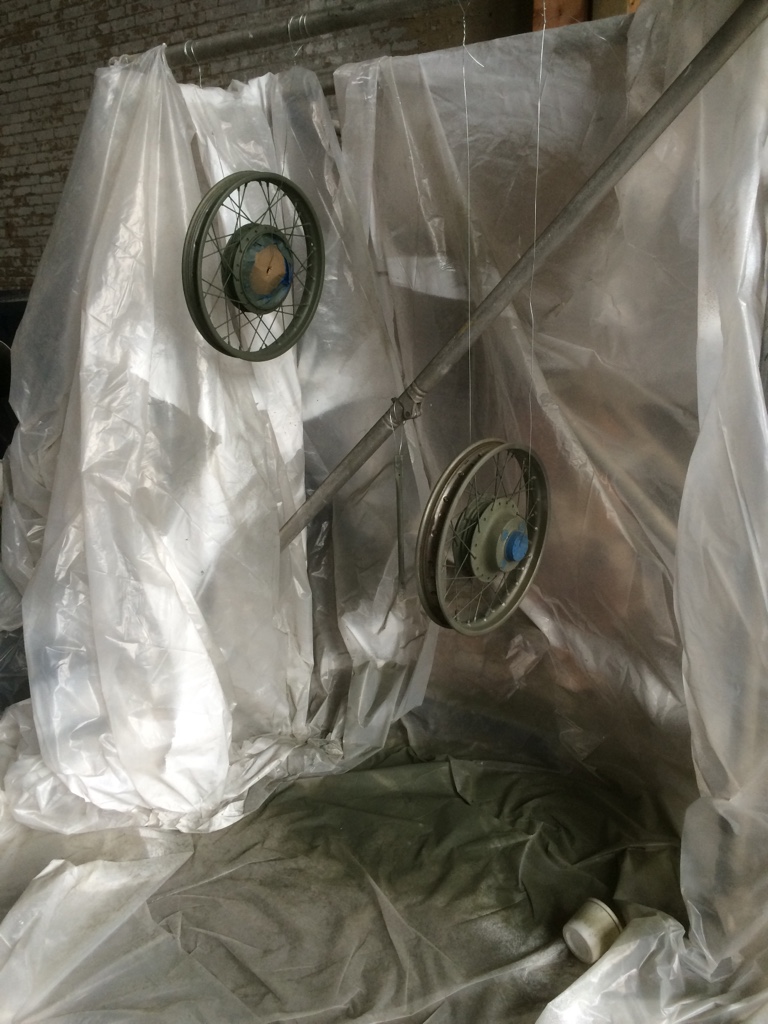
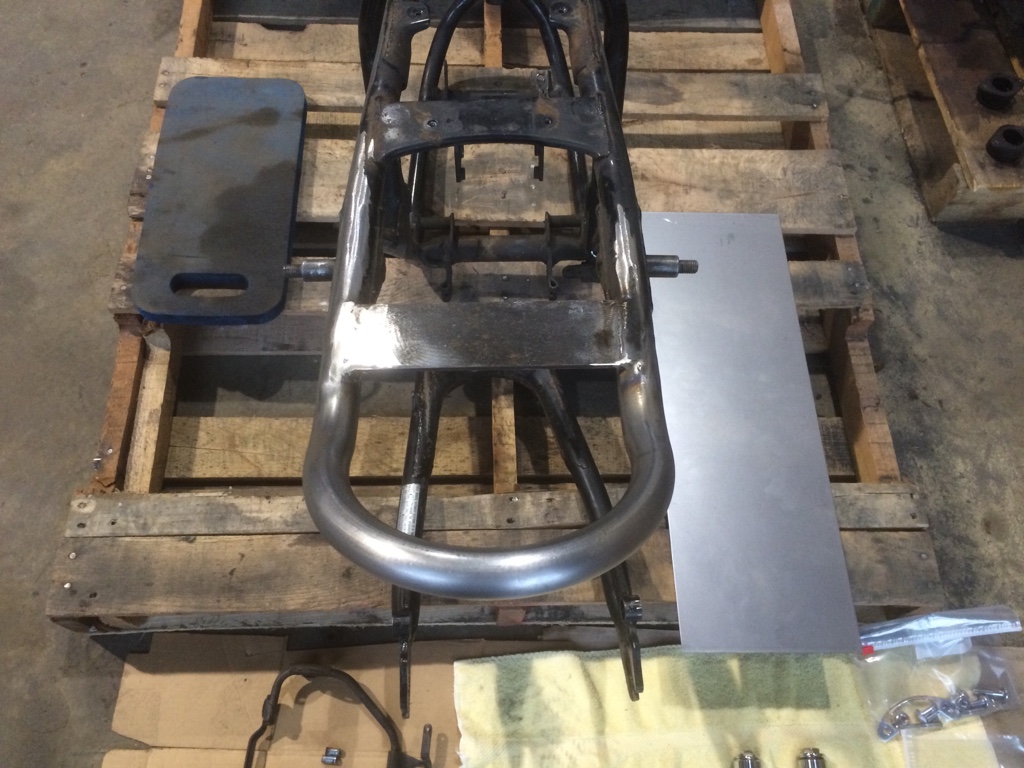
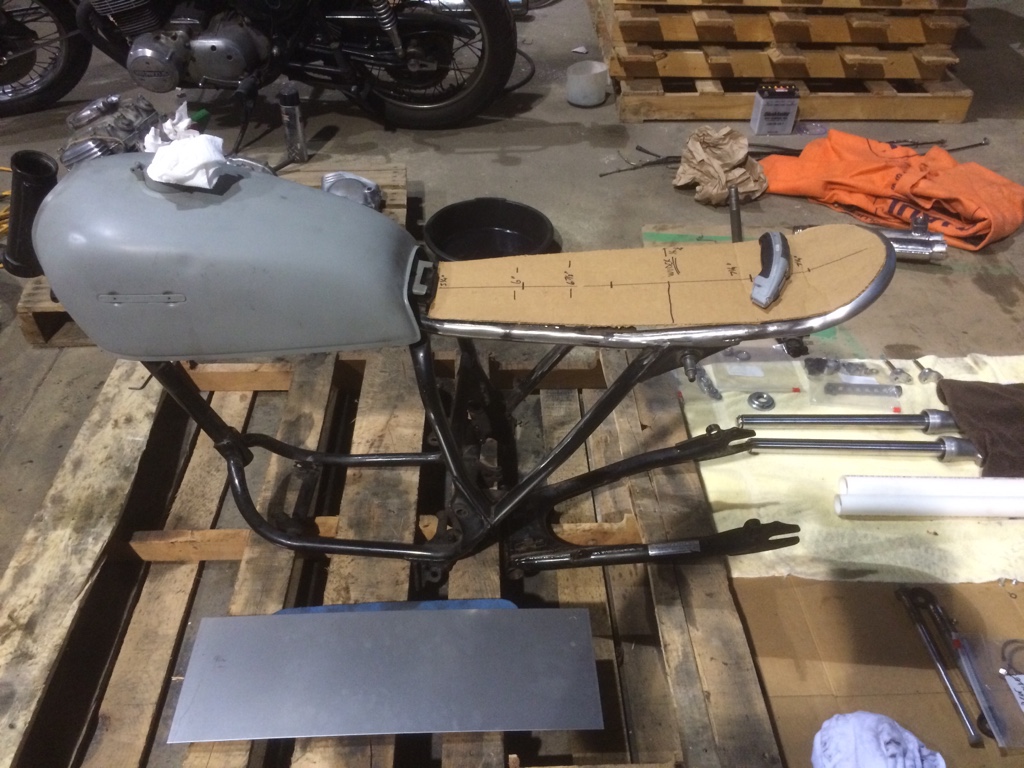
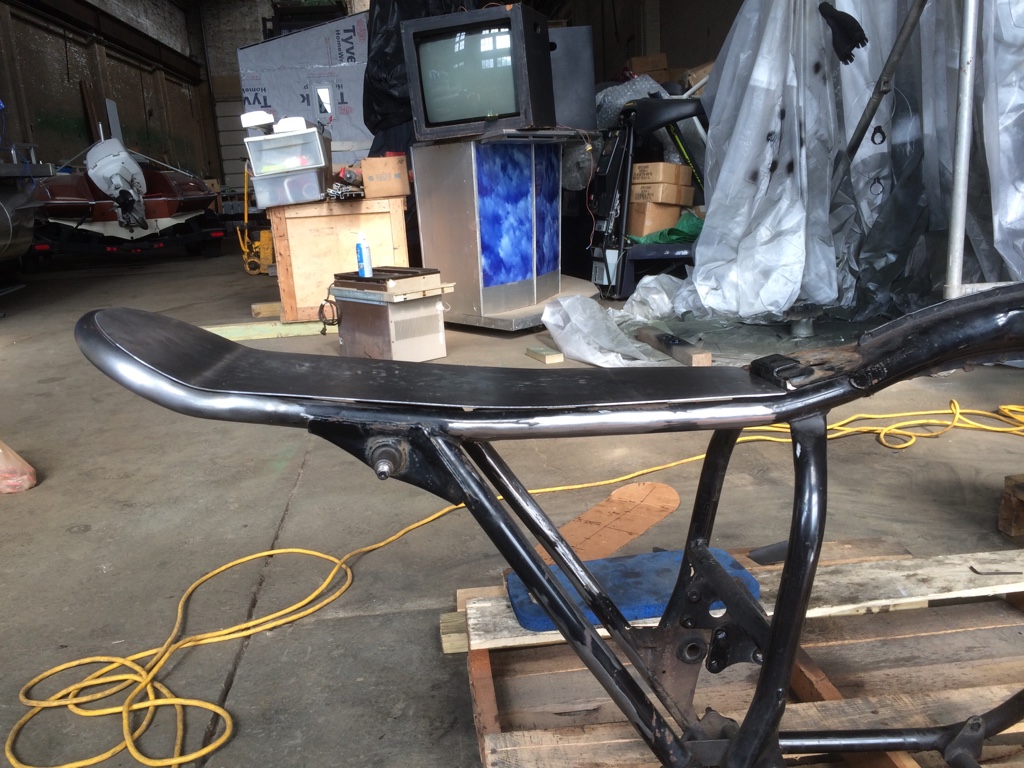
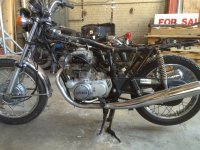
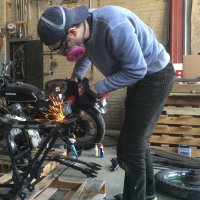
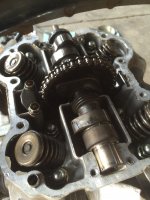
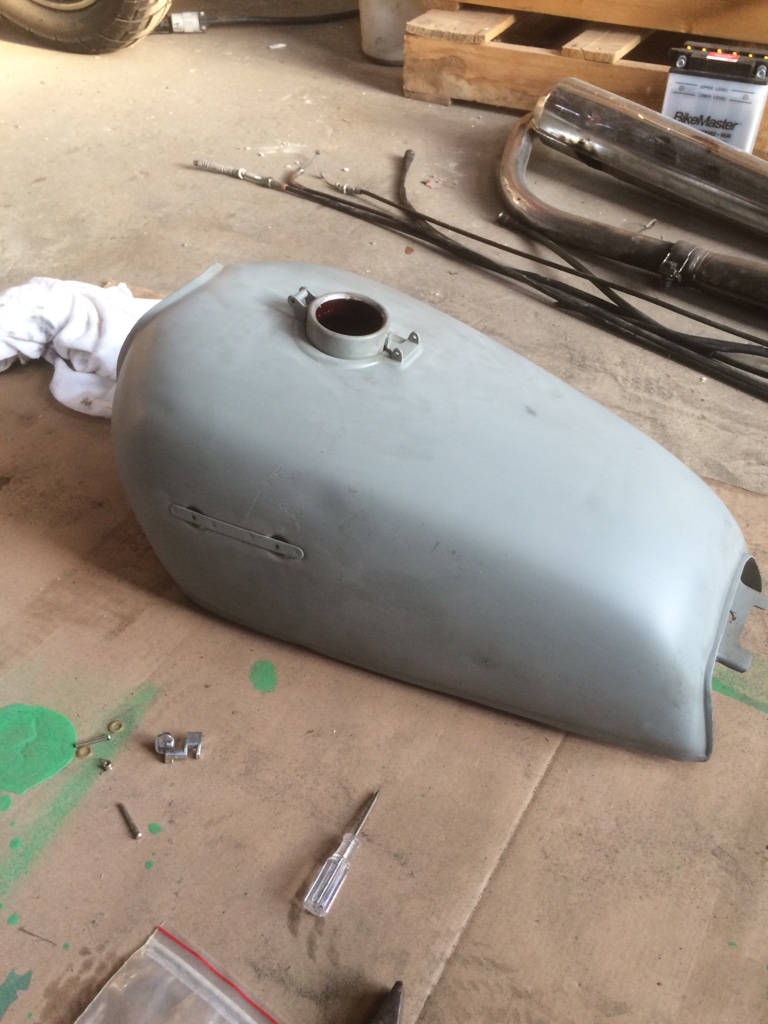
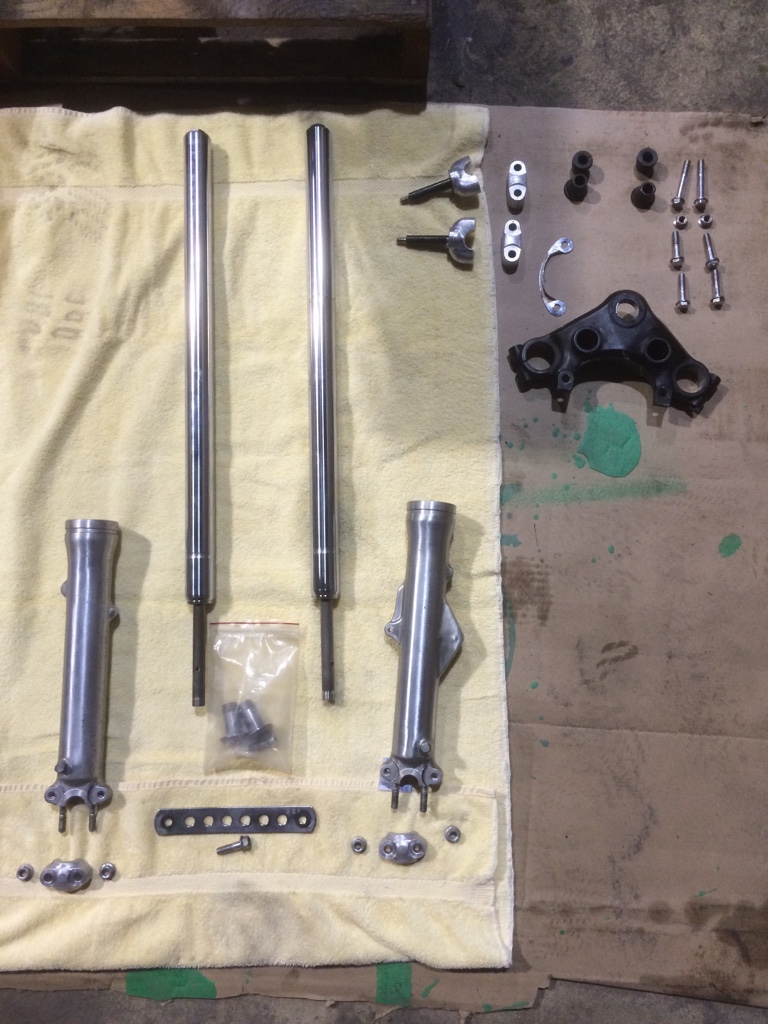
So the teardown begins. Learning as I go. End goal is a restore/rebuild from frame upward that's super clean and minimal. Thanks all.
 

Attachments

  • IMG_8066.JPG
    IMG_8066.JPG
    51.5 KB · Views: 1,422
  • IMG_8119.JPG
    IMG_8119.JPG
    1.6 MB · Views: 317
Re: Never Happened Before! A CB360 Build.

More progress on stripping the bike down. Before removing engine I removed valve cover and installed a new cam chain tensioner. Don't love the look of the cam lobes but for now I'm avoiding getting too deep into a rebuild. Suspicions of running lean on one side were confirmed with white buildup on the exhaust valve of one side. Valve adjustment, point and timing adjustment complete.

Have an accumulation of new parts stocking up at home. Look forward to getting past the tear down hump and onto the rebuild phase.
 

Attachments

  • FullSizeRender.jpg
    FullSizeRender.jpg
    919.4 KB · Views: 297
  • IMG_8133.JPG
    IMG_8133.JPG
    1.4 MB · Views: 286
  • IMG_8145.JPG
    IMG_8145.JPG
    1.3 MB · Views: 293
Re: Never Happened Before! A CB360 Build.

Forgot to mention, carbs are currently safe and sound with PJ for a tune.
 
Picked up my tank today. Had the old liner stripped out, rust removed inside and the tank relined. Also has the faded paint stripped off. It's down to primer now. On the fence about going bare metal or painting again. Hmmm...

Also picked up my wheels from my mechanic. Had them trued and bearings checked. Next step will be to prep for a coat of paint.

b42c412790258552c0973958641b331a.jpg


I couldn't for the life of me get the bottom bearing race off the steering stem. Tried heat and lube and prying. No luck so I took it in. It took the bike shop 26 minutes which tells me it was on their pretty good given the tools they have.

Forks are apart. Bottom Allen bolts were fun to get out but they're off now. Awaiting new fork seals.

3c06beb400640ae69ab8a6c931d188fa.jpg


Sent from my iPhone using Tapatalk
 
Was able to make some further progress these last couple weeks. Wheels are now completely painted along with a ton of other odds and ends. Seat pan was templated and cut. Sending off this week to get Pem nuts installed before the seat pan gets mailed off to have the seat made. Will be some delay on the turnaround time for the seat - 4-5 weeks - but you can't put a timeline on custom work I guess. Plenty to do in the meantime.

Forks seals are in and tubes have been reassembled / filled with oil.
New seat hoop was successfully welded on. Just dropped off this morning at the powdercoaters.

Received carbs back from crazypj as well. Haven't even opened the box but I assume they are perfect.

Next priority is cleaning the engine - should be fun with all the oxidation and grime. Once the frame is back the rebuild will start.

My big lingering questions are what battery to use (I plan to keep electric start) and what headlight setup to go with. Need to measure the factory headlight bracket opening and see if I can fabricate something up. Headlight that came with the bike was thrashed due to being dropped so I need to replace. Would love to go with more streamlined brackets off the fork and a satin black housing for the light but need to work through power draw (wattage) concerns. Was leaning li-ion battery but I am indifferent.

Pics to follow!
 
More progress on the holiday weekend. Fabricate the brackets for xs650 ignition coils this morning. I believe I'm done with painting now. Had broken off a rusted bolt disassembling one of the driver foot pegs and a friend came through with a spare. Gave the peg hardware a fresh coat.

Only hangup I'm having is getting the engine polished. The wire wheel works wonders on the cast engine but the left and right covers are a huge pain in the ass. Between the clear coat and the oxidation I feel like I sand and wire wheel forever with slow going progress to get to an even finish underneath. Any tips you guys have would be appreciated!
 
Also - as far as front fork braces go - looking into Tarozzi has anyone had success using the cx500 brace on their CB360?

Part number is 22-0036: http://www.tarozzipaolo.com/inglese/home.htm
 
Apparently the Tarozzi is possible on the 360. Found one on a CJ360...
 

Attachments

  • honda-cj360t-2.jpg
    honda-cj360t-2.jpg
    122 KB · Views: 1,728
I'll check on mine but the sprocket is 'free floating'
Have you removed it to check for wear on inside sprocket splines and lock plate?
Many aftermarket sprockets are 'softer' than OEM so wear (it's bad news when they are harder than OEM, that wears the shaft :( )

Is that an XL or XR headlight? 8)
 
No noticablewear on splines. From what I can gather this is the OEM sprocket.

Headlight is off an XR. Here's the full build thread on that bike (not mine): http://www.bikeexif.com/honda-cj360t
 
Check the lock plate, the float can wear the 'teeth' which allows more float.
I have used 550 front sprocket which is a wider mount but it needs grinding one side or is pushed in too far
 
Looking good 8)
You WILL need a fork brace
Rear brake torque arm is a good idea before you get it on it's wheels ;)
 
Yea... I am leaning the route of popping the rivets and using the brace portion of the original fender. Don't love the $100 price point of the tarozzi or the fact that it would alter the dust boot seats. I've read enough of your posts PJ to know where you stand on fork braces ;D
 
;D 8)
I can't compete on price of Tarozzi fork brace, but, mine are nicer ;)
The stock bracket works way better than expected plus, painted black it pretty much disappears
 
Back
Top Bottom