Follow along with the video below to see how to install our site as a web app on your home screen.
Note: This feature currently requires accessing the site using the built-in Safari browser.
We noticed you are blocking ads. DO THE TON only works with community supporters. Most are active members of the site with small businesses. Please consider disabling your ad blocking tool and checking out the businesses that help keep our site up and free.
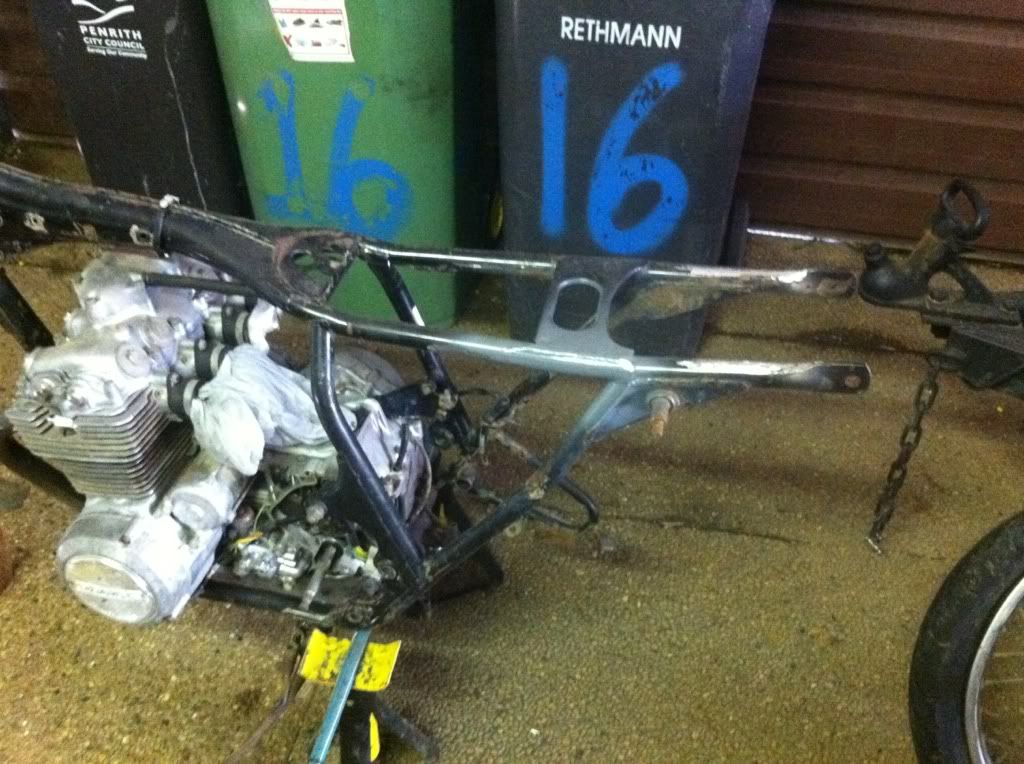
You need to realise why that brace is there.
It has minimal capabilities to prevent rear frame twisting, it mainly stops the two tubes spreading apart.
If you want/need more height for seat base, use 2x1 box, and cut a corners off to bridge frame, it will add stiffness and prevent tubes spreading.
I'll get pics of my 360
I think I've got what I need at the moment PJ. The 5mm plate is welded back in the same place and stops the spread, adds some extra strength to the rear to stop any twisting under load and also adds the prefect height for my seat.
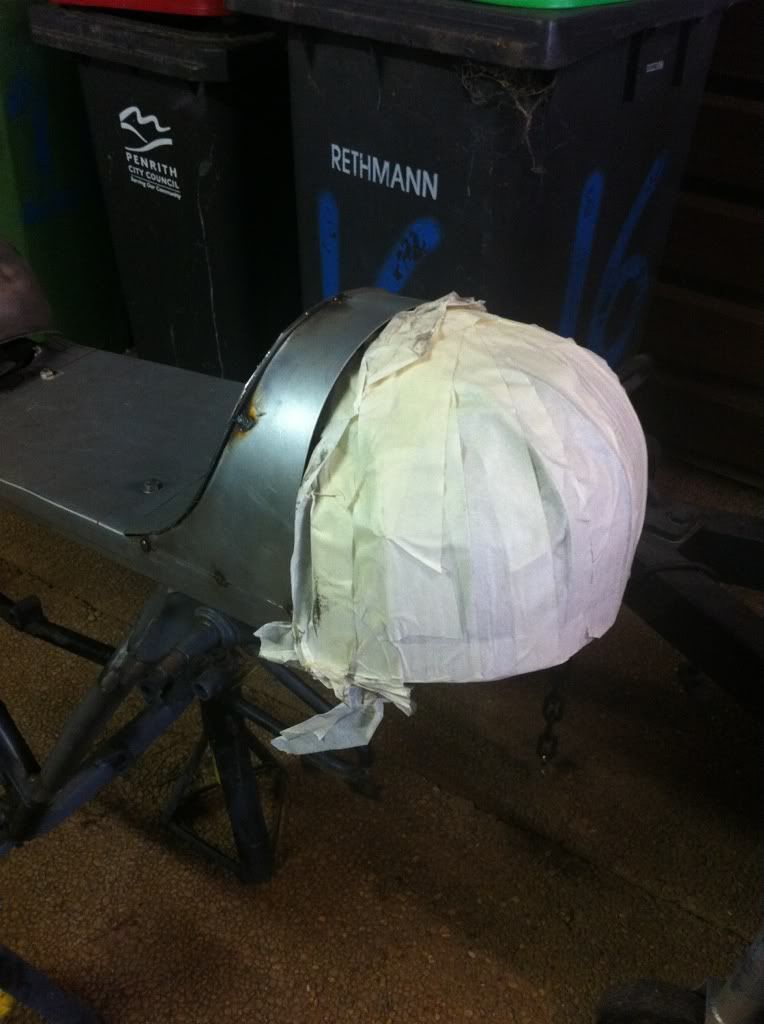
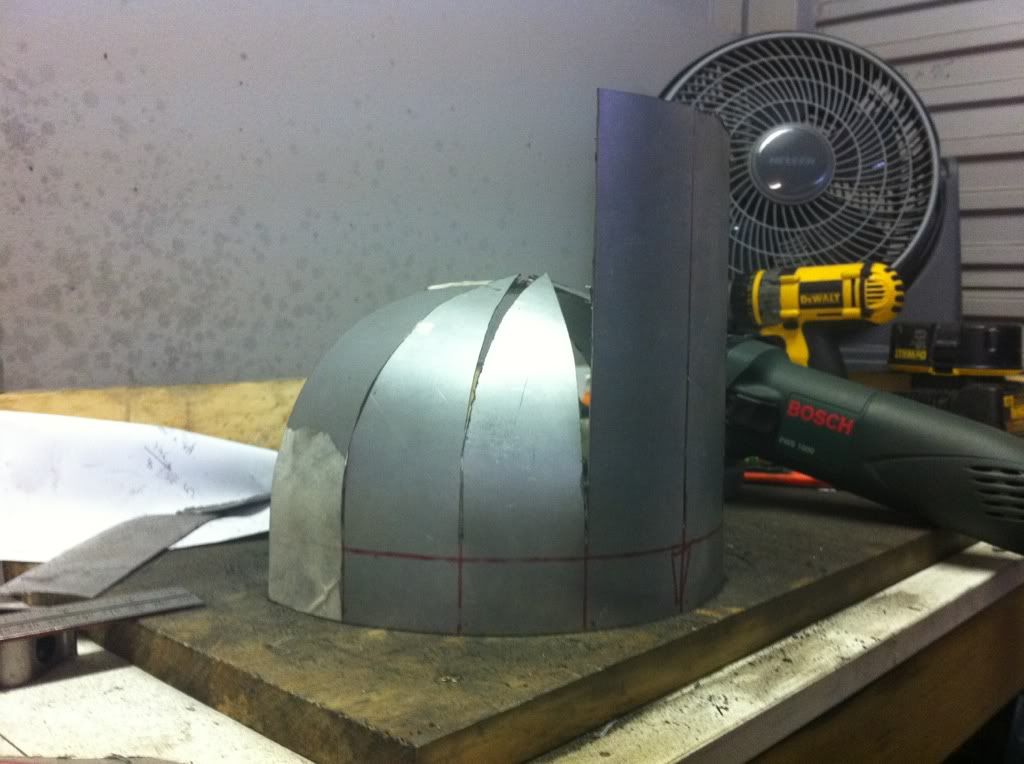
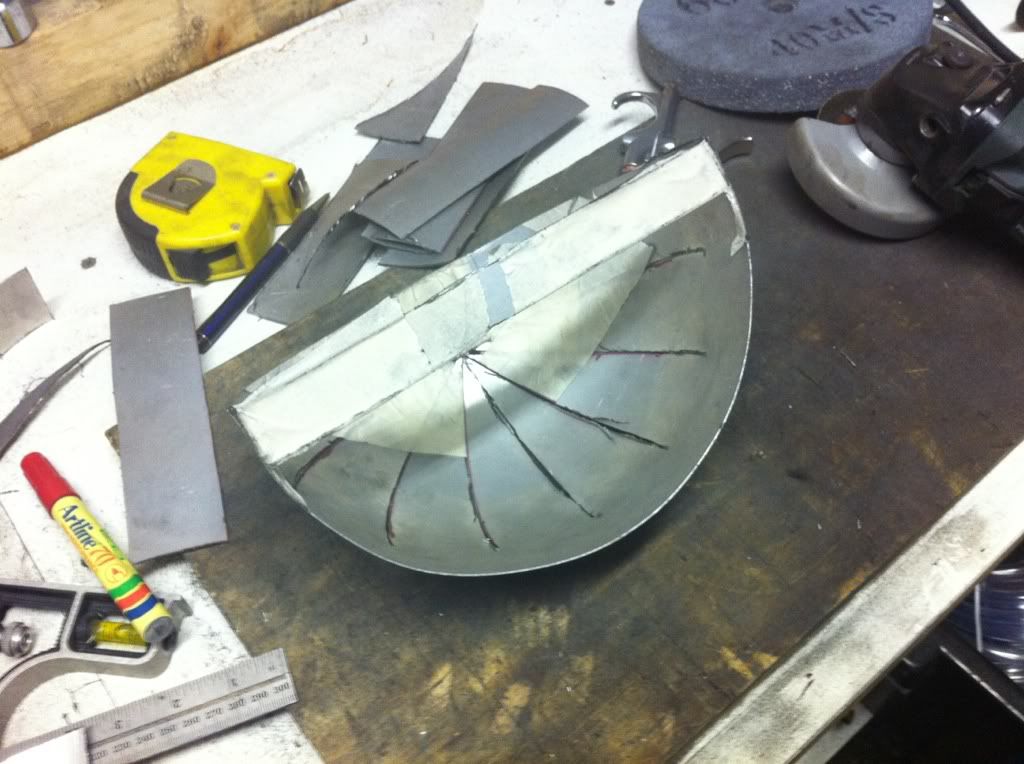
More progress. Thought I would tackle the rear bump compound curve as the section before it had been tacked. Here is what I was going for, mocked up in cardboard and masking tape:
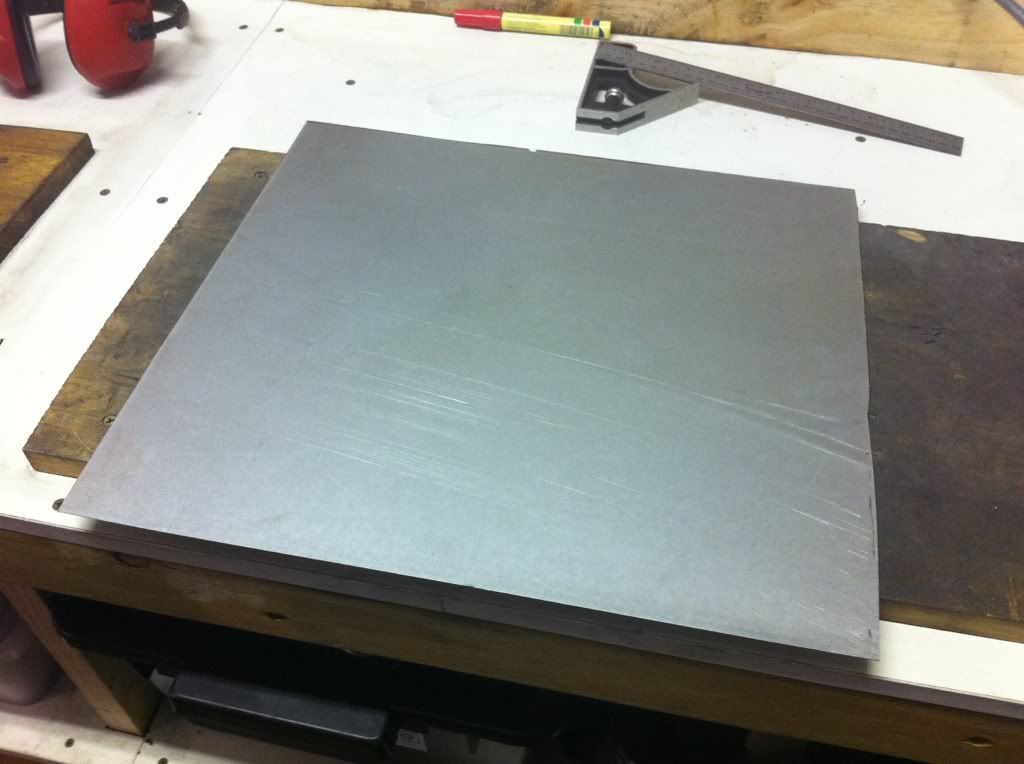
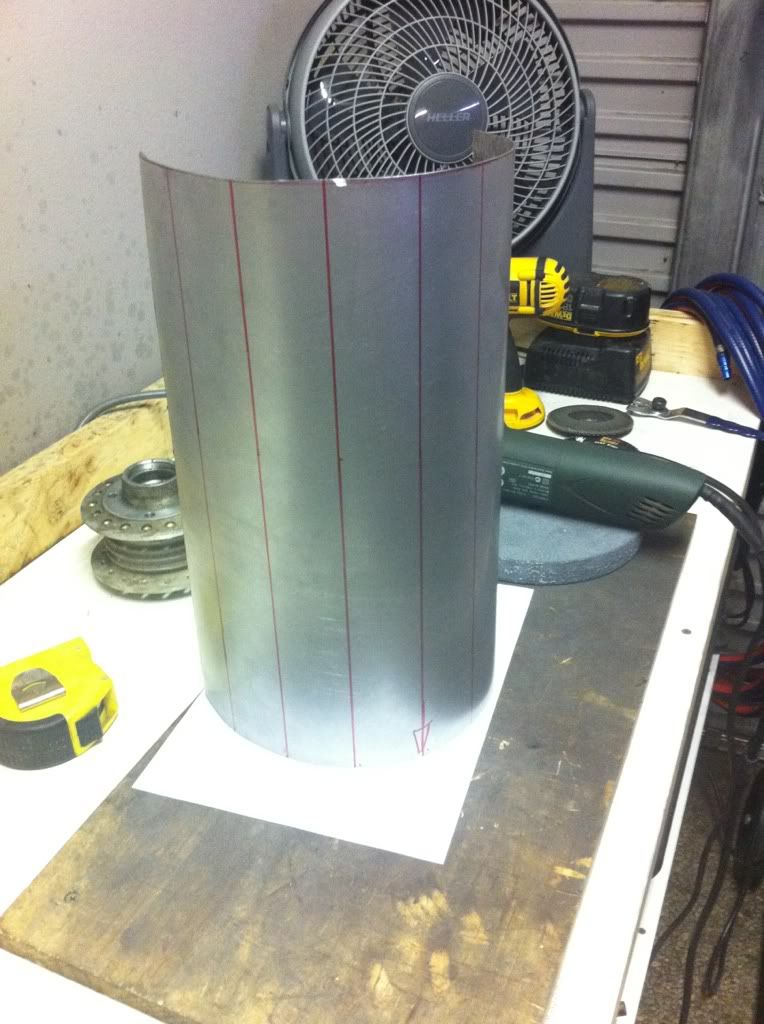
Cut me some 1.5mm sheet:
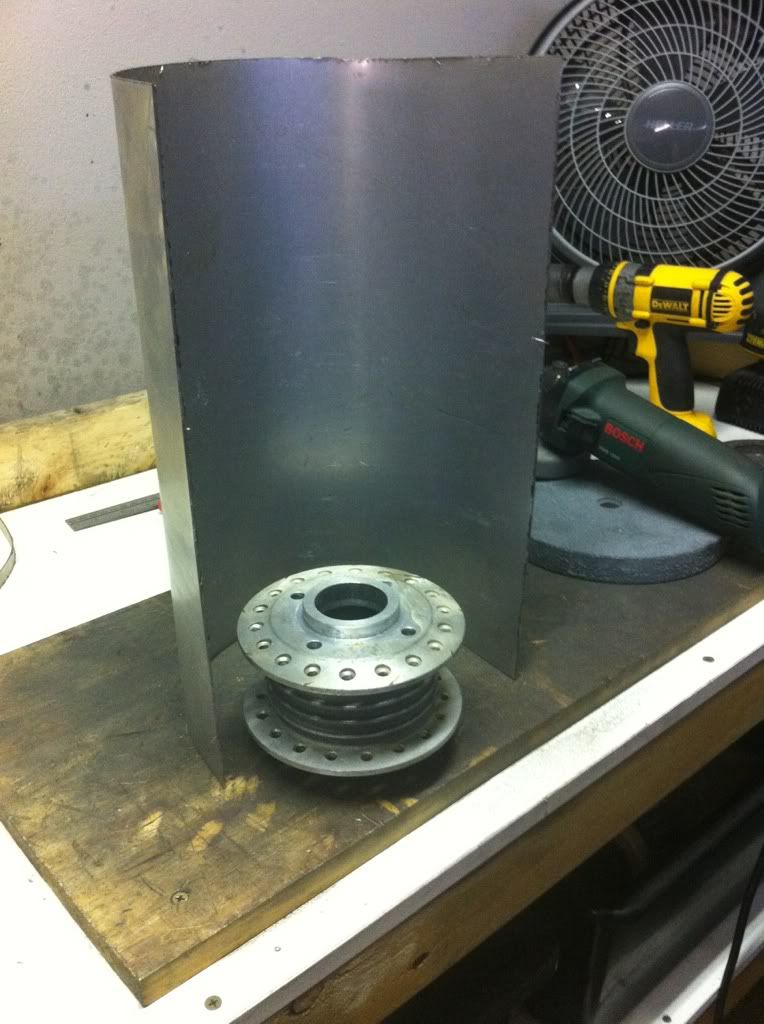
Started shaping using the front hub to maintain an even curve:
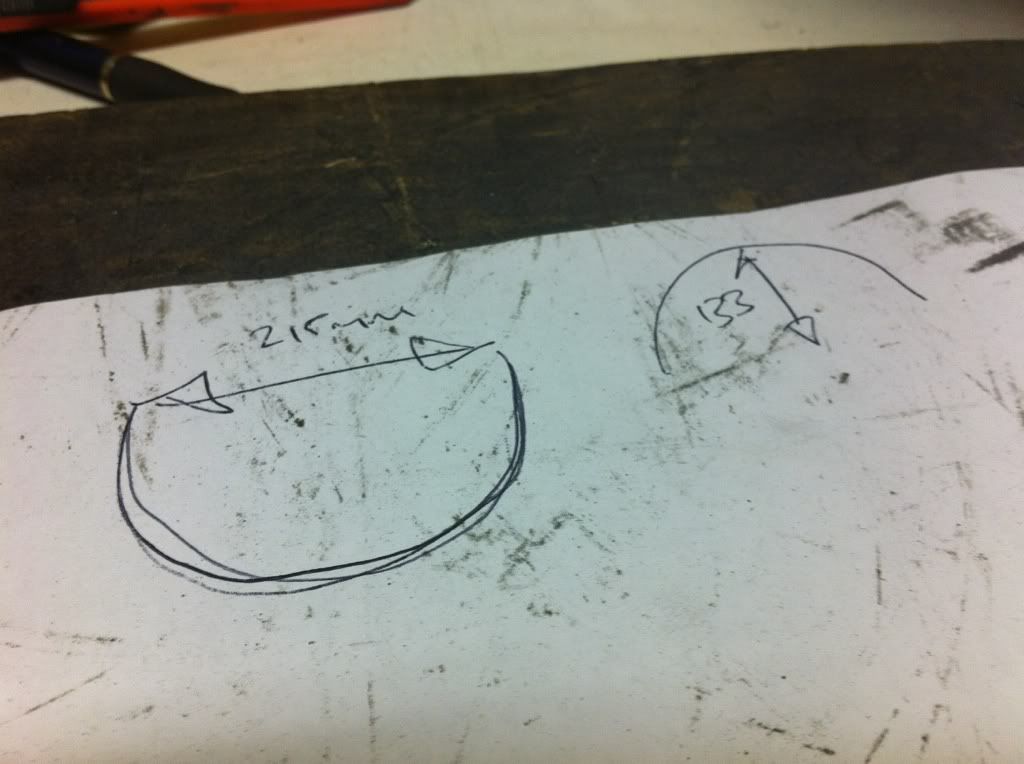
Decided to employ some maths:
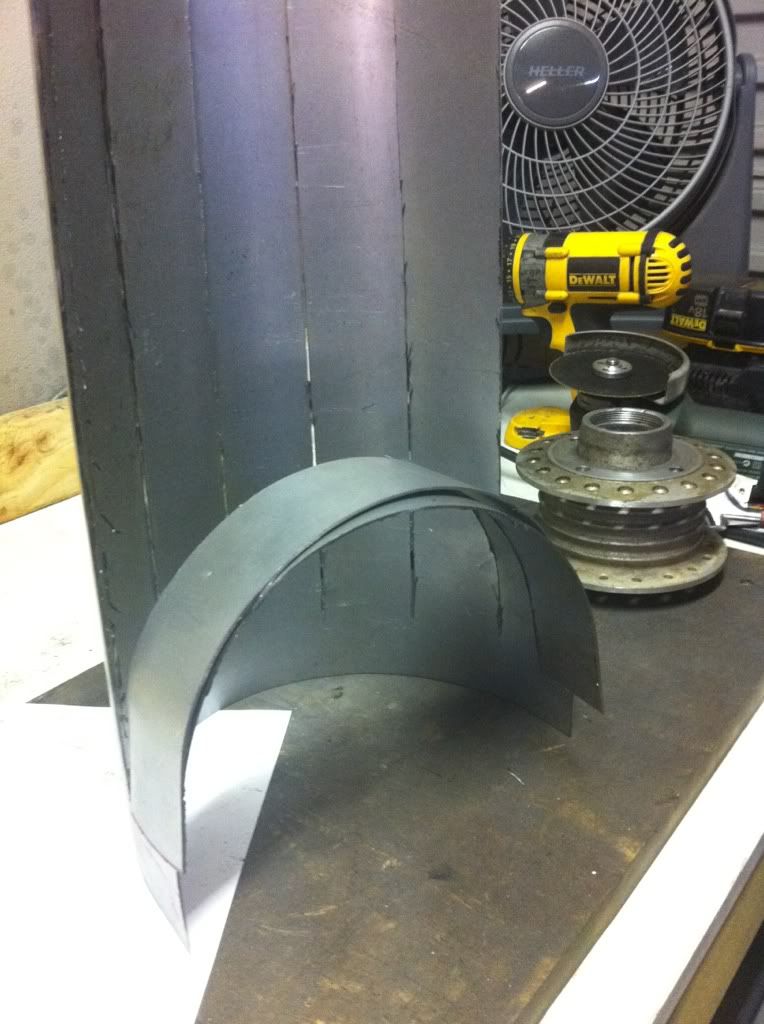
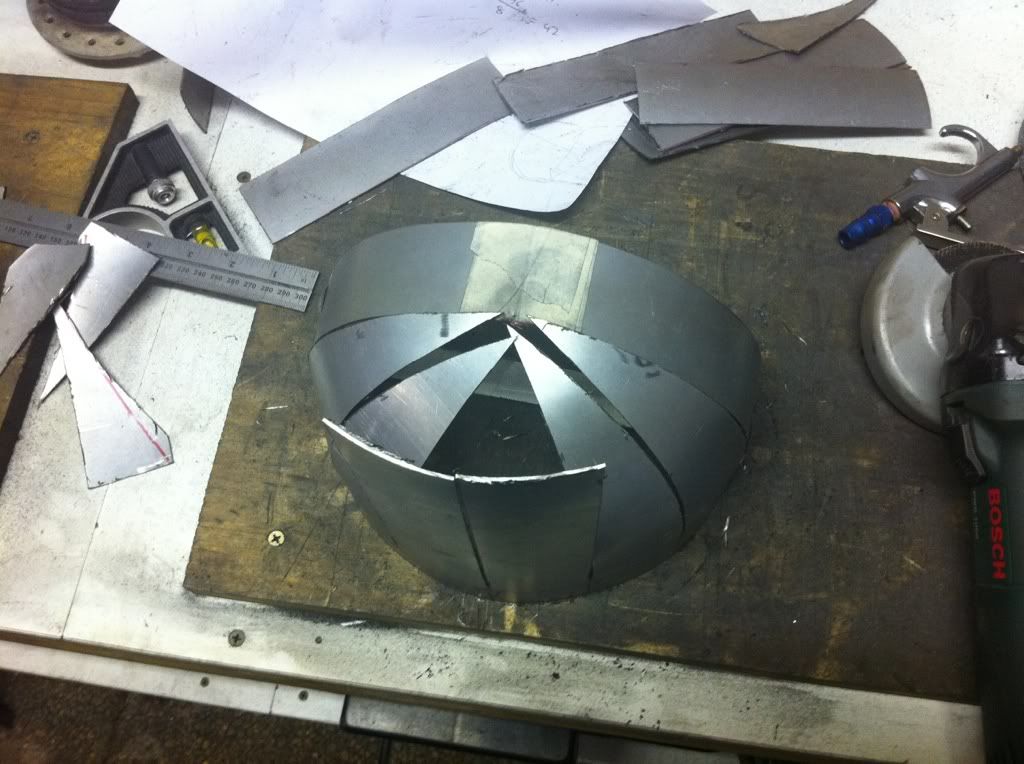
... But the difference hurt my brain so I thought I would go the freestyle route. Divided the curve into 8 even sections:
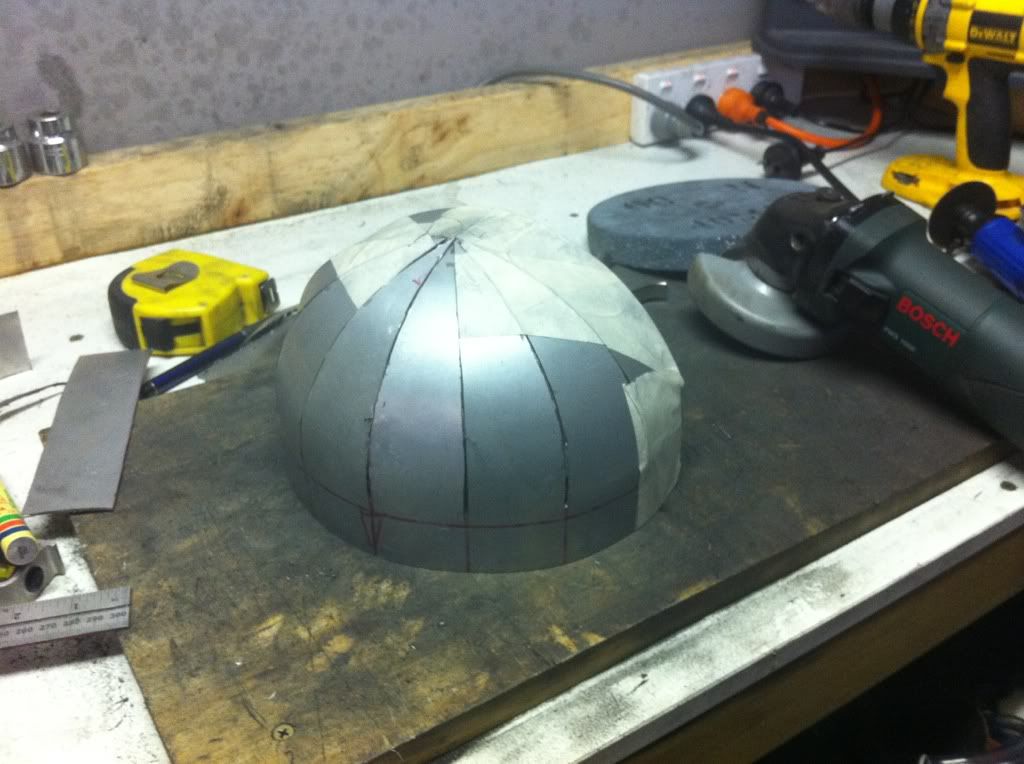
Took a while to get these 2 pretty close, it was important as it needed to perfectly match the hoop already on the seat:
Put a brace in the bottom to keep the required 215mm spread:
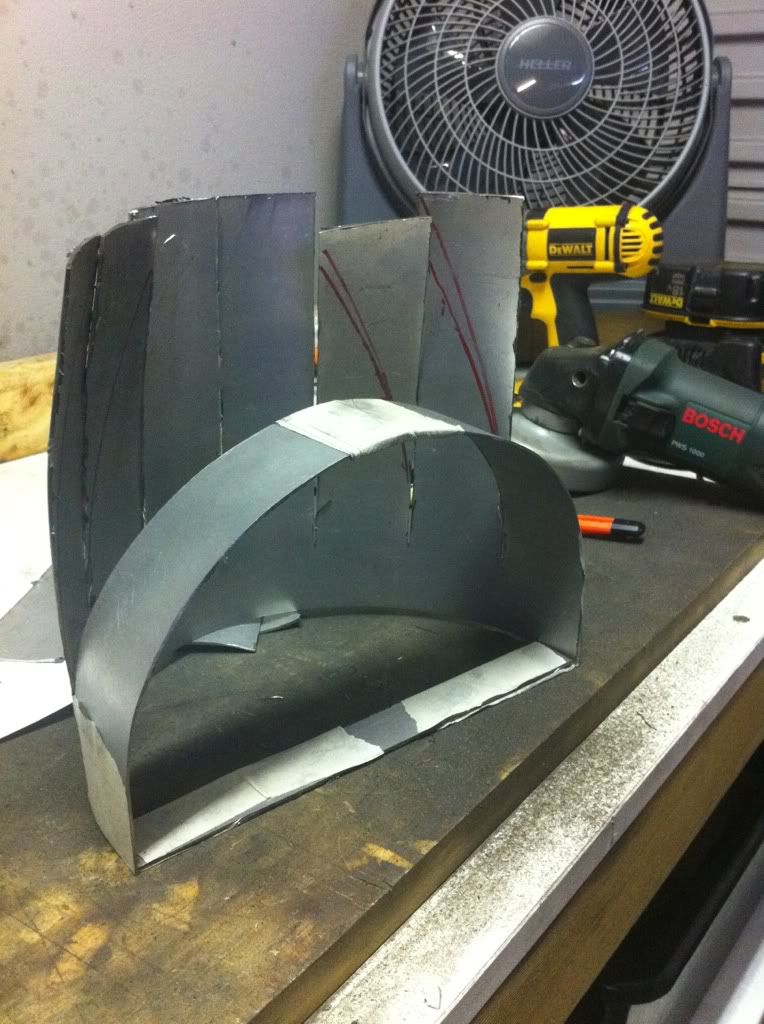
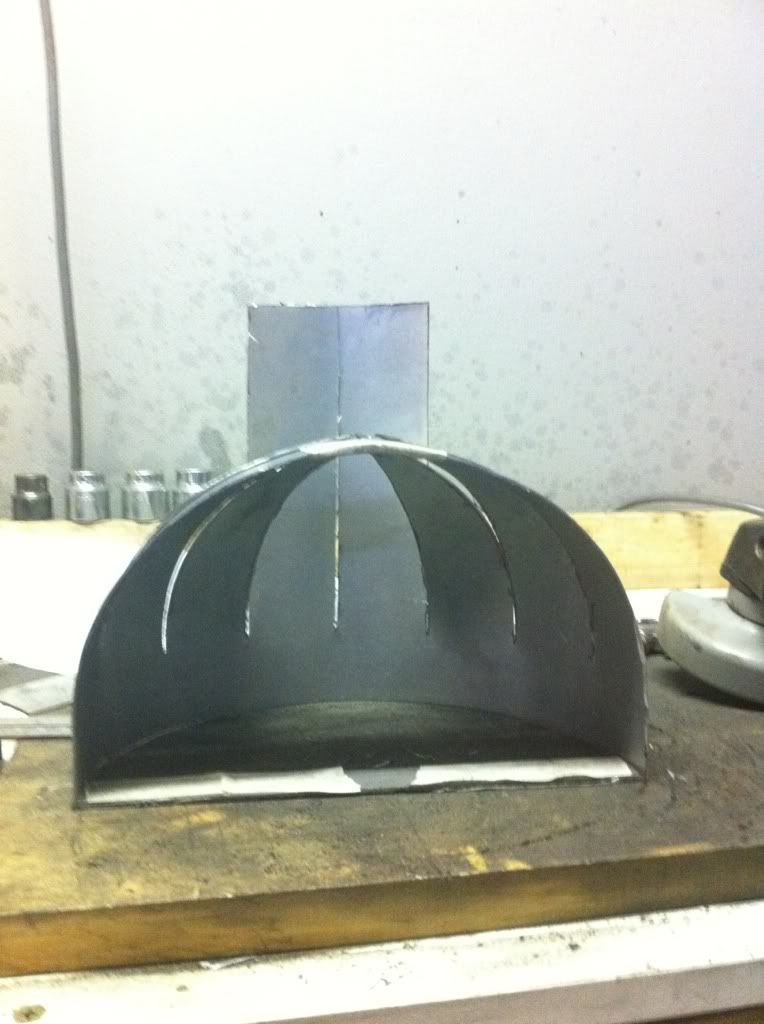
6 leaves done:
8 done:
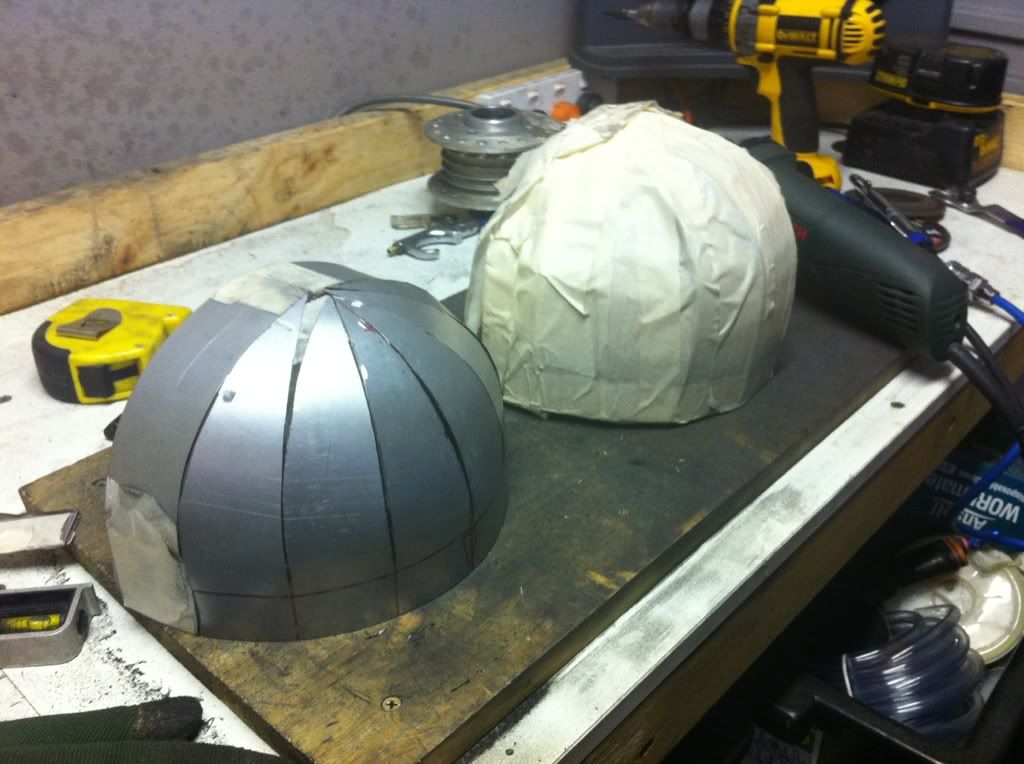
Then it was split apart and the first 2 leaves were perfectly matched in length and bend to match the tacked on section already on the seat. Here it is back off the bike next to the mock up:
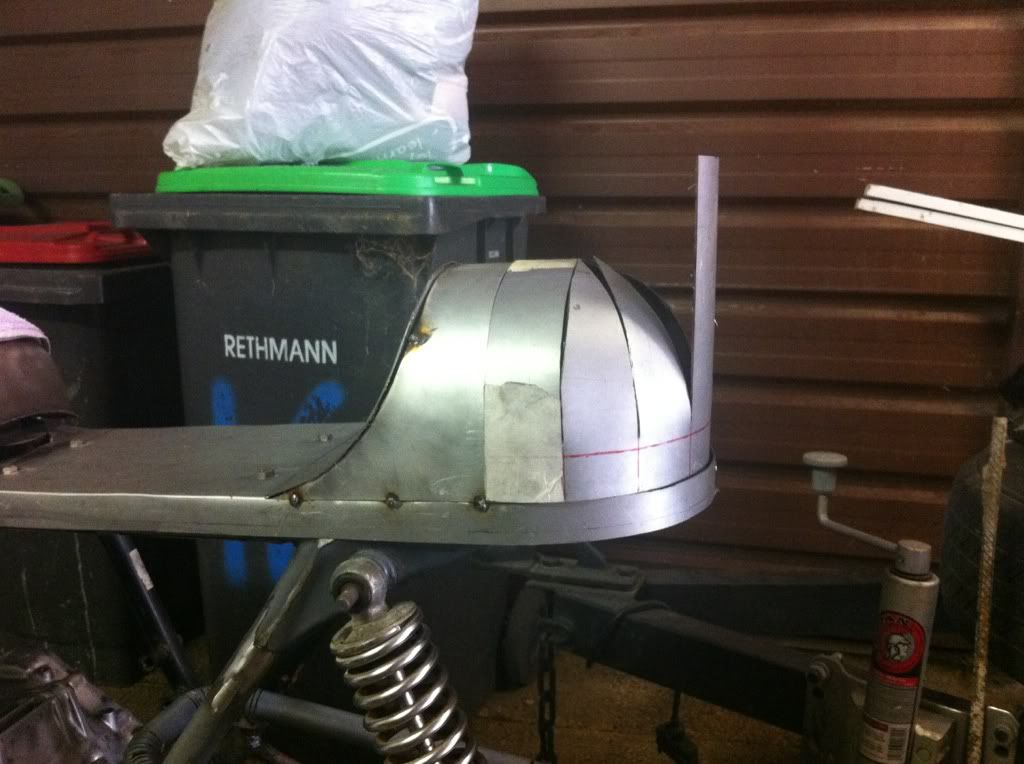
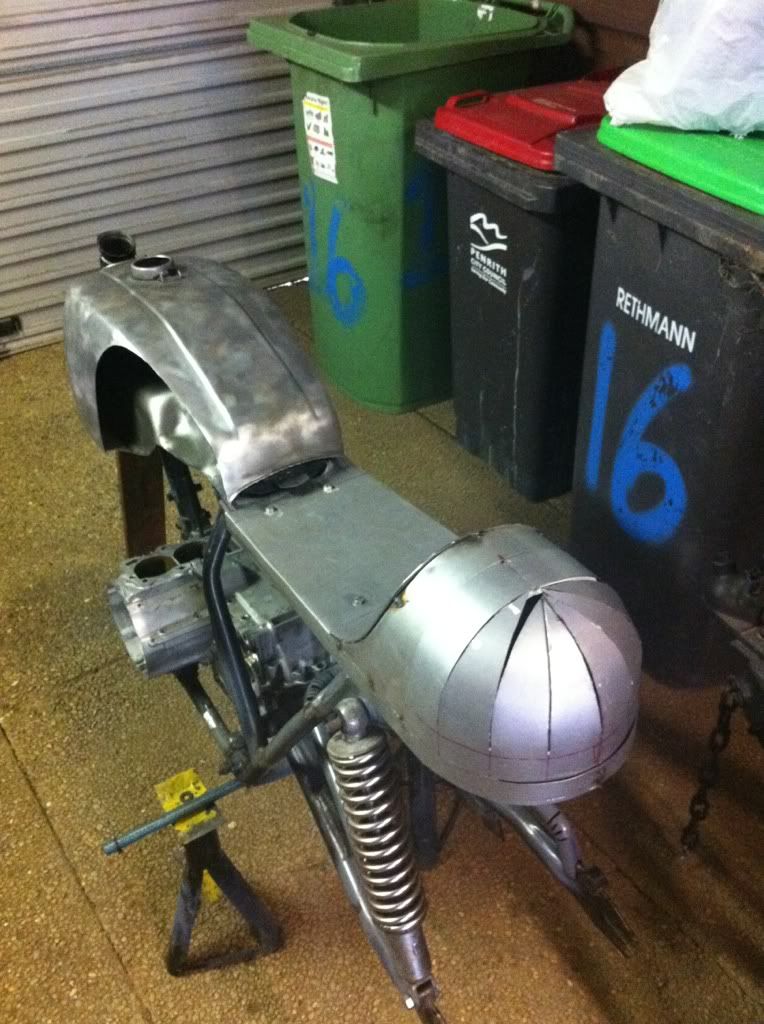
Back on the bike. Lastly need to trim the seat lower strip as its a little too long. Should be easy to do once it starts getting tacked:
Quite pleased. Lastly will be getting a round mallet to shape the rear bump a little once I get it back from welding, should minimize the amount of bog required to get the curve smooth.
Rethinking the curve section so probably going to scrap this version. Reason being; the flat section is too wide and a bit goofy looking, I didn't think about the effects of having 2 flat sections and looking at the bumps I like are much shorter and mostly curve.
I can't do shorter but I can reduce the amount of flat section.
Oh well it was a good proof of concept. Might trim down the flat section already tacked a big too to make the whole thing a little sleeker looking.
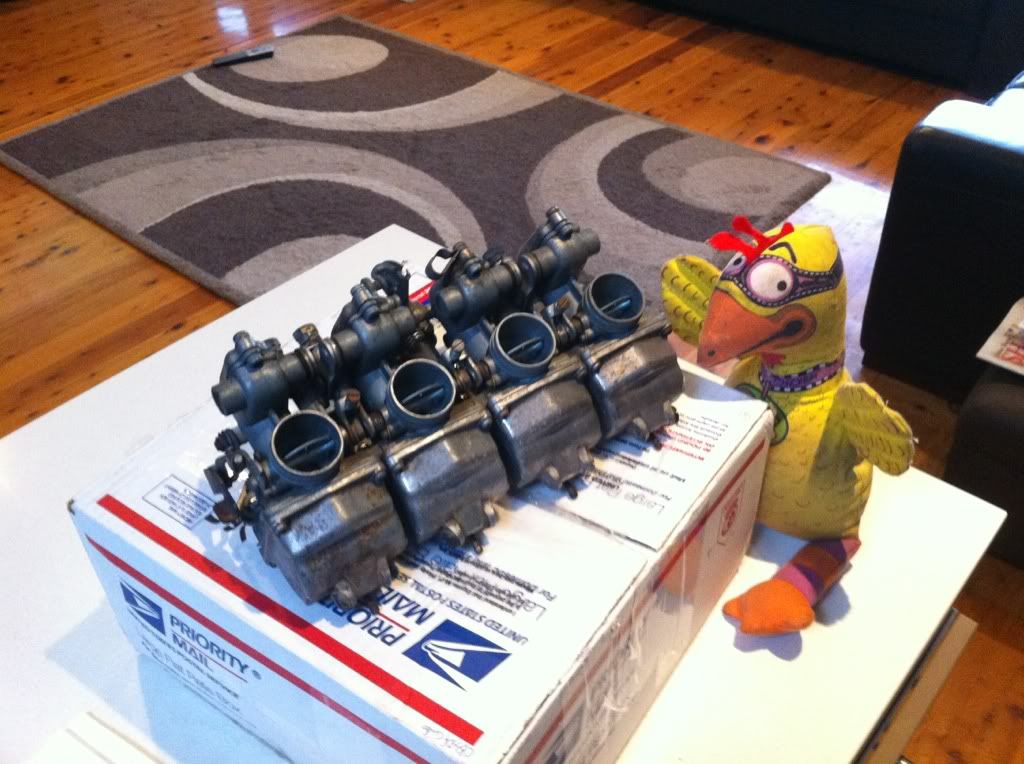
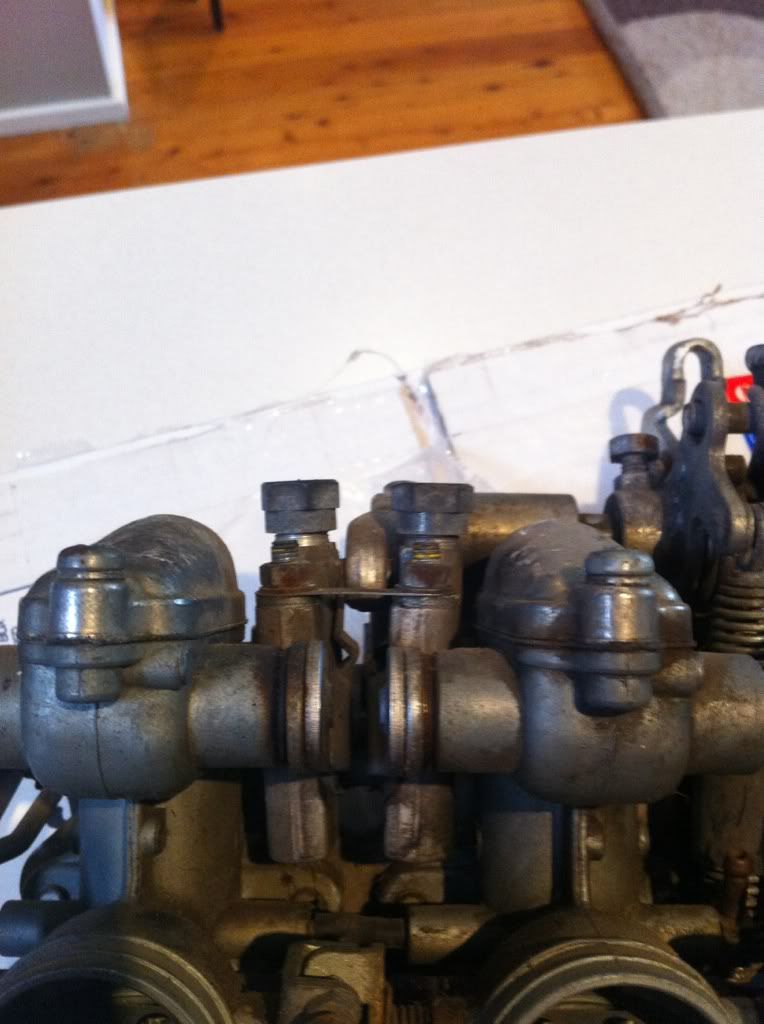
Going to be stripping them and replacing worn out parts. They look great on the outside, needle and slide action is smooth, choke works well although some of the adjusters are a little "unstraight". The slide arms are a little wobbly though where they join the main body, is this normal? It's causing them to not be 100% straight:
Anyone got a good guide to refurbishing these things?
Those top caps should be tight.
They should have a springs and a couple of 'sockets' to fit the ball on the lever that lifts the slides
It's simple enough, as you will see when you take is apart
Got it, thanks PJ. These are a bit more involved than my KTM single carb. Is there any process to breaking them down or just start stripping and keep the parts seperate for each carb?
Also the 3 barbs in the middle I assume are the 2 air vents for each pair and also a single fuel line in. Do you know what size fuel/air line to us for each of these?
I would pull the brass cap nuts off first, seeing as how they are already loose
then start at one end and keep everything in separate baggies
1/4"bore fuel line should be fine, breather lines are 3mm or 4mm
Was pretty easy in the end. Figured out how it goes together and managed to get the rear frame off as well as each carb apart. Checked each float bowl and its not too bad inside each one, bit of corrosion on each of the main jet tower (or whatever its called) and also a bit on the float pin towers but nothing that looks like its going to break soon.
I am stripping the carbs for vapour blasting, is it best to leave the carbs whole or literally take everything off and have each component vapour blasted (like all the levers etc)?
Also looking for a needle/jet kit as well as a rebuild kit. Saw a Sigma kit on eBay, anyone got reports on this? I need to jet it appropriately for the 466 kit as the carbs are originally off a 350F, so I plan on changing out everything.
No problem, they appear in really good condition however the fit into the carb bosy is not that tight, should it be? Any where I can get replacement orings for the fuel tubes or do they come in the rebuild kits?
#1 there is no guarantee that the o-rings that come in kits are as fuel resistant as the OEM material ones.
#2 Don't throw out the old old o-rings.You may be able to match them up with ones from a specialist automotive supplier of o-rings or a carb service shop..........
The needles and gaskets that come in aftermarket kits may be O.K.
Honda might still be able to supply those o-rings new.If you go to CMSNL and look at the parts book it may list the o-ring size if Y have to seek another source.
I've always found the fuel supply tubes and o-rings are a bit wobbly and loose in the carb body.Spooks me,but they seem to never leak in my experience.
Big blow today. Been saving my pennies to buy my rims/spokes, got a quote from Buchanans at $800, the most expensive parts on the bike but worth the dosh.
Popped my cases into a local shop to have the snapped stud removed and 2 others that wouldn't budge. They were much tougher than expected and had to be drilled and timeserted... The pain was a whopping $300!
Looks like the wheel buying has been pushed back a few months. Whaaaaaaaaaaaa
I always used Richards Brothers, but they only seem to do complete wheels nowadays
Central wheel doesn't seem to be any cheaper than Buchanan's for components (although the 20% VAT bumps the price severely)
It would be about $8~$10 cheaper for unpolished stainless, polished, more expensive than Buchanans
Yeah, way steep! With all the labor you're putting in this bike, just DIY the wheels. Buy the spokes new and find the rims used. They're out there. Should get it for half, at least.
Don't be afraid to lace and true wheels. The fear is not having done it. Once you do it, it's not that bad. I think there are more difficult tasks in bike building than lacing and truing wheels.
This site uses cookies to help personalise content, tailor your experience and to keep you logged in if you register.
By continuing to use this site, you are consenting to our use of cookies.