Follow along with the video below to see how to install our site as a web app on your home screen.
Note: This feature currently requires accessing the site using the built-in Safari browser.
We noticed you are blocking ads. DO THE TON only works with community supporters. Most are active members of the site with small businesses. Please consider disabling your ad blocking tool and checking out the businesses that help keep our site up and free.
Stock tanks have just single bead holding pipe in, some are soldered in (I found out when welding on a Suzuki tank ;D )
Some have a brace on standpipe for reserve (just a thin piece of sheet to inside of tank to prevent flexing)
You can fit pipes before doing sides
Got it. There a few Alu barbs on eBay with a large base, seem perfect for drilling a hole and welding/brazing around the hole. What do you think? Should be easy to position with the sides off. These:
You could have used copper or brass plumbing /fish tank fittings or just plain tube and 'swaged' the end (copper would be easiest, just soften and use a ball bearing to open up end)
Your going to need a standpipe for the 'normal' feed line (about 1-1/5"~2" tall sticking up inside tank)
The 'flush' fitting will then be reserve
Got it, thanks PJ, was going to braze in an extension inside the tank with a cross brace inside to stop flex. Might do that with 6mm copper pipe if I can find it.
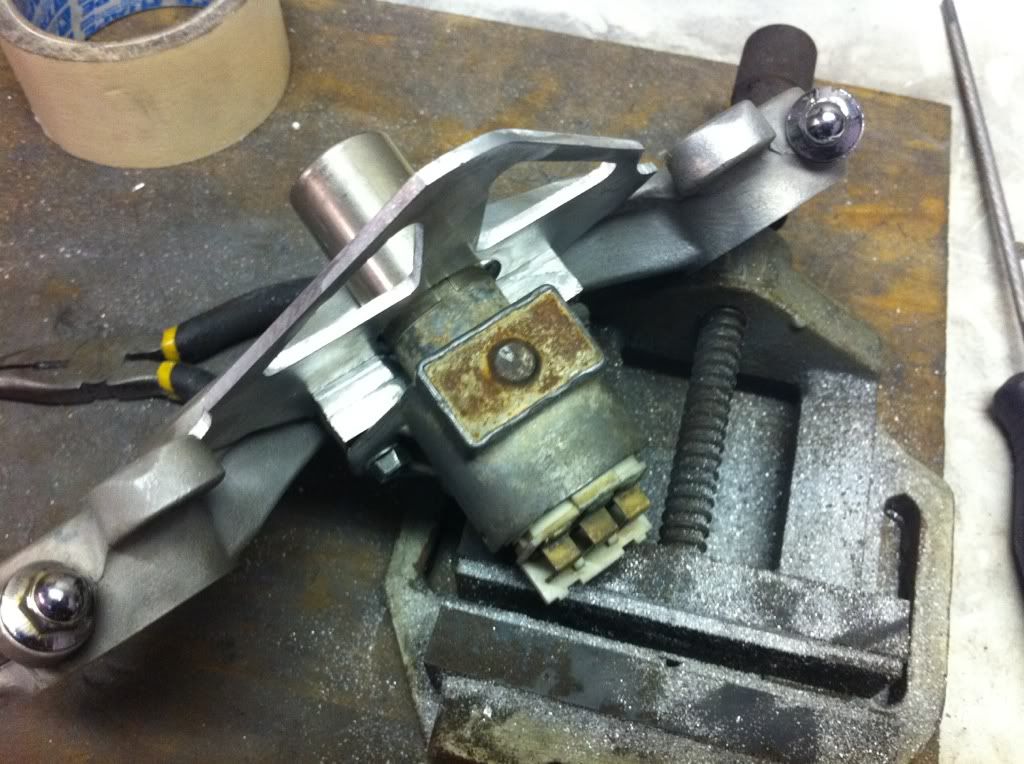
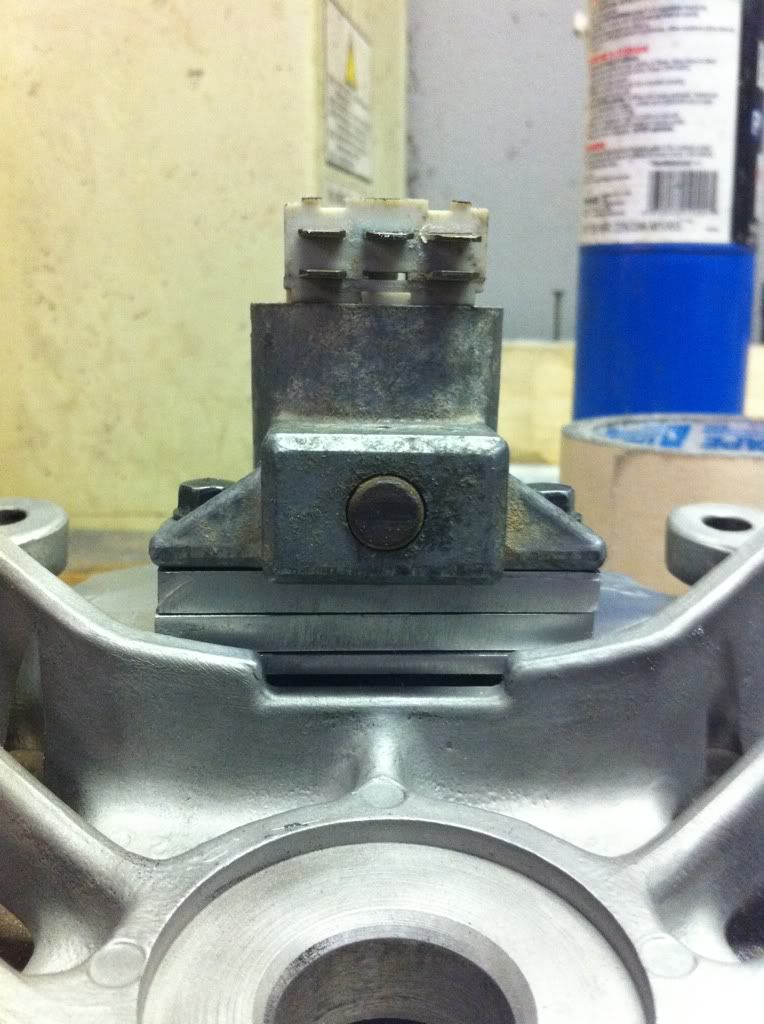
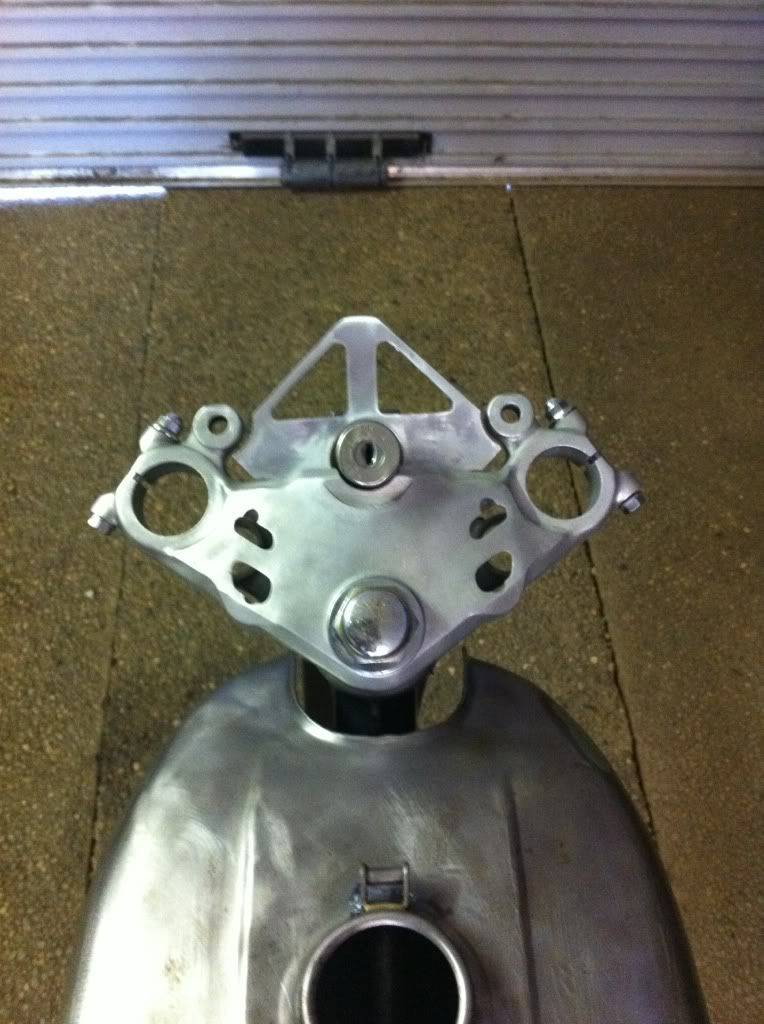
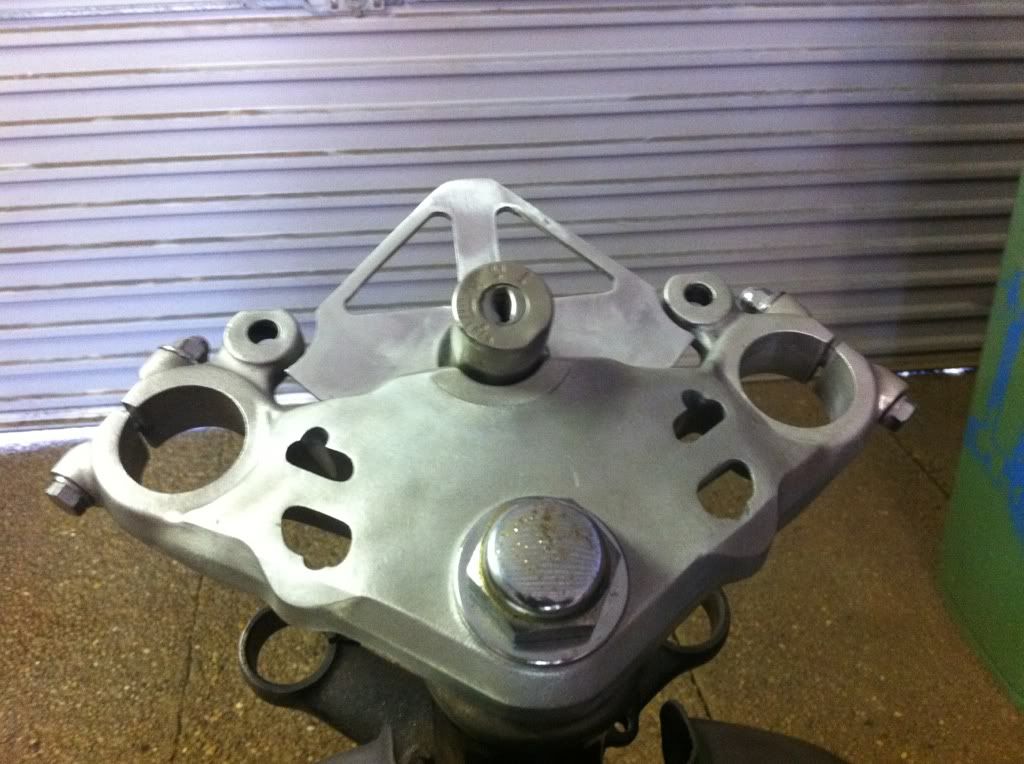
General malarkey today. Fabricated up some spacers for the ignition so it's not so tall above the triple, also created a plate for mounting the ignition and starter buttons. The single dial will be mounted on the strip in the middle:
Not sure I like the holes. I might redo it at some point.
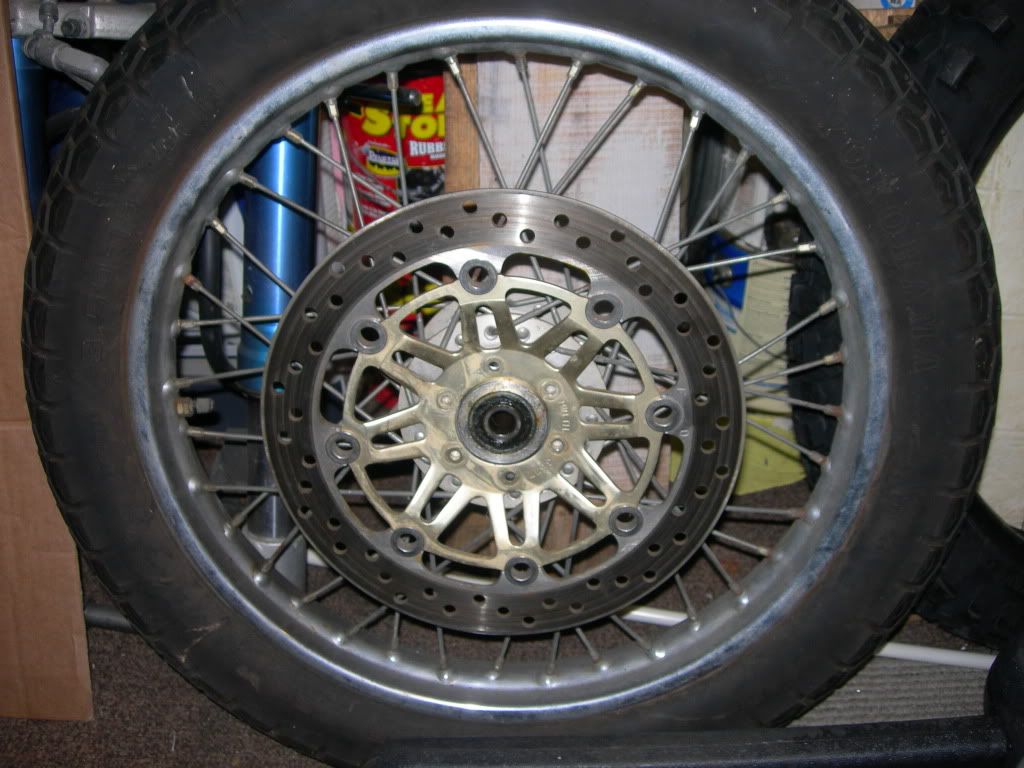
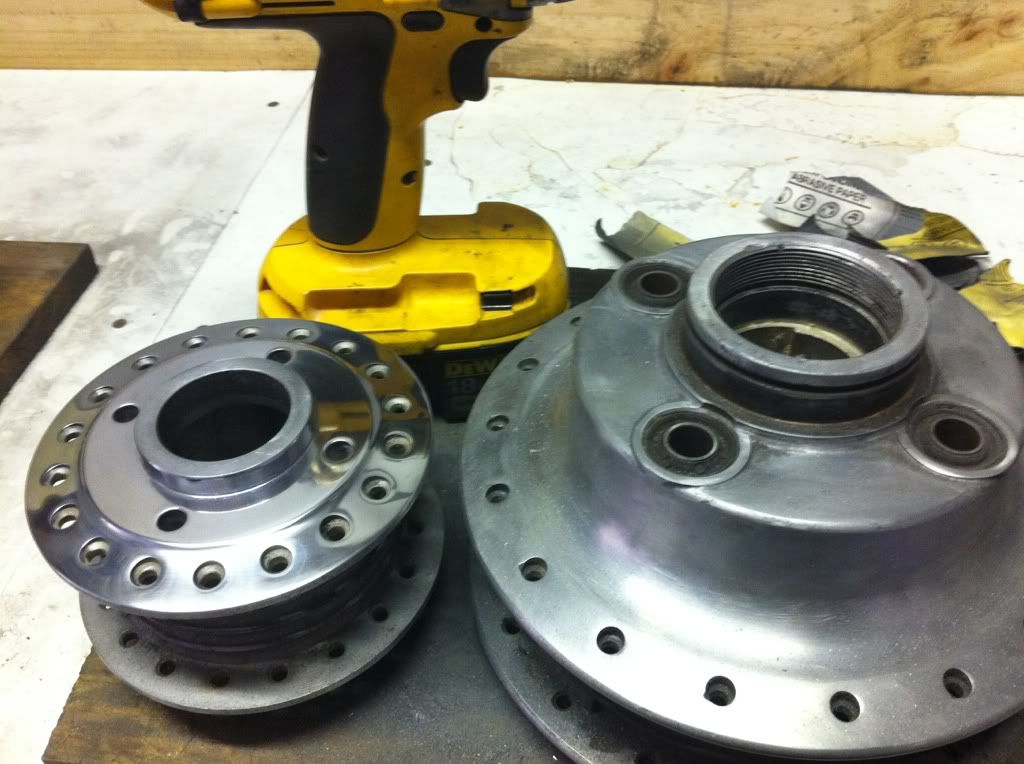
Also sanded and polished the outsides of the front hub ready for turning the ridges and new spokes and rims:
I am toying with the idea of getting rid of the ignition, anyone suggest otherwise?
I like the position but it's too bloody tall even with my spacers. I like the fact it keeps the steering lock though.
Been on holiday for past 2 weeks and bought a few goodies:
1. Oil pan (my drain hole is damaged on old one with a bad repair)
2. Clutch cover (something punched through the old one, another dodgy repair)
3. Yet another oil pump (trying to make just 1 good one with decent rotors)
4. CBR F3 front calipers
Got plans to scrap the old caliper as mine is rusted solid and a replacement is mega $$$. Plan to see if I can fab up some carriers, go dual disc with trailing modern calipers and modern discs all for less than the cost of buying a replacement CB caliper front. Watch this space...
Nah, stubbornly pursuing my own creation much to Swivel's annoyance
Actually thinking about stretching the tank too, making the seat a little shorter, either in the seat or hump area (a more compact look).
Saw a video of Lossa Engineering stretching a tank by welding in rods in each corner and filling in with sheet metal. I think an extra 1" - 2" on my tank would make all the difference but not sure if it's waaaaaaaaaaay beyond what I can realistically achieve.
So the build is not really moving forward, roadblock is trying to save for my spokes and rims
I need to make sure I don't chew through the cash I have saved for the wheels but I am changing the way I am approaching this build from now on.
New plan is to do the best job possible rather than going top of the line on everything. This means I will be painting a few pieces myself instead of powdercoating. Was going to spray my triples with the black VHT paint I bought and bake them in the oven, will that work?
Also planning on fixing the bike from the front back so that I finish sections rather than going all over the place. Hope to get things finished to keep the momentum going.
So 2 questions:
1. Will VHT work on the upper and lower triples? Do I need to mask off the inner fork surfaces?
2. Buying fork seals and dust boots. There are 2 types of dust boot on eBay, standard and fork seal type. Not sure which to get and what would look better too. Leaning towards the stock type. Anyone got any thoughts?
Deciding not to stretch the tank for the moment too. Bit too much work.
VHT will work but you'll probably end up divorced if you use house oven ;D
Mask where axle/clamp fits and the top where seal is going, it's easier than trying to clean of later
Personally, I like the inset type when they are available but they may not look right when forks are designed for the 'fit over' boots
VHT will work but you'll probably end up divorced if you use house oven ;D
Mask where axle/clamp fits and the top where seal is going, it's easier than trying to clean of later
How much will it smoke, how long will it take me to get rid of the smell?
Can you explain the masking bit, cannot work out which bits you are refering to. I was going to simply mask off the steering stem and paint the rest (even inside surfaces where fork legs go), let me know if I have this wrong.
2mm I think PJ, I measured the 400F at 56mm and ther F3 disc at 58mm. How easy is that to do? I was thinking it could be turned on a lathe but not sure if you can get material down to 1mm.
Just measured my hub at 55.99mm & rotor ID 58.10mm
56 & 58 would give a nice fit
Spacers are easy enough, need a tiny lip to fit into chamfer on inside of rotor so they cant fall off.
Get a piece of bar, bore and part off to length.
Only needs about 5mm (didn't measure carrier thickness : )
I would use 6061 (it's easy to machine and doesn't rust )
This site uses cookies to help personalise content, tailor your experience and to keep you logged in if you register.
By continuing to use this site, you are consenting to our use of cookies.

")