Of course I took the time to do a bit more on the bike today. First up was to strip the forks so that I could give them a good clean, check the internals and fill them with fresh oil.
A trip to the local bike shop for some 5w fork oil and a trip to the local hardware store for a BIG adjustable spanner as my 32mm socket wouldn't fit over the preload adjuster.
Bought a great video a few weeks ago which detailed stripping the forks so I knew exactly what to do, however I've stripped a tonne of dirtbike forks in my time so didn't think it would be a challenge.
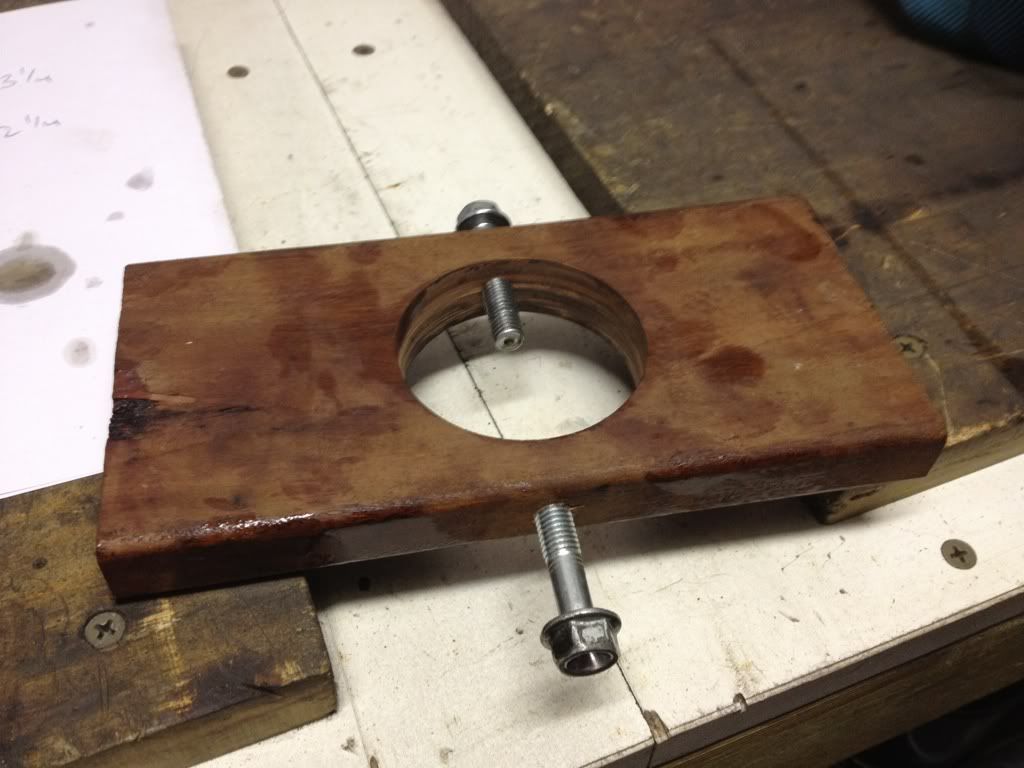
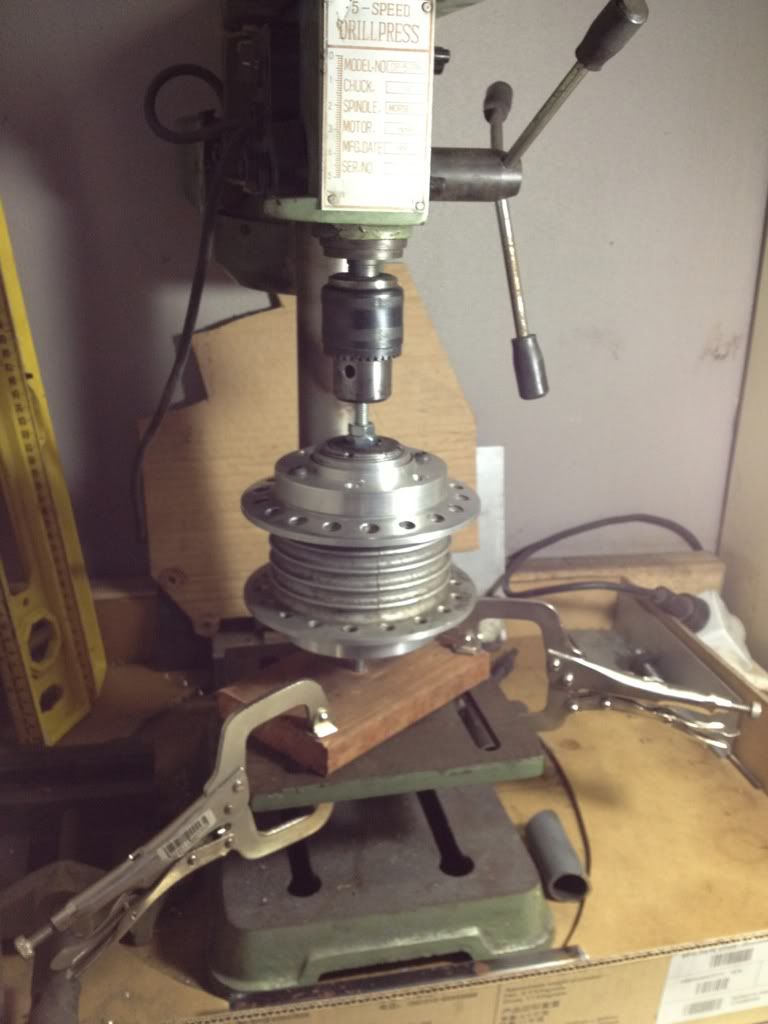
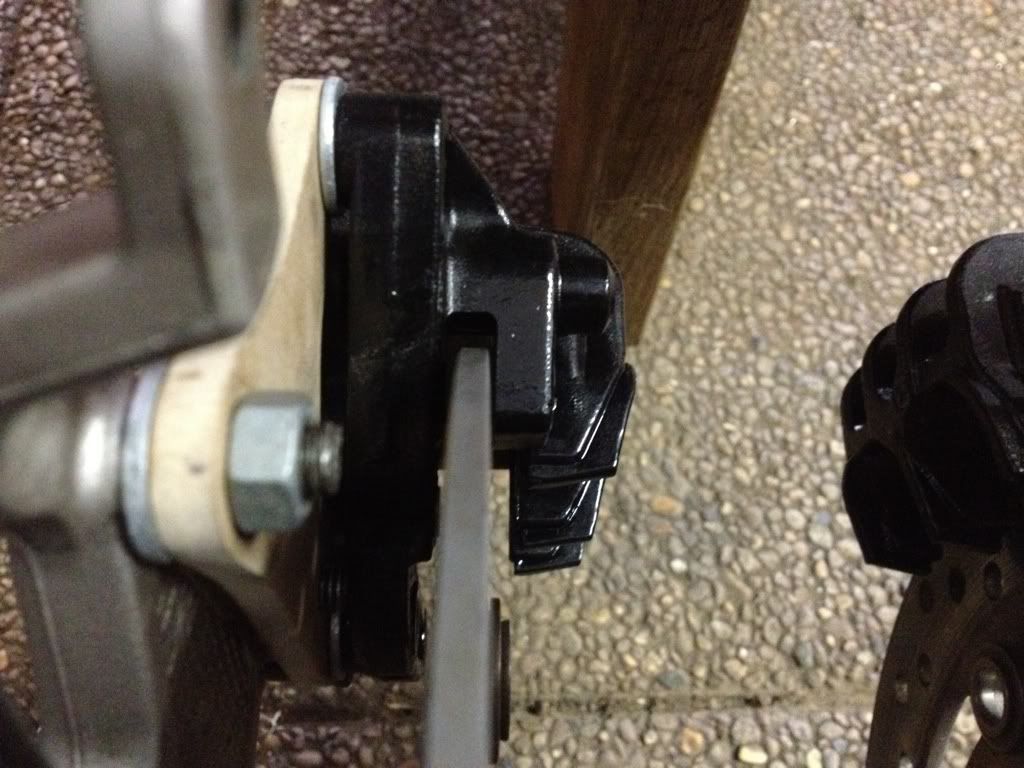
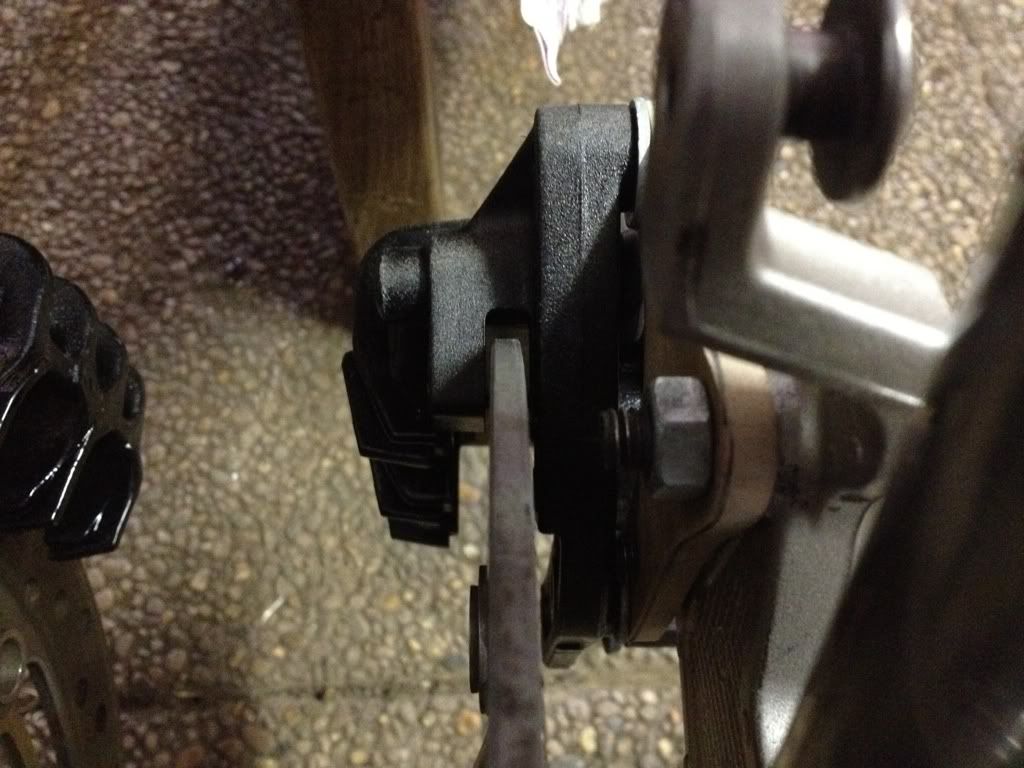
All went well, drained some filthy oil and had a crack at compressing the spring by hand. Didn't work!!! So I made a fork spring compressor:
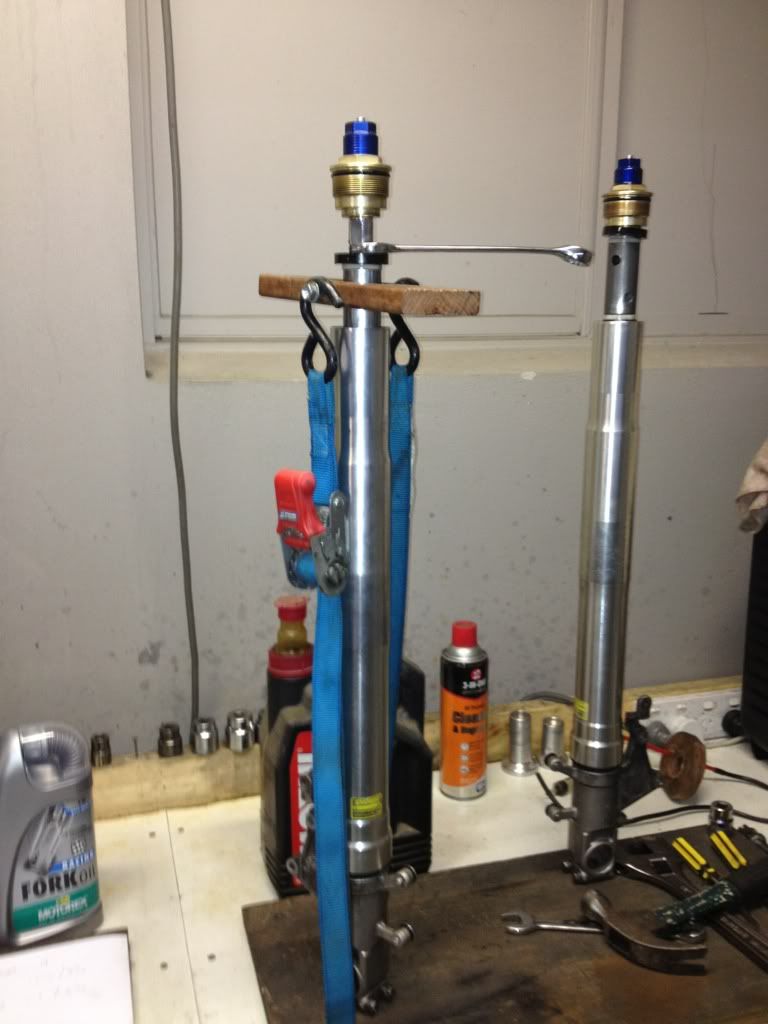
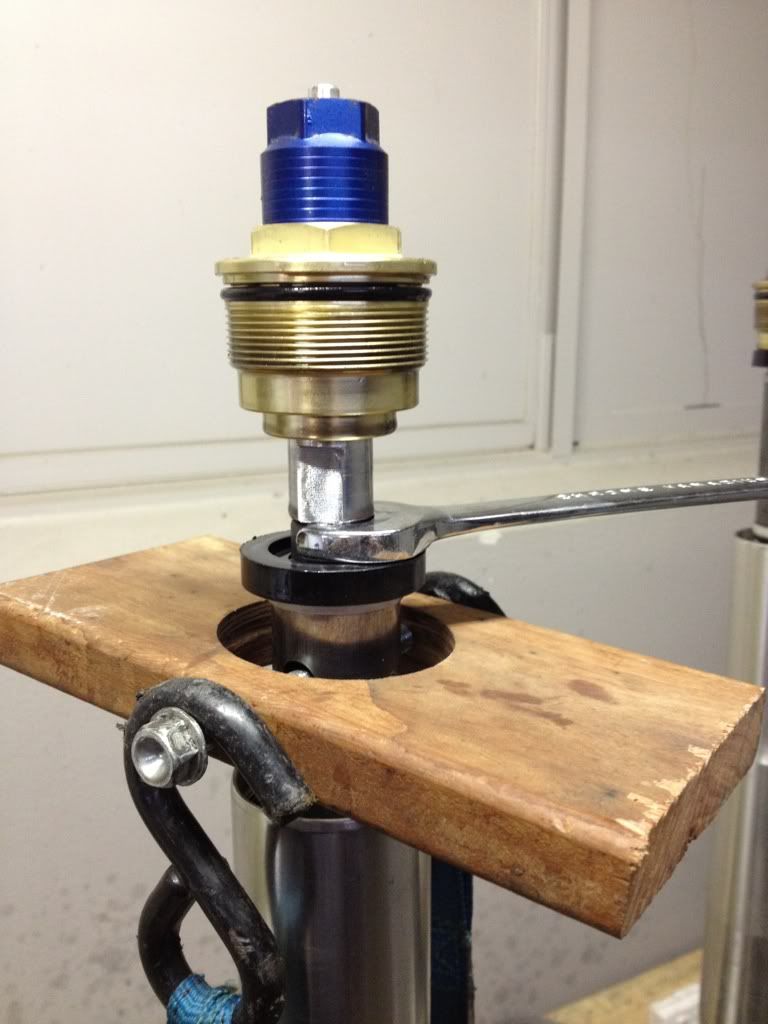
Here it is on the forks with the compressing attachment (a ratchet strap
")
):
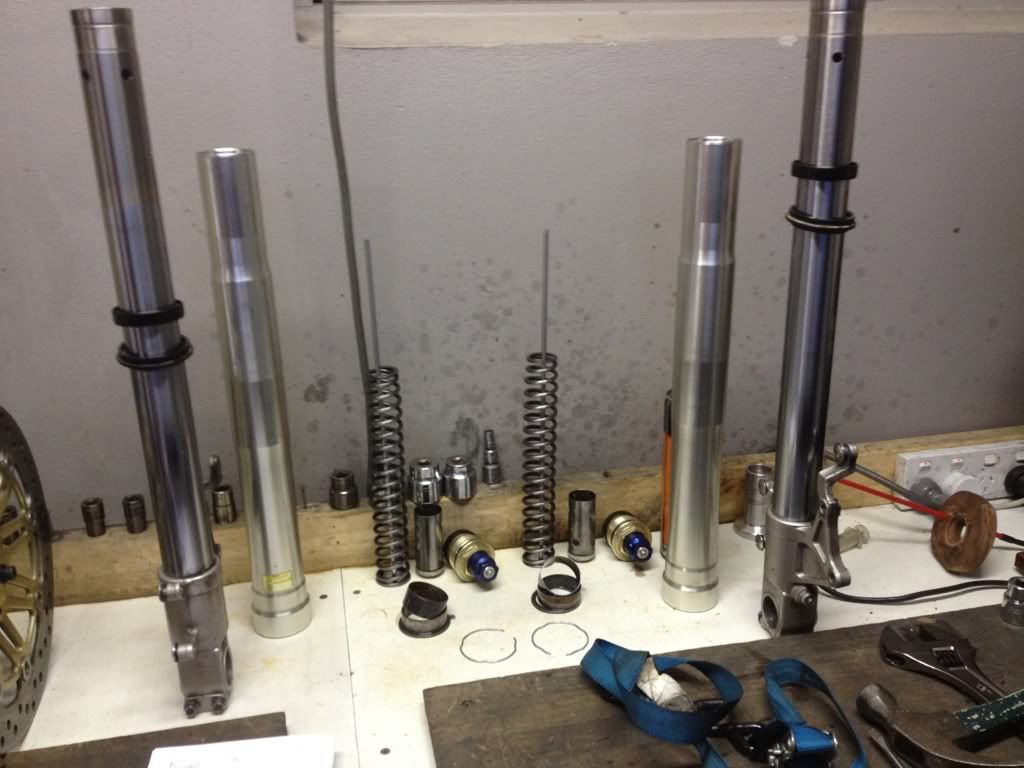
All apart:
Gave them a good scrub as there was plenty of grimy black stuff all over them. They came up really well, they were a bargain for only $240. Only a few scratches on the outer tubes which I can turn to the inside. After cleaning all the internals and polishing the legs with 1200 grit, I put them back together.
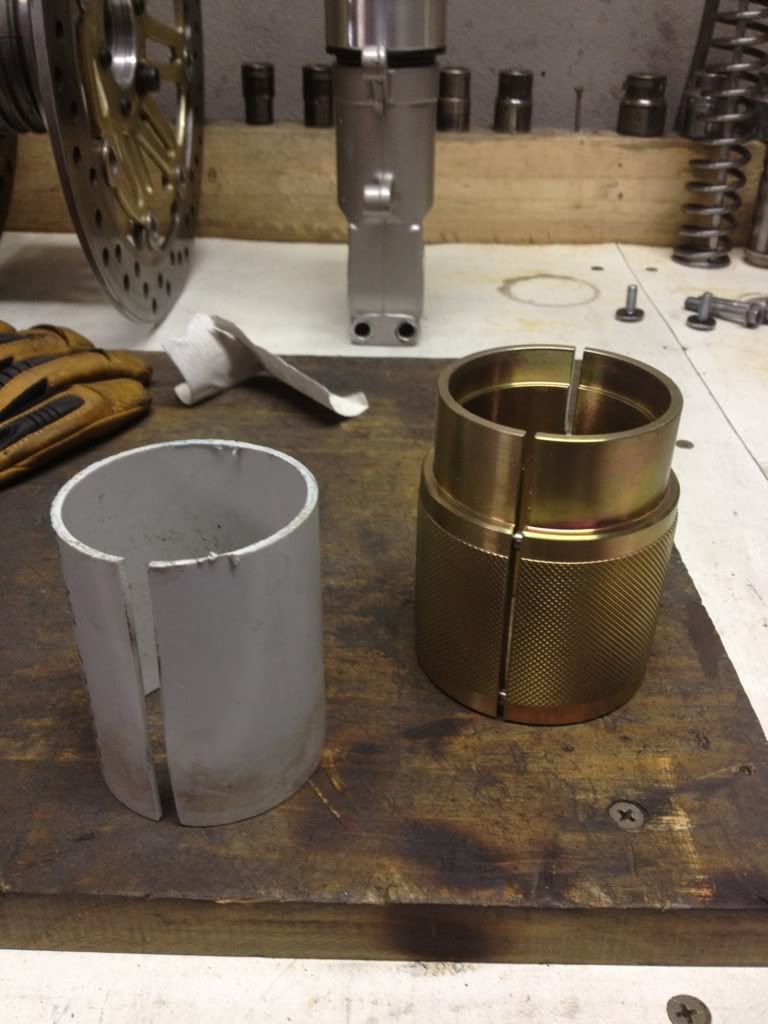
Turns out my fork seal driver for my dirtbikes doesn't fit, so I made one out of some water pipe:
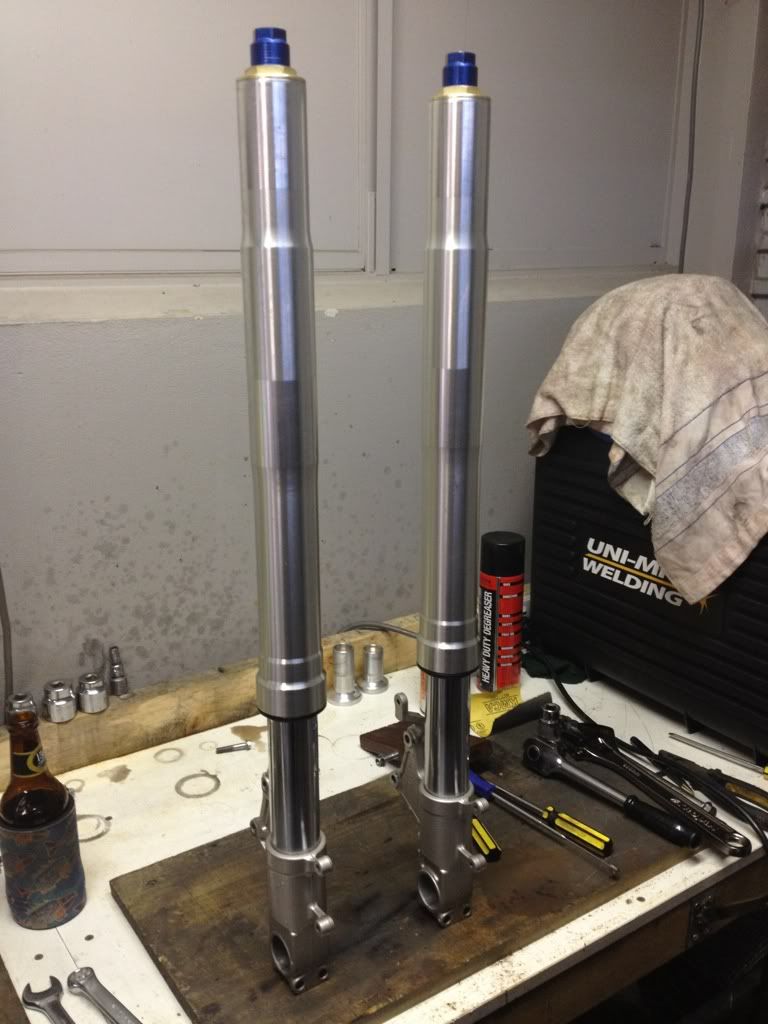
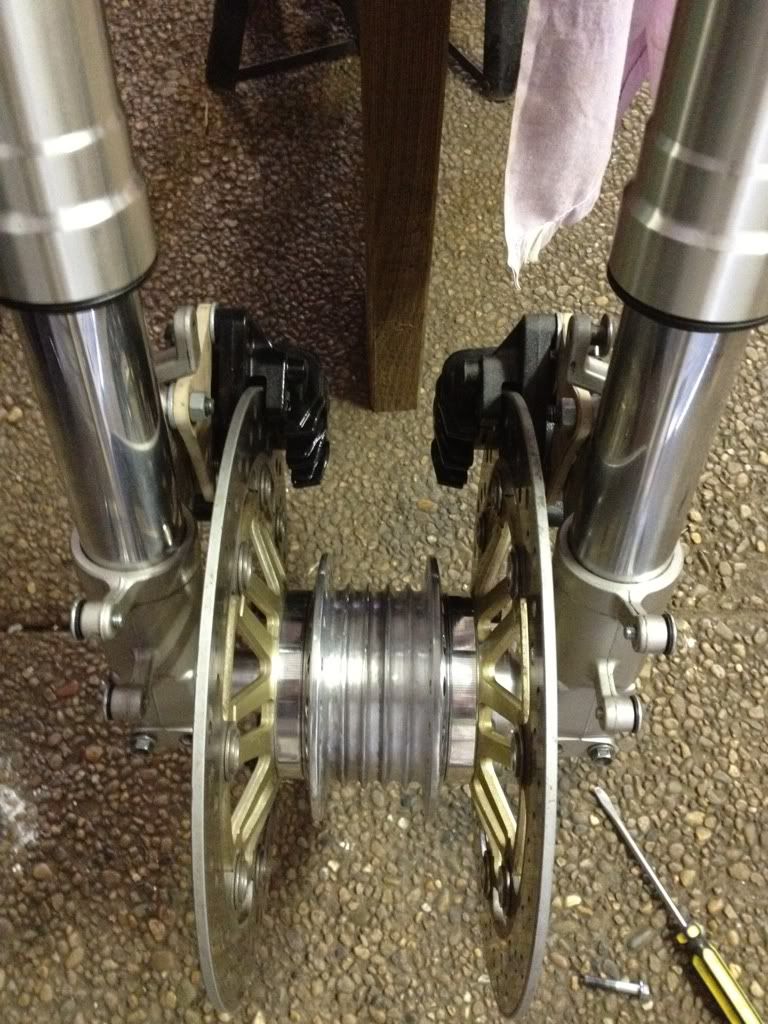
And all back together:
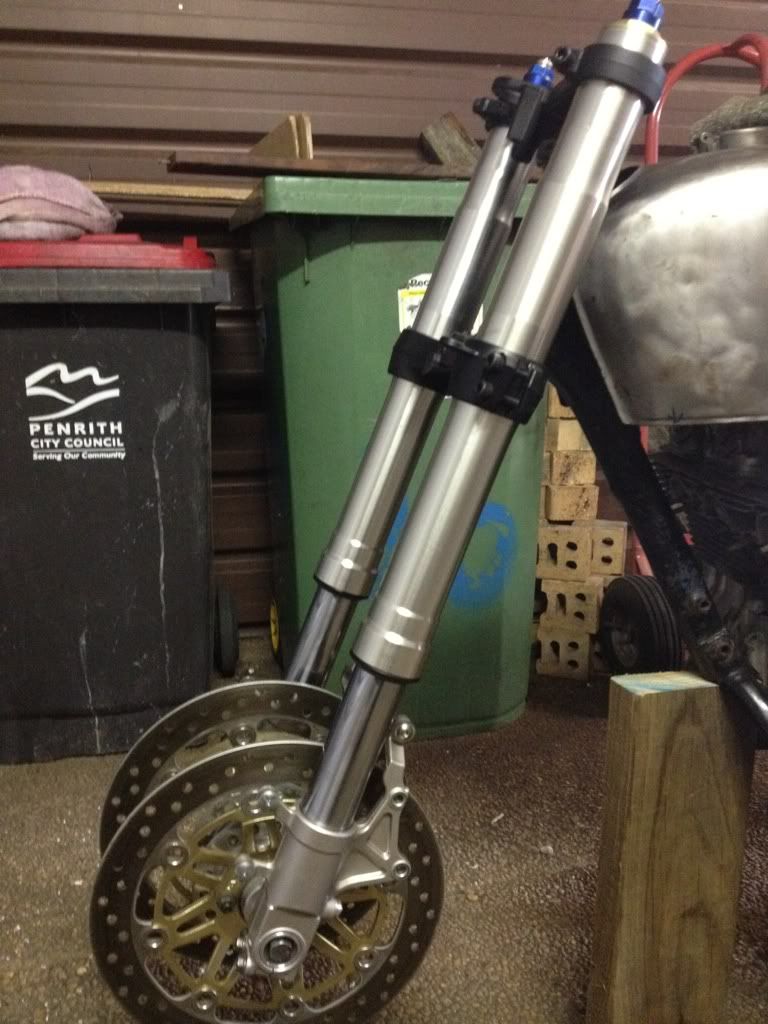
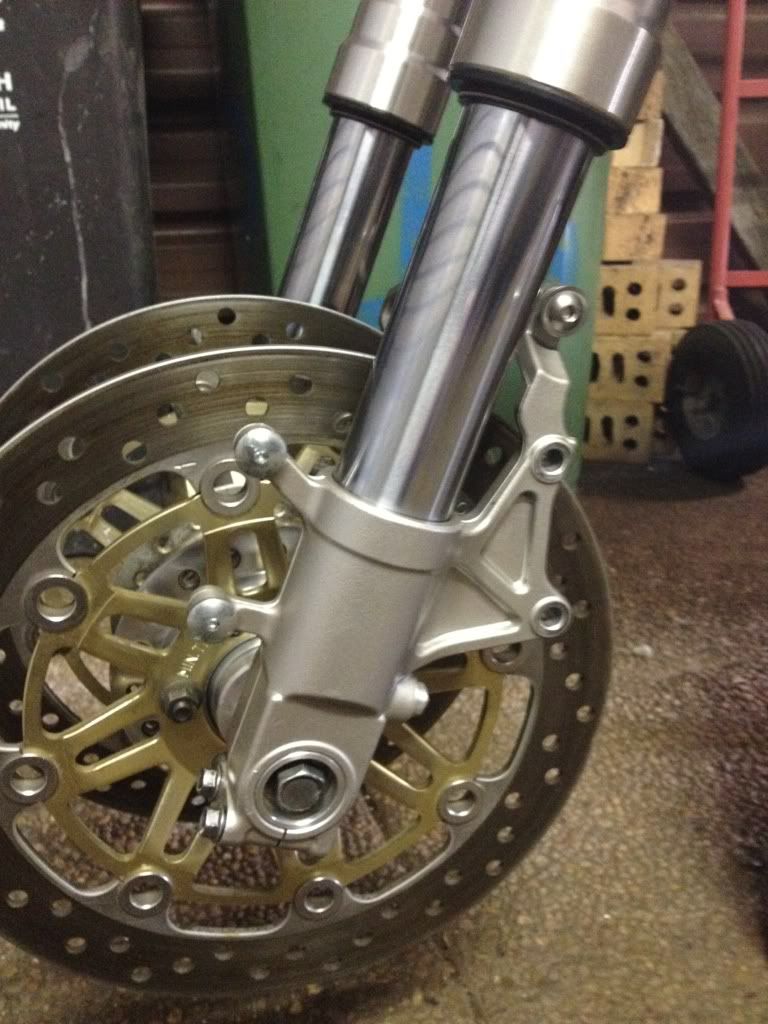
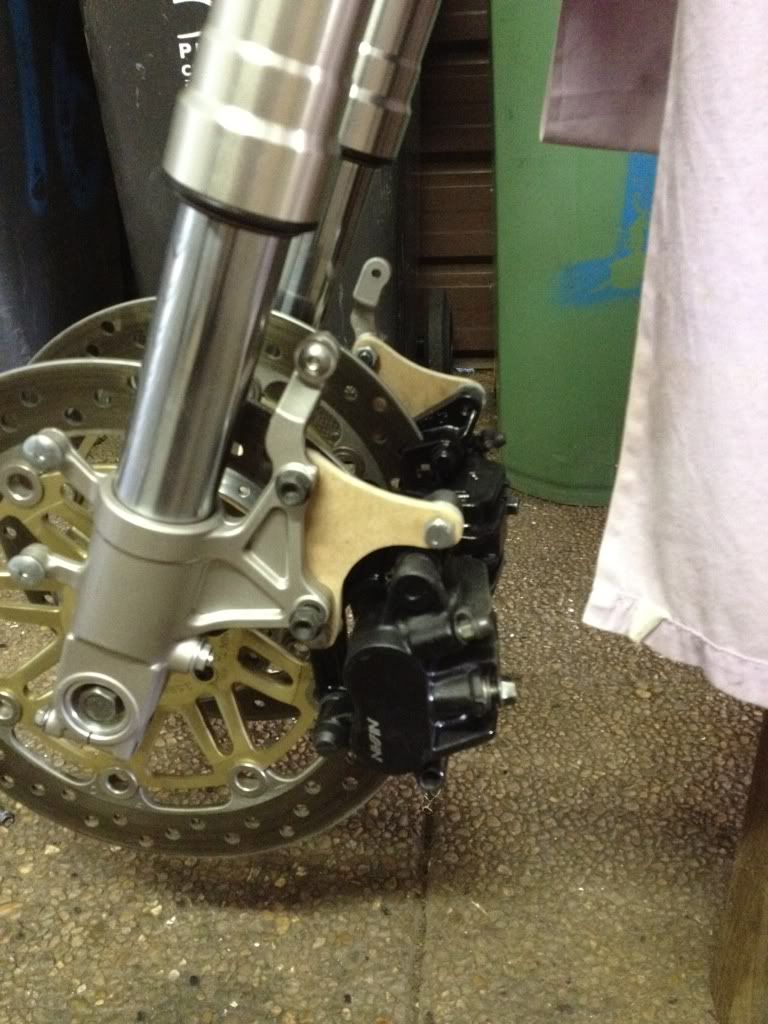
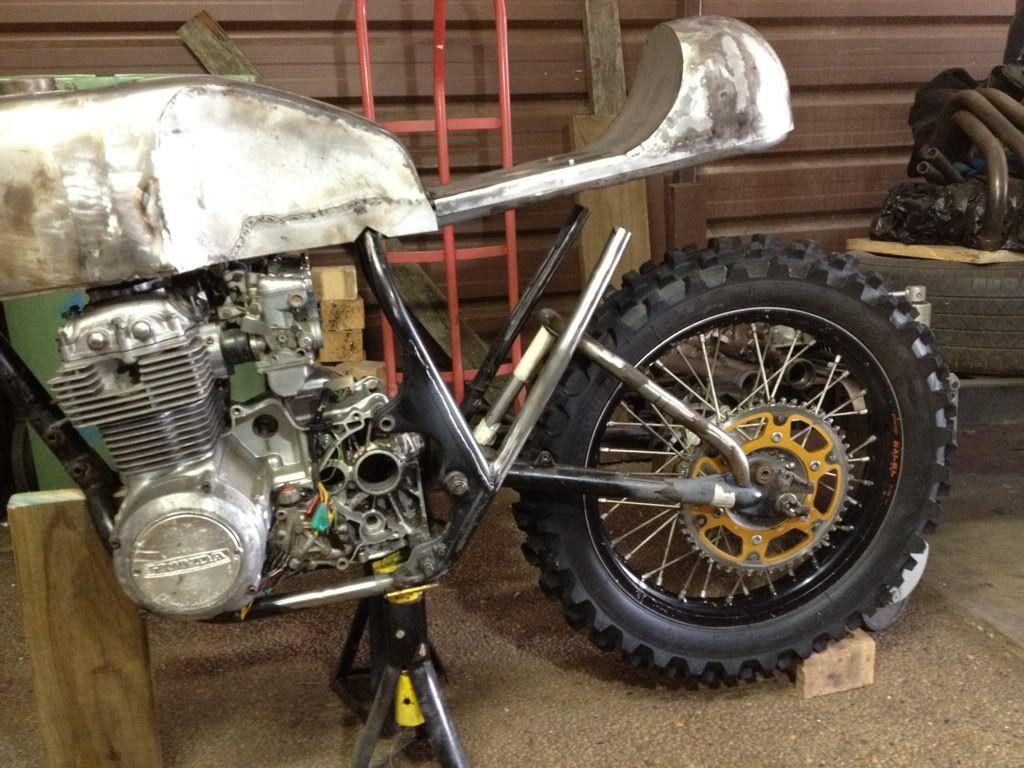
On the bike:
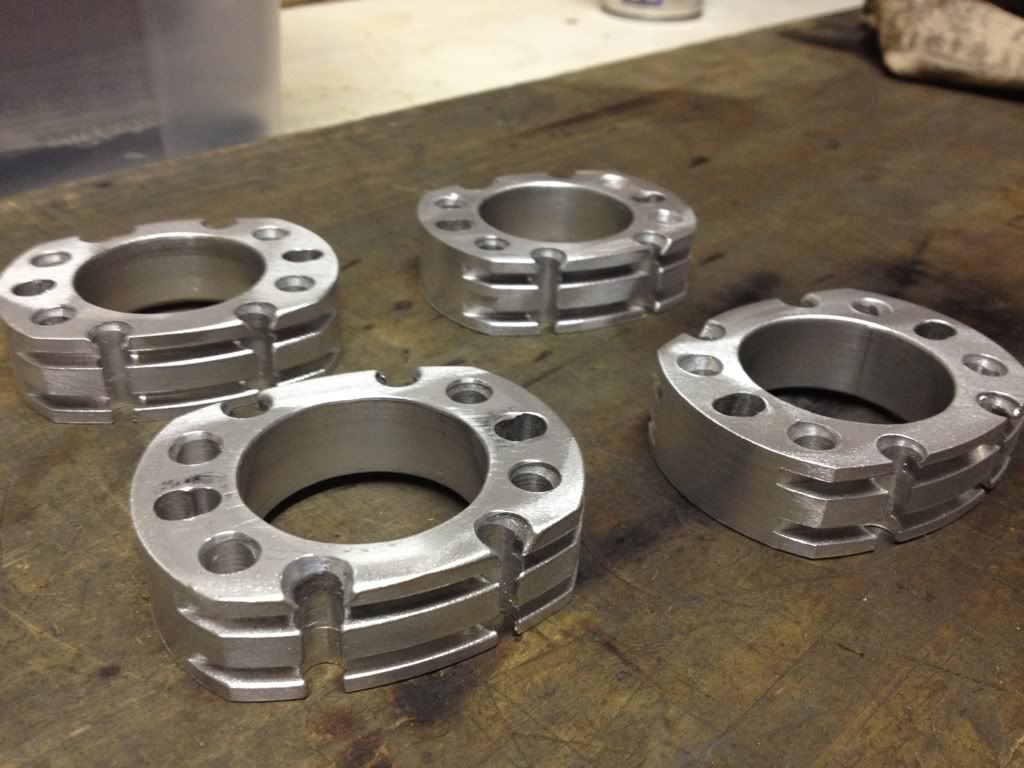
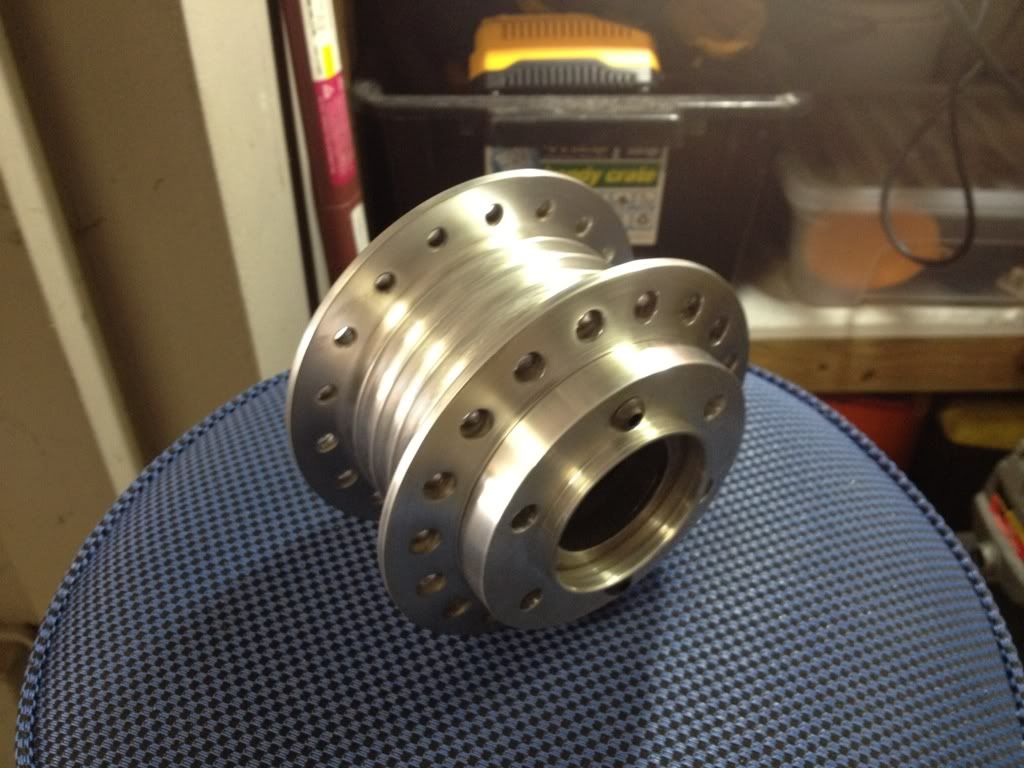
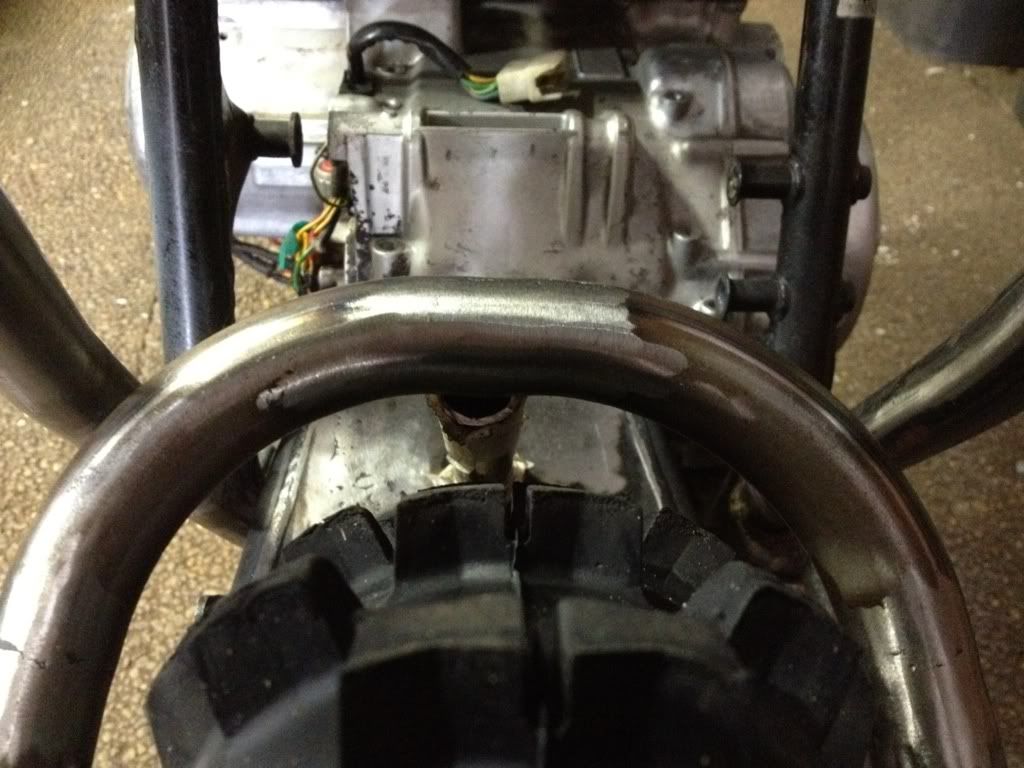
It was only 3pm so my attention turned to the exhaust collars PJ made for me, the plan was to gentle polish, not mirror because I'm too lazy for that and can't be arsed with the sanding, but a clean up and mild polish would make them a little more visually appealing.
Before:
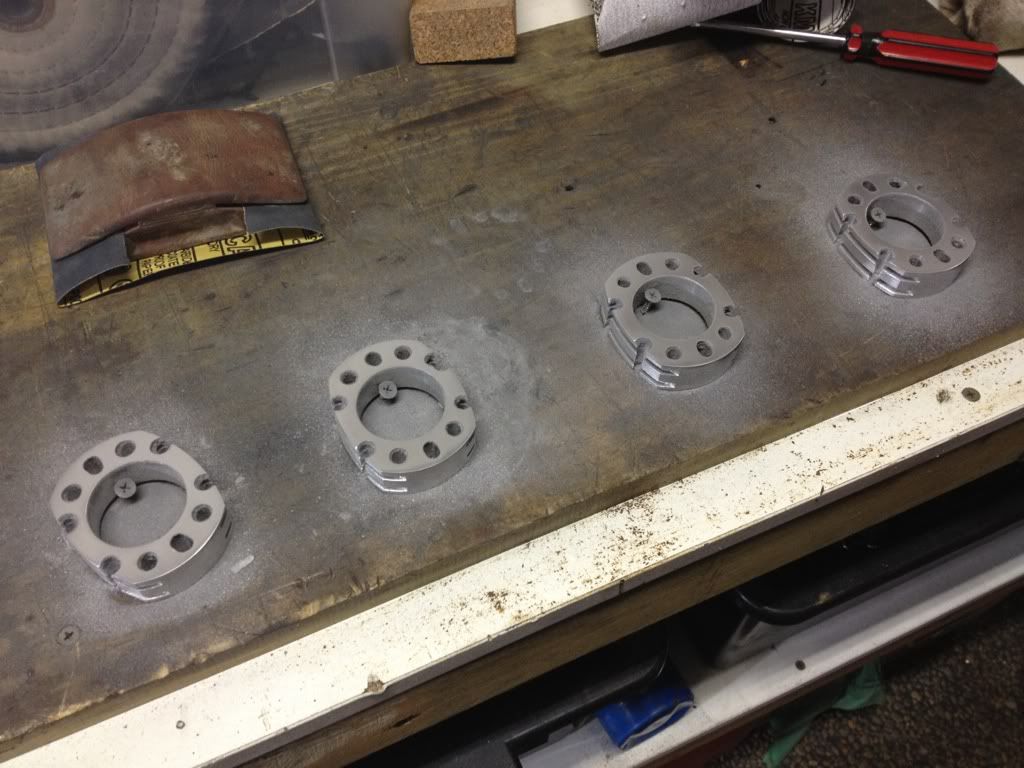
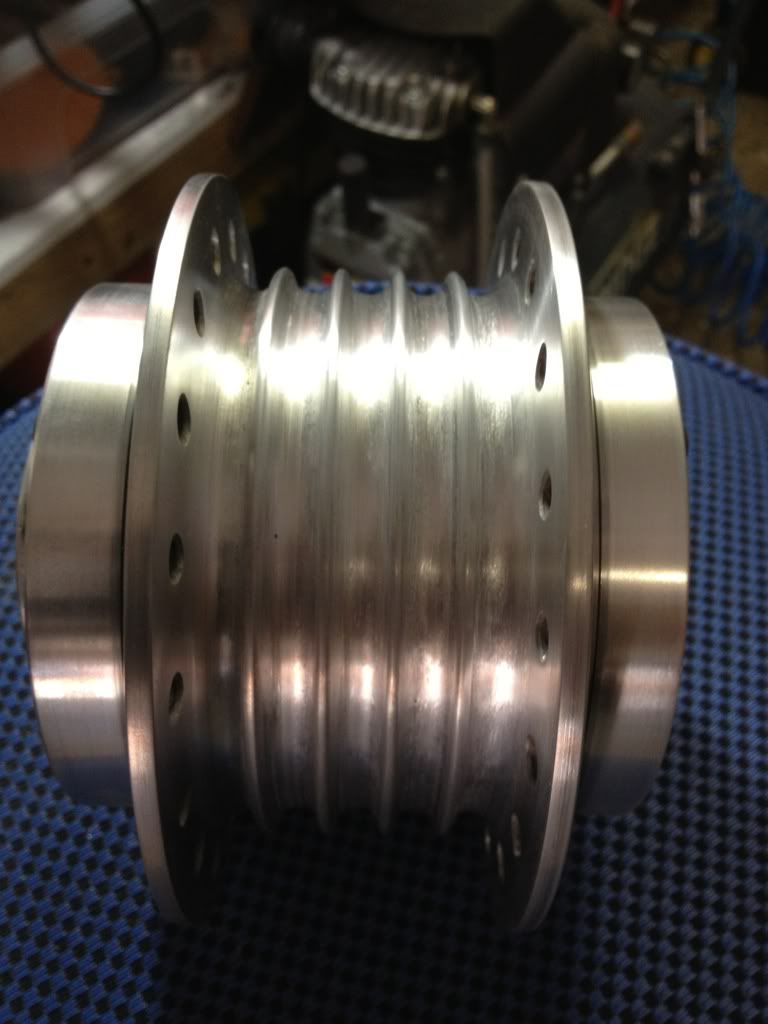
Screwed to the bench to make sanding easier:
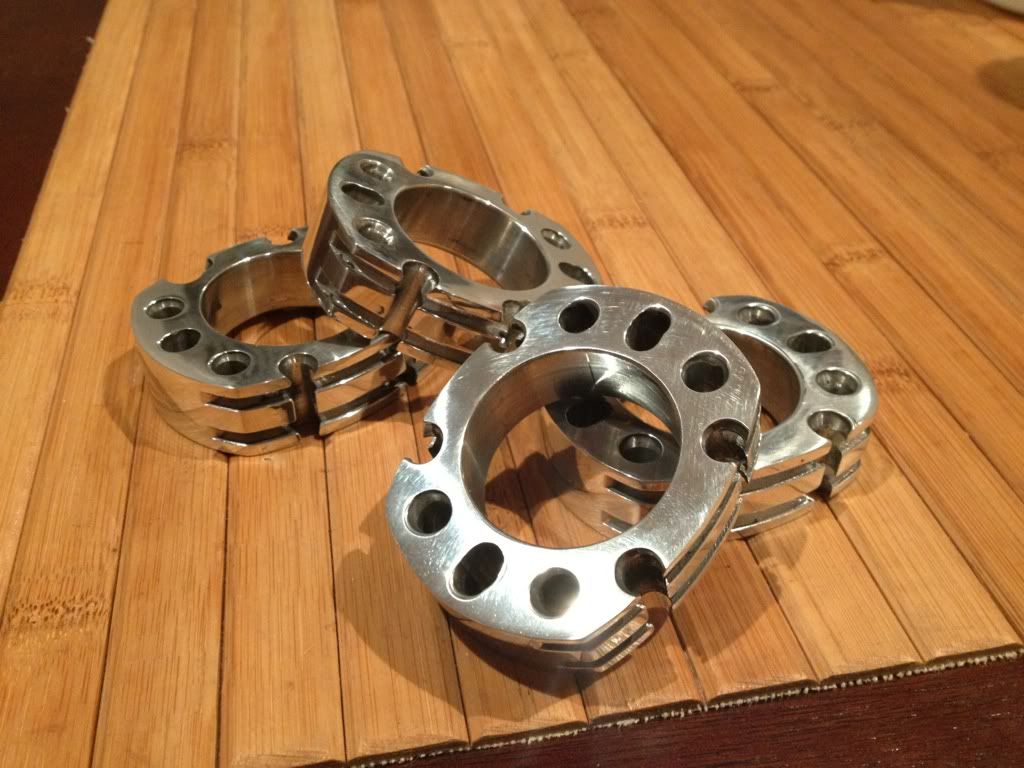
After some 160, 240, 360, 600, emery and tripoli: