another cookie cutter jap bobber

boisdarc

Active Member
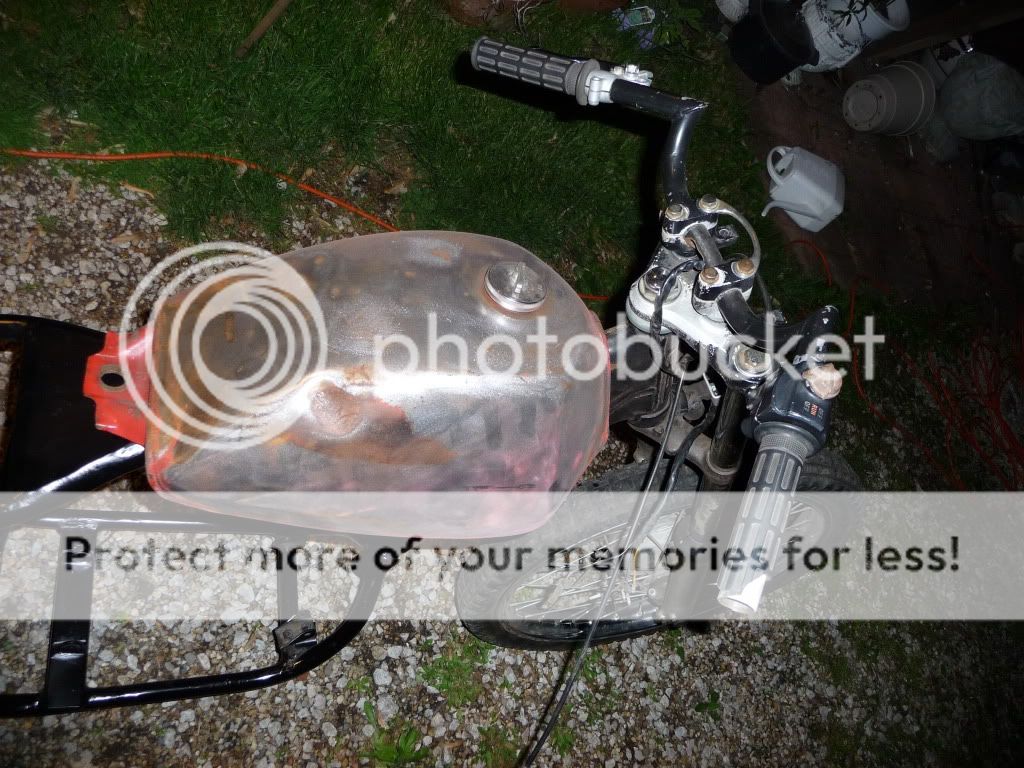
Thought I would start with "not" saying that this is a unique or one off cb360 bobber. It is a 74 honda cb60. I don't have much of a before pic, but most folks here know what they look like anyway. I think that most of the folks here also already know that cb360s are not really perfect candidates for hardtailing since; one -their bottom frame rails are at a different heights parallel to the ground(a pain in the neck), and two the back bone is not a single tube but instead a funky stamped and welded frame. A lot of the inspiration for this build I gangersted off the internet-I lurked on this site a lot longer than I have been a member-the jockey journal used to have jap bikes too, but they did away with that. Another thing, I would like to ask you to forgive me not posting everything at once. My bike is actually just about done-been working at it for a while now. I do not now or ever profess to be a frame building guru-welding guru-or frame geometry genius. If you see that I did something really jacked up, please don't be afraid to say "dude if you ride that-you will die". I'll deffinately take it under advisement.
P1030280.jpg

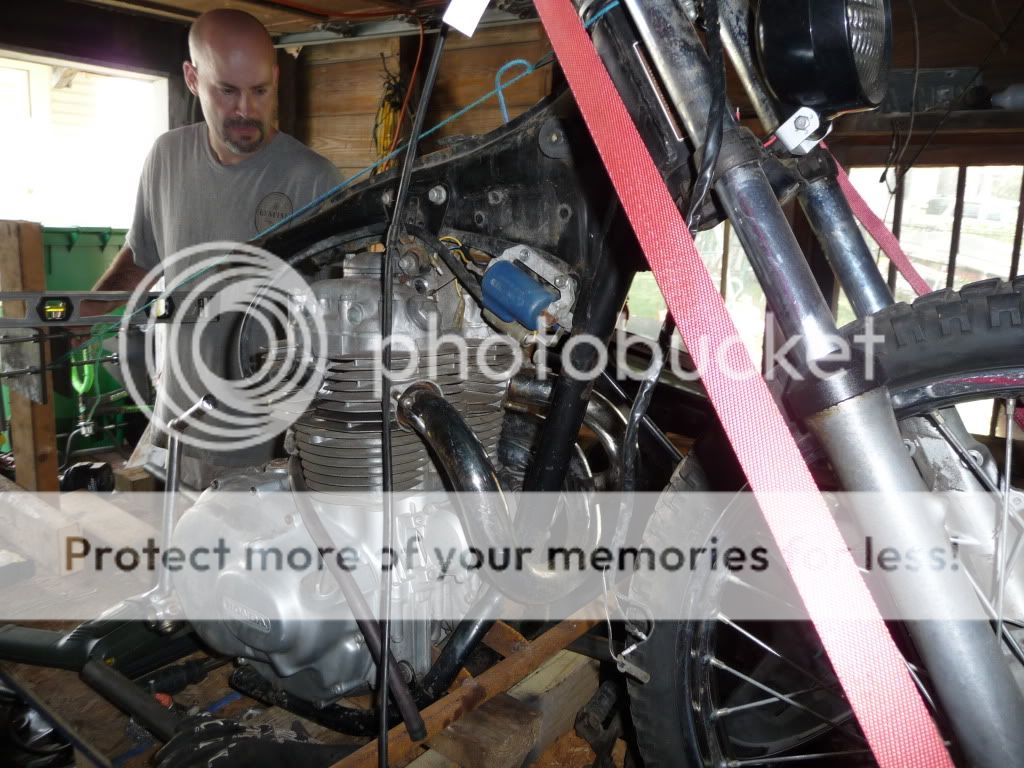
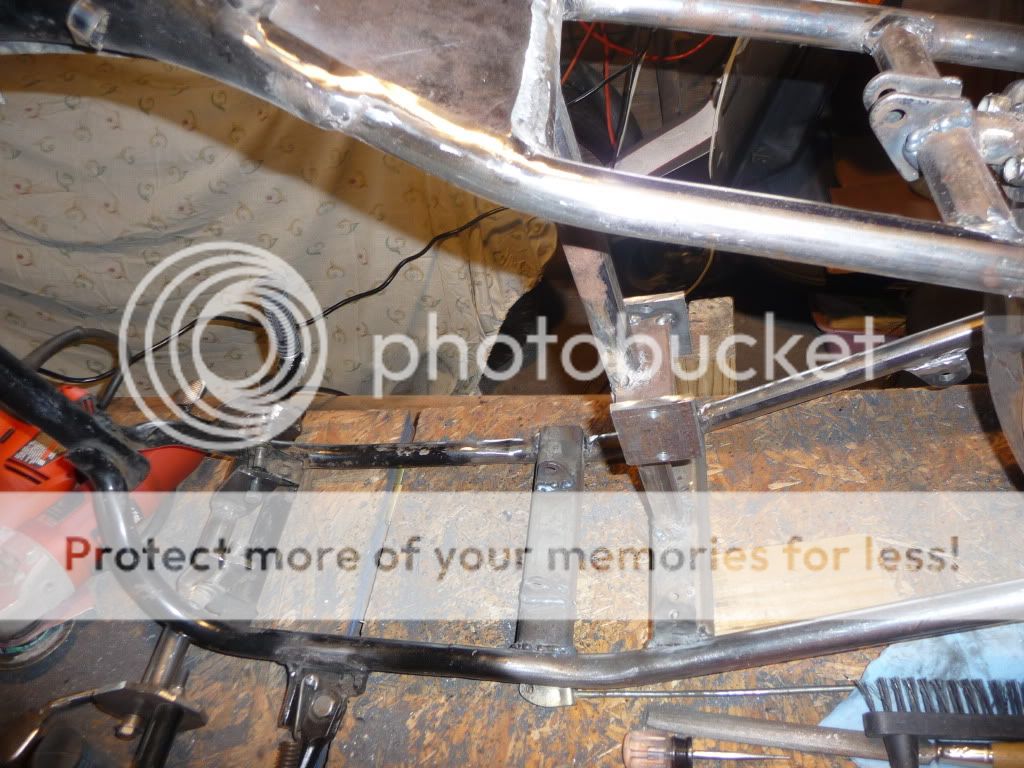
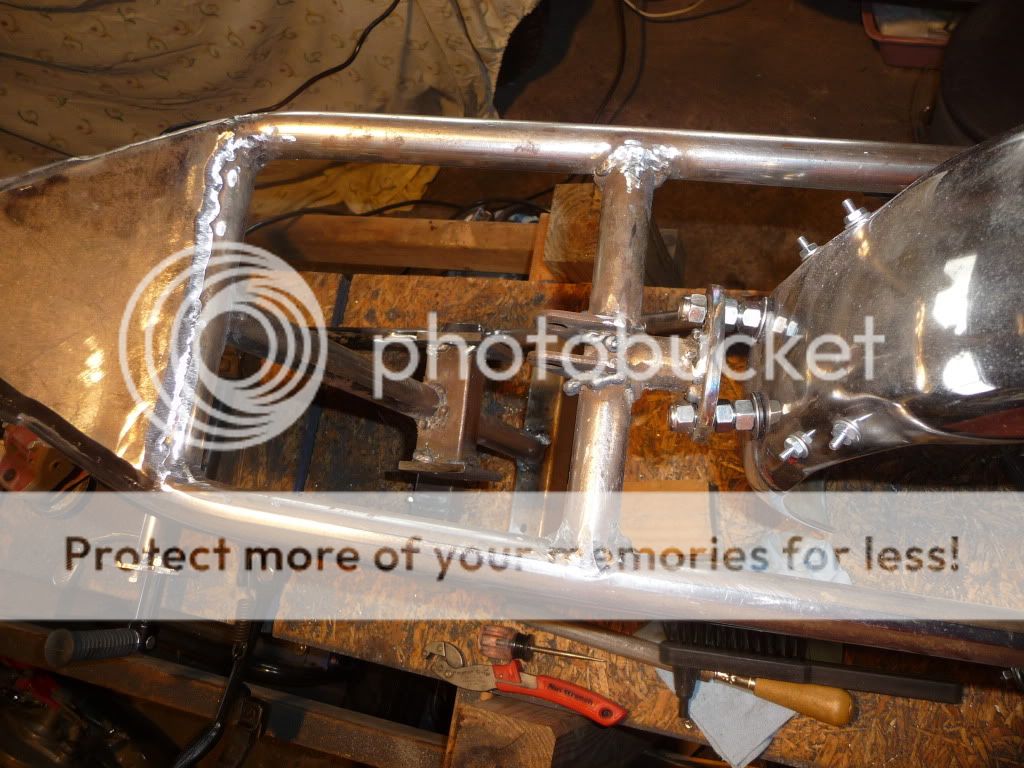
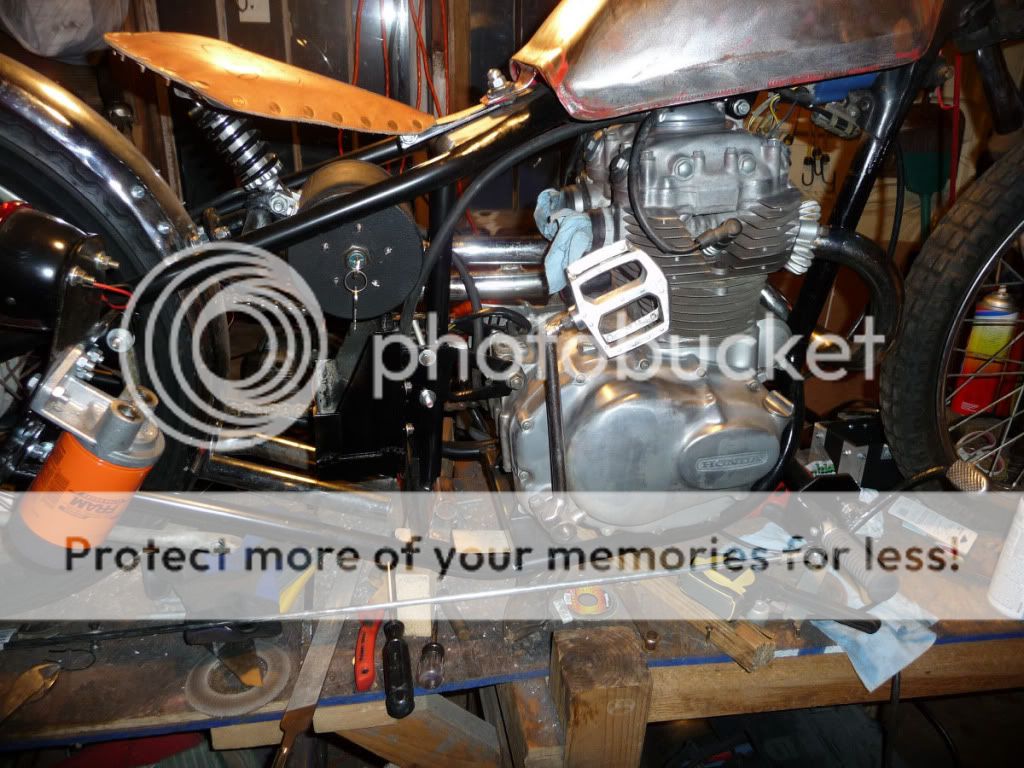
Ok, this is me the ugly bald guy trying to figure out what to do with a freshly chopped up frame. I built this bike work bench and screwed a rear frame jig fixture to it. I used allthread rods, nuts, and some steel plate for the fixture. Using a piece of string down the backbone, I centered up my axle plates and got them even horizontally. Tricky part. they have to be level on three axis's (or is that axi-like octopus and all)-level horizontally from side to side, level from front to back, and level vertically. Here is another view
P1030284.jpg

my axle plates were cut from 3/8 stock, the wing nuts on the all thread made it a lot easier to adjust. At this time I had already figured my ride height that I wanted. Lucky for me, I have two cb360s that I can always use for measuring stuff.
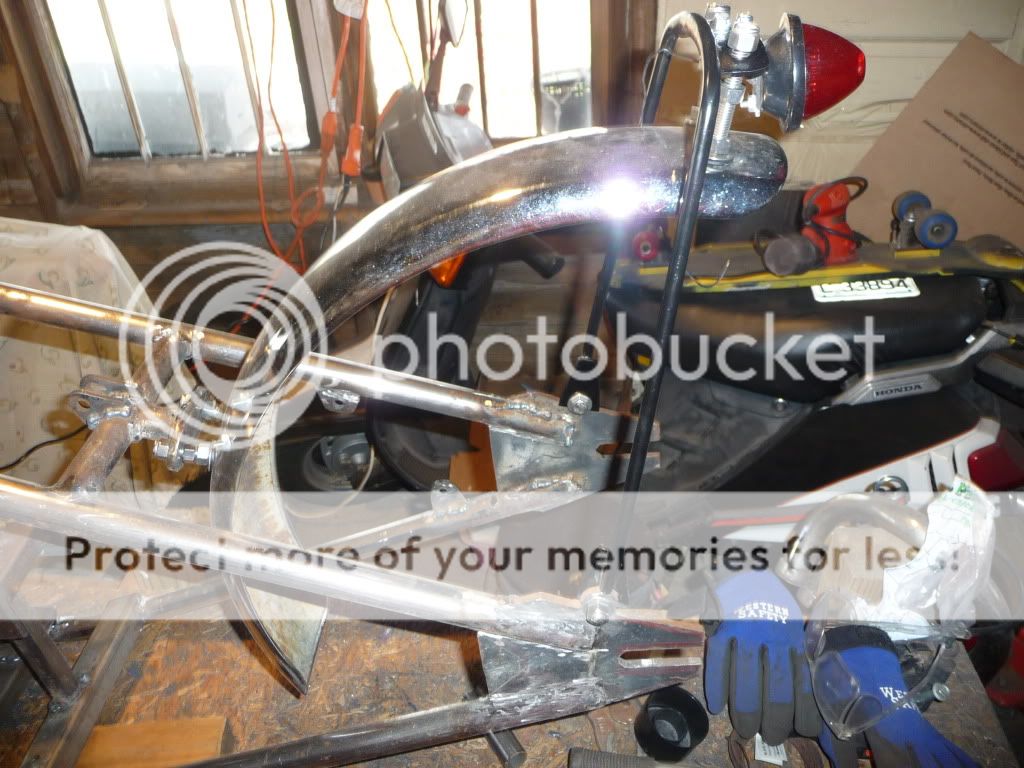
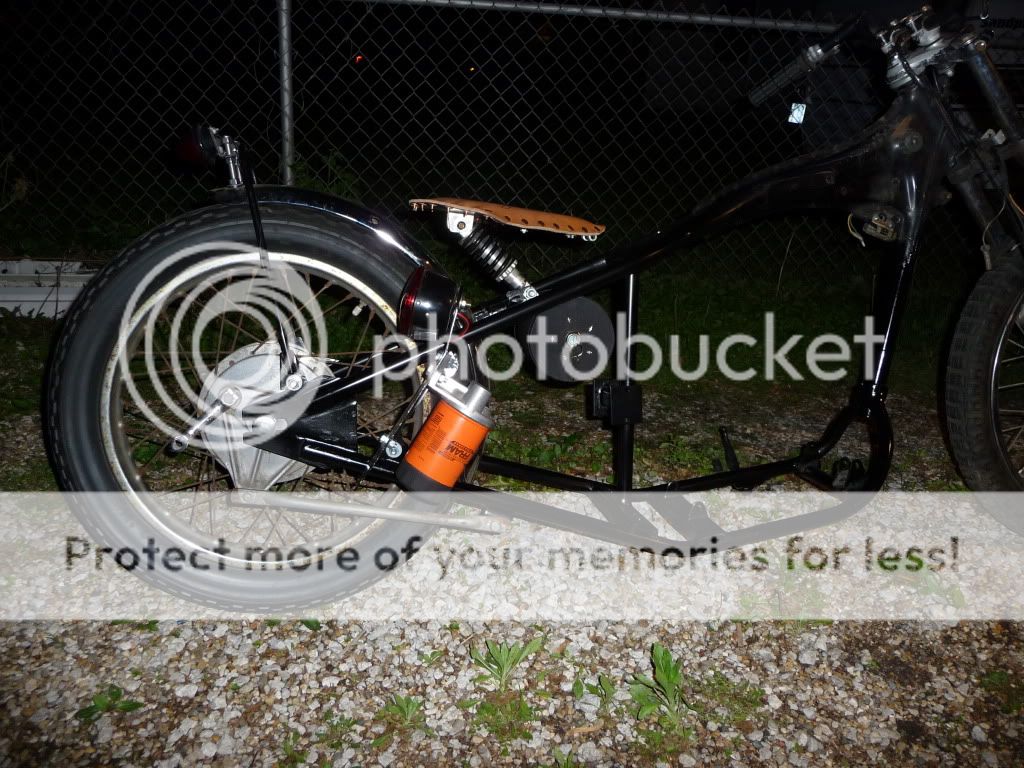
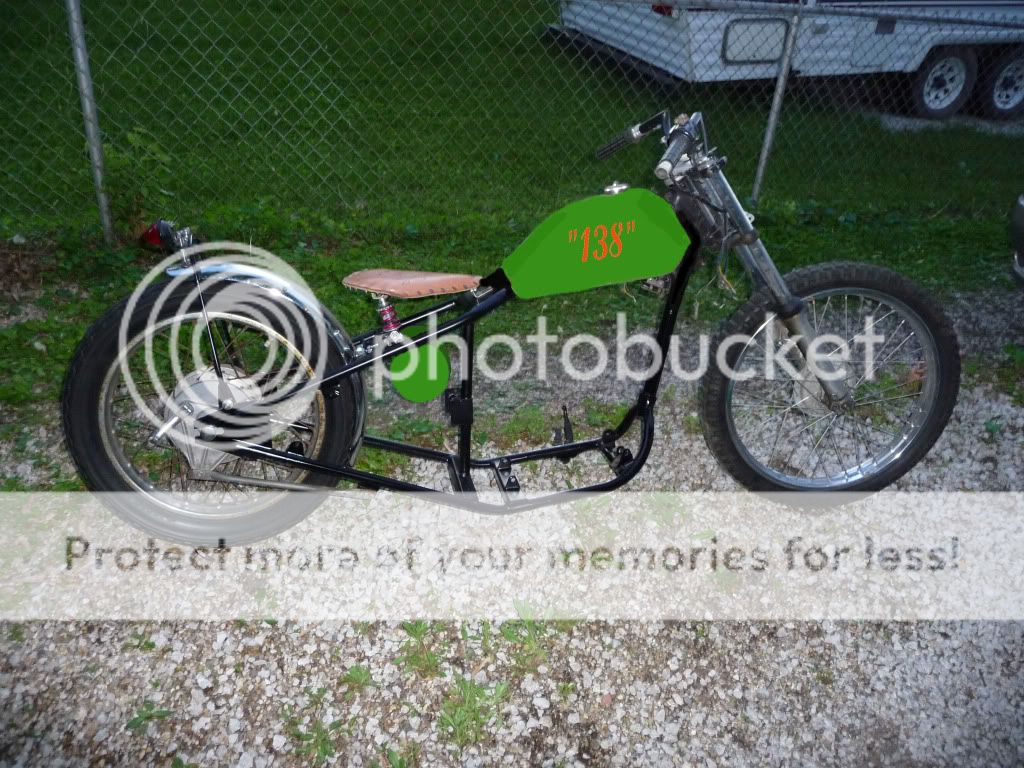
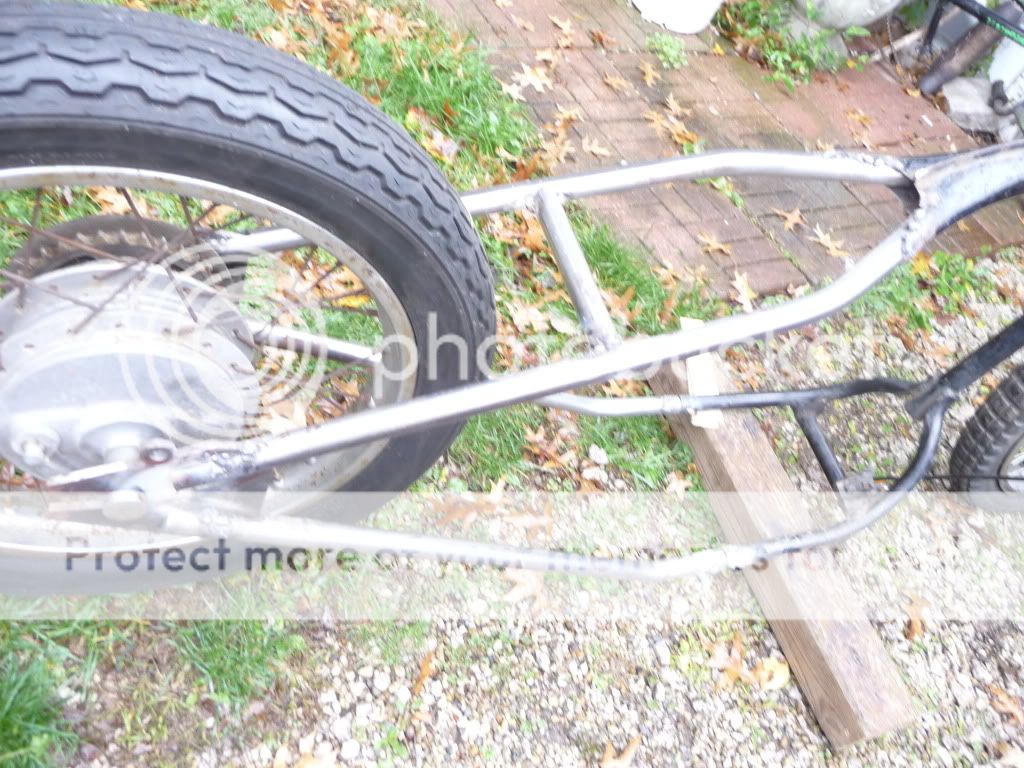
Here is my frame after putting the first part together. That front tire i got at the junk(I mean scrap)yard-it is a 21x2.75 for like a dollar. Some time if I go there and I don't have any money, I actually hide stuff under scrap and go back for it when I have some.
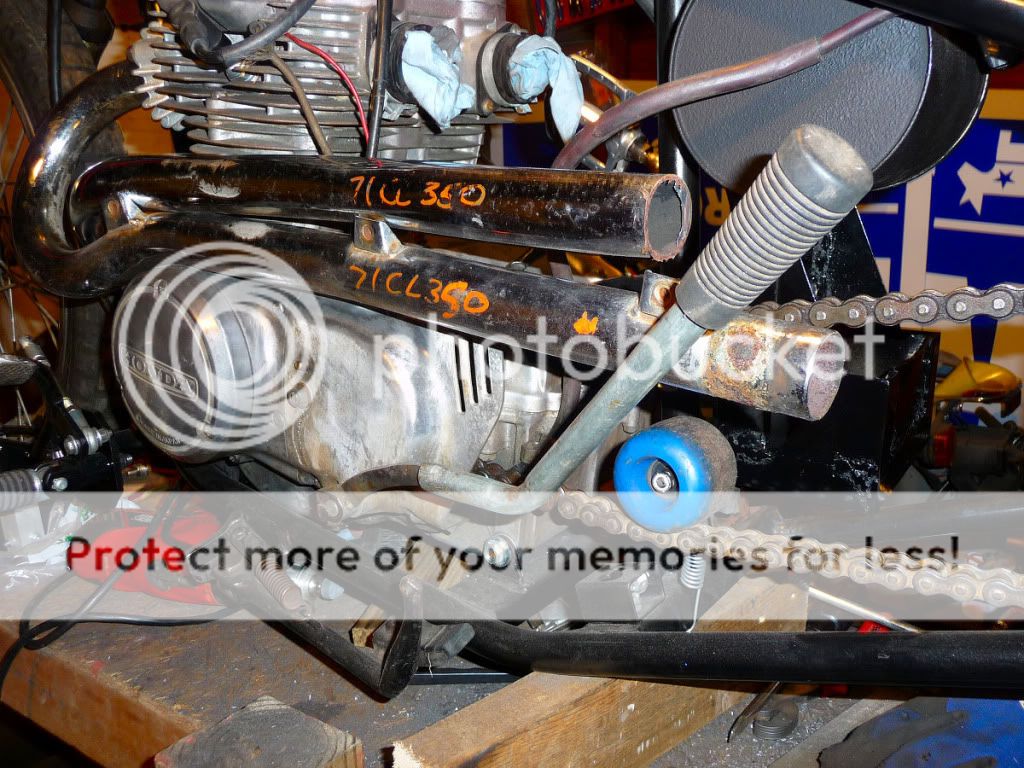
I bent my tube up on a cheapo pipe bender from harborfreight.
P1030511.jpg

I have a lot more to post, but its about 10:30 and my boys need tucked in. Will post more tomorrow. thanks
 
If that's "cookie cutter", I would hate to see what you call "unique".


After all, from what you say, your bike not being a perfect bobber candidate makes it sooooooo non-cookie cutter!!!!
 
this next pic shows the bottom engine mount, and the top rear mount(he said rearmount hehe)-that funky looking rectangular piece that is welded to the vertical seat post tube. I've finally realized after almost 38 years on this earth that if you make stuff with zero tolerance-life sucks, but if you make stuff with a little extra play-such as maybe 2 to 6 washers as spacers stuff just becomes easier to live with. Across the top of my hard tail you now see a plate, it is about 1/4" thick-that is probably a bit overbuilt, hopefully I don't have to test that. On the back you can see that a horizontal structural support was added and a seat mount welded to it.
P1040189.jpg

All most all of the welding was tacked together using a sears wire welder(my dad) or a crappy harbor freight wire welder(me), and then finish welded at my pops with a big lincoln 200. Any one out there that thinks that just a 110 small wire welder is enough to really join a hardtail together-please have someone double check your welds, I think you just don't get the weld penetration of a big welder. And cresentson, Dude you are pretty bright(seriously) to deduce the bowyer background--makes me think you've built a bow or two also.

Another view from the back and top-don't adjust your screen-yeah that back top rear mount is a little crooked. My buddy says "nobody will ever notice that"-but he doesn't realize just how sharp most of the folks on this site really are. You can also see the back fender mount. that used to be the front fender-when i finish it out, I will change the bolt system of spacers to a properly sized spacer, and button that up a bit tidier.
P1040188.jpg
 
Next installment pic. This is a closeup of the axle plates and the fender strut. The strut is 1/2" stock that I heated a little and bent over my anvil. I welded some plates on the bottom of the stock and drilled them for 3/8"bolts- some really cool bungs would of been better, but I didn't think of it at the time. At the top is a piece of plate stock that I anvil bent a little to match the curve of the round bar. Again the mounting bolt -"system"- will get cleaned up at a later date, I just needed something that had a little adjustment before final fitting. That little light is the stop light, I have a vert mount tag/light for the other side of the bike. The other day I kicked my leg over to move it and WHAM (like the old batman show) I kicked the lens and broke it. Better in the garage than on the road. I need to load some more pics from a file to photobucket- I am a serious computer lame. If you folks are still with seeing some more of this stuff that is. thanks
P1040187.jpg
 
That is a tidy set up on the rear fender. Gives a nice, clean, open look. I feel you on the small welder, but hey, some guys don't even have that. At least we can stick metal together. Keep the pics coming, this is good stuff.

As for bowmaking, I've only dabbled.
 
Interested, so keep uploading to photobucket and share damn it!! I was expecting a cookie cutter bike here, please make it painfully obvious when it appears ... thank you. ;D
 
Next installment-If you have a rock driveway and a bunch of half finished motorcycles-you're a redneck, no might be s to it. This is after the painful part of grinding out all of the "extra" weld-one tool I can suggest is a rotary file that can attach to your drill, my pop gave me some and wow did it take a lot of work out of grinding. Here you can see, I threw some rattle can to it-I used satin finish and may use that from now on I love the look of satin. I have the vertical mount tag bracket -you see the remote oil filter-I may not be able to use it, don't know if the oil pump can push that much or not. A lot of people here have made basically the same tag bracket on cafes or brats or bobs, there is a driving/tag light over it. The seat I bent up on the anvil, I found a piece of about 11 gauge(that was really hard)-bent it drilled a bunch of holes around the perimeter, used some camping mattress pad and some copper rivets, and of course some thick leather. I burned a design on the top-did I mention I am not an artist. The fake oil bag(read round thing under the seat) is where I hope to fit all of the electronics(still need to procure a volt reg. and rectifier)- it is made out of a boyscout popcorn tin that I painted with undercoat paint. The seat shock is from a mountain bike at the scrap yard. Also on the fake oil bag is a ignition a cheap 3 pole one with accessory and start.
bobber010.jpg

Here is the tank-Yeah also from the scrap yard kind of ugly but may work. The bars are clubman knockoffs upside down and backward. I may use a set of little dirtbike bars, up in the air with that for now.
bobber020.jpg

Will post more later- have to hop in the shower to get ready to teach at my mma school Thanks for the input
 
thanks, hoping that by posting some of this stuff, and having a thread I'll feel pressure to finish it off. Next pic is a close up of the seat pan. Design is not really finished, just outlined. Burned in with a combo leather burning/soldering iron. The hammer- I'm not really throwing anything up there, just part of the design along with the wrench.
bobber017.jpg

Ok, this is kind of a money shot. The kicker pedal is from guess where-damn right the scrap yard. It was a bear to do, a buddy from work lathed the left hand threads off and i died them to rights. You can see that I cut the tank mounting tab in back to clean up a little-still one ugly f!@#!er though. Shows a decent view of the motor mounts (top rear), and the battery box behind the mounts and under the electronics container. The motor mount has two all threads, plenty of washers, and nuts. The all threads also hold the battery box on. I really dig the way that troybilt did his mounts-super cool. The side mount high pipes you can see also, along with the start of my right side forward control for brake-I need to take more pics of it. Some people may say that the bike pedal kicker is a bit played out, either way I'll probably keep it and maintain my dorkness.
P1040948-1.jpg

The coils are under the tank still-had to drill some new holes and fab some mounts, I don't think they are in too bad of a spot-still mostly hidden but not in the exhaust oven. That is it for today, hopefully I can do some work on it tomorrow and take more pics. I still have a bunch of pics to post that is already done.
 
this is a pic of my chain tension er probably not the best design, and not for sure if that is the ending or the beginning of it, it is a rectangular tube piece with two mounting bolts on the bottom and a bolt with lock nut holding an arm made of flat stock steel. The skateboard wheel has a spacer and is held on with a bolt and nut. I don't know if this spring will be strong enough to stop chain slap or not. You can also see the jenky looking jockey shift-probably not the final incarnation of that either.
P1040956.jpg
 
how low is the bike?
from the pics it almost looks like you have only 1" of clearance.

lots of interesting stuff here
 
there is about 3 inches of clearance, it is hard to tell because of all of the crap I leave laying around on my bench all the time. Now by interesting do you mean in the sense that a train wreck about to happen is interesting, or in the sense that something is different. The UGLY truth is that I live in central Illinois and the roads here are ROUGH-and by ROUGH I mean really crappy unattended full of pot holes and potential frame wrecking stuff.
 
nice man! if you wanna meet up for a drink. there is about 10 of us goign to missiouri on back roads to ride route 66... a bunch of cool bikes that i have built for customers and myself. love the work you are doing man! we are doing the ride the weekend after this coming one
 
thanks for the offer -right now nothing I have runs. My triumph is waiting on new top end gasket set(which my lazy ass still hasn't ordered yet) and jacking around with valves and push rods. This jalopy (^) isn't finished yet because I'm a woos and haven't been working in my oven-I mean garage. After I get something rolling, I am real interested in meeting up with some folks on this board.
 
Here's a possible color combo. The green will be a little more olive, but not to olive drab. I probably don't need to mention that I'm no photoshop expert. Any one for or against these ugly colors? Any guesses on the "138".
greenbobber.jpg
 
what about kawi green? man this bike i would use a flake but that is how i roll... I completely LOVE the stance the bike has!
 
Back
Top Bottom