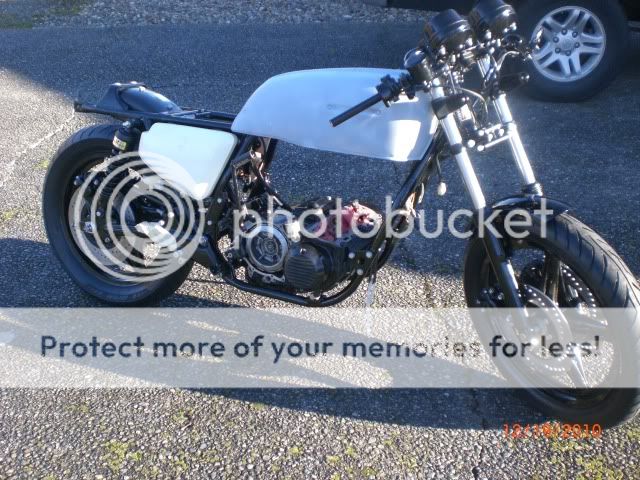
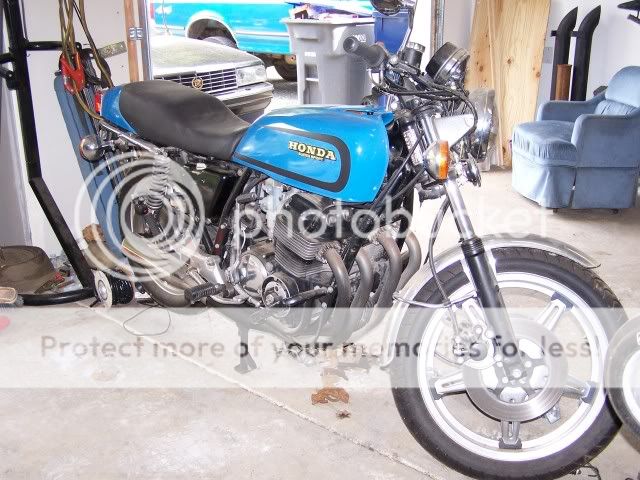
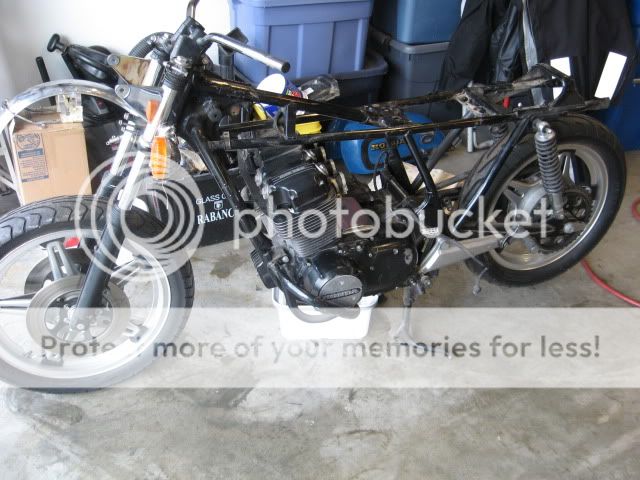
I am going to be putting in some Cycle X parts so I figured I could get some input from everyone on this forum as well. This first post will be the short version just to get up to date of where the build is at currently. Last September I brought home a 1978 CB750 F3 with about 32000 miles on the clock. It was not running but am sure it just needed a new battery and a thorough carb cleaning. I have since got the bike completely torn apart including the engine. I am ready to re-assemble the bottom end and have just picked up a shit ton of parts from my powdercoater including the engine cases. I will pick up the frame and swingarm from powder next week.
Parts already bought and ready to be installed in the lower end-
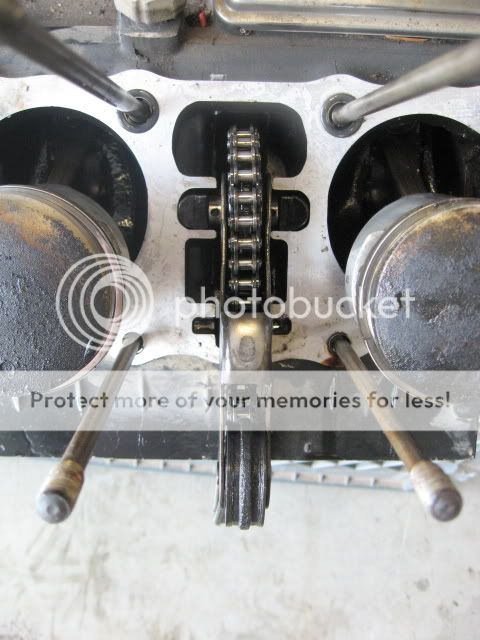
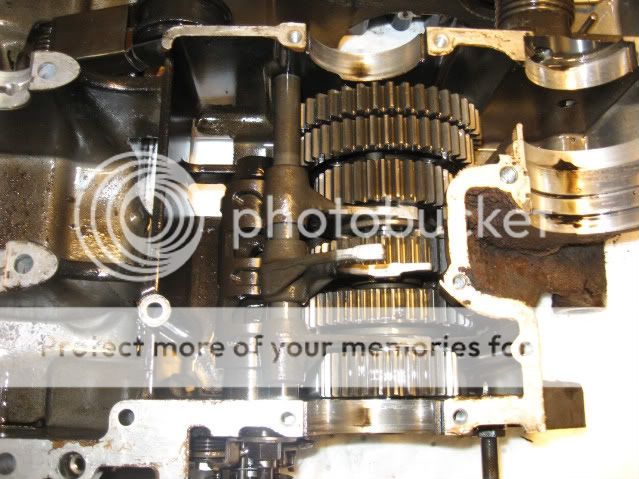
New cam chain, rollers, and guides
New primary chains
Vesrah gasket kit
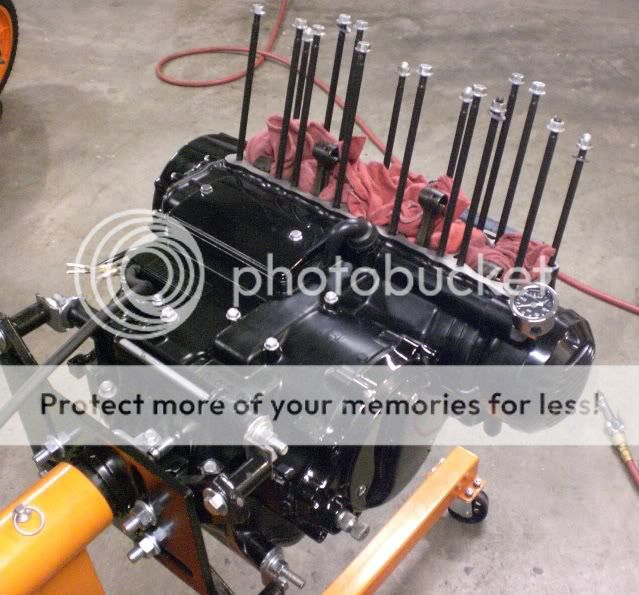
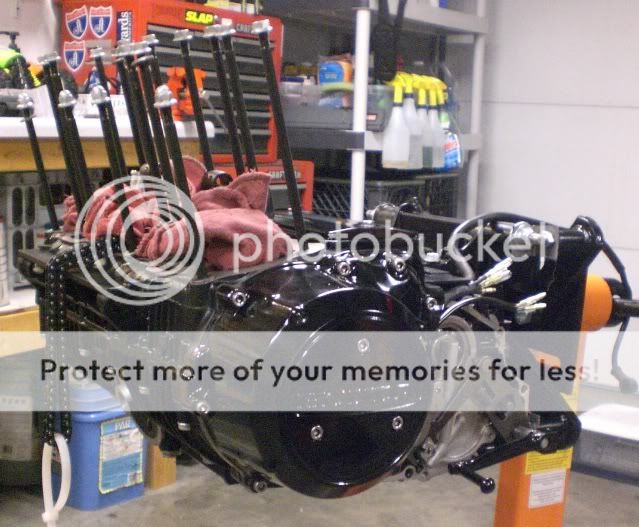
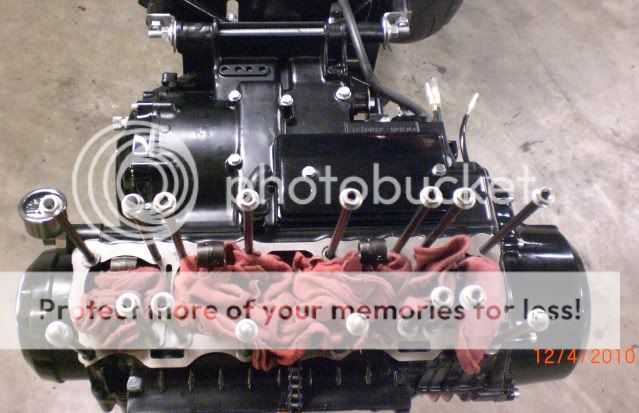
APE HD cylinder studs and nuts
New oil seals
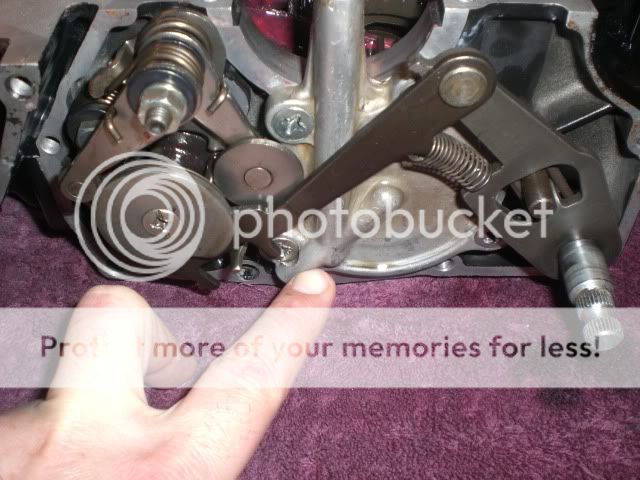
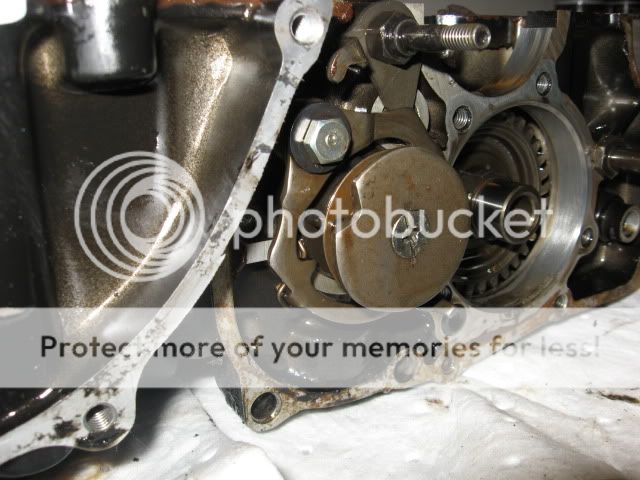
New OEM primary chain tensioner
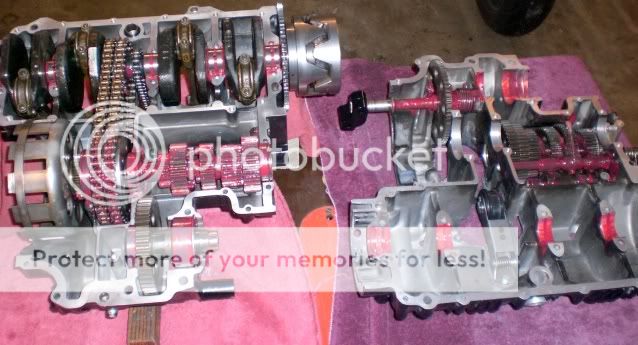
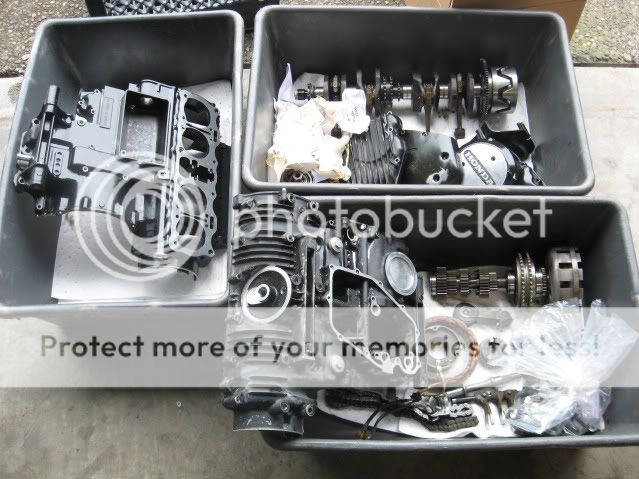
All engine internals cleaned, inspected, and within spec.
Engine parts yet to bought, just saving my pennies-
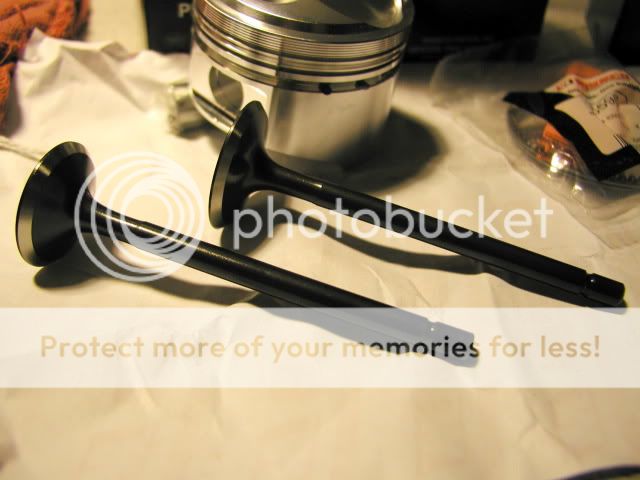
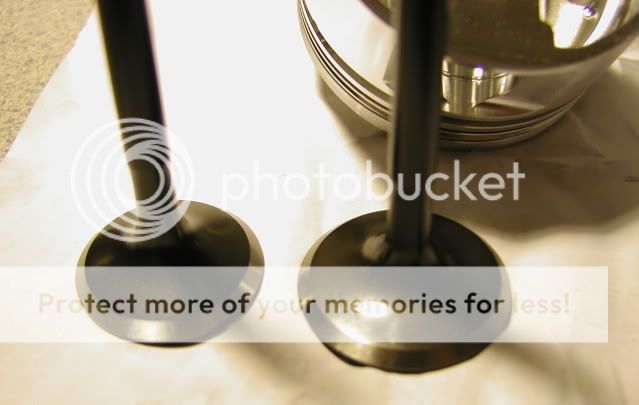
Cycle X F2 valves, guides, springs, and retainers
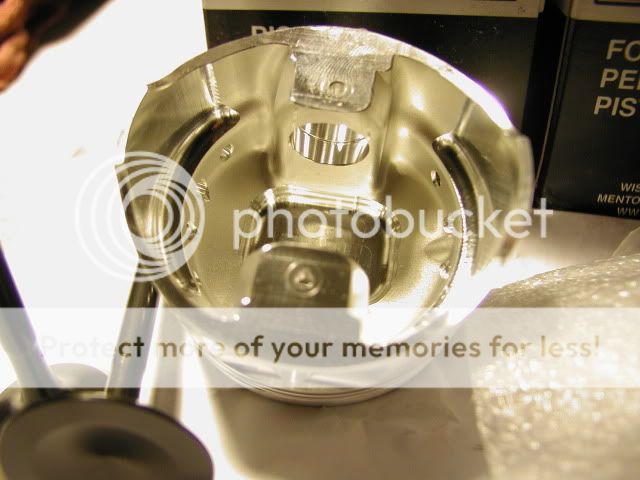
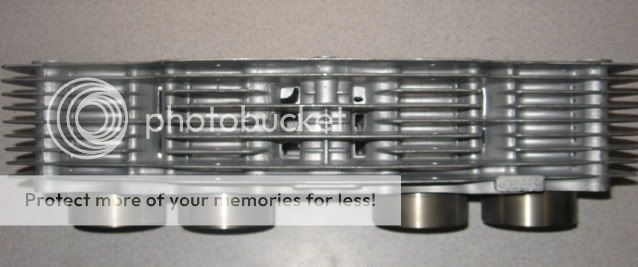
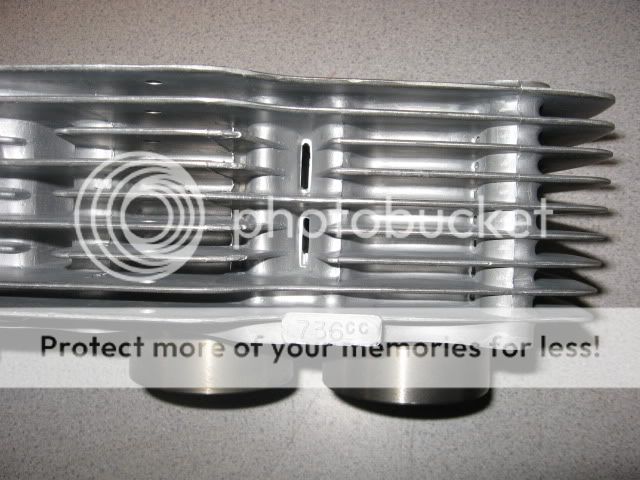
Cycle X F2 836 big bore kit
Cycle X cam chain Tensioner
Cycle X cam
Cycle X exhaust (need to decide which one)
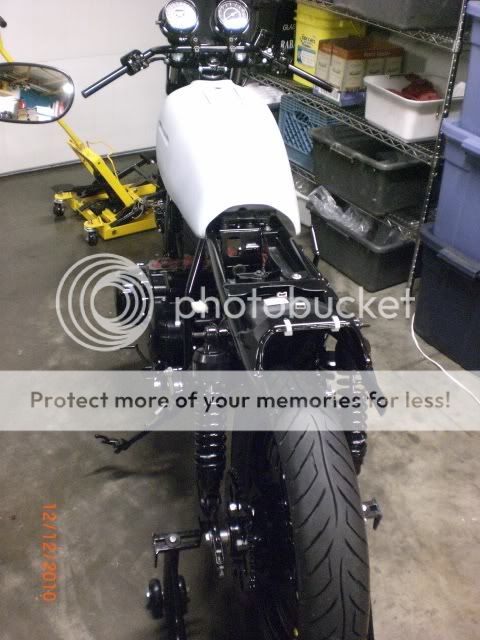
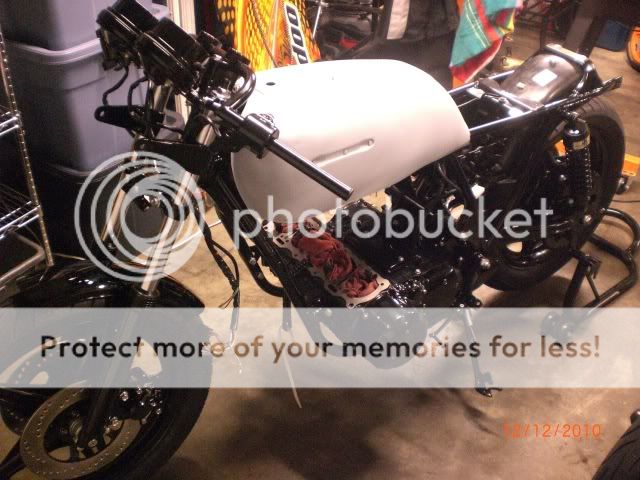
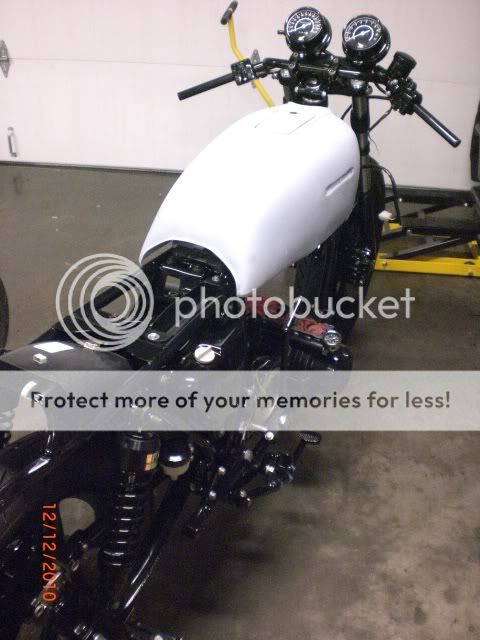
OK so enough jibber jabber, here are a few pics of my build progress so far. I would REALLY appreciate any advice, tips, word of encouragment, shit talk or whatever! Thanks for looking and stay tuned as progress develops!
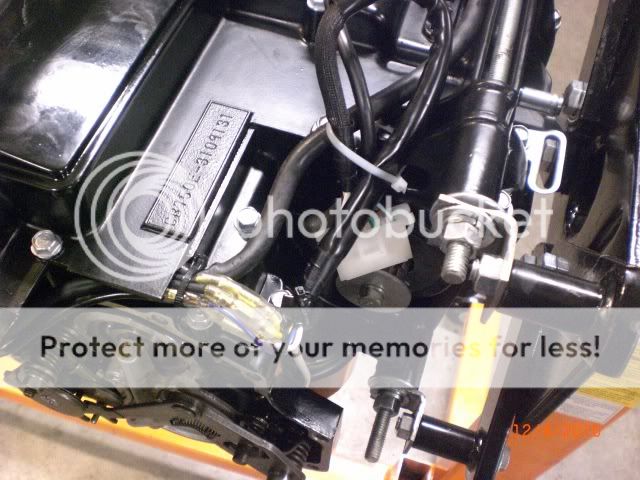
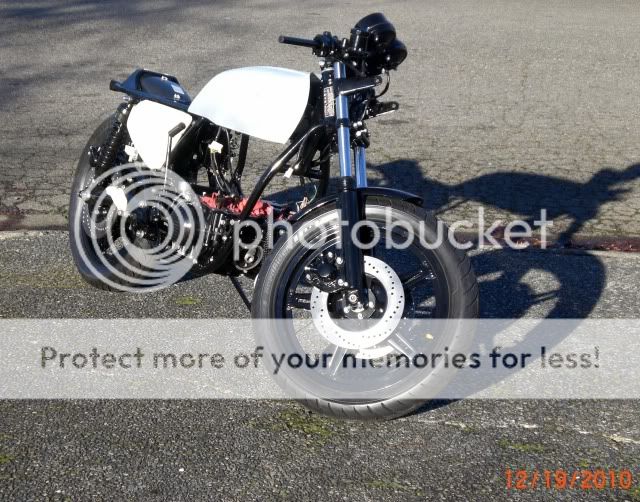
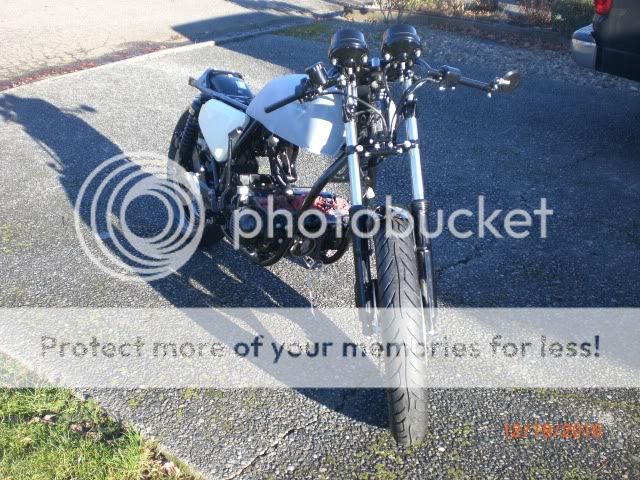
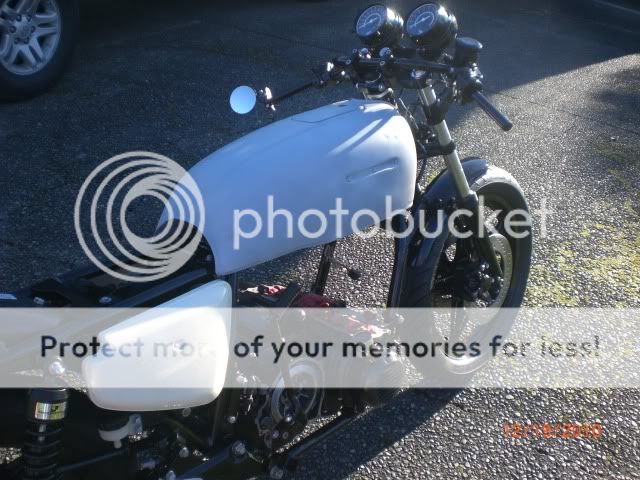
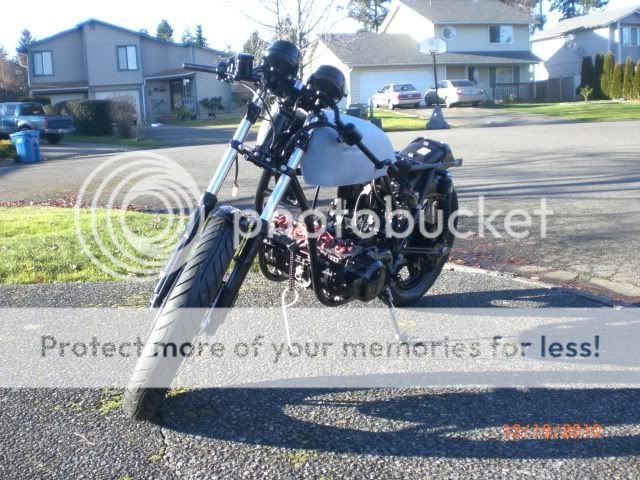
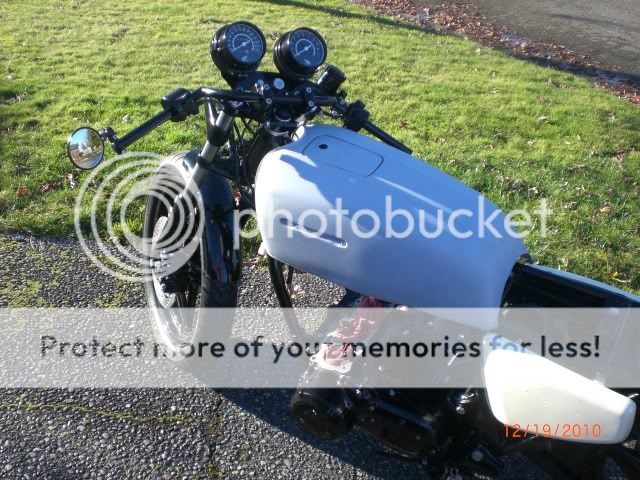
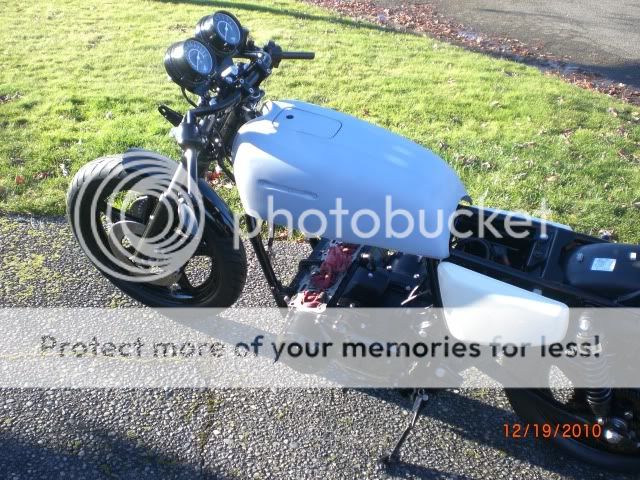
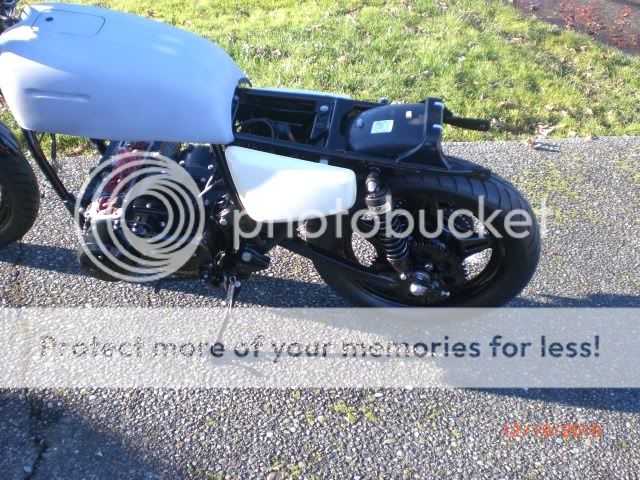
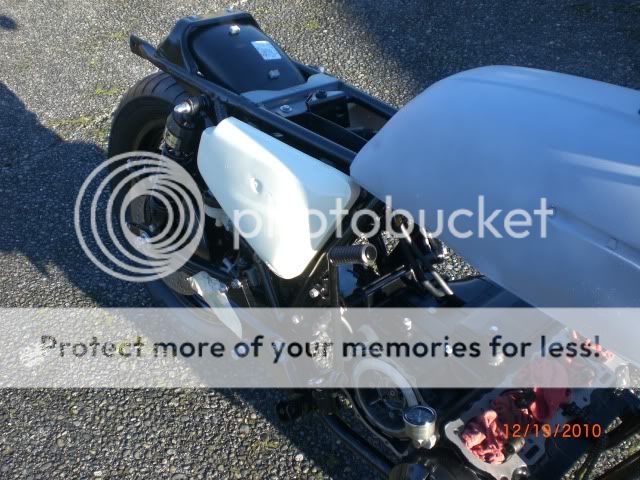
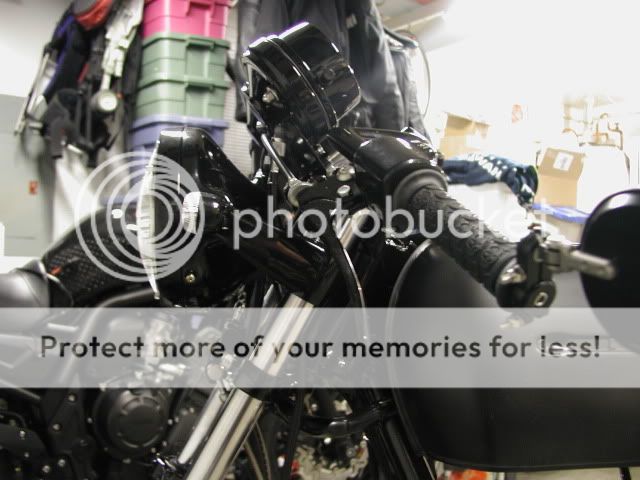
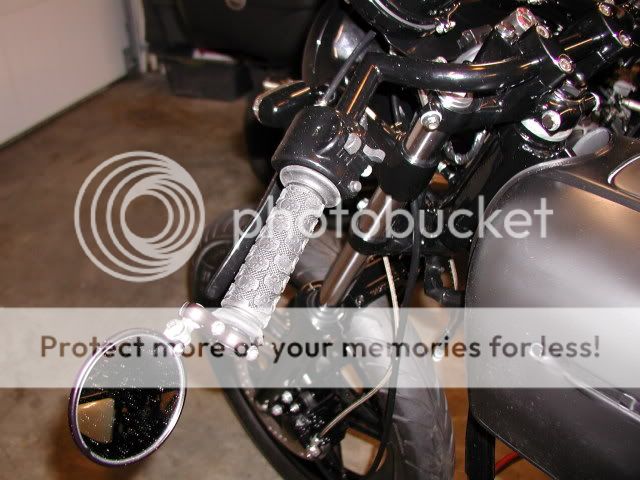
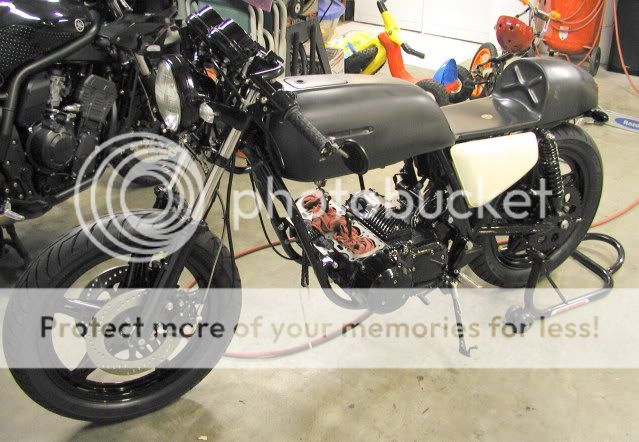
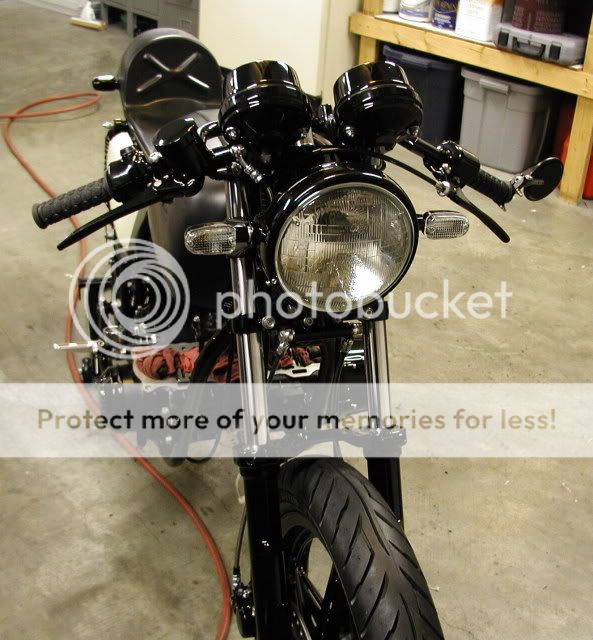
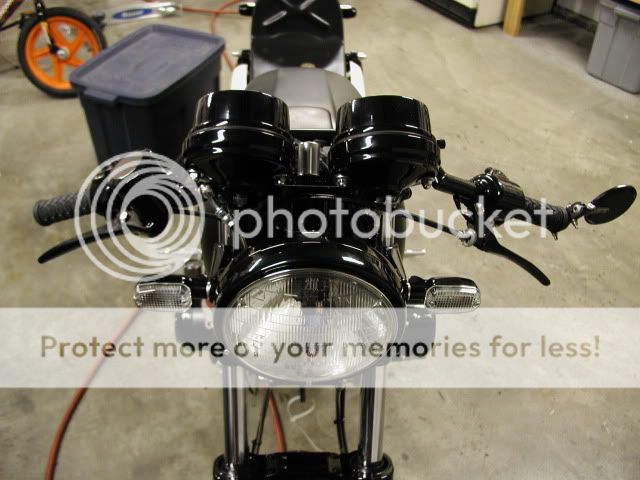
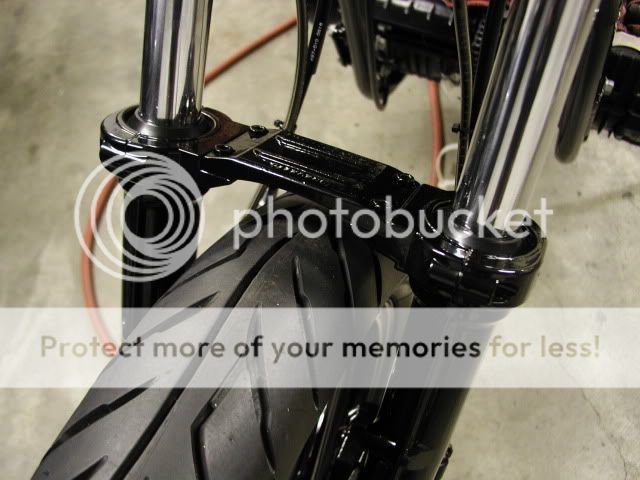
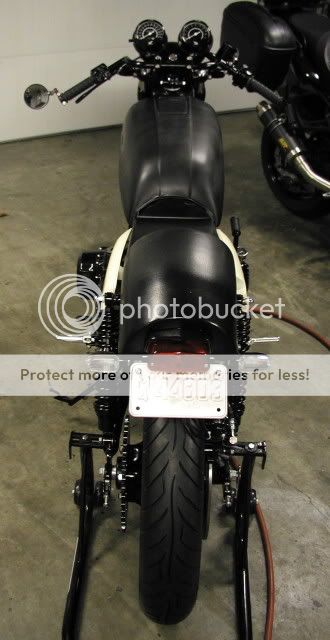
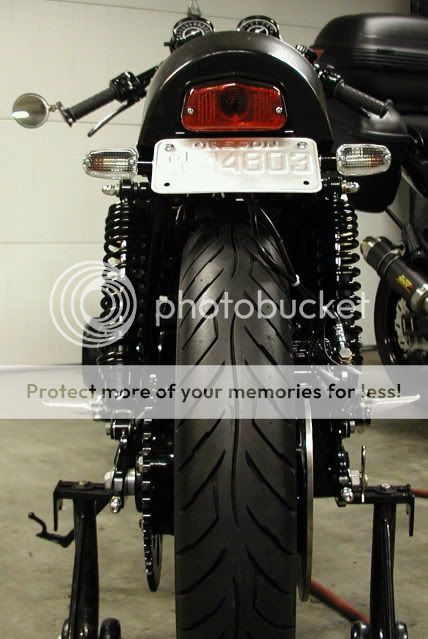
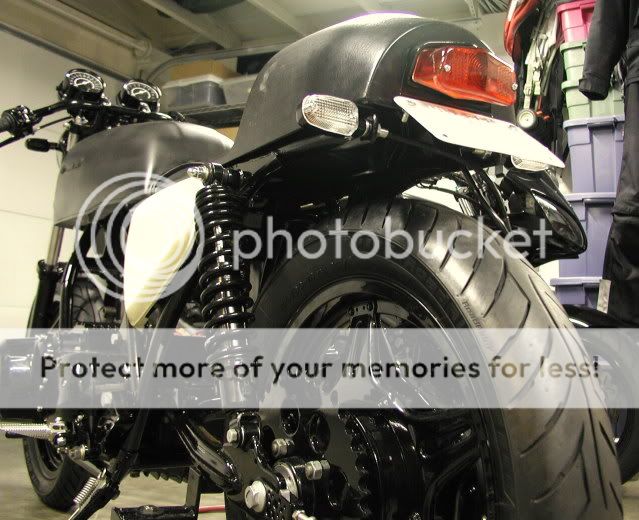
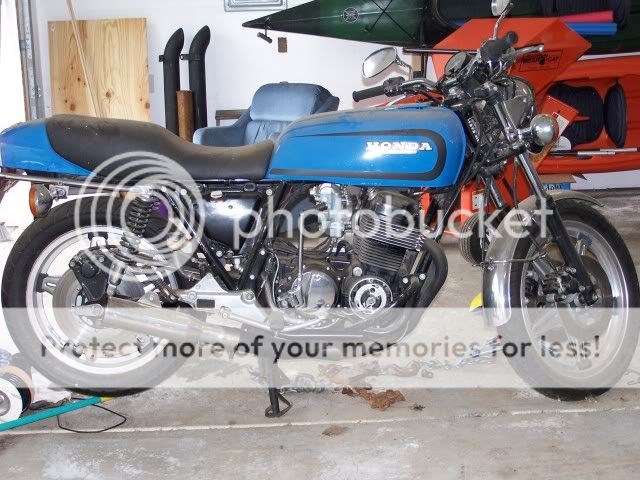
Before!
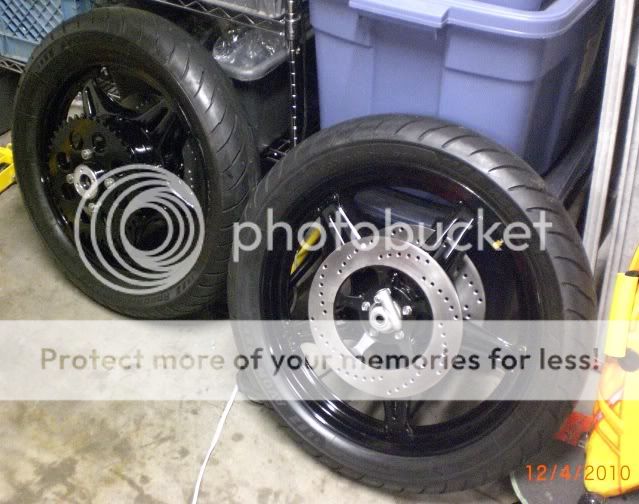
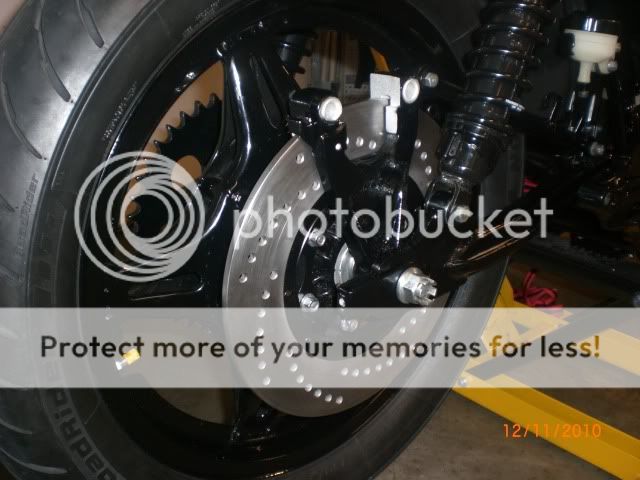
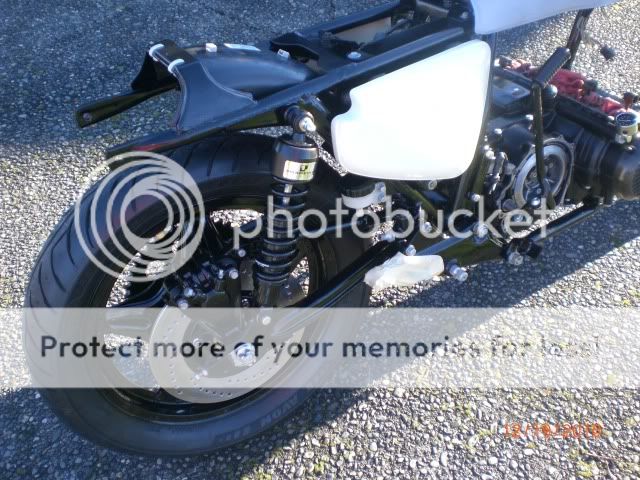
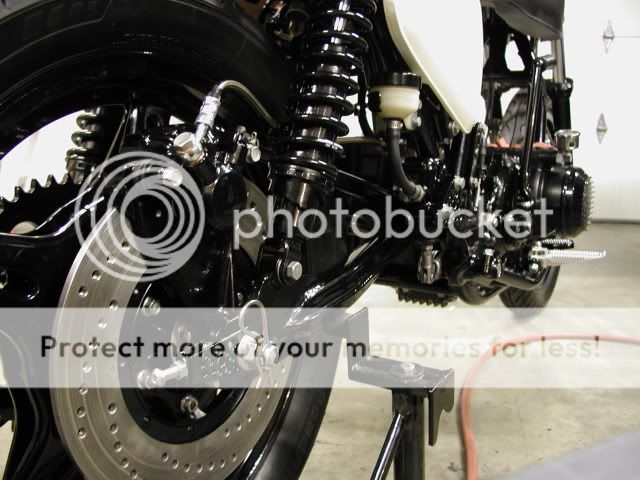
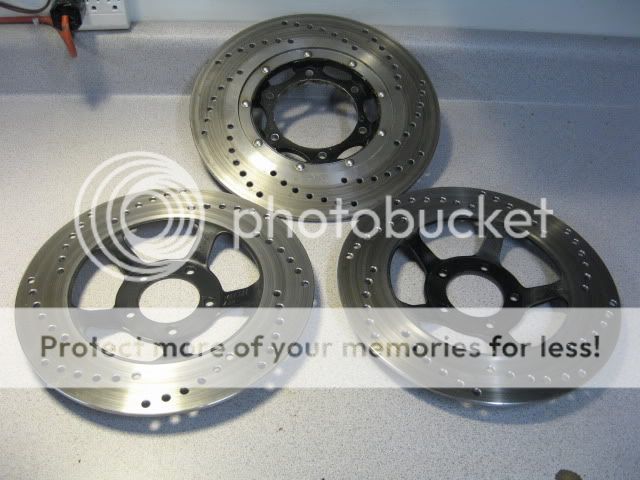
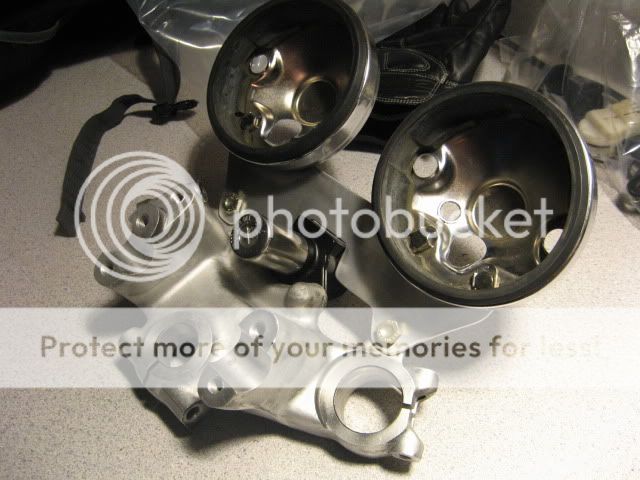
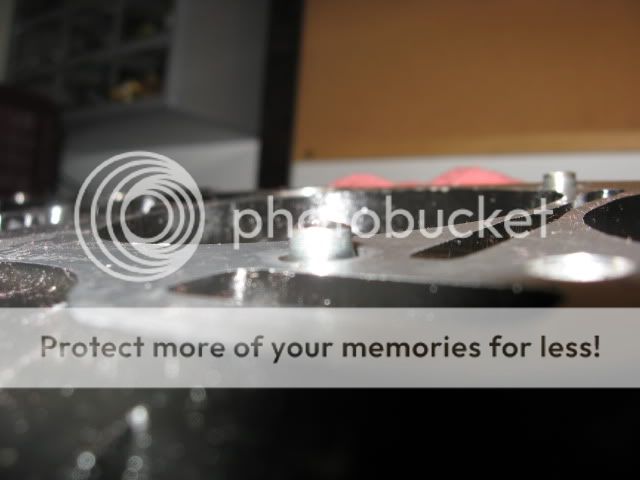
Drilled rotors
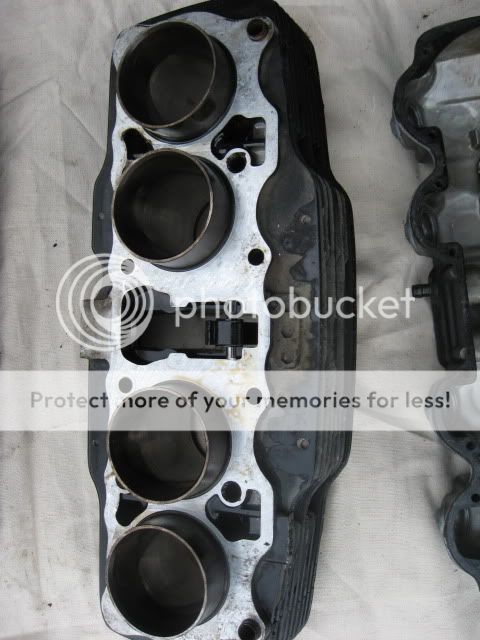
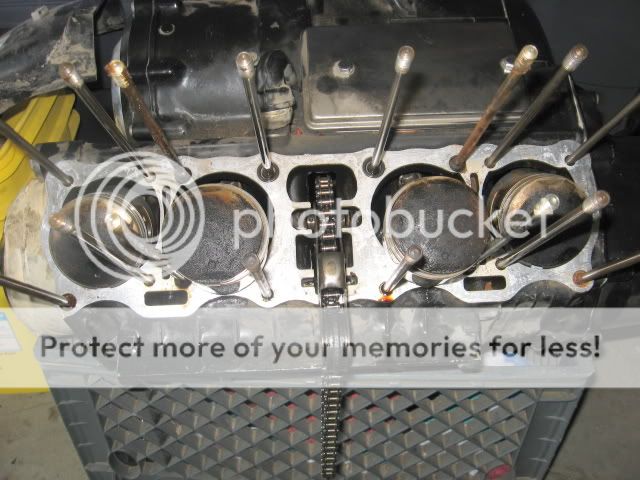
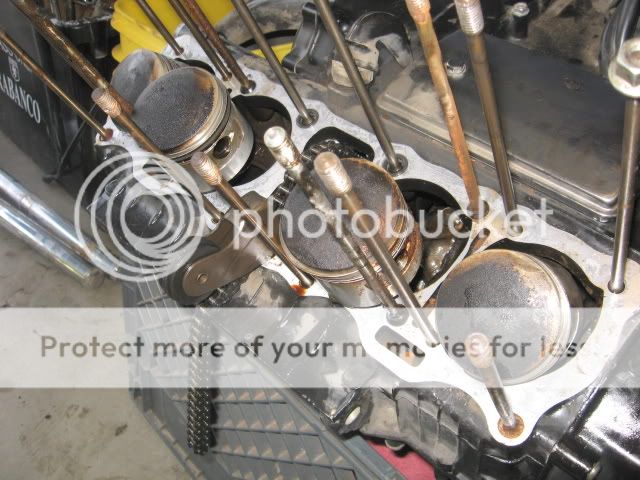
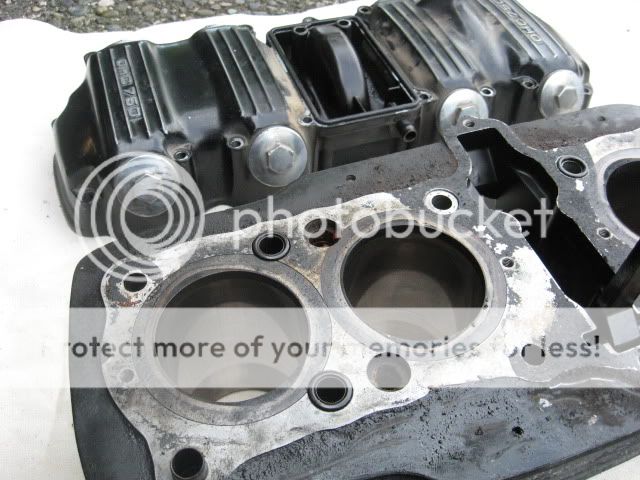
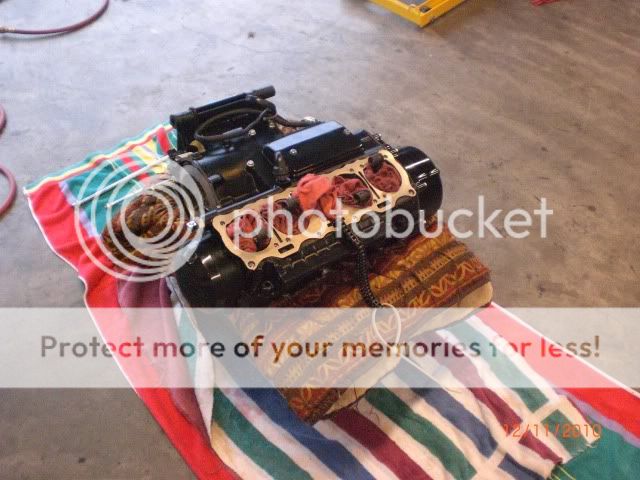
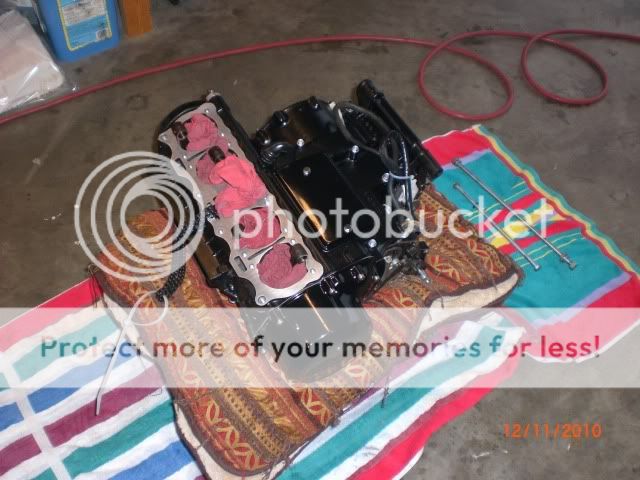
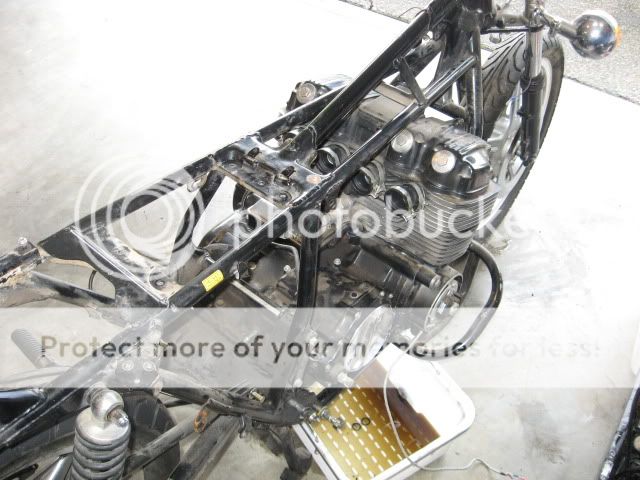
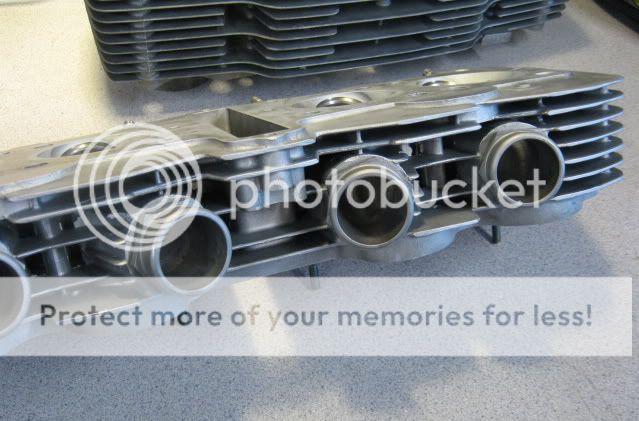
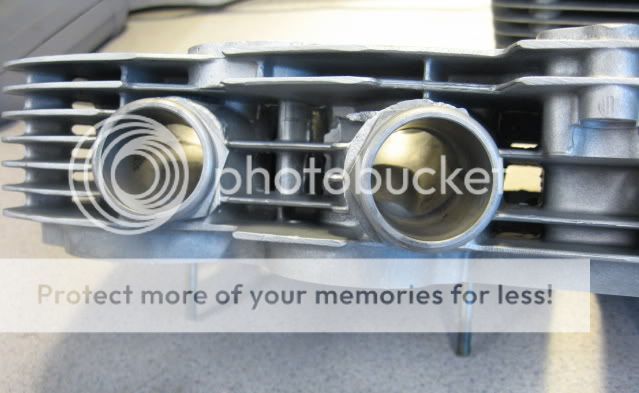
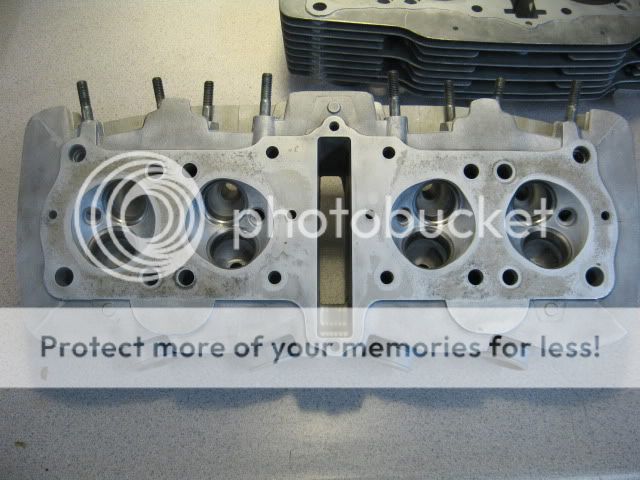
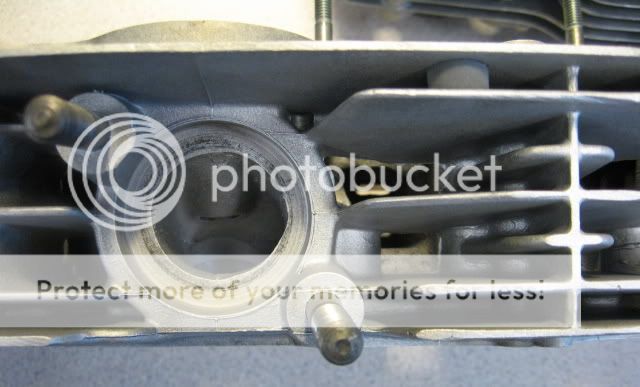
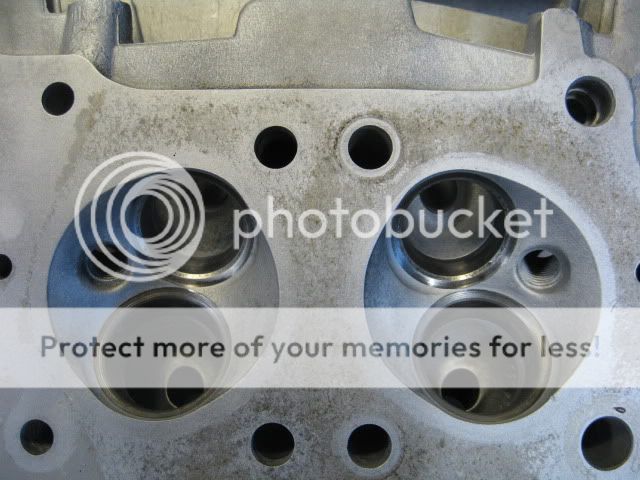
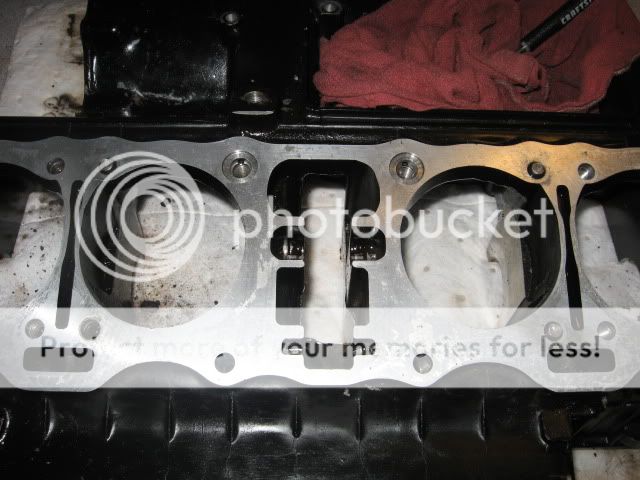
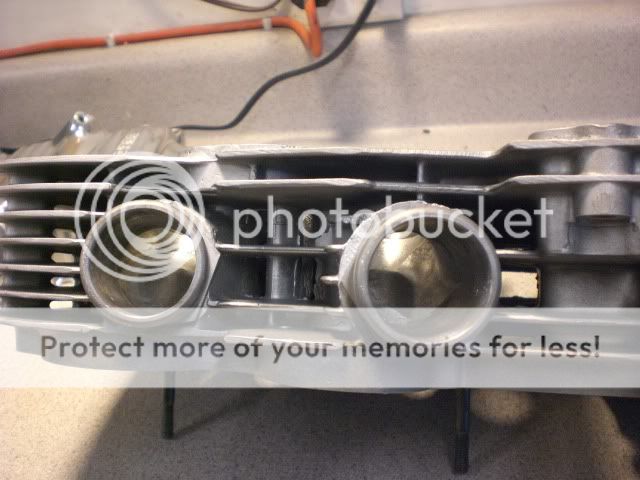
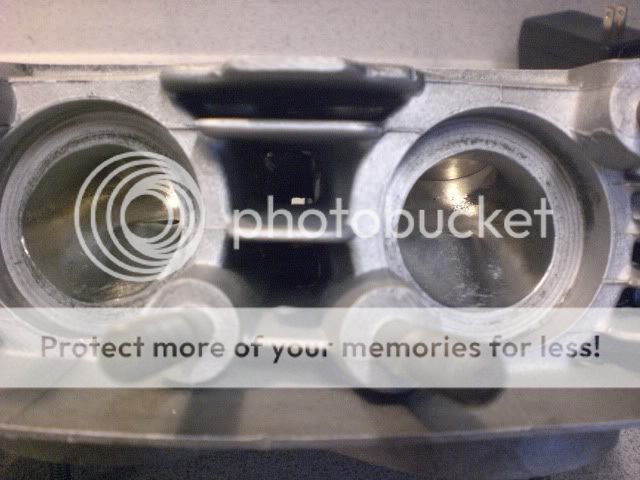
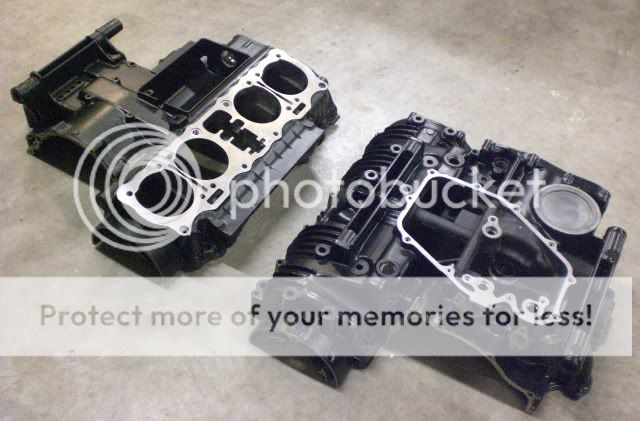
Blasted my engine with plastic media

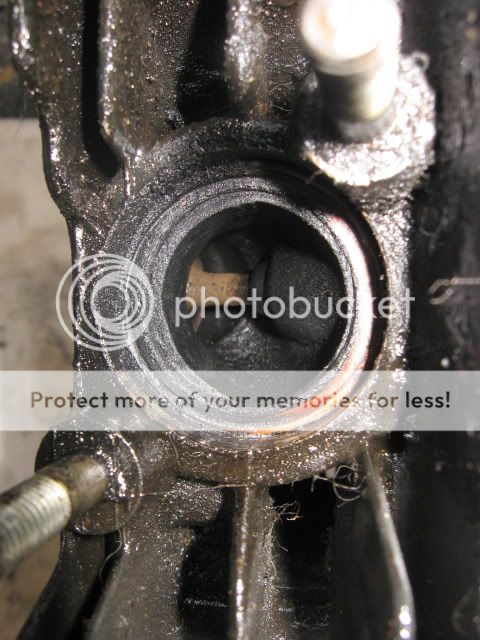
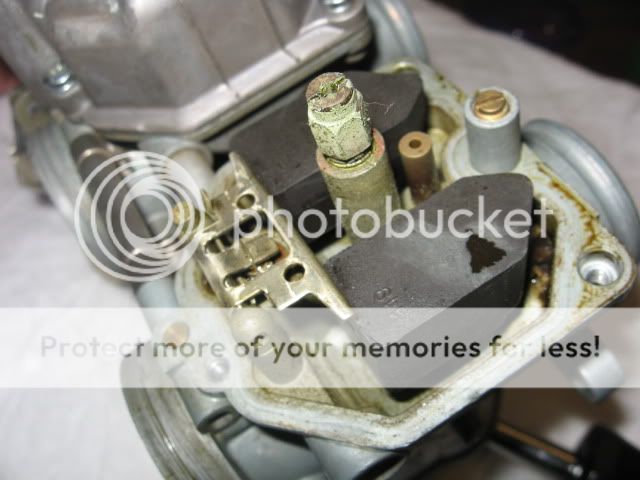
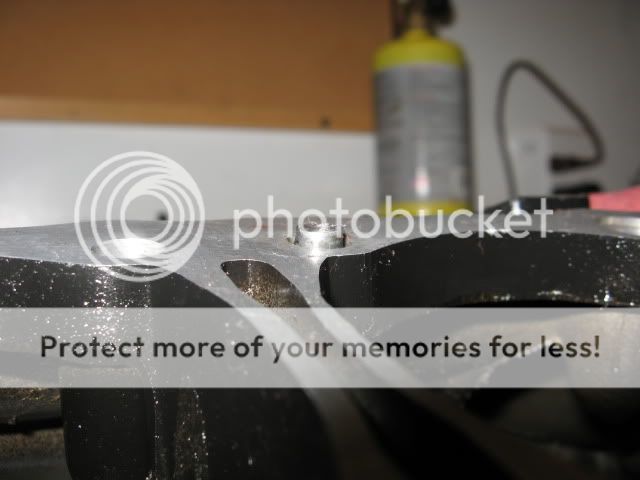
Broke 4 studs!
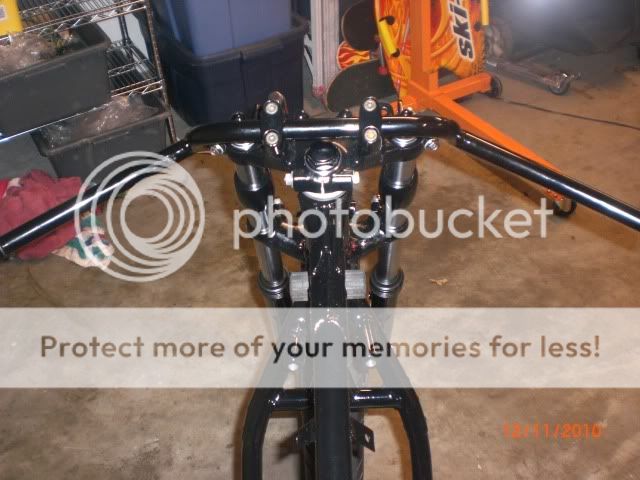
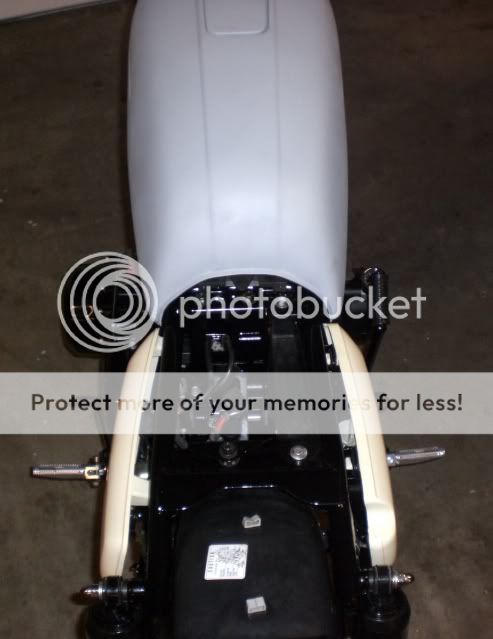
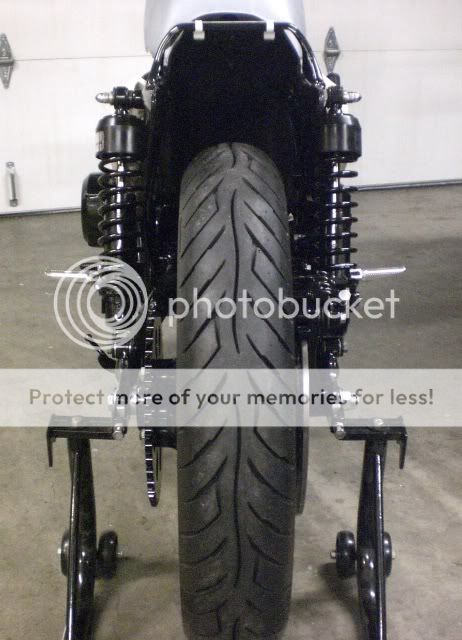
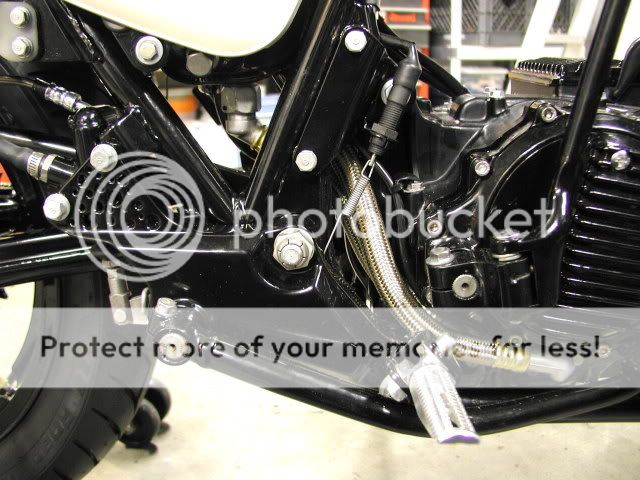
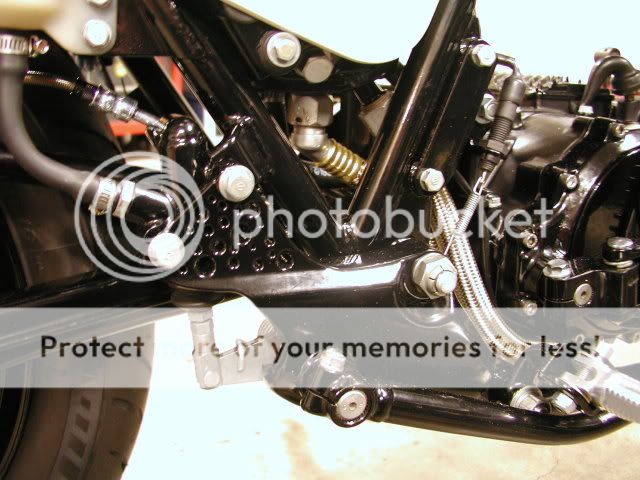
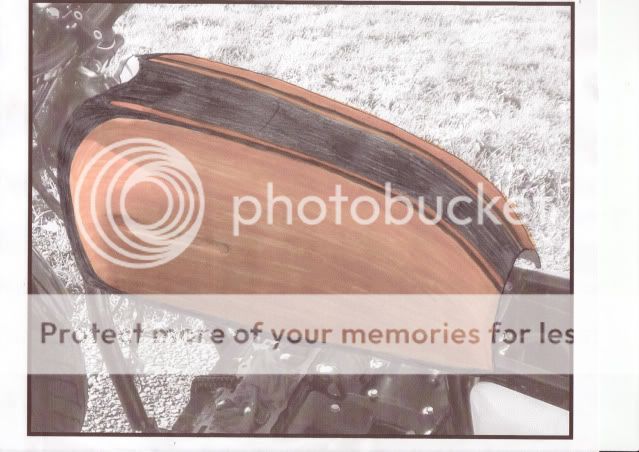
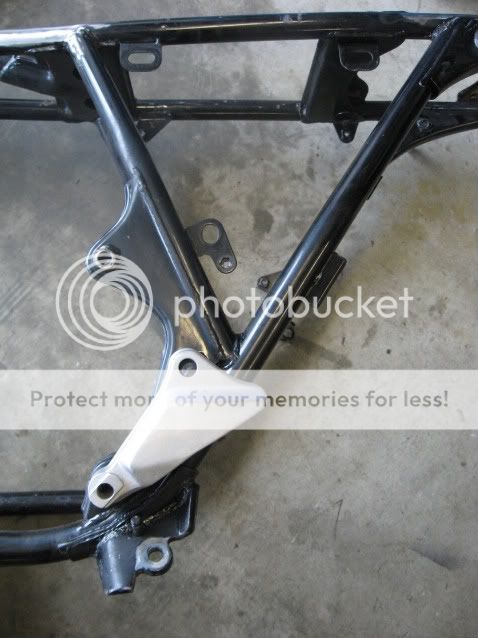
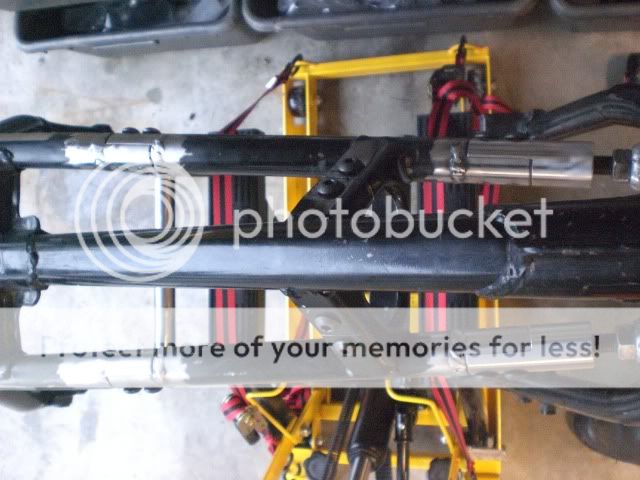
Gordon Frame Kit
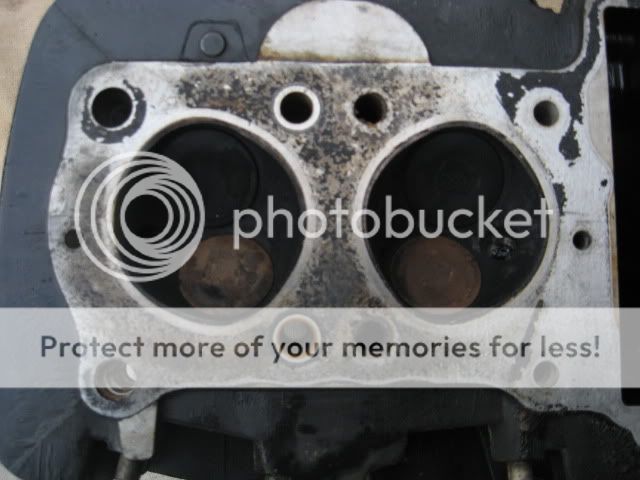
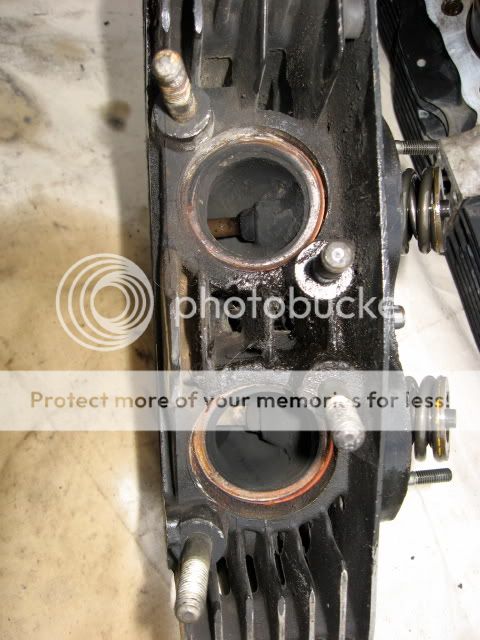
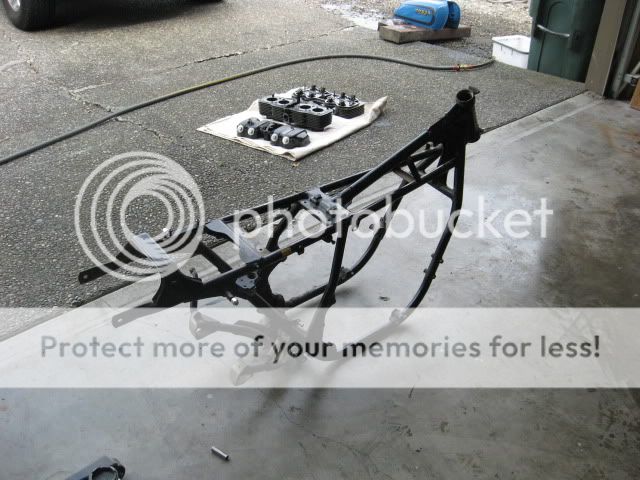
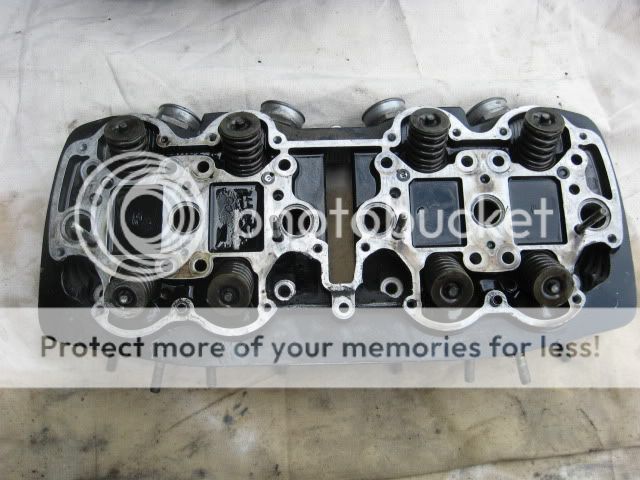
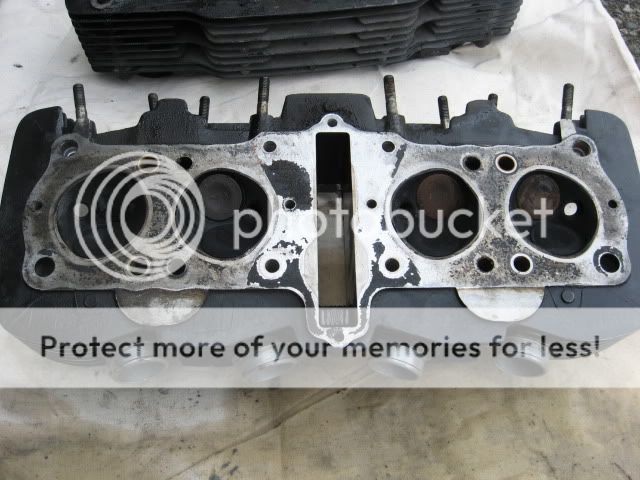
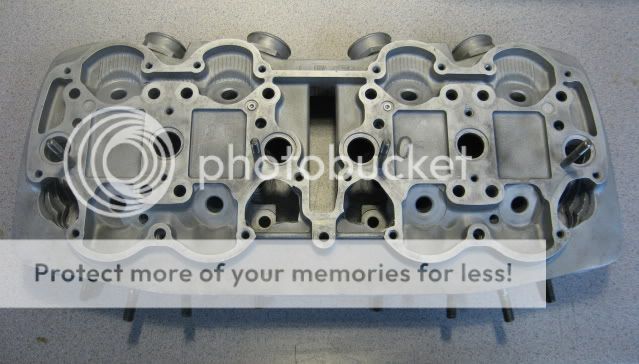
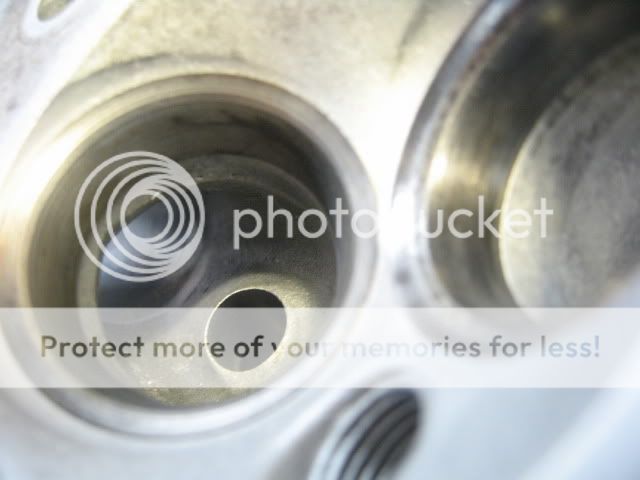
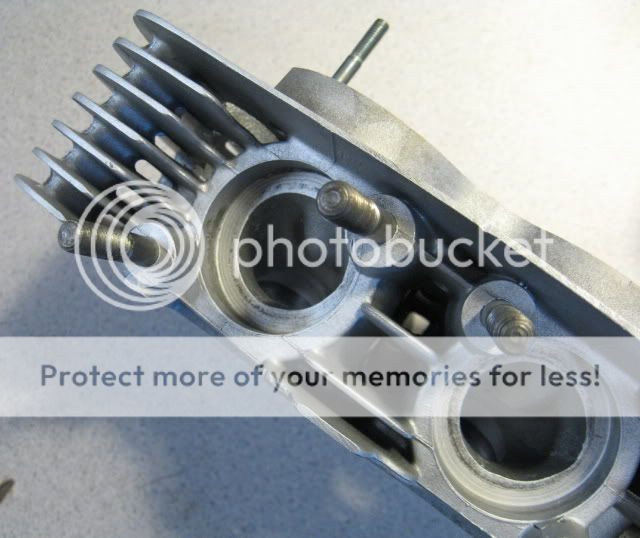
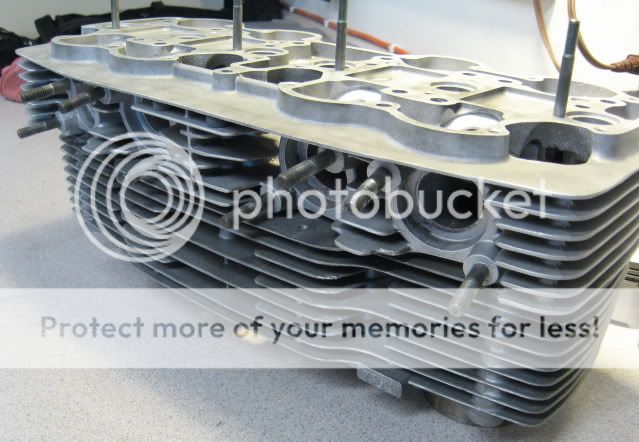
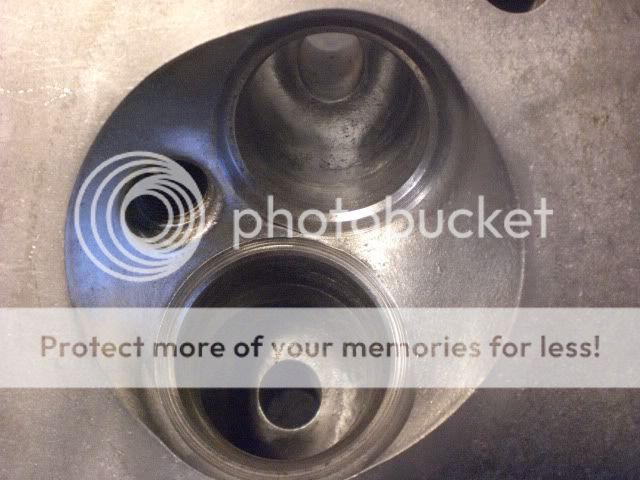
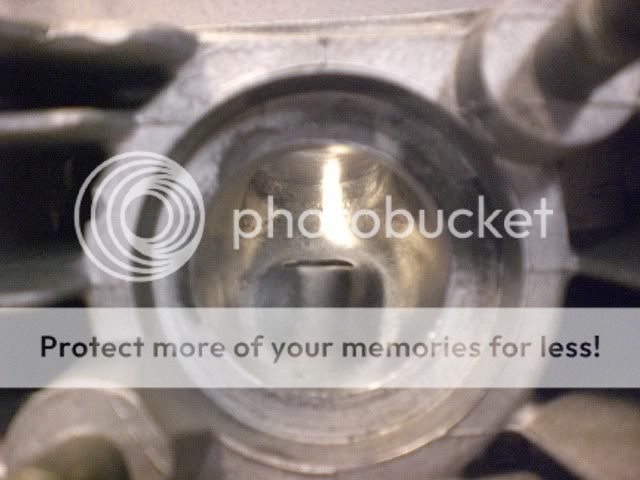
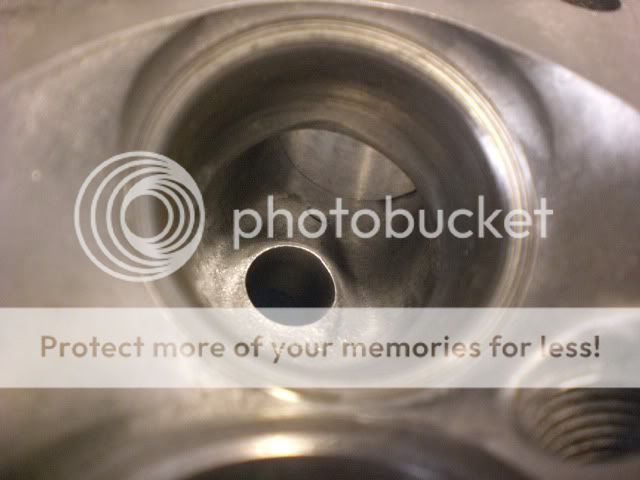
Head clean up
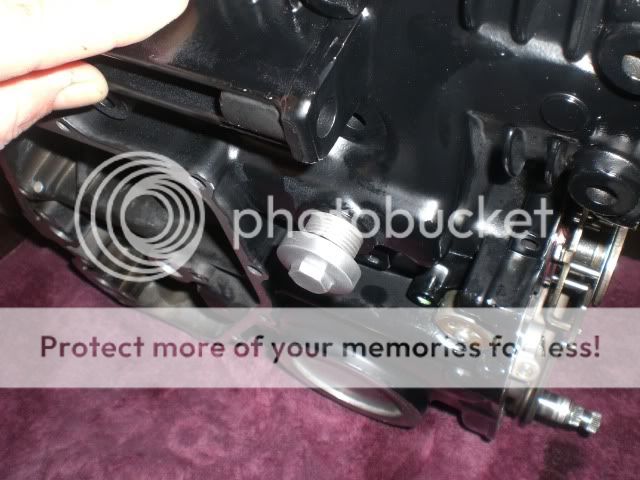
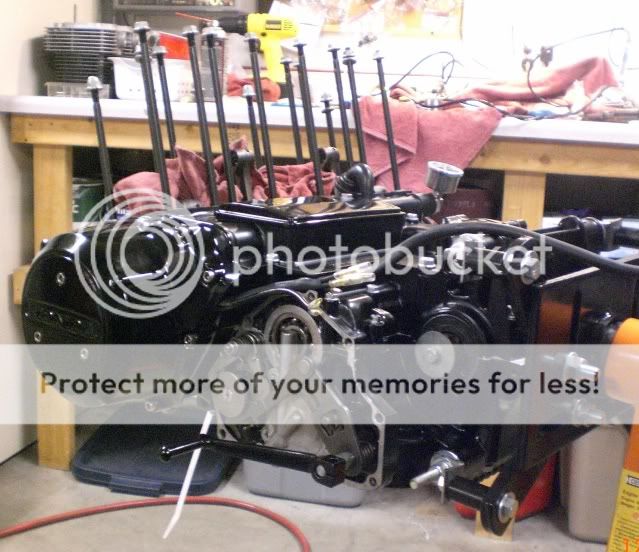
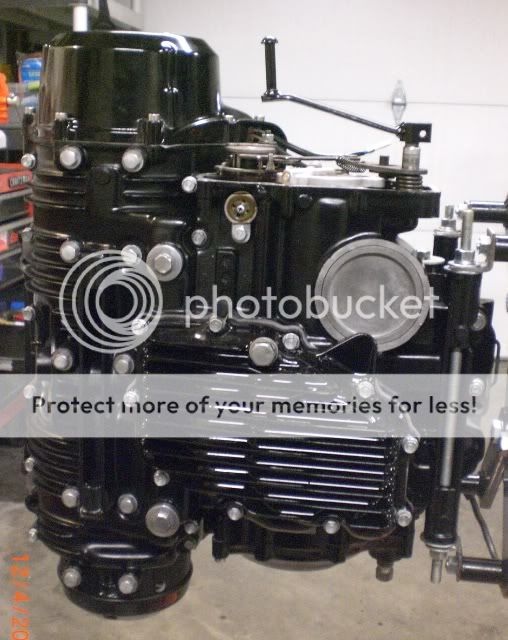
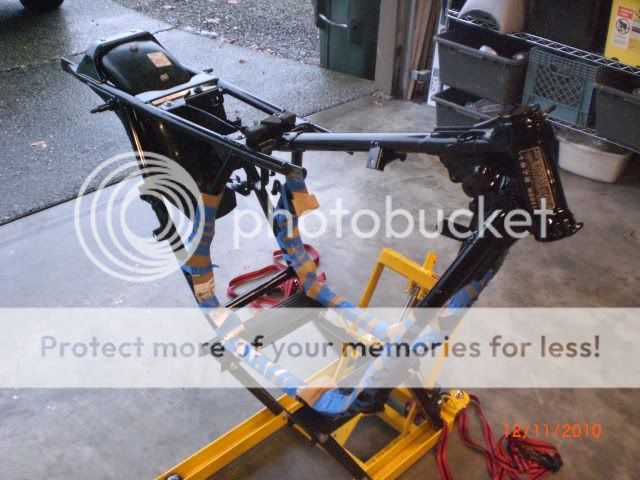
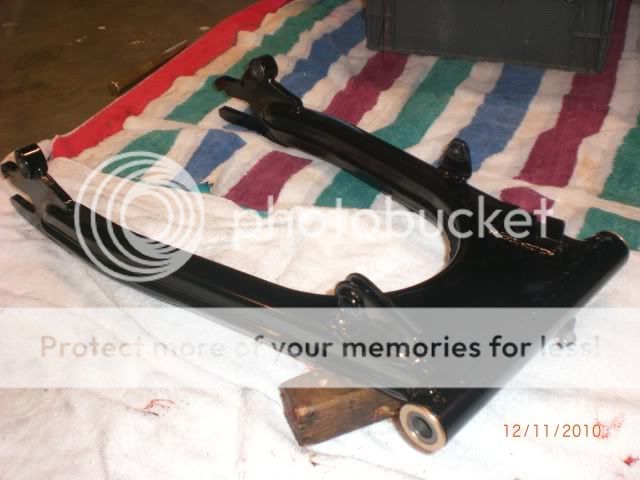
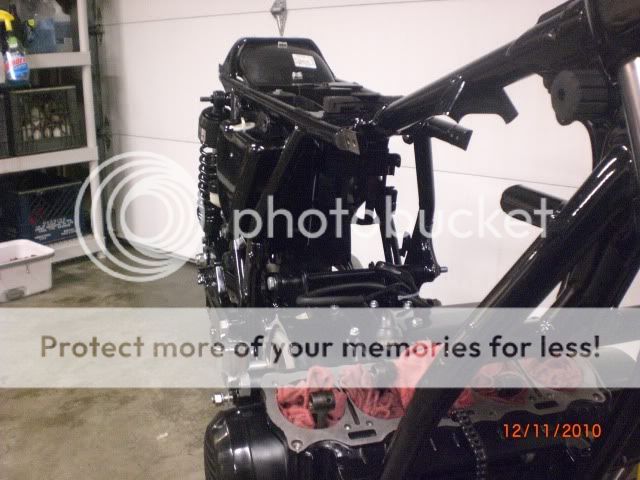
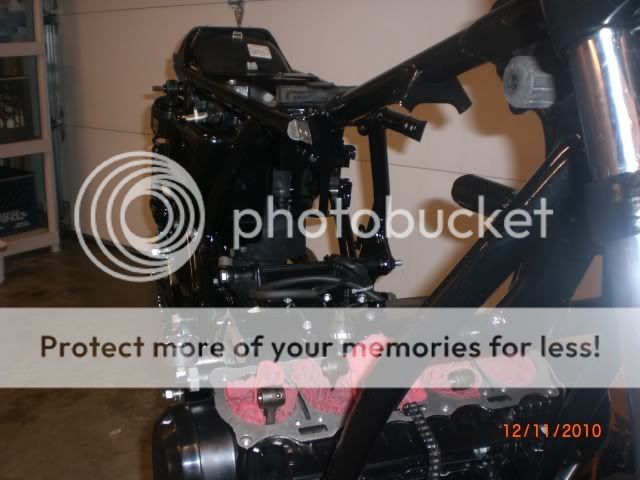
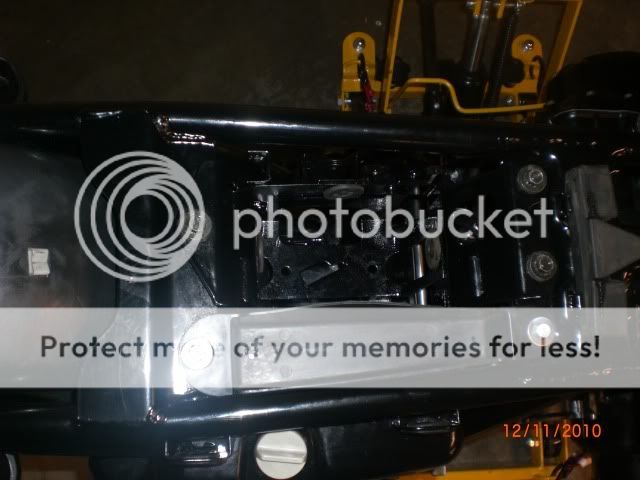
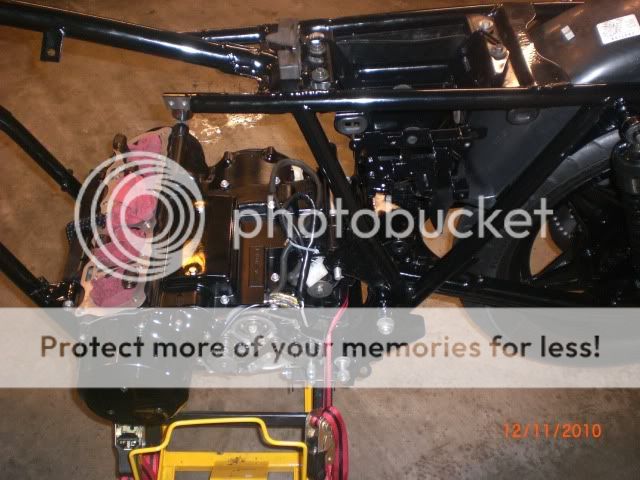
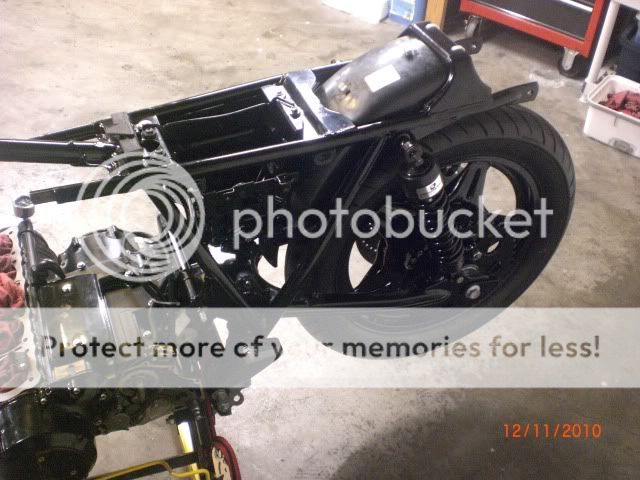
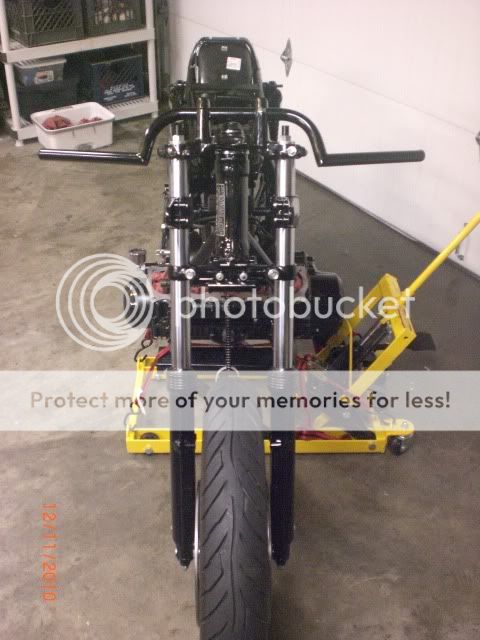
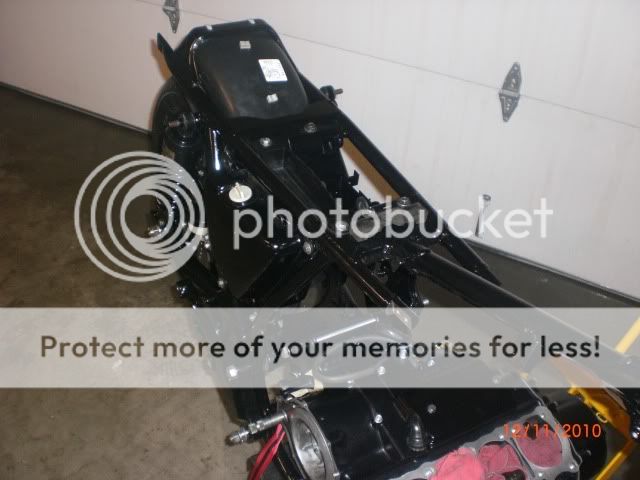
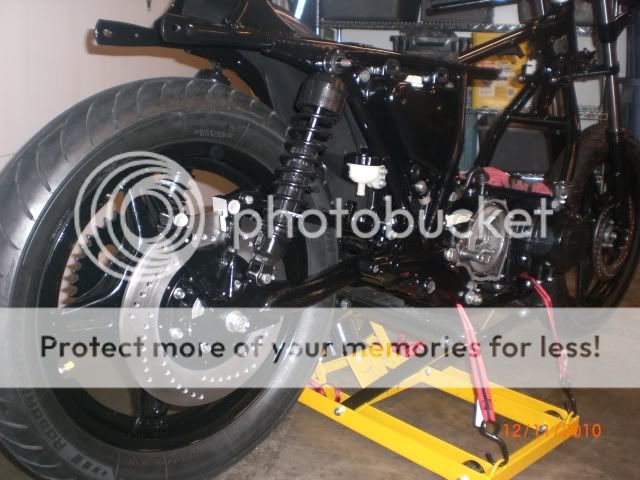
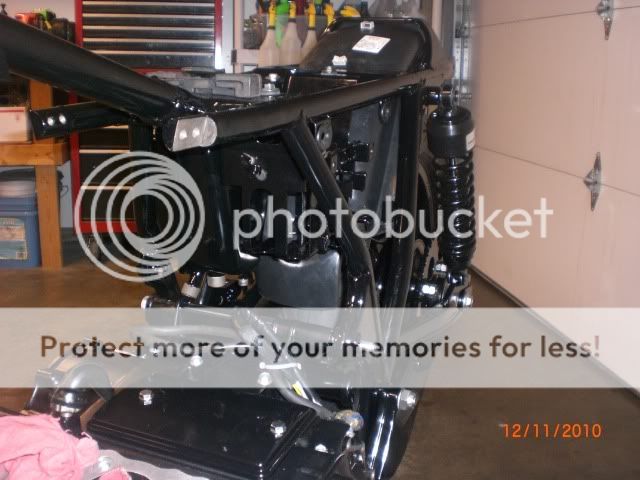
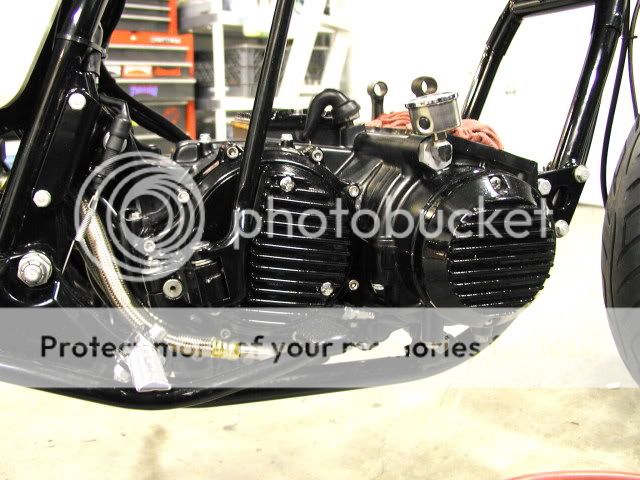
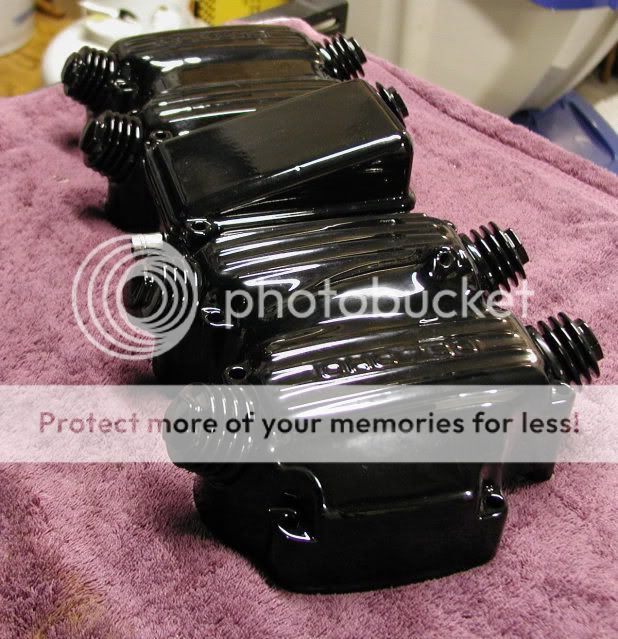
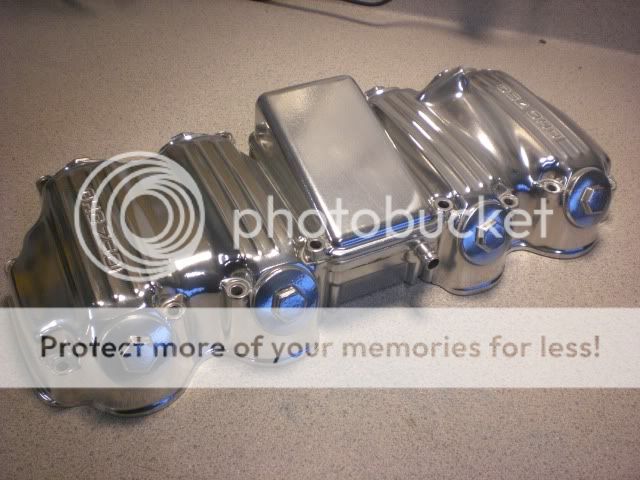
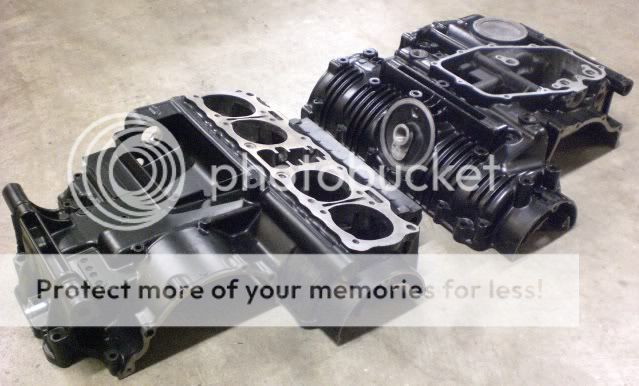
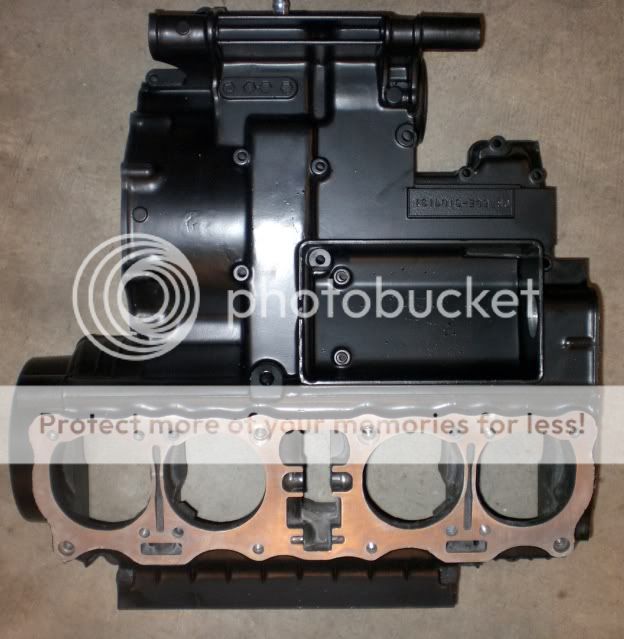
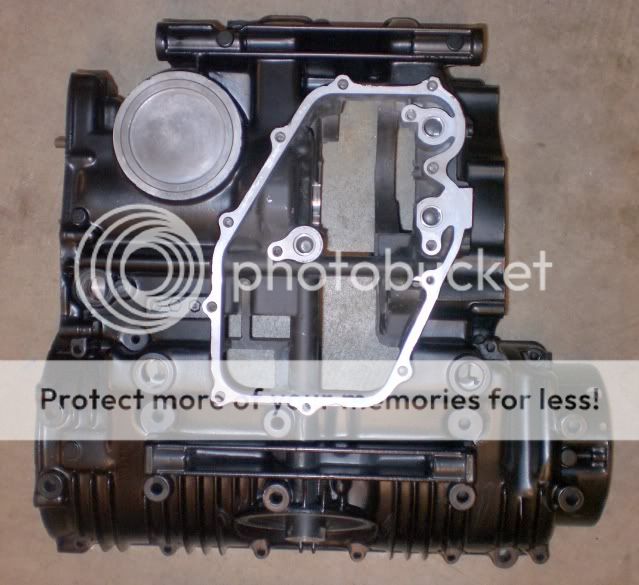
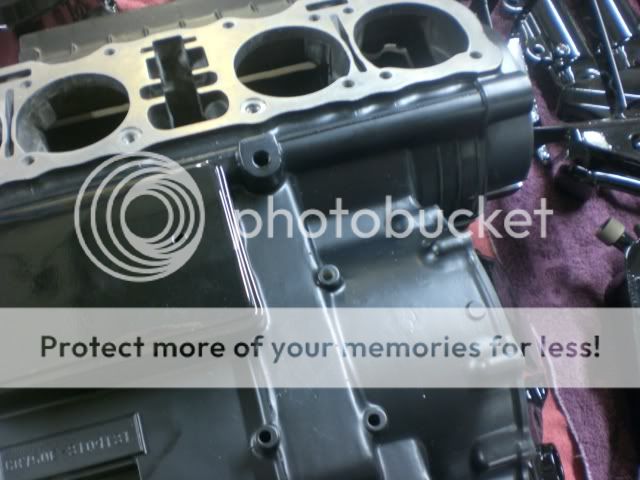
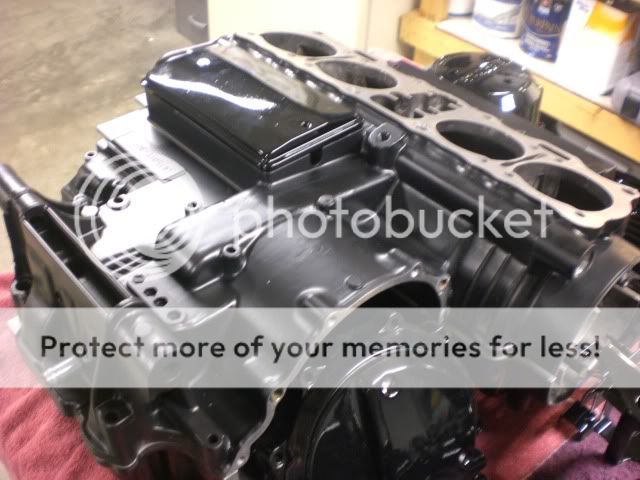
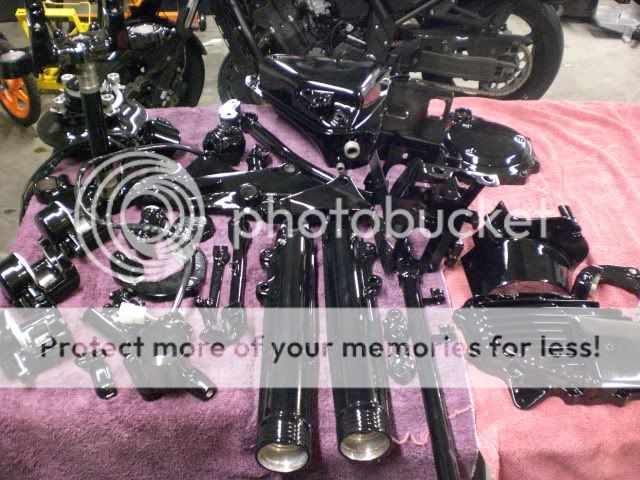
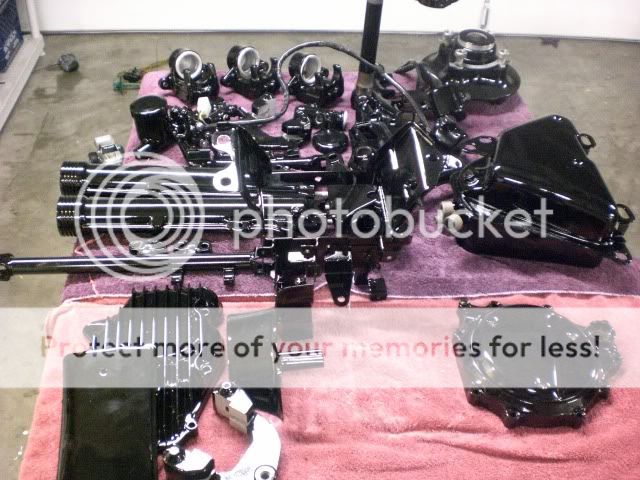
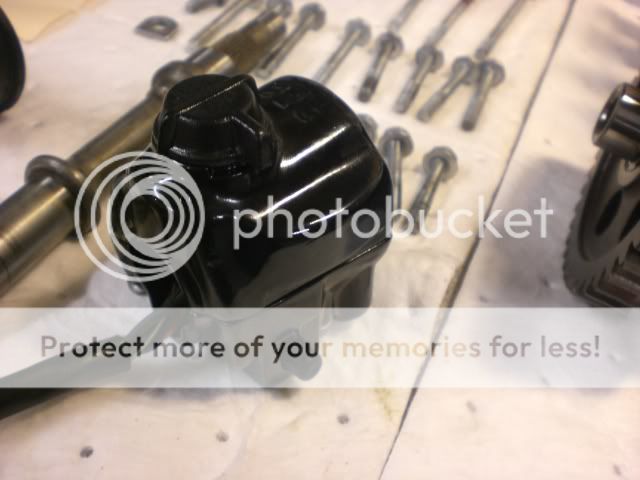
Fresh Powder Coat

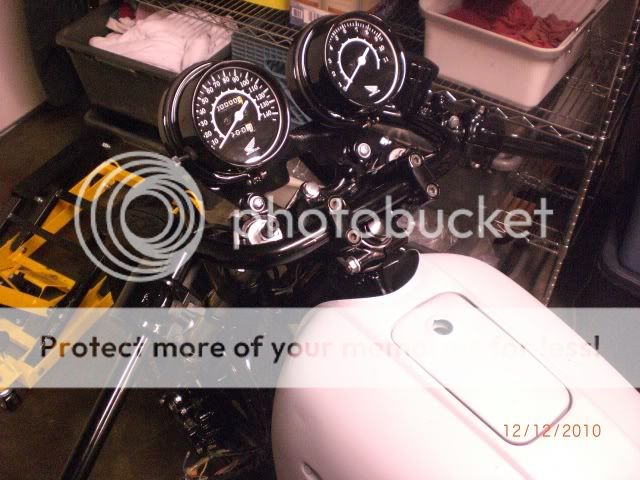
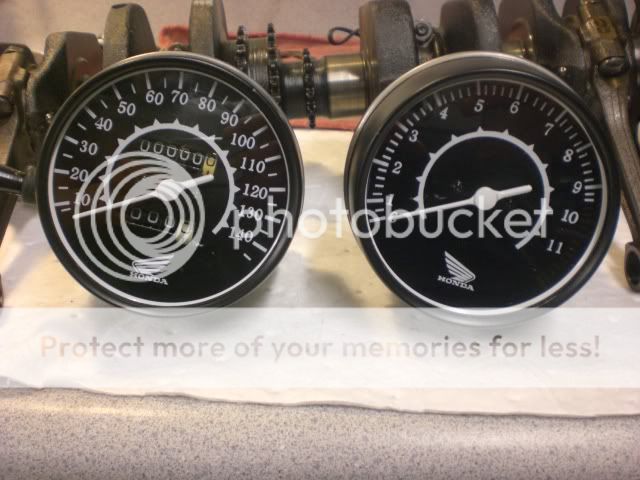
New guage faces
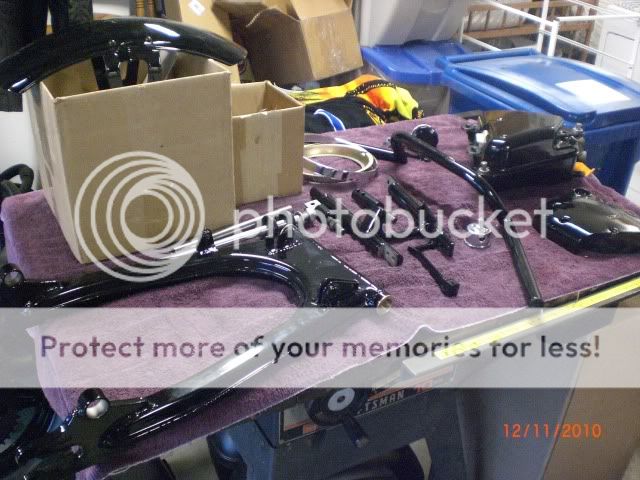
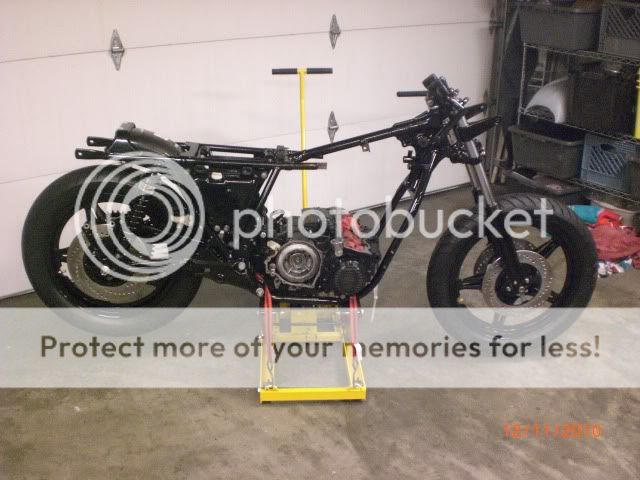
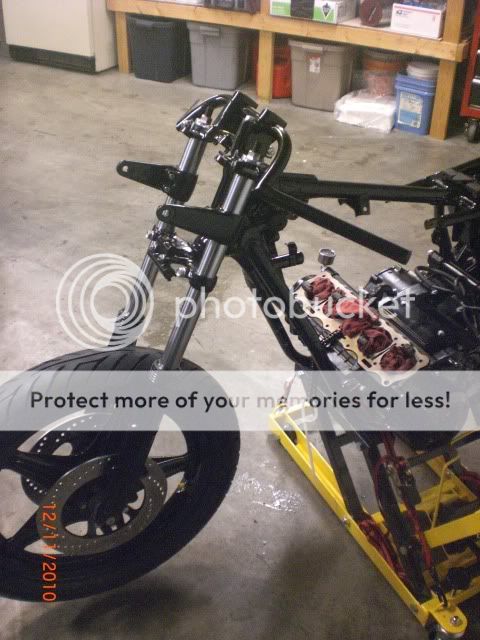
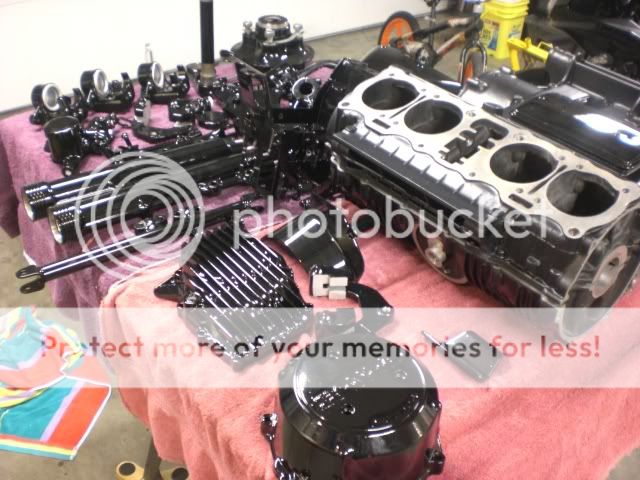
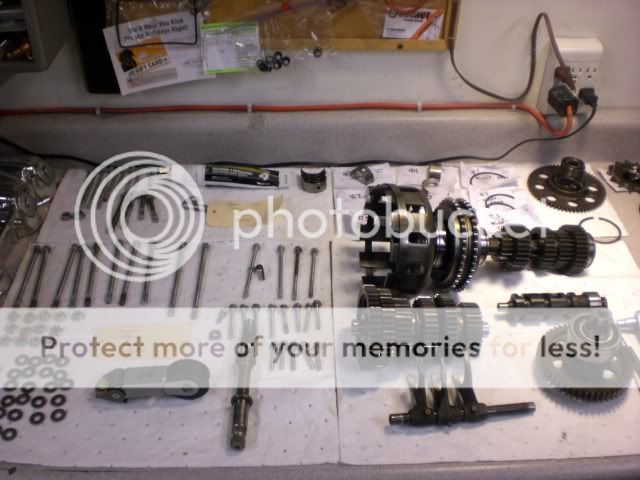
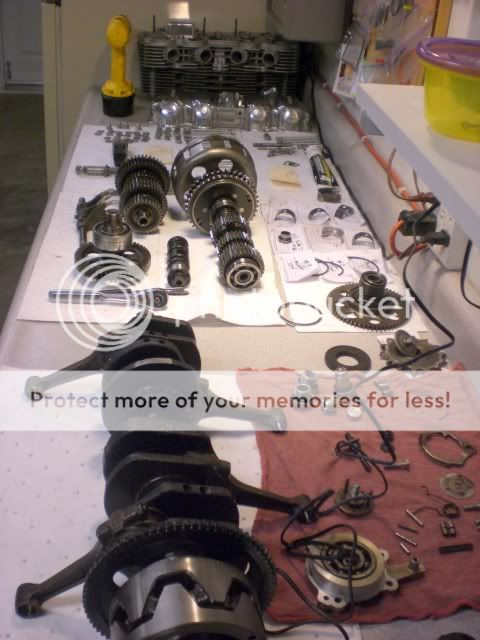
Ready for install
Parts already bought and ready to be installed in the lower end-
New cam chain, rollers, and guides
New primary chains
Vesrah gasket kit
APE HD cylinder studs and nuts
New oil seals
New OEM primary chain tensioner
All engine internals cleaned, inspected, and within spec.
Engine parts yet to bought, just saving my pennies-
Cycle X F2 valves, guides, springs, and retainers
Cycle X F2 836 big bore kit
Cycle X cam chain Tensioner
Cycle X cam
Cycle X exhaust (need to decide which one)
OK so enough jibber jabber, here are a few pics of my build progress so far. I would REALLY appreciate any advice, tips, word of encouragment, shit talk or whatever! Thanks for looking and stay tuned as progress develops!
Before!
Drilled rotors
Blasted my engine with plastic media
Broke 4 studs!
Gordon Frame Kit
Head clean up
Fresh Powder Coat
New guage faces
Ready for install