Follow along with the video below to see how to install our site as a web app on your home screen.
Note: This feature currently requires accessing the site using the built-in Safari browser.
We noticed you are blocking ads. DO THE TON only works with community supporters. Most are active members of the site with small businesses. Please consider disabling your ad blocking tool and checking out the businesses that help keep our site up and free.
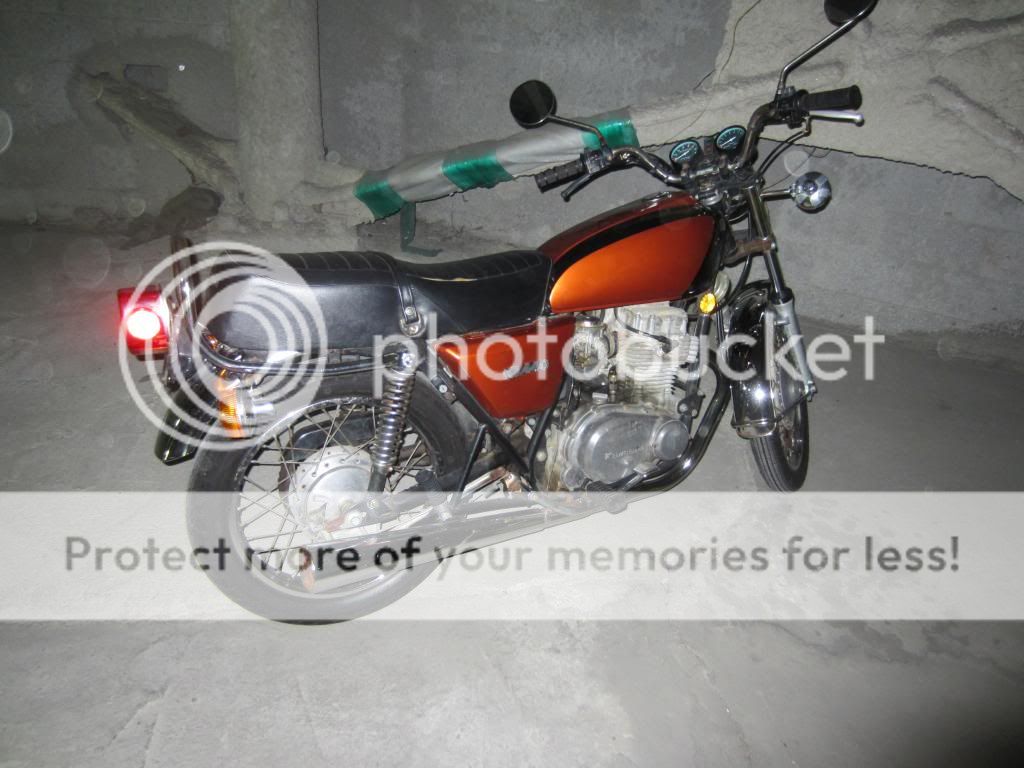
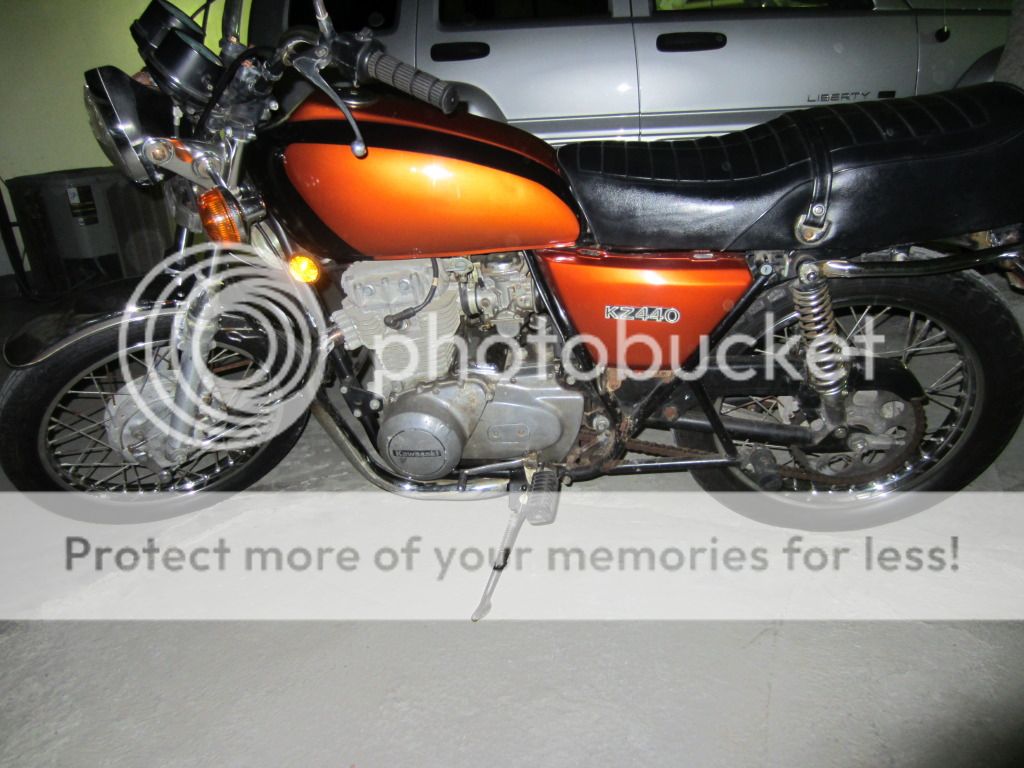
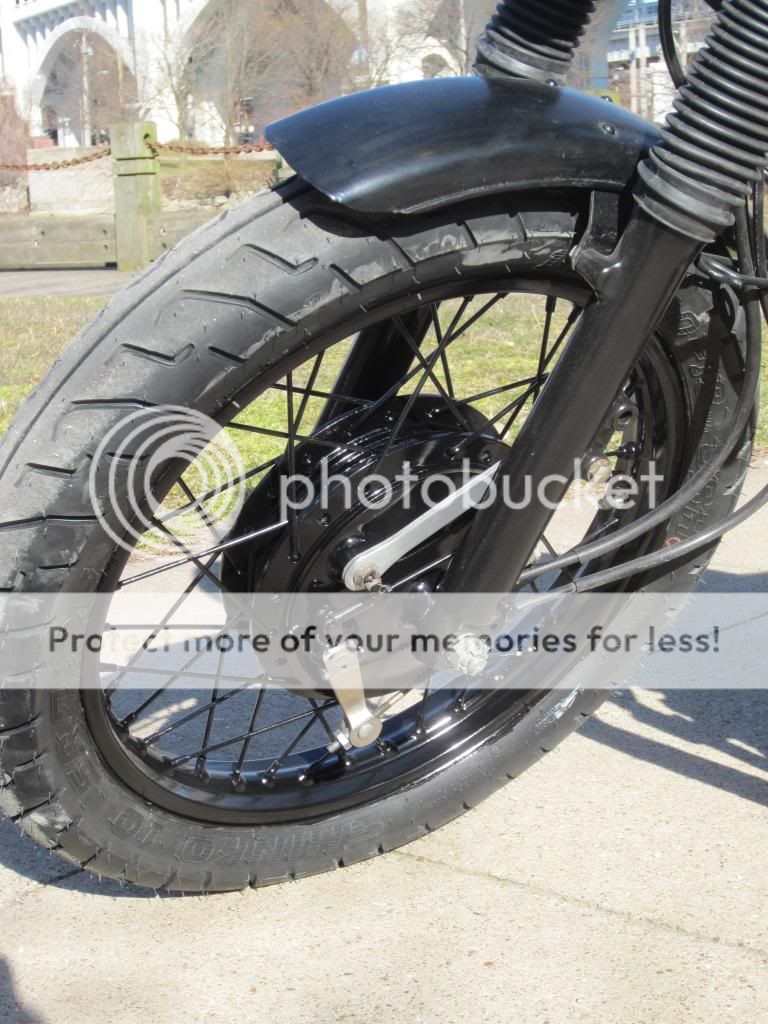
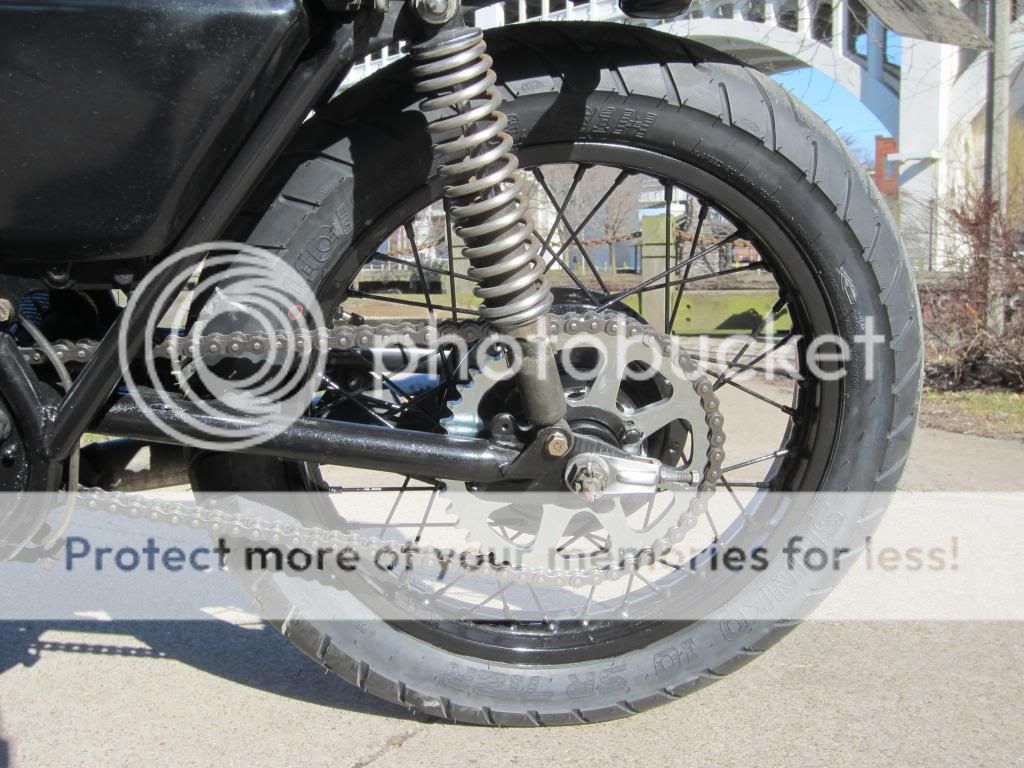
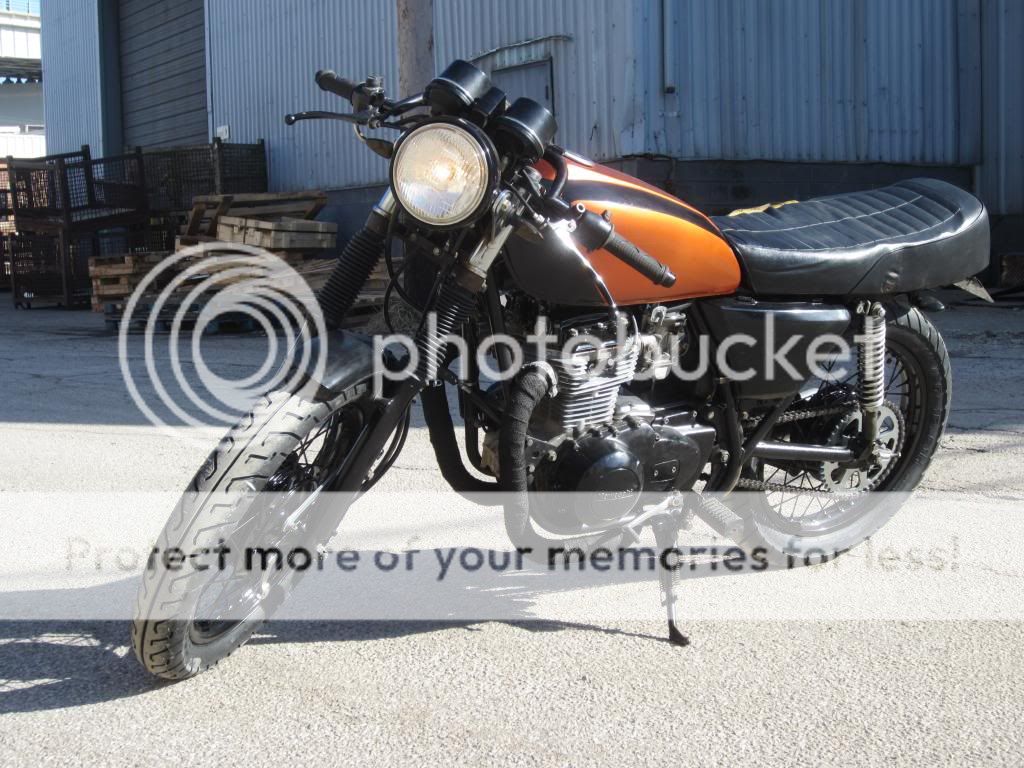
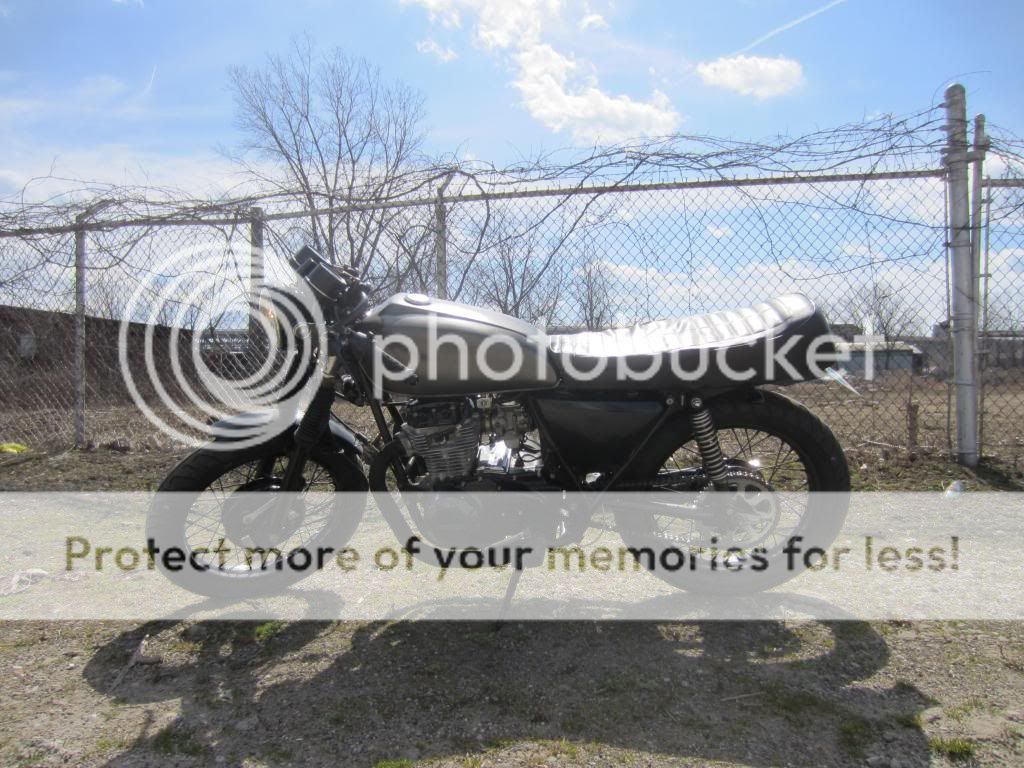
well I got done with the last bit of stuff (minus the seat, which will come when I find someone with a welder). I got new tires put on (the only work i didn't do myself on the whole thing), painted the wheels, and replaced sprockets and chain. I also cut off the passenger foot pegs and support tubes, so it cleans up the frame a lot in the back.
Check out some Day 1 >>> Today pics:
I'm probably going to paint the tank a dark gunmetal color in the future as well.
Looks nice 8) What size/model Shinkos did you use? I now have a line on a KZ440 B-1 near me and might use your bike as inspiration. I'd still leave your tank as-is and cut down the rear of your seat to a solo version. Maybe either cut back the pan/foam to the rear seat hinge, or just cut the foam back and use the exposed pan to mount a small luggage rack - kind of like this Suzuki TU250X: http://imageshack.us/photo/my-images/822/81839156.jpg/
Looks nice 8) What size/model Shinkos did you use? I now have a line on a KZ440 B-1 near me and might use your bike as inspiration. I'd still leave your tank as-is and cut down the rear of your seat to a solo version. Maybe either cut back the pan/foam to the rear seat hinge, or just cut the foam back and use the exposed pan to mount a small luggage rack - kind of like this Suzuki TU250X: http://imageshack.us/photo/my-images/822/81839156.jpg/
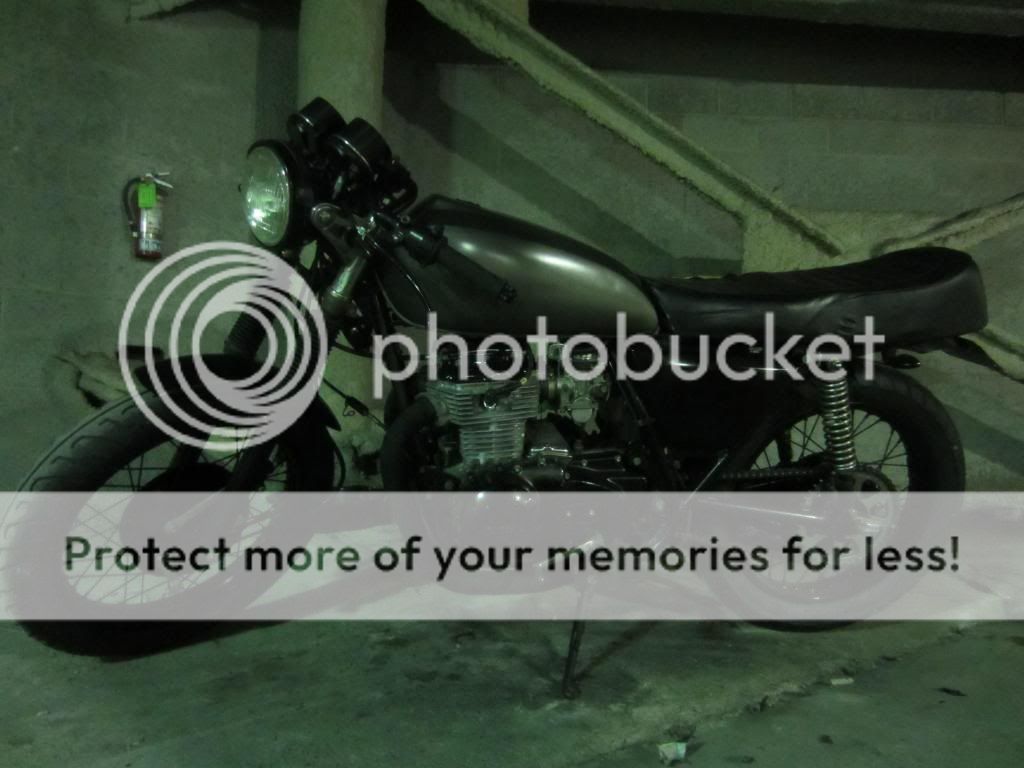
Well I did it ladies and gentlemen, I decided to go against some opinions and with some others and paint the tank. Yes, the orange looked good, but it's just not the style i'm going for.
It's drying now for the next ~4 hours and then i'll put it on.
I ended up going with VHT engine enamel (not for the heat resistance, but for the color), and picked "Cast Iron".
Once it's dry and I put the tank back on later tonight i'll snap a pic of it
The can says that it won't resist gasoline/oil until it is heat cured in 200F. But the normal paint wasn't "chemical resistant" either was it? So i'm not too worried about letting it cure.
I suppose I could take a heat gun to it, but I don't want to bubble up the normal Rustoleum clear coat I put over the VHT
Not sure - "normal paint" to an automotive paint pro means using a 2-part clearcoat; "normal paint" to a shade tree mech like me means...
I'd heard that some were using engine or wheel rattle can paint on tanks hoping that there was enough extra protection that a 2-part clear was not necessary. I've seen others that used Spray Max 2K (which is a 2-part clear, just in a single can) because of bad previous experiences. Interested to see your results.
The can says that it won't resist gasoline/oil until it is heat cured in 200F. But the normal paint wasn't "chemical resistant" either was it? So i'm not too worried about letting it cure.
I suppose I could take a heat gun to it, but I don't want to bubble up the normal Rustoleum clear coat I put over the VHT
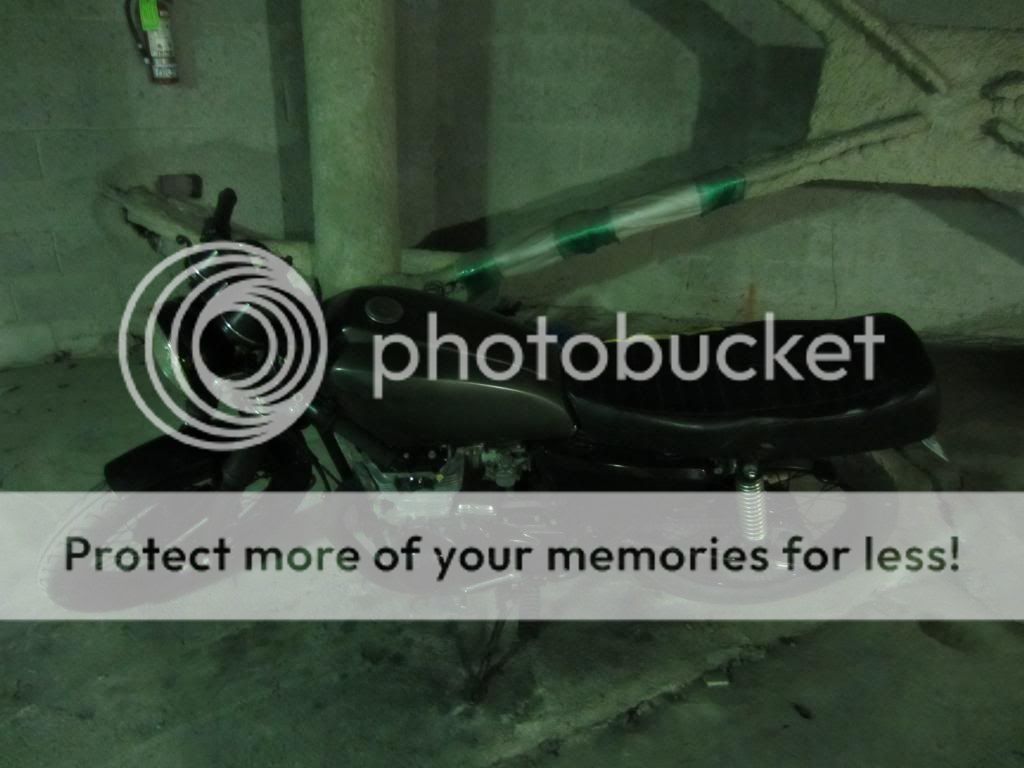
Here are some pics, it's raining out so I don't want to wheel it out of the garage, but you get the idea. Overall, I think it looks fantastic. It's definitely more of the style i'm going for. The orange looked good, but it "popped" a little too much for me.
I got it off ebay from "brownfamilyracing" for 30 bucks
He said that he gets them and "modifies" them to work with the 440.
Honestly, it doesn't completely stop the flow when it's in the "off" position though. I bought it because even after rebuilding my stock petcock, it still let it flow like the Nile.
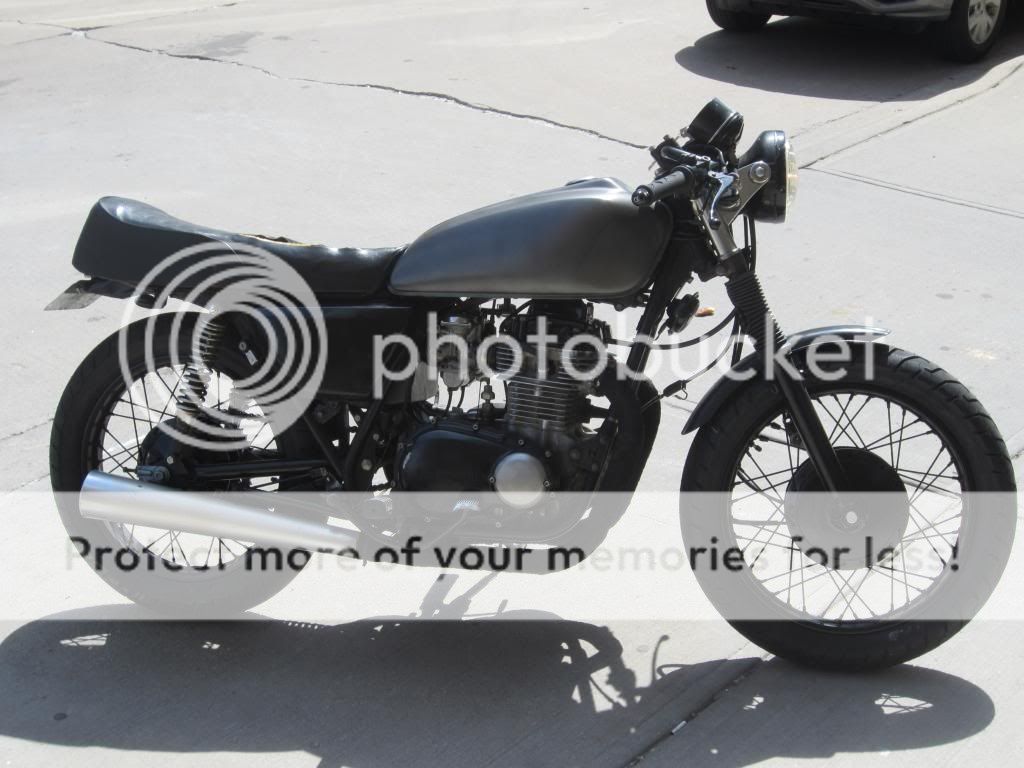
Hey guys just wanted to give a little update now that the paint can be seen in the sunlight.
I'm starting off with a pic of the inspiration bike I saved a pic of before I started the build. I probably won't have too much going on in this thread until I put a flat seat on it in the future.
This site uses cookies to help personalise content, tailor your experience and to keep you logged in if you register.
By continuing to use this site, you are consenting to our use of cookies.